
'Tis (almost) the season for turkey dinners, be it a family gathering at Christmas time, or a Thanksgiving celebration with your friends. And this means just one thing; fairly quickly, our turkey cookware will need to be in the best shape possible – both before using it, and after we’ve cooked our feast in it.
It’s well worth thinking about some of the most important cleaning tips for cleaning your best turkey roasting pan ahead of time – because before we know it, fall and winter celebrations will be upon us. So now is a brilliant time to take stock of the best way to clean one of the stars of the show before getting into the hustle and bustle of the holiday season.
Whether you’ve just pulled your turkey roasting pan out of storage, or you’ve used it recently to cook up a delicious meal, this is how to clean a turkey roasting pan – including the best ways to tackle stubborn stains, according to the experts.
How to clean a turkey roasting pan
Cleaning your pan for the first time in a while? Or have you just used it for the third time this week? Whichever of these is the case, the same method can be followed, as detailed below.
Cleaning expert Rose Hargrove, owner of Wellness, Cleaning and Lifestyle, explains that if your roasting pan hasn't been used for a while and was cleaned before being put away, getting it spick-and-span is incredibly simple.
'Depending where you stored it, a roasting pan shouldn't be too hard to prep, as long as it was cleaned well before being put away. Normally, if it’s just dusty, a general soap and water clean should do the trick.'
For more intensive cleaning, experts also advise that a gentle approach is best when cleaning a turkey roasting pan – but there are also some heavier-duty methods you can employ if you’re dealing with burnt-on, stubborn stains.
Design expertise in your inbox – from inspiring decorating ideas and beautiful celebrity homes to practical gardening advice and shopping round-ups.

Rose Hargrove is the founder and CEO of Wellness, Cleaning and Lifestyle, a cleaning company based in North Carolina that offers residential cleaning, commercial cleaning and office cleaning, and specializes in cleaning both before and after a house move.
1. Clean immediately after use
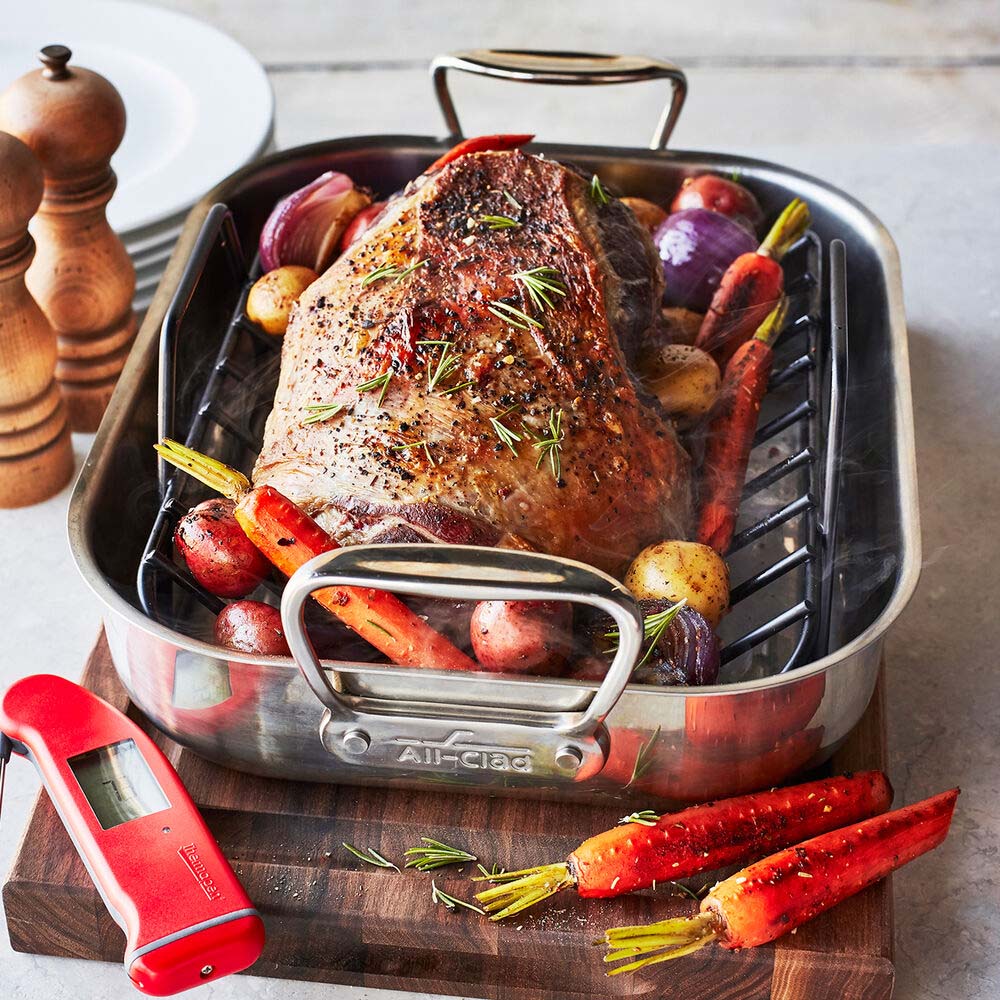
The very first thing you should do to make cleaning as easy as possible if you’ve just finished whipping up a delicious feast, is to begin the cleaning process as soon as you can. 'Probably the best method is to clean it immediately after use with soap and hot water,' managing director of domestic cleaning brand Poppies, Chris Wootton, says.
So while it’s tempting to leave that sticky, dirty pan to sit for a few hours after eating, try to avoid this. At the very least, wipe out any excess dirt or grease within your roasting pan with a kitchen towel, to get rid of any loose bits of grime.
Alternatively, fill the roasting pan with boiling or hot water that can sit and soak while you eat your meal, without disrupting the Thanksgiving party. As you may suspect, this will make the cleaning process much easier than if you'd left the pan to sit.

Chris Wootton is a cleaning expert, and Managing Director at Poppies, a domestic and commercial cleaning business with 22 locations across the UK. The business provides around 6,000 cleaning services a month at a variety of locations.
2. Scrub off stuck-on dirt
Perhaps one of the trickiest parts of cleaning a turkey roasting pan is knowing how to address those stubborn stains and burnt-on pieces of food. However, there is a way to tackle this.
If you have been soaking your pan, as above, empty this out now and allow any loose food debris to fall into your sink. Then, it’s time to tackle the remaining stuck-on food.
'If, like most people experience, there are stubborn marks or stains on your turkey roasting pan, you’ll need to use the "soak and scrub" method,' Chris says. 'Scrape off any sticky bits as best you can with a wooden spatula or plastic tool (to avoid damaging any coating), before soaking your pan in hot water with a dash of dish washing liquid.'
After soaking for at least 10 minutes, you can then try scrubbing off any remaining sticky burnt-on residue with a scrubbing pad. Cleaning expert John Larson, of Best Cleaning Tools, says, 'If needed, use a non-abrasive pad; but it’s still worth being gentle, to avoid scratches.'

John Larson is a cleaning expert and blogger at Best Cleaning Tools, based in Miami, Florida. He has been been working in the cleaning industry for years, and has a wealth of experience cleaning various items and appliances around the home. He is specifically an expert in stain removal, and can help people to get rid of even the toughest stains.
3. Tackle difficult stains with baking soda or vinegar
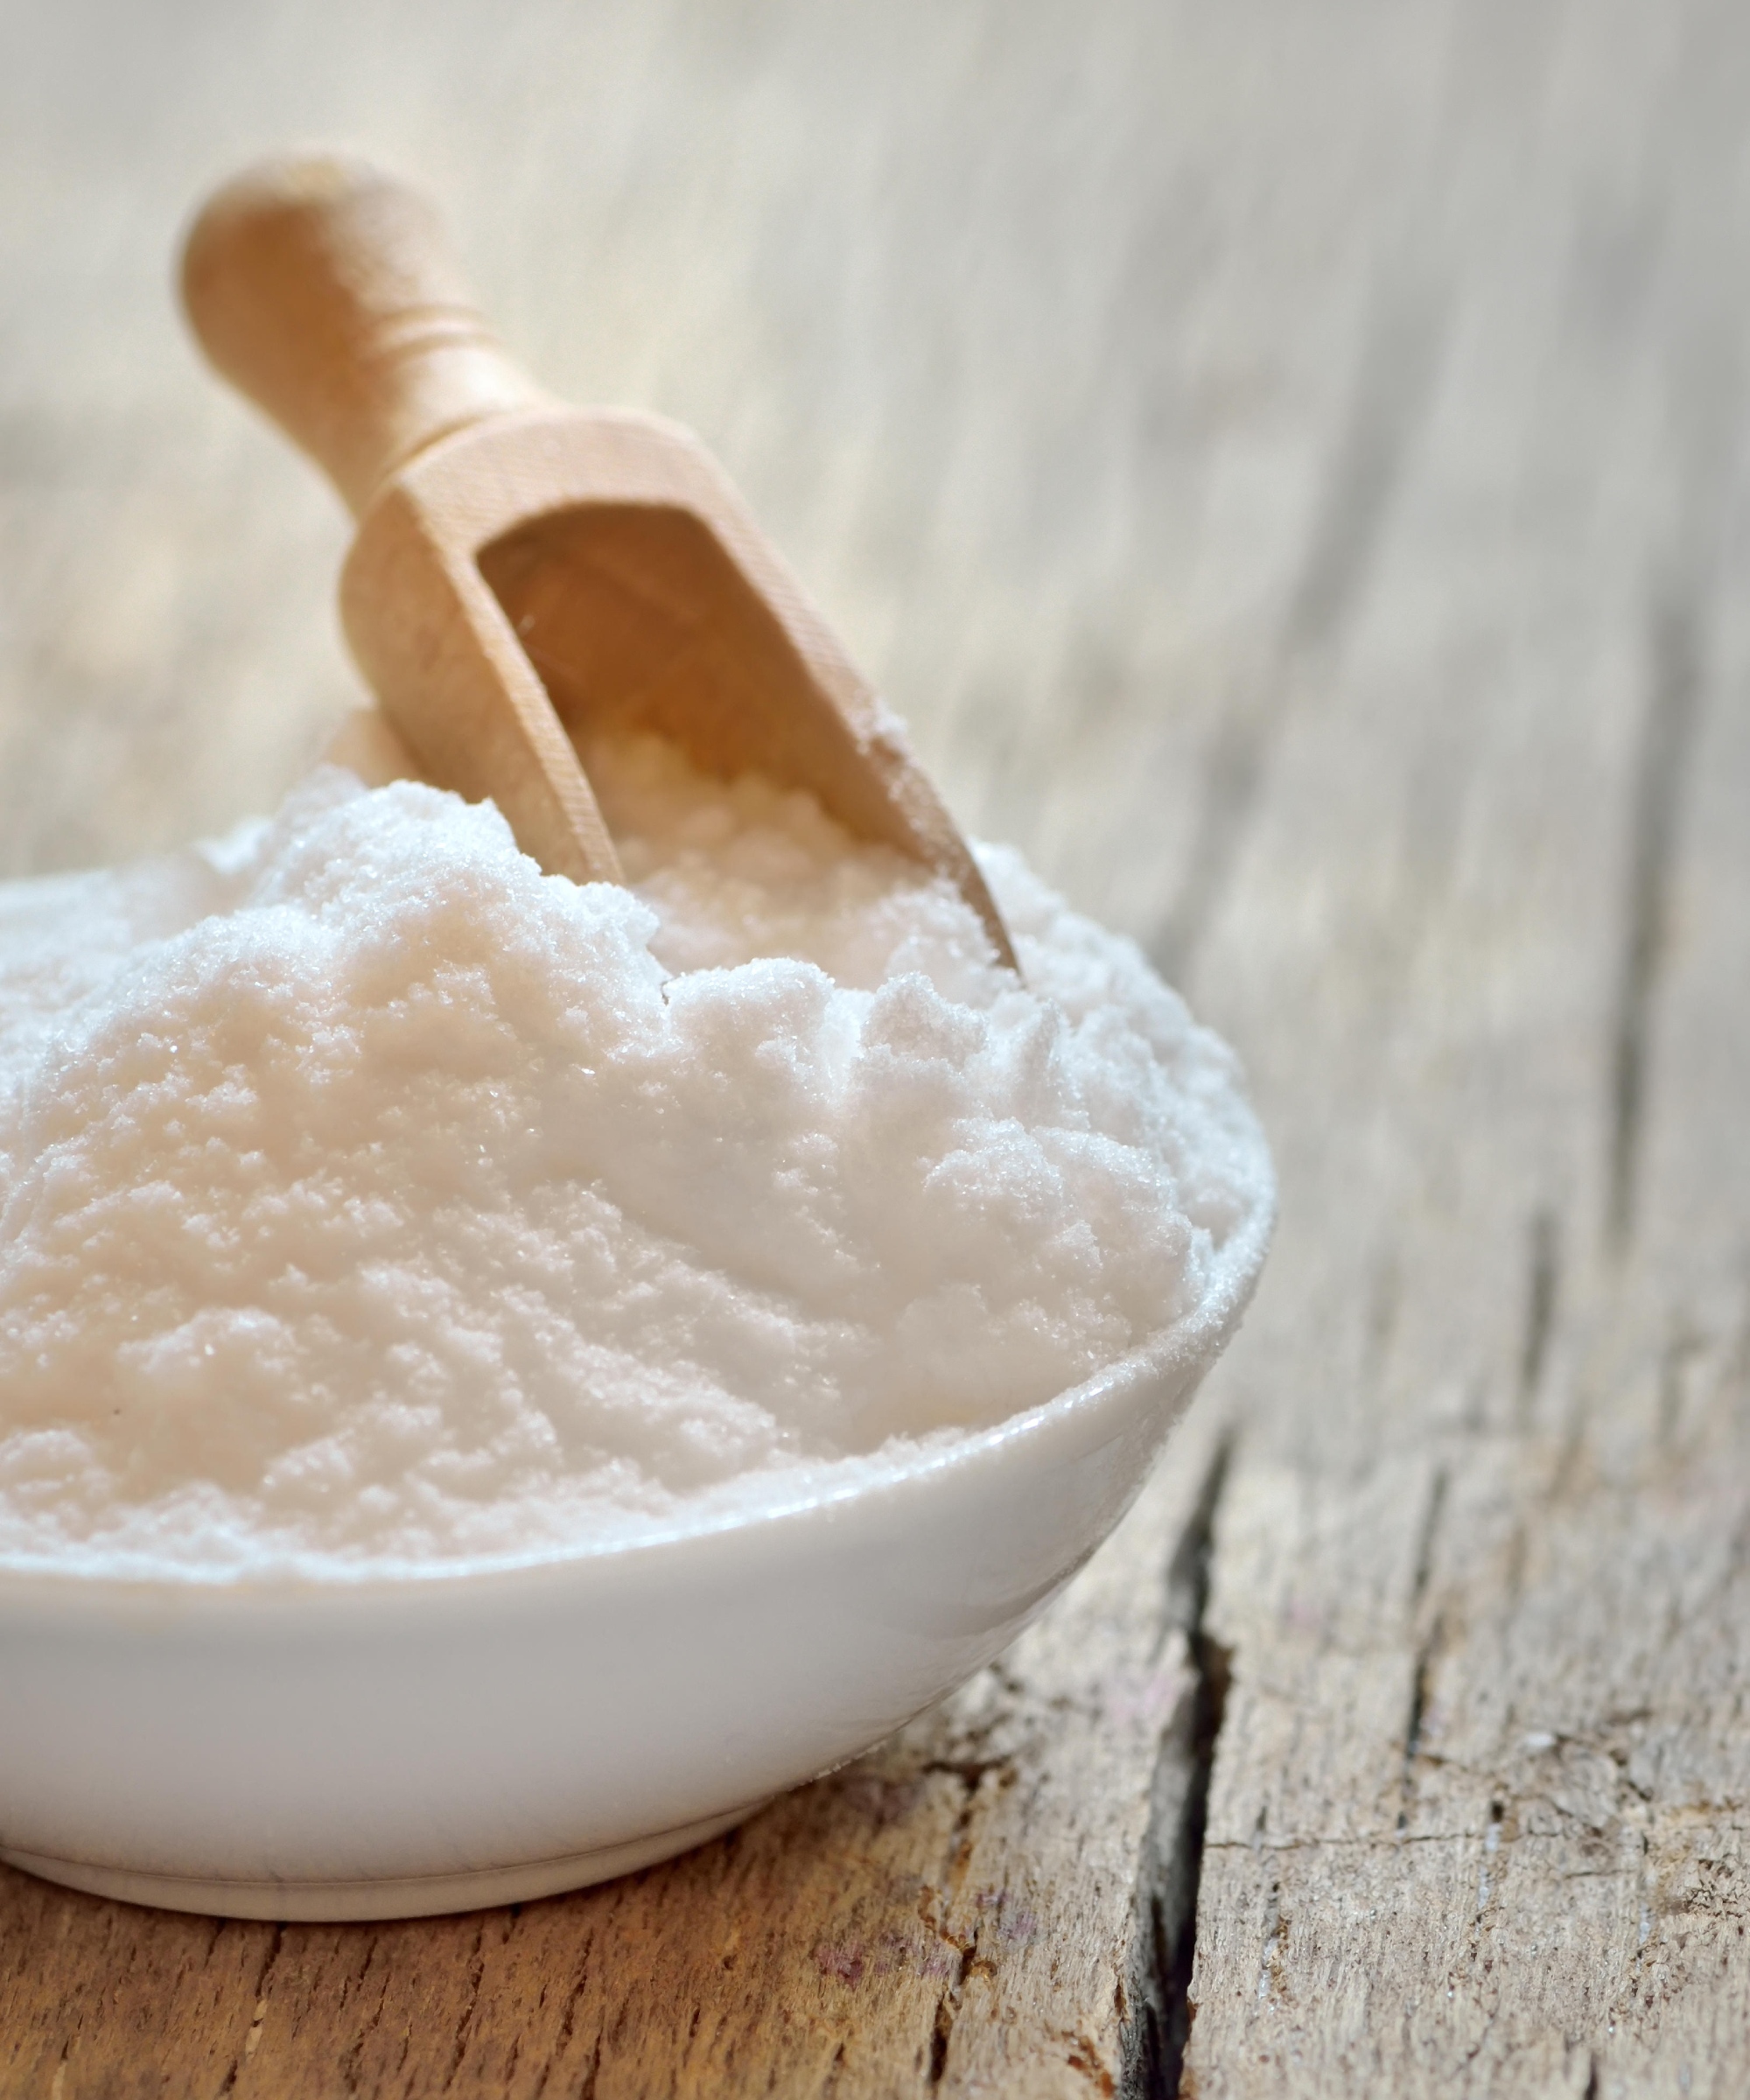
Though the above method should be sufficient for less severe stains, or stuck-on food debris that has recently formed, you may have to employ some extra manpower if dealing with badly burnt-on stains, or stains that have been there for some months (perhaps since you last used the roasting pan!)
Luckily, all you should need is a few household essentials in order to do this. 'If you have really tough stains, sprinkle baking soda into the roasting pan, then pour on equal amounts of white vinegar,' Chris says. This should produce a bubbling effect, and after a few minutes, you can scrub at this solution to effectively eradicate stubborn marks.
In fact, cleaning with baking soda is a fantastic option for many kitchen tools. John explains, 'baking soda is a mild abrasive that can help to remove burnt-on food and grease – it is also alkaline, which can help to neutralize acidic food stains.'
Chris explains that even with his method, 'you’ll still want to soak and scrub your pan, as before, but this method should give you a gleaming pan once again.'
If this doesn’t help as much as you’d like it to (though it should be pretty effective), Chris explains that you’ll need to return to step one, soaking your pan for longer. 'For a really grotty pan, soak in hot water with dish soap for a couple of hours. Only then should you tackle it with a scrubbing pad and a slightly abrasive product such as baking soda.'
'You can use a branded roasting pan cleaner, such as Astonish paste, at Amazon, Barkeepers Friend, at Walmart, or any type of cream cleanser you can get your hands on.'
4. Use hydrogen peroxide or commercial cleaners if necessary
If you don’t have baking soda or vinegar to hand, or you feel you need to use something stronger (perhaps you’ve tried the above to no avail), John says that you can opt for some tougher cleaning agents to clean your turkey roasting pan, if necessary.
'Hydrogen peroxide is a powerful cleaning agent that can help to remove even the toughest stains,' he says. 'Mix 1 part hydrogen peroxide with 2 parts water. Apply the mixture to the stains and let it sit for 30 minutes – then, scrub the pan with a sponge or brush.'
However, whether you're using it to clean a roasting pan or to clean an oven, it’s important to be incredibly careful when using hydrogen peroxide for cleaning. While it is safe when diluted, it can be damaging to your skin, eyes, ears or nose, or any open wounds if it comes into contact. Wear gloves, and only apply it within a well-ventilated area, being careful not to prolong your exposure.
If you don’t feel comfortable using it, there is another option for stronger cleaning. John explains, 'If the stains are really stubborn, you can also use a commercial oven cleaner. Follow the directions on the cleaner carefully and apply to your roasting pan.'
5. Rinse and dry the roasting pan
Following your cleaning, John recommends that you 'rinse the pan thoroughly with hot water, to remove all soap and food bits,' as well as any cleaning solution you may have applied.
The very final step to follow when cleaning your roasting pan is to take a couple of extra minutes to ensure you dry it properly with a clean cloth.
'Use a cloth or paper towel to dry the pan completely. Make sure it's entirely dry to prevent rust,' John says. This is important, as rust – or water spots – will make your newly-gleaming pan *look* less clean than it actually is.
6. Check and season the pan if necessary
Now that your turkey roasting pan is nice and clean, you may want to take a moment to give it some extra TLC. As mentioned, roasting pans can be liable to rust, so John recommends checking yours over and addressing any lingering spots, if needed. If you see any rust spots, he suggests, 'gently remove them with aluminum foil or a rust eraser.'
You might also want to season your pan, to make it easier to use in the future. 'Depending on the material, as there are many kinds, you can prep your pan by coating it with a good base of your favorite type of healthy nonstick oil,' Rose says. This will help to prevent rust and improve any non-stick qualities your pan has.
Now, simply store your turkey roasting pan safely away ahead of your next gathering!
FAQs
How to clean a stainless steel turkey roasting pan
The above method should be effective on a stainless steel roasting pan, so there isn’t much need to adapt it if you have one. However, given that stainless steel is that bit more delicate, you may want to be a little gentler when cleaning, in order to avoid scratching the pan's surface too much.
When it comes to the ideal method, John suggests, ‘Use a soft sponge or nylon brush to clean it, avoiding rough scrubbers that could harm the surface of the stainless steel.
'Then, as with other pans, thoroughly rinse off soap and food residue and towel dry the pan to prevent water spots – one of the most important steps when dealing with a stainless steel roaster.'
Rose also suggests, 'I have also used oven cleaner on the bottom of stainless steel stained pans and it has worked well.'
When it comes to the considerations you'll need to bear in mind if cleaning a cast iron turkey roasting pan, on the other hand, you should avoid using soap, John says. 'Just rinse with hot water, dry, and apply a little oil. Remember, it's all about being gentle with your pan to keep it in good shape.'
And, Rose explains that if you're unsure, 'most importantly, always test the area and research before using any specific cleaners or tools!'
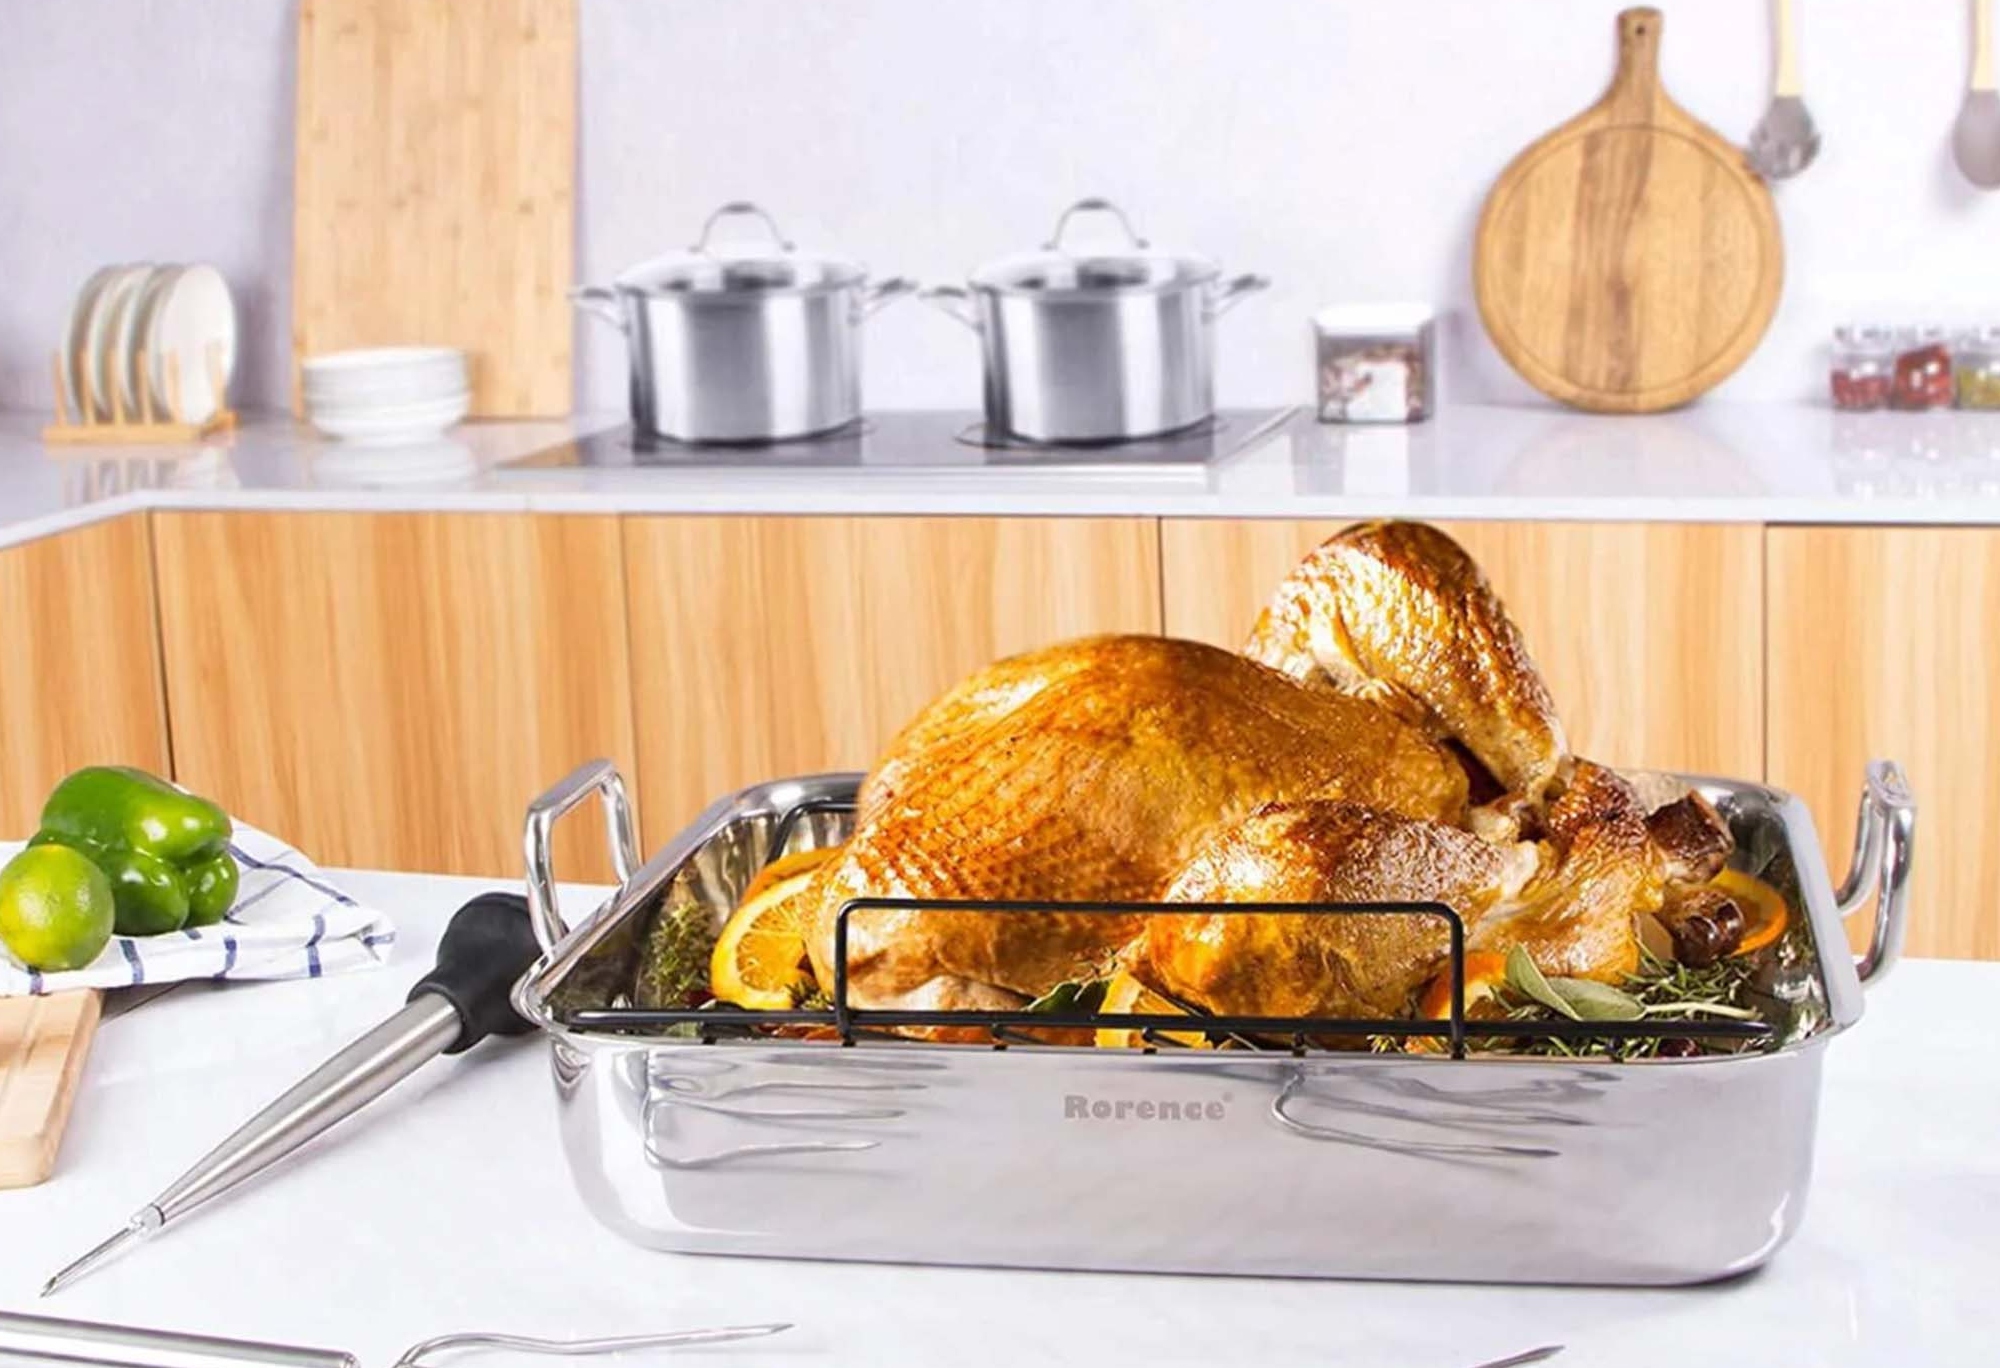
How to keep your turkey roasting pan clean between uses
- Use parchment paper to cook your food on: To help prevent stains from getting a chance to settle into your turkey roasting pan, try cooking your food on top of a protective layer of parchment paper, which will provide a barrier that should stop the majority of leakage and food from penetrating onto the pan.
- Give it a thorough clean after every use: There's always a huge temptation to give our cookware a very speedy clean-up, insisting to ourselves that we'll tackle more serious stains later on. But that may not be a good idea if you want to avoid a trickier clean in future and want your roasting pan to look its best at all times. 'Remember to clean it promptly after each use to avoid tough stains and residue buildup,' John advises.
- Store it properly: Finally, an easy way to keep your turkey roasting pan in the best condition possible is to ensure that it is stored in a clean and dry spot in your kitchen, where it isn’t liable to any staining or splashes from cooking, food or washing up. This means that, when not in use, the pan won’t get any staining that you can’t deal with immediately.
Now you've got some of the best natural cleaning ingredients out of your cabinets, such as vinegar and baking soda, why not use these to clean some other household spots? There are so many things you can clean with vinegar, and when it comes to cleaning carpet, baking soda is a great deodorizer.
You can also use baking soda to clean windows – but here are some items you should never clean with baking soda, so be sure to check before you get scrubbing!
Amy Hunt is a freelance lifestyle writer and editor primarily covering homes and interiors, wellness, travel and careers. She was previously Lifestyle Editor at woman&home, commissioning and editing the homes, books and features sections of the website,
In 2019, she won the AOP Digital Journalist of the Year Award, for her work on womanandhome.com. Having worked in the industry for over eight years, she has contributed to a range of publications including Ideal Home, Livingetc, T3,Goodto, Woman, Woman’s Own, and Red magazine.