5 pumpkin carving hacks to make holiday decorating simpler and safer
Keep pumpkin carving simple and safe with these four expert carving hacks

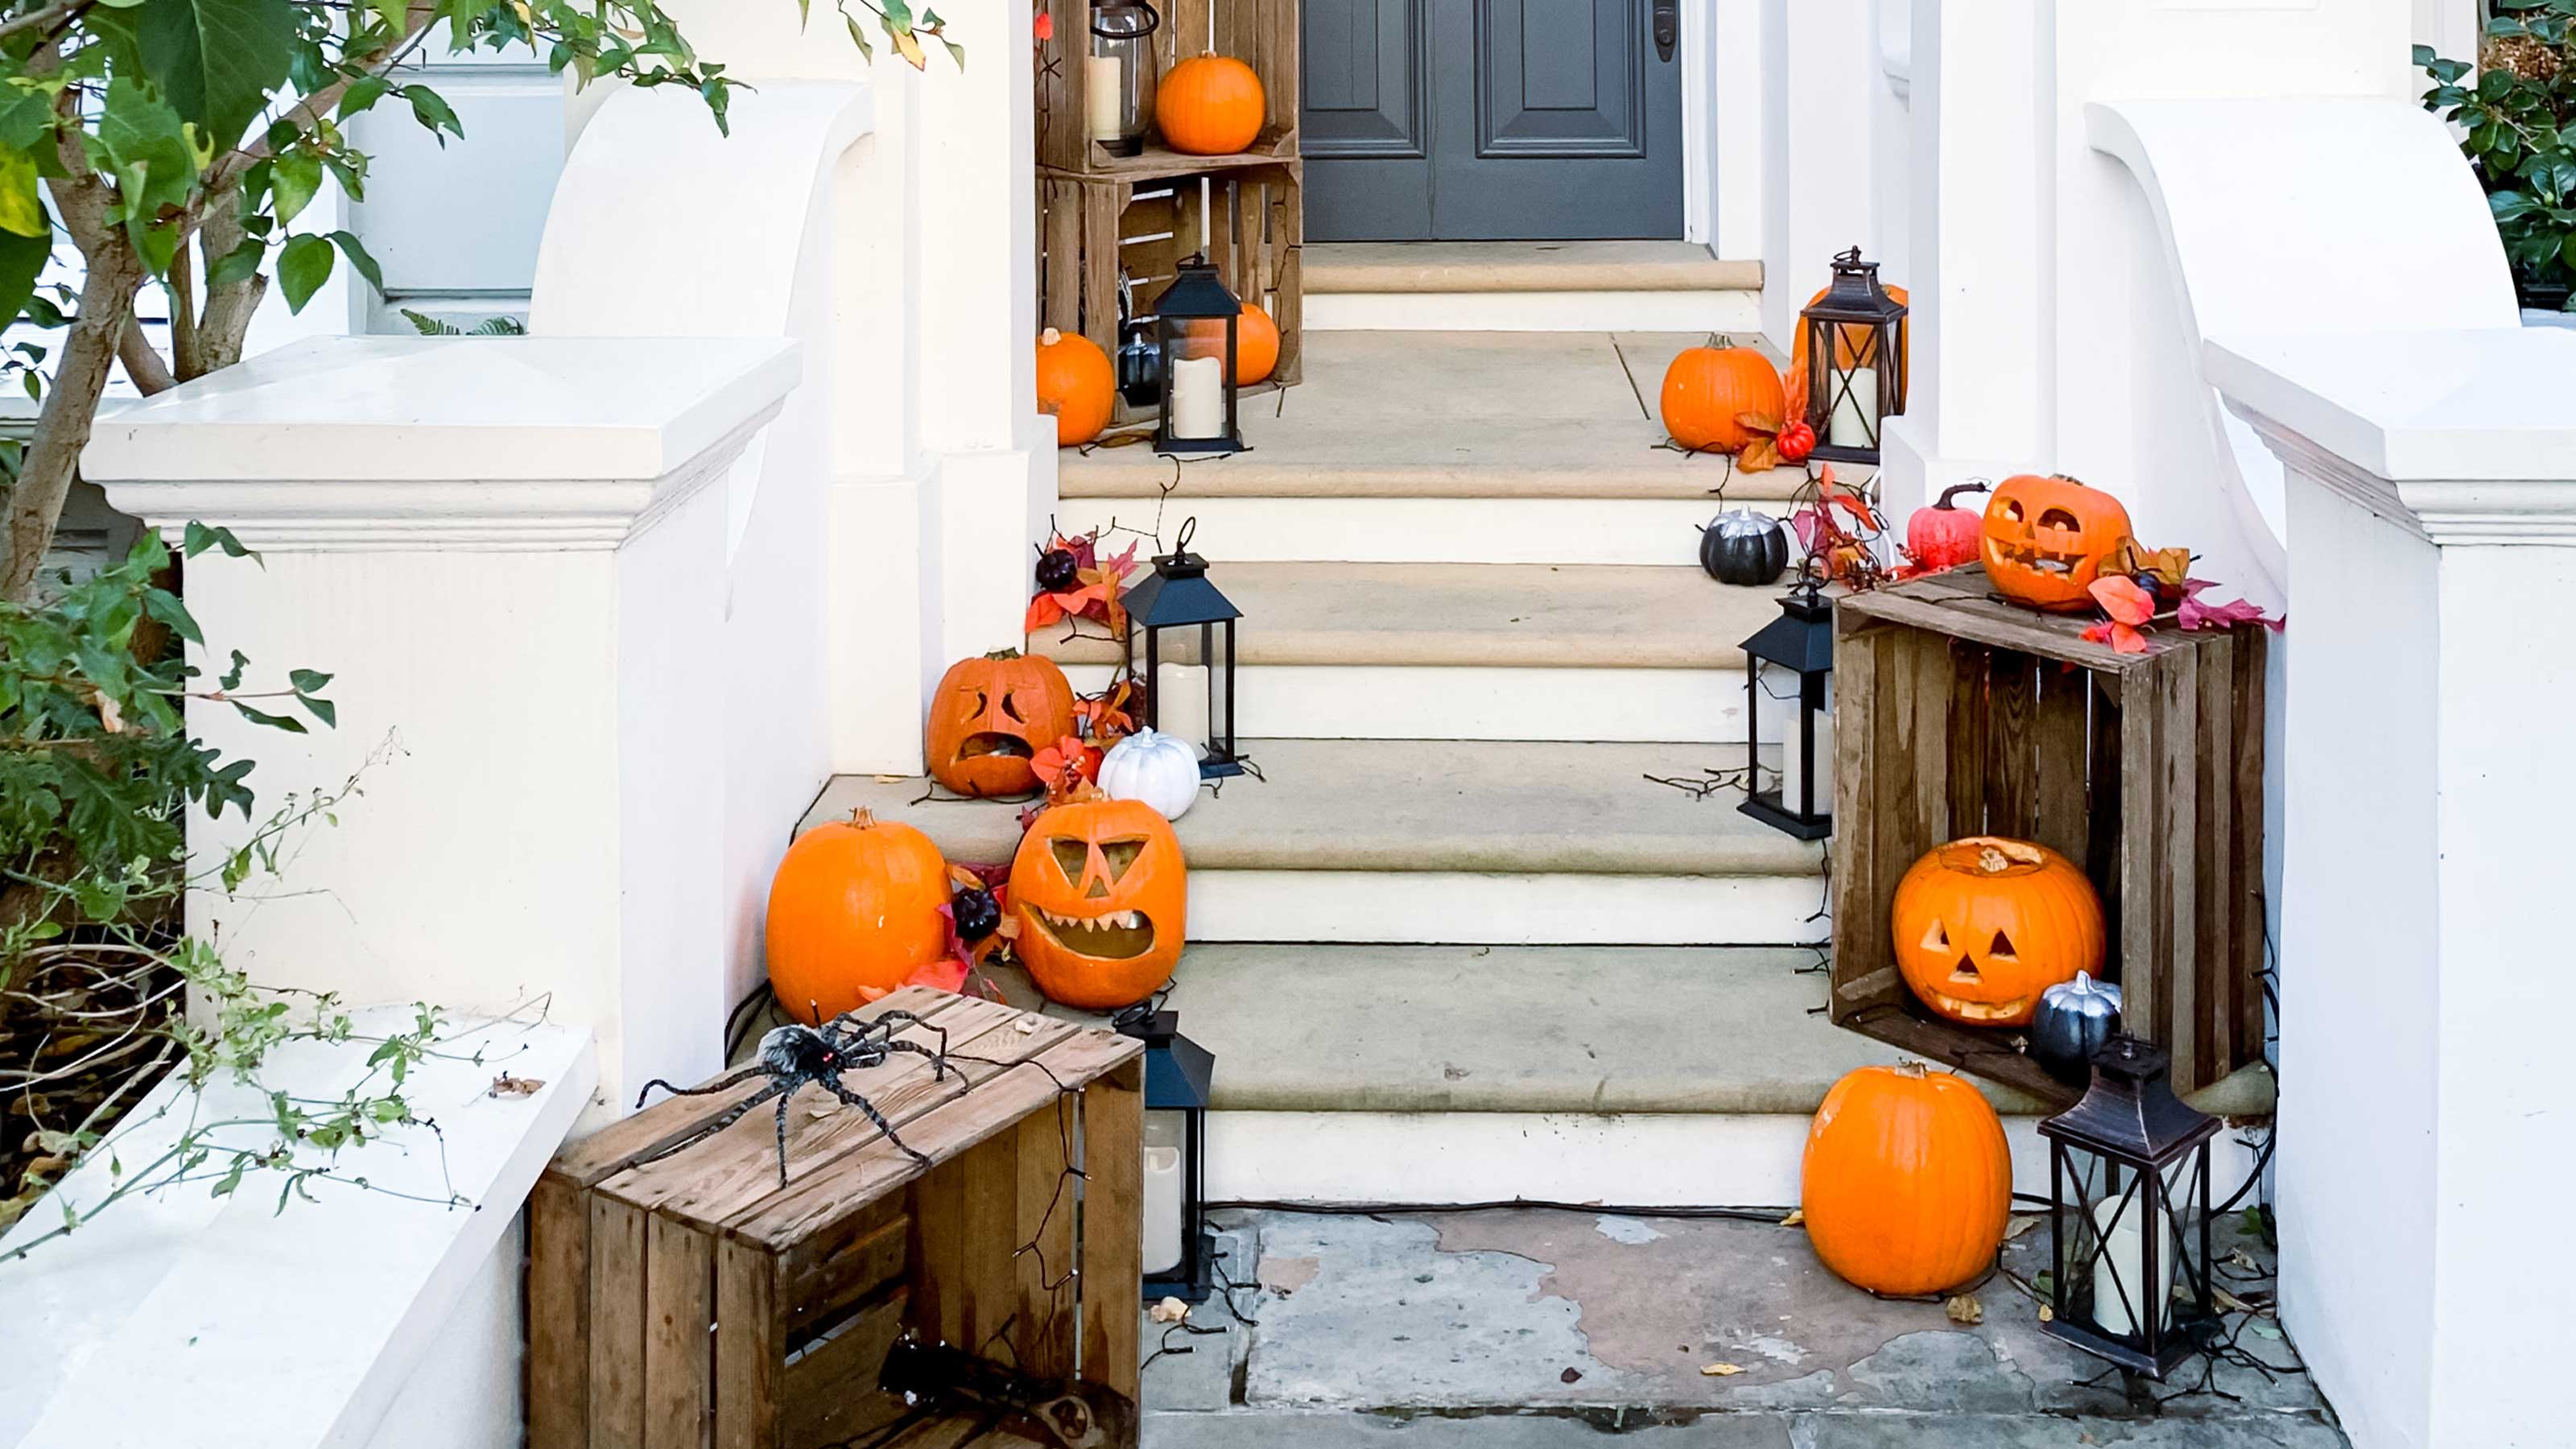
You can’t have Halloween without jack-o'-lanterns, but carving them can be tricky – especially when children and sharp knives are involved.
Carving a pumpkin doesn't have to be a perilous activity, however, these simple pumpkin carving hacks ensure your holiday doesn't end in a true horror with a trip to the emergency room.
Here’s how to make the process simpler and safer, with tricks for longer-lasting pumpkins, too.
Pumpkin carving hacks
Once you have your pumpkin carving ideas in mind, it is time to get to work. Of course, if sharp tools aren't for you, or you want to stop pumpkins from rotting as quickly., you can consider painting pumpkins instead.
Still want that traditional glowing look? These five tricks are for you:
1. Draw your design on first
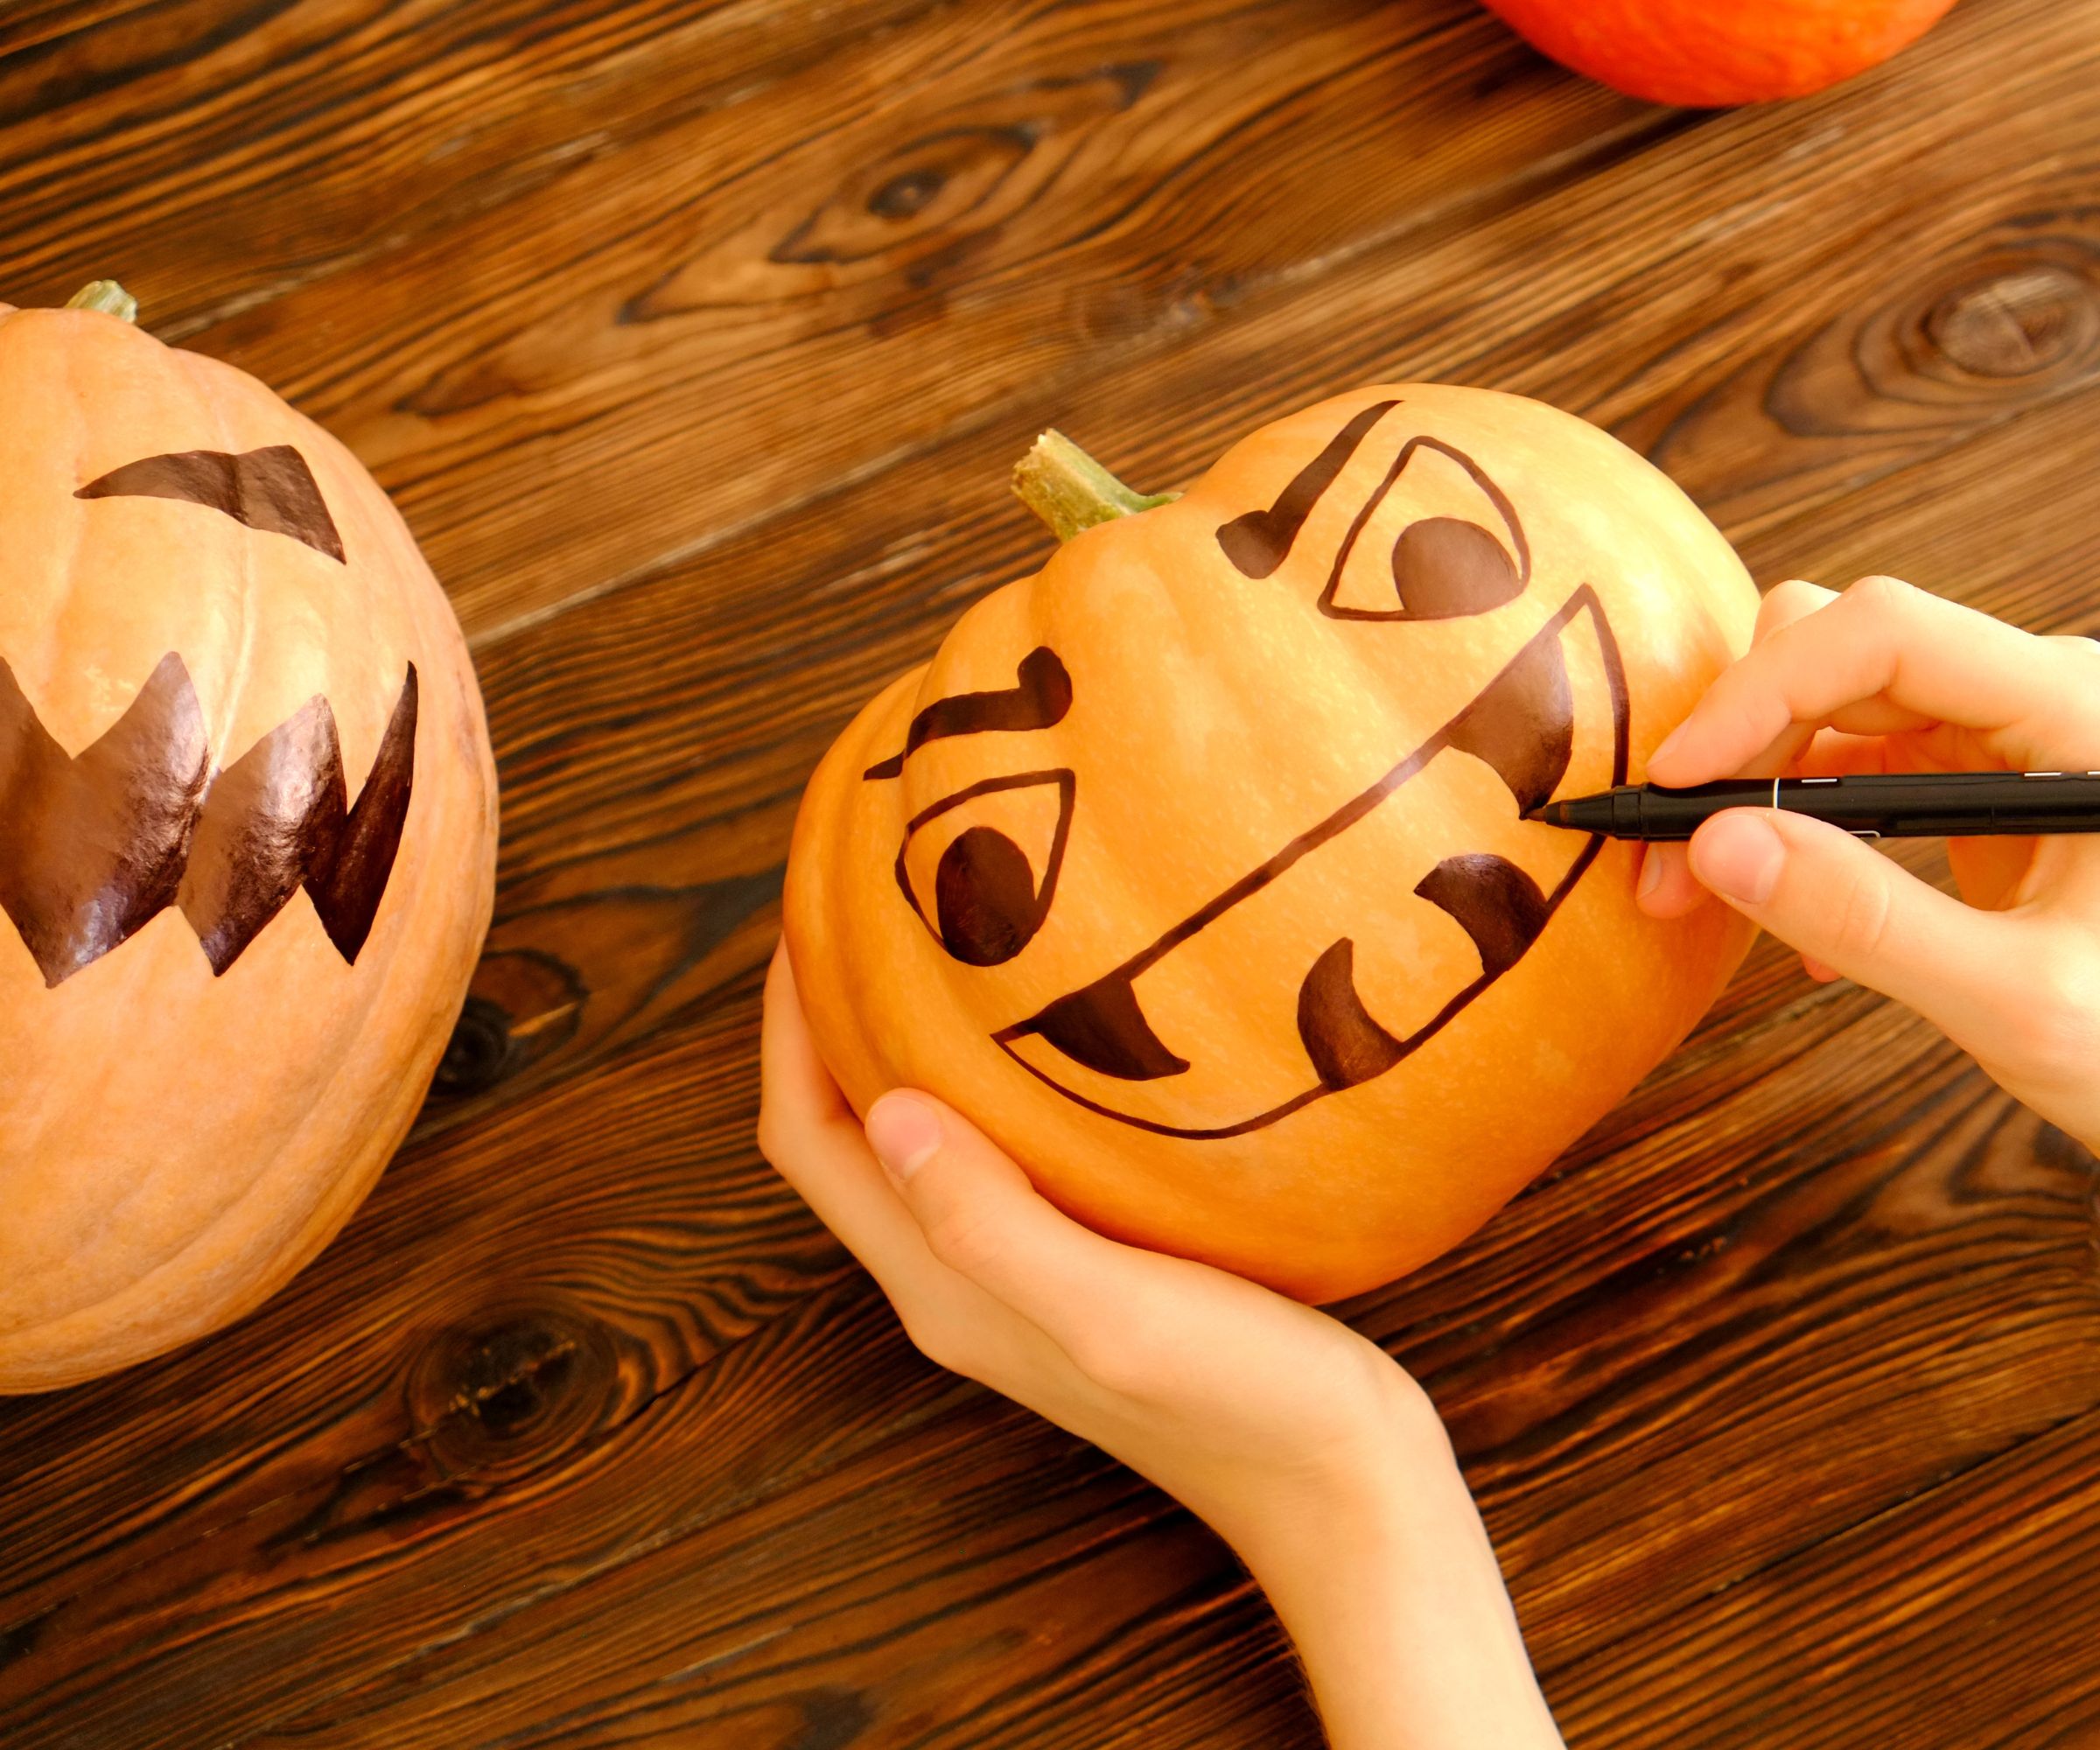
A great way to start off your Halloween craft ideas and ensure perfect results is to draw your design onto your pumpkin first before going at it with a knife, suggests Erin DeCarlo, craft blogger and founder of Pattern and Paste
‘Using a dry-erase marker instead of a permanent marker will allow you to make changes to your design and perfect it before you break out the knife,’ she explains. ‘When using a dry erase marker a damp paper towel will easily wipe off any marks as needed, which will make the process easier and less confusing as you go to carve.’
Design expertise in your inbox – from inspiring decorating ideas and beautiful celebrity homes to practical gardening advice and shopping round-ups.

Erin has been crafting for over 10 years, and sells her handmade art online. Her blog, Pattern and Paste is designed to share her crafting tips with her community and encourage people to get in touch with their creative side.
2. Cut your candle hole in the bottom, not the top
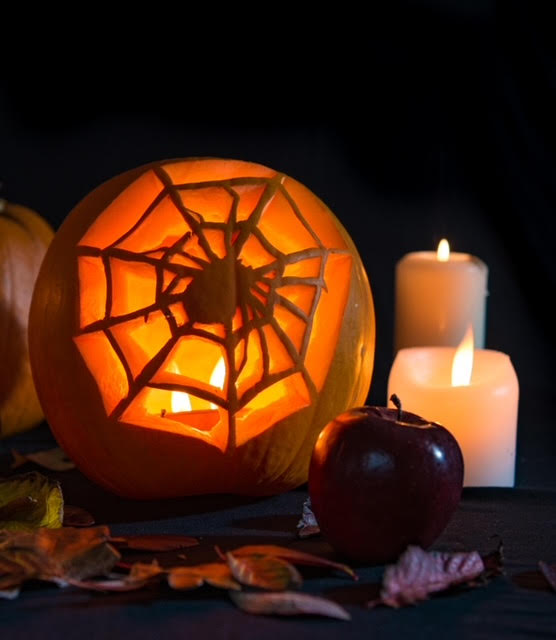
If you are looking to decorate with pumpkins as a main part of your Halloween display, it is important to get the candle hole just right to avoid fire hazards.
When carving the pumpkin up to hollow out the inside, it can often be more beneficial to start at the bottom, rather than taking off the lid, continues Mike Lansing, co-founder and managing director at Planters Digest.
‘You should slice a circle around the pumpkin's stem to make it more accessible, according to conventional thinking. Whose idea was that, though? Instead, cut a hole in the bottom; hold the pumpkin steady as you work with a tall bowl.’
There are some good safety benefits to this approach too, he adds: ‘When you arrange it this way, you can descend the pumpkin over a votive candle that is already on your porch or windowsill. This eliminates the need for the candle to rest on the gourd's uneven interior and eliminates the need to reach inside the pumpkin to ignite it. Avoiding having a lid also means that the heat from the candle won't cause the pumpkin to collapse in itself, and will stop the lid from knocking the live flame over.
‘To keep your jack-o'-lantern lighting bright, make sure to slice a little hole in the top of the pumpkin lid to let air and smoke in and out.’

Mike Lansing is the co-founder and managing director of Planters Digest, and a certified garden designer, who turned a passion for plants into a thriving business. With over 10 years in the corporate world, he made a career shift to pursue gardening, earning a Certificate in Garden Design from George Brown College. He now runs a small indoor plant business with his family and enjoys researching new gardening techniques.
3. Use stencils and toothpicks to perforate a pattern
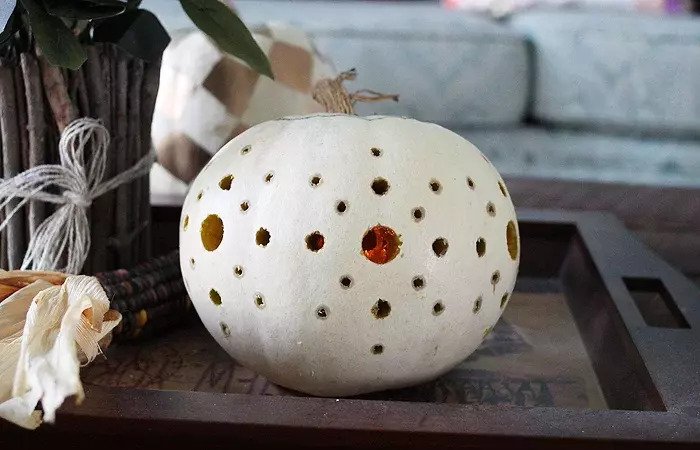
A great alternative to drawing onto the pumpkin is to use stencils – particularly useful if you are not sure what design to go with as you can mix and match or want children to be in on the fun without actually using sharp knives.
One trick Brianna Leonhard, family blogger and founder of Third Row Adventures, likes is to use toothpicks to perforate a pattern before carving to make the cutting smoother:
‘We tape a template (either printed or hand-drawn) to the outside of the pumpkin. Our kids use toothpicks to help poke holes along the border of the design. Remove the template from the pumpkin and use a thin, long knife to slice through the toothpick holes.’
4. Hammer in carving stencils
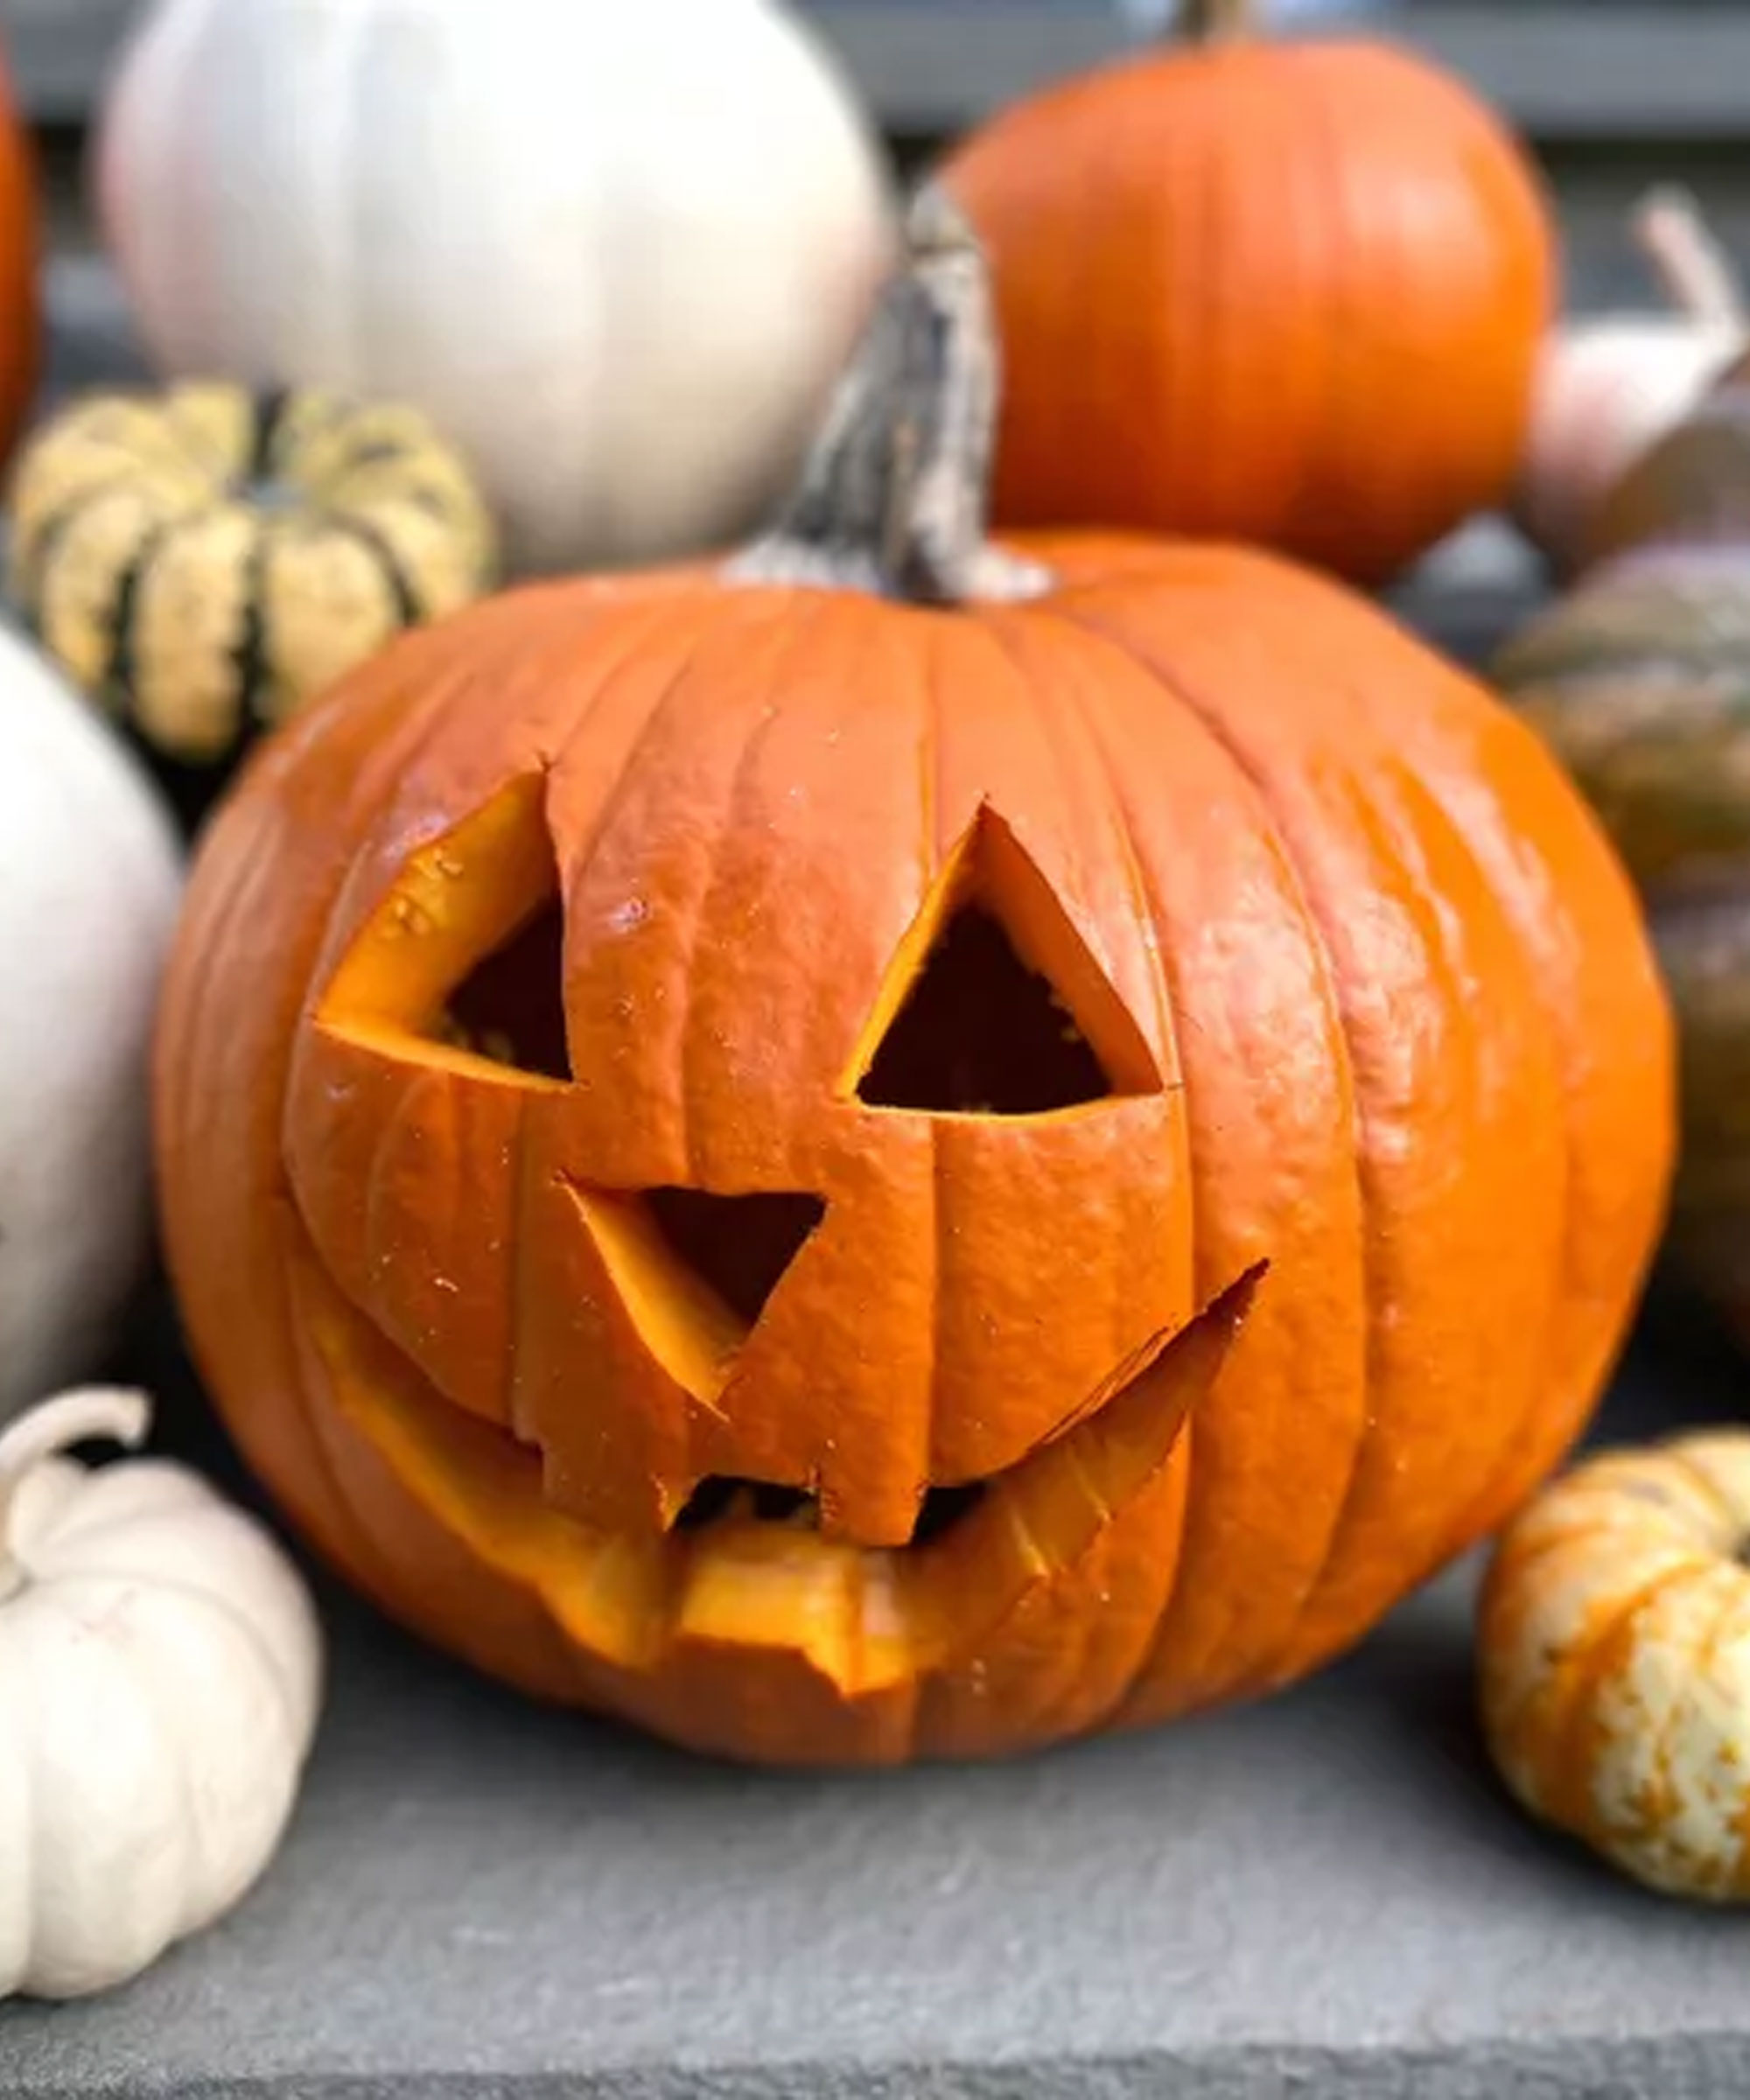
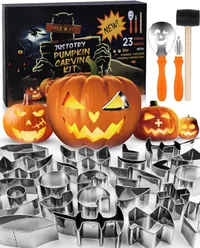
‘One of the more aggressive options for pumpkin carving without knives is to use carving cutters and a hammer to remove cookie-cutter shapes from your pumpkin,’ suggests Millie Hurst, Solved section editor at Homes & Gardens.
‘Pumpkin carving sets, such as this one from Amazon, are readily available around Halloween time, and makes creating your own Halloween decor simple. Just lay out your desired pattern with the stencils before hammering each one through the pumpkin skin and removing the excess. There is no easier way to get the perfect lines.’
Pumpkin Carving set | Was $26.99, Now $21.59 at Amazon
This pumpkin carving set comes with all the stencils and hammers you need to carve a perfect pumpkin. Wash the cutters and you can even use them for some spooky Halloween cookies to give out to trick-or-treaters, too!

Millie Hurst is Section Editor at Homes & Gardens, overseeing the Solved section, which provides readers with practical advice for their homes. Millie has written about and tried out countless cleaning and DIY hacks in the six years since she became a journalist, and has worked in both London and New York.
5. Scrape away the skin for different textures
Fancy yourself an expert pumpkin carver? For those ready to try a more advanced technique, sculpting a pumpkin requires a bit more effort, but the 3-D effect is worth it.
'Pumpkin sculpting is where you carve the pumpkin the same way you would clay or wood to make a 3D sculpture,' explains Jones. 'Clay loops cutting ribbons are best for this method.'
One trick I always like to use with my pumpkins is to carve out some areas and thin out the flesh in others. This creates different textures on the pumpkin's surface where varying levels of light can shine through. It is a quick technique I learned when looking at a pumpkin carving competition in New York, and it really adds a new level of depth to an otherwise simple Halloween idea.
FAQs
How do you make pumpkin carving easier?
A great way to make pumpkin carving simpler is to plan out your design in advance, use some smart pumpkin carving hacks like stenciling your pattern first and making sure you carve as much flesh as possible out of the inside of your pumpkin to make the flesh thinner to stick a knife through. Working on a solid, stable surface can also help to prevent injury.
Is it easier to carve a warm or cold pumpkin?
A pumpkin at room temperature is far easier to carve than a cold pumpkin, which can be tougher to get the knife through, or a warm pumpkin, which may be too soft and squish or bruise under pressure. Allow your hollowed-out carving pumpkins to sit for a few hours in your home to come up to a good temperature before tackling any carving.
Once your pumpkin is carved and ready for the big night, Erin DeCarlo, craft blogger, suggests swapping out your real flame candles for an LED alternative: ‘You can swap out a battery-powered candle for the traditional candle to get a safer alternative without sacrificing the classic glowing jack-o'-lantern.’ This approach can also make your jack-o'-lantern last longer as it is not exposed to constant heat, she adds.

Chiana has been at Homes & Gardens for two years and is our resident 'queen' of non-toxic living. She spends most of her time producing content for the Solved section of the website, helping readers get the most out of their homes through clever decluttering, cleaning, and tidying tips. She was named one of Fixr's top home improvement journalists in 2024.
