How to force bulbs in soil
Discover how to force bulbs in soil indoors, to have scented floral displays before springtime

Design expertise in your inbox – from inspiring decorating ideas and beautiful celebrity homes to practical gardening advice and shopping round-ups.
You are now subscribed
Your newsletter sign-up was successful
Want to add more newsletters?

Twice a week
Homes&Gardens
The ultimate interior design resource from the world's leading experts - discover inspiring decorating ideas, color scheming know-how, garden inspiration and shopping expertise.

Once a week
In The Loop from Next In Design
Members of the Next in Design Circle will receive In the Loop, our weekly email filled with trade news, names to know and spotlight moments. Together we’re building a brighter design future.

Twice a week
Cucina
Whether you’re passionate about hosting exquisite dinners, experimenting with culinary trends, or perfecting your kitchen's design with timeless elegance and innovative functionality, this newsletter is here to inspire
Forcing bulbs means that you can enjoy pretty spring planters during wintertime. Spring bulbs are a cheery reminder that spring is on the way just when you’re beginning to tire of those dark, cold winter months.
Displayed indoors, arranged singularly or as a group, spring bulb planters will add uplifting pops of color, along with the promise of warmer weather and the reawakening of nature from its winter slumber.
If you plant up spring bulbs in fall, you can force them to bloom inside as early as Christmas time and into the New Year – winter garden ideas brought indoors couldn't be prettier. Hyacinths, grape hyacinths, paperwhite narcissus, anemones, crocus, and iris are all perfect bulbs for forcing.
Many spring bulbs (besides amaryllis) require prolonged cold temperatures to spur them to bloom – forcing them involves chilling the bulbs to mimic the conditions of winter which encourages them to bloom earlier.
You can buy forced or ‘prepared’ bulbs in containers, usually from December onwards, which you can repot into your own planters to create a pretty indoor displays.
How to force bulbs in soil - indoors
If you're looking to force bulbs in containers, ready for an indoor display, here's how.
1. Prep your container
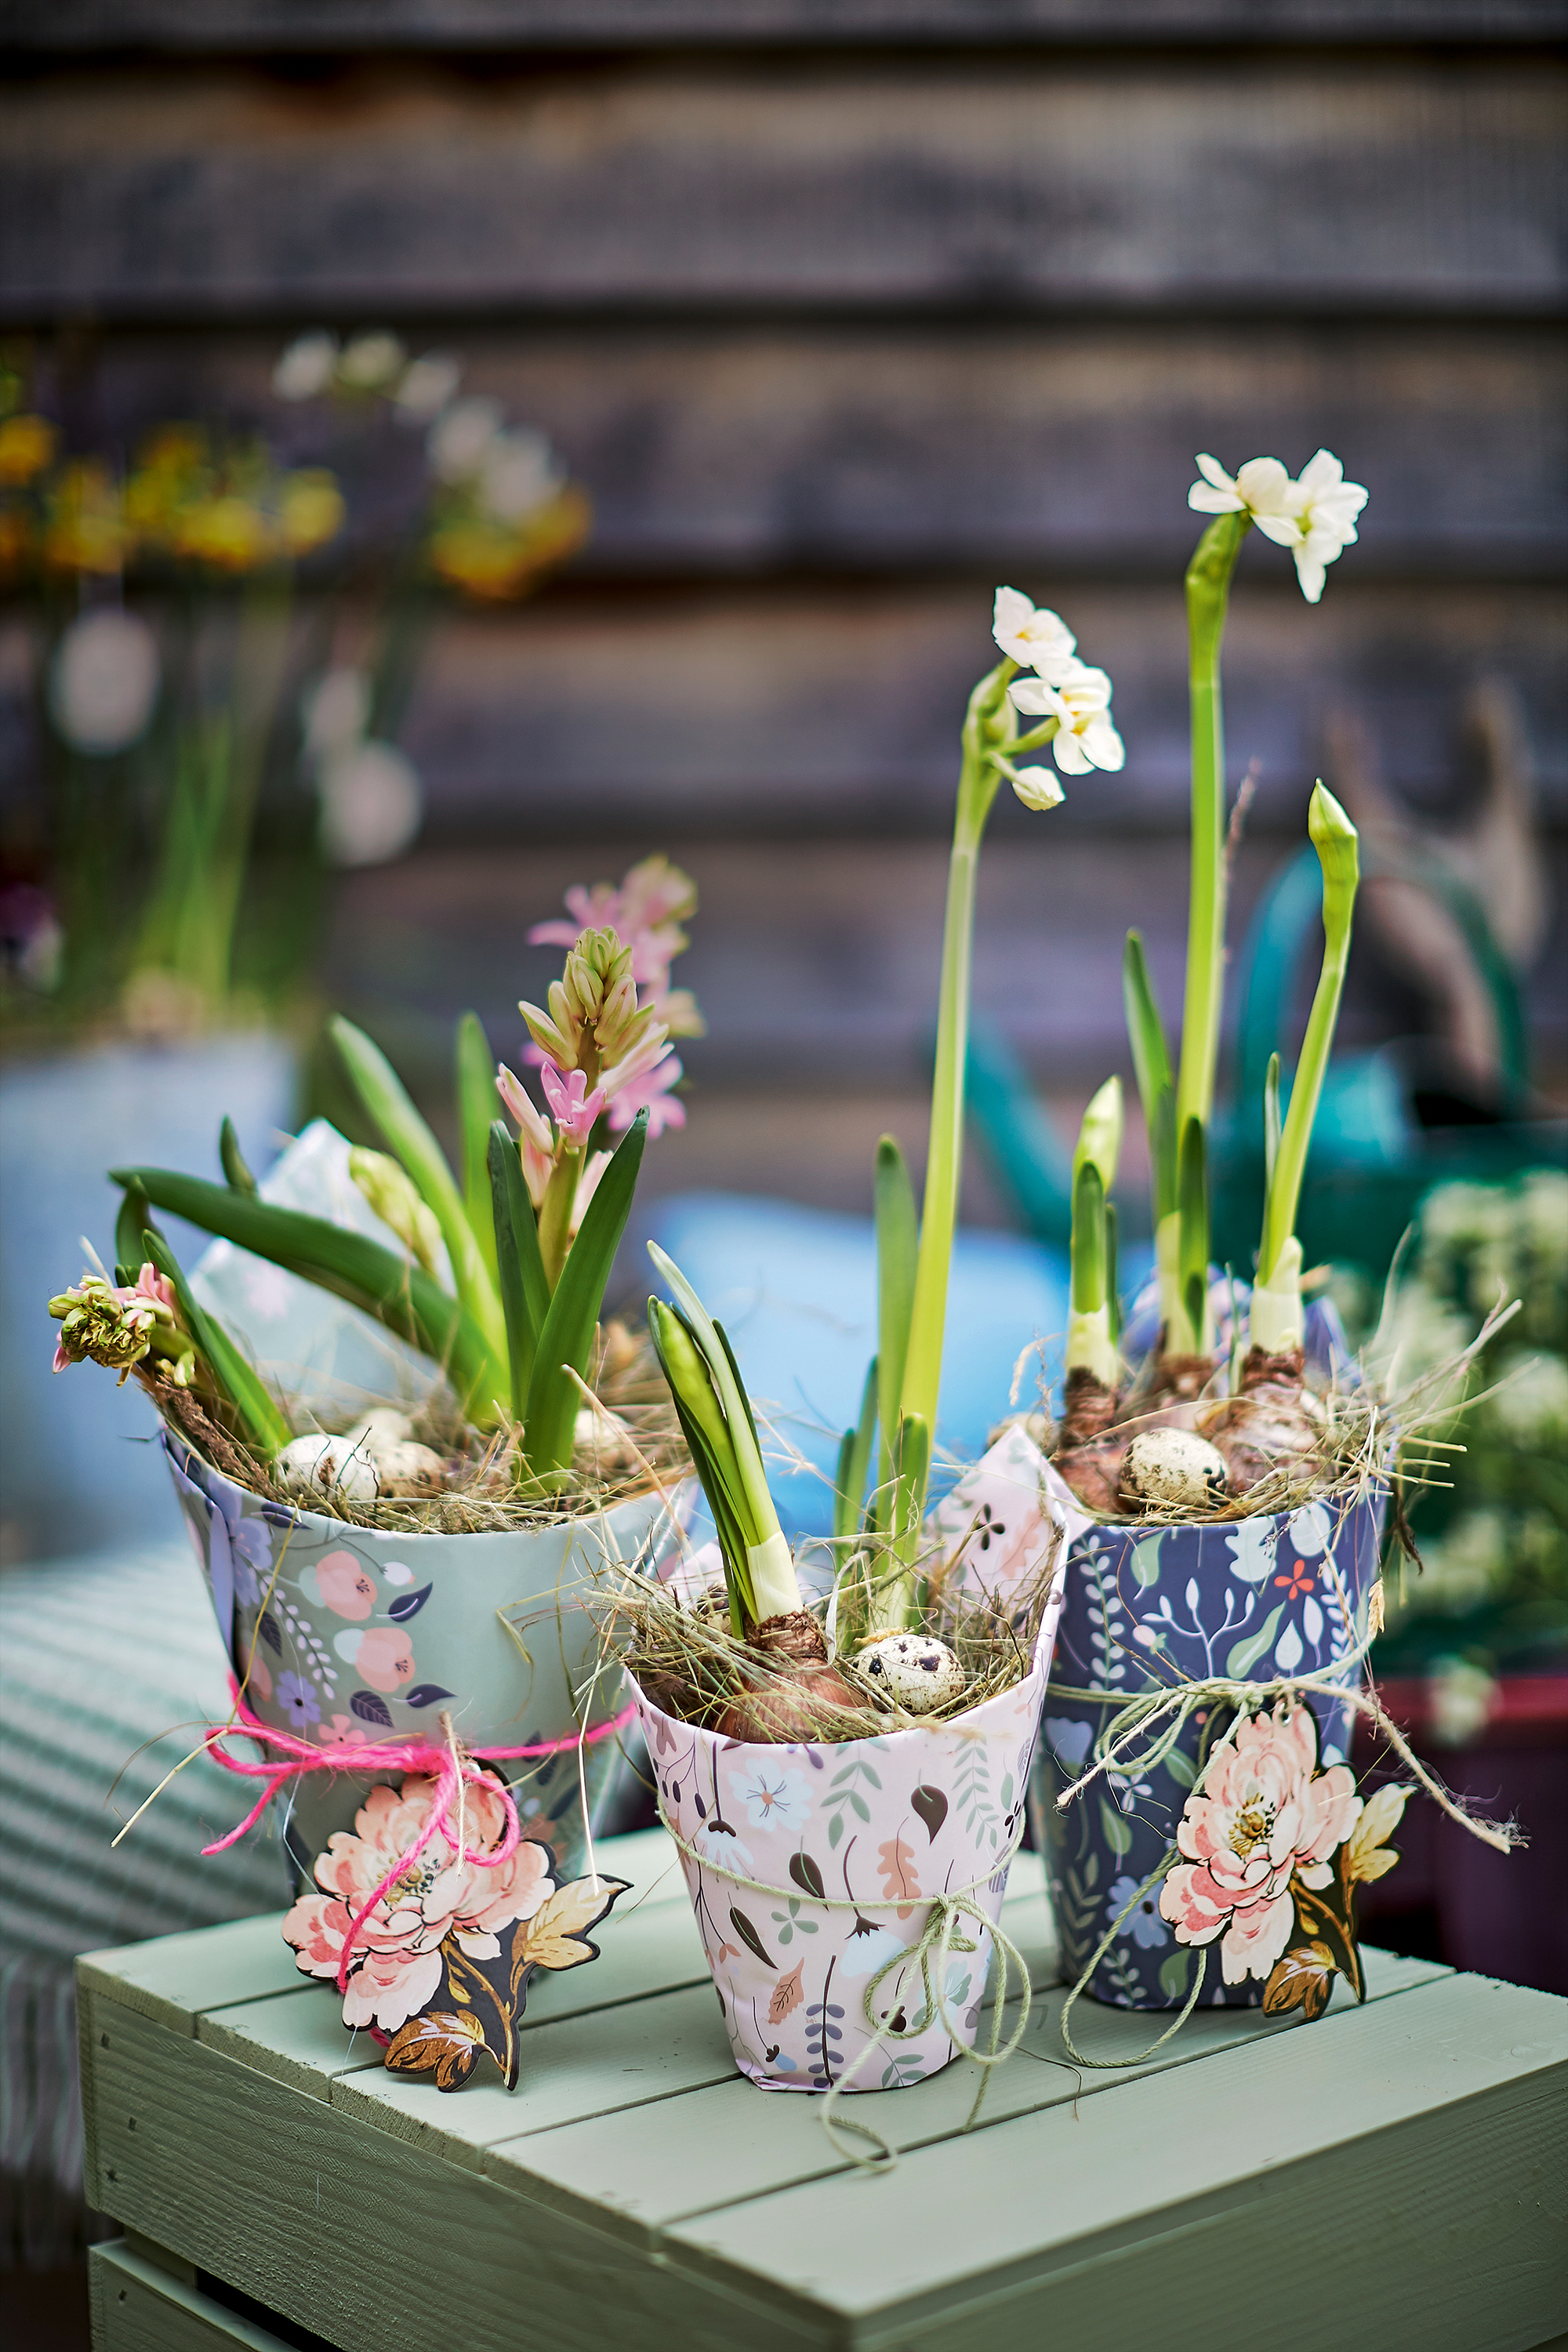
First get a container with drainage holes such as a terracotta pot and fill the bottom with grit.
Design expertise in your inbox – from inspiring decorating ideas and beautiful celebrity homes to practical gardening advice and shopping round-ups.
Bulbs require good drainage so ideally the container you use will have drainage holes. However, if the container does not contain drainage holes you can put a layer of bulb fibre at the bottom of your pot before planting your bulbs.
For an easier option consider planting bulbs into containers with holes such as plastic pots and placing them inside more attractive planters for display – this is a good option if you are worried about the container getting damaged. Displaying bulbs this way means that the bulbs can be taken out, watered, and left to drain completely before being put back in the planter. This will prevent the bulbs sitting in a pool of water which can cause damage to the plants.
Wrapping pots of bulbs in paper and tying them with twine, as above, is a brilliant way to create a pretty display but is also a lovely gift idea. If you buy potted bulbs, they usually come in plastic containers – covering them with paper is a quick and easy way to make them look more attractive.
2. Fill the container
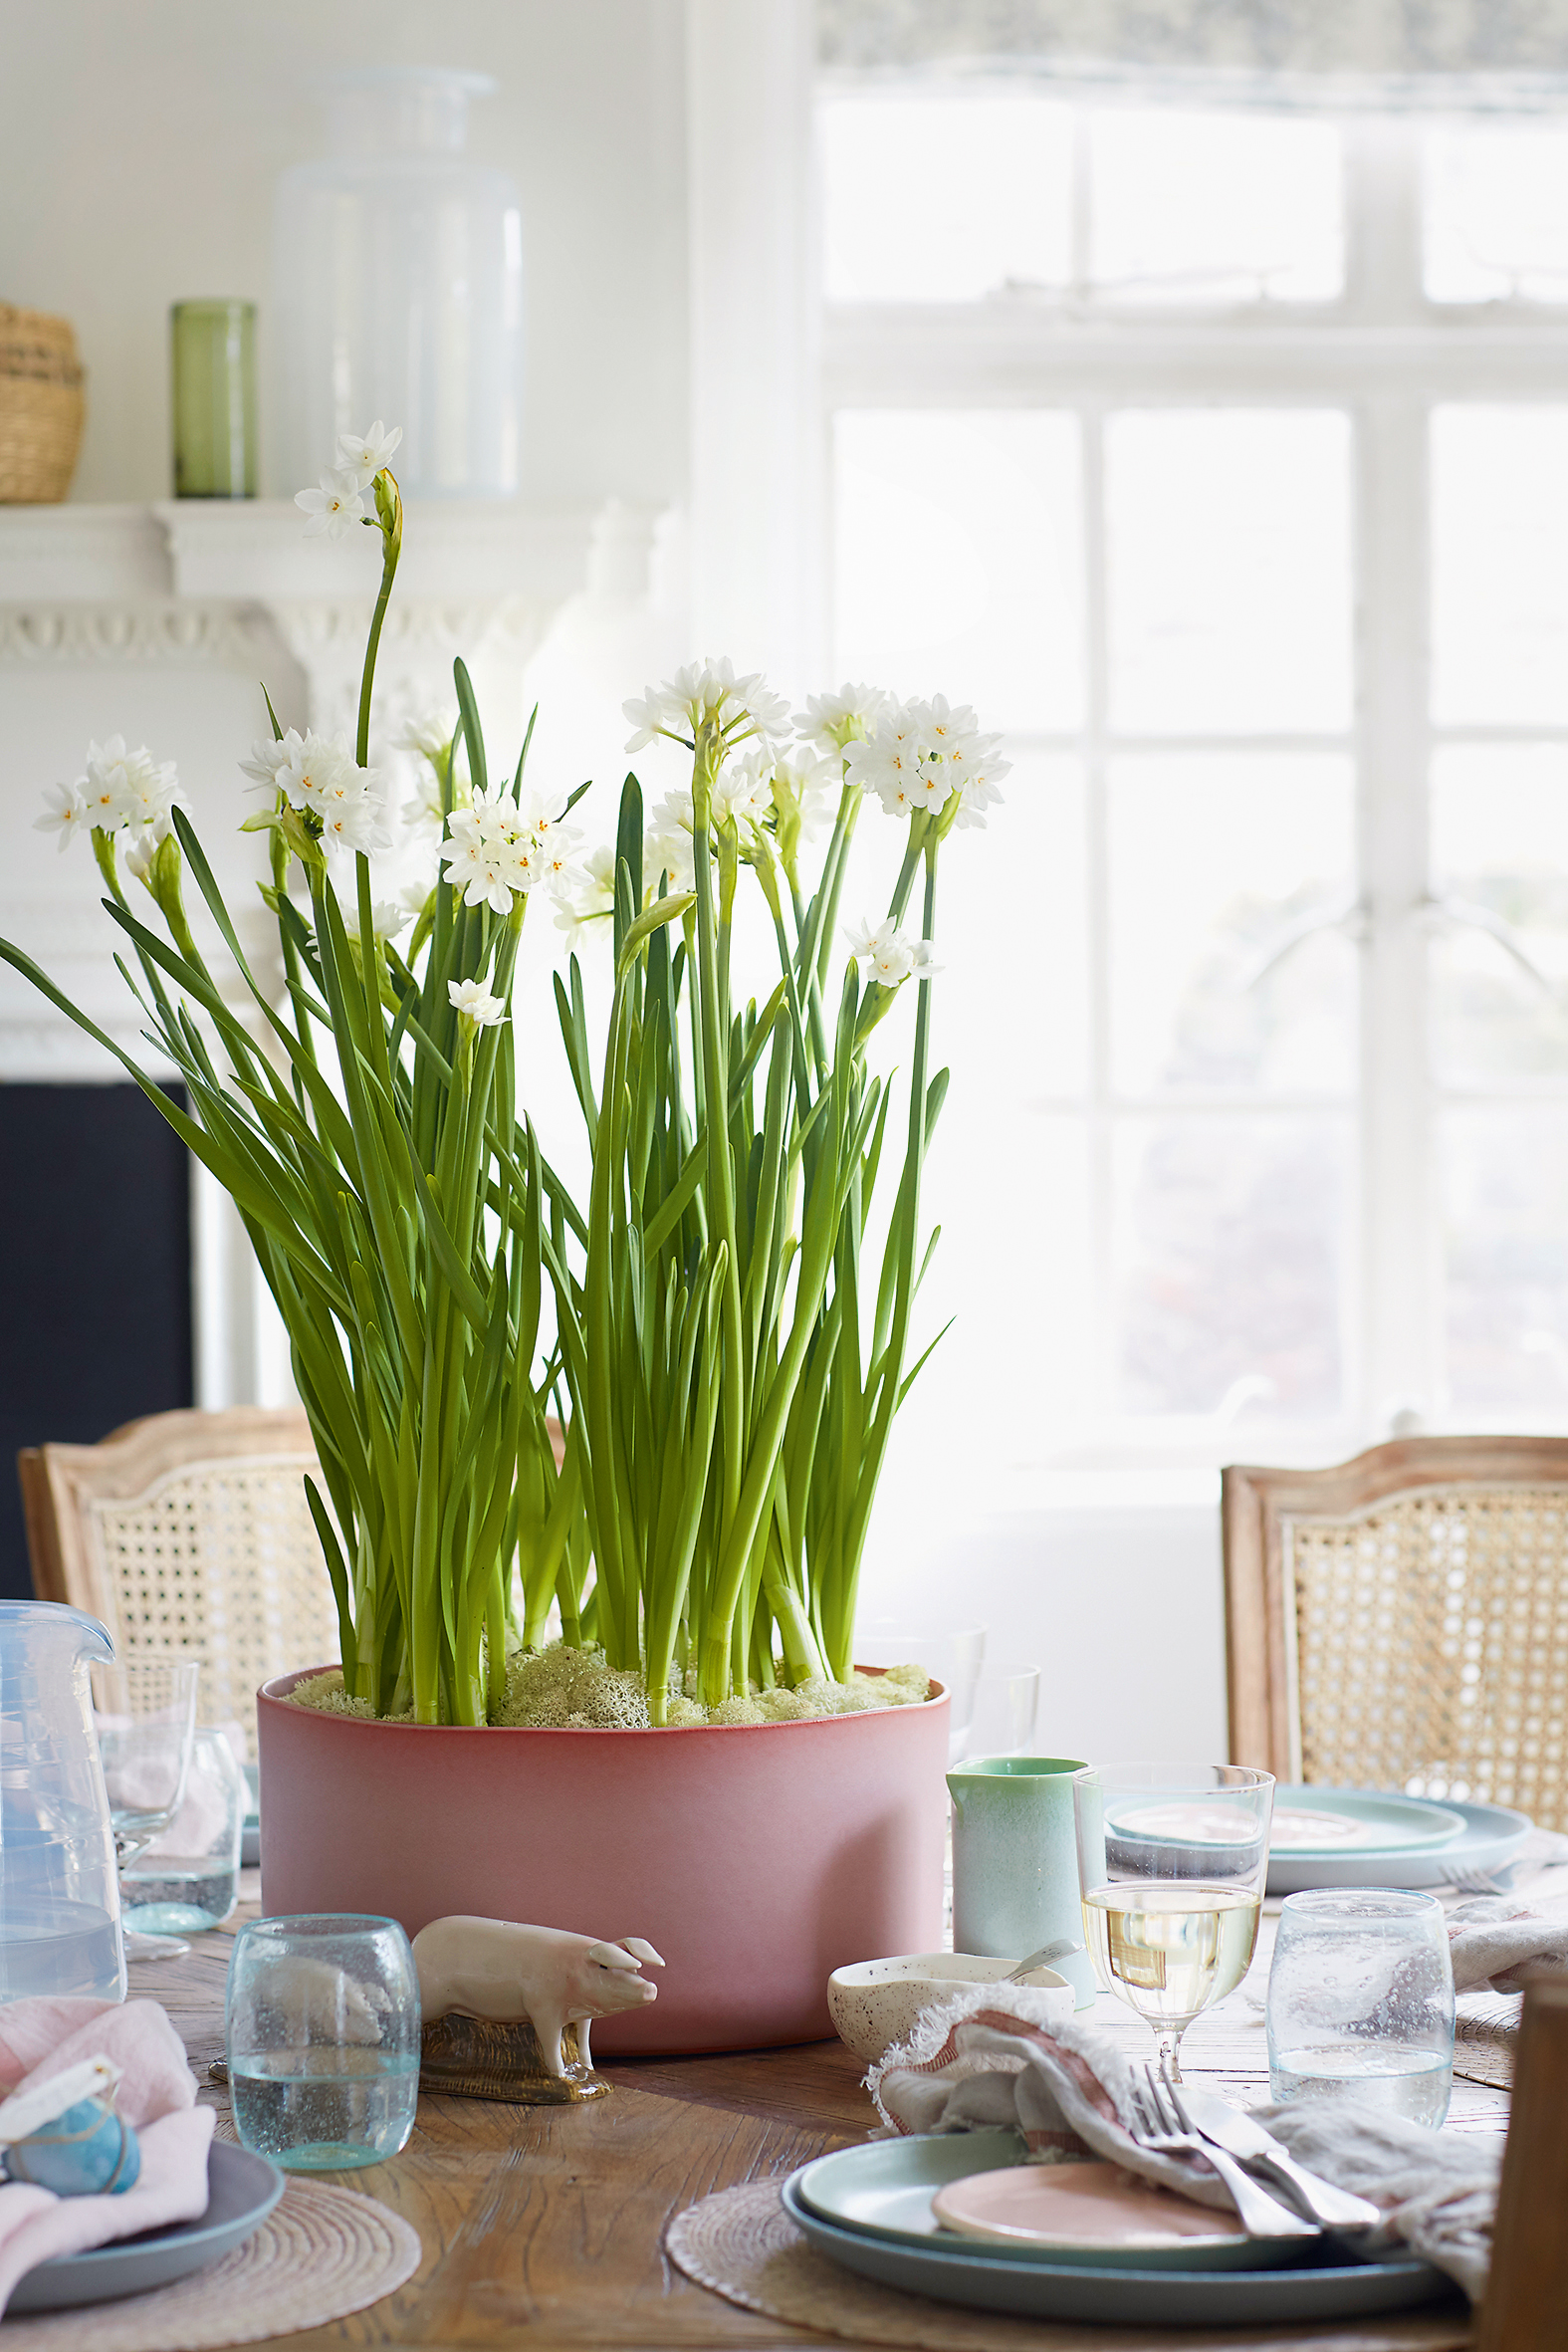
Fill the pot with a mix of soil mix of 1 part grit to 3 parts soil. Compost can be used but loam or garden soil also works really well. With the pointed tips facing upwards, place the bulbs around 2-3 inches apart on top of the soil and cover over with more soil mix so that the bulbs sit just below the surface.
A large pot of spring bulbs makes a beautiful focal point for a celebratory dinner table. For a stylish, contemporary look why not display them in a deep ceramic dish, as pictured above, such as these white planters with drainage holes from Amazon.
3. Cover the bulbs with moss
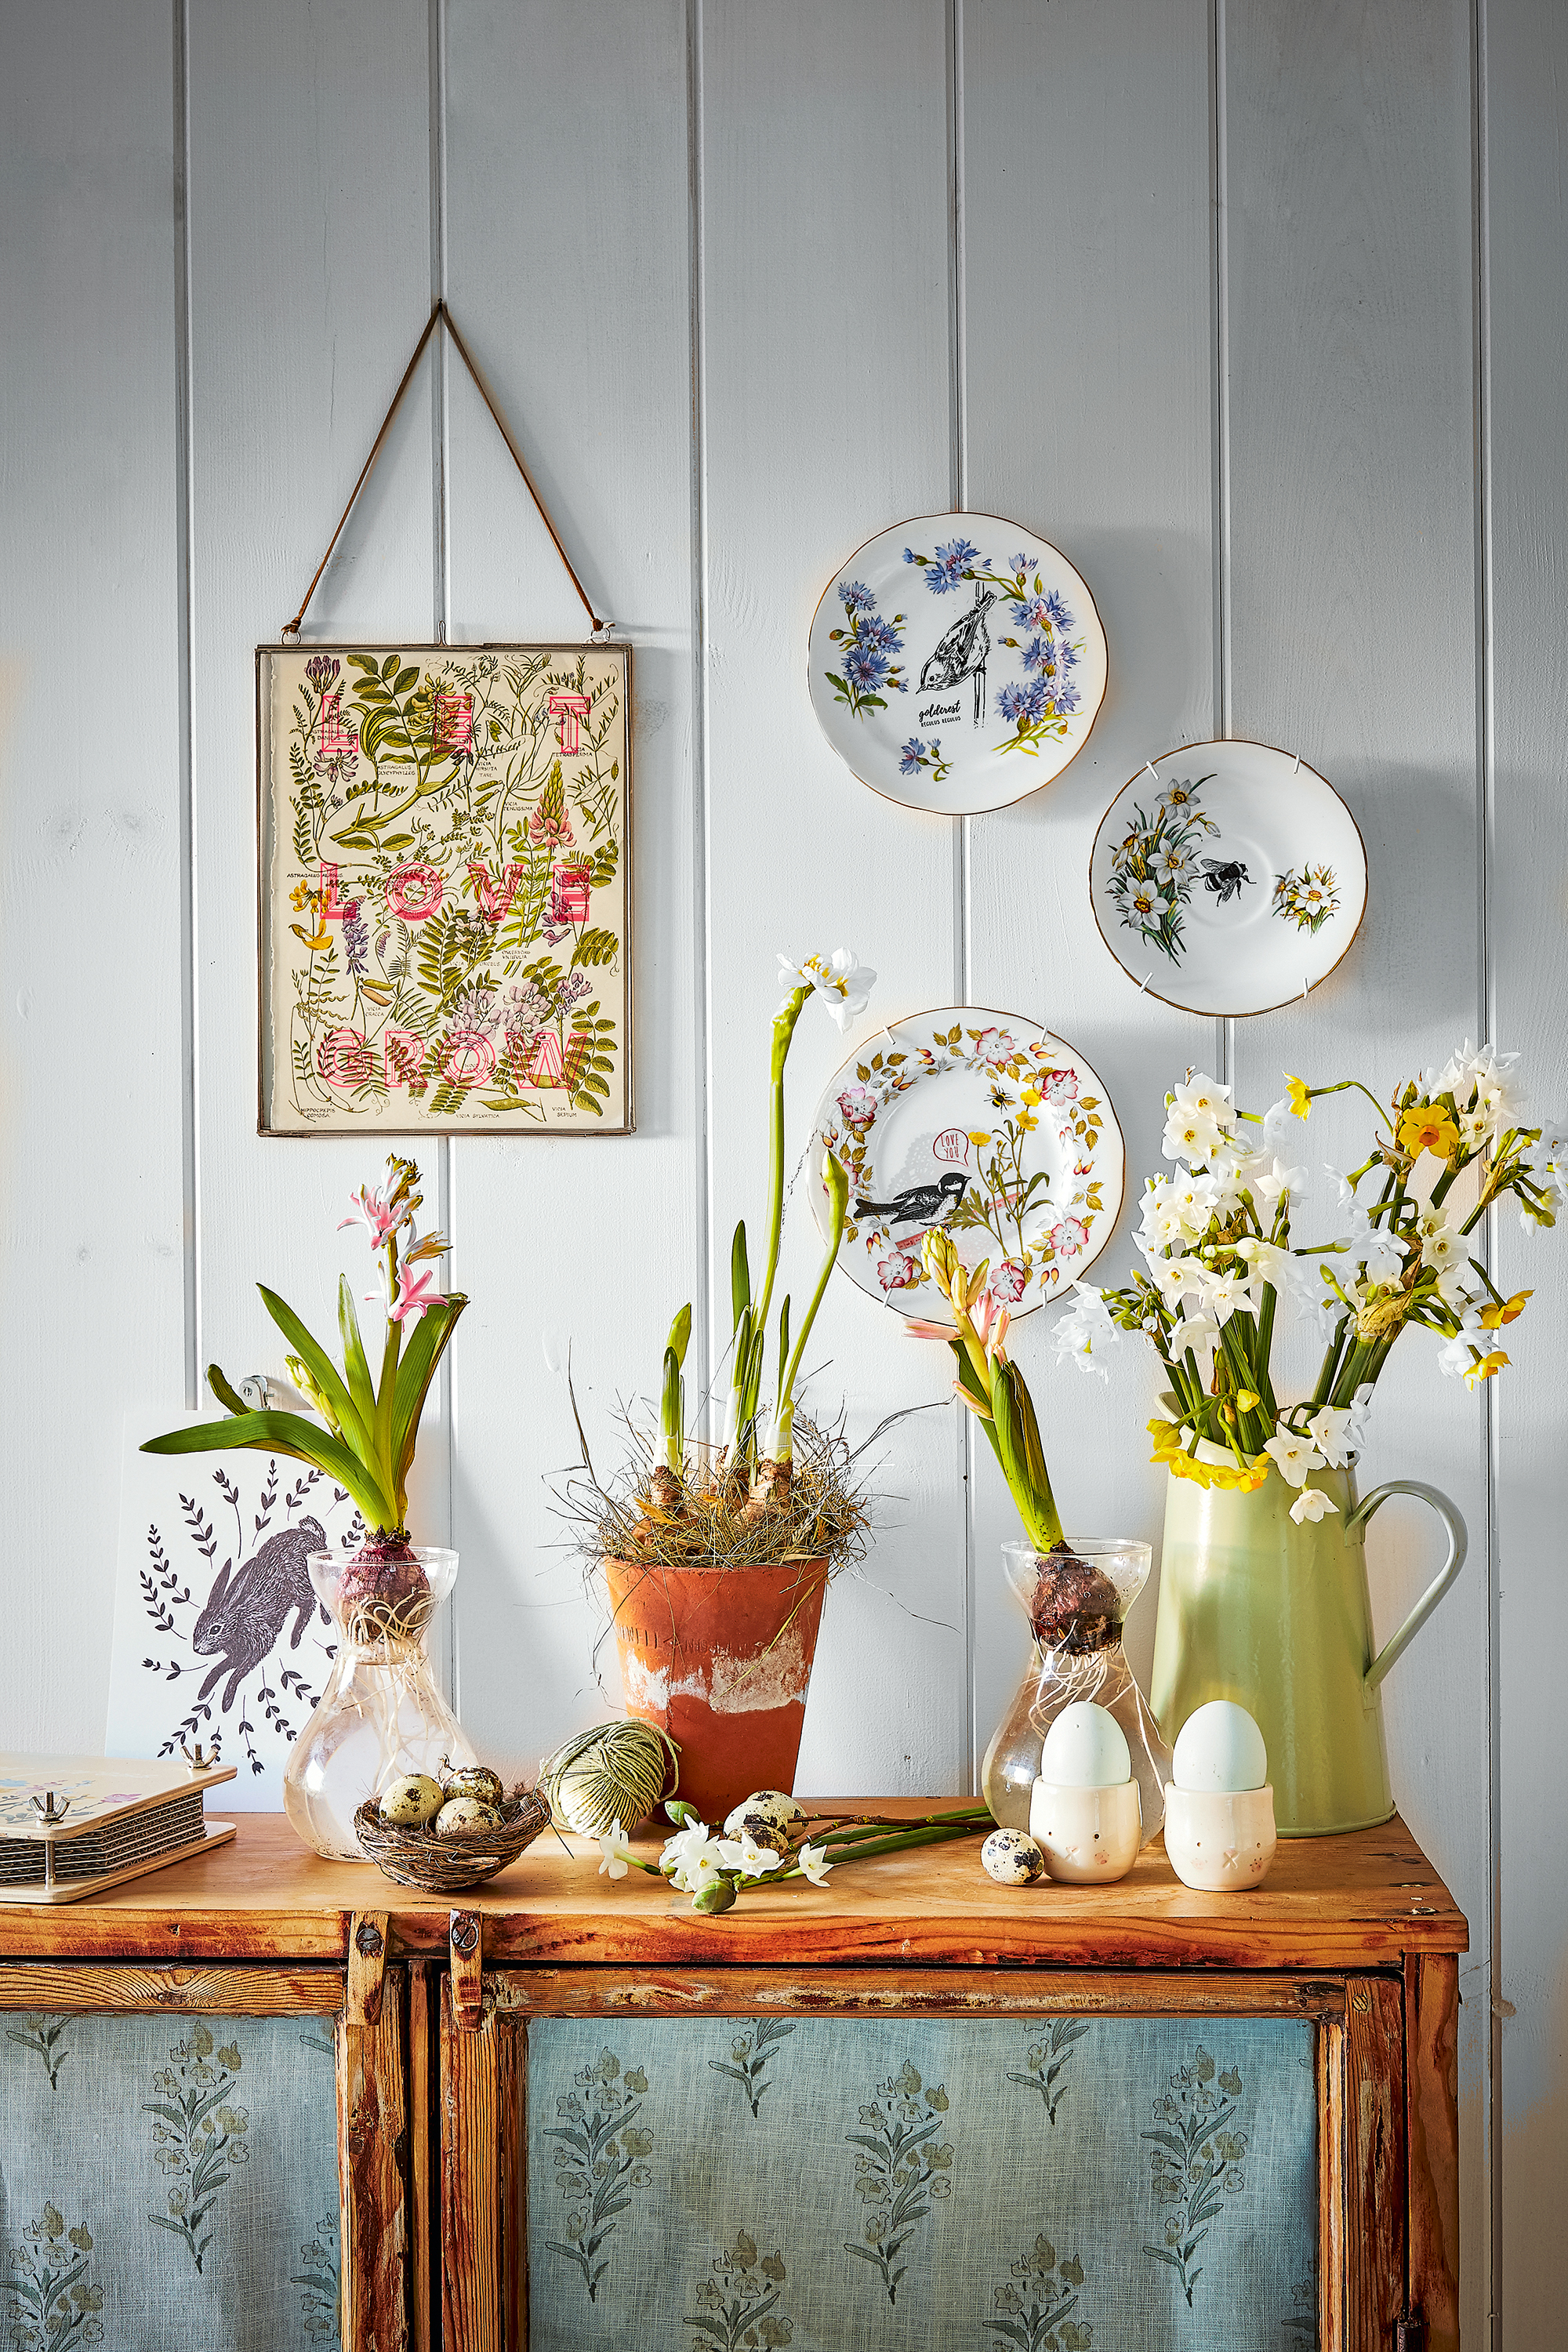
Once you have chosen from the best indoor bulbs to force for Christmas, you can lay moss over surface and around the tips of the bulbs to cover the exposed soil and make the final planter more rustic and attractive.
Spring bulb planters can make a beautiful addition to a styled seasonal display. Why not create one in a hallway as a beautiful welcome for visitors and guests?
Vintage terracotta pots with beautiful warn patinas are a beautiful way to display bulbs and will give a rustic farmhouse feel. Try arranging them pretty spring prints, vintage china and enamel jugs of seasonal blooms for a fresh spring feel.
4. Put the containers in a cold, dark place
Place the potted bulbs in a cold, dark place for 10-15 weeks. Ideally they need to be kept at a temperature of between 35-48ºF. After this period they can be moved inside into the warmth where they will soon begin to sprout and bloom.
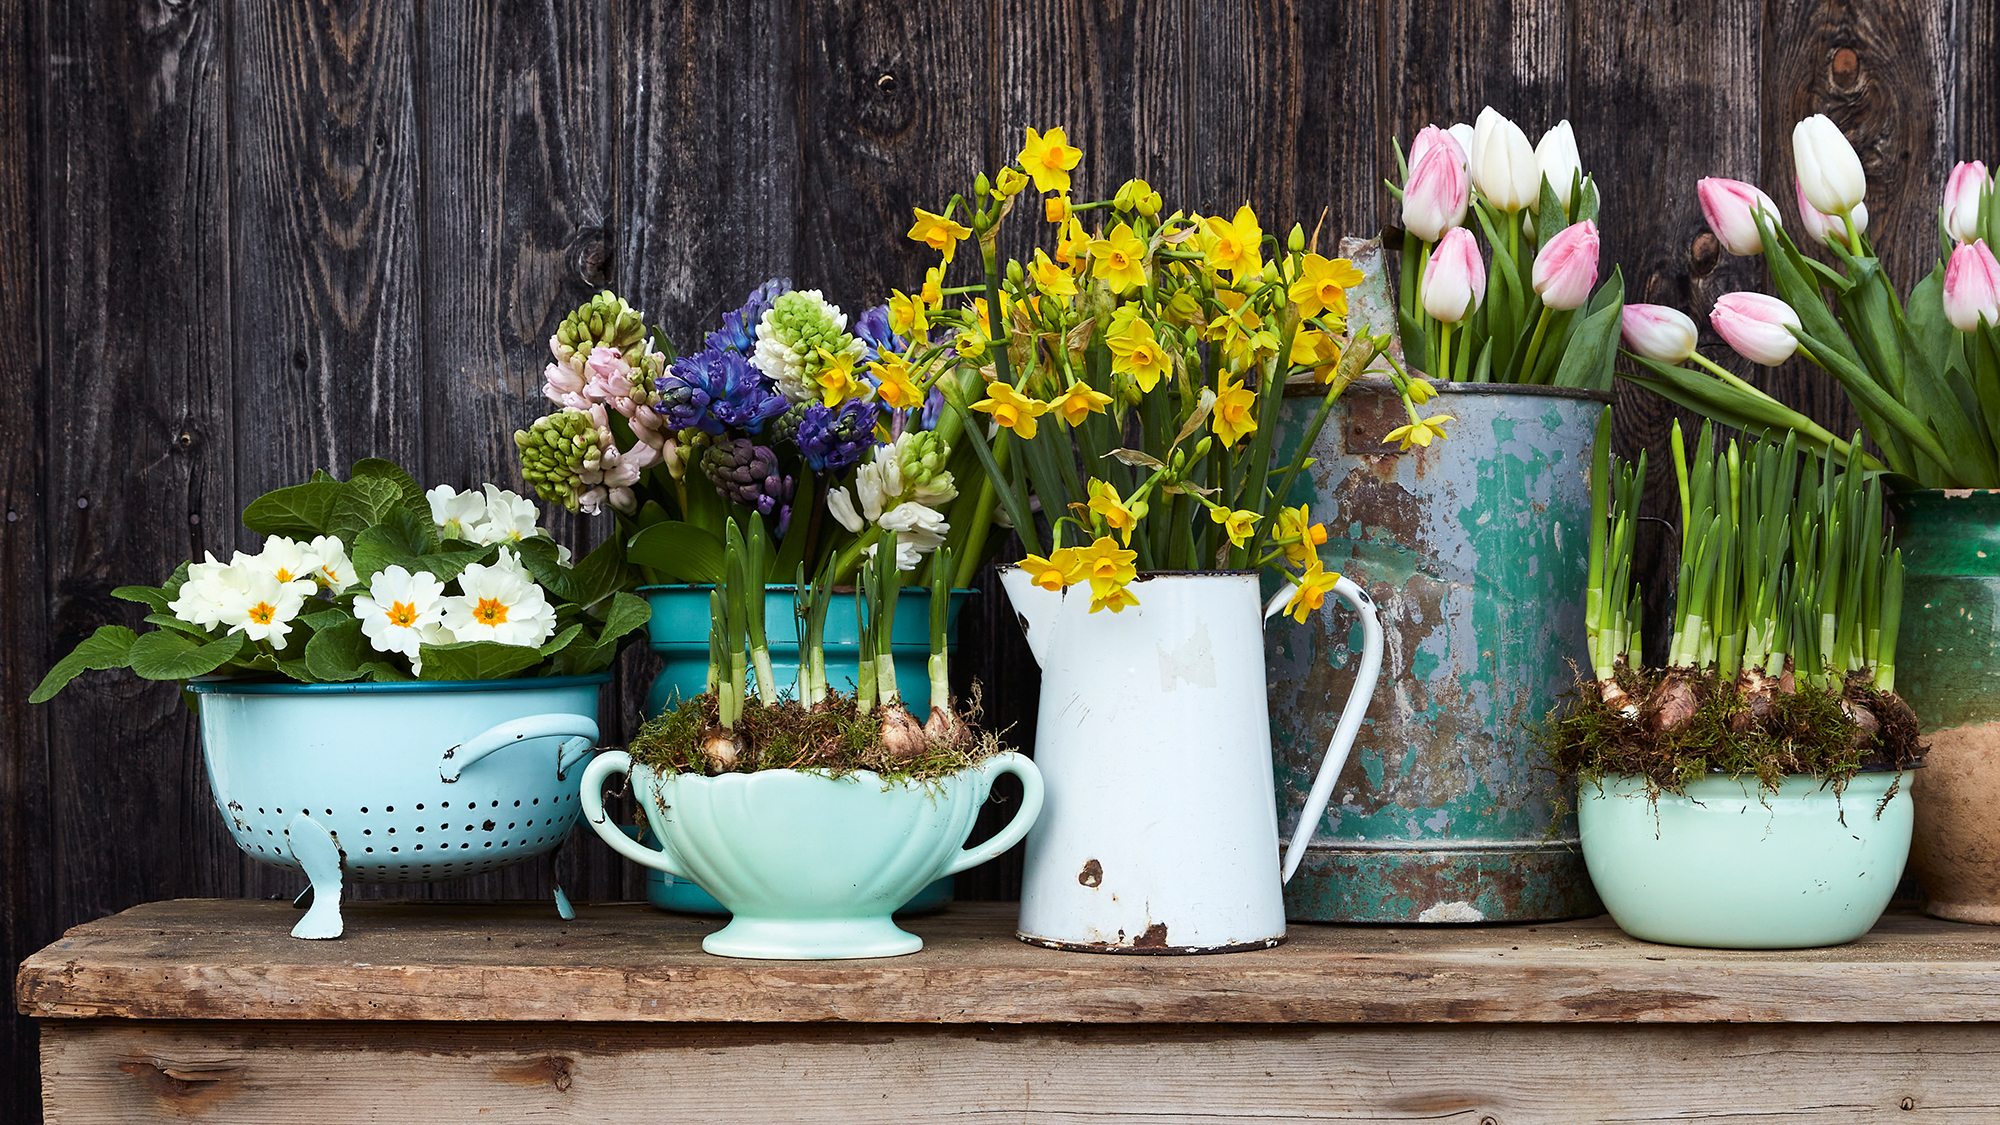
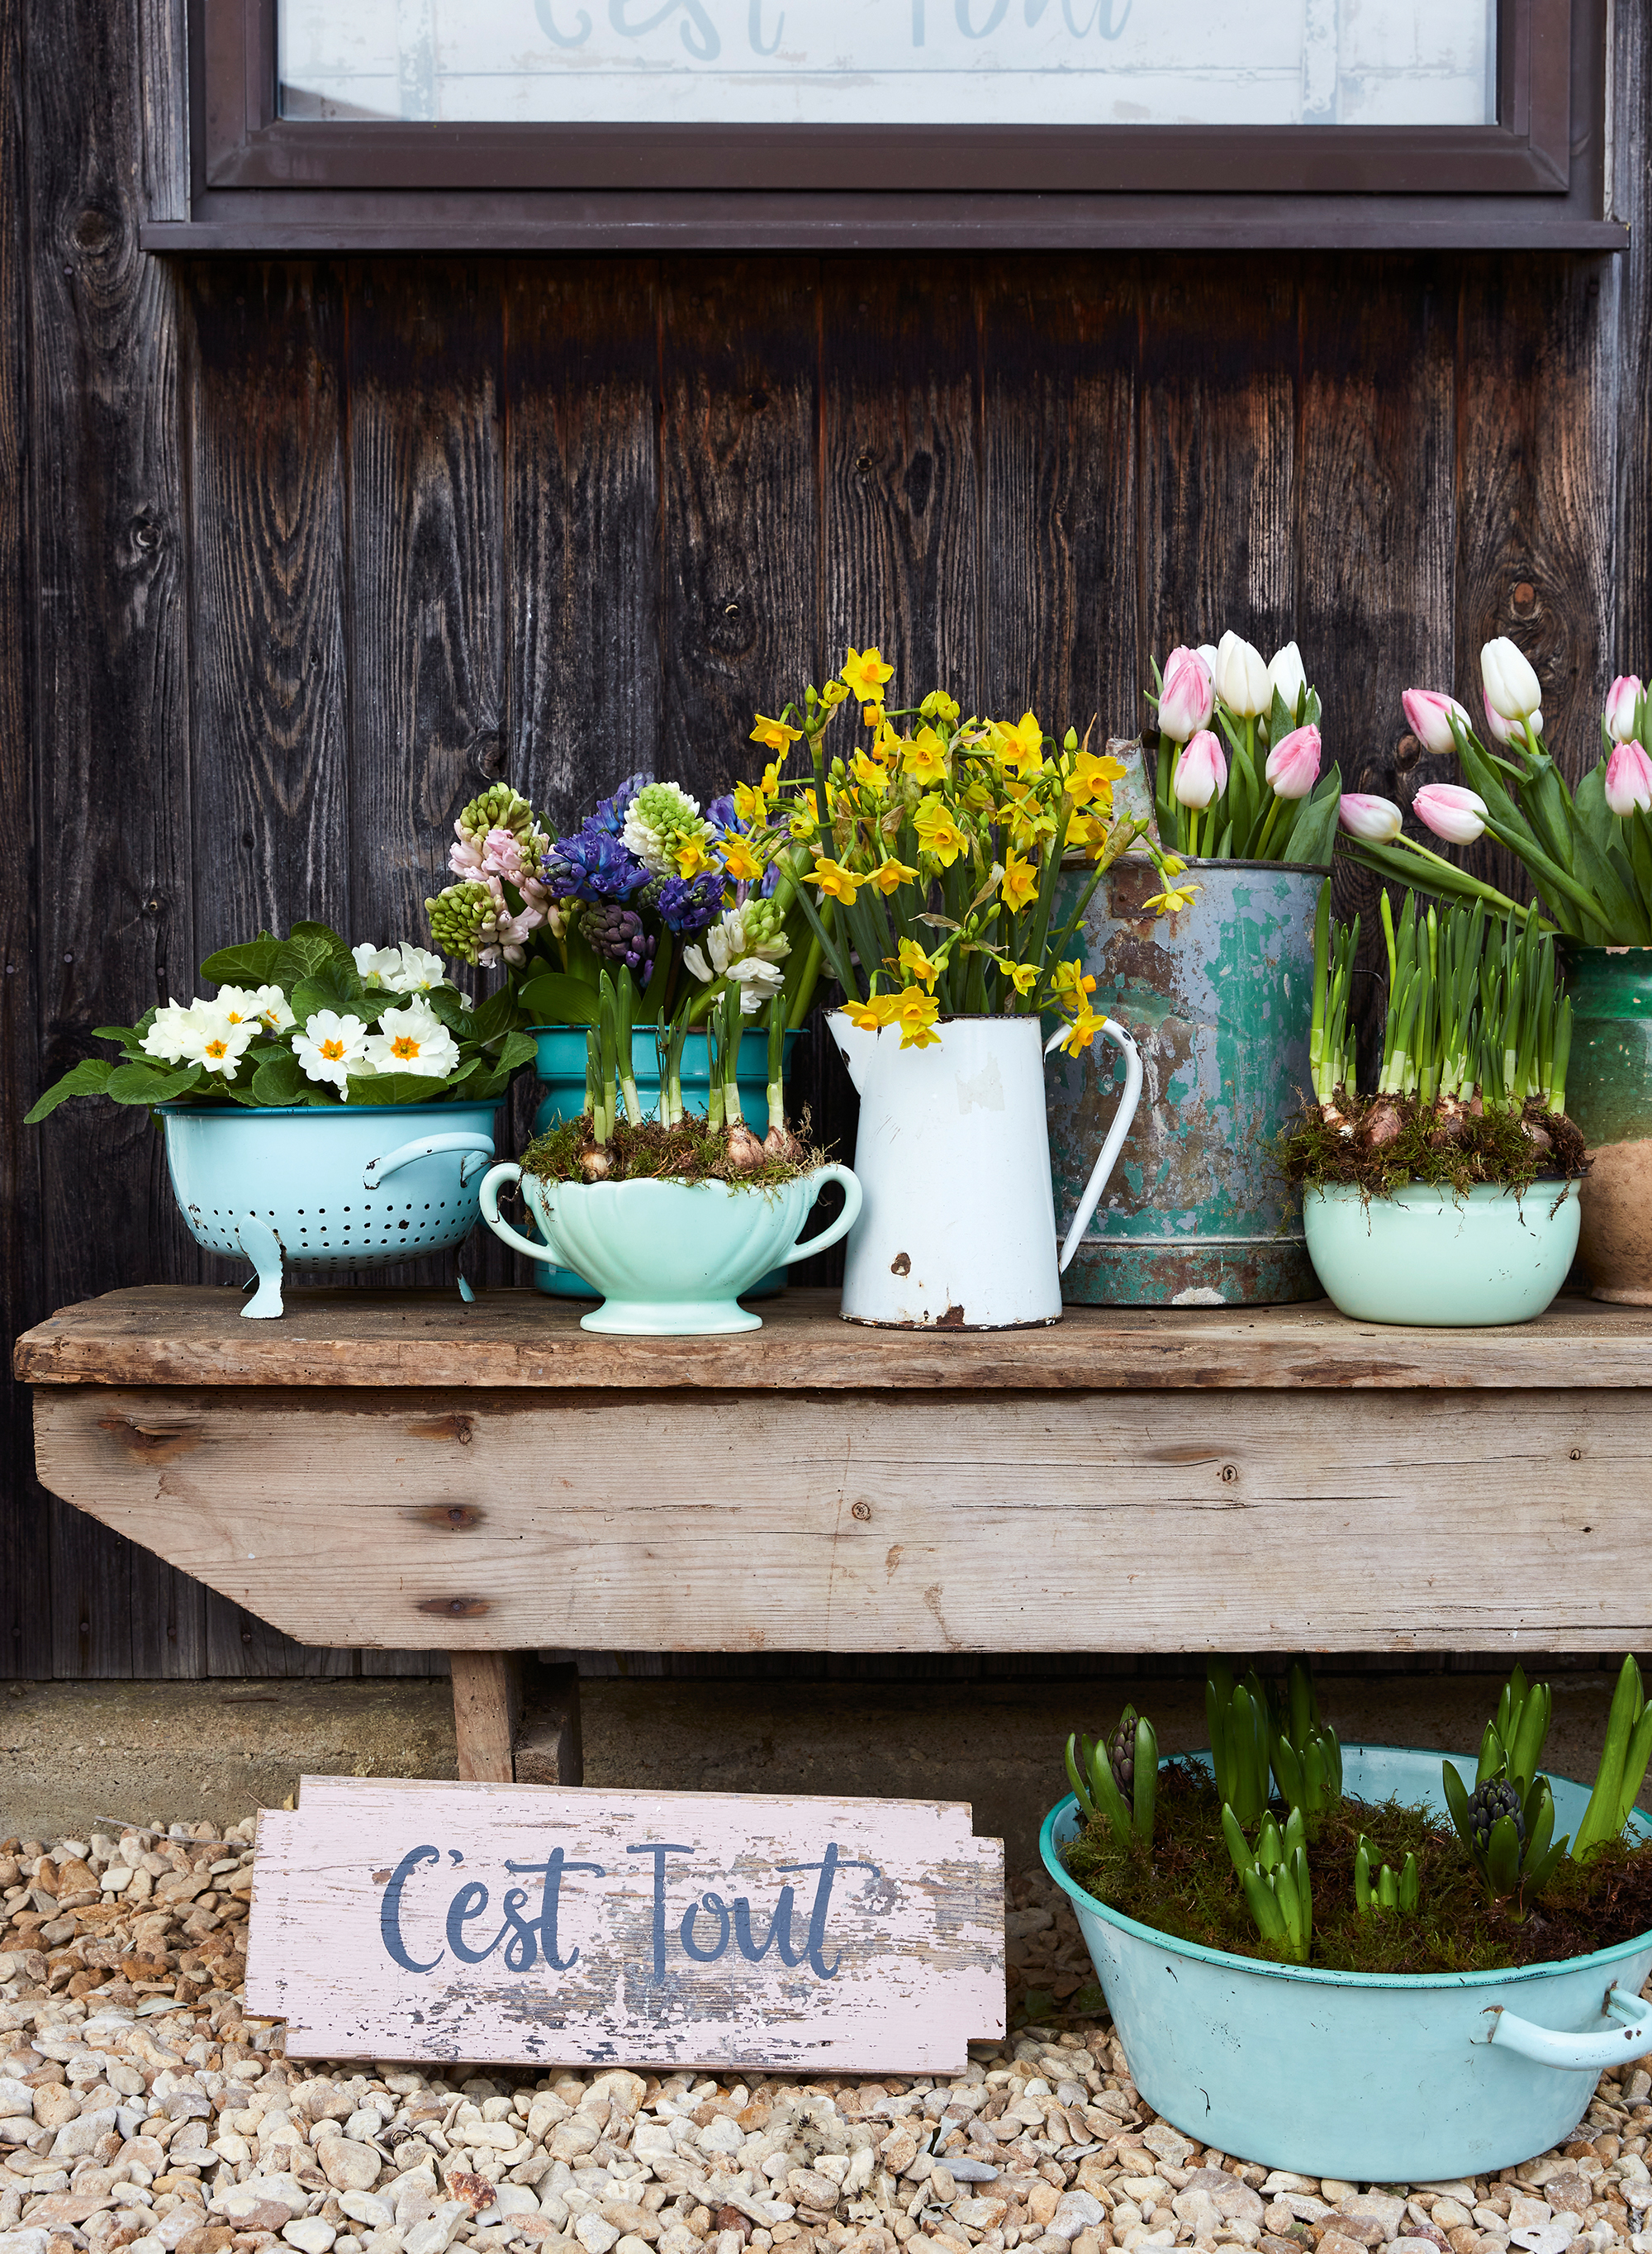
For a quirky, unique display you could think outside the box and plant bulbs up into vintage containers. Opt for an array of vessels with sculptural shapes and time-worn patinas, such as vintage enamel pots, urn-shaped Dartmouth vases, weathered watering cans, and even colanders for a quirky feel. Keep your eyes peeled at flea markets and car-boot sales for items to repurpose.
FAQs
How can I force a bulb without soil?
If you haven’t got the time to plant up bulbs, flowers such as hyacinths and tulips can also be grown without soil in water, and instead forced in water using glass containers known as bulb forcers. To do this you must buy bulbs which are described as prepared or treated and suitable for forcing.
What to do with bulbs after forcing?
After bulbs have been forced, remove the dead flowers, but be careful to keep the foliage attached to the bulb. Place the container in a sunny, sheltered spot – on a windowsill indoors or the corner of a patio outdoors – and continue to water. Once the foliage has died back, stop watering, allow the soil to dry out then put the containers and bulbs in a cook, dry place, such as a shed, ready for planting out again in fall.
There is nothing quite like a display of bulbs to lift the spirits and remind us that spring is on the way. If you love to see them planted en masse, you might be interested in how to plant a bulb lawn, for a naturalized effect outdoors.

Pippa is a contributor to Homes & Gardens. A graduate of Art History and formerly Style Editor at Period Living, she is passionate about architecture, creating decorating content, interior styling and writing about craft and historic homes. She enjoys searching out beautiful images and the latest trends to share with the Homes & Gardens audience. A keen gardener, when she’s not writing, you’ll find her growing flowers on her yard for styling projects.