How to restore wood furniture
Discover how to restore wood furniture to its former glory, and carry out minor repairs, with advice from leading industry experts

Design expertise in your inbox – from inspiring decorating ideas and beautiful celebrity homes to practical gardening advice and shopping round-ups.
You are now subscribed
Your newsletter sign-up was successful
Want to add more newsletters?

Twice a week
Homes&Gardens
The ultimate interior design resource from the world's leading experts - discover inspiring decorating ideas, color scheming know-how, garden inspiration and shopping expertise.

Once a week
In The Loop from Next In Design
Members of the Next in Design Circle will receive In the Loop, our weekly email filled with trade news, names to know and spotlight moments. Together we’re building a brighter design future.

Twice a week
Cucina
Whether you’re passionate about hosting exquisite dinners, experimenting with culinary trends, or perfecting your kitchen's design with timeless elegance and innovative functionality, this newsletter is here to inspire
If you learn how to restore wood furniture the right way, you will not only avoid having to replace it, but will bring out the natural beauty of cherished pieces that will add character to your home.
See: How to refinish hardwood floors to give them a new lease of life
‘Beautiful vintage and antique furniture was made to last, so it is well worth going to the time and trouble of making a few running repairs – you won’t find that wonderful patina of age listed in the contents of a flat-pack,’ says independent restoration expert Helaine Clare.
Do, however, consider the age and quality of the piece before restoring it. Unless you know what you are doing, valuable antiques should be left in the hands of a specialist furniture restorer.
How do you restore old wood furniture?
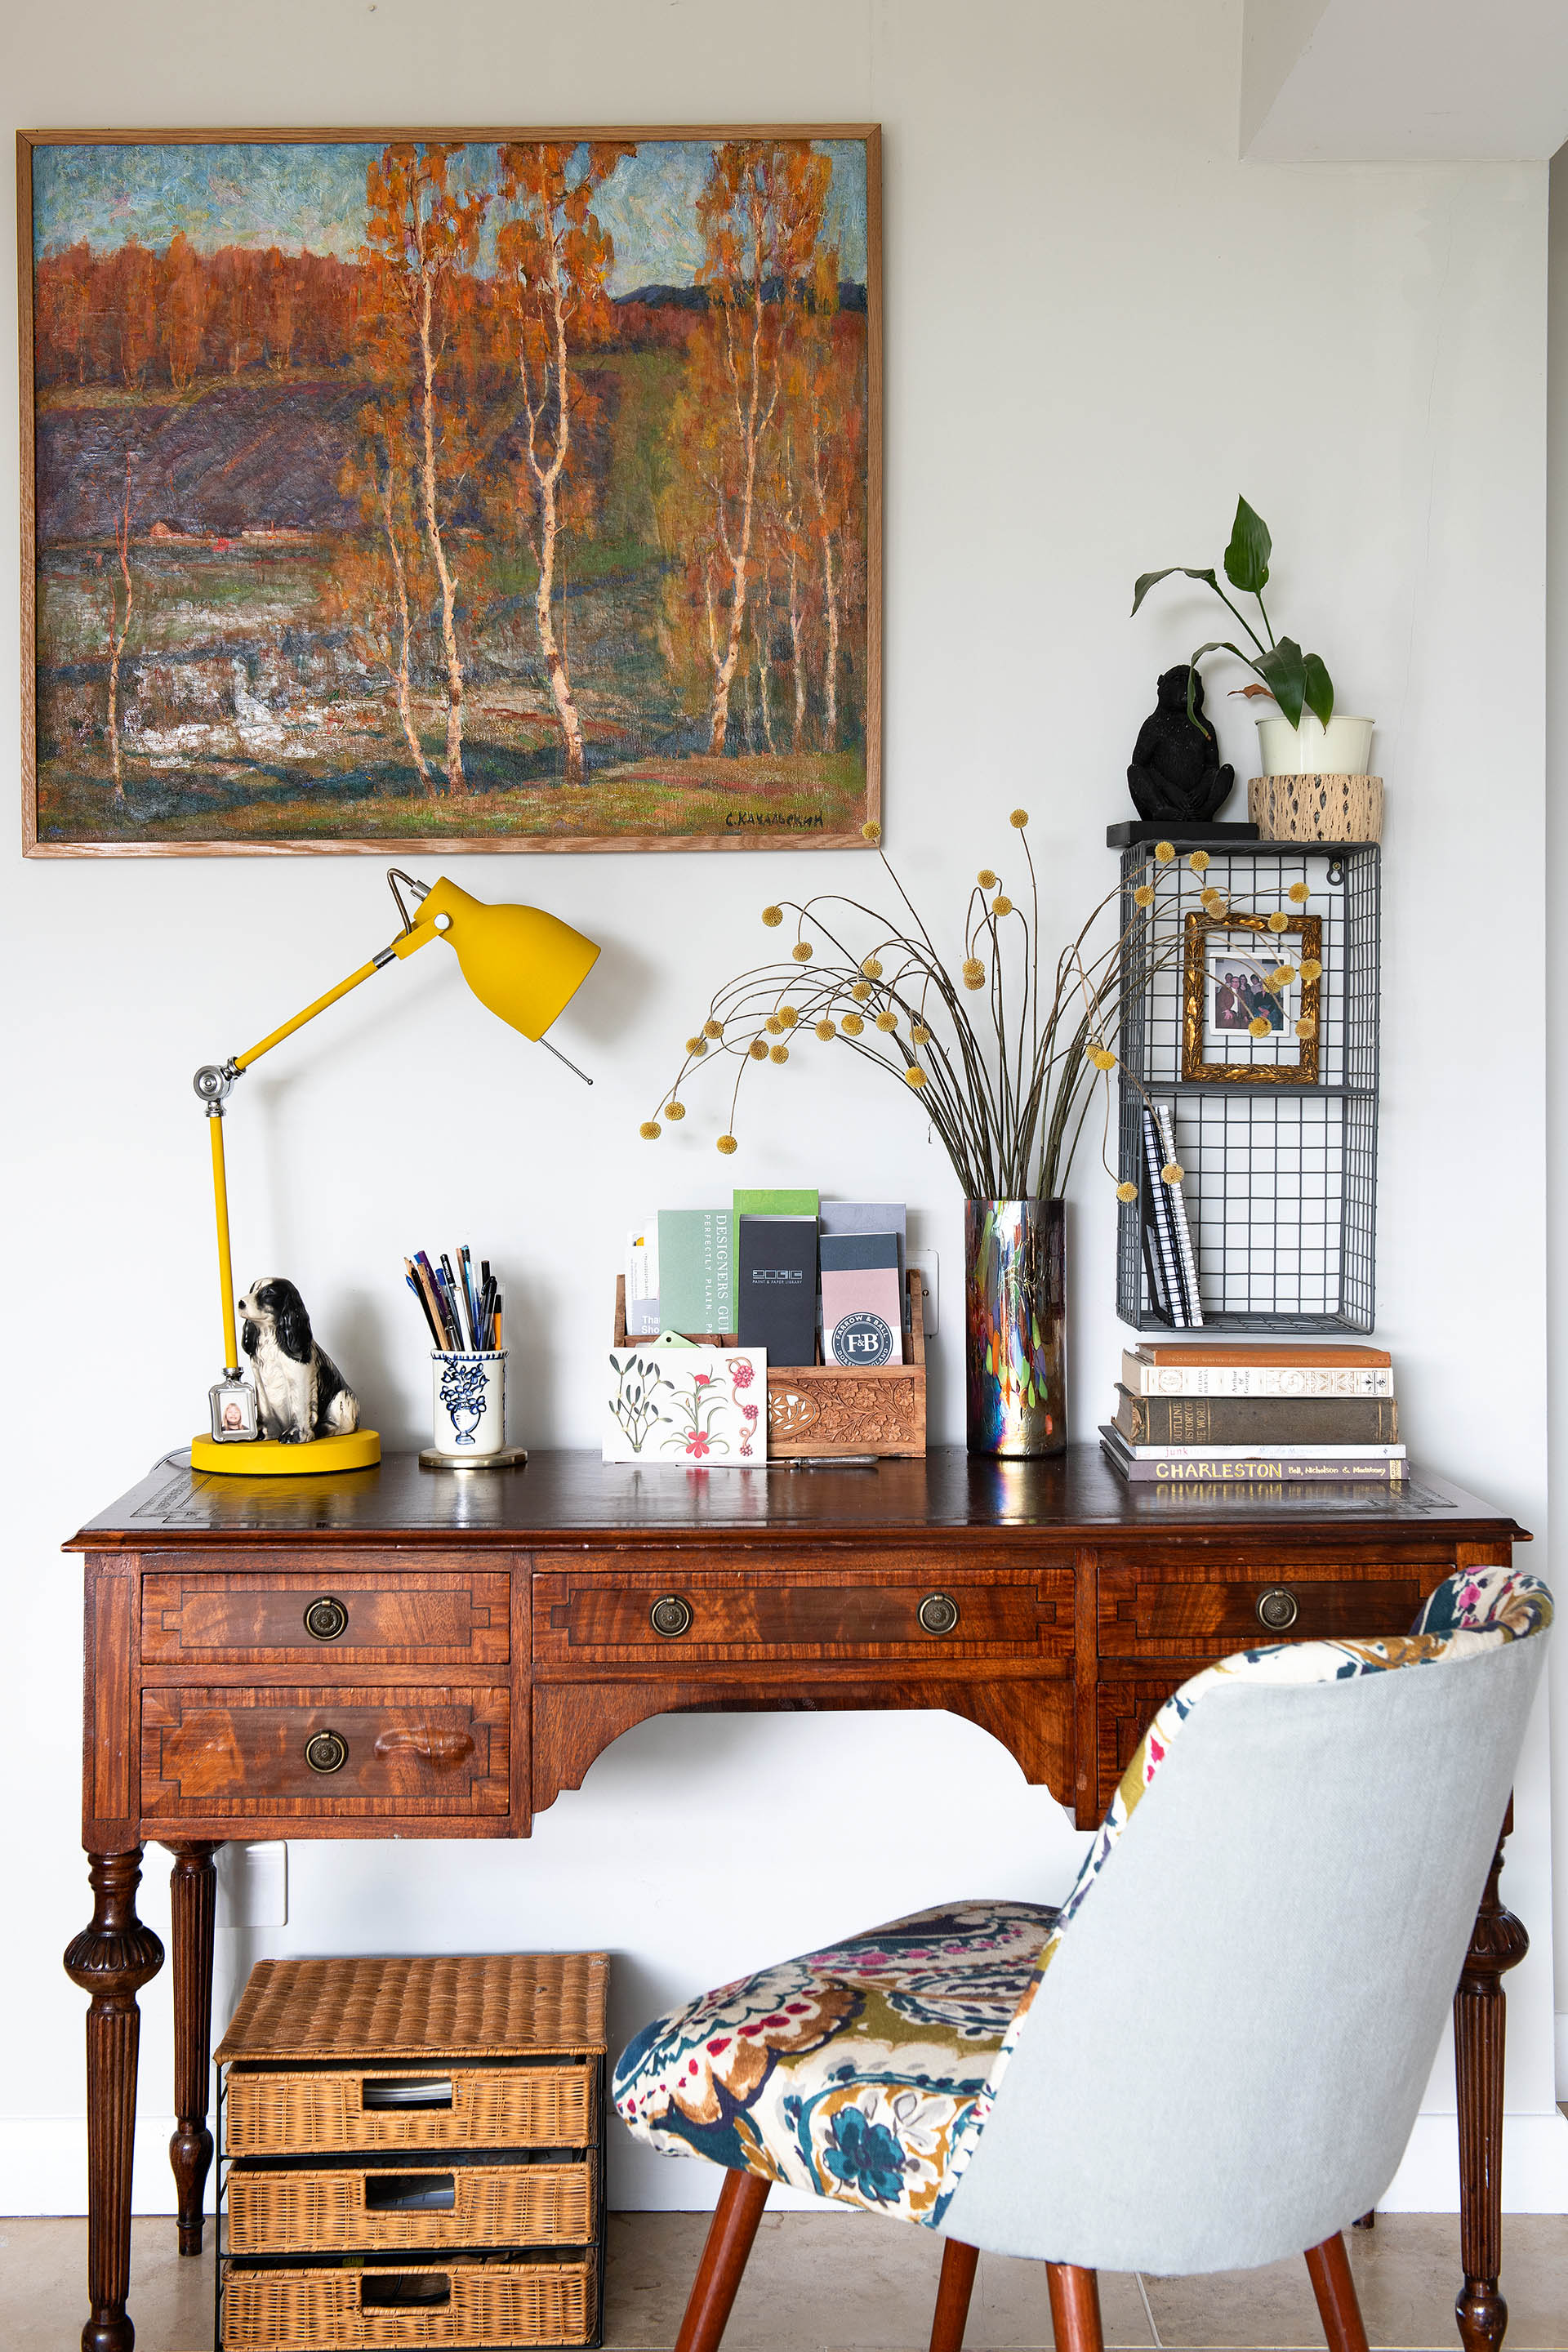
When deciding how to restore wood furniture, it’s important to first assess the extent of wear and tear. Does it just need cleaning up and refinishing, or are more substantial repairs required?
‘Many of us have at home a beloved piece of wooden furniture. Perhaps it is an antique that has been inherited. However, over time it may have become dirty and grimy, and it’s not always easy to know what to do with it,’ says Mike Morris, supply chain manager at leading wood care expert Liberon.
Product choice is key – so get this right before you start. ‘There's a veritable plethora of wood care products for sale, and choosing the right one for this kind of item can be confusing,’ adds Morris. ‘Bringing back the beautiful good looks of your treasured piece of furniture cannot be left to chance by selecting inferior quality products.
Design expertise in your inbox – from inspiring decorating ideas and beautiful celebrity homes to practical gardening advice and shopping round-ups.
'The key is to choose a top quality wax. The right specialist wax affords a highly glossy and resilient finish, helps to cover marks and scratches, and will also assist in preventing wood drying out in the future.'
Make sure you choose a wax color that is closest to the natural wood. Always test the product on an inconspicuous area for color, compatibility and end result before beginning.
How do you restore wood furniture naturally?
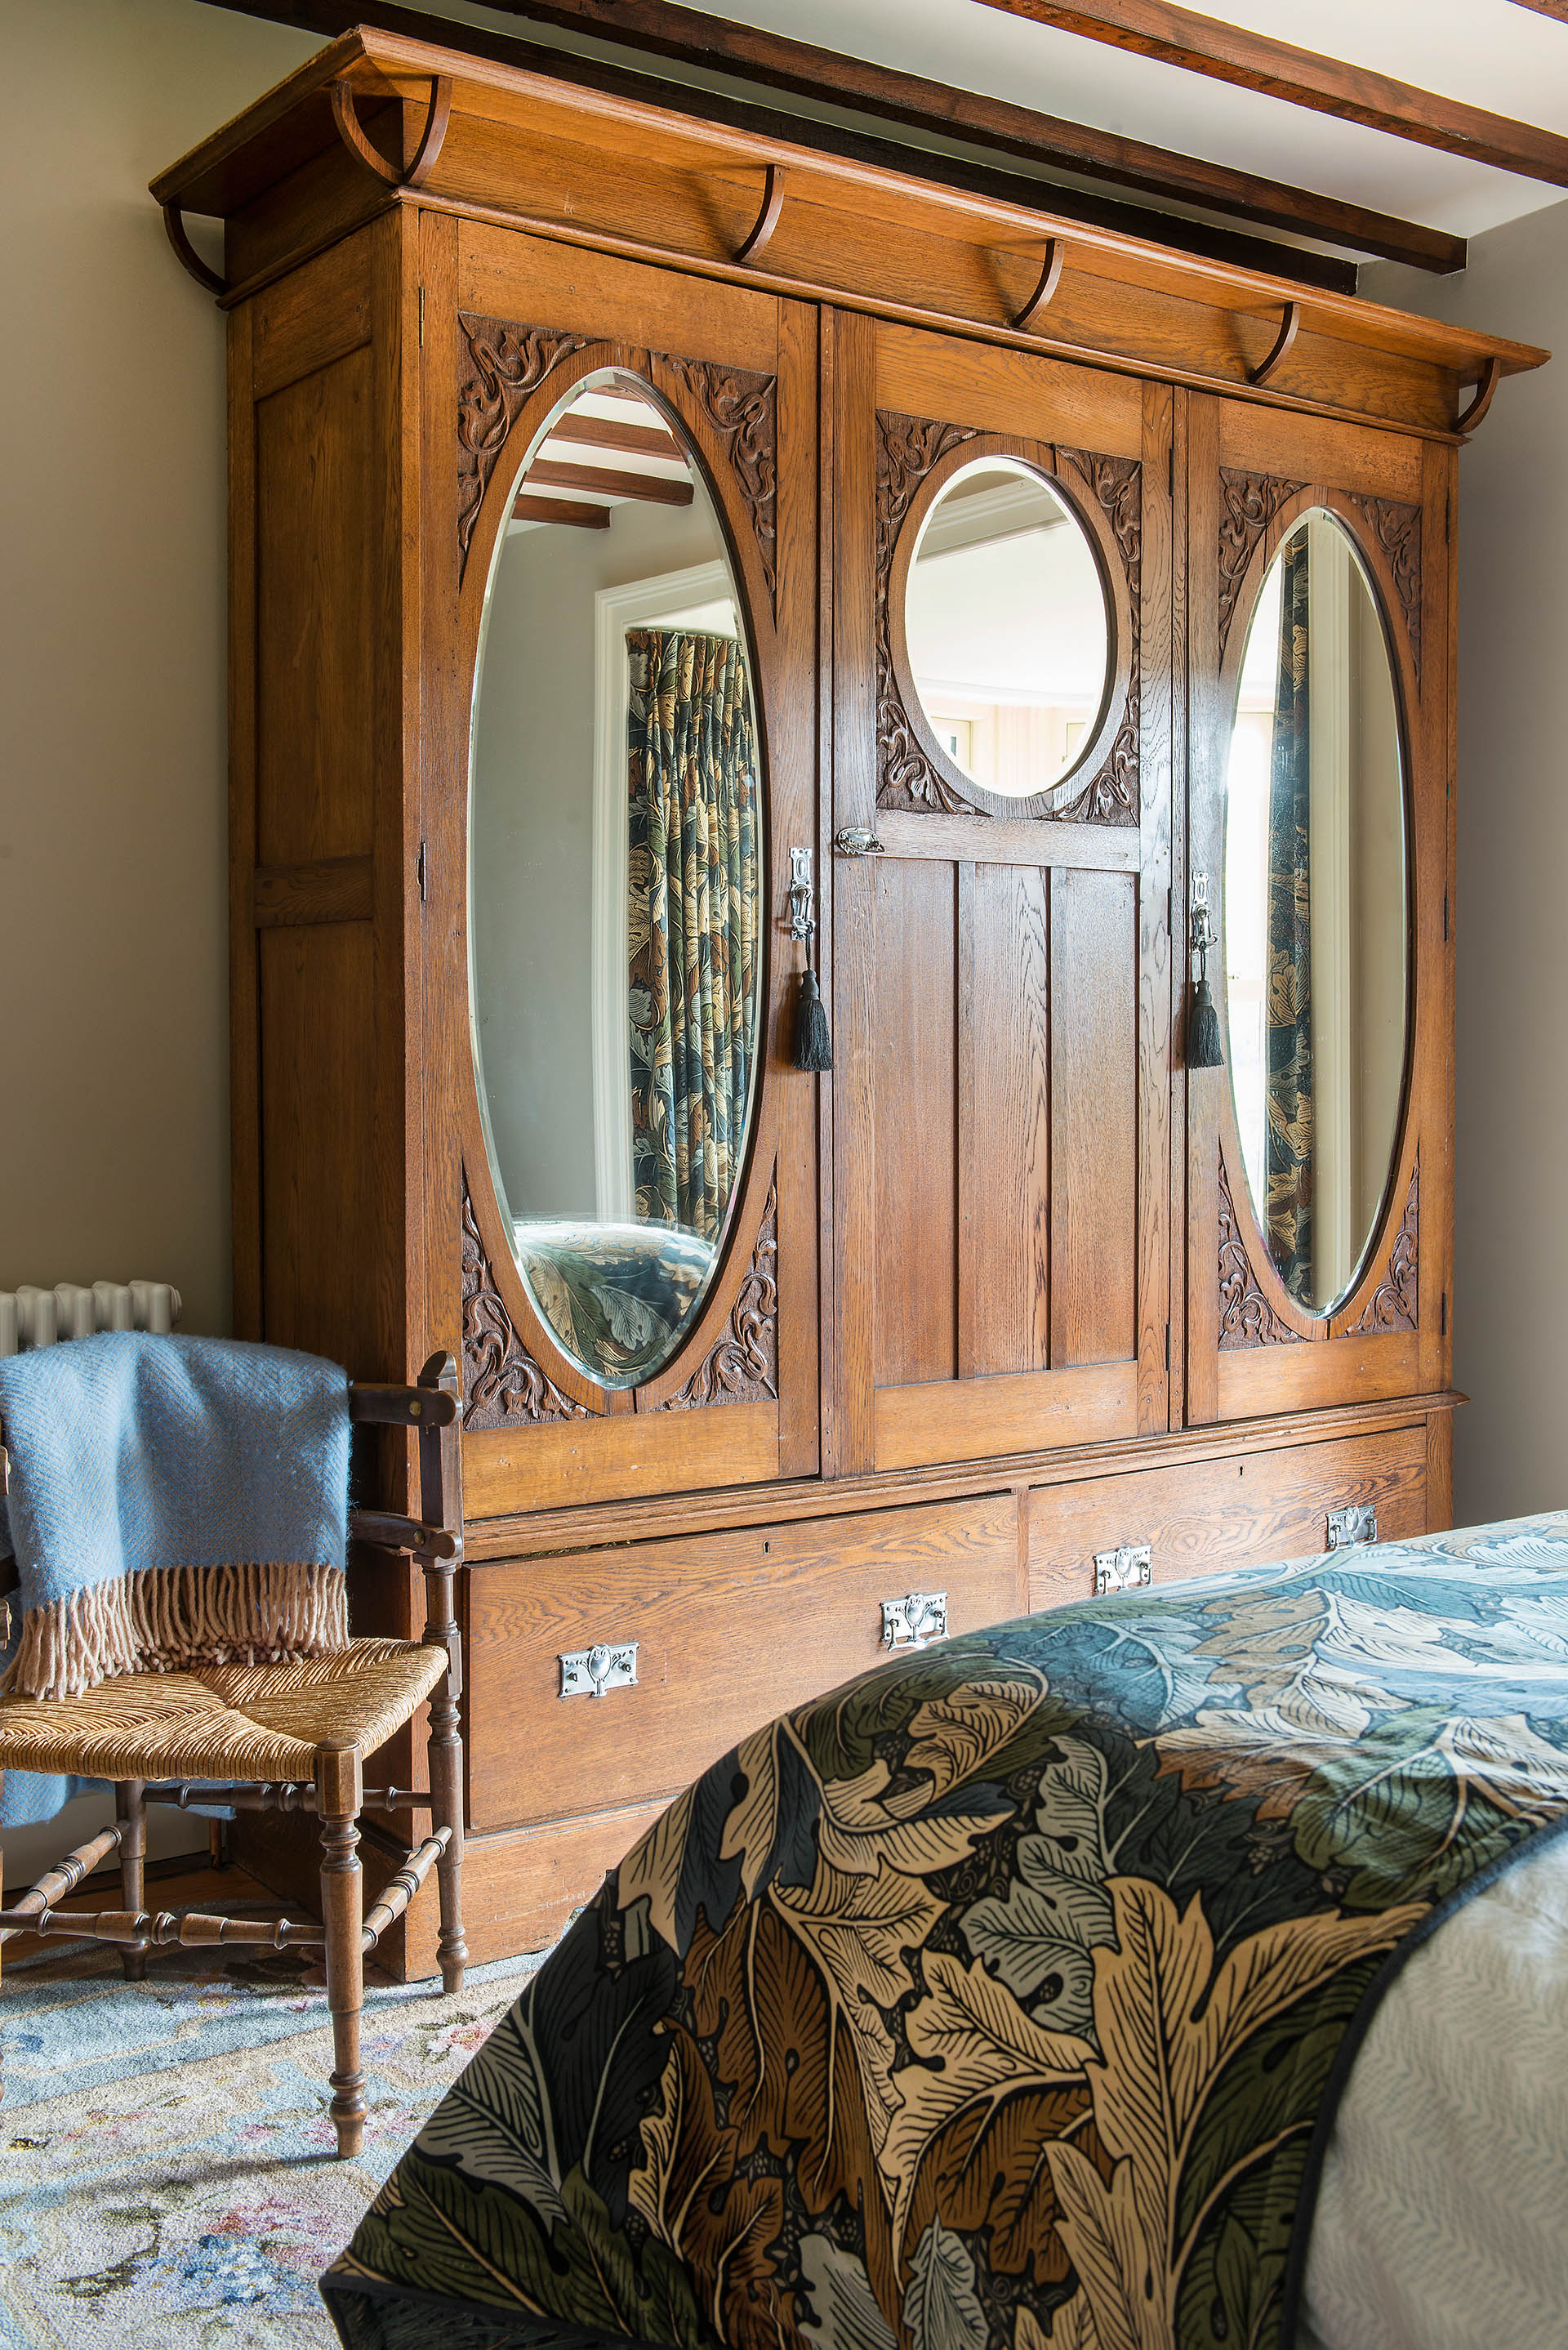
For many people it’s important to restore wood furniture naturally. For centuries, beeswax was used to treat furniture, and is still a popular traditional option today.
Helaine Clare advocates the use of beeswax paste to restore old wood furniture; however, there are a number of modern products containing natural ingredients that have been specially formulated to breathe new life into old wood.
‘Choose one with a good content of carnauba wax, which is found on the leaves of the carnauba palm, native to north-eastern Brazil,’ says Morris. ‘It is known as the “Queen of Waxes”, and contributes to the superior durability of the complete wax formulation, making it ideal for nourishing and protecting all types of wood, including lacquers and French polishes.
'Liberon's Wax Polish Black Bison has a good content of carnauba wax and, being highly lustrous, makes wood look simply beautiful.'
How to restore wood furniture with vinegar
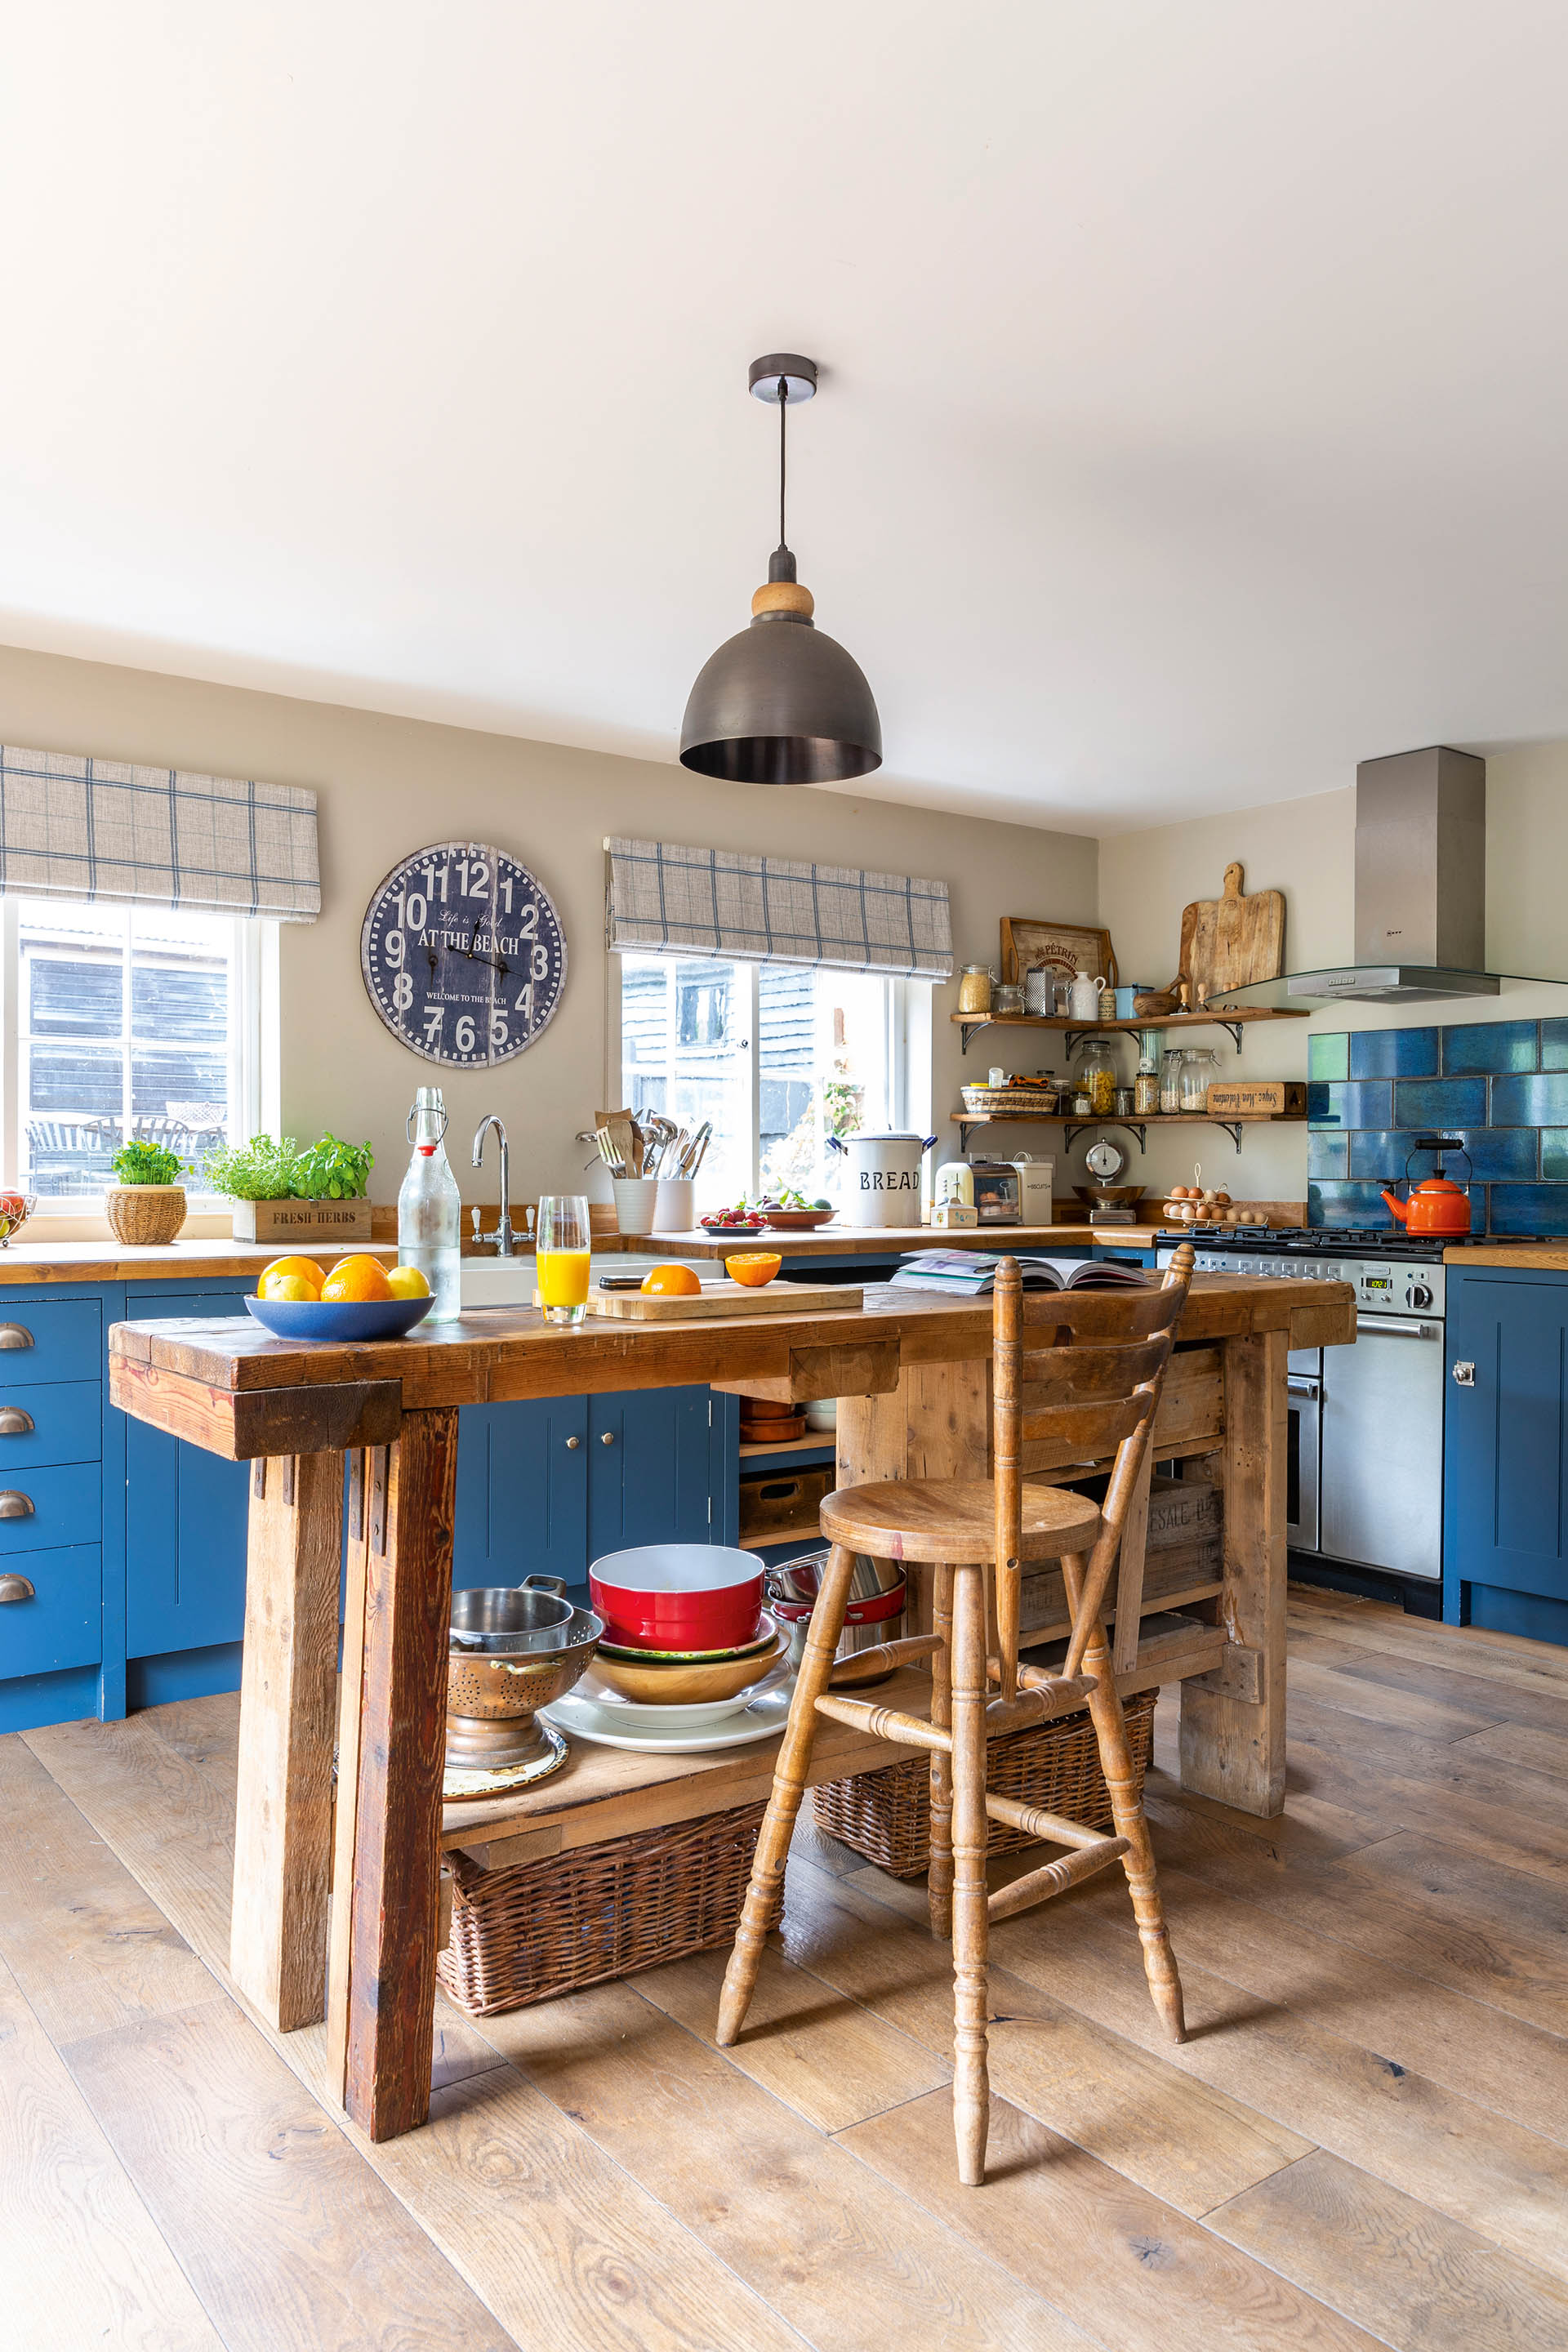
It is not sensible to try to restore wood furniture with vinegar alone, but it is often used as a cleaning solution, mixed with olive oil to nourish the wood.
This solution works better on matte wood than glossy lacquered surfaces, and should not be used on valuable antiques.
Simply mix one part vinegar to one part olive oil and apply a thin layer to furniture before buffing up. However, it’s always a good idea to first try on a small area on the underside before applying over the whole piece.
Restoring wood furniture without stripping
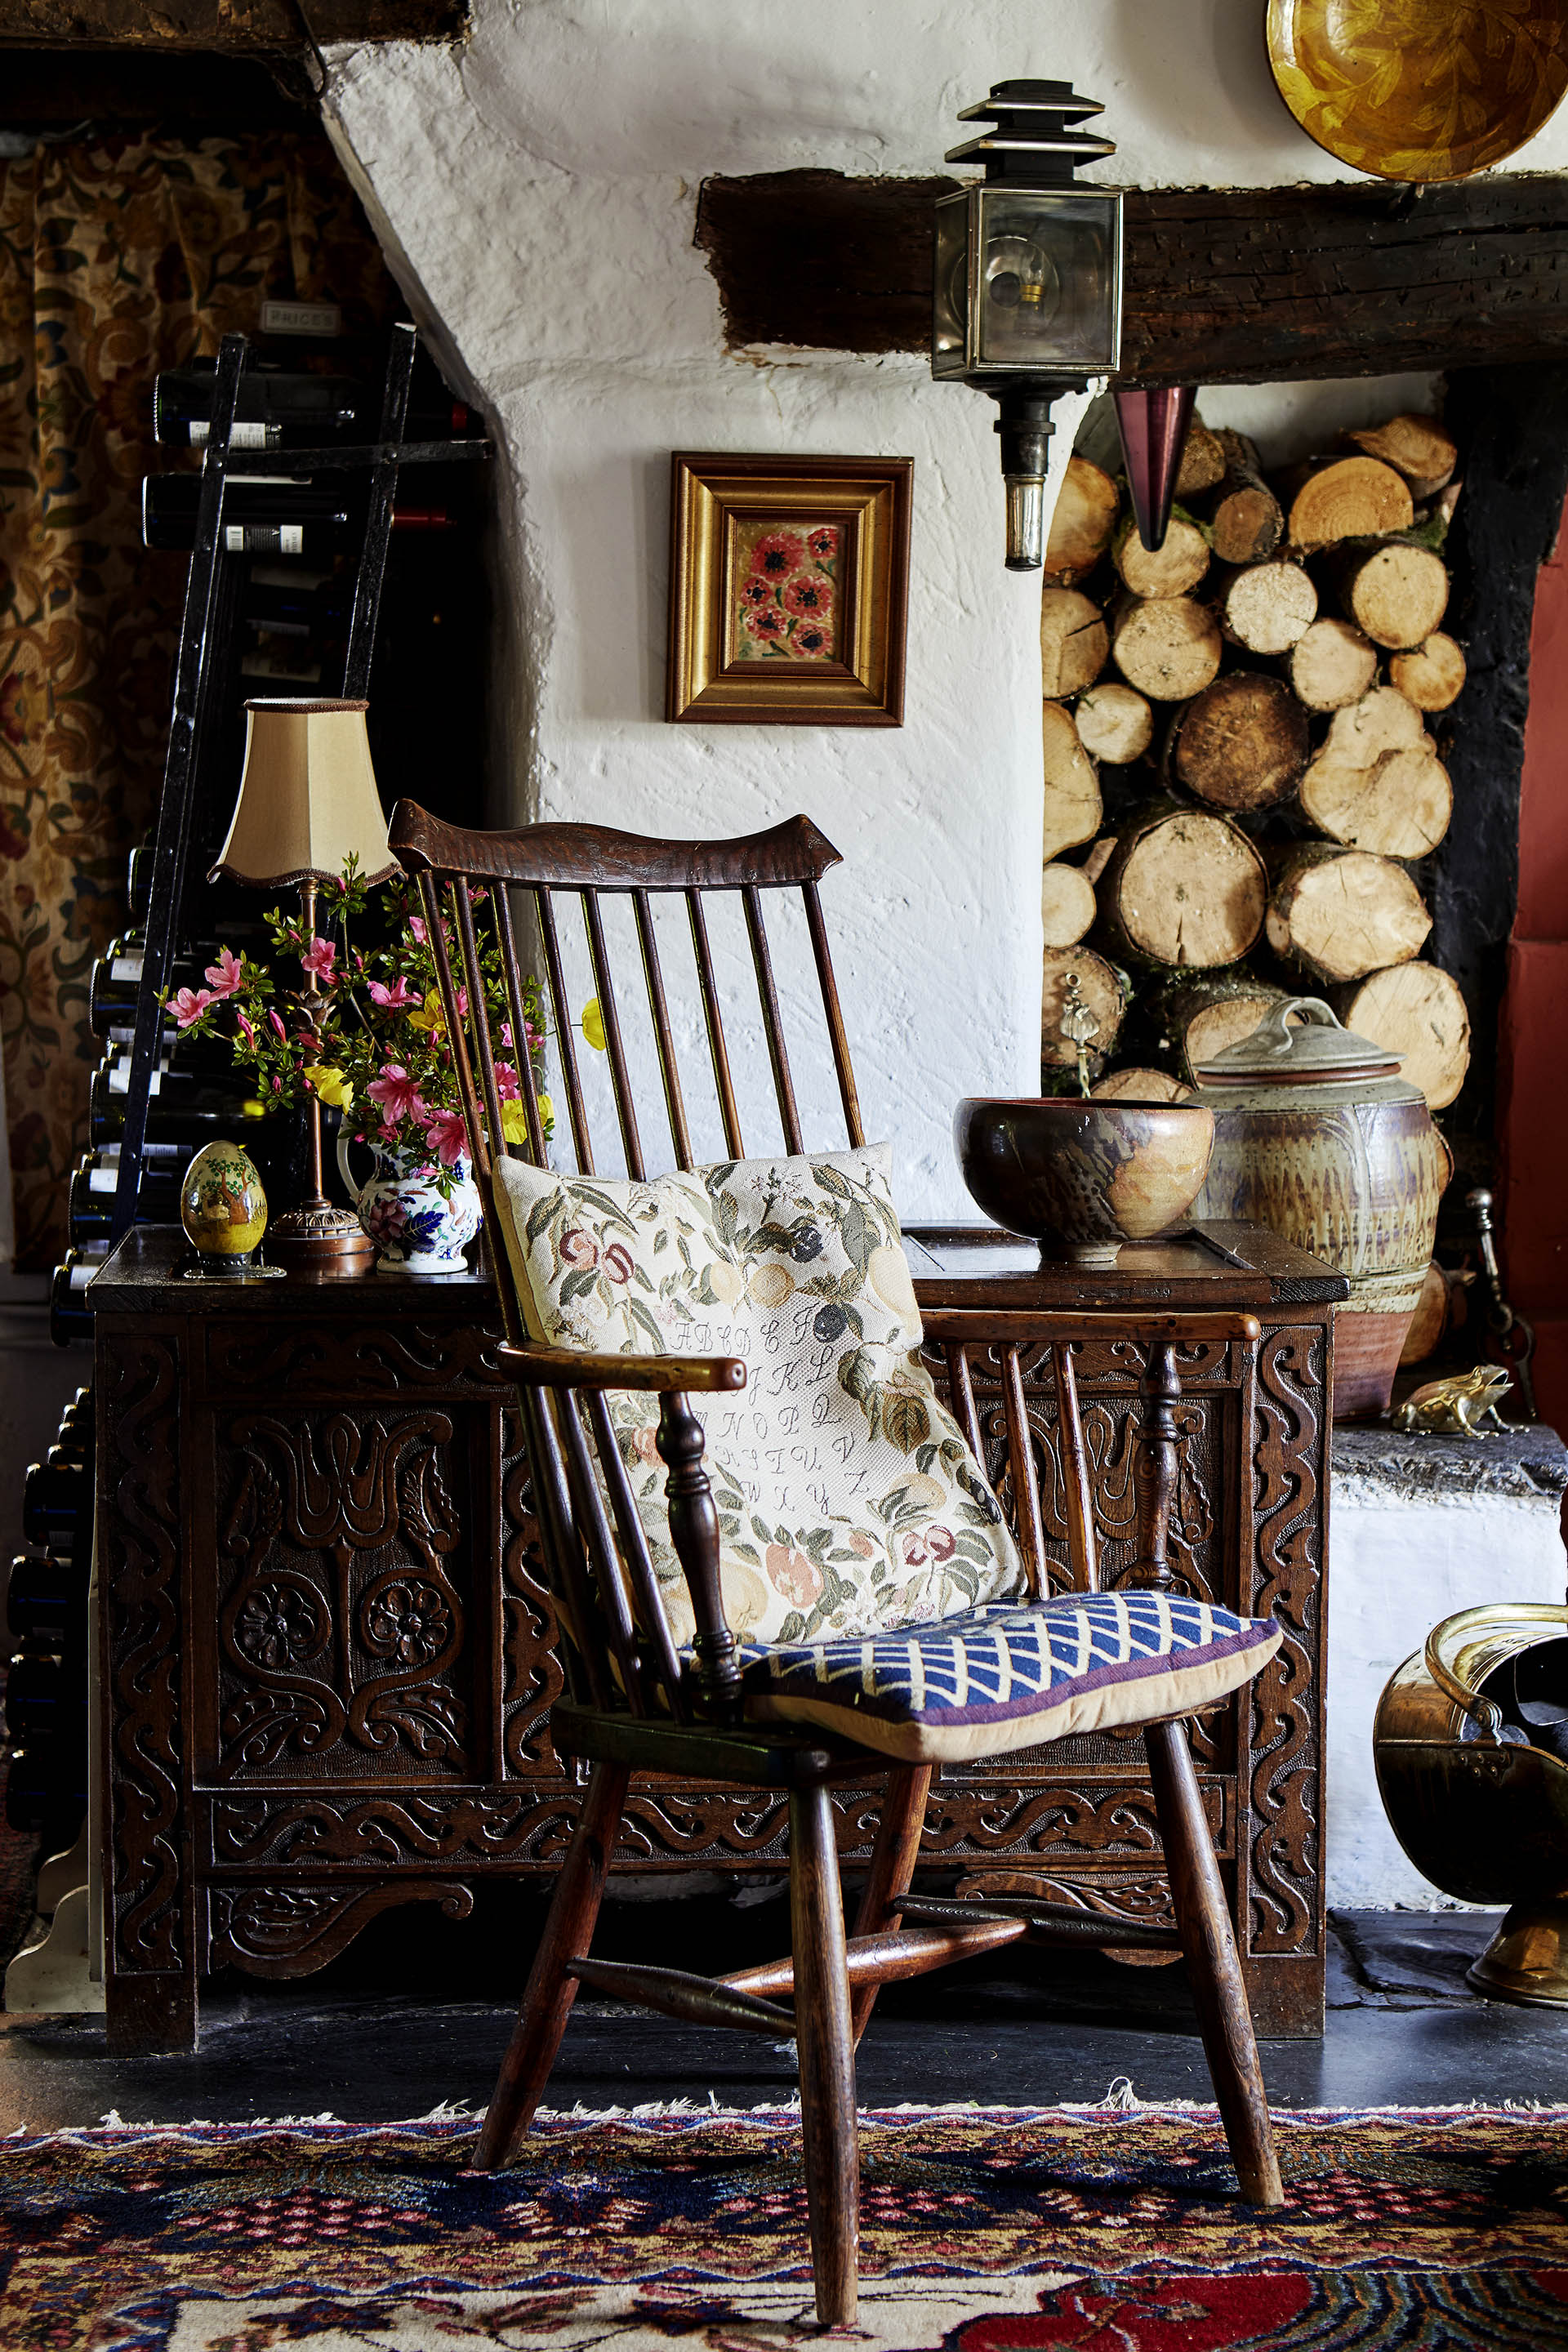
If your wood furniture doesn’t require repairs, then cleaning it and restoring it without stripping is the best option.
‘Firstly, remove the old wax using a specialist wax and polish remover, then apply solid wax sparingly, preferably with ultra-fine steel wool,’ says Morris. 'It is possible to apply the wax with a cloth, but it is easy to overload it.' The wax will help to both restore faded wood furniture and rehydrate the wood if it is dry.
‘It is best if the wax is applied in a circular motion in much the same way as you would polish a pair of shoes, and always work with the grain of the wood.'
Be careful not to apply too much wax, however, as it makes it harder to get a good shine. ‘Many people make the mistake of applying too much, and it is better to build up layers gradually,’ adds Morris. ‘It is harder to overload fine steel wool with the wax, and this application method affords a deeper penetration into the wood.’
Clare uses the same method when applying beeswax paste, allowing the wax to dry for 20 minutes between each coat, and finishing by buffing to a sheen with a soft lint-free cotton cloth.
‘The wood will absorb the wax over a period of time, so to keep it looking good apply at least twice a year,’ says Clare.
'In future, whenever cleaning the treated surfaces, they can be wiped over with a cloth or duster and re-waxed as required when they begin to look dull and tired,' says Morris. 'Certainly, the surfaces should not be washed with water.'
This feature was created by H&G's sister brand, Period Living magazine
Subscribe to Period Living for more inspiration.
Period Living is the UK's best-selling period homes magazine. A subscription provides you with all you need to know about caring for and improving a traditional house and garden.
How to strip wood furniture
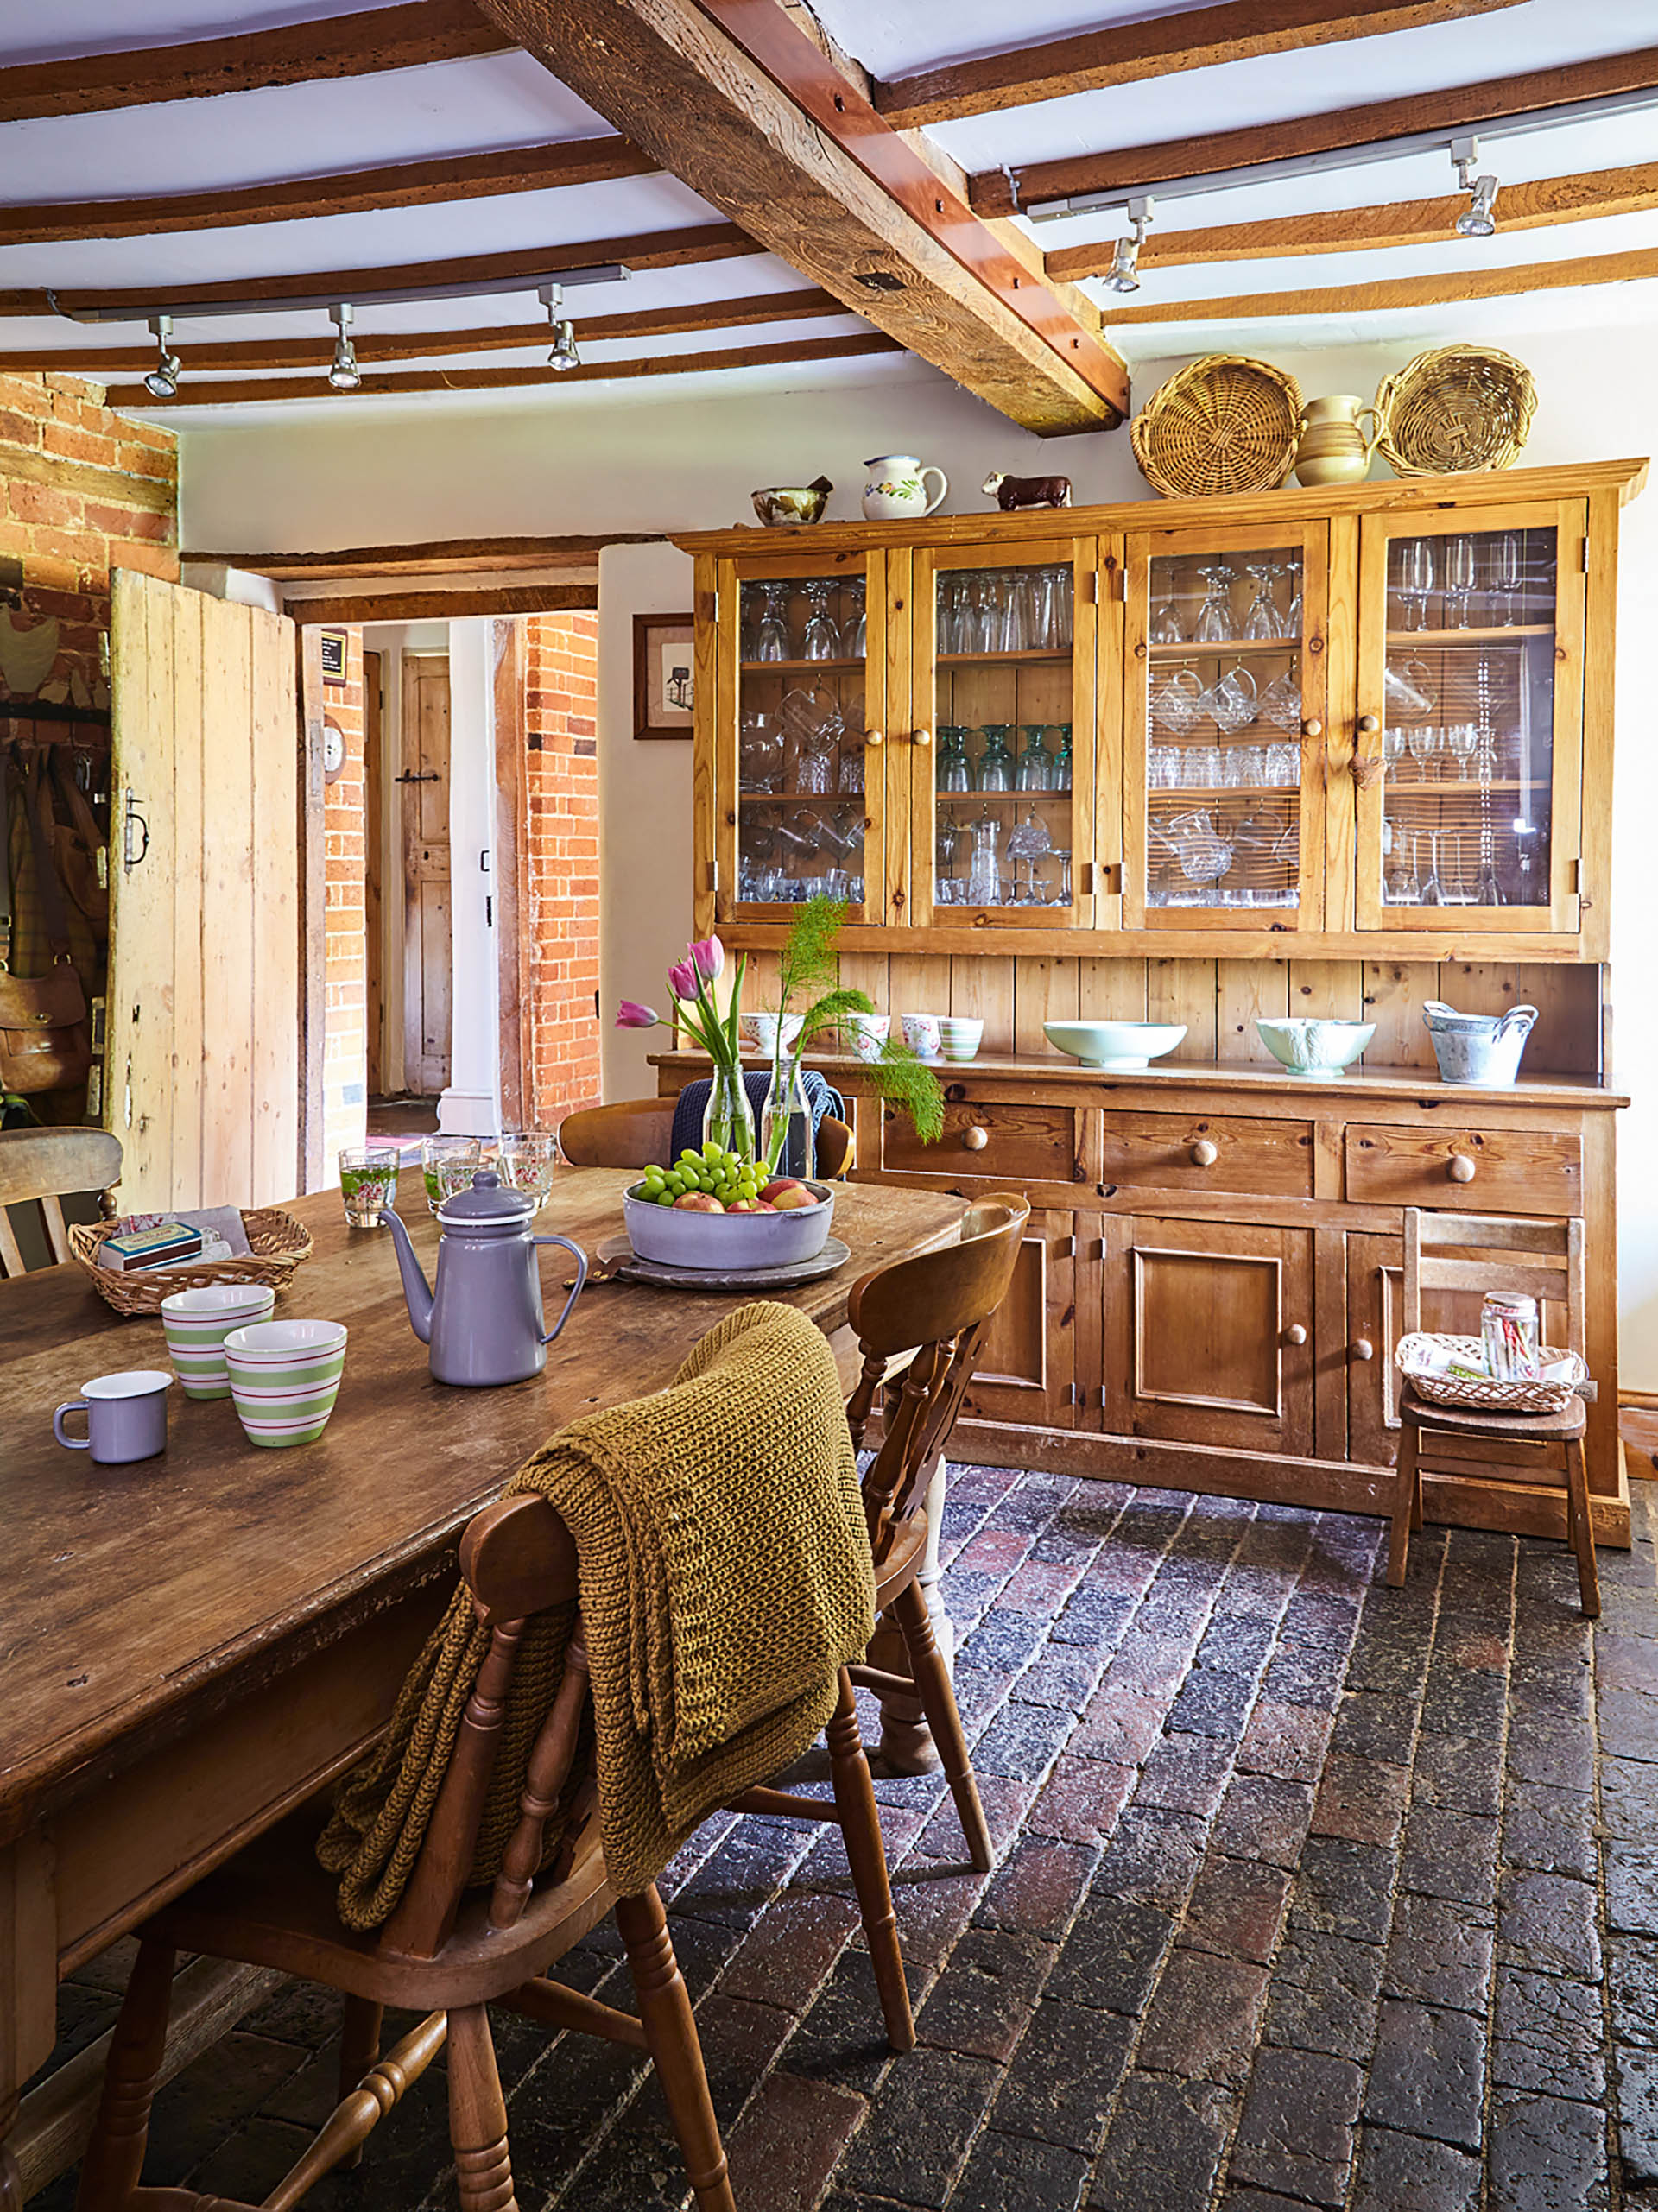
To remove thick layers of varnish or paint, you may need to strip wood furniture. ‘Painted furniture is often stripped by immersion in a vat of caustic soda,’ explains Helaine Clare.
‘Afterwards it should be treated to neutralize the chemicals or the wood becomes dry, and a white salty coating is evident. To remedy, dilute half a pint of white vinegar into half a pint of water. Use a cloth to wipe over the wood.’
If the surface of an item of wood furniture possesses an attractive patina of age, then sanding will strip this. However, in some cases it’s desirable to sand wood furniture to bring it up like new again.
‘Using medium-grade abrasive paper held around a sanding block, rub down the wood until it looks dull,’ says Clare. ‘Wet and dry paper used with water contains the dust, making it less messy and minimizing dust inhalation.
One you have stripped or sanded wood furniture, you’ll need to give it a good clean. ‘Use a solution of sugar soap and warm water to clean dirt and grease off the wood’ says Clare.
‘Mop up surplus water as you work to avoid saturating the wood – this raises the grain and roughens the surface. Use clean water and a cloth to wipe away residues.’
You'll need to give the wood time to dry out properly before applying finishing wax.
How to repair wood furniture

You should repair wood furniture if the piece has signs of damage. Where there are splits in the wood, this is easily fixed with wood glue. ‘Clean off dust from the split wood using a paintbrush, then apply wood glue. Position a sash clamp and tighten until the wood is pulled together,’ advises Clare.
‘If the piece is to be left unpainted, protect the surface with off-cuts of wood on the jaws of the clamp. Wipe off surplus glue with a damp sponge and leave overnight.’
Scratches, dents and small holes in the wood can be filled with a specialist hard wax wood filler, usually sold as colored sticks, which may need to be combined and built up in layers to achieve the right shade.
If the furniture has any hardware, this should be checked for damage, and if necessary removed and cleaned. You may need to use release oil if screws are too tight to remove.
How can you tell if you have woodworm?
Some people are worried about bringing old furniture into the home in case it harbors woodworm. However, Clare says that beetles are unable to thrive in warm, dry, well-ventilated houses.
'To make sure, put sheets of newspaper under suspect furniture,' she says. 'Softwood ply, used on the back of cupboards or base of drawers, is where the beetles head for.
'They tend to emerge in July – tell-tale mounds of sawdust on the paper will indicate current activity.' Treat affected wood with borax wood preserver.
Antique furniture restoration techniques
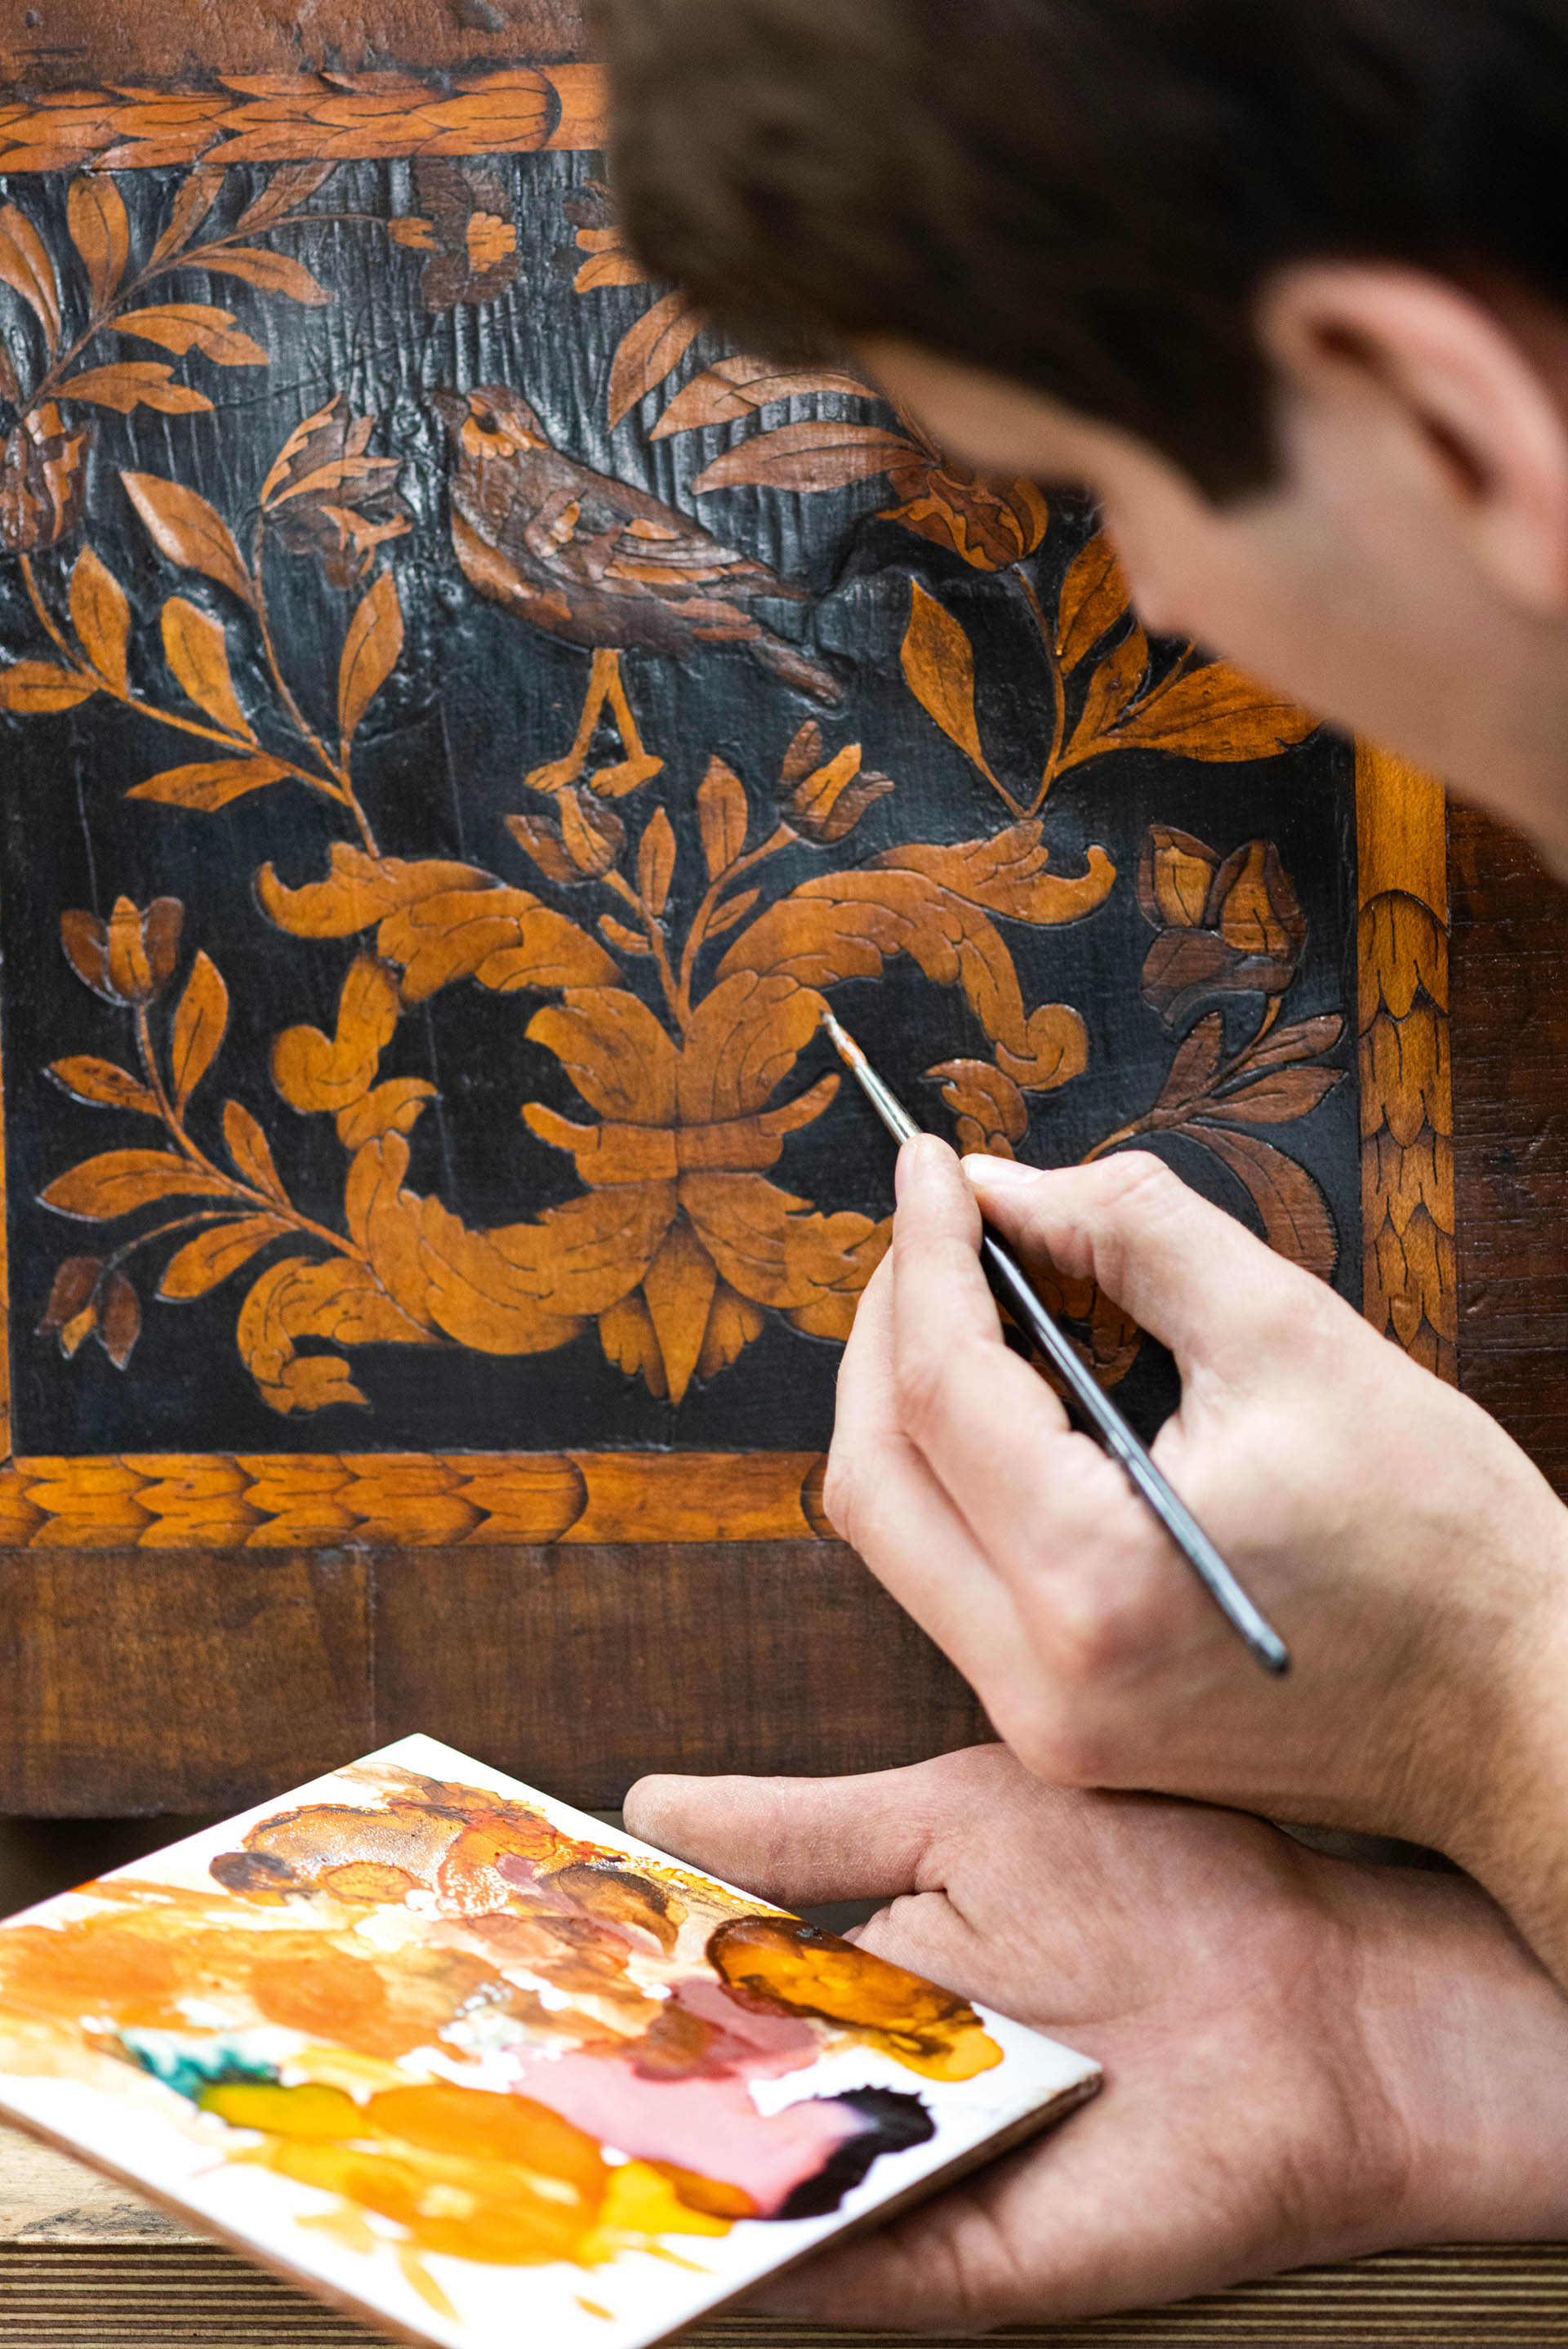
If your wood furniture has decorative detail such as marquetry or gilding, then it will need more specialist antique furniture restoration. Consult an expert, who will use the appropriate techniques.
Restoring marquetry
‘Marquetry is effectively painting in wood – using colored veneers or decorative graining to construct patterns or pictures,’ says Oliver White, restorer at Plowden & Smith. ‘Restoring it is quite an artistic process. You first need to identify the species of wood that had originally been used. This can be quite difficult to gauge when attempting to copy antique marquetry.
‘You then need to assemble the veneers in a pack, sandwiching layers on top of each other paying particular attention to which direction the wood grain is running on each veneer, as you don’t want them all running the same way.’
White usually draws the design on paper, and applies to to the top of the veneer pack, which is then pinned together to keep everything in place.
‘The design is pierced out with a fine-bladed saw – a careful process,’ says White. ‘It’s important to keep the blade at a 90-degree angle to the veneers, to ensure that all the pieces fit accurately together.’
The wood may then be ‘sand shaded’ to add more depth and tone before the elements are assembled into a pattern and bonded, before the surface is sealed.
It’s an intricate process that requires specialist knowledge and lots of patience.
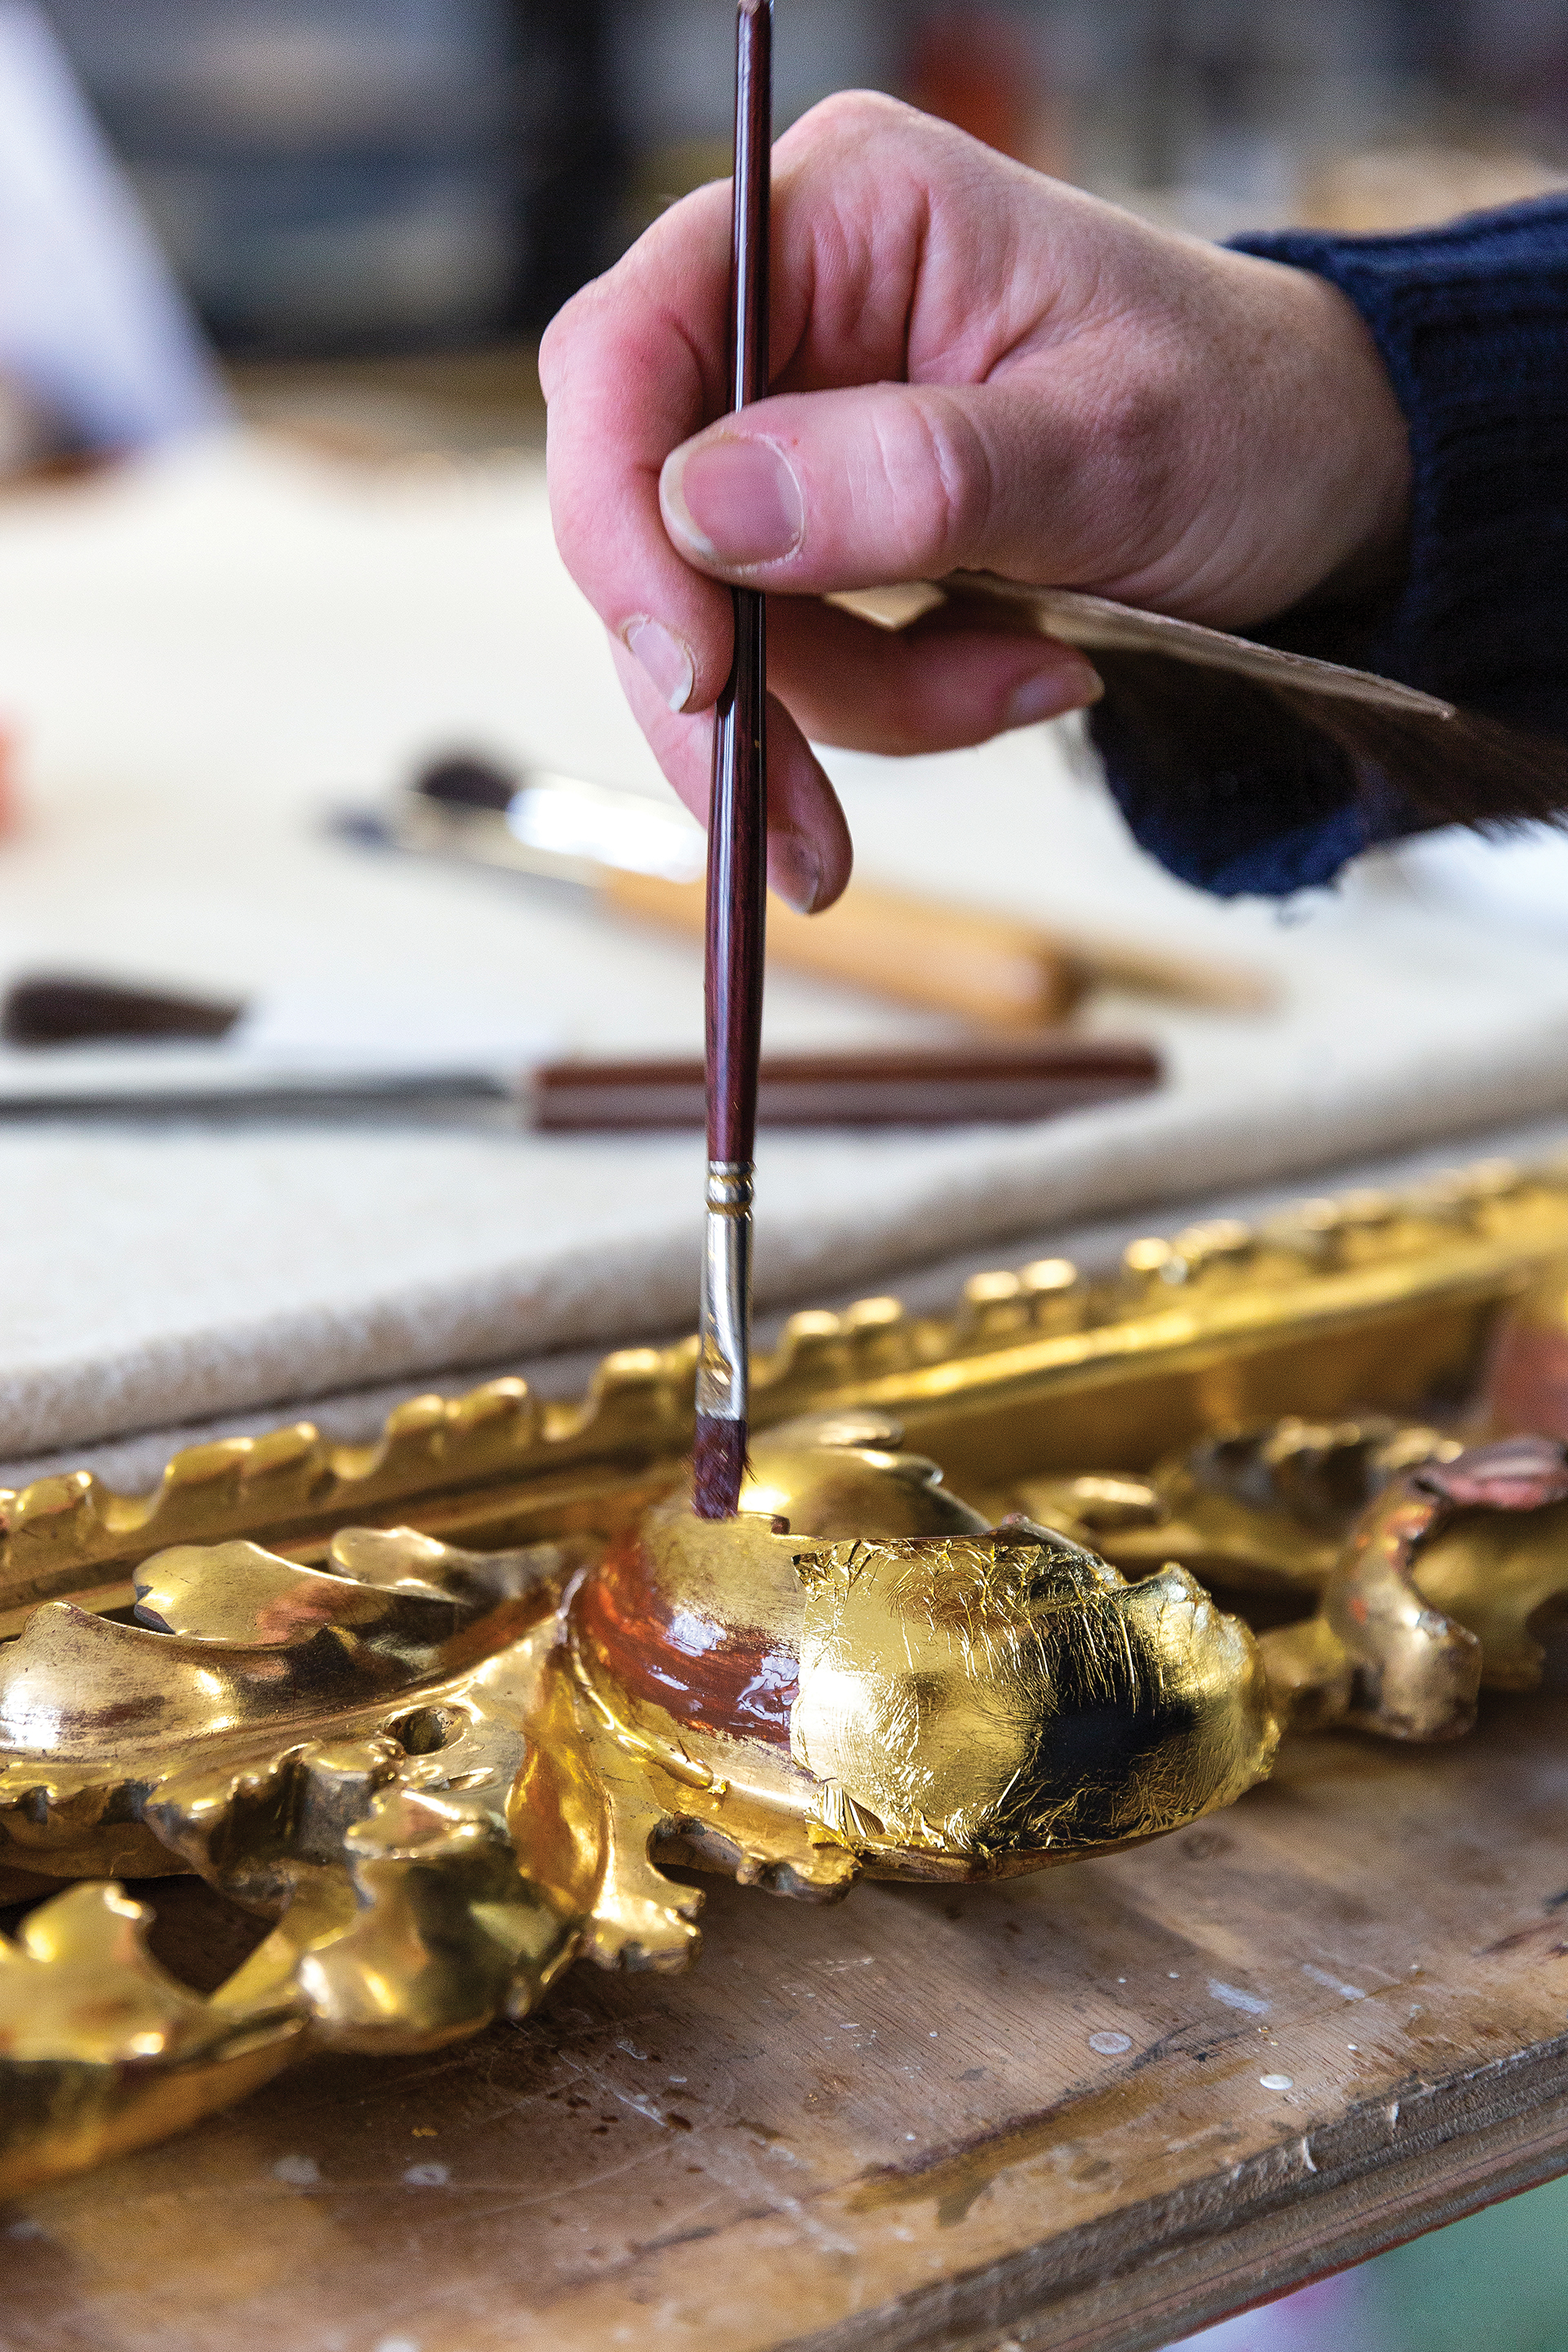
Restoring gilding
Valuable antique furniture, and particularly mirrors and picture frames, often feature gilding.
‘A lot of pieces will have been poorly repaired in the past, so this work needs to be corrected,’ says Ruth Tappin, specialist antiques restorer. ‘Sometimes an item has been covered with gold-colored paint or emulsion. This can be dry stripped or wet stripped with paint stripper, but this will remove any original oil gilding, which will then need replacing.
‘Oil gilding is fairly easy to learn once you know what to feel for as the oil size dries – this is how you know when you apply the gold.’
Oil gilding gives a matte look to the gold and can be used for both internal and external surfaces – it involves applying the size onto a prepared surface, and applying gold leaf once it becomes tacky.
However, Tappin warns that water gilding – used for high points of decoration – is a harder skill to master. ‘For this process a water and glue solution – gilder’s lacquer – is brushed onto the smoothed bole surface.' The bole is clay mixed with rabbit glue, which provides a flexible surface that can be burnished.
'Then the gold leaf is laid on immediately with a glider's tip – a flat brush made from squirrel hair. This is then burnished with an agate stone to achieve a mirror-like finish.'
It is intricate work, best left to professionals. 'Trying to lay down a piece of gold without tearing it takes years of practice,’ says Tappin.

Melanie has worked in homes and gardens media for two decades. Having previously served as Editor on Period Living magazine, and worked on Homes & Gardens, Gardening Etc, Real Homes, and Homebuilding & Renovating, she is now focusing on her passion for gardening as a Senior Editor at Gardening Know How. As a keen home grower, Melanie has experimented with pretty much every type of vegetable at some point – with mixed results. Often it is the simplest things that elude you, which may explain why she just can't seem to master zucchinis.
