How to plant summer bulbs – expert tips for fabulous floral displays
The gardening pros share essential advice for these beautiful, warm-weather bloomers


Design expertise in your inbox – from inspiring decorating ideas and beautiful celebrity homes to practical gardening advice and shopping round-ups.
You are now subscribed
Your newsletter sign-up was successful
Want to add more newsletters?

Twice a week
Homes&Gardens
The ultimate interior design resource from the world's leading experts - discover inspiring decorating ideas, color scheming know-how, garden inspiration and shopping expertise.

Once a week
In The Loop from Next In Design
Members of the Next in Design Circle will receive In the Loop, our weekly email filled with trade news, names to know and spotlight moments. Together we’re building a brighter design future.

Twice a week
Cucina
Whether you’re passionate about hosting exquisite dinners, experimenting with culinary trends, or perfecting your kitchen's design with timeless elegance and innovative functionality, this newsletter is here to inspire
Gardening often calls us to think ahead – to plan and prep for showtime in later seasons. Spring is one of the busiest times for this, and planting summer bulbs is one of the key tasks to tick off.
Choosing the best summer bulb is almost impossible, as there are so many gorgeous varieties. Dahlias are a firm favorite for many due to the wide range available – from the big, bold, and blousy to the pale and intricate pom-pom styles. Ranunculus flowers are another honorable mention with their candy-like colors. Then there are the loftier types that stand proud at the back of borders – the gladioli, crocosmia, and agapanthus.
Just like with spring bulbs, it's important to get your planting technique right if you want to enjoy summer bulbs in your yard. Below, you'll find practical tips from gardening experts, to help you grow a glorious display.
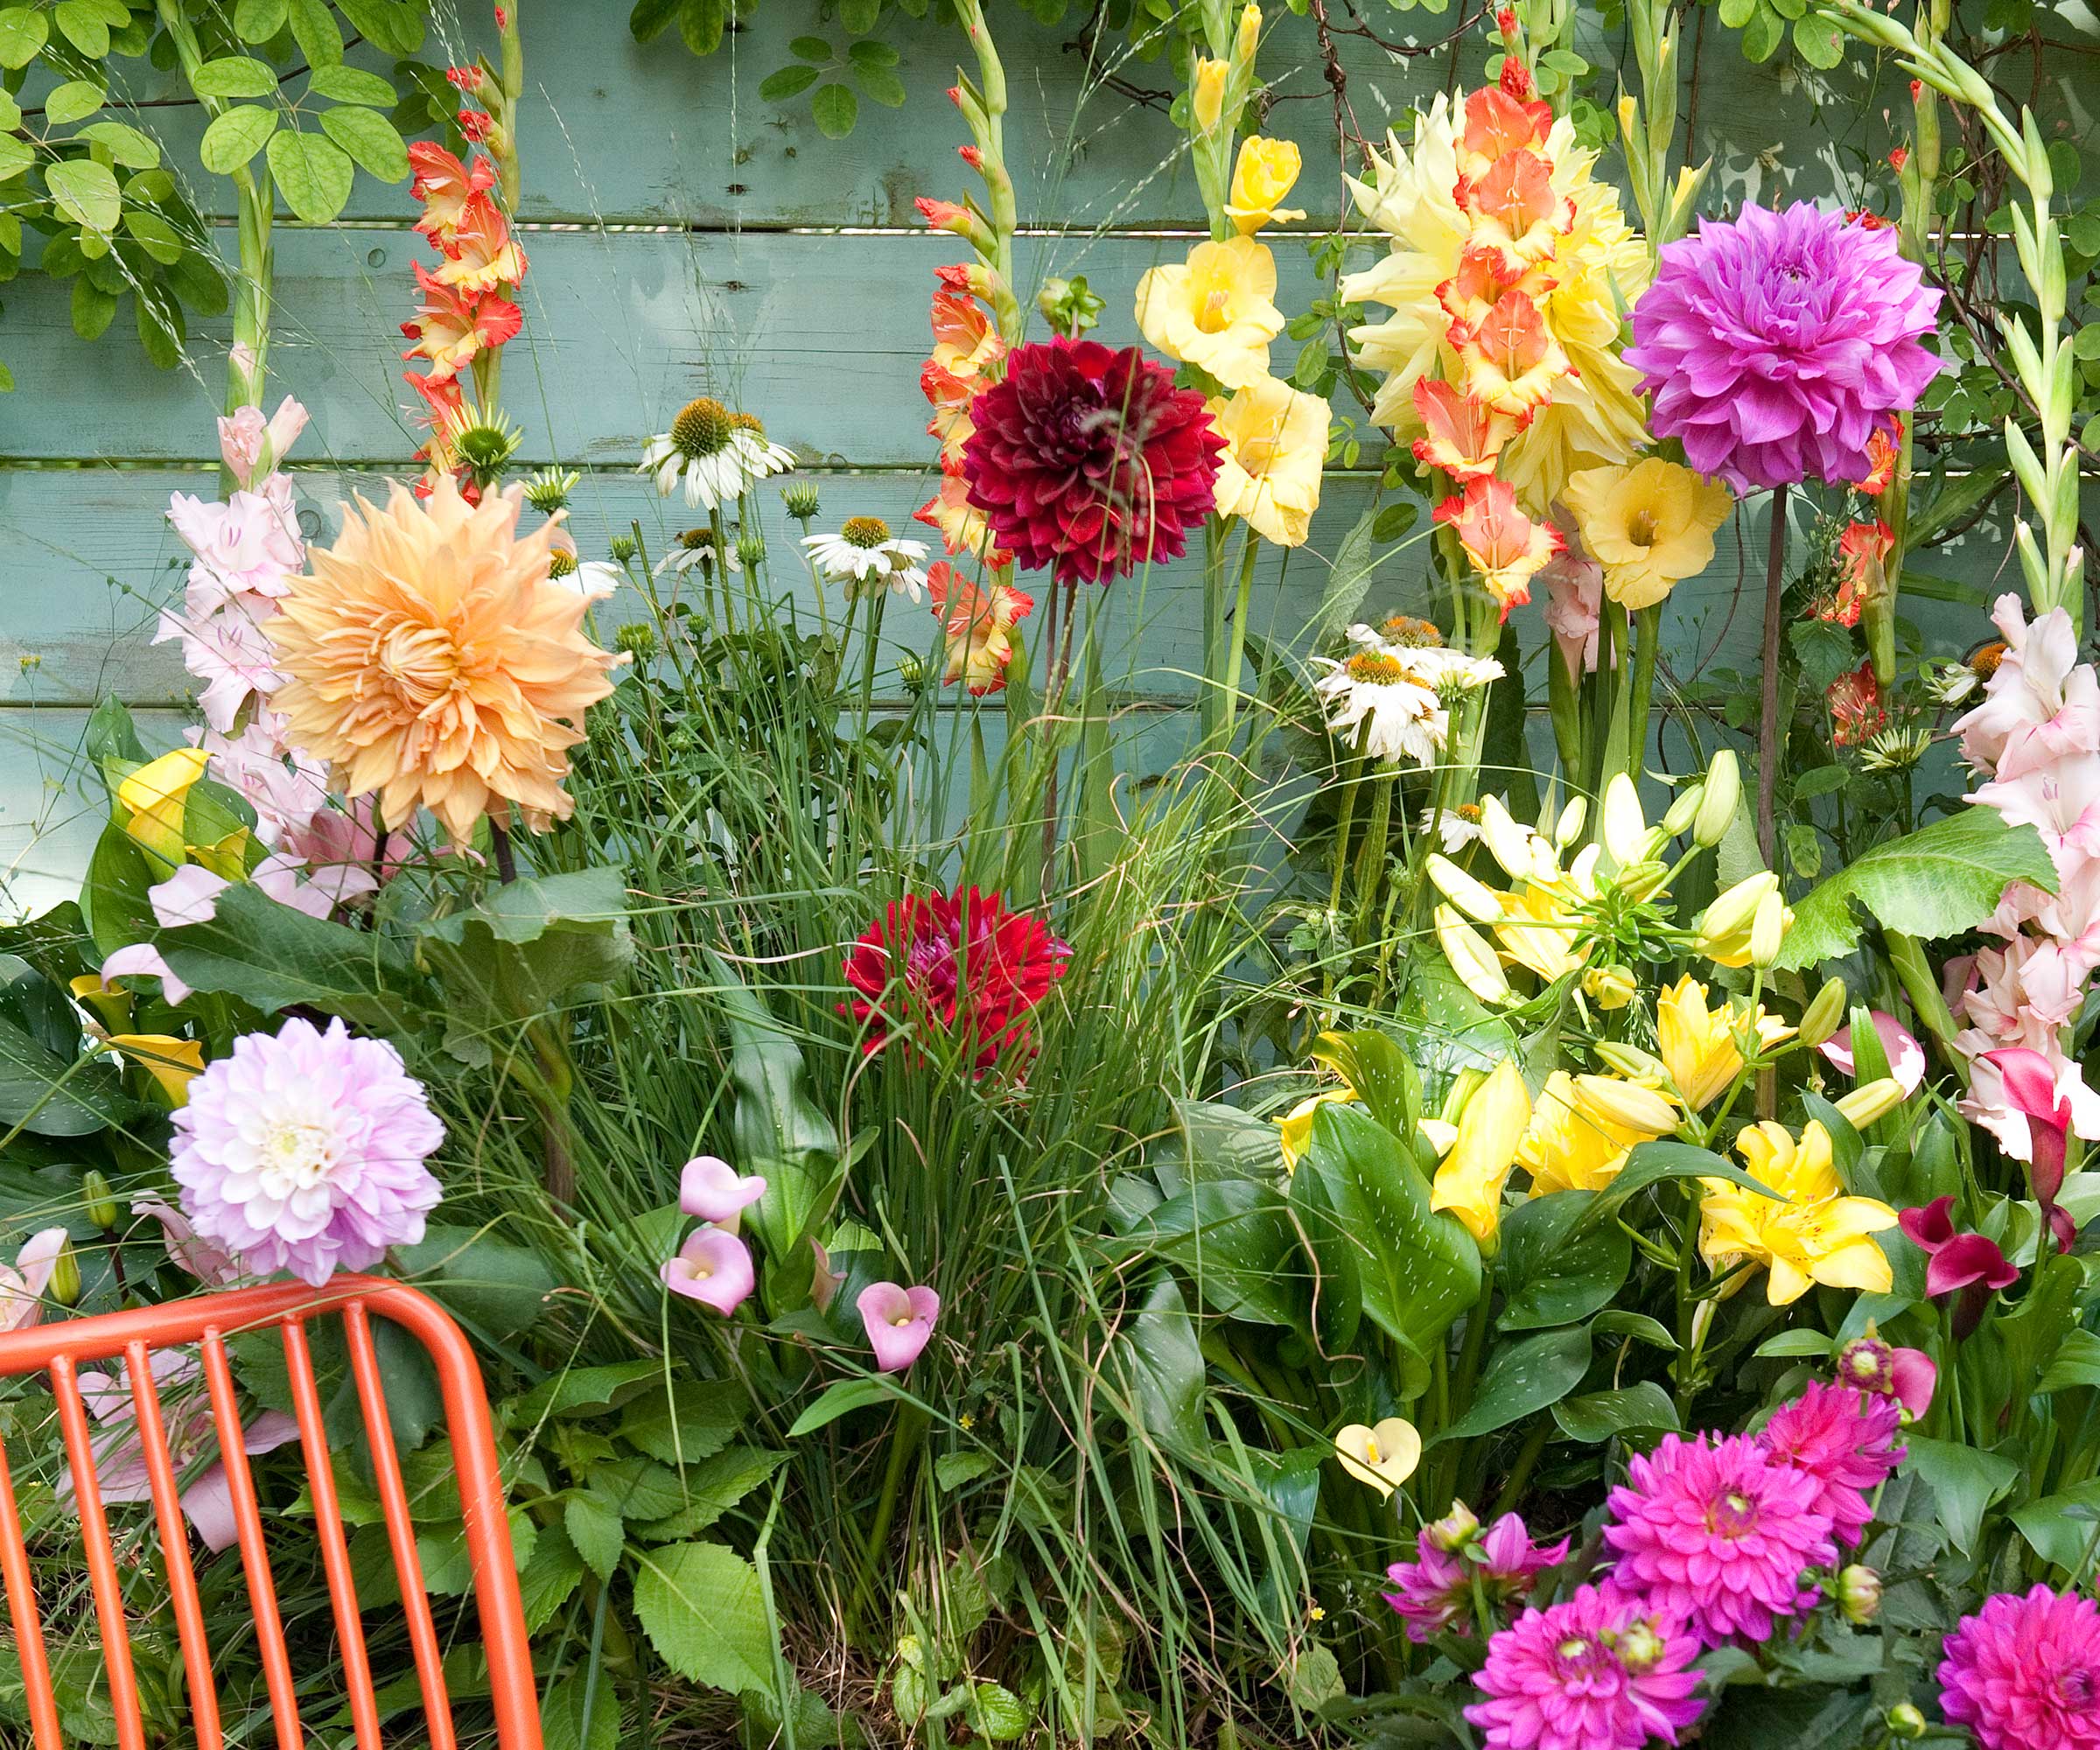
There is a wide range of summer bulbs you can plant in your yard
How to plant summer bulbs
Before you get started, it's essential to know when to plant summer bulbs. Unlike many spring bulbs, these plants won't tolerate frosts, so you'll need to wait until warmer weather has arrived.
Planting summer bulbs in the ground
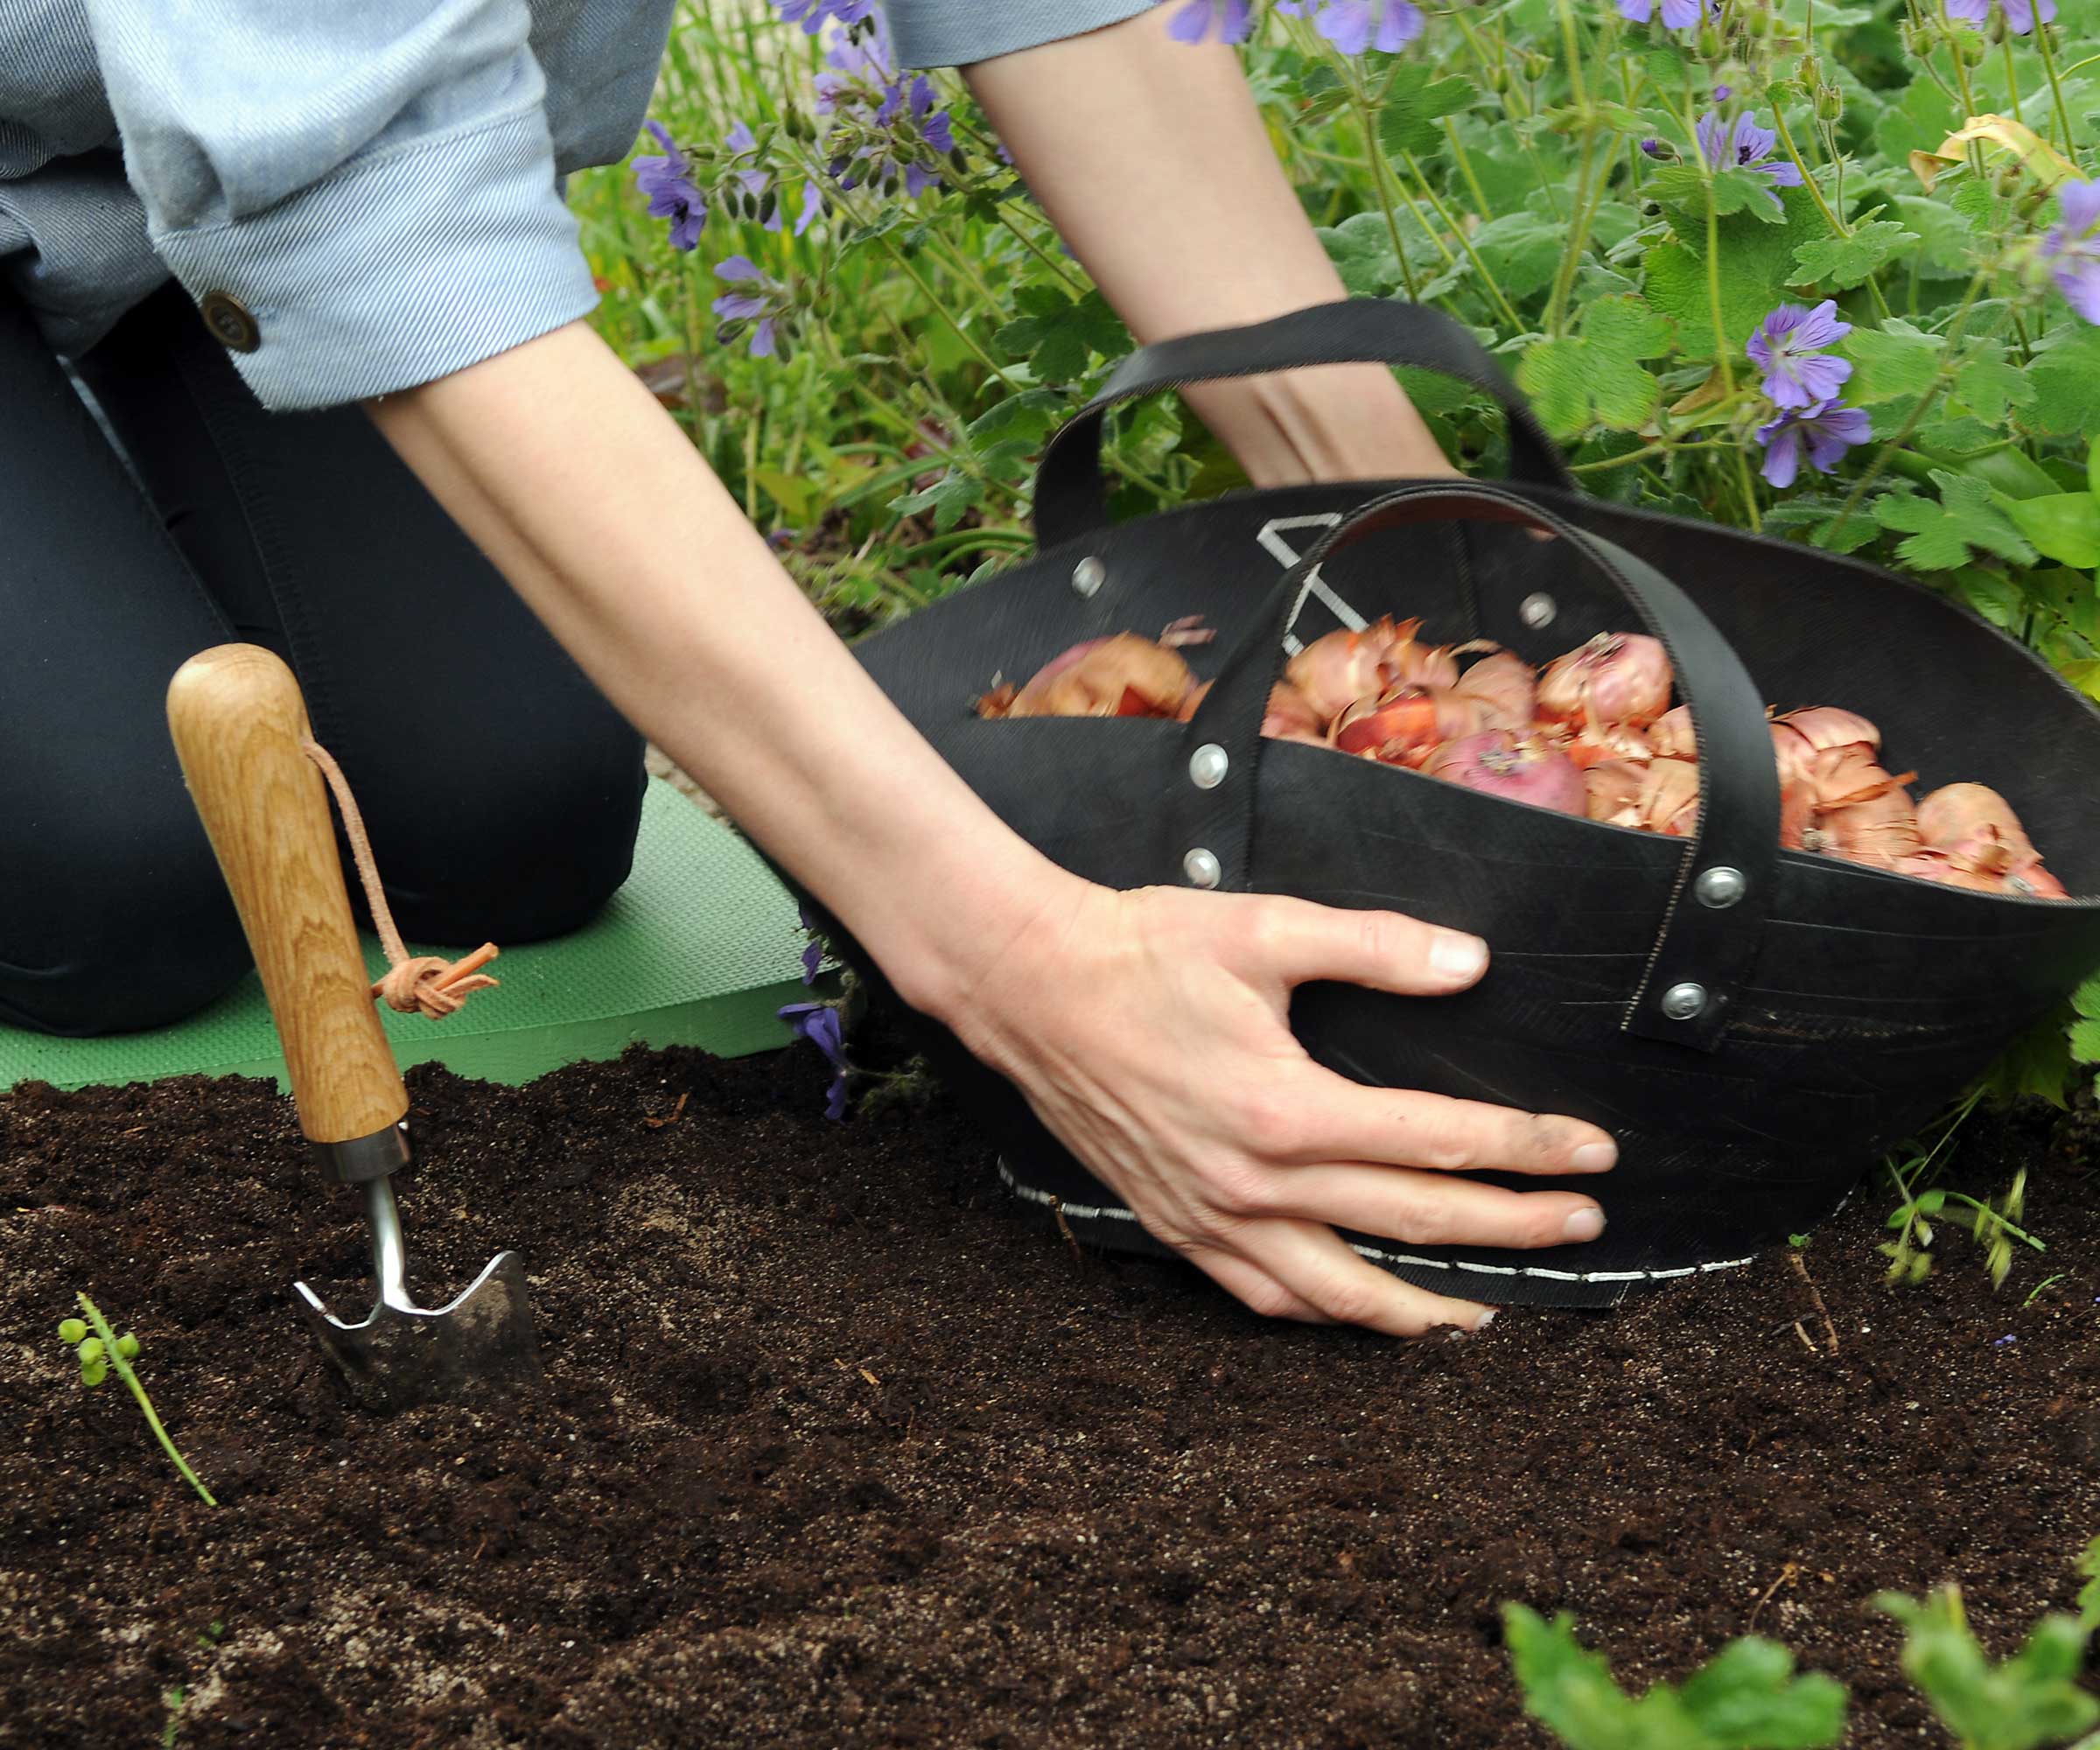
Planting summer bulbs is easy – but ensure you do it at the right time
Bulbs make the biggest impact when planted in clusters, rather than dotted singularly throughout a border. Consider their mature sizes to help you decide whether they should go at the front, middle, or back of your flower beds.
'Some of the tall summer bulbs, like dahlias, gladiolas, and canna lilies, may require staking, especially if they are not planted in full sun,' says Jessica Mercer of Plant Addicts. 'The best time to add these supports is at planting, so you know where the bulb is and don't accidentally pierce it.'

Jessica Mercer, PhD, is the senior content marketing coordinator for Plant Addicts. As a plant collector, Jessica enjoys growing many different plants and learning about the best culture practices for each. Writing for Plant Addicts is a real joy for her, as she can use her science background to research interesting plant topics.
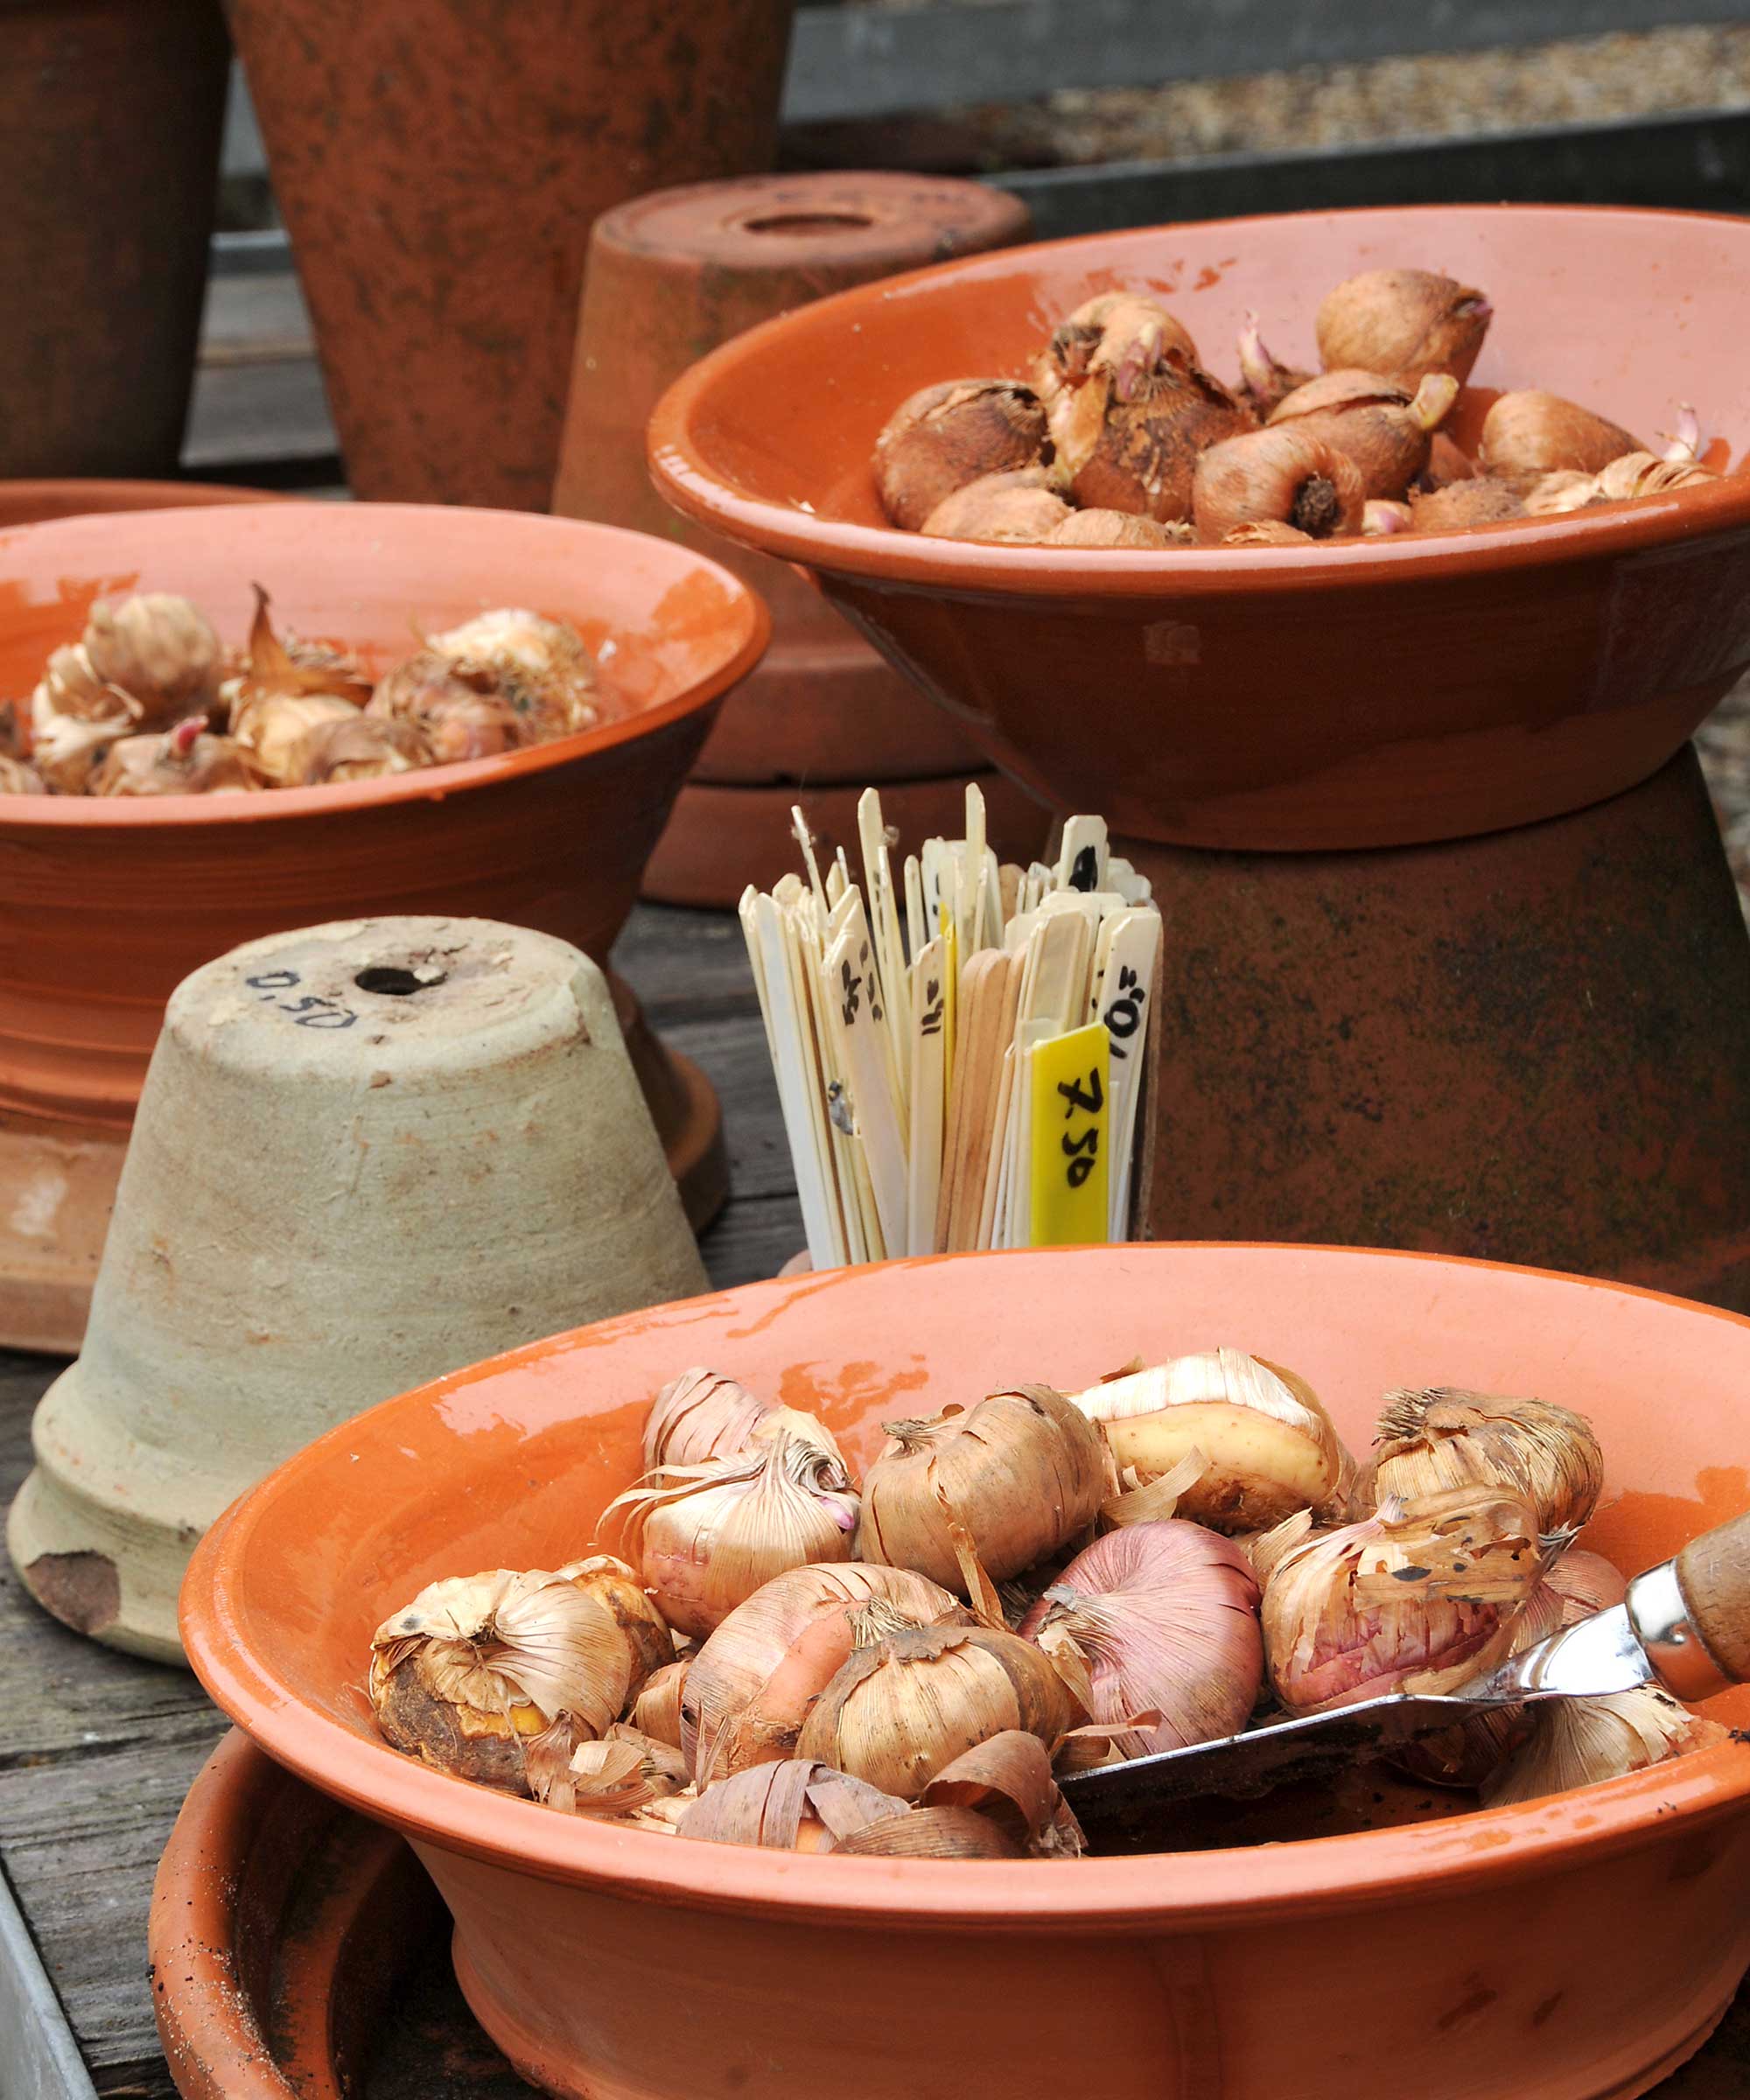
Check the quality of your bulbs before you plant
The planting process requires six simple steps:
Design expertise in your inbox – from inspiring decorating ideas and beautiful celebrity homes to practical gardening advice and shopping round-ups.
- Choose your bulbs: Jessica recommends buying the biggest bulbs possible, as bigger bulbs have more energy stored for flower and foliage production. 'When choosing a bulb to plant, make sure there is no mold on it,' says Autumn Hilliard-Knapp of Perfect Plants Nursery. She suggests slightly squeezing it, too, to make sure it is firm. 'If it is soft or mushy, it has gone bad,' she says.
- Find the perfect spot: Diane Kuthy, the founder of How To Grow Everything, recommends choosing a sunny location, where the soil is nice and warm. Take the soil type into account, too. As Jessica highlights, bulbs need soil that drains well – 'Soggy soil can rot the bulbs and should be avoided.'
- Prepare the ground: Once you've found a suitable location, it's time to prepare the soil. Autumn says to loosen it up and remove any weeds and debris. 'Consider adding organic matter, such as compost, to improve soil fertility and drainage,' she says.
- Dig holes at the right depth: 'When you order summer bulbs, they should arrive with specific planting depth instructions,' says Diane. 'Follow these instructions carefully to ensure your bulbs are planted at the correct depth and bulb orientation. When I first started growing dahlias, I ignored their specific guidelines and used the general rule of "plant bulbs five inches deep". As a result, all of my precious dahlia bulbs rotted in the ground!'
- Get planting: Autumn advises placing the bulbs with the pointed side facing upward. 'Leave adequate space between the bulbs, following the recommended spacing for each bulb species,' she says.
- Finish up: Once planted, gently backfill the holes with soil and lightly tamp it down, Autumn says. 'Water thoroughly after planting to settle the soil and initiate bulb growth.'
Top tip: 'Be mindful of pests,' warns Diane. 'Critters, like squirrels, love to dig up and gnaw on bulbs. If you have rodent pests in your garden, then you must protect your bulbs using various repellents and deterrents such as underground wire mesh cages (prevents diggers such as voles and gophers), above-ground cages (for squirrels), and sonic stakes (for all rodents).'

Autumn is a horticulture specialist and marketing professional at Perfect Plants Nursery. With four years of experience in the horticulture industry, she has developed a passion for helping people create beautiful indoor and outdoor spaces to enjoy. Her expertise in horticulture encompasses a broad range of activities, including plant care and selection, landscape design, and maintenance.

Diane Kuthy is the founder and lead plant expert at How To Grow Everything, a collection of comprehensive grow guides for every plant and vegetable. Diane has over 10 years of gardening experience and she currently manages a 5-acre farm, a four-season greenhouse, over 50 perennial fruit and vegetable varieties, and a large indoor plant conservatory.
Planting summer bulbs in pots
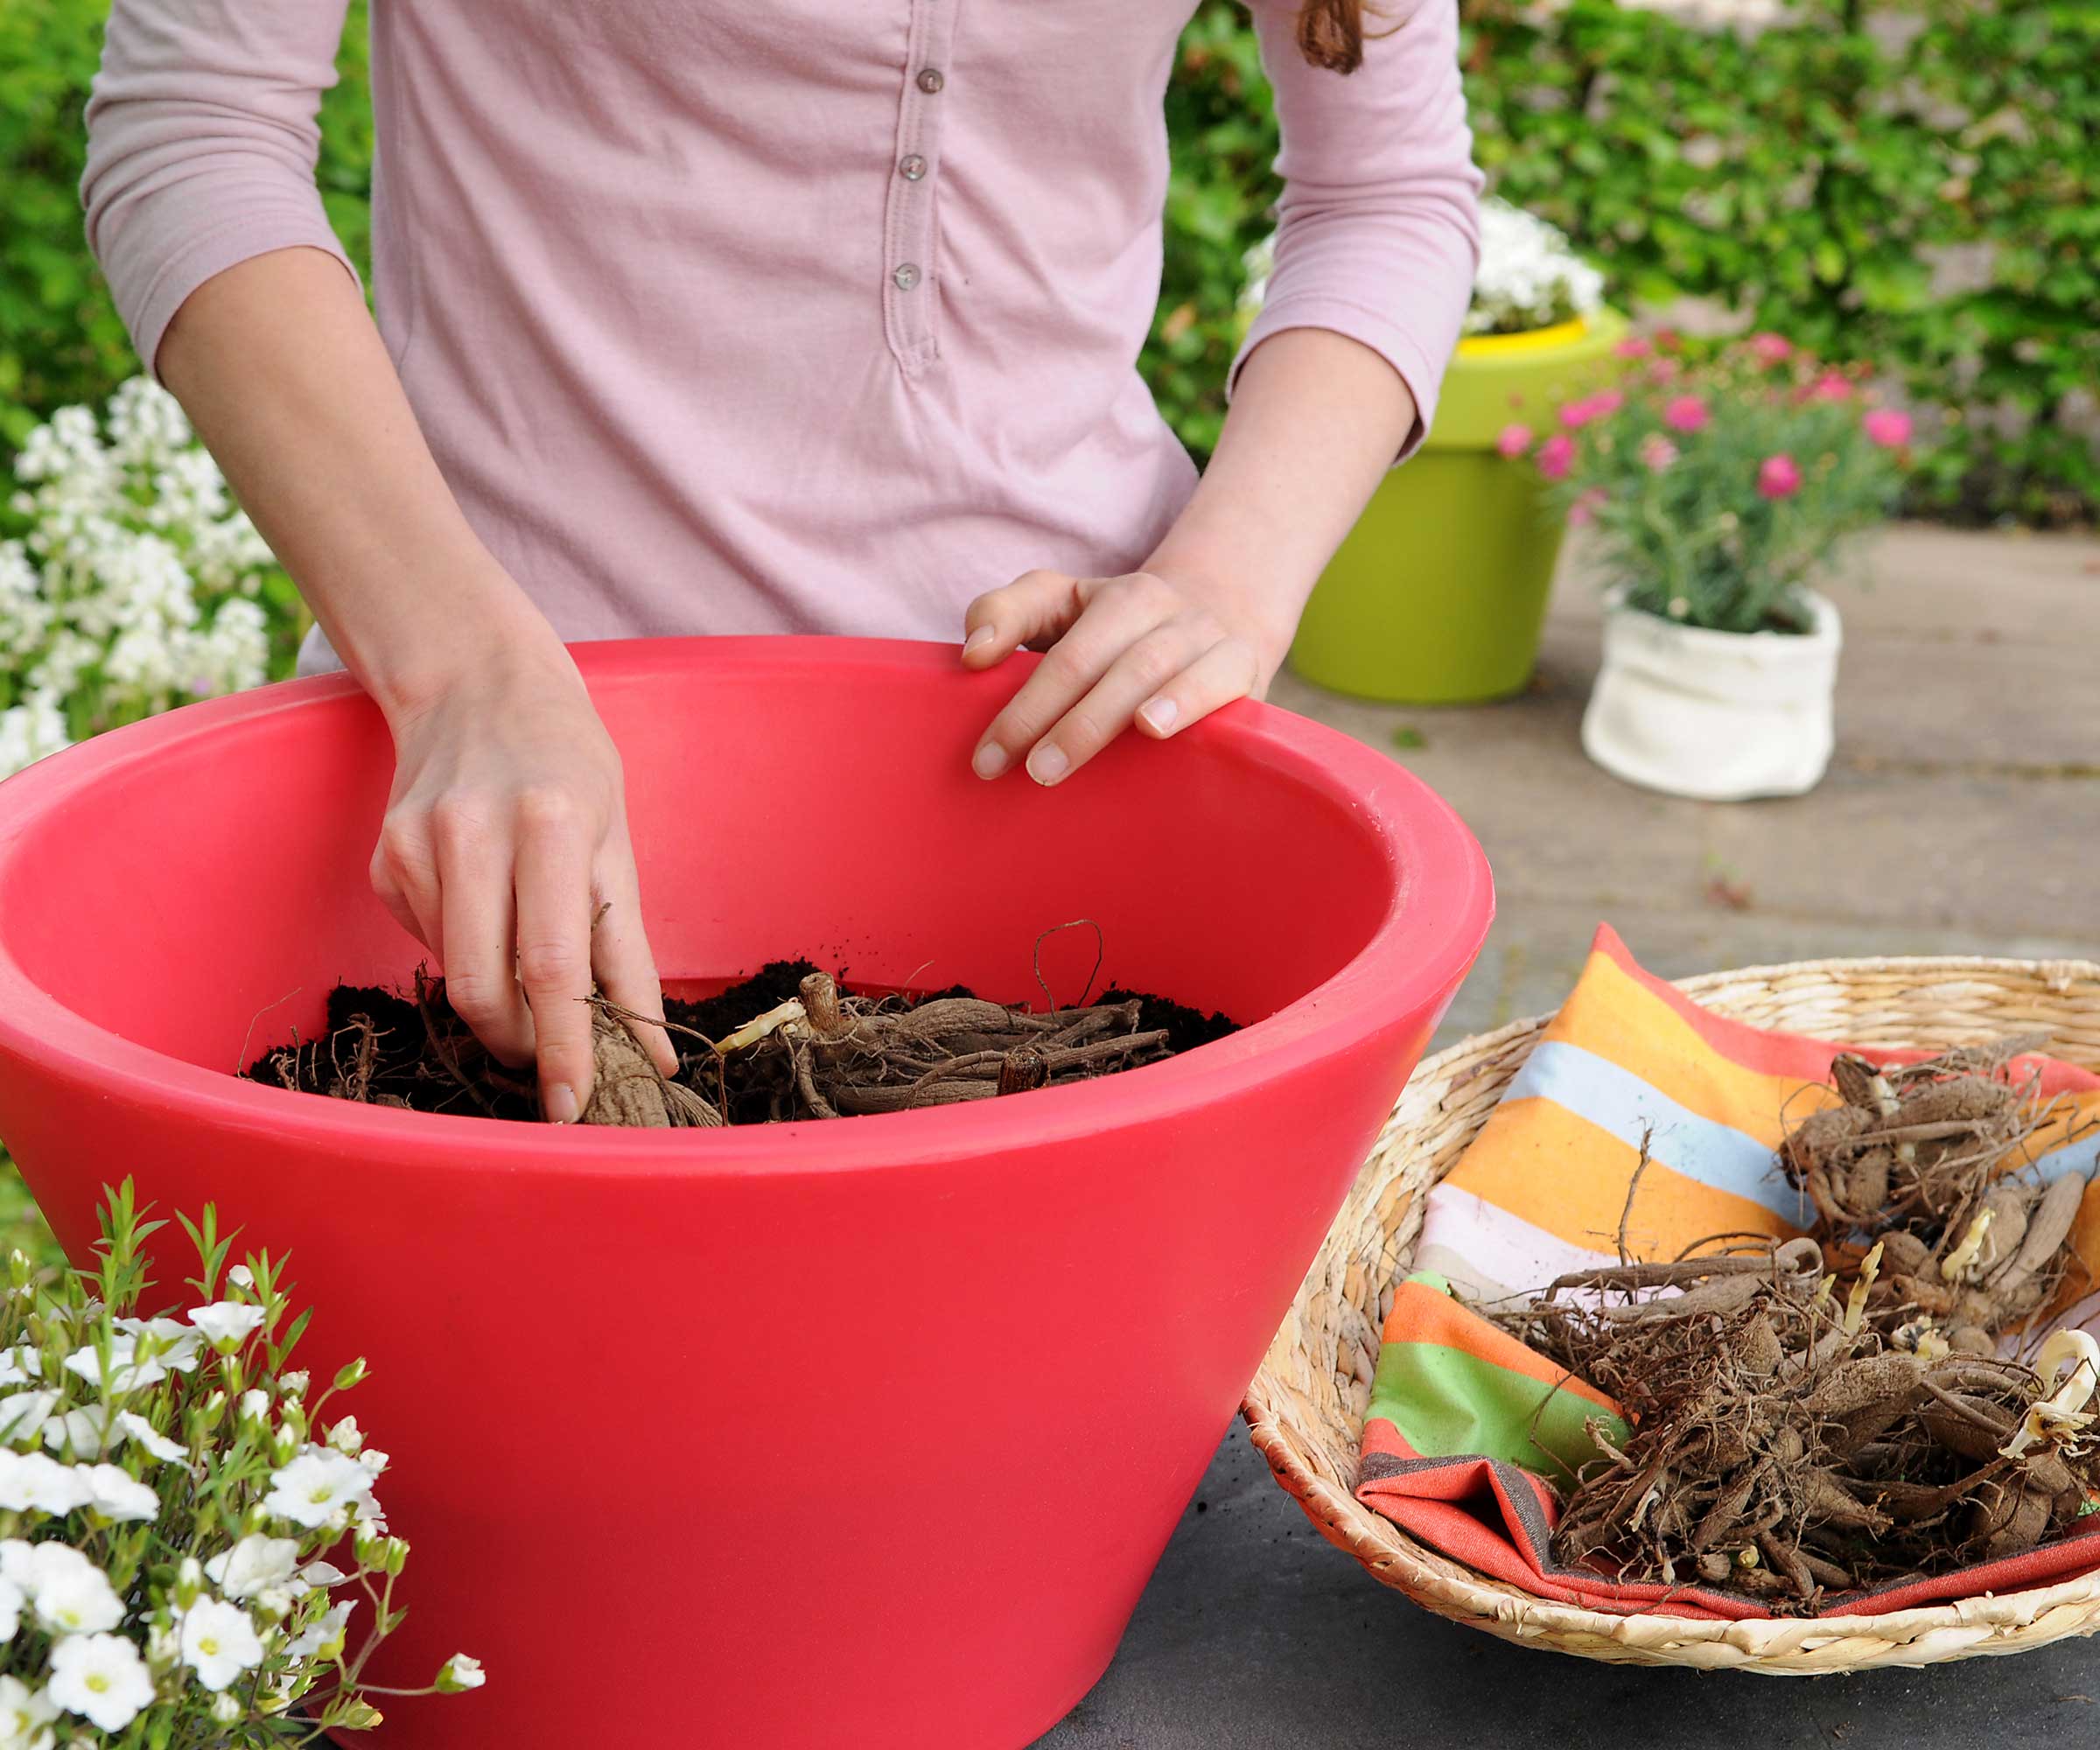
Summer bulbs need well-draining soil
Smaller varieties of summer bulbs make stunning additions to container gardens. But there are a few steps to follow to ensure your display is a success:
- Select the right container: 'Choose a pot with drainage holes to avoid waterlogging,' says Autumn. Ensure it's large enough to accommodate the bulbs and allow room for root growth, she adds.
- Use suitable soil: 'Fill the pot with a well-draining potting mix,' Autumn continues. 'Consider adding perlite or sand to improve drainage if needed.' You can buy organic perlite from Perfect Plants Nursery.
- Consider planting depth and spacing: Just like when planting bulbs in borders, follow the recommended depths on the packet. 'For a lush pot overflowing with blossoms, leave just a slim gap between bulbs to prevent them from touching,' says Autumn.
- Finish up: 'Cover the bulbs with additional potting mix,' says Autumn. 'After planting, thoroughly water the pot to ensure the soil is evenly moist. Allow excess water to drain away.'
Ongoing care for summer bulbs
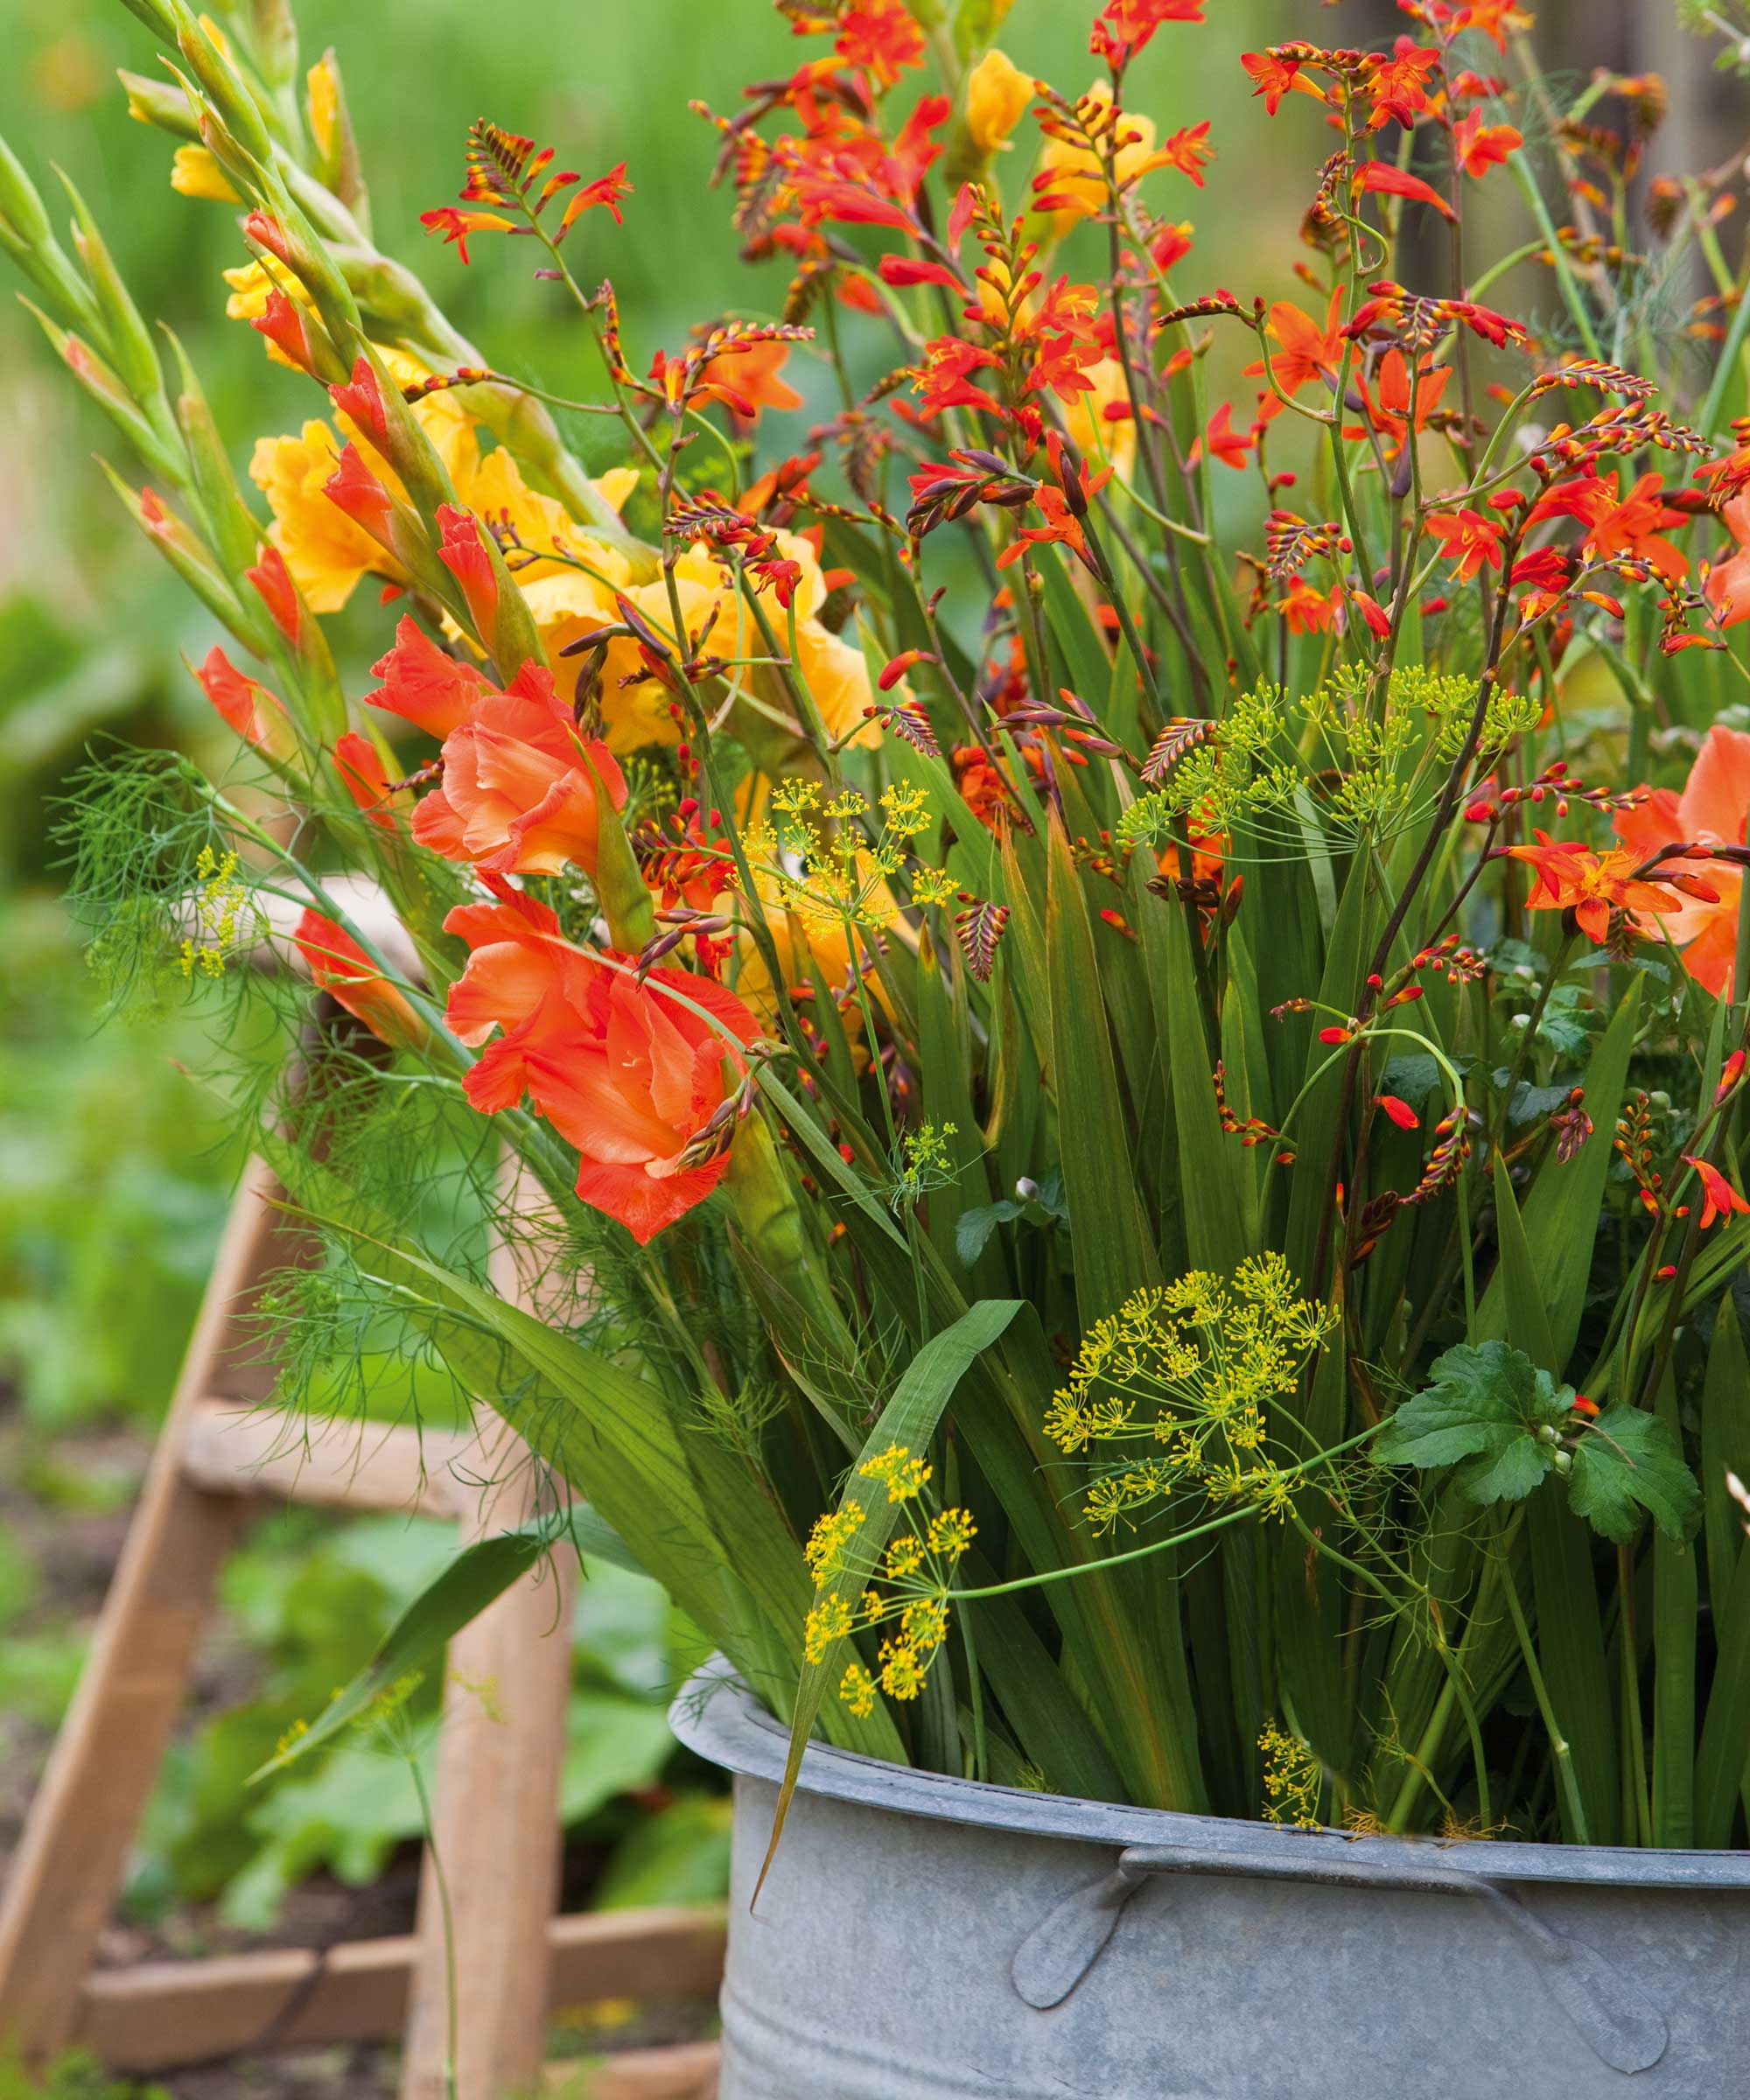
Place summer bulbs close together in pots for an impressive and full display
Once your bulbs are planted, there's not much maintenance to worry about.
Autumn recommends regular watering to keep the soil evenly moist. Adjust the frequency according to weather conditions and the specific needs of each bulb species, she says.
It's also worth keeping an eye out for pests, such as aphids, slugs, or snails, as the plants grow. 'Use organic insecticides if necessary and take precautions to prevent pest infestations, such as keeping the area clean and removing debris,' Autumn says.
Some summer bulbs benefit from deadheading. For instance, Rebecca Sears, a gardening expert from Ferry-Morse, recommends regularly removing faded dahlia flowers. Failing to do so can result in fewer flowers, and can also encourage pests and diseases, she notes.
FAQs
Do you need to lift summer bulbs in winter?
Most summer bulbs are tender plants. Some are tougher than others (such as crocosmia) so it's worth checking the hardiness of the varieties you have, if you want to enjoy them for another year.
If you live somewhere with mild but wet winters, Jessica Mercer of Plant Addicts recommends covering the tender bulbs once the foliage dies back in late fall. 'I've used newspapers, overturned pots, fern fronds, and wood chips to cover my dahlias, canna lilies, and calla lilies,' she says.
However, in colder climates with freezing winters, you may prefer to play it safe. Protect your plants from frost by digging up tender varieties and storing them somewhere dry and frost-free. You can then replant them in the spring.
What are the common problems to avoid when planting summer bulbs?
'Don't plant upside down,' says Diane Kuthy, the founder of How To Grow Everything. It will slow their growth and, in some cases, can prevent the bulbs from properly sprouting, she says.
'If you are not able to tell which side goes up, plant the bulb sideways,' says Jessica Mercer of Plant Addicts.
Another top tip is to avoid planting them too early. 'If you've ordered summer bulbs and they have arrived too early to plant outdoors, try planting them in pots indoors until the weather is warm enough to transplant them outside,' Diane recommends. 'You can do this up to eight weeks before your planting date without too much concern.'
Finally, be careful not to overwater your bulbs, Diane says. 'You don't want your bulbs sitting in wet soil or else they may rot in the ground before they have a chance to grow.'
Spring is the perfect time to get other summer flowers underway, too – why not plant some of the best annual blooms, create a wildflower meadow, or start a cutting garden?

Holly started writing about gardening five years ago, and she is a regular contributor to Homes & Gardens. She has also written many gardening features for Woman & Home and Real Homes, too. She has previous experience as a professional gardener, where she helped to plant and maintain private gardens. Holly has also looked after allotment plots over the years and loves to grow her own flowers and veggies from seed. In her spare time, she enjoys visiting local gardens, botanical drawing, and tending to her ever-growing collection of houseplants.
