Pelargonium cuttings – how to propagate bedding geraniums
Our expert guide to this easy way of making more summer blooms

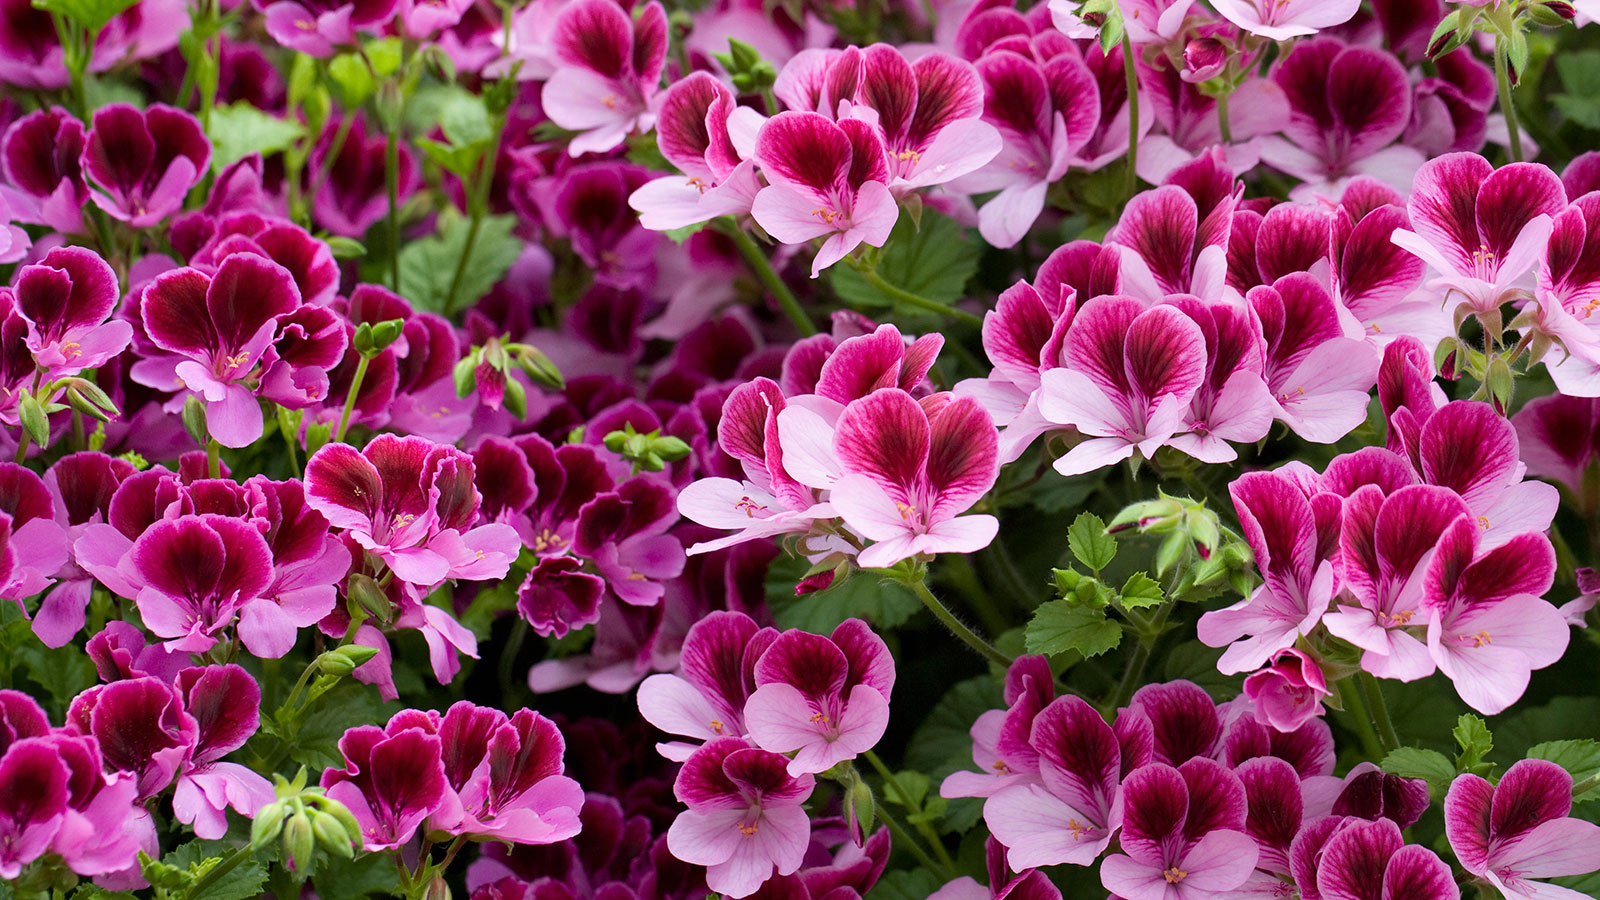
Bedding geraniums, also known as pelargoniums, are perennially popular summer plants.
Easy to grow and with a huge variety of colors and shades, there are trailing varieties that are some of the best plants for hanging baskets, upright varieties for borders and planters and some have leaves that smell of roses or lemon – I’ve even found Cola-scented pelargoniums – they are a fun plant to grow.
However, pelargoniums are not frost-hardy so come late summer and early fall it pays dividends to take plant cuttings from their healthy shoots in order to make more plants in case yours succumb to the cold weather.
Taking softwood pelargonium cuttings
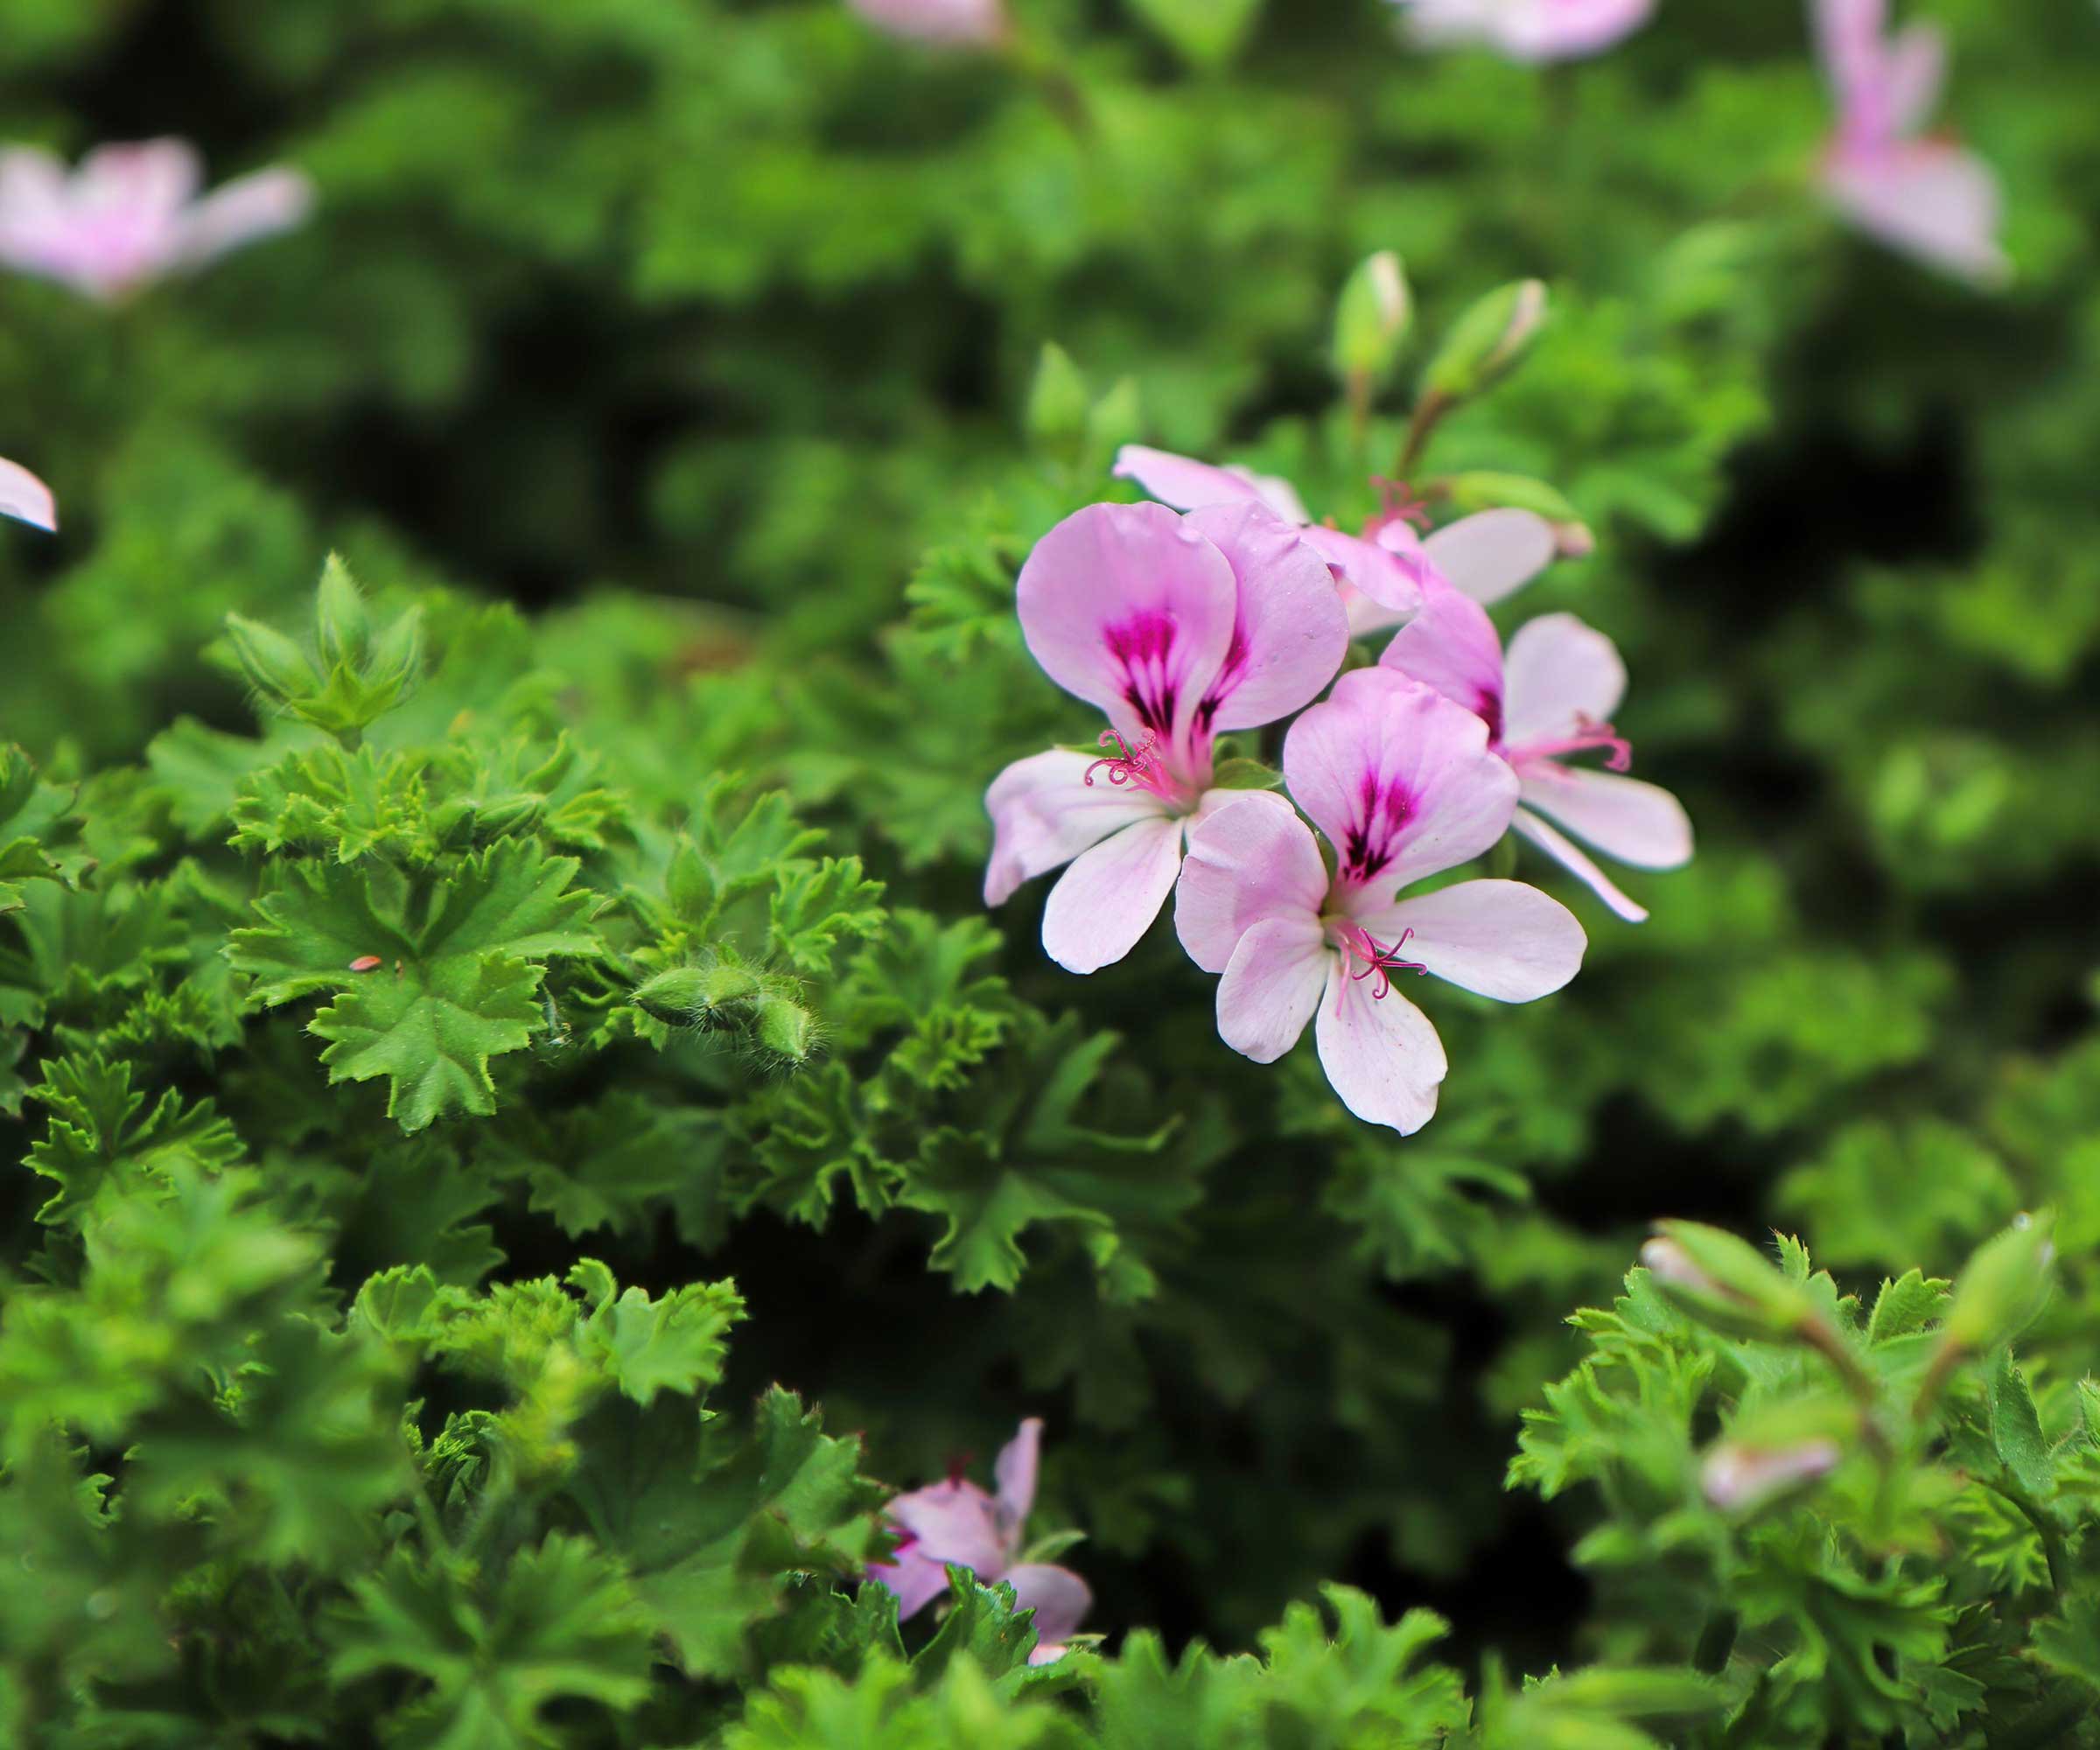
Softwood cuttings are grown from new plant material that is still soft and sappy and hasn’t ripened or grown hard.
This form of propagation is the simplest way to take perlargonium cuttings, and by avoiding the most common cuttings mistakes, it is a fast and economical way of adding to your stocks.
Softwood cuttings are usually taken from herbaceous perennials such as pelargoniums, penstemons and osteospermum, and deciduous shrubs including fuchsias, hydrangeas and buddleja.
When to take pelargonium cuttings
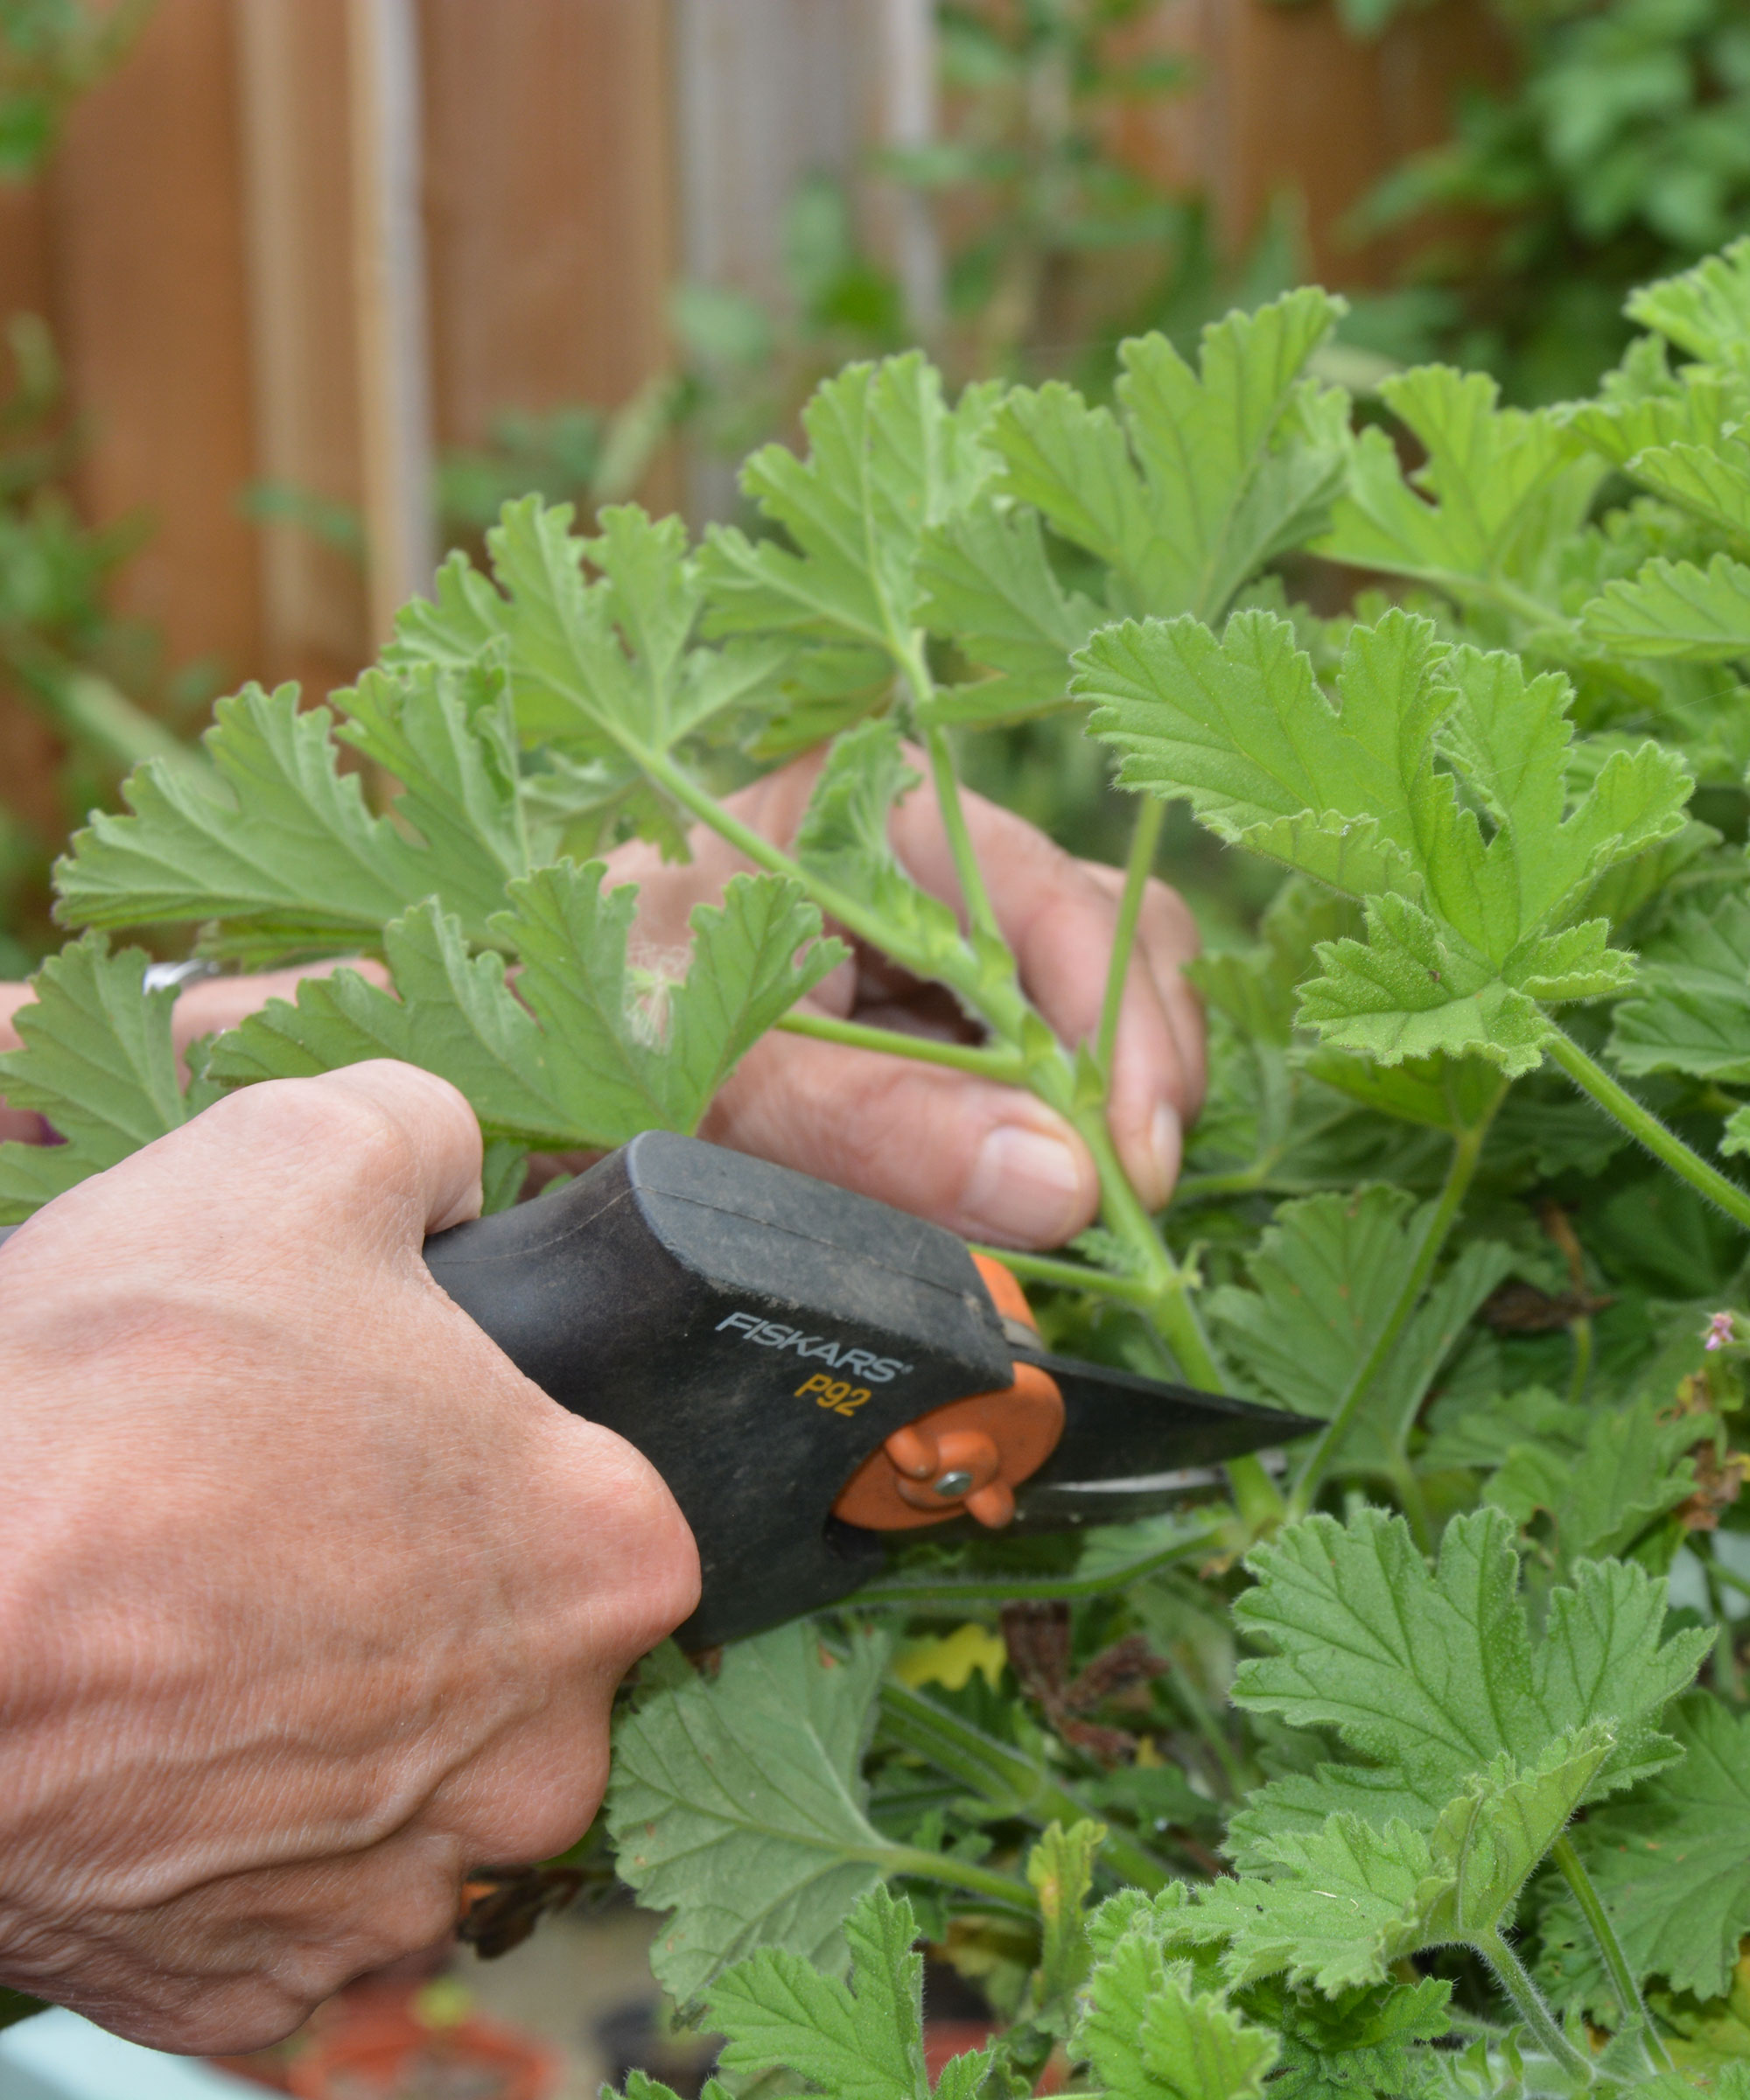
Select strong and healthy lengths of growth when taking cuttings
Once your pelargoniums are established and growing well, take the cuttings early in the morning when the plants are full of moisture from the night before.
Design expertise in your inbox – from inspiring decorating ideas and beautiful celebrity homes to practical gardening advice and shopping round-ups.
Snip around 4in of healthy, non-flowering new growth but don’t overdo it otherwise you will weaken the parent plant; three or four shoots from an established plant is fine.
How to take pelargonium cuttings
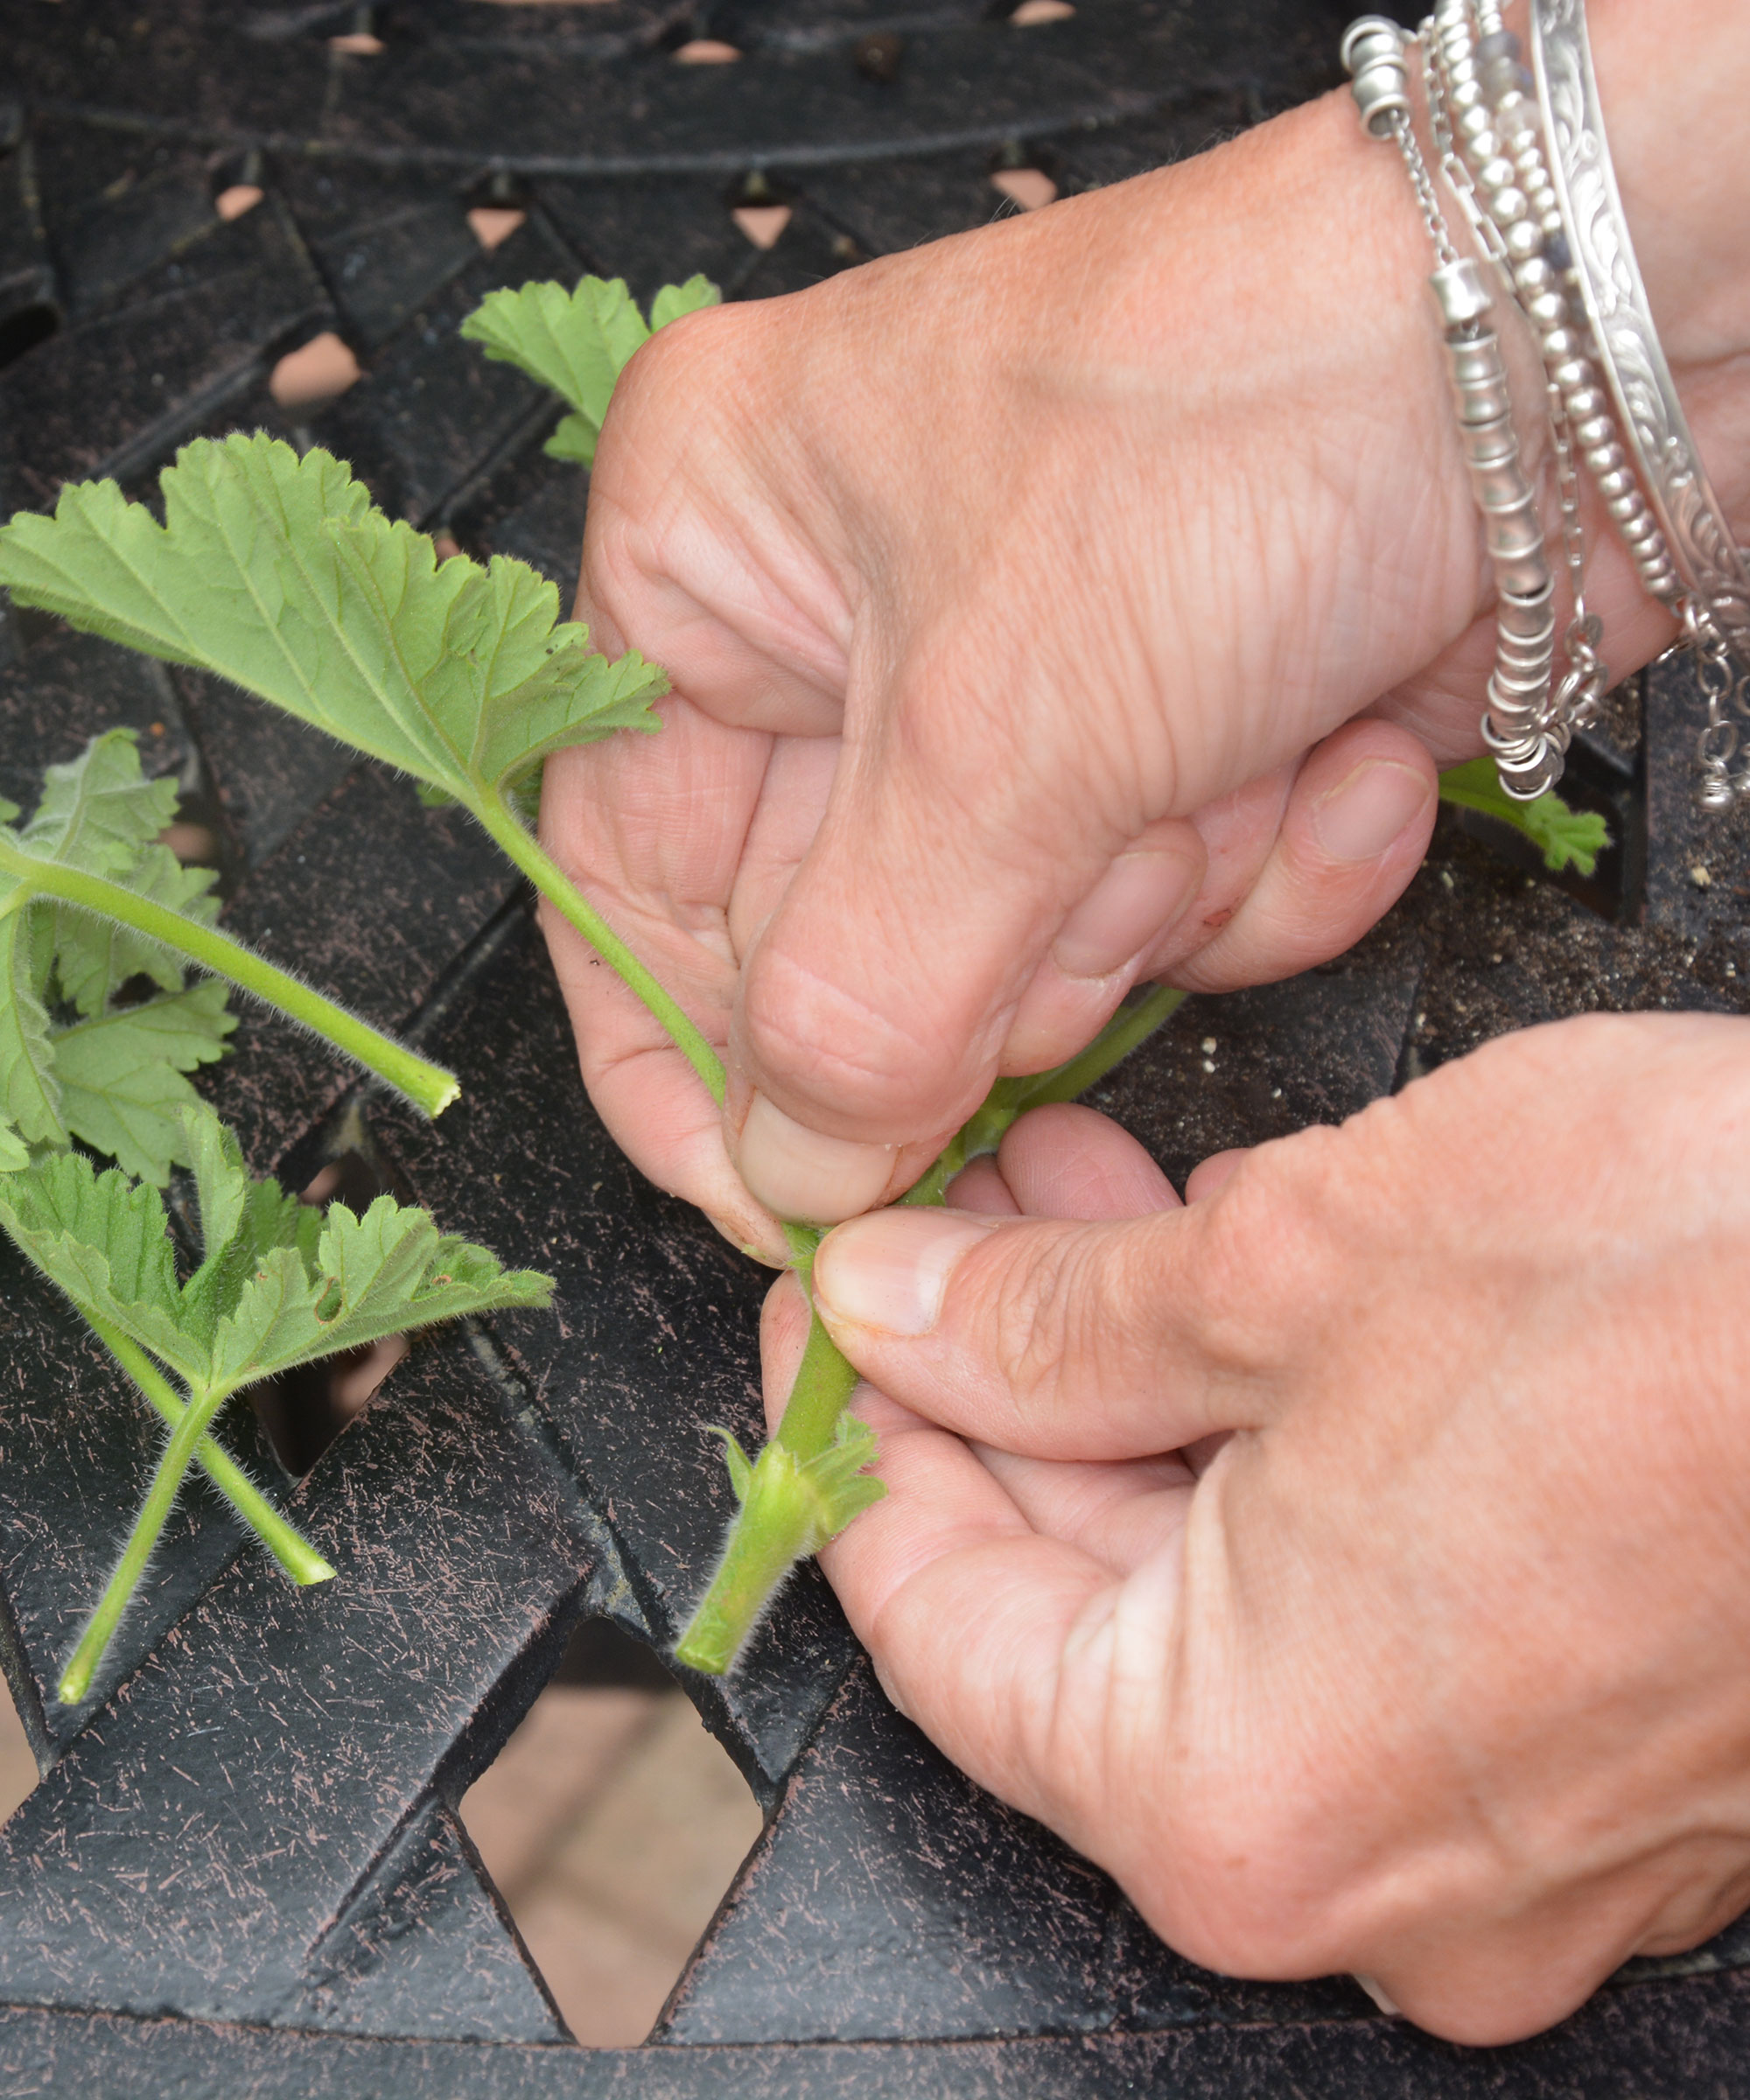
Remove the lowest leaves from the cuttings so they don't rot when they touch the damp potting soil
Start by filling four-inch pots with a mixture of seed potting soil, like this pack of SucSeed on Amazon, and either horticultural grit or vermiculite, available from Amazon.
This will open up the potting soil, improving its drainage and the movement of air around the pelargonium cuttings’ developing roots.
You then need to harvest 4in lengths of pelargonium growth using clean, sharp pruners or a garden knife, like this hawksbill-bladed knife on Amazon. Once this is done, follow these easy instructions:
- Pinch off the lower leaves from each cutting so they won’t rest on the damp compost and potentially start to rot.
- You can then dip the cut end in hormone rooting compound, usually a powder or gel and widely available on Amazon. This helps strong root development, though pelargoniums root so easily it isn’t an essential step.
- Insert the cuttings into the gritty compost mix and water them in.
- Stand the pots somewhere light and warm, though out of direct sunlight. Keep the compost damp but not sodden as this can cause the cuttings to rot.
- Some cuttings need to be sealed in a plastic bag or propagator to encourage rooting, but avoid doing this to pelargonium cuttings as their fleshy leaves are more prone to mildew.
When to transplant pelargonium cuttings
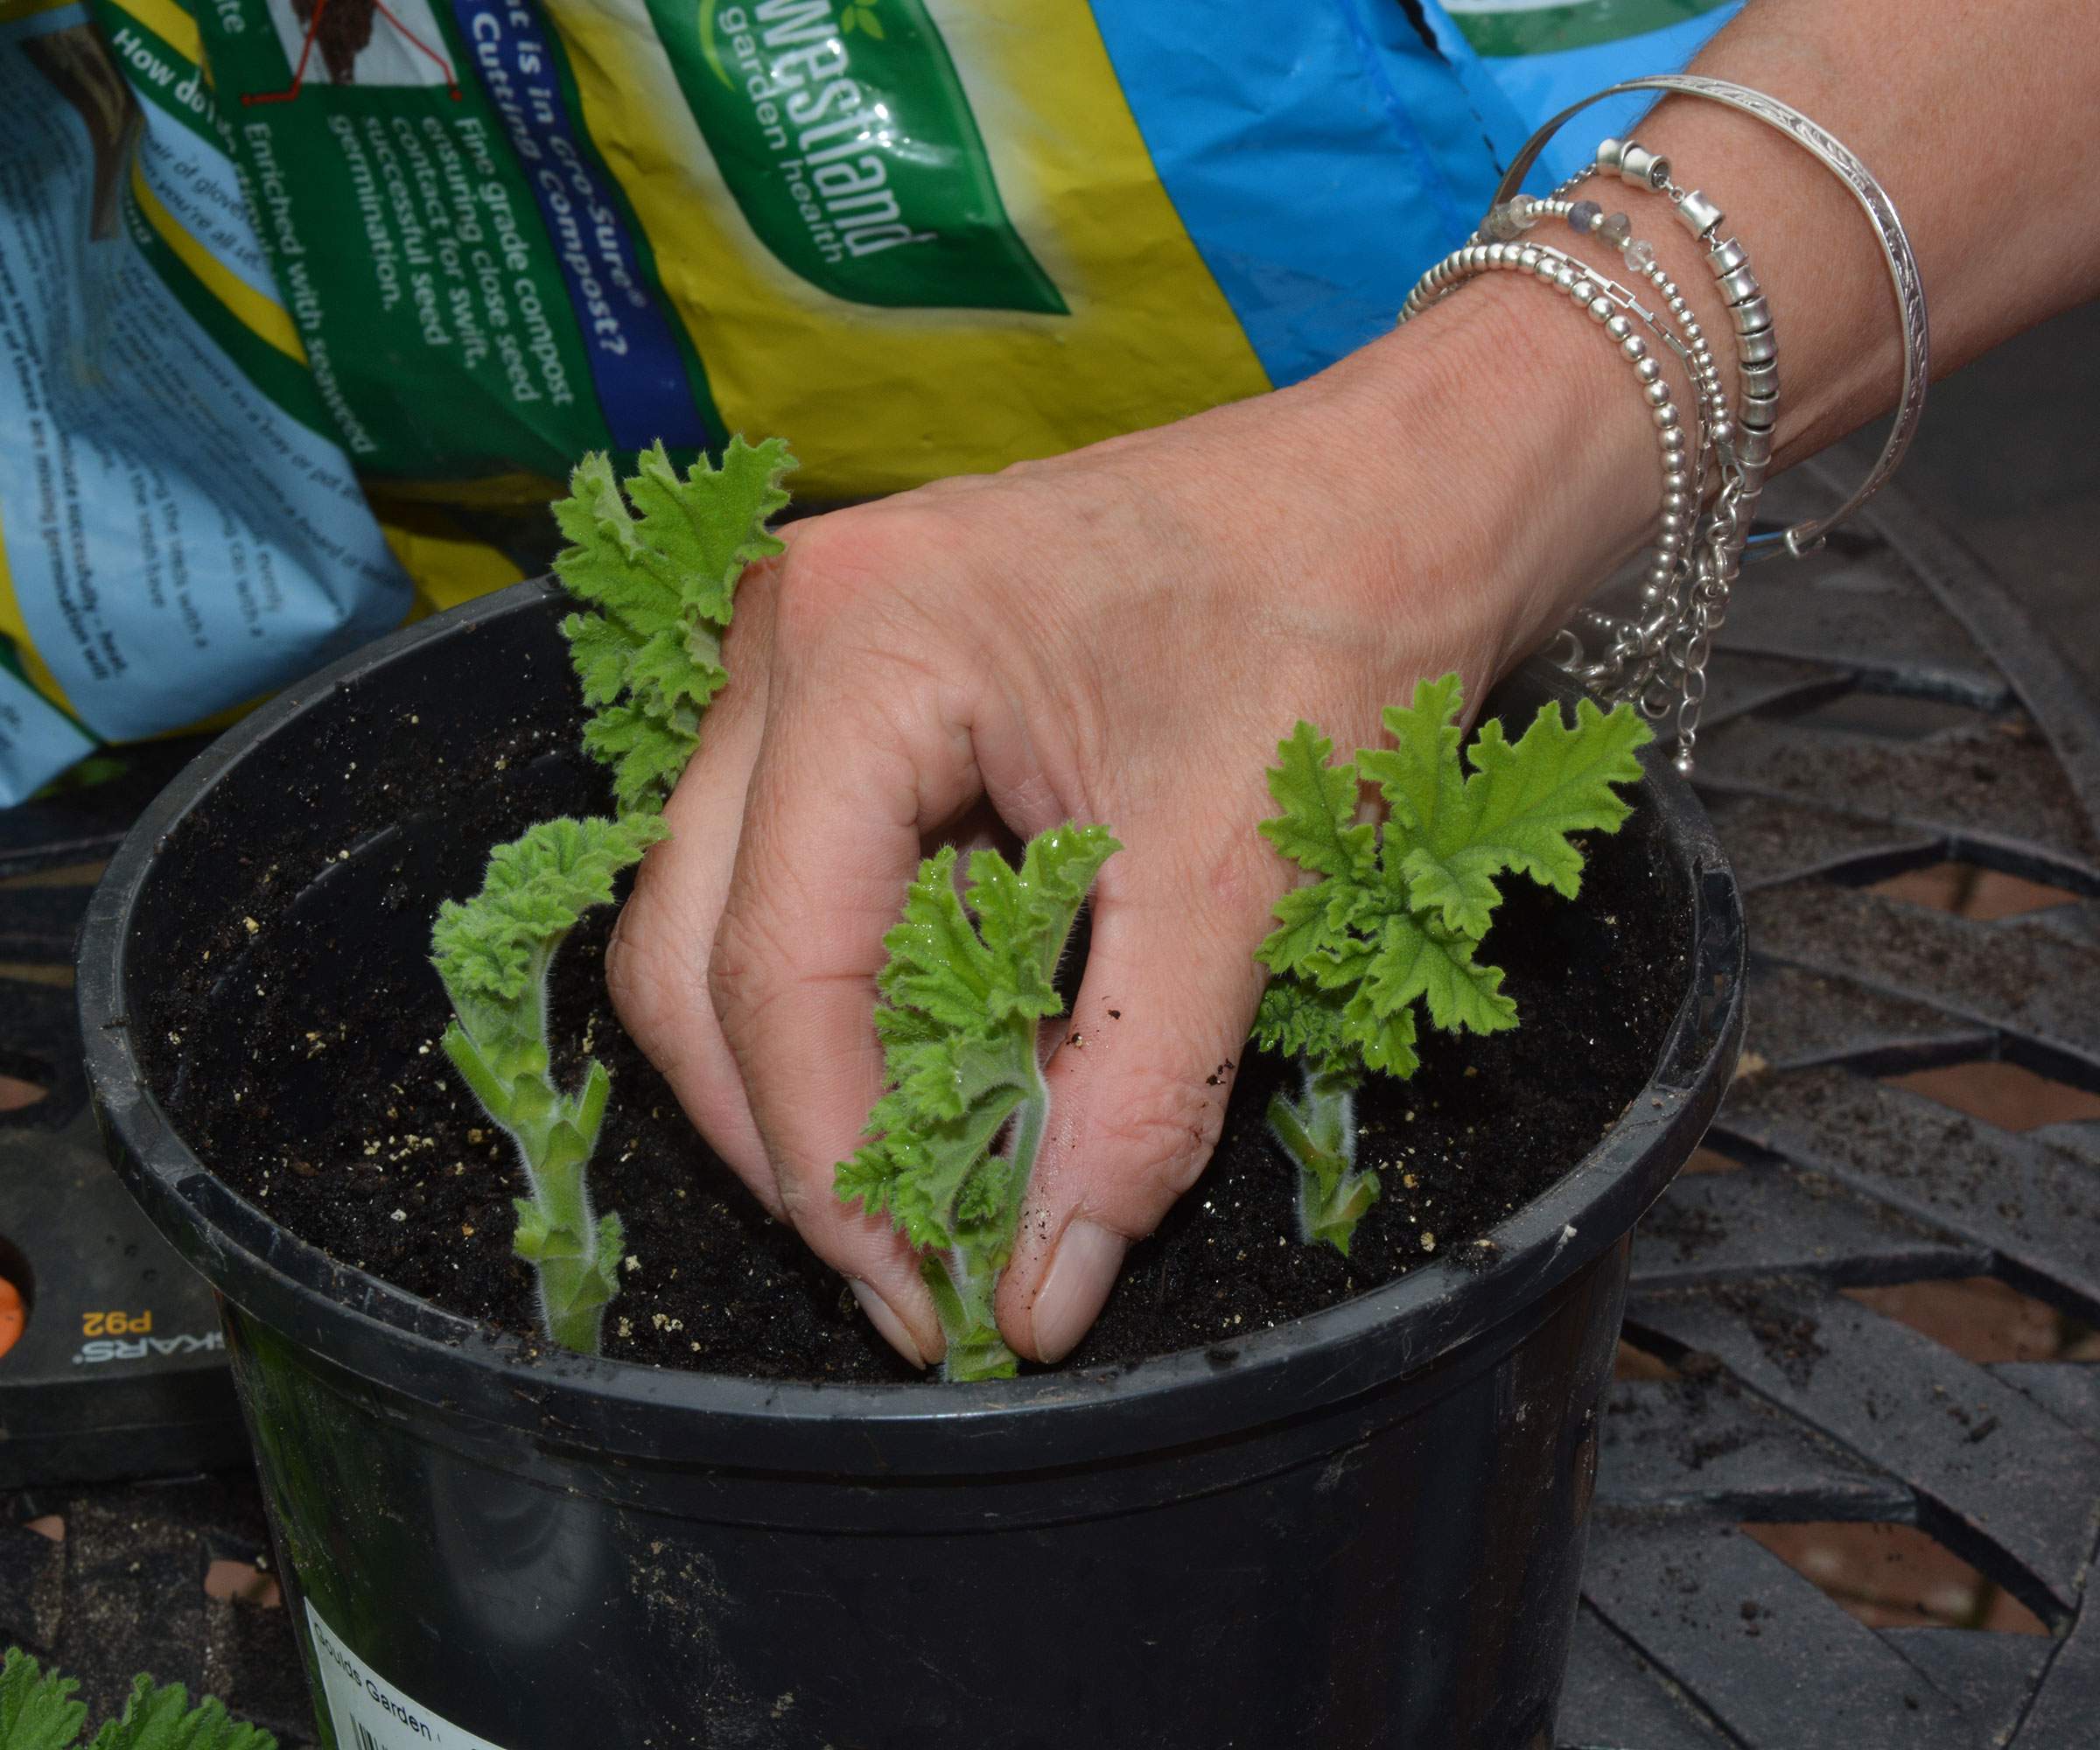
Insert pelargonium cuttings around the edge of a pot of gritty seed potting soil
After a few weeks somewhere warm and light, with their compost kept just damp, your cuttings will start to grow. This means they are developing roots and will soon turn into young plants.
Keep them in their pots and continue to water when the potting soil feels dry. After 8-10 weeks they will have developed healthy root systems and be ready to move into individual pots of general purpose compost.
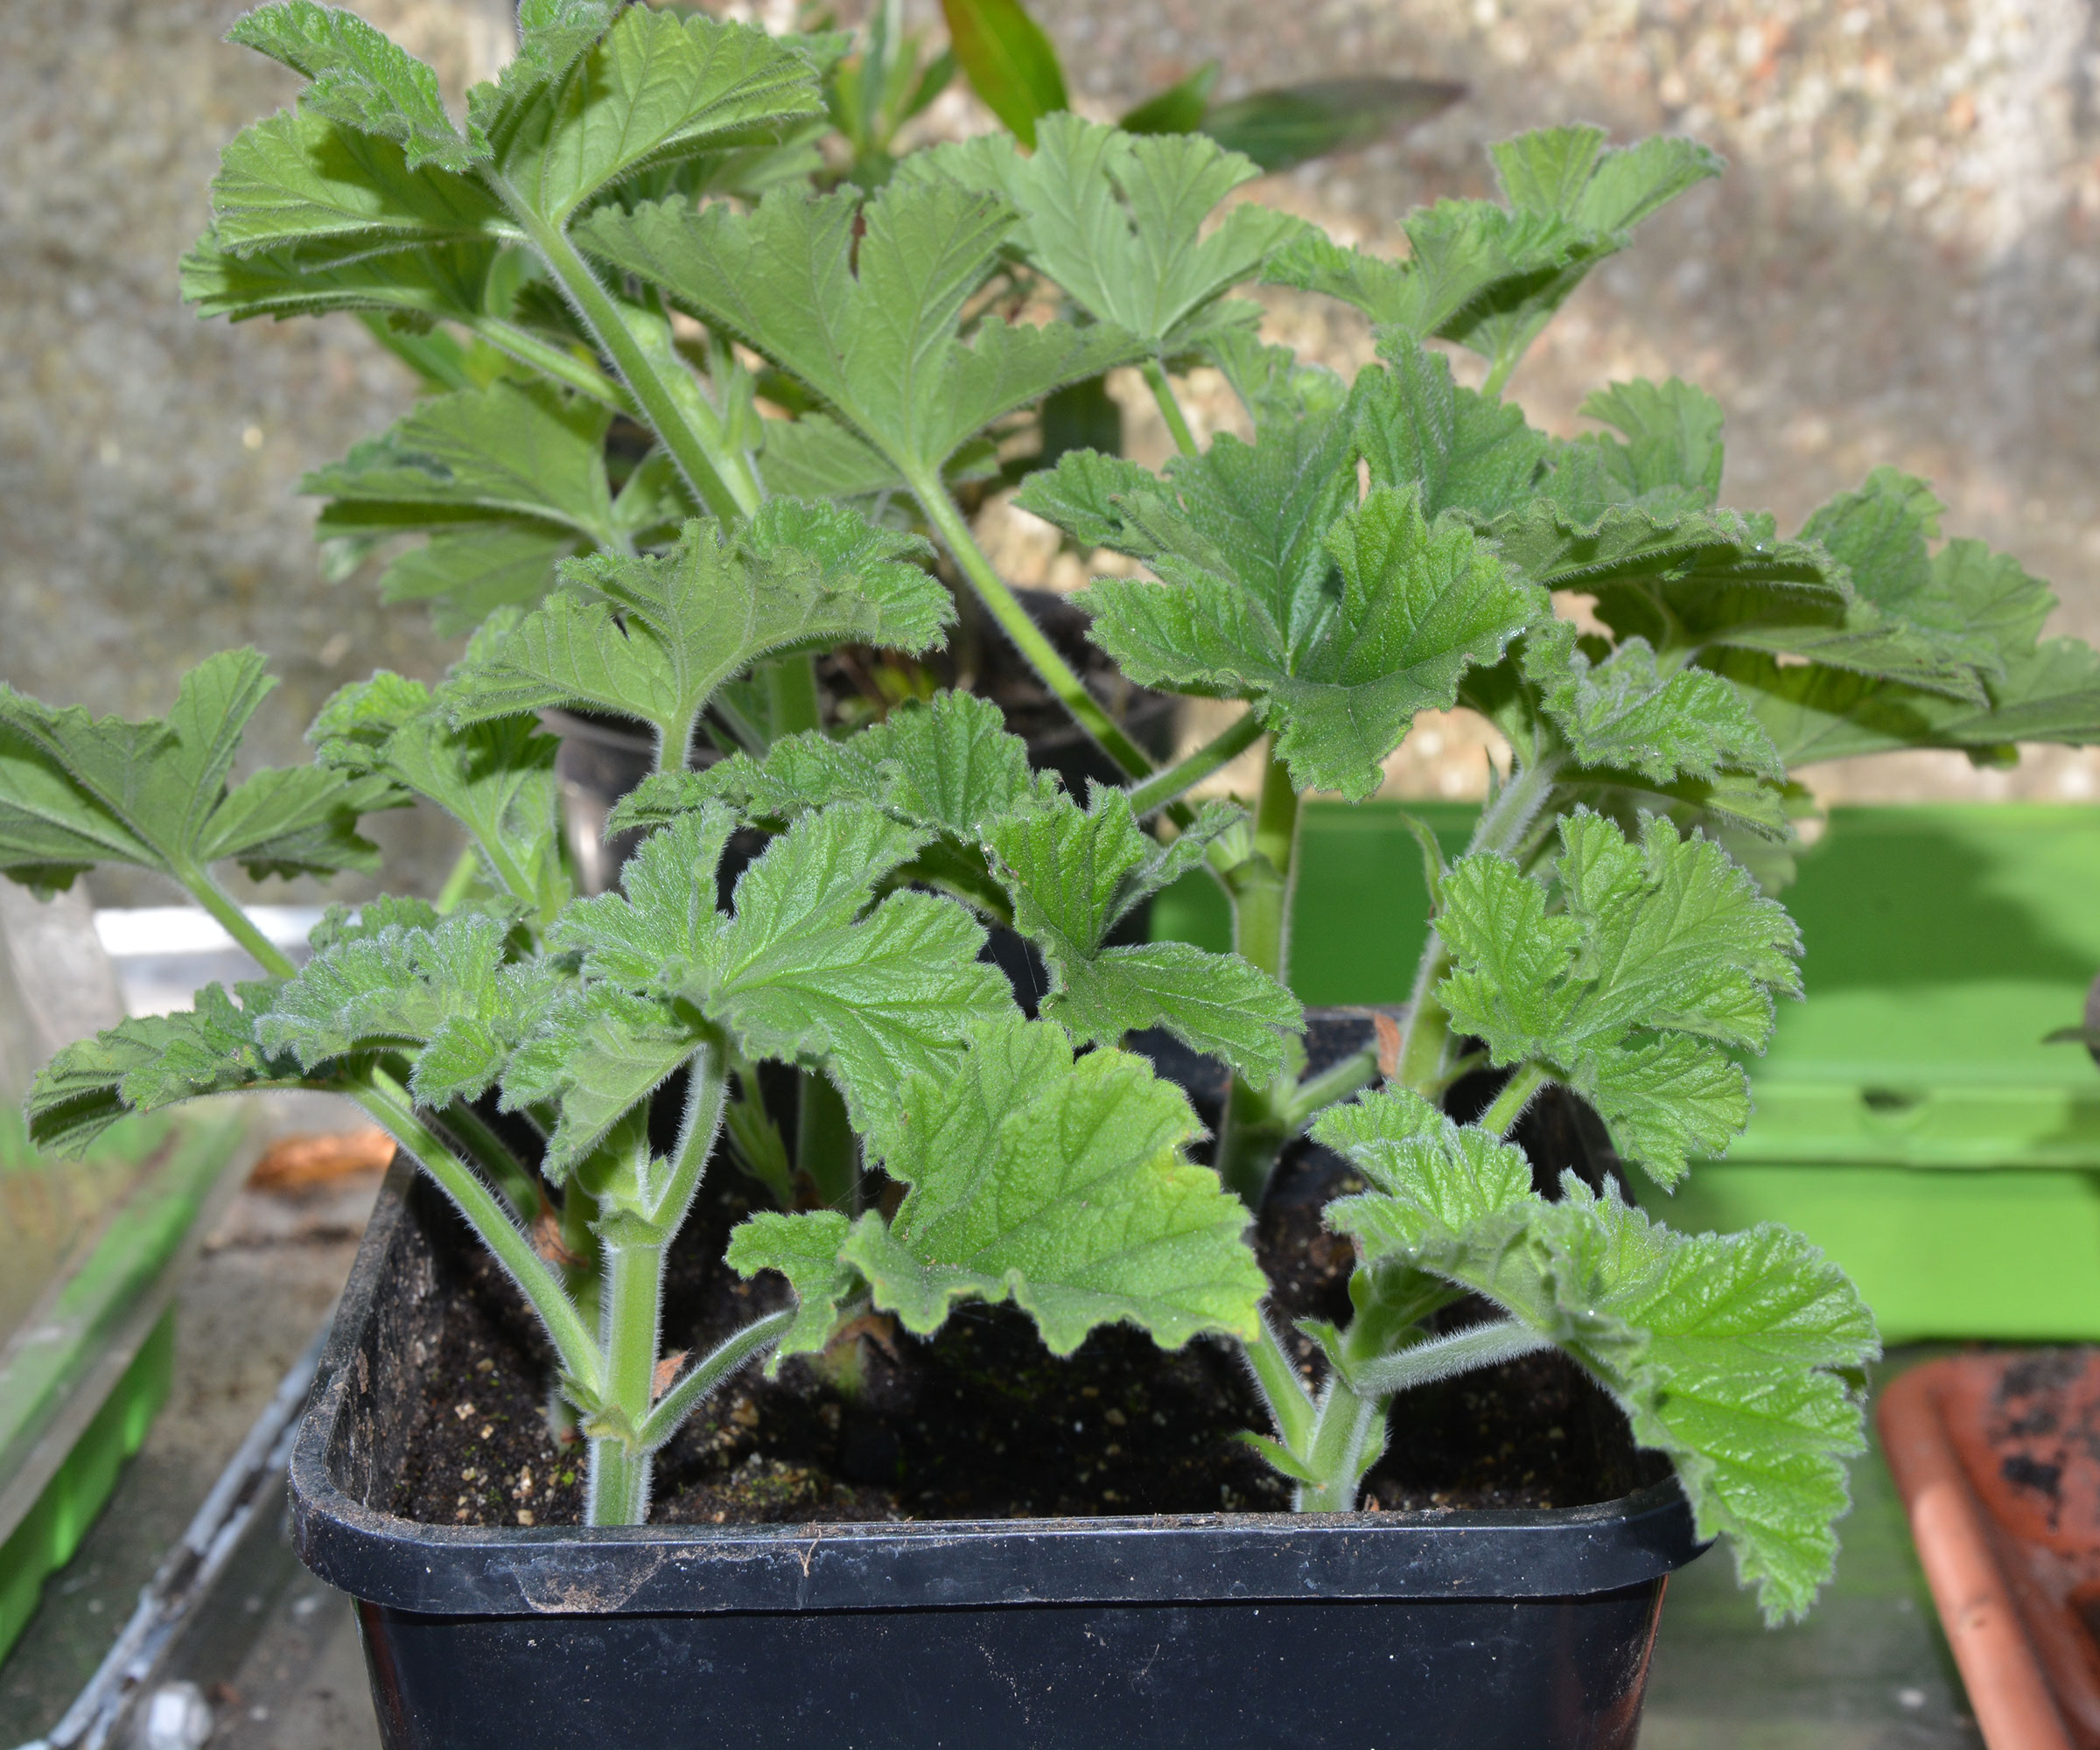
Once your pelargonium cuttings have rooted well they will quickly start to grow
When the cuttings resemble small versions of mature plants they are ready to move into individual containers of all-purpose potting soil, like this one by Harris, available on Amazon.
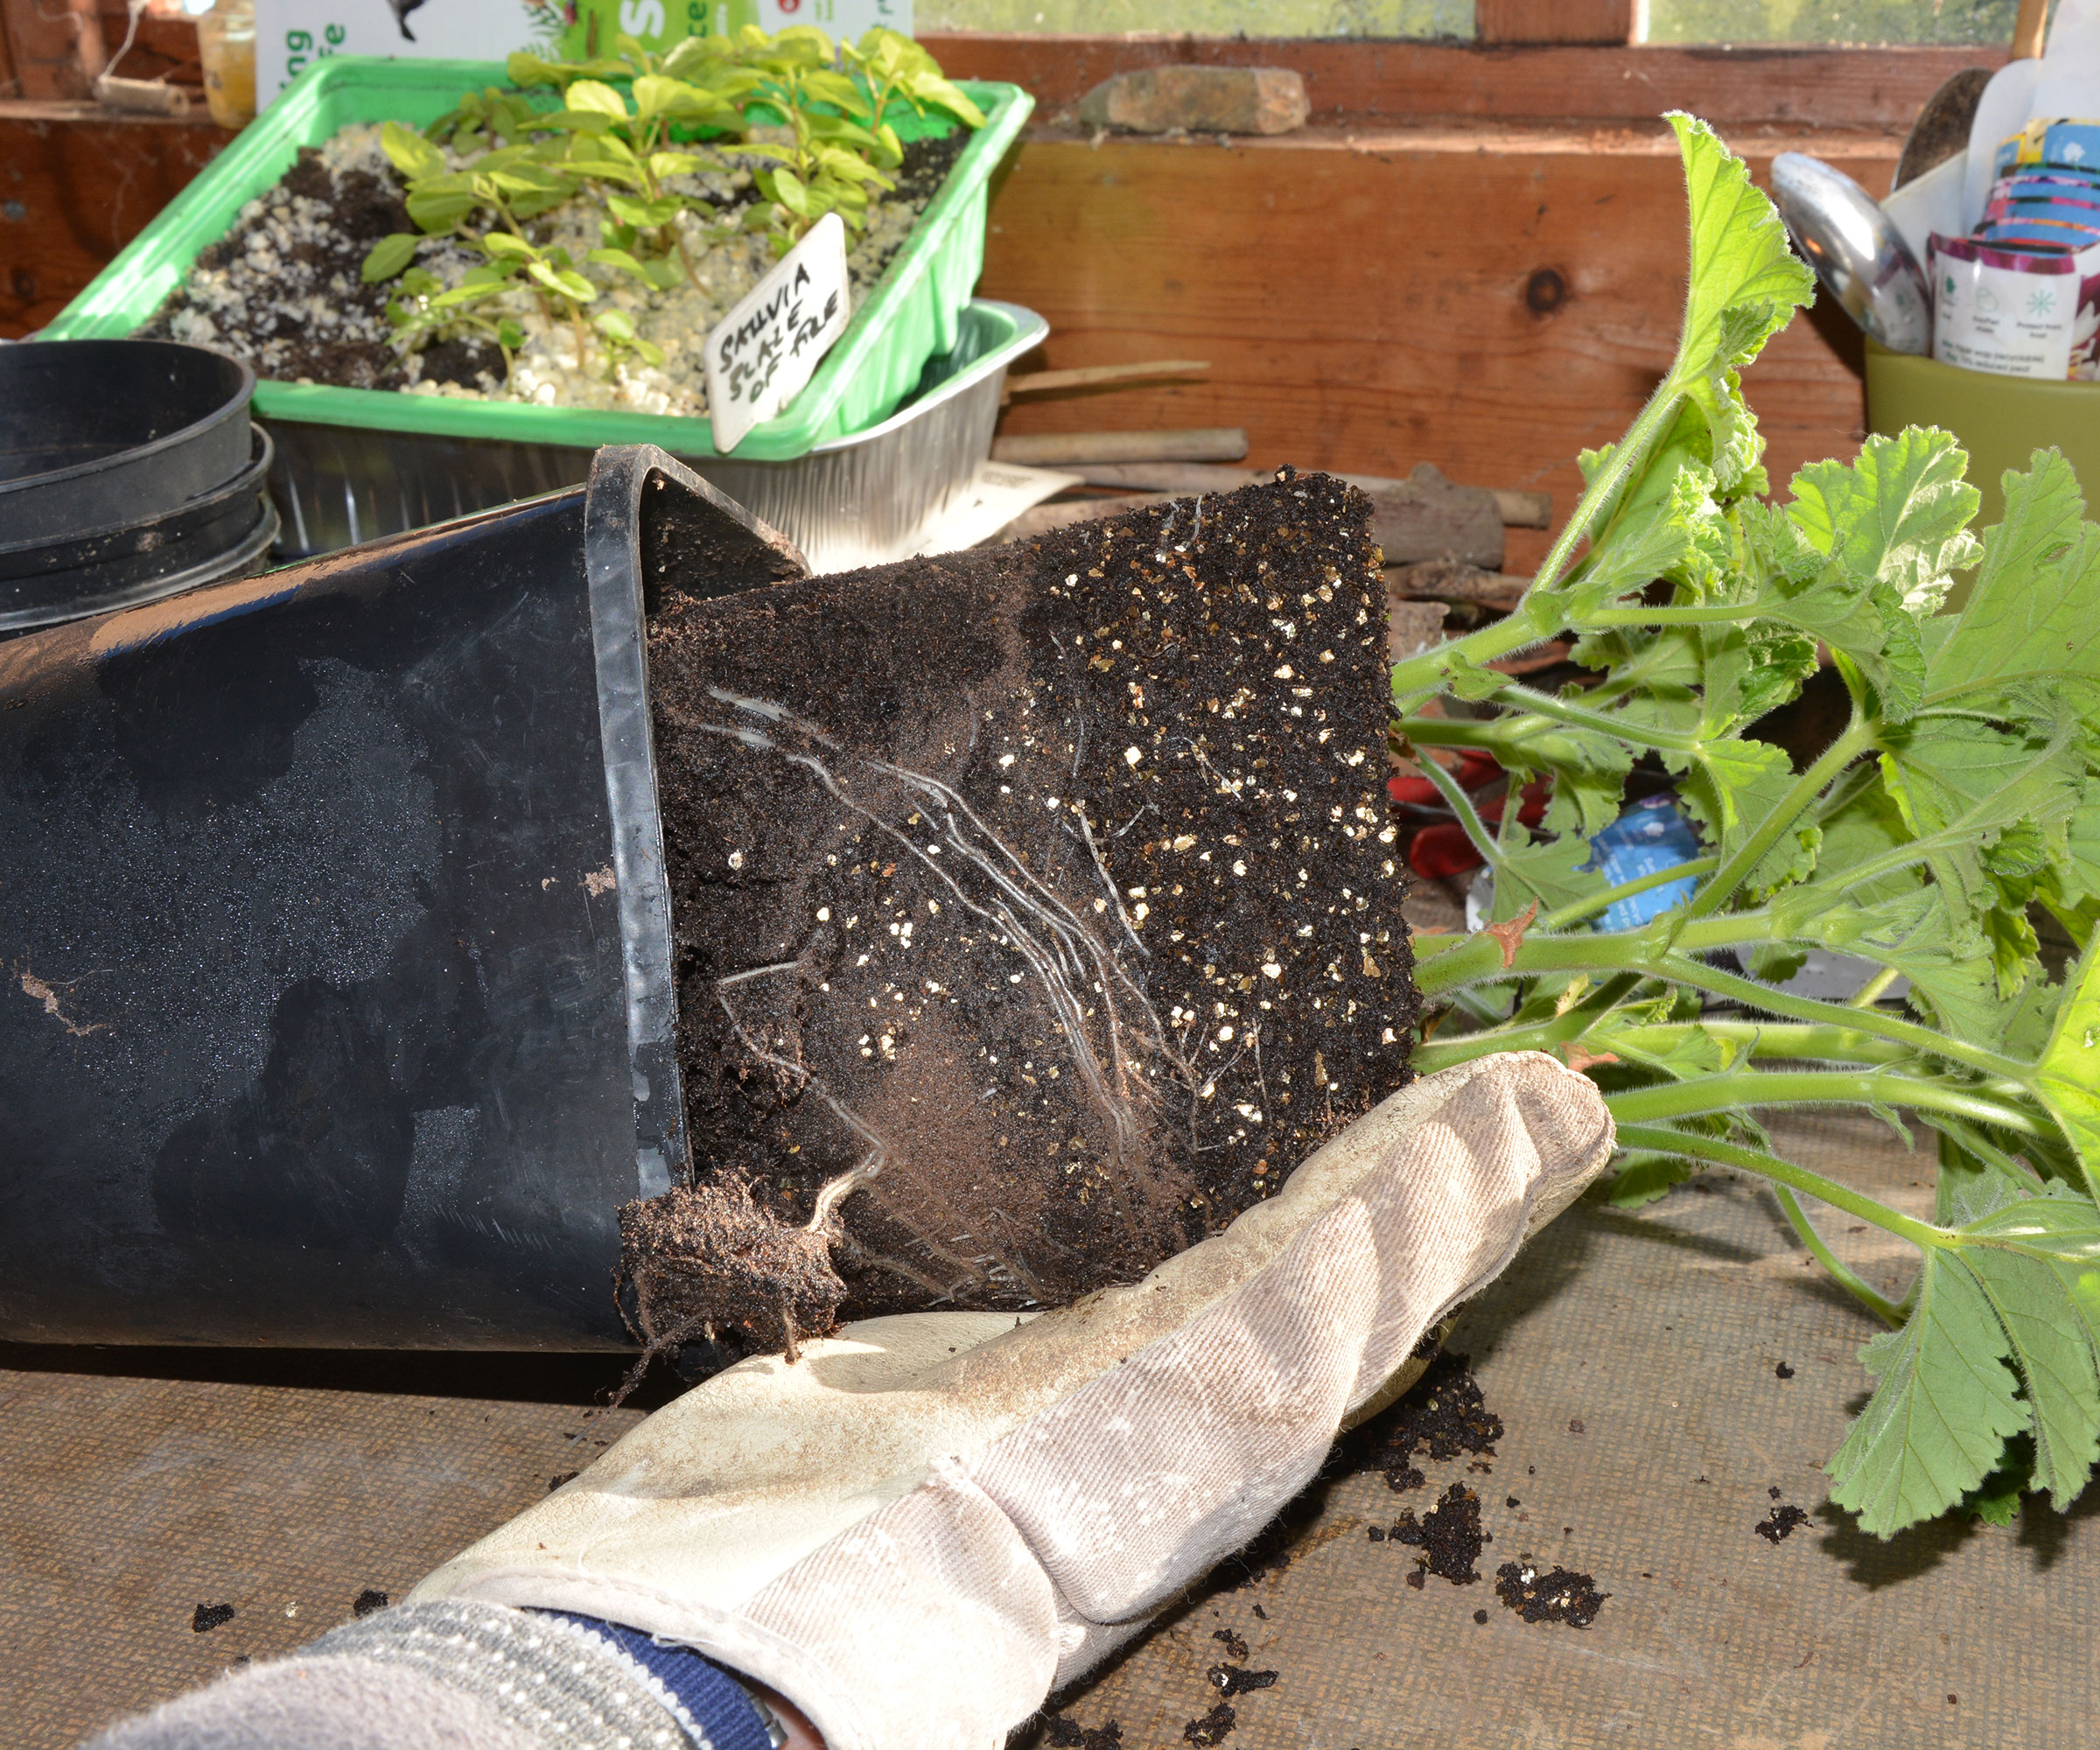
When the cuttings are ready to move into their own pots, carefully slide them from their original container
- Water the cuttings and then slide them all from the pot in one go.
- Carefully separate the cuttings and check their roots are healthy.
- Pot each one in a container of all-purpose compost, gently firm it down and water well.
- Keep them somewhere light and frost-free, but make sure they are out of hot direct sunlight that can scorch developing leaves.
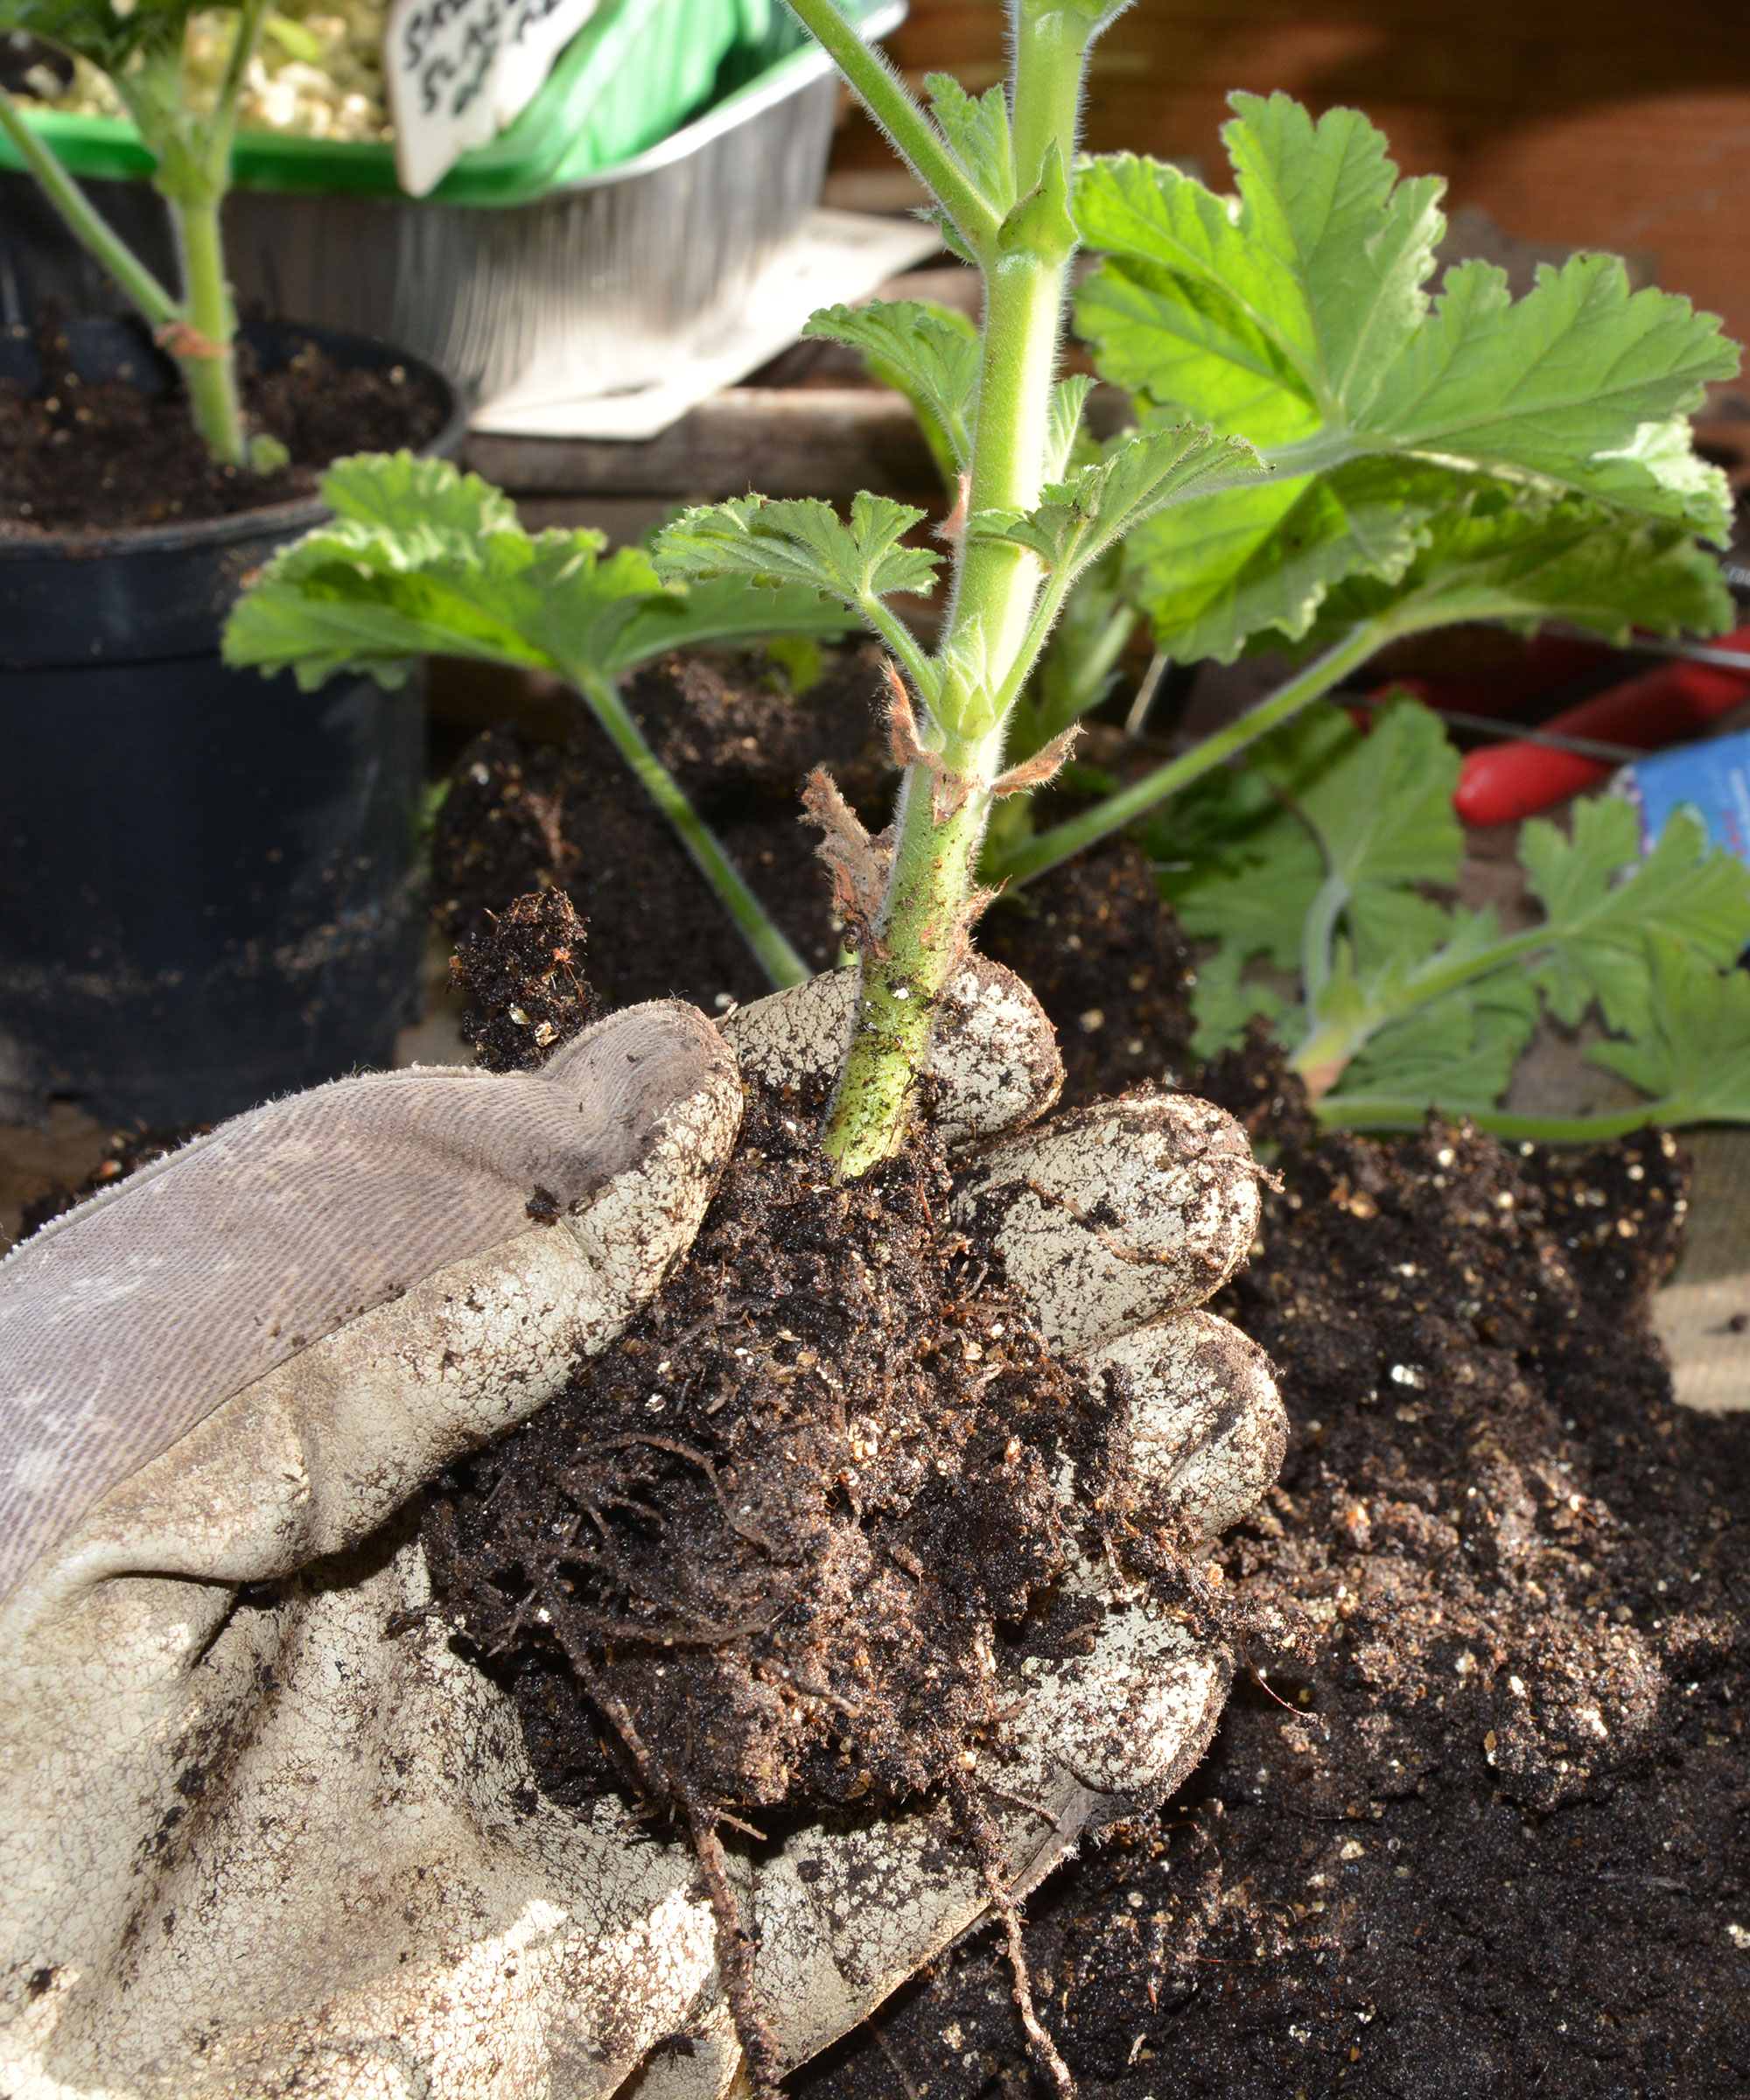
Pelargonium cuttings will swiftly develop healthy root systems
FAQs
Do I need to winterize pelargonium cuttings?
In colder USDA hardiness zones, it is best to pot up geraniums growing in the yard and move them somewhere undercover.
To winterize geraniums, but particularly cuttings, keep your tender pelargoniums somewhere frost-free over winter, otherwise the cold weather will kill them off.
A heated greenhouse, porch or cool room are all ideal as long as they have good light levels to keep your cuttings healthy.
If your greenhouse is unheated, cover your pelargonium cuttings with a frost cloth blanket like this Alpurple one on Amazon. Remove the cover when the temperature rises as trapped condensation may turn the leaves mouldy.
Your pelargonium cuttings will go dormant and stop growing in winter, so they only need watering if they start to droop – this may only be two or three times before they grow again in spring.
Your winterized pelargonium cuttings or young plants may grow a little during mild spells as spring approaches and may even produce flower buds.
If they do, pinch them off as they developing buds will use up the plants’ energy that is better put towards healthy stem and leaf growth ready for the year ahead.
Ruth is a Contributing Editor for Homes & Gardens, and formerly Gardening Editor of Amateur Gardening magazine. She is horticulturally trained, with a qualification from the Royal Horticultural Society. Her work for Amateur Gardening, the world's oldest weekly gardening publication, involved matching gardening tasks with each season, covering everything from sowing and planting, to pruning, taking cuttings, dealing with pests and diseases and keeping houseplants healthy. She is an expert in ornamental plants and edible crops, and everything she writes about and photographs is in her own garden, that has been a work in progress since her family moved there in 2012.