8 mistakes to avoid when taking plant cuttings – plus what to do instead
Avoid these common pitfalls when taking plant cuttings for successful propagation
Design expertise in your inbox – from inspiring decorating ideas and beautiful celebrity homes to practical gardening advice and shopping round-ups.
You are now subscribed
Your newsletter sign-up was successful
Want to add more newsletters?

Twice a week
Homes&Gardens
The ultimate interior design resource from the world's leading experts - discover inspiring decorating ideas, color scheming know-how, garden inspiration and shopping expertise.

Once a week
In The Loop from Next In Design
Members of the Next in Design Circle will receive In the Loop, our weekly email filled with trade news, names to know and spotlight moments. Together we’re building a brighter design future.

Twice a week
Cucina
Whether you’re passionate about hosting exquisite dinners, experimenting with culinary trends, or perfecting your kitchen's design with timeless elegance and innovative functionality, this newsletter is here to inspire
It is relatively easy to take cuttings and it is an extremely satisfying method of propagating many plants. However, there are several common mistakes that can cause your cuttings to fail to root successfully.
Plant cuttings mistakes can range from using dirty tools to potting up your cuttings in the incorrect potting soil. Too much harsh sun, too much or not enough water, and using offcuts from plants that are sickly or flowering can also put your cuttings at risk.
Once you're in the know about the typical errors gardeners make, you'll be able to take successful cuttings from plants and grow lots of new plants for free.
The most common mistakes when taking plant cuttings
Propagating outdoor plants can be done at most times of the year and is more reliable than growing plants from seeds you may have collected from your garden.
Whether you are taking cuttings from perennials, herbs, trees, evergreen shrubs or climbing plants, make sure you avoid these common errors.
1. Taking cuttings at the wrong time of year
Cuttings need to be taken when plants are growing, otherwise they won’t root. The three main times of year for taking cuttings are spring, summer and the fall.
In spring we take softwood cuttings from the year’s new growth. These cuttings will root and start to grow quickly and may even give you new plants for the garden by the end of summer.
Design expertise in your inbox – from inspiring decorating ideas and beautiful celebrity homes to practical gardening advice and shopping round-ups.
Semi-ripe cuttings are taken in summer using the current year’s growth that has started to ripen, or harden off. These take longer to grow than softwood cuttings and may need to be overwintered in an area of a frost-free greenhouse or a cool, bright room.
Fall is the season of hardwood cuttings taken from healthy ripened new wood that has grown through the spring and summer. These cuttings take their time to grow, and may not be ready to pot on until the following fall, but they are worth the wait.
Choosing the wrong time of year for taking cuttings is a key houseplant propagation mistake too.
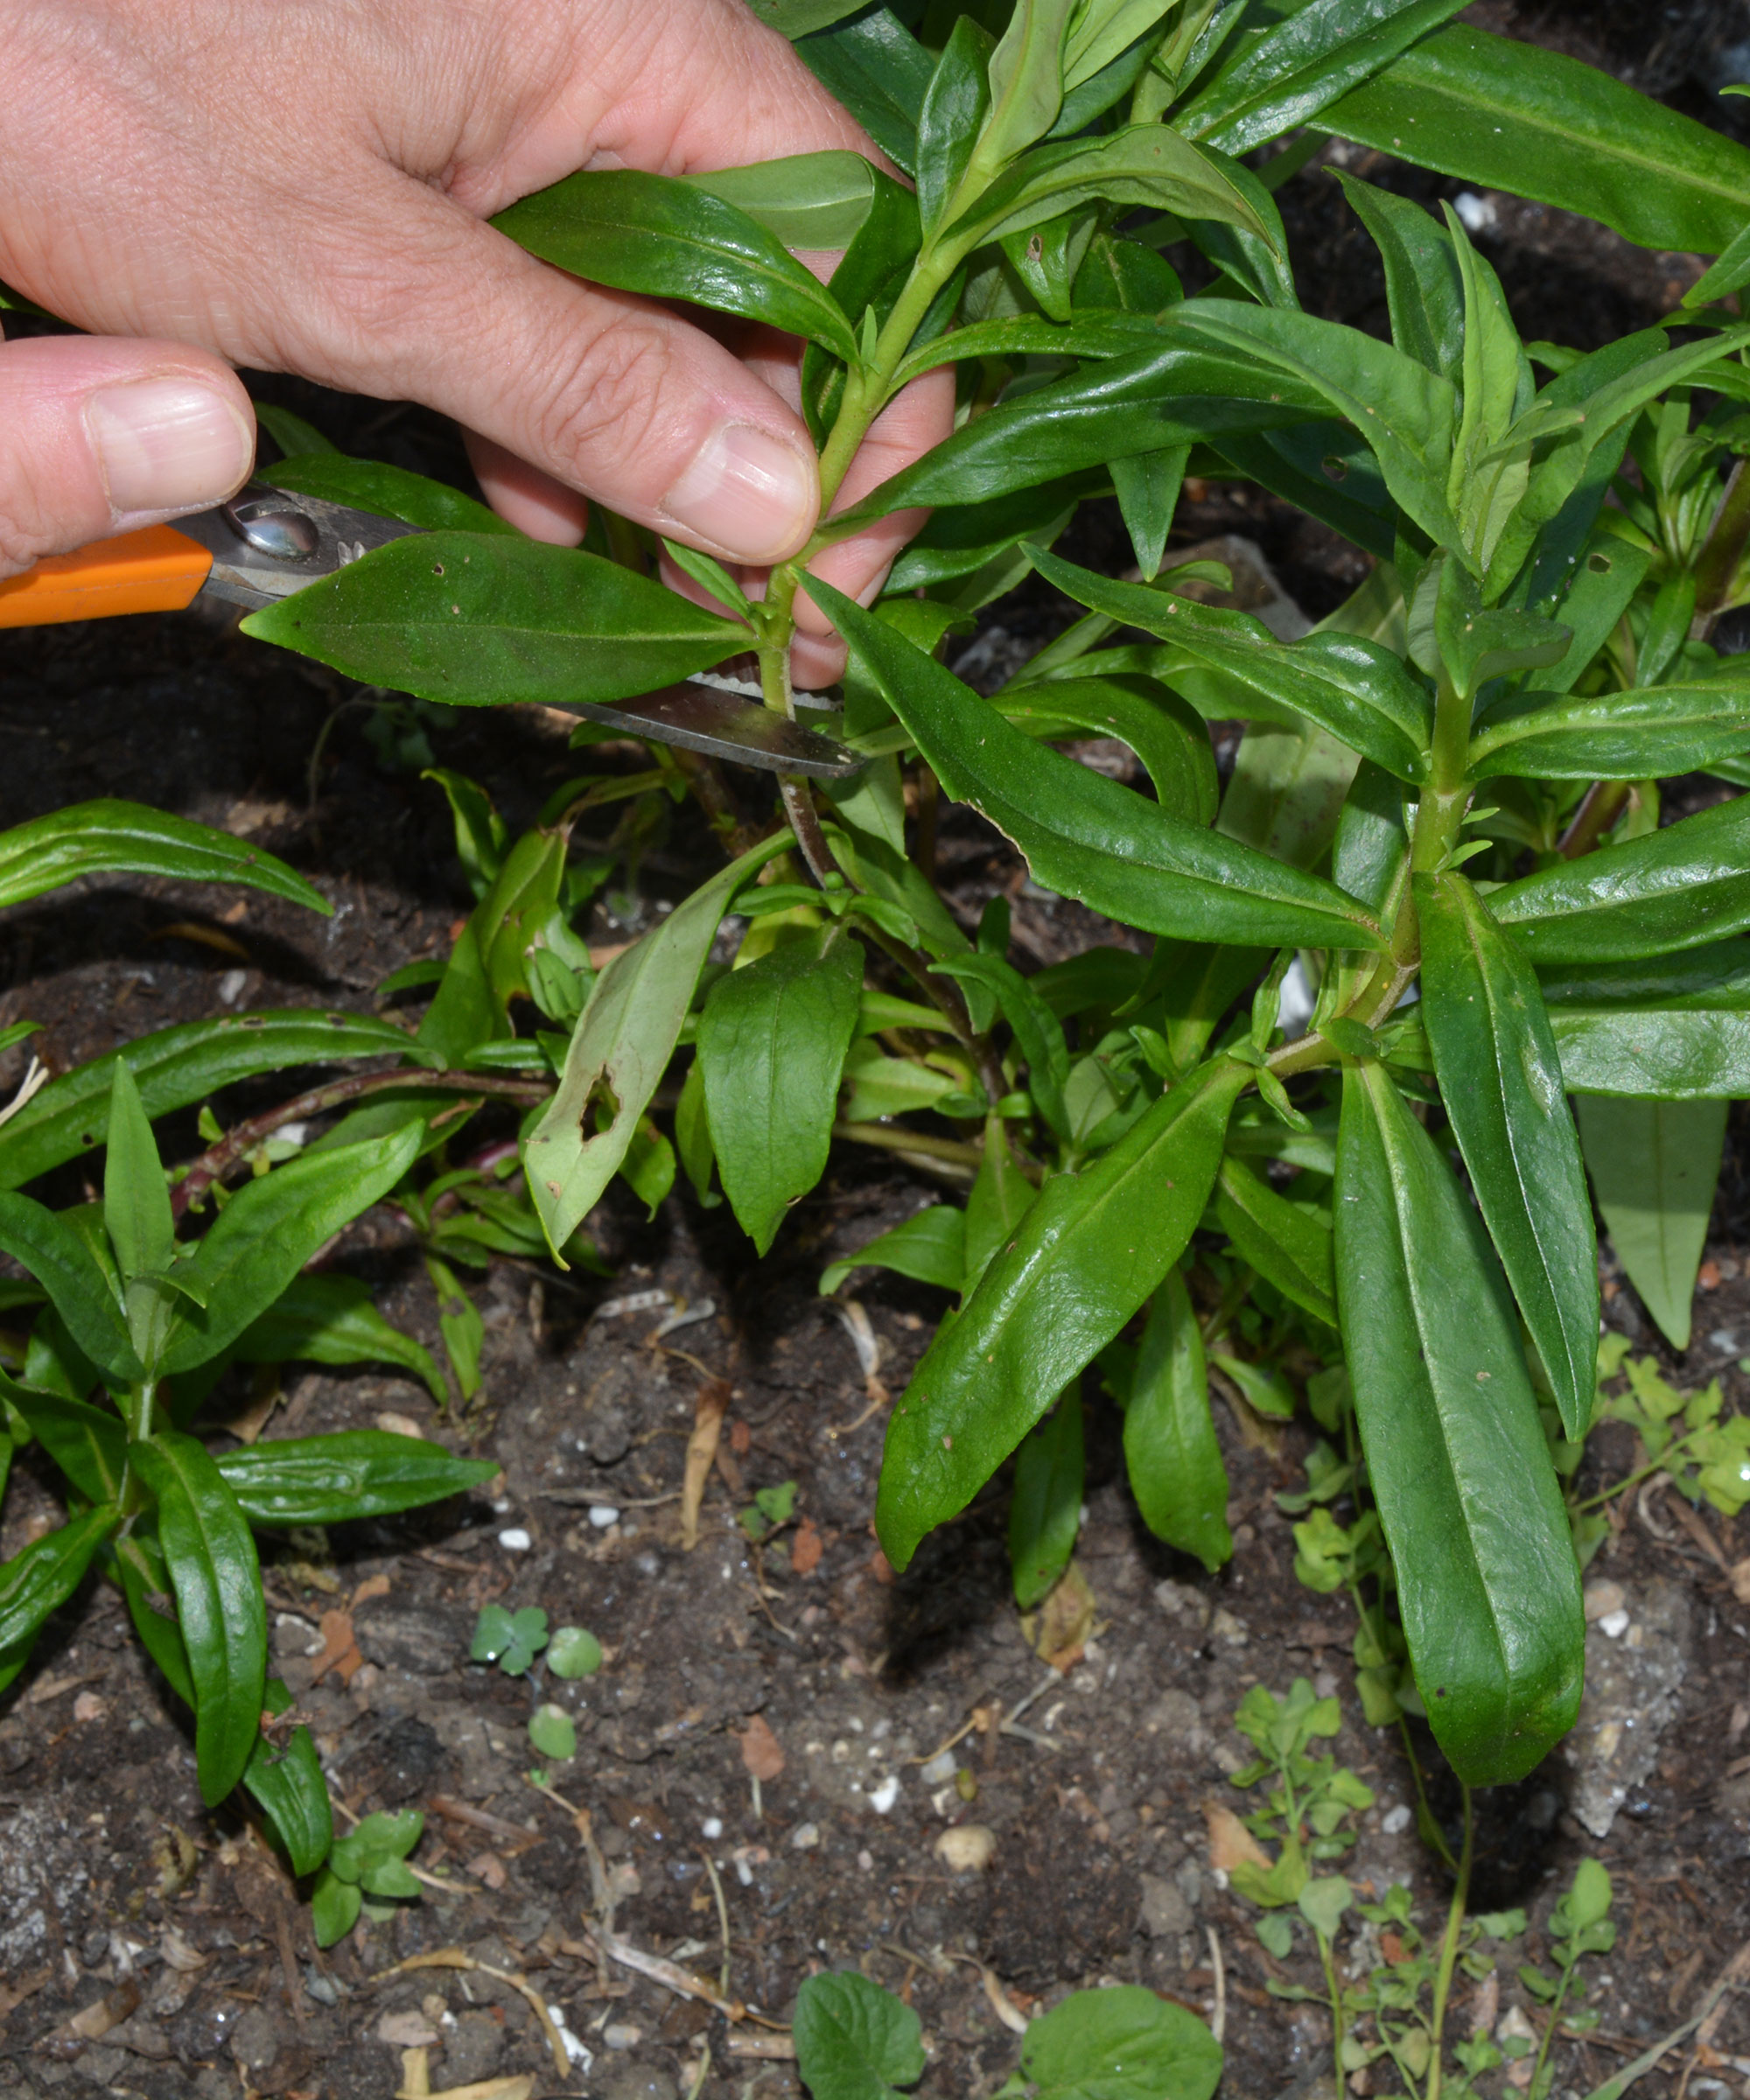
Taking penstemon softwood cuttings in late spring
2. Using dirty and blunt tools
Using dirty and blunt tools to take your cutting and then trying to root them in the wrong compost will cause the process to fail.
Blunt tools will bruise the cut end of the plant material you removed, making it more likely to rot and kill the whole cutting once it is inserted into the compost. If your shears, garden knife or scissors are dirty, they may transmit diseases to the new cutting, which will also kill it.
Always clean and sharpen pruning shears, and remember to clean your garden tools well after use as well.
Use a sharpening stone, like this double sided sharpener on Amazon, to keep blades finely honed. I also disinfect my tools afterwards by wiping the blades down with a general household disinfectant.
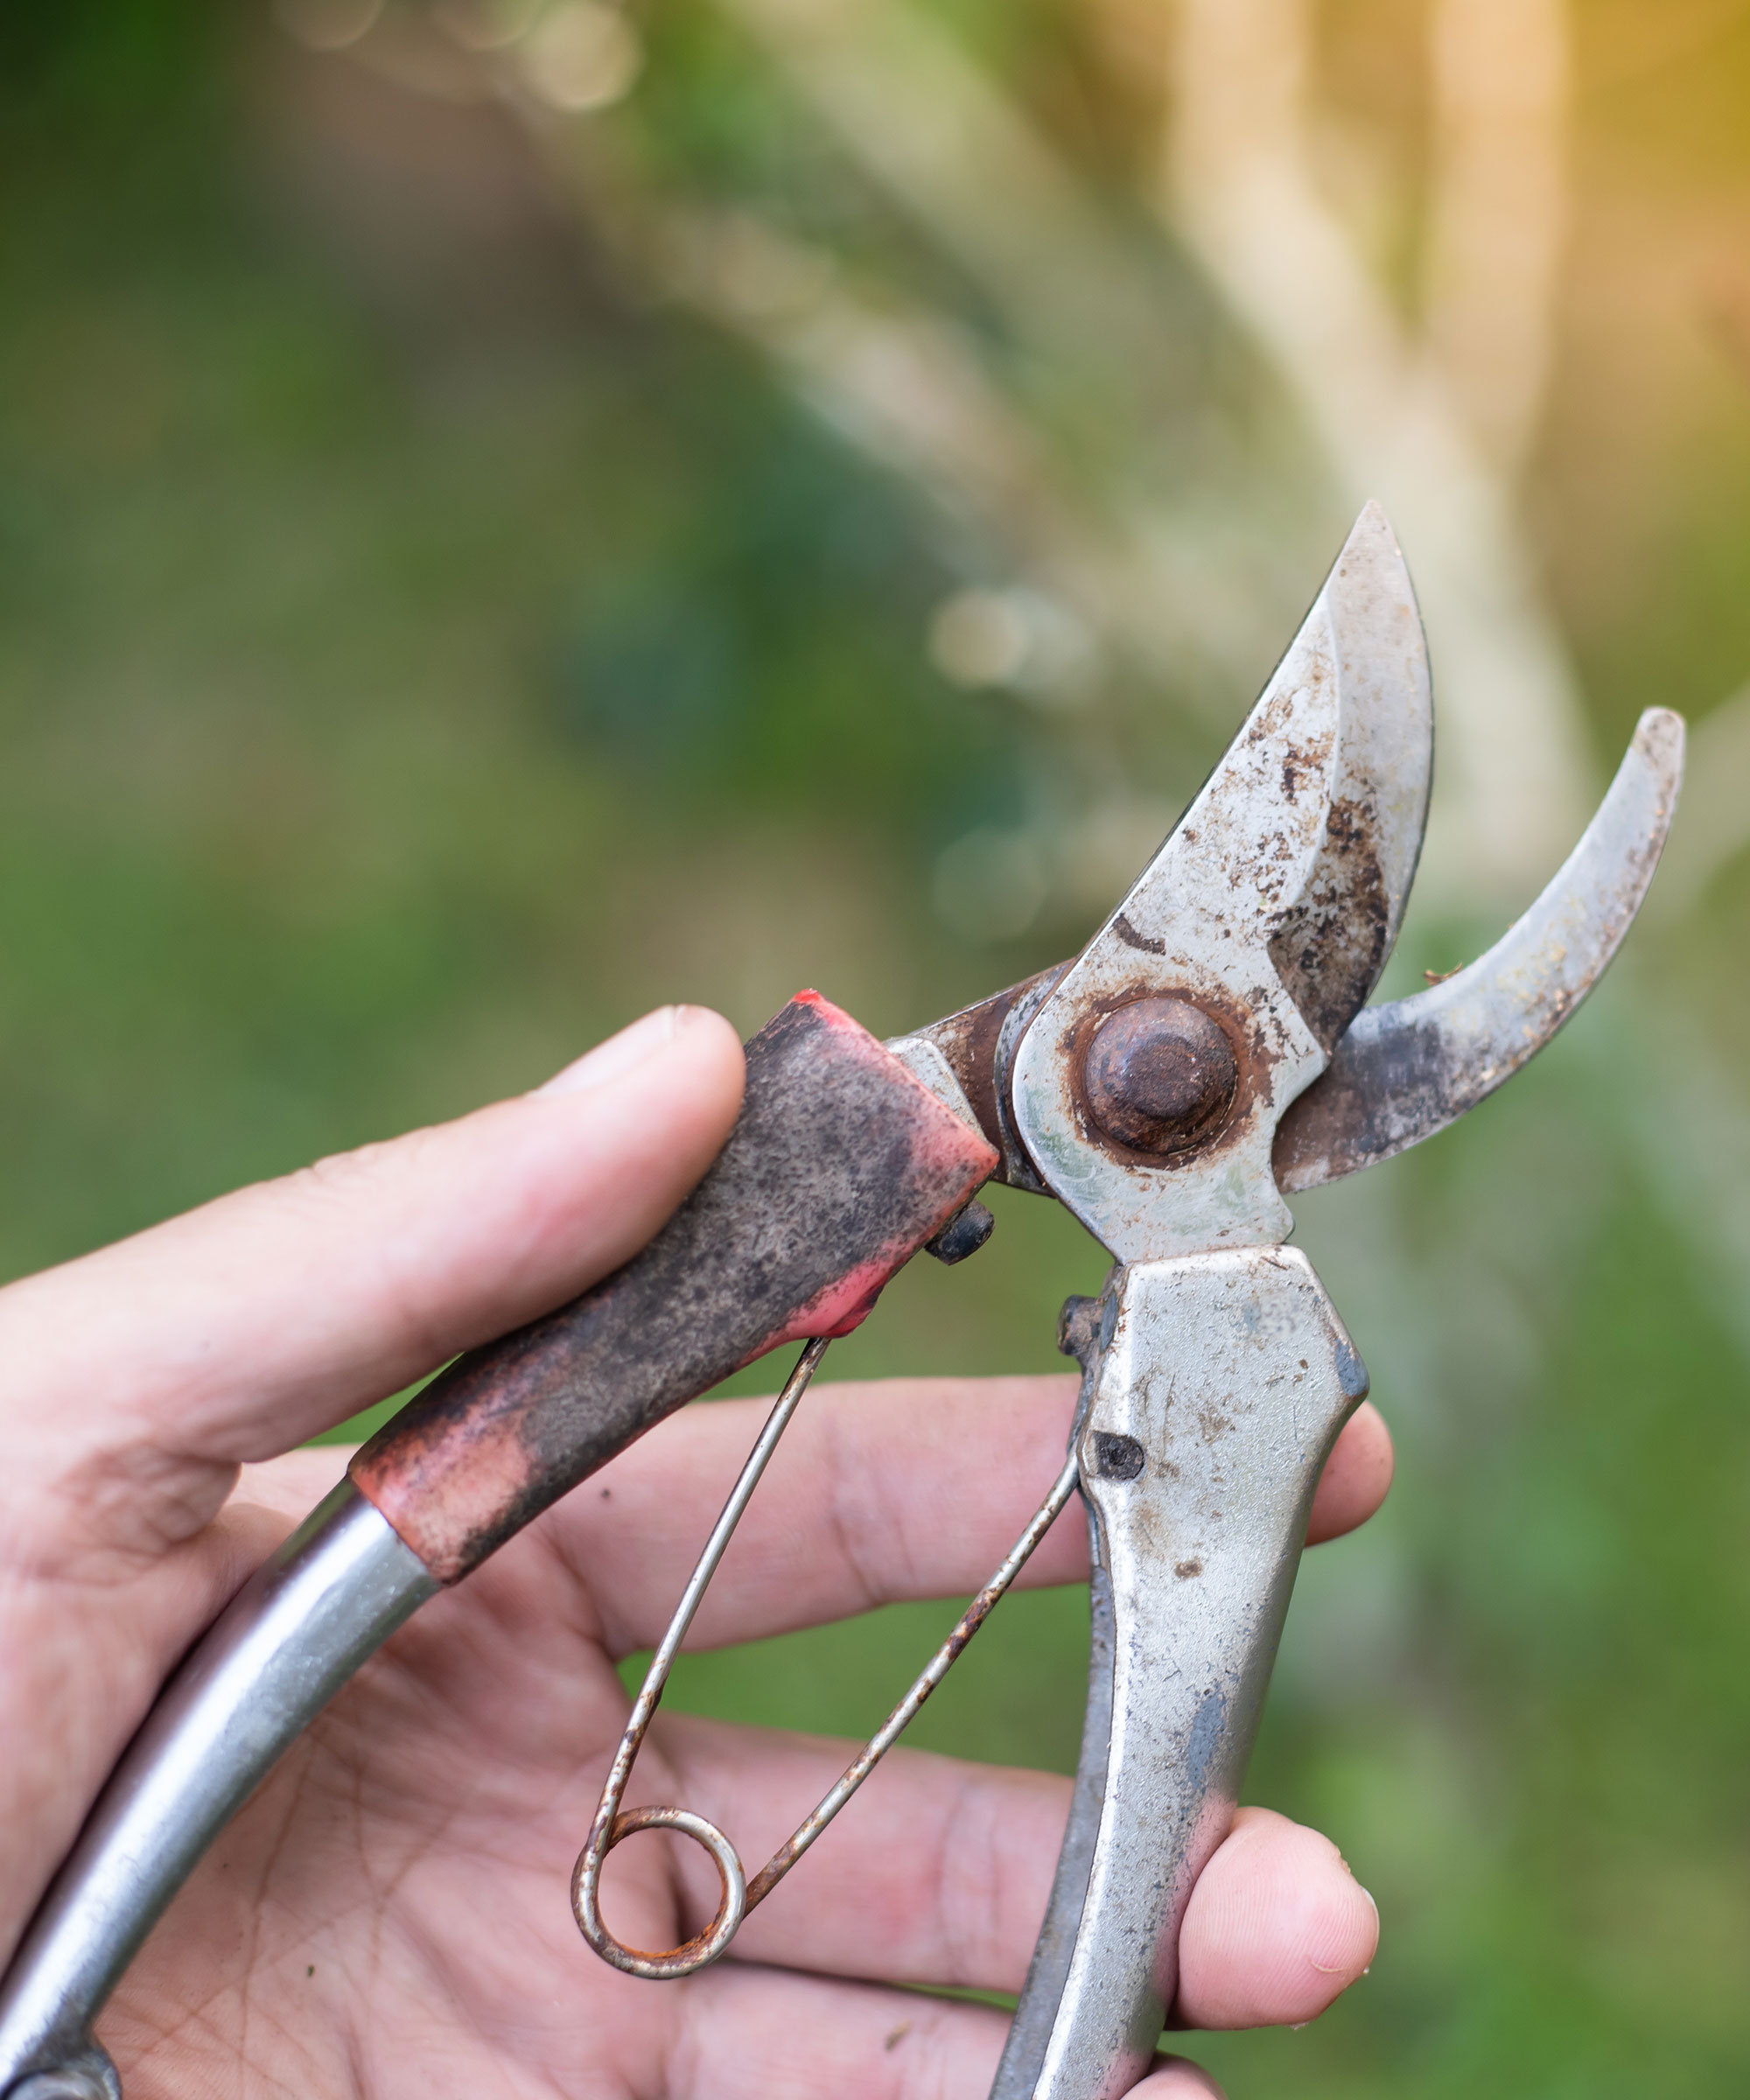
Dirty pruners with dull blades will damage your cuttings and may kill them before they root
3. Cutting the wrong bit of plant
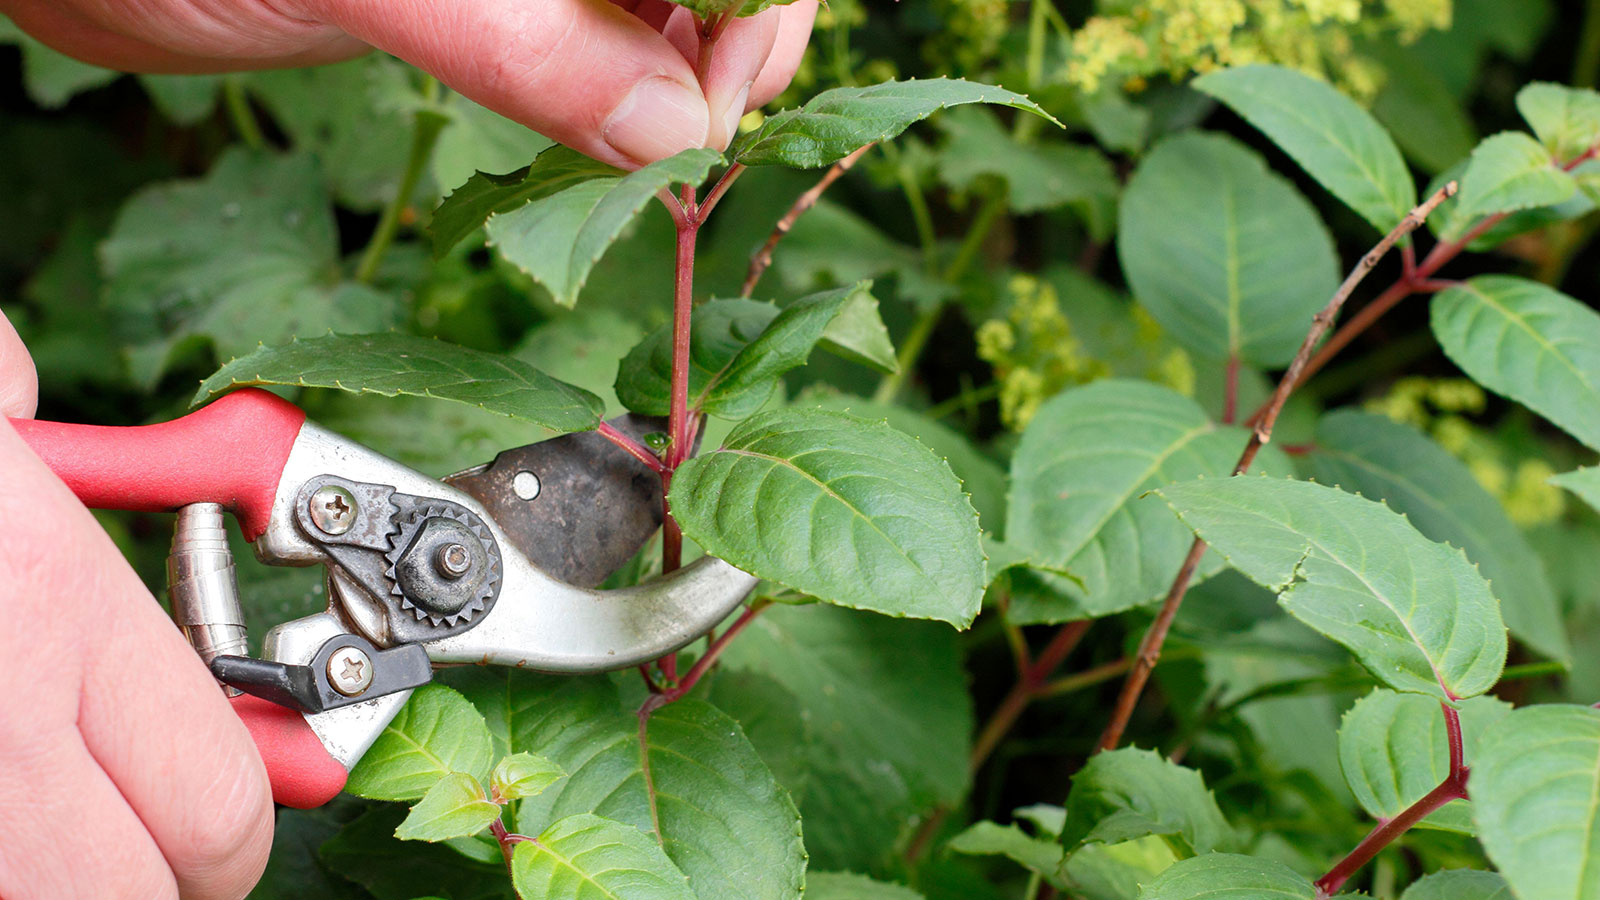
Another common plant cuttings mistake is selecting the wrong part of the plant to use as a cutting. For the best results you can’t simply cut the plant wherever you fancy. You need to remove the length of plant material from just below a leaf node, because this is where the hormones are concentrated to encourage strong root growth.
You will need to strip away the lowest leaves so they don't rot when they are in contact with damp compost, but the hormones will still be there to aid healthy growth.
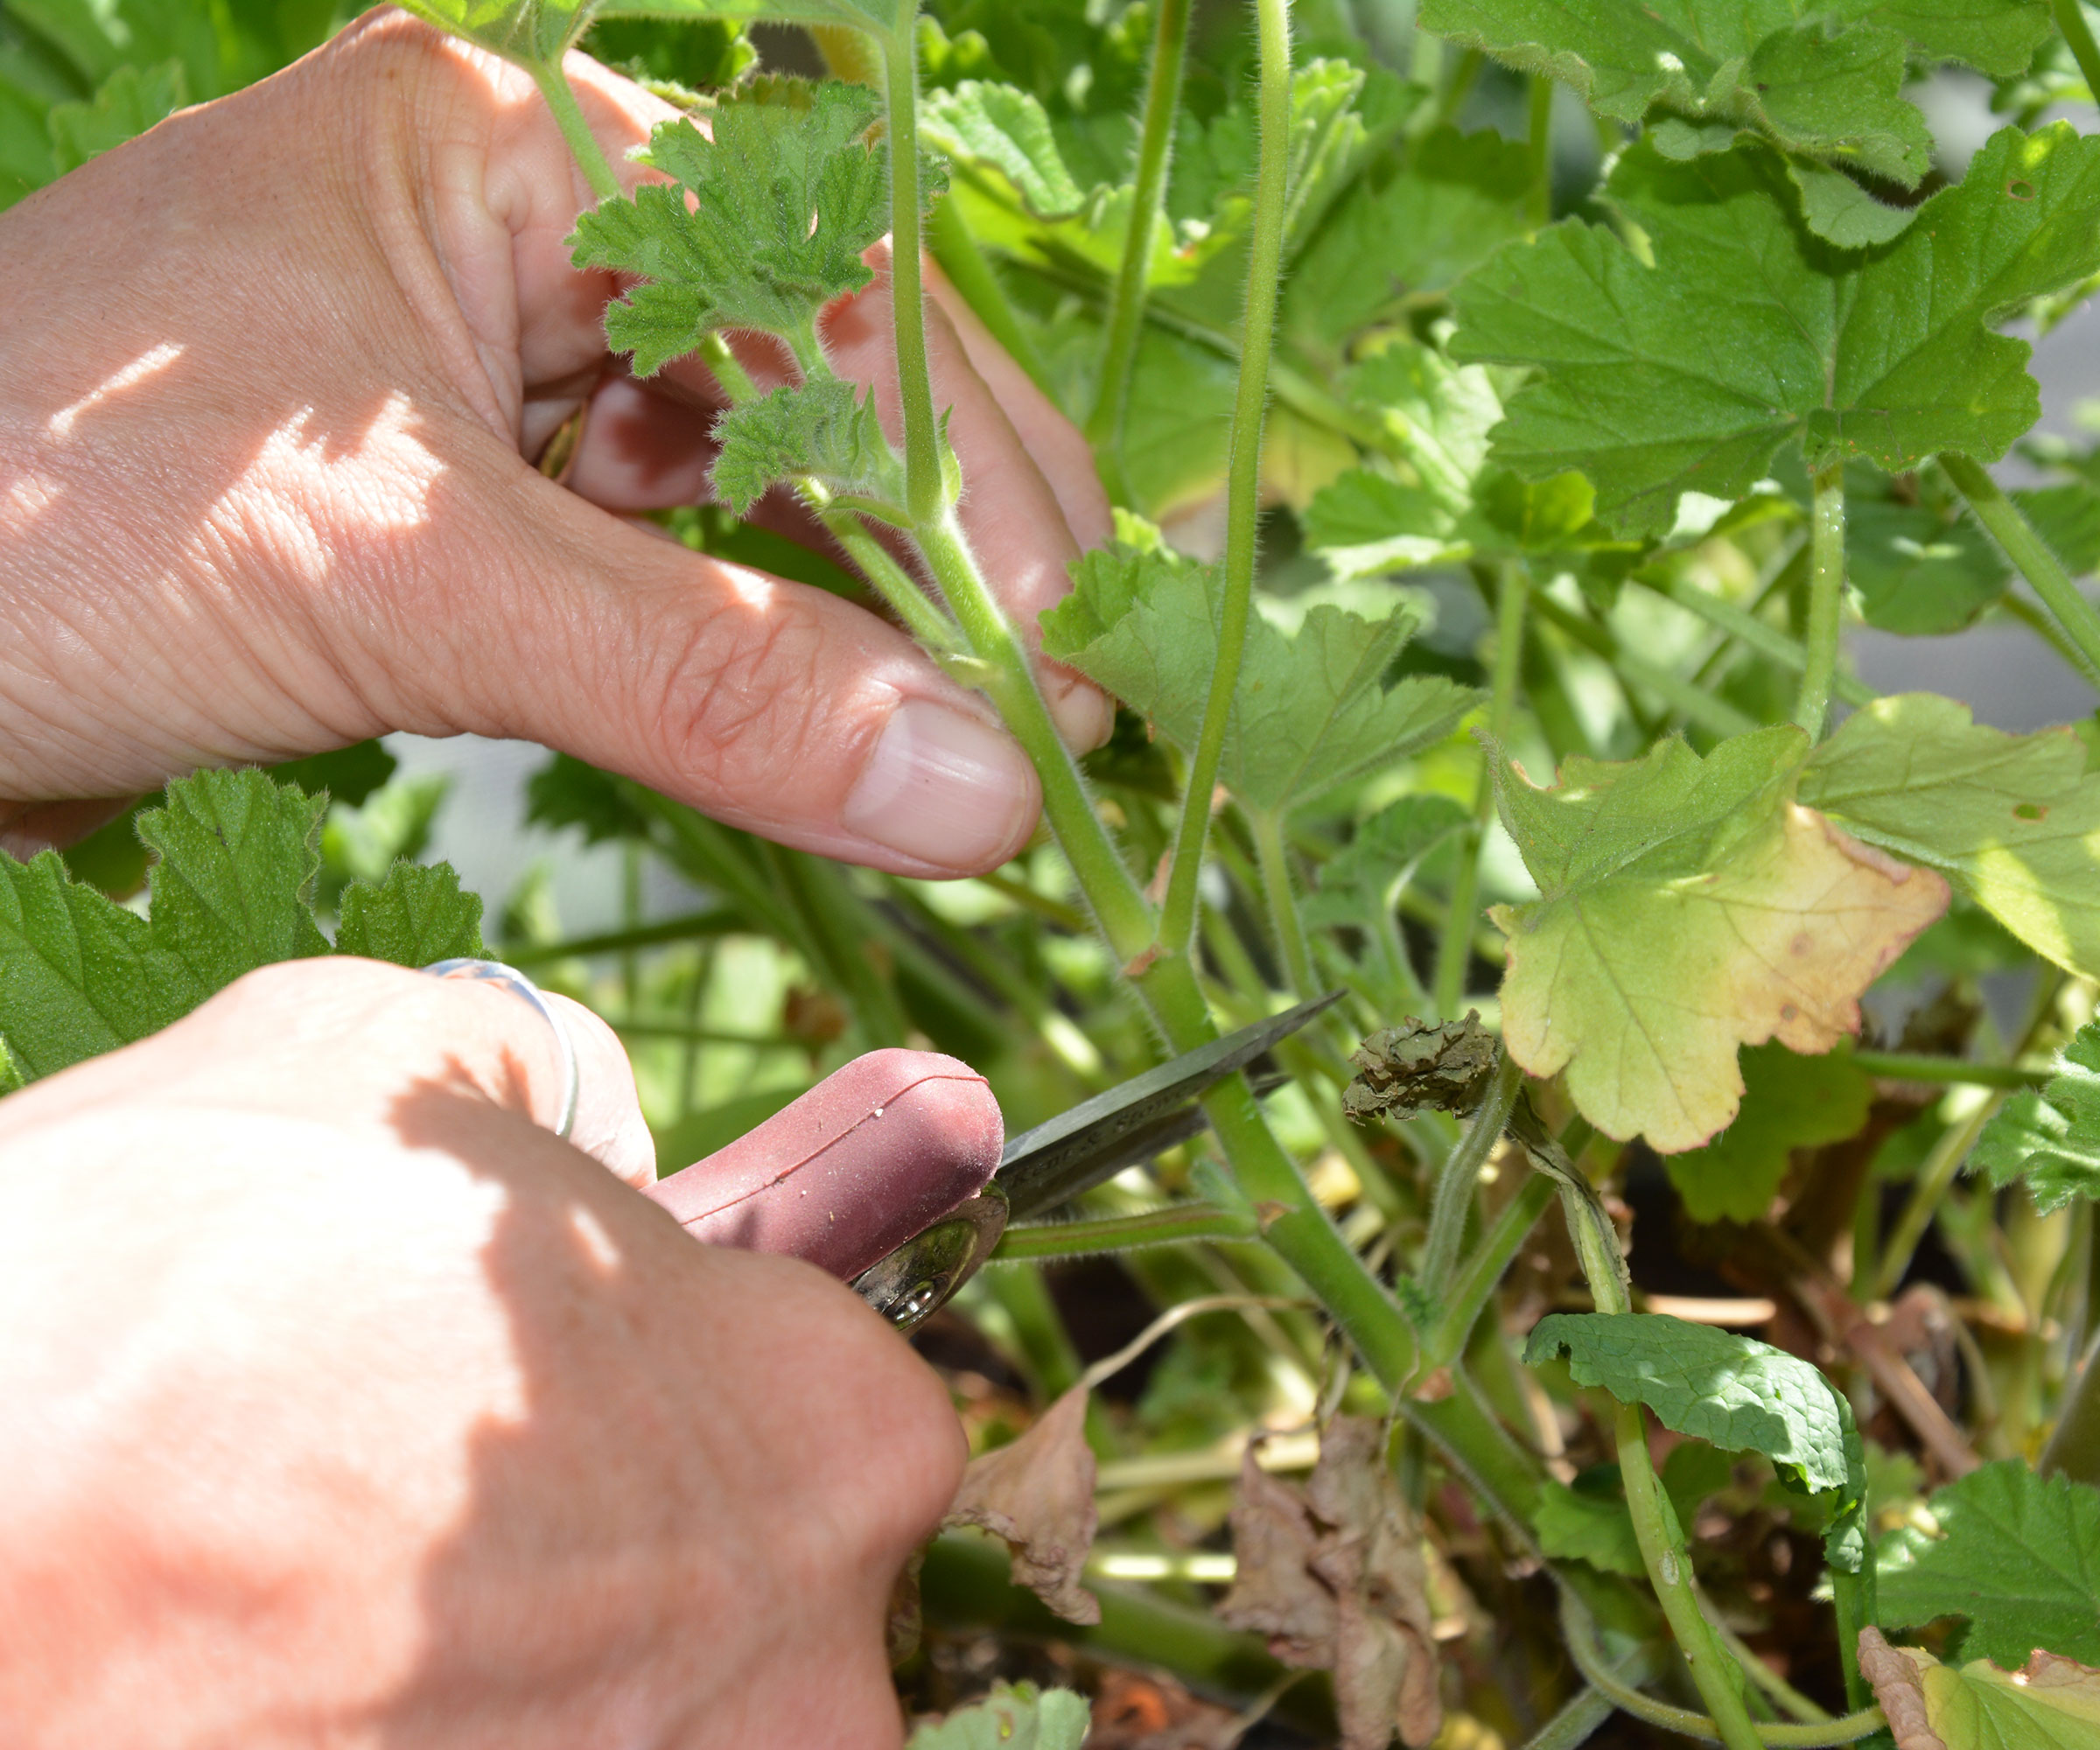
Take cuttings from just below a leaf node where hormones are concentrated for speedy growth
4. Using the wrong compost
When cuttings start to ‘take’, or form roots, the new roots are very thin and delicate, just like the roots that seeds put out when they start to germinate. If the potting soil is too strong it can burn the rootlets, either killing them or checking their development.
The best growing material to use is seed potting soil like this Hoffman Seed Starter Planting and Potting Mix on Amazon. It is specially formulated to give emerging roots exactly the right amounts of nutrients, and this one is also ideal for use when you come to pot on your growing cuttings.
To further help strong root development, seed potting soil should be mixed with perlite or vermiculite, both available on Amazon. They are granular materials that open up the compost, helping to improve drainage and air flow around the roots and prevent water logging.
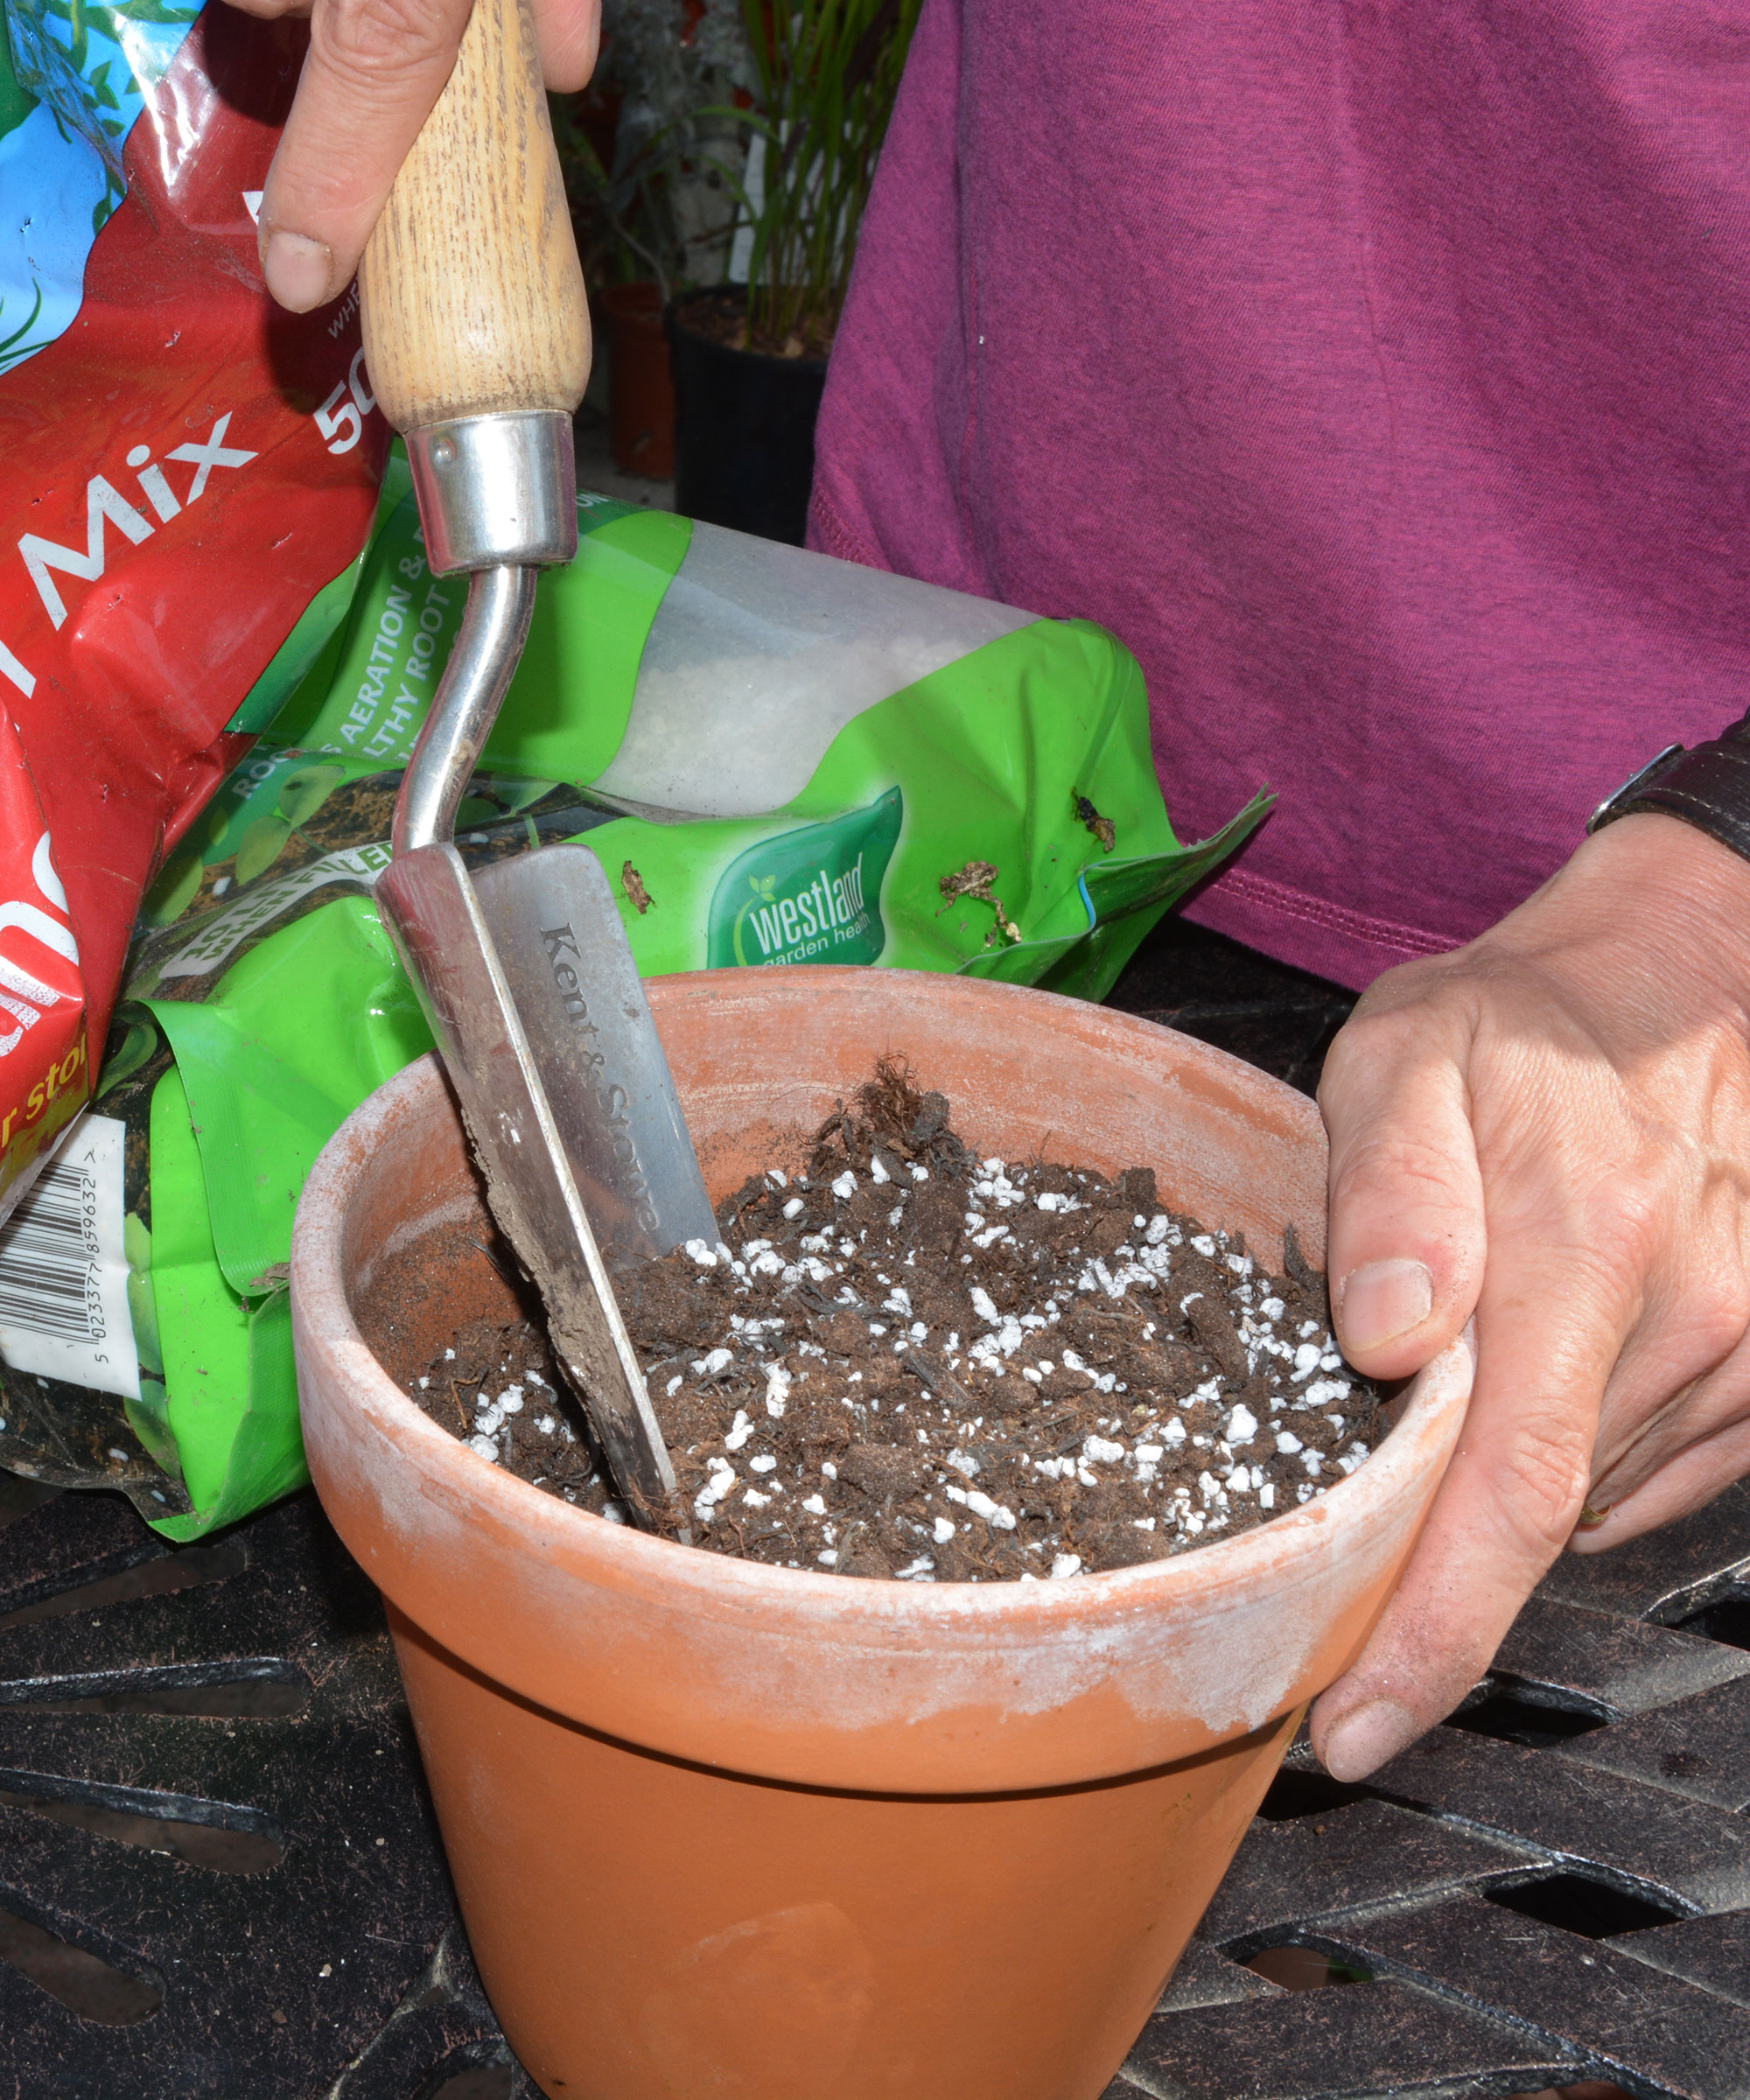
Mixing seed potting soil and vermiculite in a clay pot before rooting cuttings to maximize the flow of water and air around the developing cuttings
5. Letting your cuttings dry out
One of the most common mistakes when taking plant cuttings is leaving it too long between removing the plant material and potting it up.
This can be especially devastating if it is a sunny or windy day, because as soon as the cuttings are removed they start to lose moisture and this will be accelerated in hot, drying conditions.
Cuttings that have been allowed to dry out will go limp and are less likely to survive and thrive.
So always get the pots of damp, gritty compost ready before taking the cuttings. If you think there may be a delay between taking them and potting them up, pop them into a plastic bag and keep them somewhere cool and shady – the refrigerator is ideal!
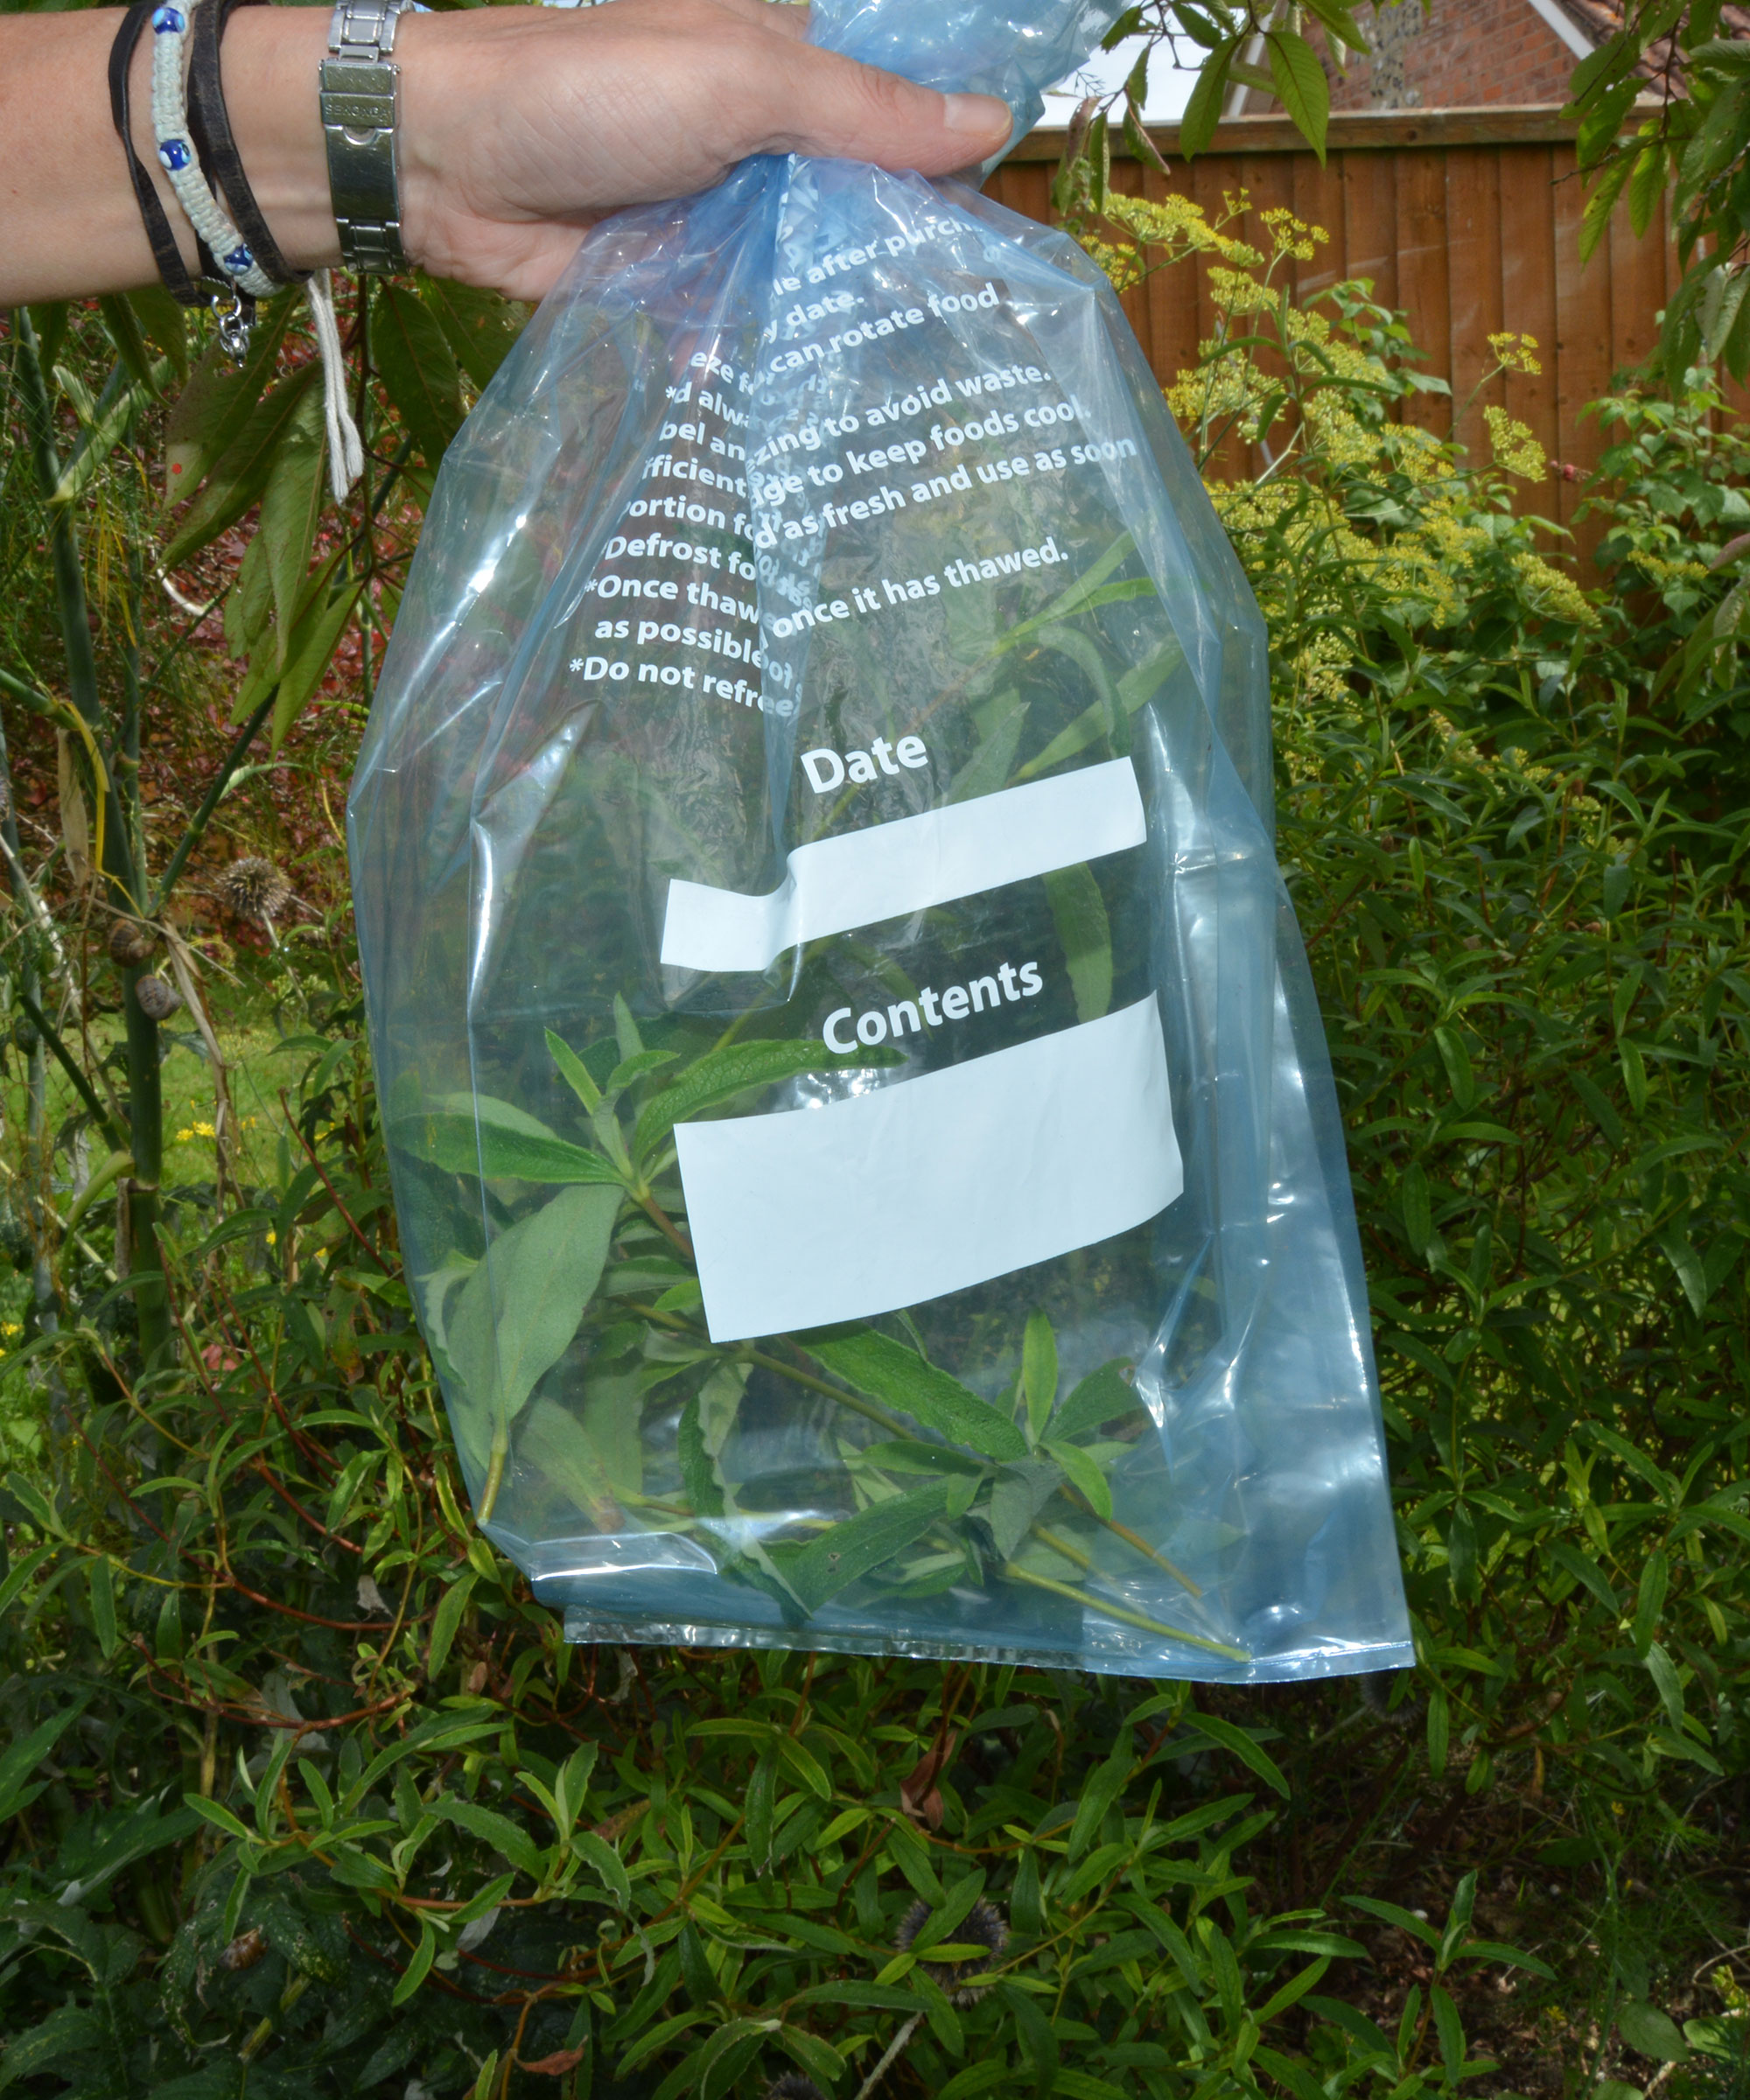
Place fresh cuttings in a plastic bag somewhere cool and damp so they retain moisture
6. Using sickly plants or flowering shoots
Cuttings are very delicate and vulnerable so pests, disease, the wrong growing conditions, too much water or too little water can all cause them to fail. Therefore it is vital that the plants you take your cuttings from are healthy, pest-free and growing strongly.
If they show any signs of yellowing leaves and poor growth, leave them alone. Check for signs of and get rid of aphids, which suck sap and weaken plants, also spreading disease, and make sure plants haven't been badly chewed by slugs as this will weaken them too.
If you have a particular plant you are hoping to use for cuttings, look after it well, feeding and watering plants correctly – though don’t overfeed or overwater – and keep it free from pests.
Avoid taking cuttings from shoots that are in bloom or have flower buds, because they are deploying all their energy into the flower and the rest of the shoot may suffer.
7. Poor aftercare
You may have taken and potted up the perfect cutting, but poor aftercare will swiftly undo all your hard work. The compost the cuttings are rooted into should be kept damp at all times, but not made soggy with overwatering. Leaving it to dry out will also adversely affect and even kill the cuttings.
Most cuttings will grow well if their pot is sealed inside a clean plastic bag like these Propack food storage ones on Amazon, but never let it touch their leaves because the condensation created by the damp compost warming up in the confined space may attract mould or cause the leaves to rot.
Instead, hold the bag off the plants by inserting 4 sticks, like these thin bamboo sticks from Amazon, around the edge of the pot and slide the bag over the top. Snap the sticks in half otherwise they will be too long.
Cuttings need light to grow well and many people place them on a bright windowsill. This is fine but make sure the pot is out of direct sunlight that will scorch the tender young growth.
Finally, don’t leave the bag over the cuttings once they start to grow as this will attract mold. Take it off to let air circulate around your new young plants so you can water them and mist their leaves and they can grow into strong, healthy plants.
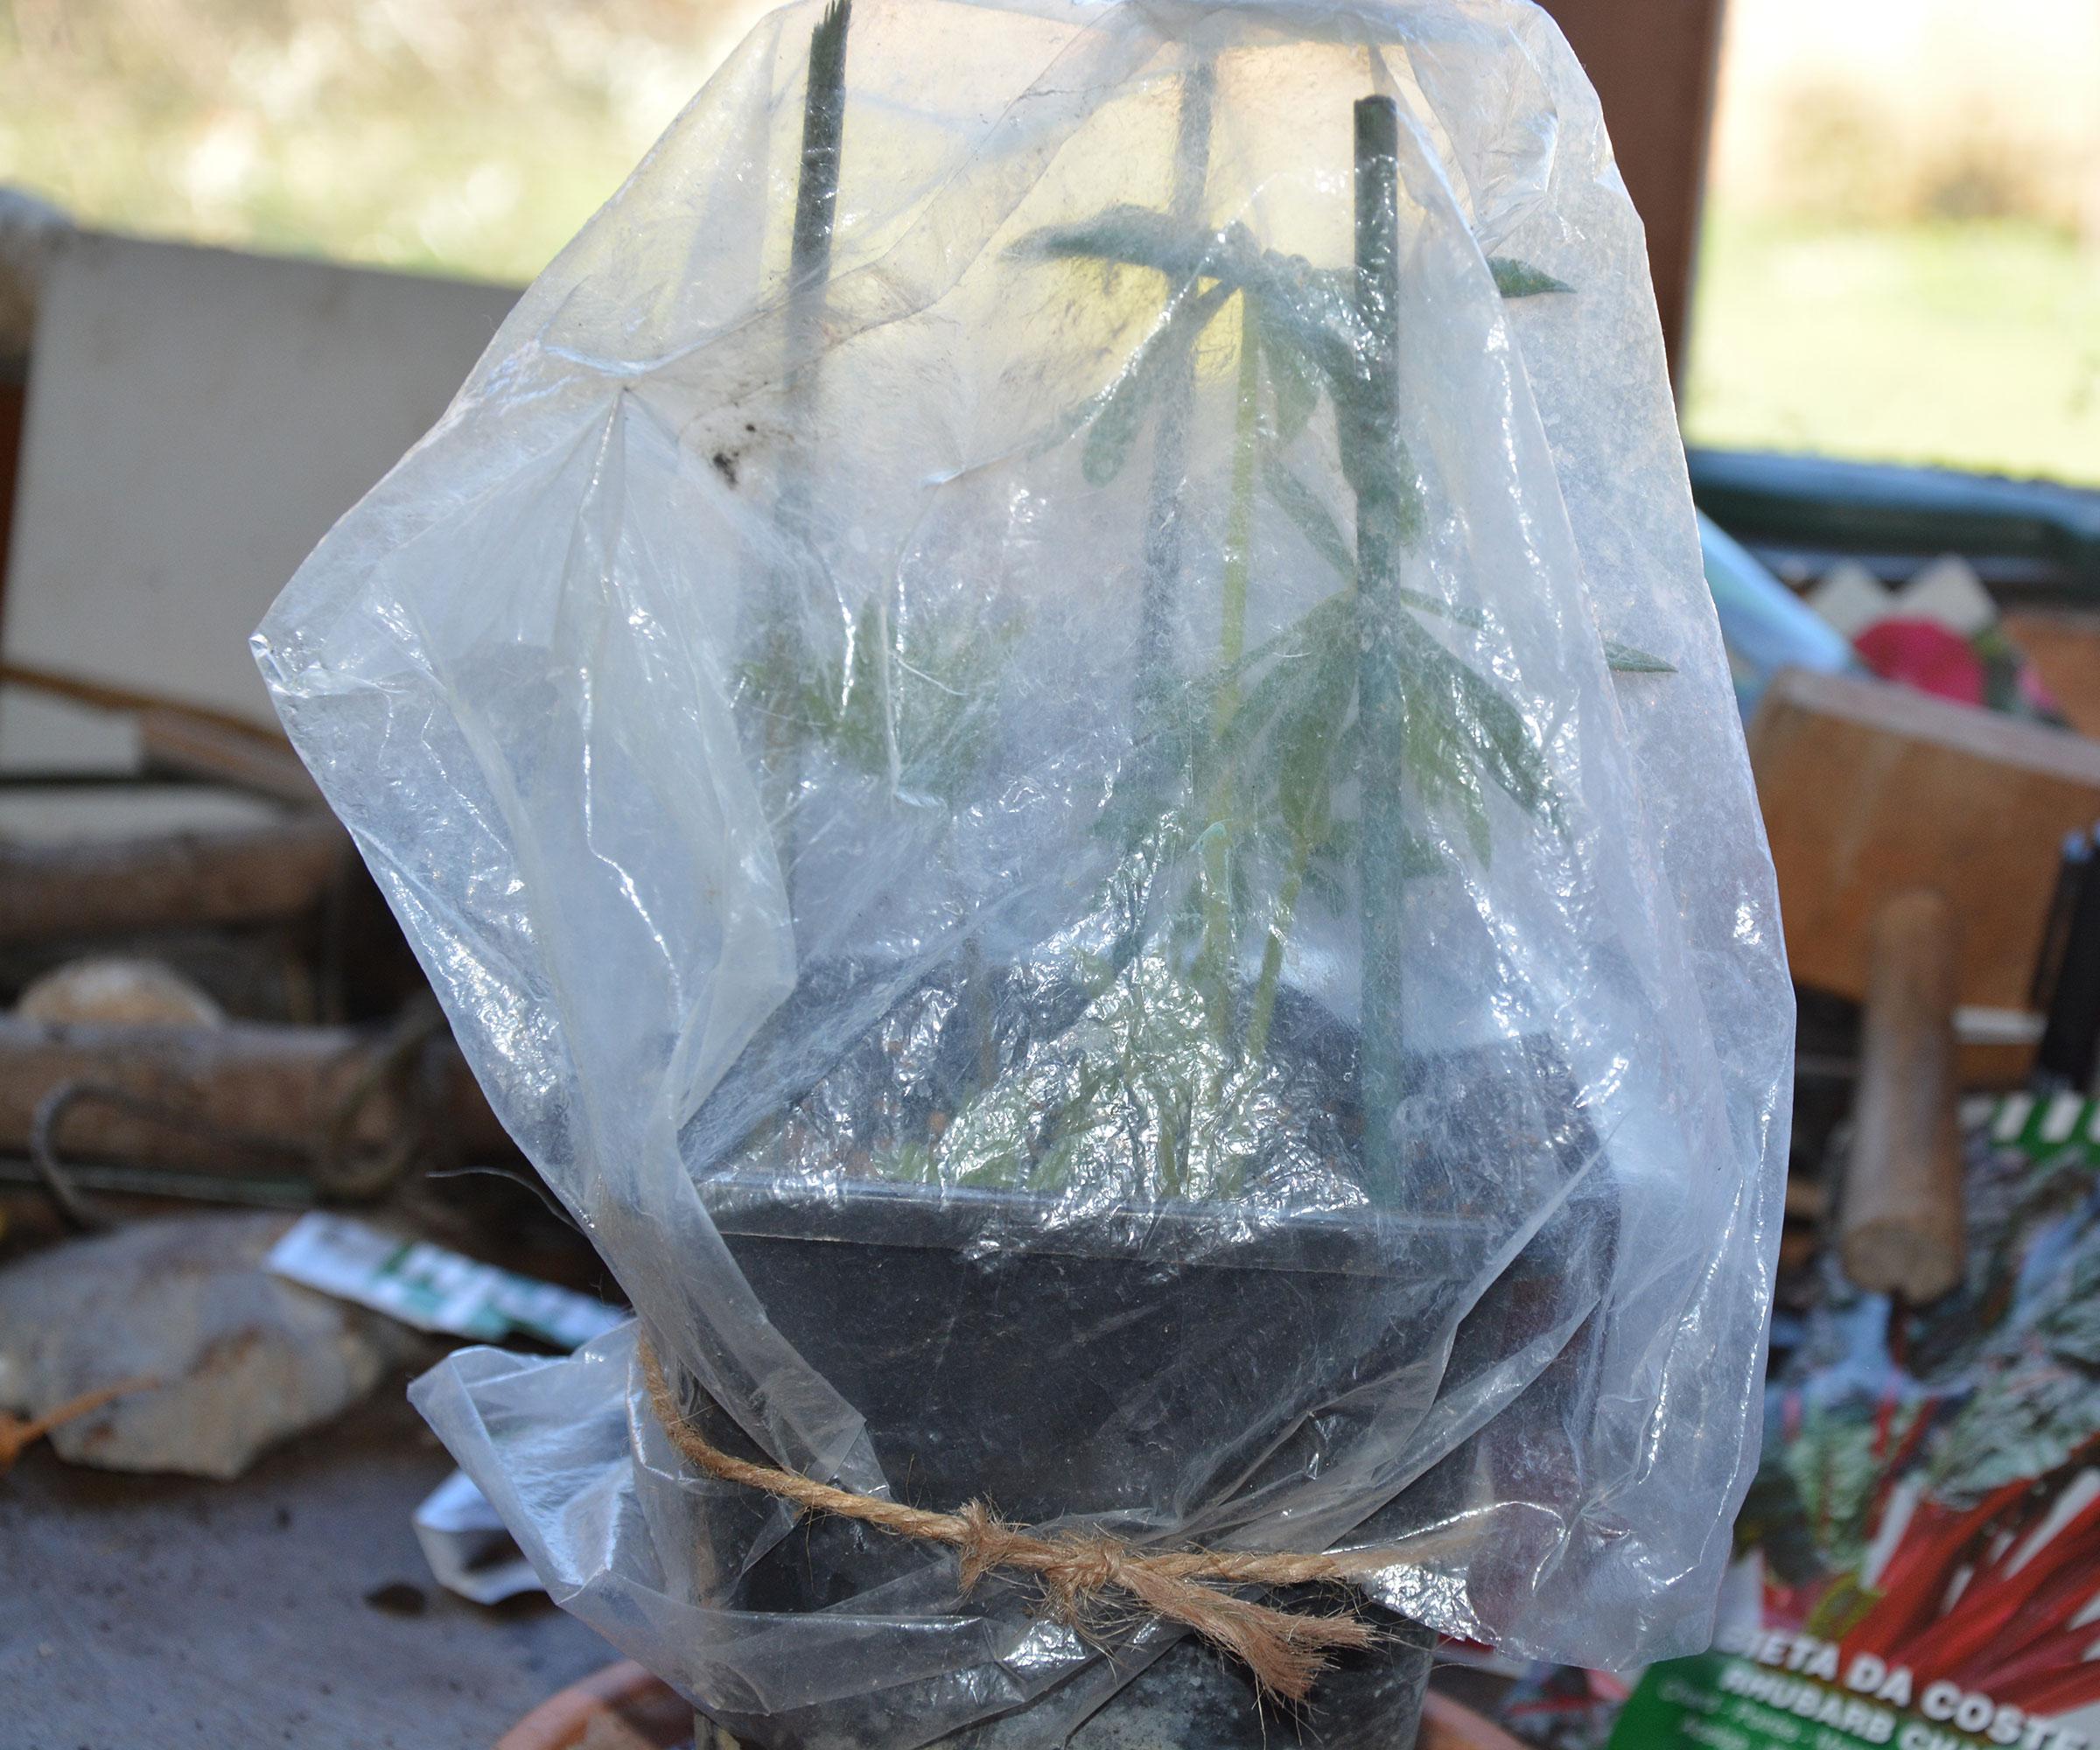
Seal cuttings in a plastic bag to keep their compost damp and atmosphere humid for growth
8. Leaving cuttings in their pots too long
Cuttings are potted up in the weakest possible compost and once they develop roots and start to turn into ‘proper’ plants they need something stronger to feed them and encourage strong development.
If you leave them in their original compost they will not turn into healthy plants, and may start to weaken, leaving them vulnerable to fungal diseases.
Instead, once your cuttings have been growing for a few weeks, carefully pot them up into containers of general purpose potting soil and grow them on so they are ready to go into the garden next spring.
The best potting soil to use is a general purpose one that's been formulated for cuttings, like SpongEase Potting Soil Coir on Amazon. It is strong enough to promote healthy growth, but not so strong it will burn the roots.
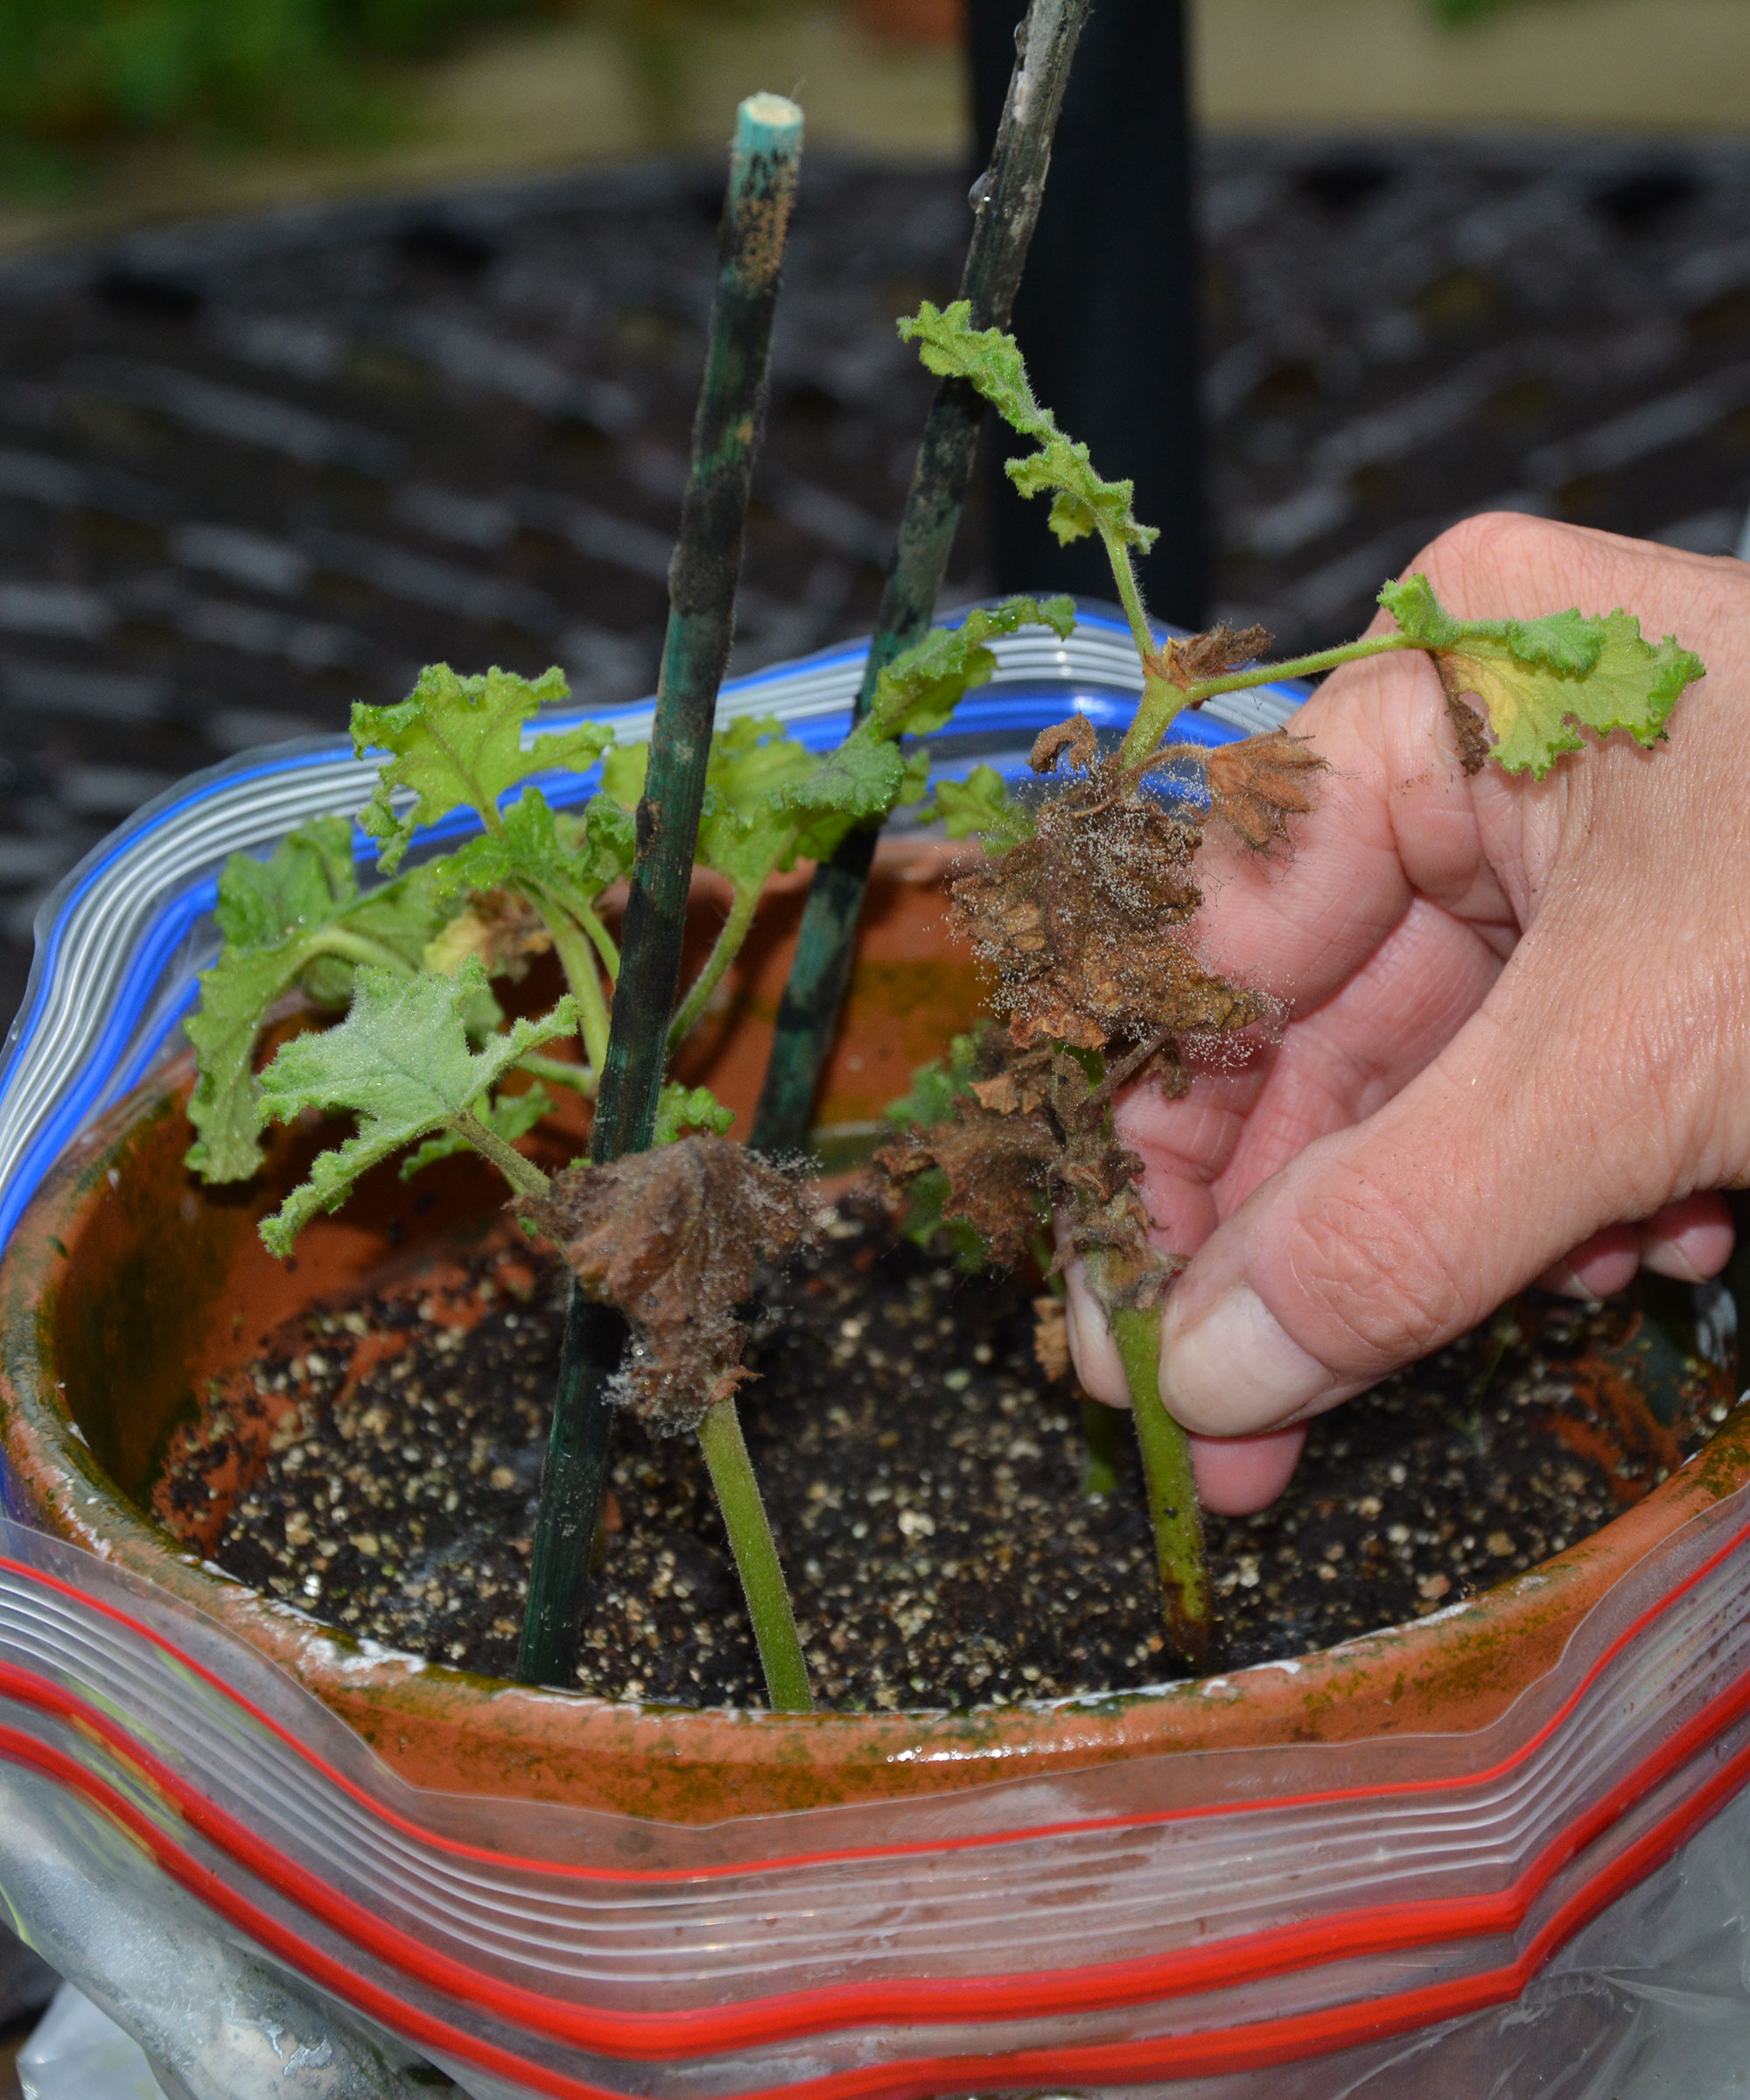
Mataured cuttings should be potted into stronger compost in time or they will weaken and die or become diseased
Whether you're taking rose cuttings or propagating hydrangeas, don't fall foul of the above plant cuttings mistakes and you'll be on your way to creating lots of new plants.
It's also worth remembering that you don't have to specifically set out to take cuttings. If you have time, a clever budget backyard idea is to use offcuts from pruning tasks throughout the growing season to create lots of new plants for free.
Ruth is a Contributing Editor for Homes & Gardens, and formerly Gardening Editor of Amateur Gardening magazine. She is horticulturally trained, with a qualification from the Royal Horticultural Society. Her work for Amateur Gardening, the world's oldest weekly gardening publication, involved matching gardening tasks with each season, covering everything from sowing and planting, to pruning, taking cuttings, dealing with pests and diseases and keeping houseplants healthy. She is an expert in ornamental plants and edible crops, and everything she writes about and photographs is in her own garden, that has been a work in progress since her family moved there in 2012.