Rose pruning mistakes – garden expert warns against these pruning pitfalls
Keep your roses blooming and looking their best by avoiding these common pruning errors


Whenever we do a poll of gardeners’ favorite flowers, there is one that always comes in the top three – roses. They can live for decades, but you need to know how to prune roses correctly to get their best performance year after year.
It is easy to get this wrong, however, and there are several common rose pruning mistakes that you should avoid if you want your plants to be at their best.
From pruning at the wrong time of year to using the wrong pruning tools, it pays to get up to speed with these mistakes.
How to avoid common rose pruning mistakes
Despite what you might think, rose pruning isn’t difficult once you're aware of the common mistakes you need to avoid. Learn what they are and you can be sure to have the best rose garden around.
1. Pruning at the wrong time
One of the most common rose pruning mistakes is pruning them at the wrong time of year. If you prune any rose in early summer, for example, you will remove the first flower buds, reducing their blooming potential.
Roses are cut back by around a third in the fall to remove the remaining flowerheads and shorten long stems to prevent them being damaged by winter storms.
The main time to prune roses, to prepare them for the growing season, is generally in late winter or early spring. Well-established mature roses can be pruned hard, right back to ankle-height to encourage them to produce robust healthy shoots in spring.
Design expertise in your inbox – from inspiring decorating ideas and beautiful celebrity homes to practical gardening advice and shopping round-ups.
There are different pruning times and regimes for different varieties of rose:
- Shrub or bush roses including hybrid teas and floribunda roses: These flower strongly on the current season’s new growth and are best cut back hard in early spring to keep them compact and flowering well.
- Rambling roses: Vigorous scrambling roses bloom once a year in midsummer on wood grown the previous year or two. These should be pruned once a year after flowering otherwise you risk losing a year's worth of buds.
- Climbing roses: These are cut back in winter. You should prune climbing roses by reducing flowered shoots to the main framework.
Should your rose look untidy out of the main pruning seasons, stake them, or tie ramblers and climbing roses to a trellis and wait until fall to shorten its stems.
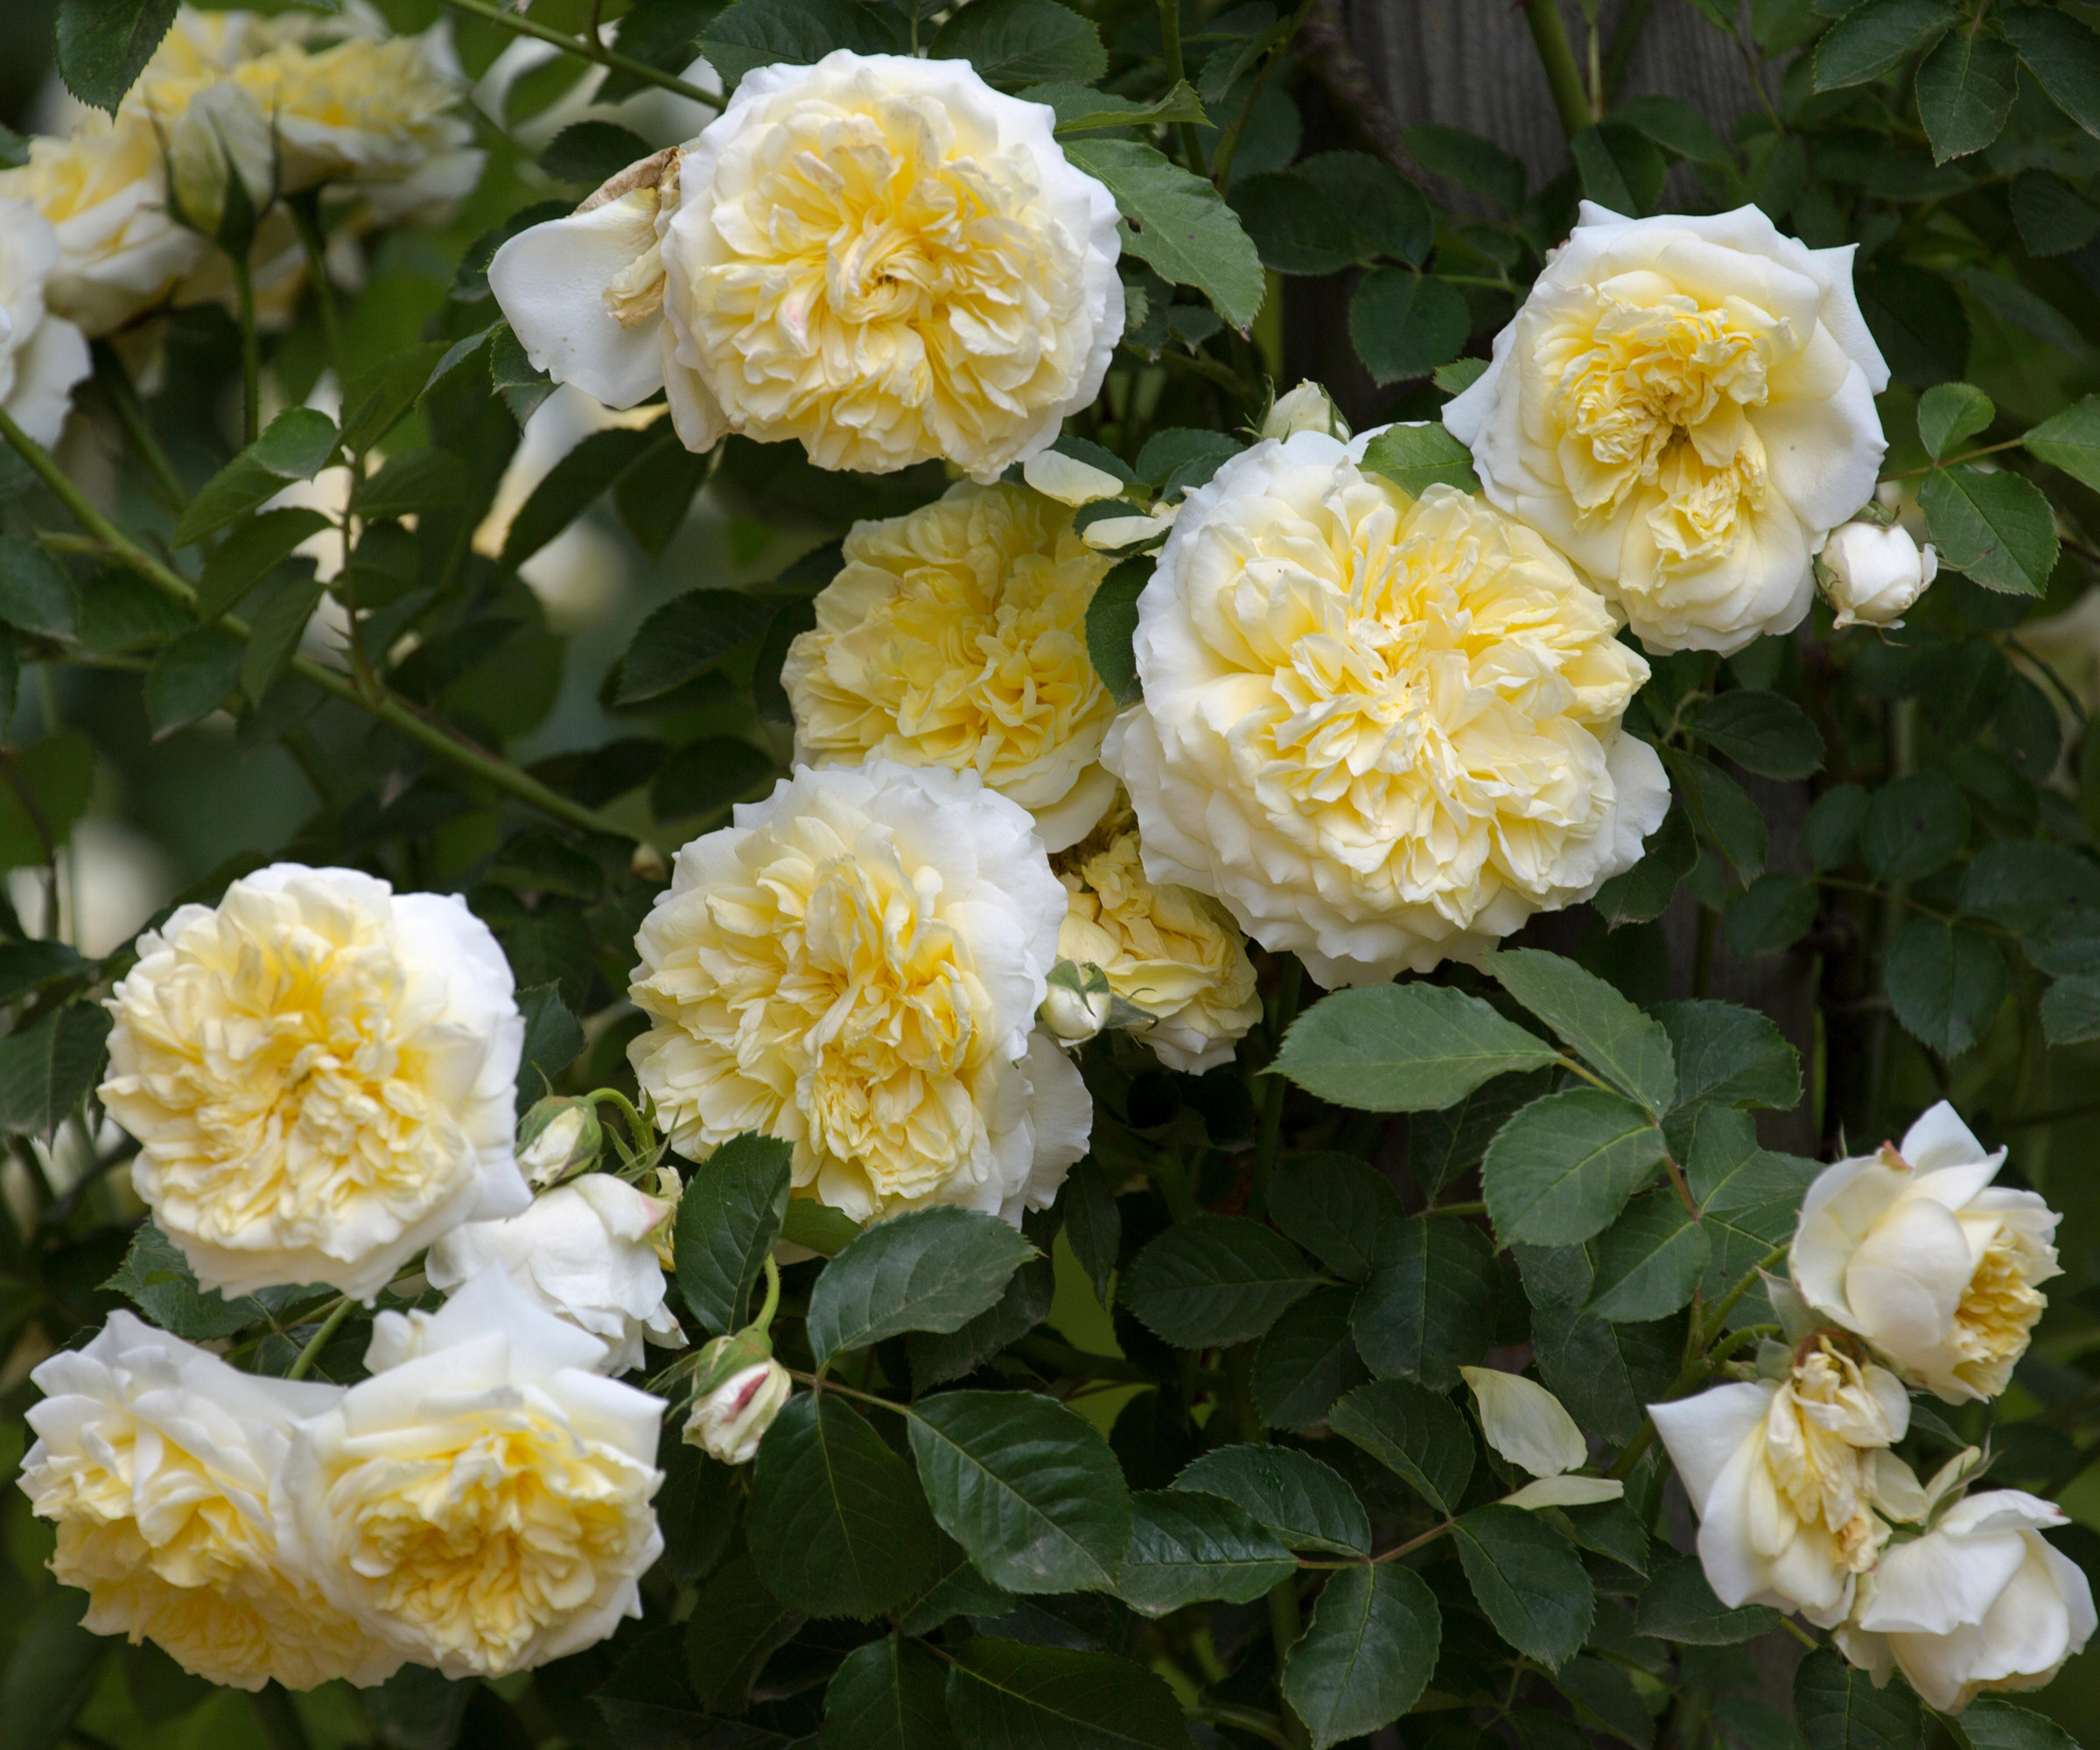
Cut climbing roses back in winter and they will flower well on new growth
2. Ignoring pruning rules
Roses are no different to any other shrub when it comes to cutting them back. The first thing to do to avoid making any pruning mistakes is make sure you follow the ‘3D rule’.
This means the first steps to take when you start pruning a rose is remove dead, damaged and diseased stems, cutting back to healthy wood, before doing anything else.
Also remove weak and unproductive shoots and any that are growing towards the inside of the plant as all they do is create a cluttered, untidy centre.
When pruning healthy stems, cut 1/4in above a bud and make sure the cut is sloping outwards, so rain runs off instead of collecting on the pruning wound.
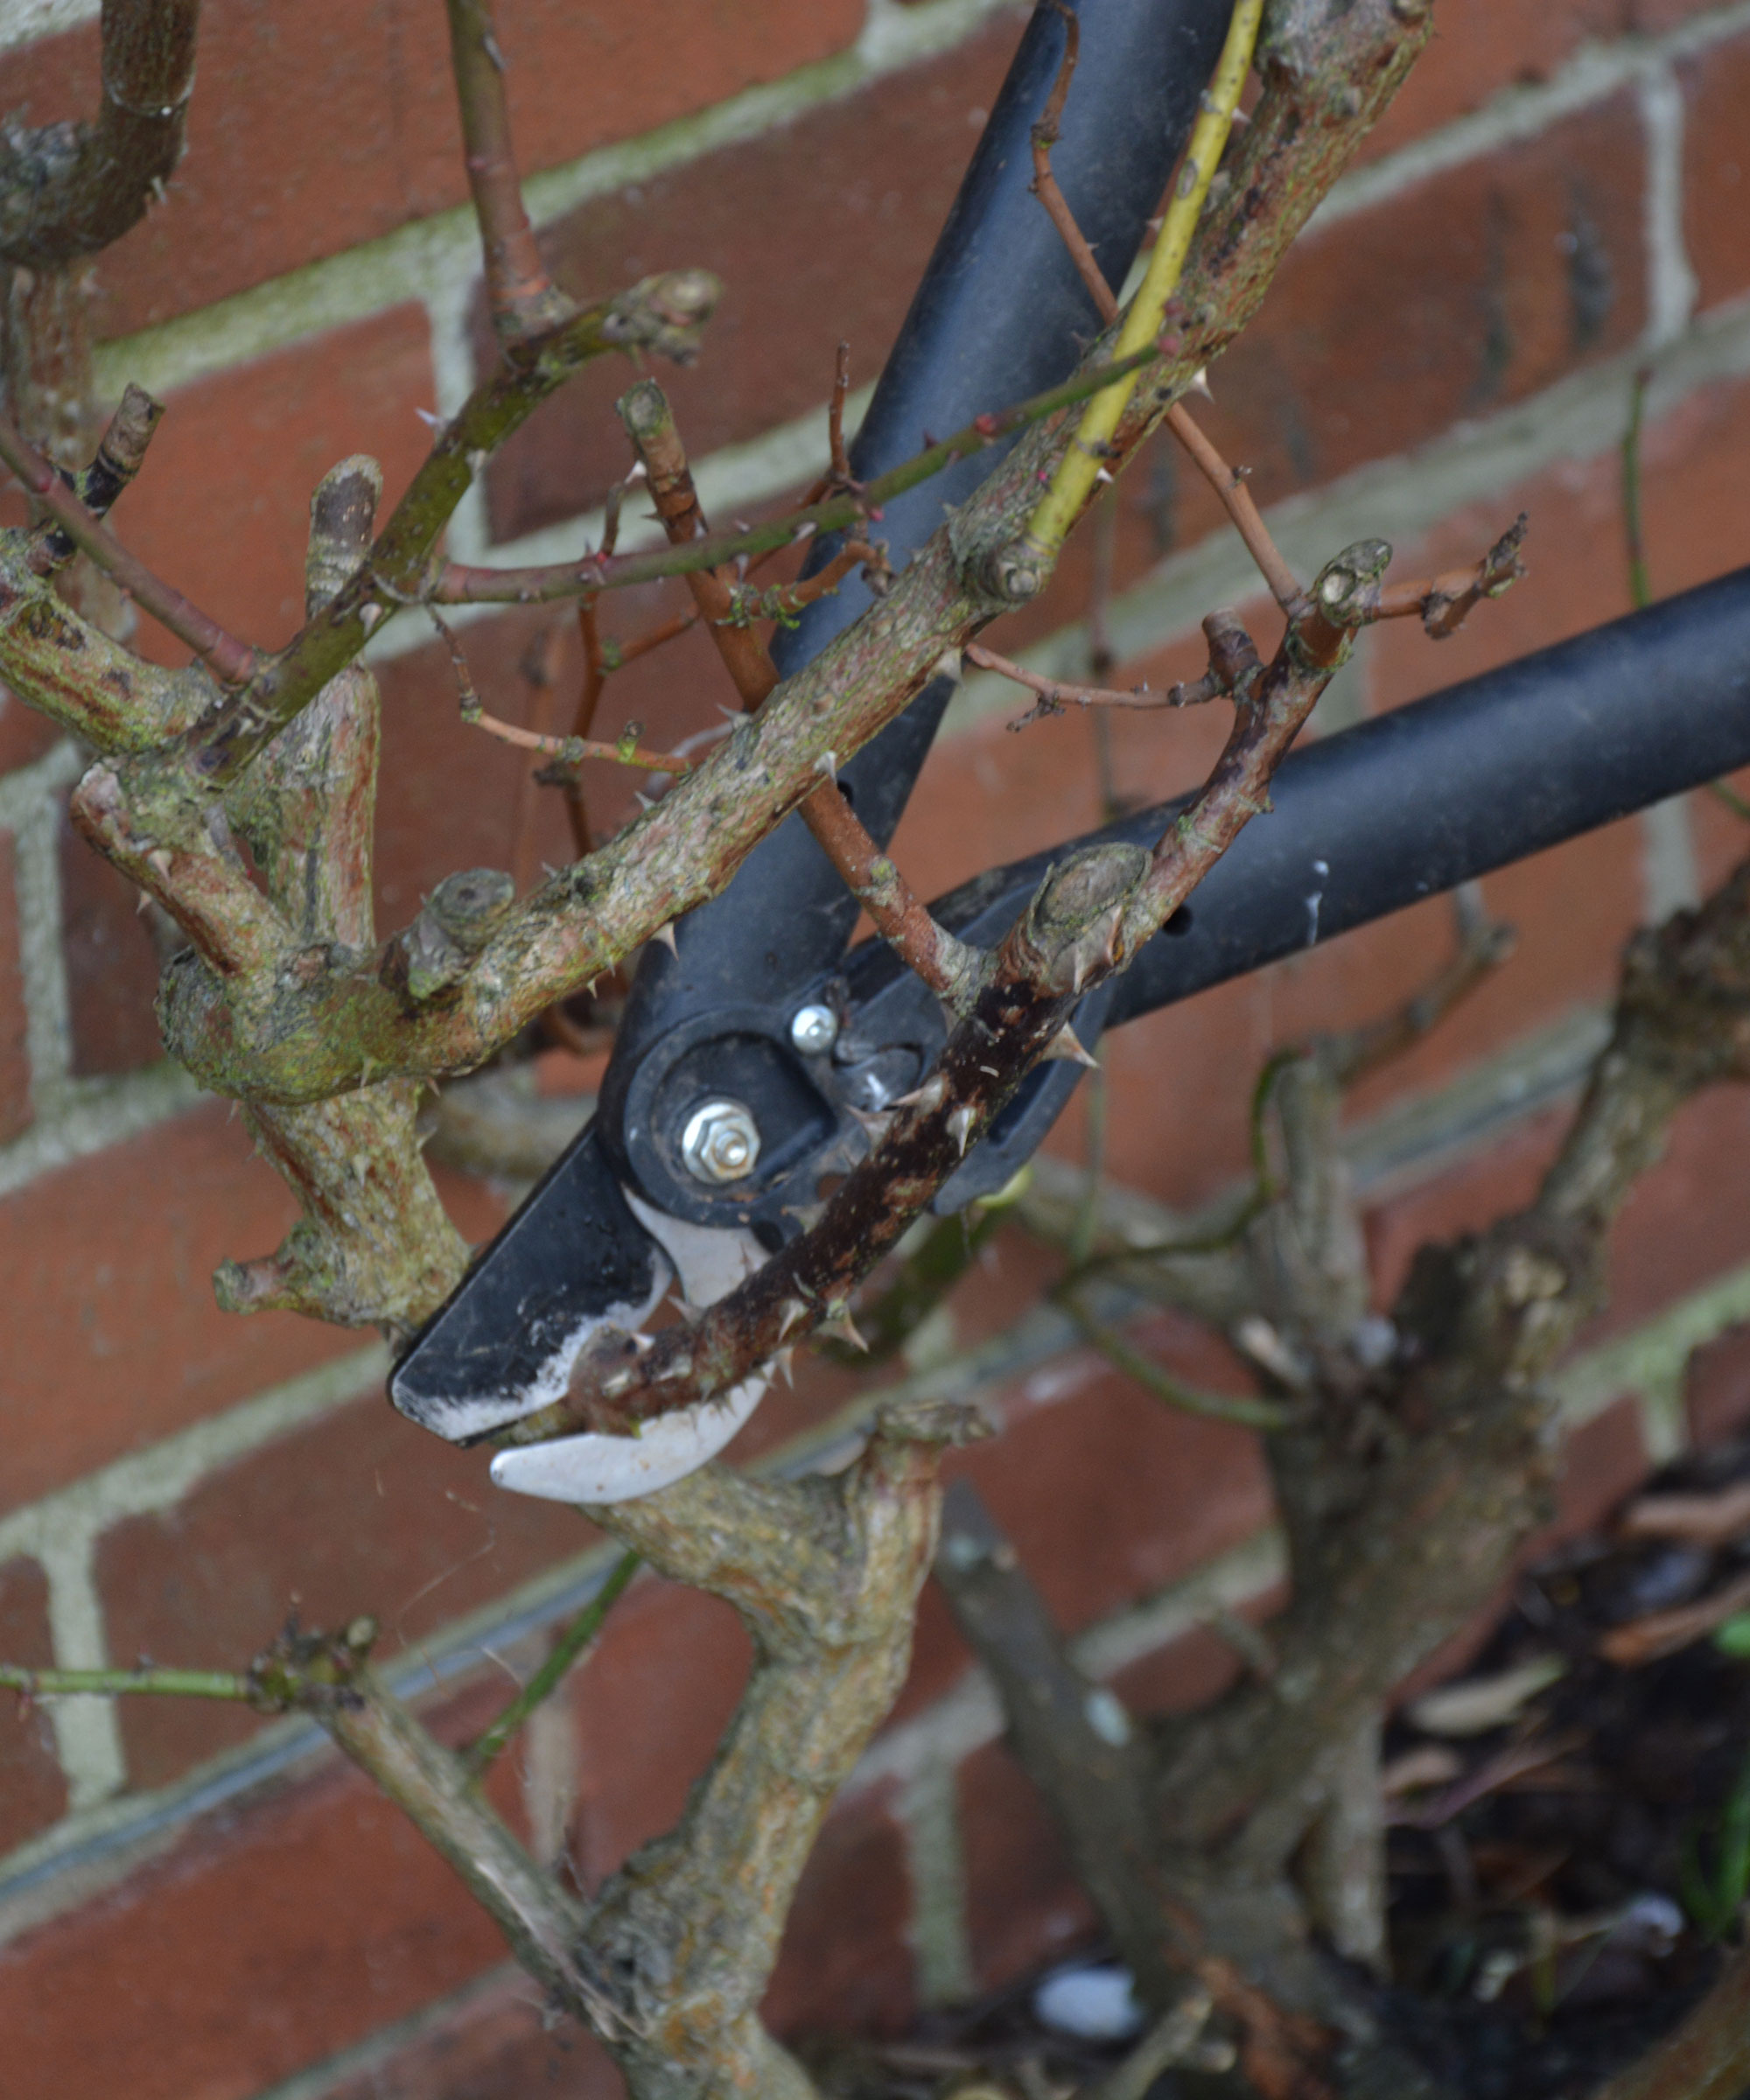
When starting to prune a rose it is important to remove all dead, damaged and diseased wood
3. Using blunt and dirty tools
One of the main causes of rose pruning problems is using blunt pruning tools that haven’t been cleaned since their last use. This includes blades with sap and the remnants of woody material smeared over them and saw teeth with shards of wood caught among them.
Dull blades don’t cut cleanly; they mash the wood leaving rough and straggly ends that are an excellent entry point for roses pests and diseases. Likewise, saw blades that are coated in wood dust won’t cut efficiently.
Using dirty, sticky blades when you prune is the easiest way of spreading rose diseases from plant to plant.
Always clean garden tools and sharpen pruning shears and loppers after use, and replace blunt dirty saw blades as appropriate,
I use a blade cleaner like this Felco Plant Resin Remover on Amazon to remove sap and grime and then wipe over the blades with a general household disinfectant.
Whetstones, like this SHARPAL Dual-Grit Diamond Sharpening Stone on Amazon, are the easiest way to sharpen cutting blades, and replacement blades for bow saws and pruning saws are also widely available online.
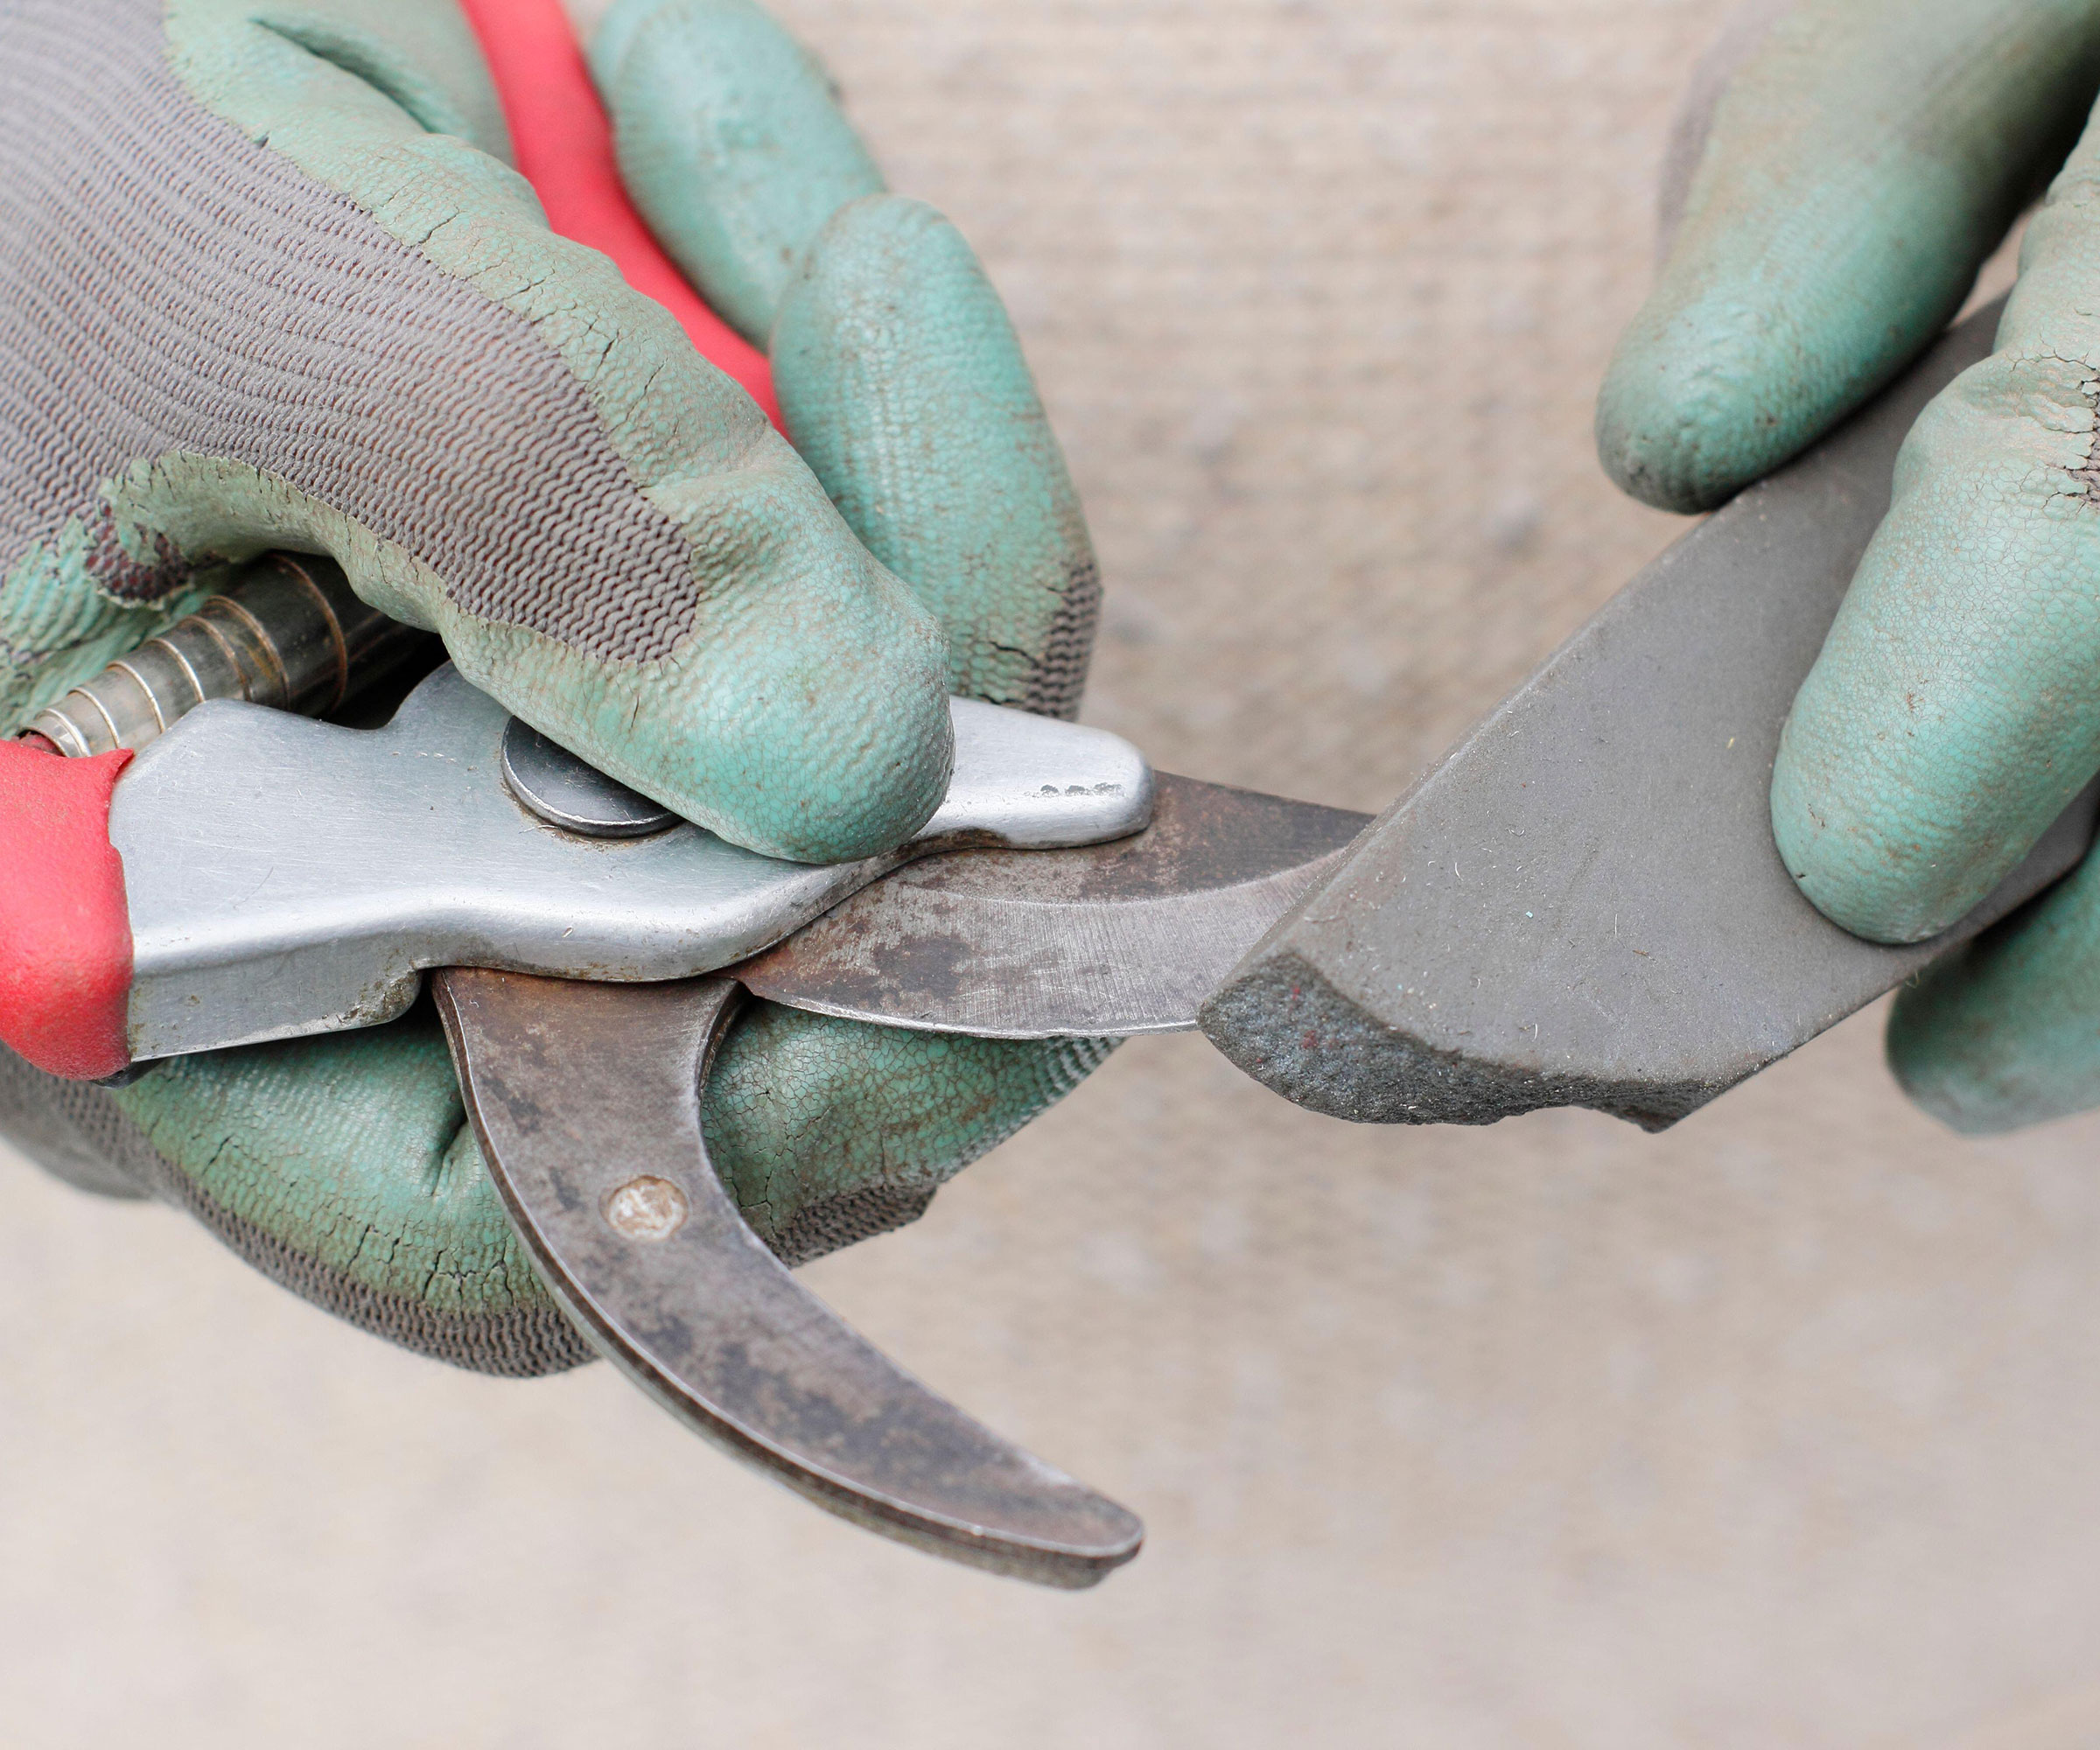
Always make sure tools are clean and sharp before rose pruning
4. Using the wrong tools
Using the wrong tools can be as damaging to your rose as using dirty tools. The most commonly used pruning tools are pruners and loppers, and it is important to know which to use in different circumstances..
There are two types of pruning shears, anvil and bypass. Anvil pruners, like this heavy duty pair by Woodland Tools on Amazon, have a sharp blade that bites down onto a broader blade, like a knife coming down on an anvil – hence their name. They are very useful but the way they cut can bruise and damage green wood so they should only be used when removing dead wood.
Bypass pruners, like these titanium gonicc pruning shears on Amazon, act like scissors, the blades passing each other as they cut and they should be used for cutting back green stems.
Loppers and pruning saws are used for cutting thicker growth such as the stems of very old roses.
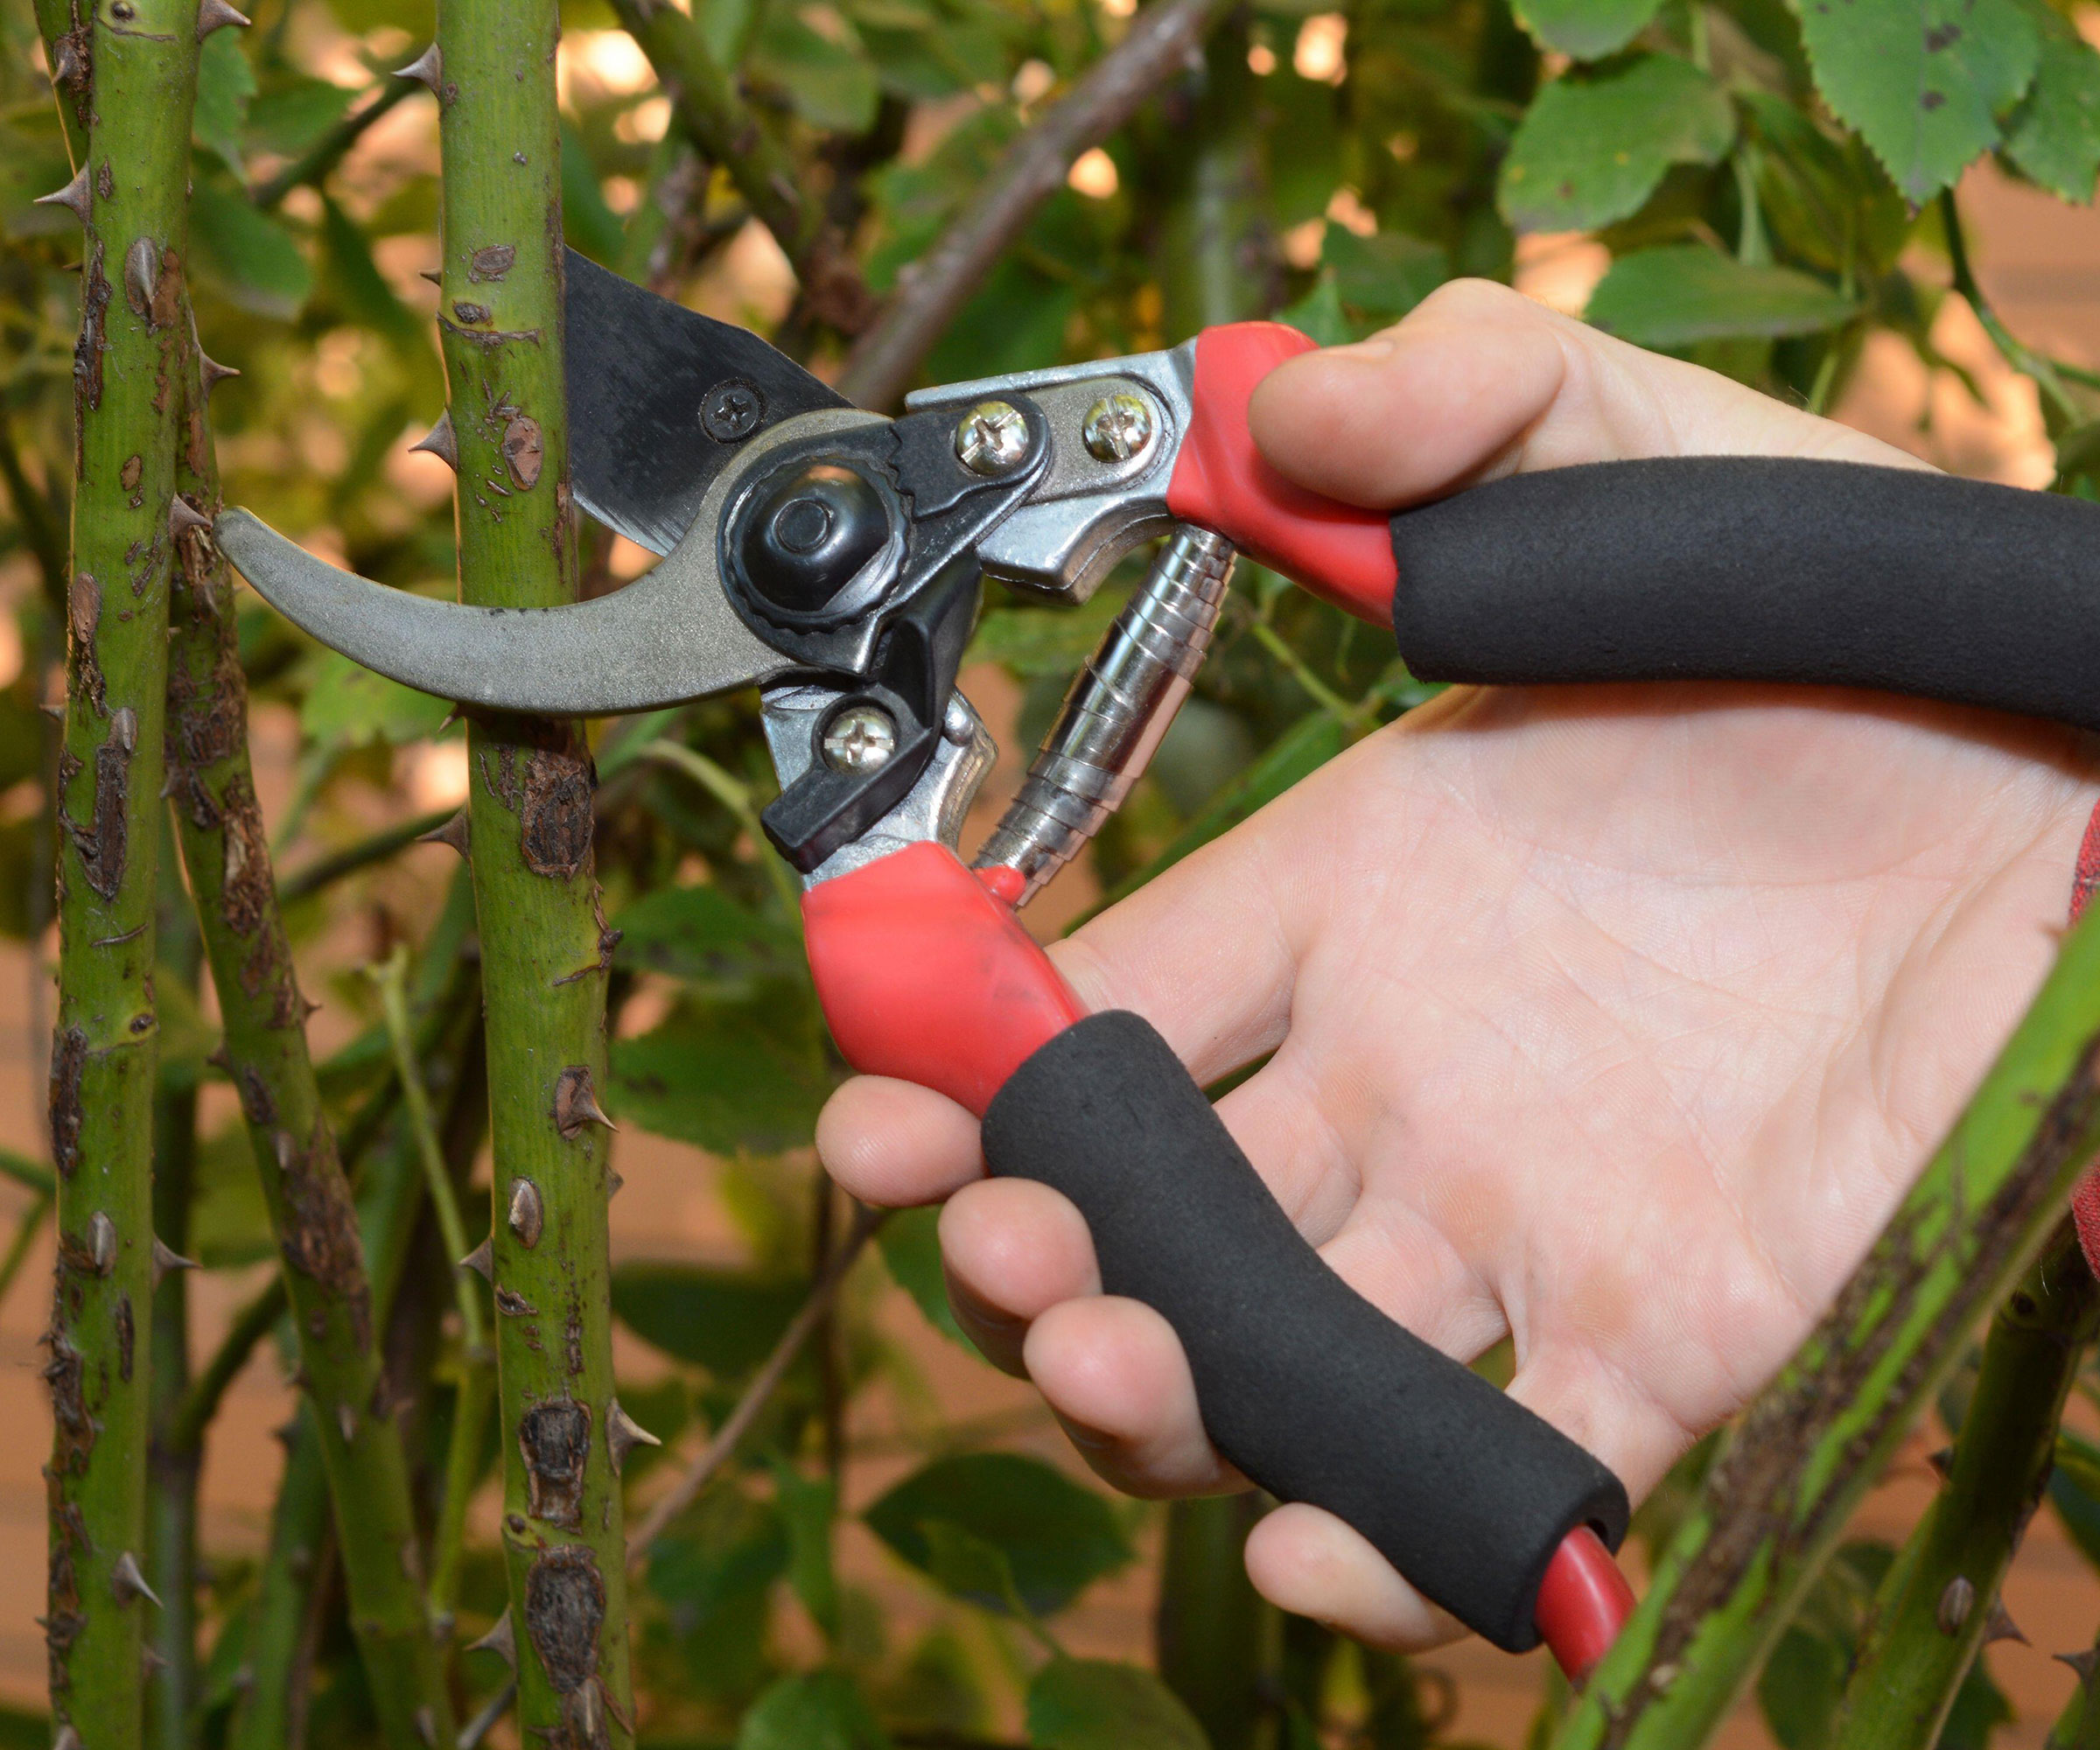
Bypass pruning shears cutting the stem of a rambling rose
5. Pruning in wet and cold
Although roses are pruned during the coldest months, never prune when the soil is saturated with rain or conditions are freezing hard.
Good soil health is vital for the sake of your plants. It is very easy to damage the structure of waterlogged soil, and if you tread on wet soil around your rose during pruning, you will compact it, drive oxygen from it and make it harder for the rose’s roots to function well.
Remember that heavy clay soil types hold onto moisture longer than light, sandy soils so you still need to be careful where you tread after the winter has passed.
Pruning in periods of intense cold can cause frost to enter the cuts, blackening the wood and even causing dieback.
Wait until the weather has warmed up and the soil dried out – you should still have plenty of time to prune correctly.
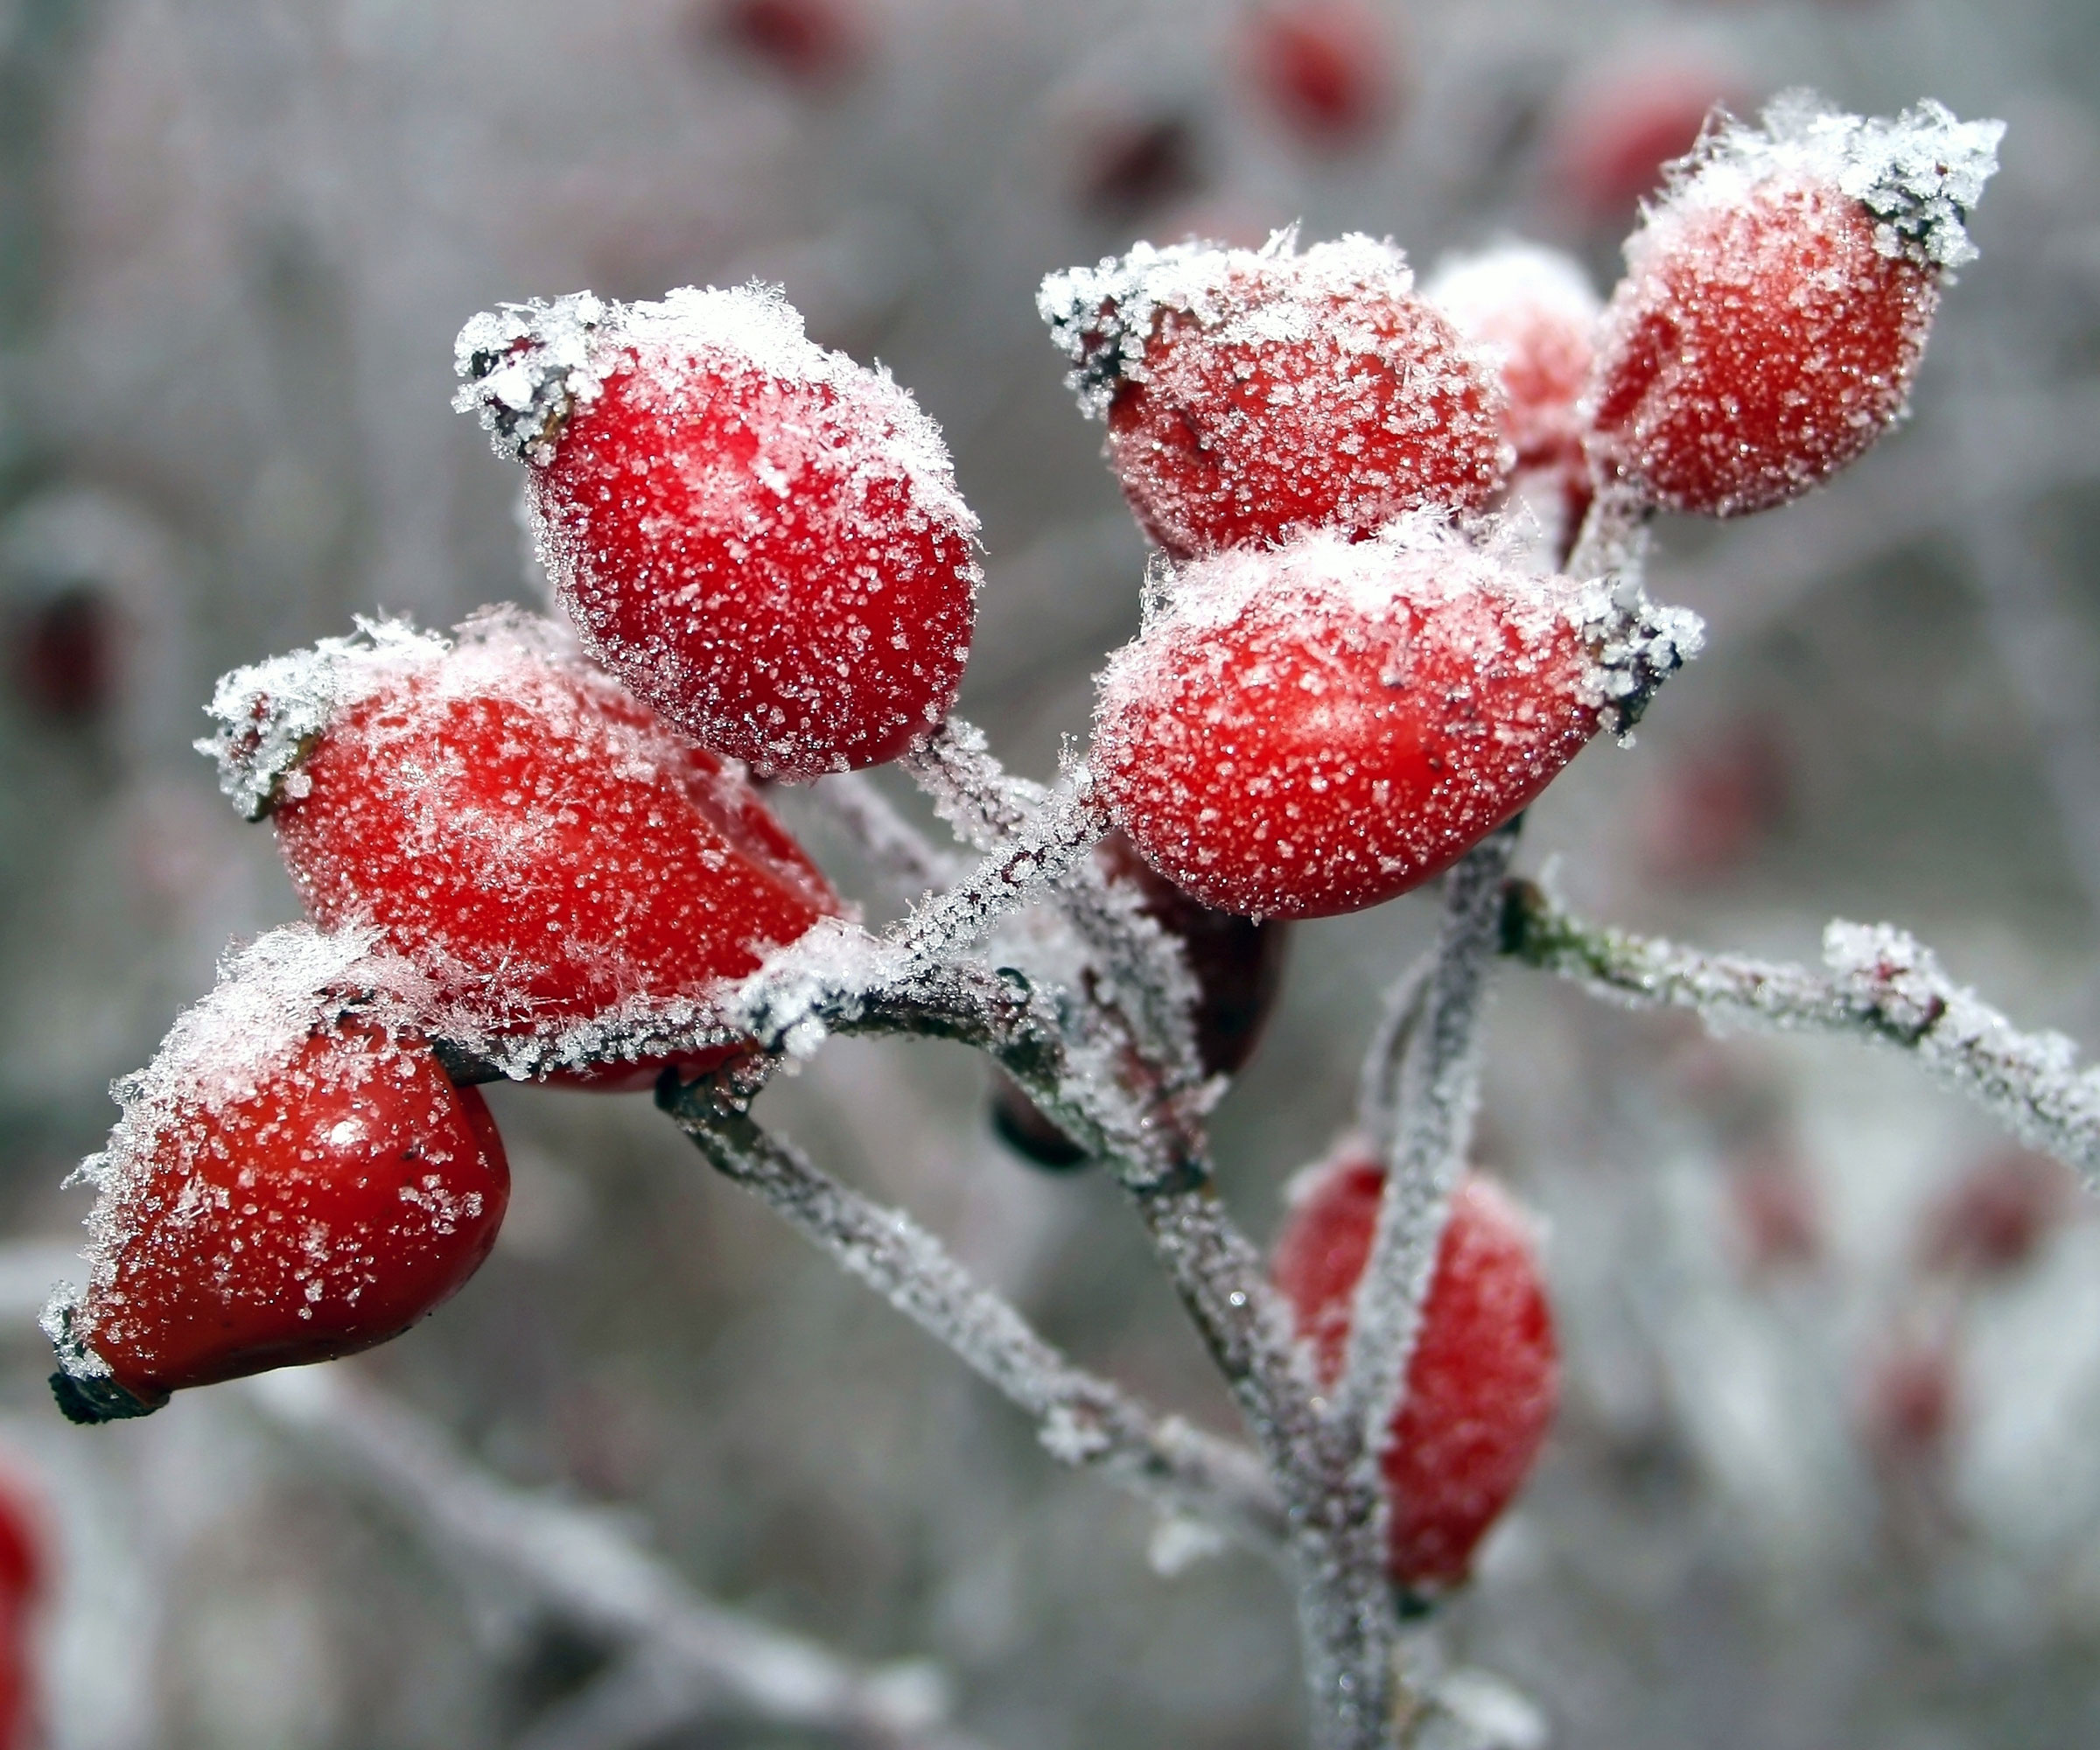
Avoid pruning roses in frosty or waterlogged conditions
6. Not taking care with diseased roses
One of the greatest rose pruning mistakes is not taking care when cutting back plants that are affected with rose black spot. It's one of the most common and debilitating diseases to attack roses.
It starts as dark splodges on the leaves that turn yellow over time. The plant often loses its leaves and small scabby lesions can also appear on the stems of young plants.
Not disposing of infected plant material properly and not bothering to disinfect pruning tools afterwards can increase the risk of spreading the disease.
Whenever you are clearing black spot-infected leaves during pruning, whether they are on the ground or on the soil, throw them away or burn them, never add them to the compost heap where the disease will thrive in its damp warmth.
Black spot spores live on in the soil around roses so mulching well after clearing the leaves will help prevent rain splashing spores back up on to the plant. Then disinfect your pruners with household disinfectant, let them dry and sharpen them well after use.
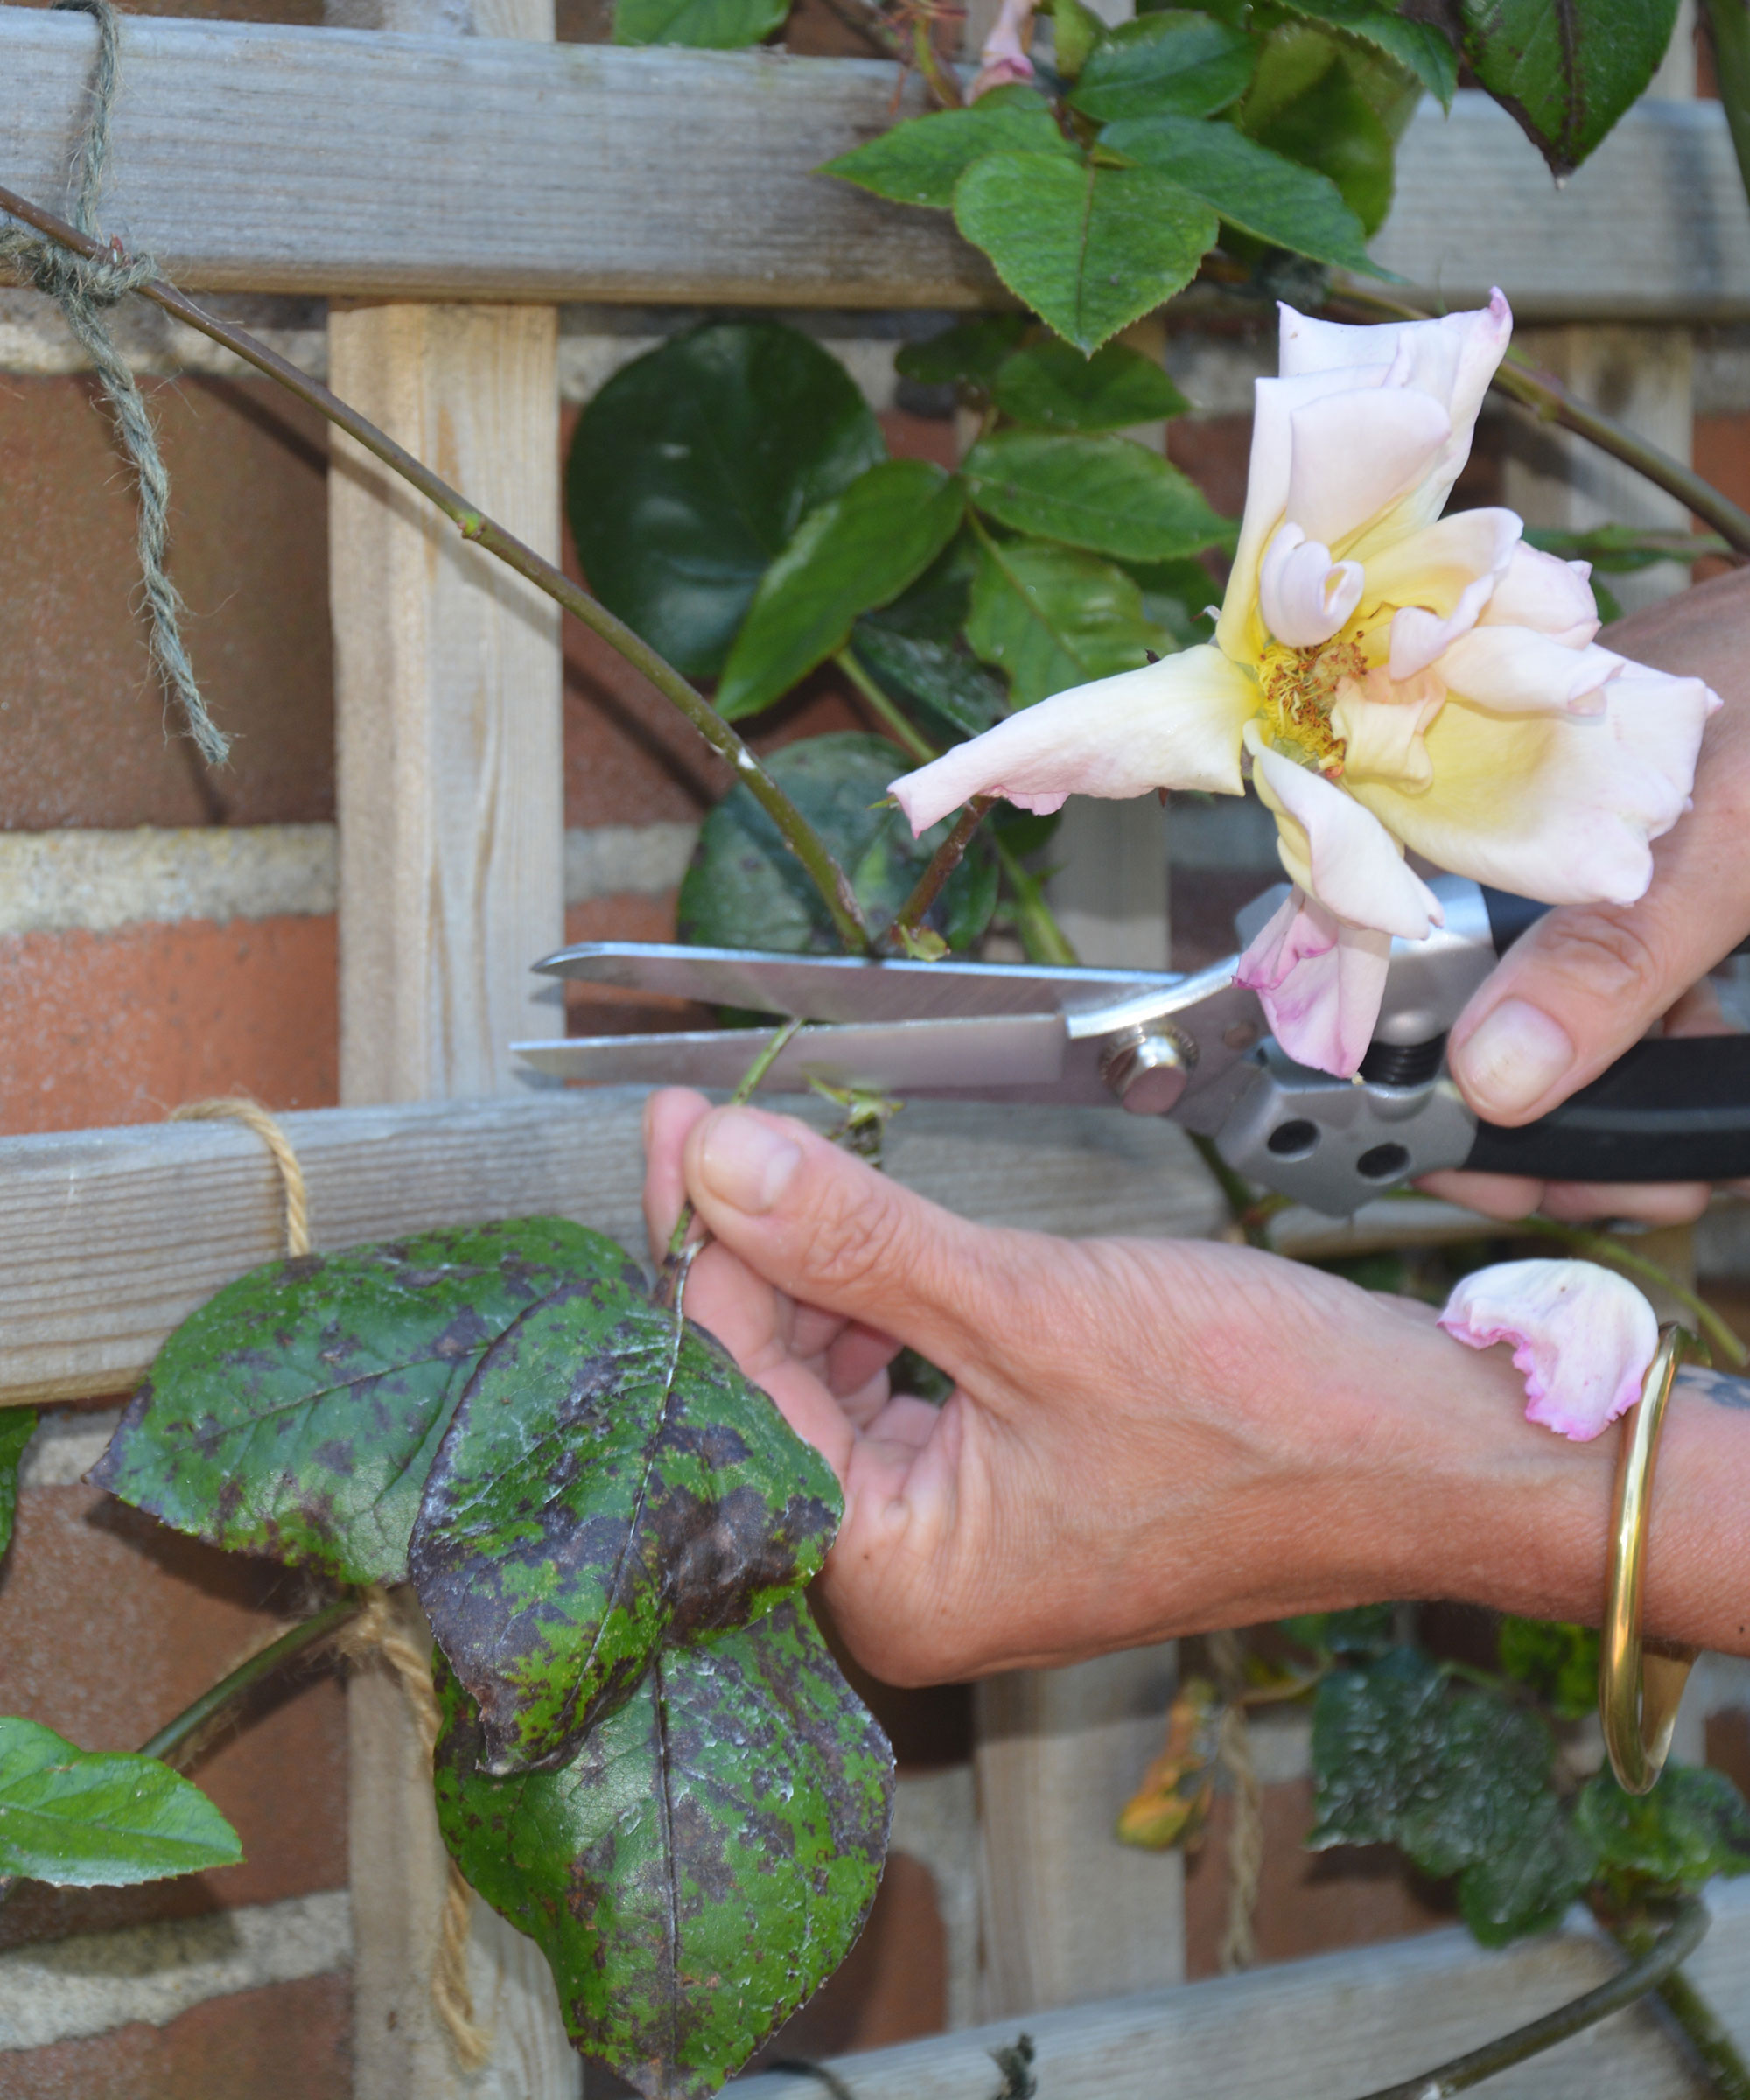
Ensure you properly dispose of any leaves showing signs of rose black spot
7. Neglecting pruning altogether
Remember the tangled briar hedge that the handsome prince had to hack through to rescue Sleeping Beauty in the Disney film? That is the perfect example of what can happen if you neglect rose pruning!
Climbing and rambling roses in particular get very tangled and stop producing as many flowers if you leave them to produce lots of new stems. Stop this happening by following the 'one third pruning rule' and removing one in three of the eldest stems from right at their base.
This makes room for healthy new stems which you then tie horizontally to a trellis or climbing plant support to encourage a proliferation of shoots that produce flower buds.
Shrub roses can also become congested if their stems are allowed to grow without being cut back. A tangle of stems blocks airflow leading to an increase in fungal problems such as powdery mildew, which is why it is essential to cut back your roses at least once a year.
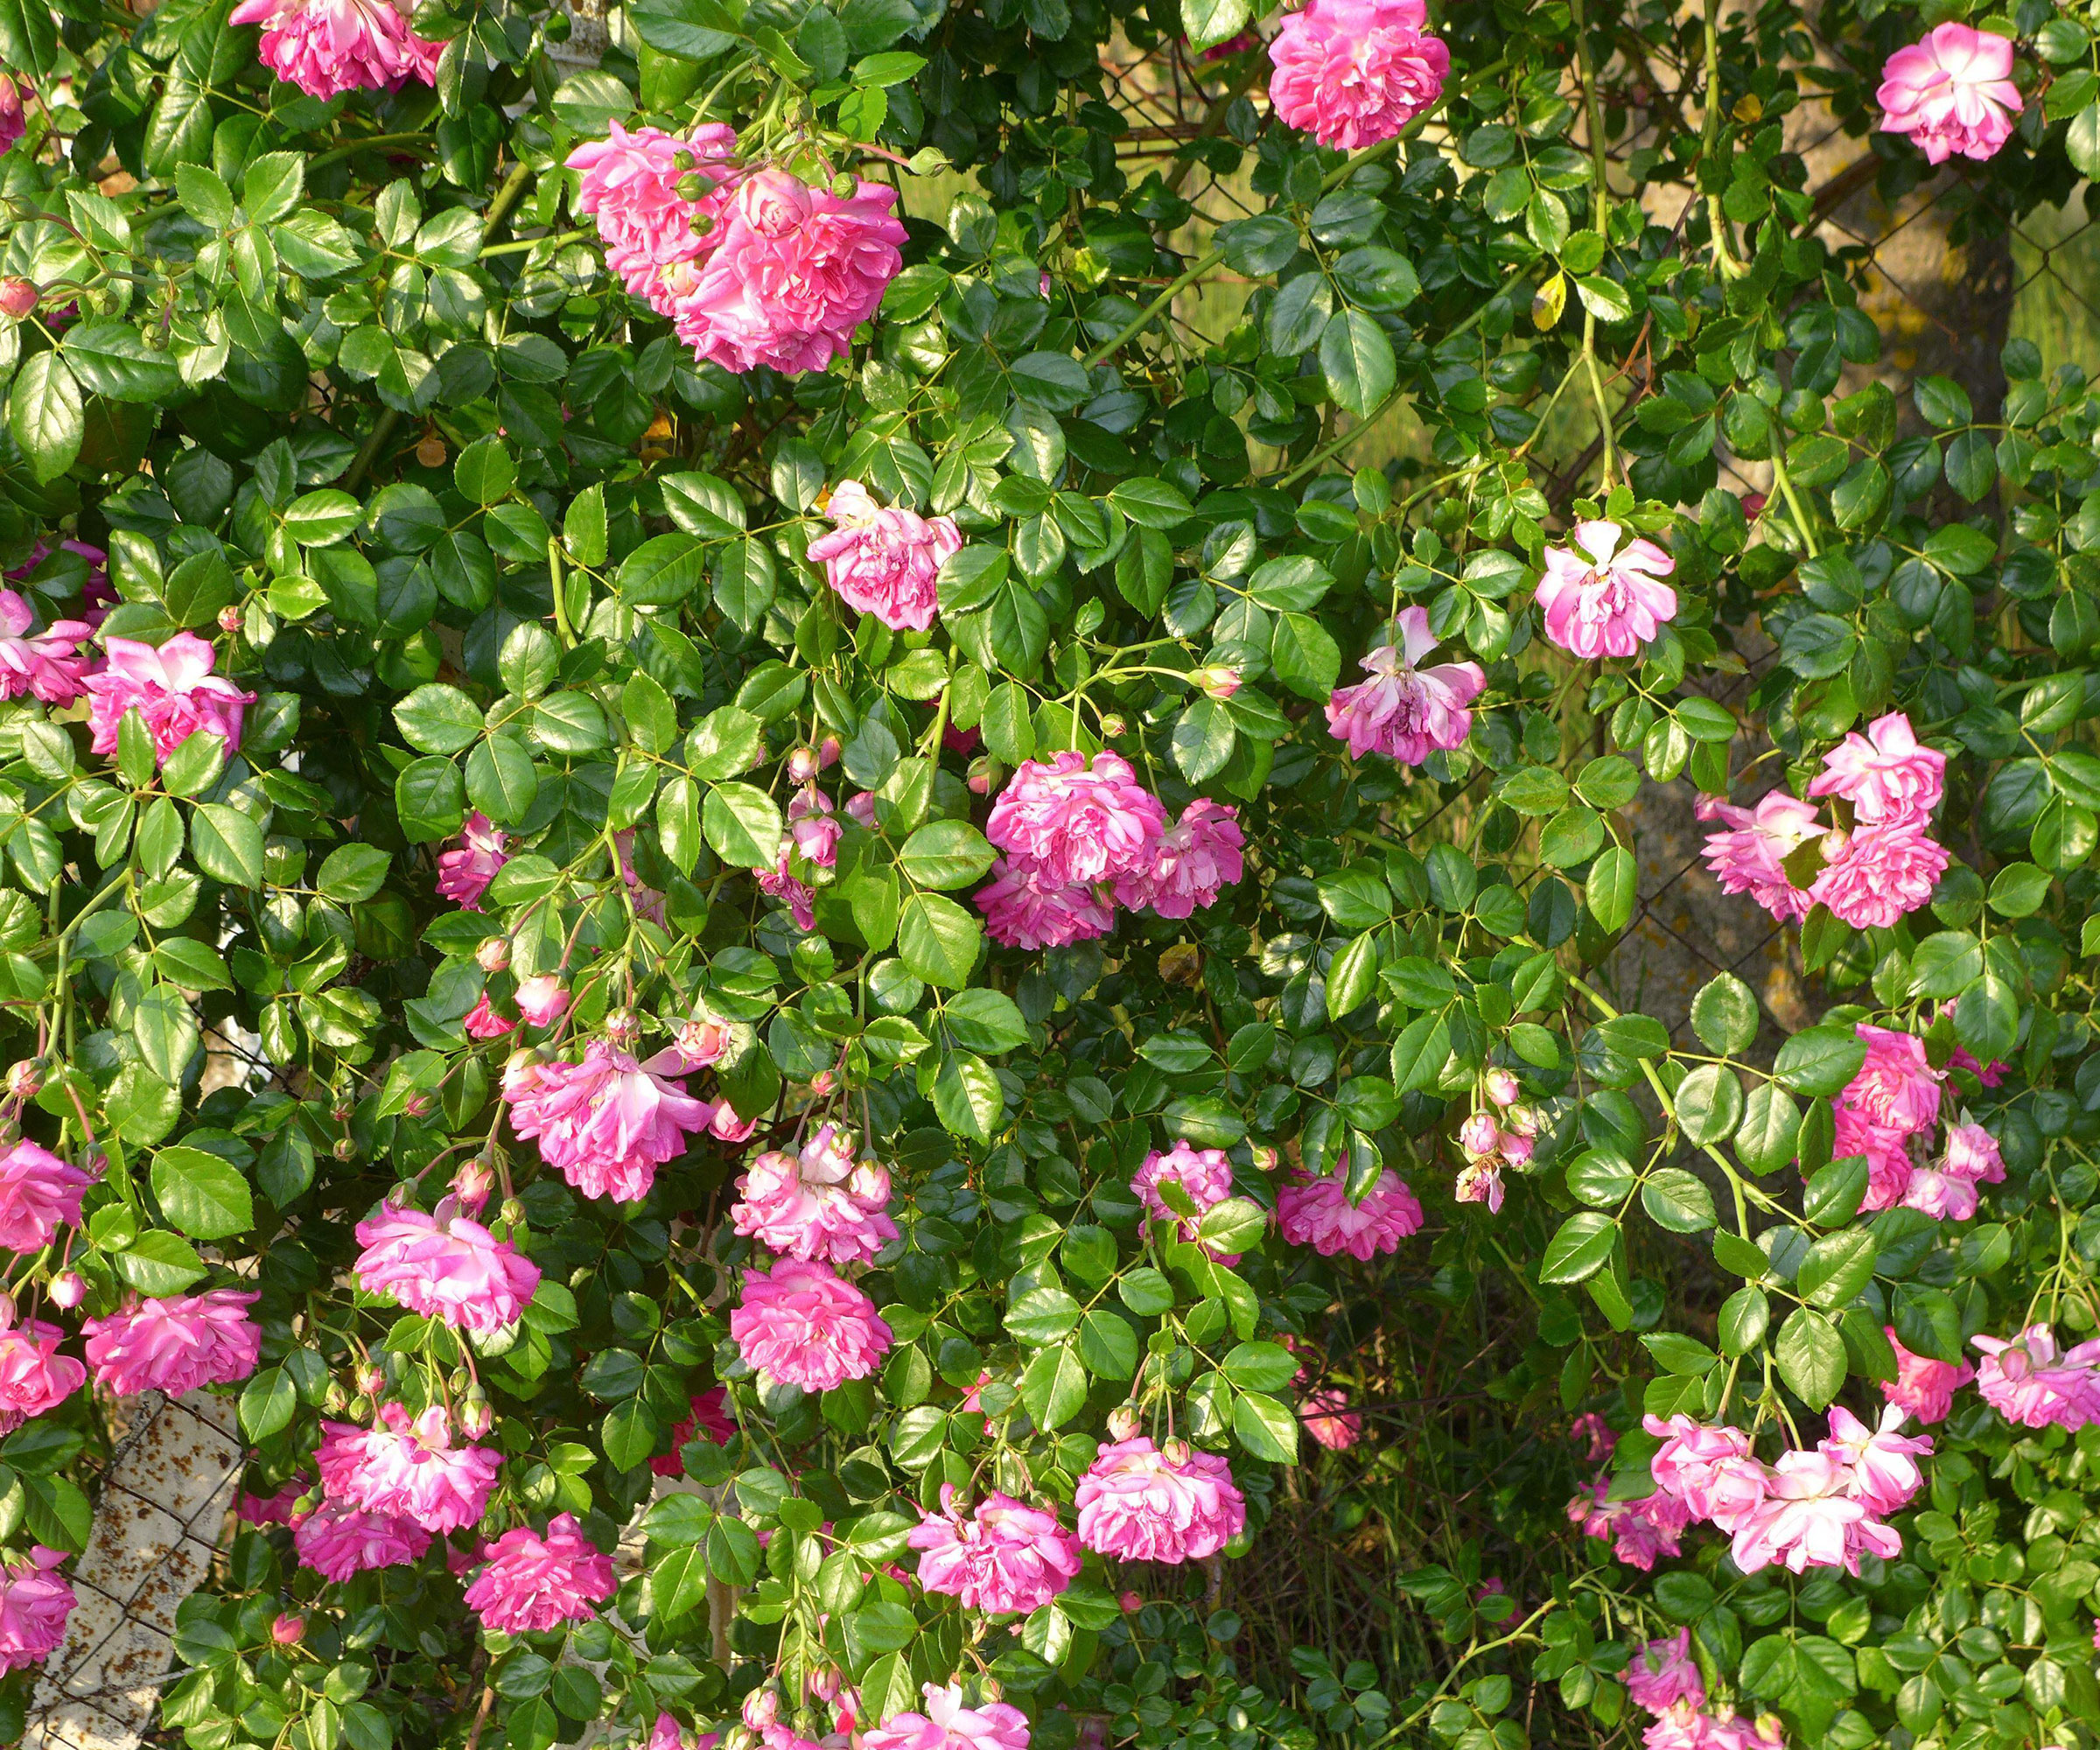
If you neglect rose pruning the plants can become very tangled and flowering will reduce
Although we recommend deadheading roses through the growing season to encourage more flower buds, you can leave them to die back naturally and produce hips in the fall.
These hard orange or red seedpods can last right through winter and add bright dots of color to the yard when there is little else to see. They can also be left to feed garden birds in winter.
Ruth is a Contributing Editor for Homes & Gardens, and formerly Gardening Editor of Amateur Gardening magazine. She is horticulturally trained, with a qualification from the Royal Horticultural Society. Her work for Amateur Gardening, the world's oldest weekly gardening publication, involved matching gardening tasks with each season, covering everything from sowing and planting, to pruning, taking cuttings, dealing with pests and diseases and keeping houseplants healthy. She is an expert in ornamental plants and edible crops, and everything she writes about and photographs is in her own garden, that has been a work in progress since her family moved there in 2012.