This is the 'un-sexy, behind-the-scenes job' I wish I had done before starting my remodel – if you're renovating, don’t skip these must-know tips for your electrical walk-through
It’s not glamorous or fun, but getting your electrical plan right will transform the way your home works – and feels

Design expertise in your inbox – from inspiring decorating ideas and beautiful celebrity homes to practical gardening advice and shopping round-ups.
You are now subscribed
Your newsletter sign-up was successful
Want to add more newsletters?

Twice a week
Homes&Gardens
The ultimate interior design resource from the world's leading experts - discover inspiring decorating ideas, color scheming know-how, garden inspiration and shopping expertise.

Once a week
In The Loop from Next In Design
Members of the Next in Design Circle will receive In the Loop, our weekly email filled with trade news, names to know and spotlight moments. Together we’re building a brighter design future.

Twice a week
Cucina
Whether you’re passionate about hosting exquisite dinners, experimenting with culinary trends, or perfecting your kitchen's design with timeless elegance and innovative functionality, this newsletter is here to inspire
If there was one part of our home renovation that completely blindsided me, it was the electrics. At the time, I thought we'd ticked all the boxes and felt confident on our electrical walk-through.
But now, years later (it's a slow renovating journey), I find myself dreaming of sconces in places I hadn't planned for, sockets needed behind furniture that was never supposed to be there... and silently cursing the switches that are now behind doors.
Luckily for you, if you're at the beginning of a renovation, I have stumbled across a goldmine of info. Interior designer Melissa Oholendt, founder of Oho Interiors, has shared her expertly devised checklist of things to review at your electrical walk-through. If only I'd had this advice in 2023...
A post shared by Oho Interiors | Melissa Oholendt (@oho_interiors)
A photo posted by on
The electrical plan is one of those un-sexy, behind-the-scenes jobs on a home remodel that has the power to totally transform how you experience your home day-to-day – for better or worse.
People (including myself) often underestimate how much forethought lighting ideas and power placement require. Once the drywall is up, moving a junction box or adding an outlet becomes a way more complicated and expensive renovation mistake.
It’s the kind of prep work that rarely makes the Pinterest board but makes all the difference when you’re living in the space.
So if you’re just kicking off your new build or knee-deep in demo like we were, take this as your sign to slow down and really think through your electrical plan. Below, I’m sharing the five must-know tips from Oho Interiors that I wish I’d seen before walking the site with my contractor, clipboard in hand and no real plan in mind.
Design expertise in your inbox – from inspiring decorating ideas and beautiful celebrity homes to practical gardening advice and shopping round-ups.
1. Decorative lighting placements
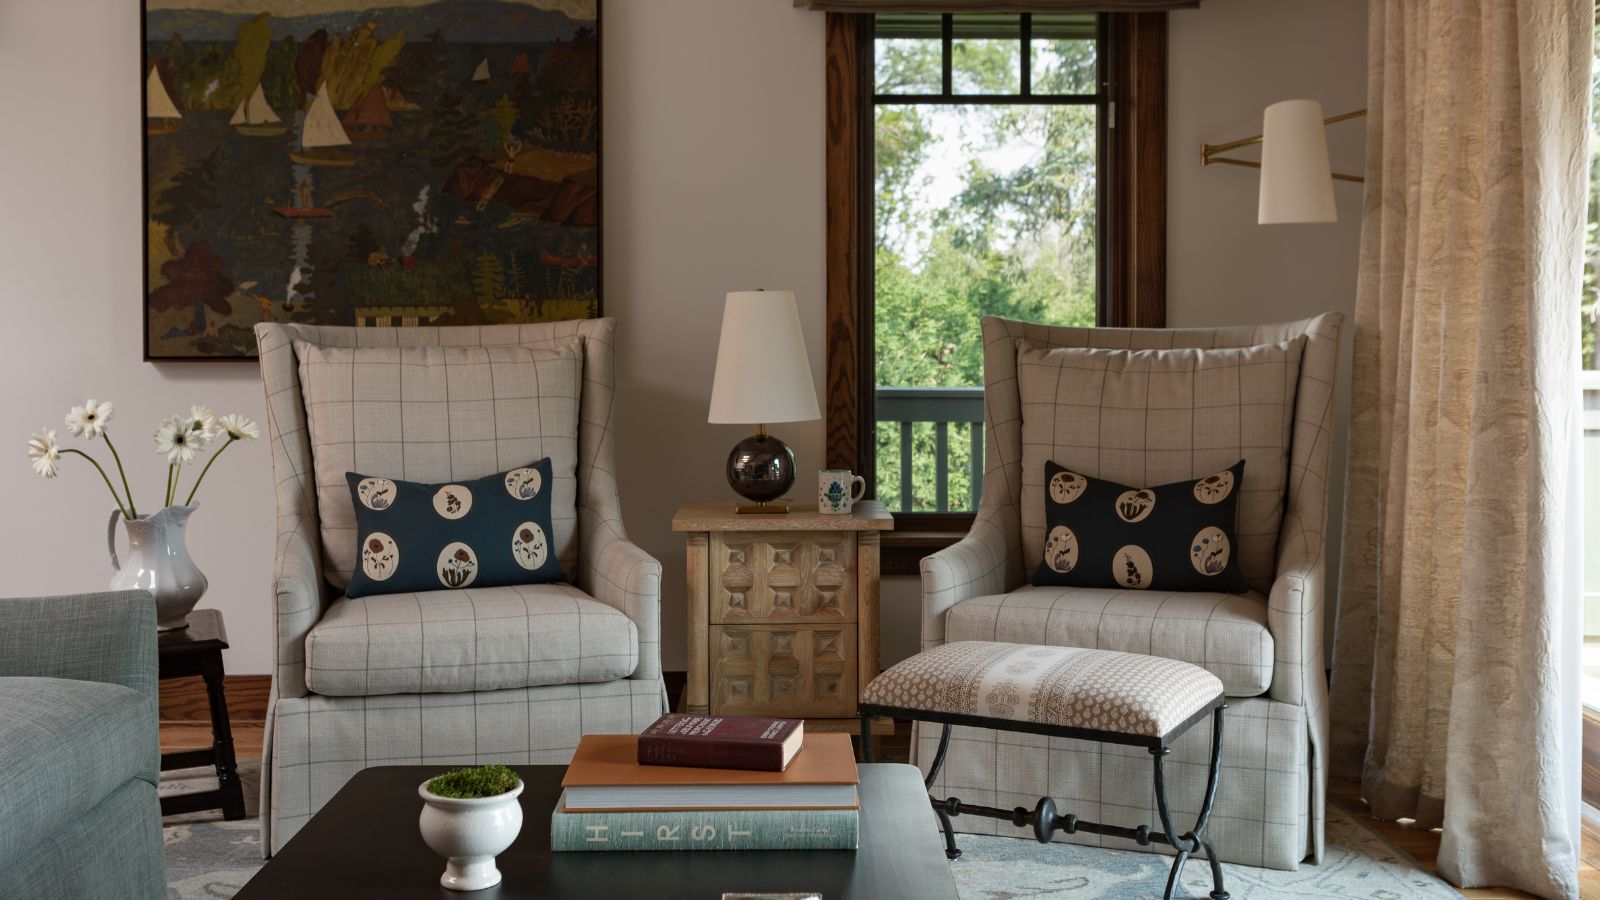
First up on Melissa's list is decorative lighting and sconce locations. 'A biggie! This is the time to ensure you are thinking ahead and planning the places you want to add overhead and sconce lighting.'
'Even better if you can have real selections for those items so you can determine where the junction box should land. This prep work ahead of time will save you time and money in the long run by avoiding having to move junction boxes once drywall is in.'
I know at this stage it can feel far too early, and you might not even have a clear plan of the layout of each room yet, but before things are finalized, take the time to try and envisage living in that room. Would you want a small pendant over the breakfast nook? What about an extra socket in the corner of the dining room for a lamp? Or is that door going to be re-swung to open the other way, trapping the switch behind it?
The more you know now, the better. Often, it is easier and cheaper to refill a wiring hole than it is to add them in once plastering and painting have begun.
2. In-cabinetry electricals
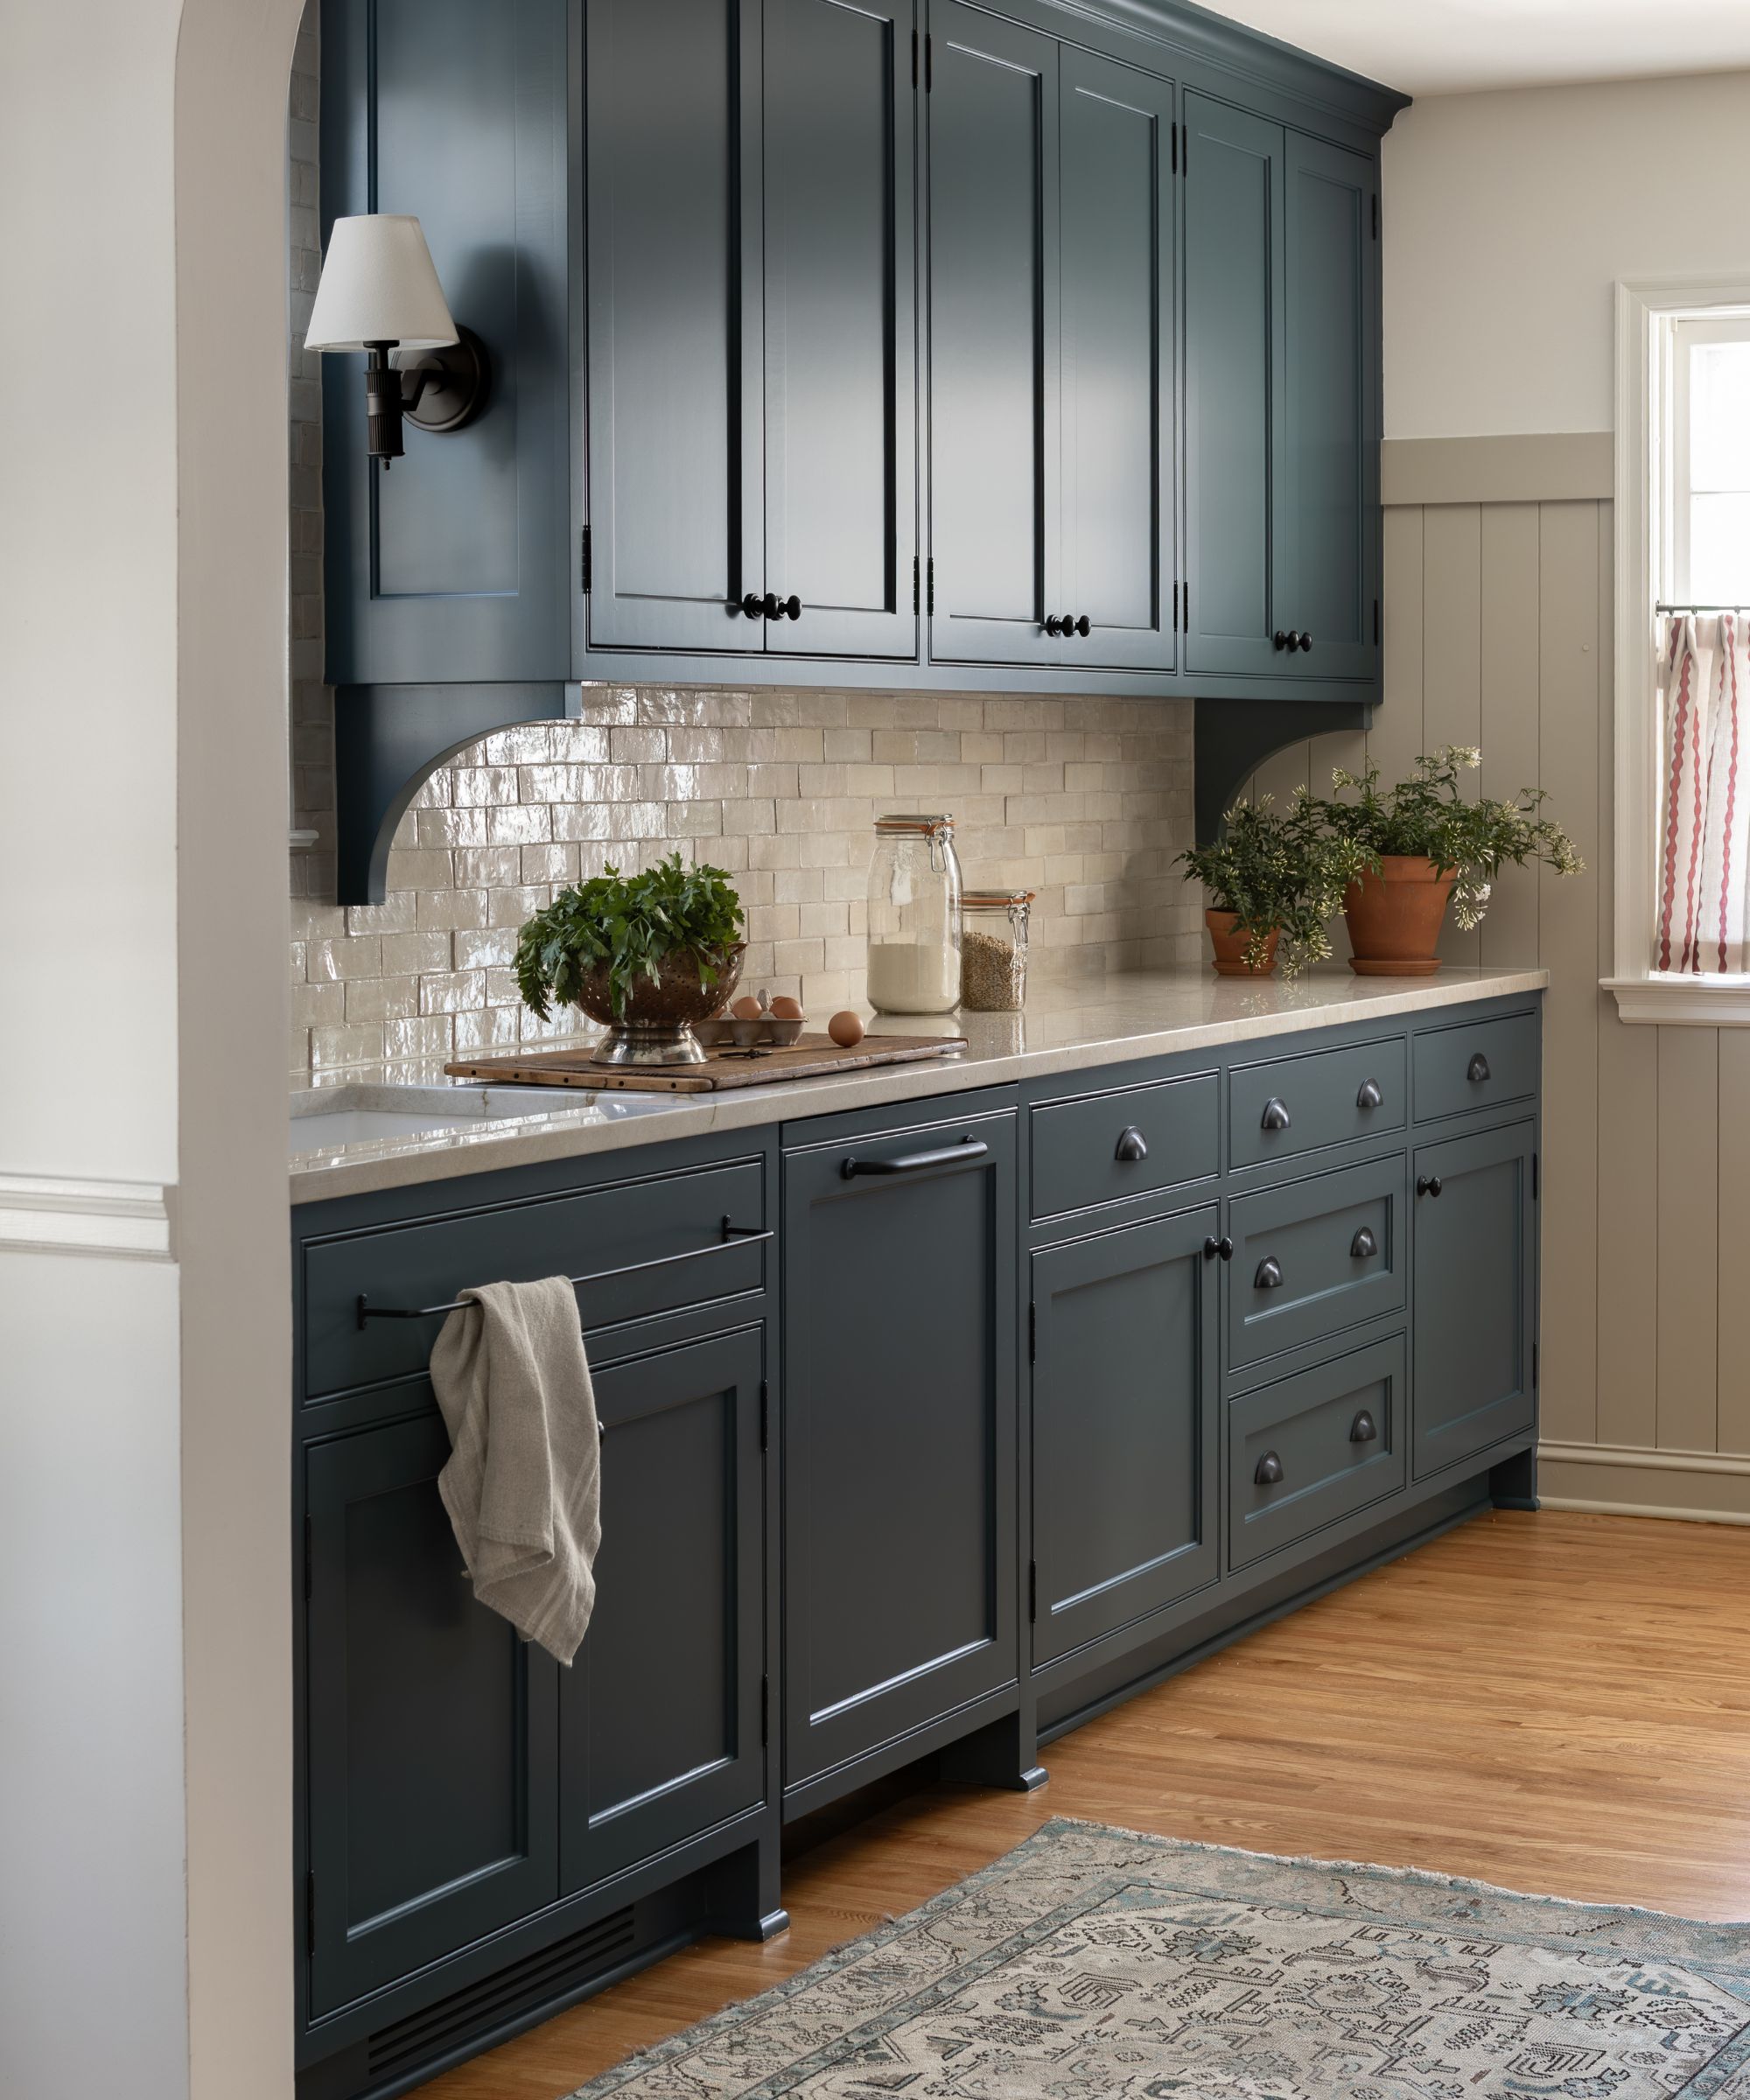
Here’s a detail that completely slipped past me: the inside of your cabinetry might need power, and not just for fancy things.
'Do you use a Sonos system or Alexa? Do you dream of having a whole-home charging station? Will you have in/under cabinet lighting? Now is the time to plan for those items – yes, even before you have shop drawings from the cabinet shop!'
One kitchen remodeling mistake I had to fix after installation was forgetting to add sockets to my appliance garage. It sounds obvious now, but at the time, you're so overwhelmed by decision fatigue and contractors that the 'obvious' totally slips your mind.
So yes, even before your cabinetry designs are finalized, think ahead. I wish we’d walked the space and imagined where we’d charge devices, use appliances, or cupboards that would benefit from lighting. It’s a small adjustment to the electrical plan, but one that makes your home feel ready for the life you live, not just the way it looks in photos.
3. Verifying framing

'Typically, at this point, the vast majority of the framing has been completed on the project, so now is the perfect time to make sure any architectural elements (like alcoves or dropped headers and wing walls for cased openings or shower doors) are planned for,' Melissa suggests.
If you're unfamiliar, framing, in construction, is the fitting together of pieces to give a structure, support, and shape. Once you've got to the stage of booking in your electrical walk-through, most of this will be in place, so your job is to ensure that the electrical plan supports the layout.
And once your wiring is in, changes become expensive or near impossible. Take the extra time to walk each space slowly with your contractor and ask, What will live here? How do I use this space?
We had to compromise on a few design moments because we didn’t double-check the structure early enough. If I could rewind, I’d walk every room imagining where I wanted built-ins or a reading corner and make sure the electrics aligned accordingly.
4. Power outlets

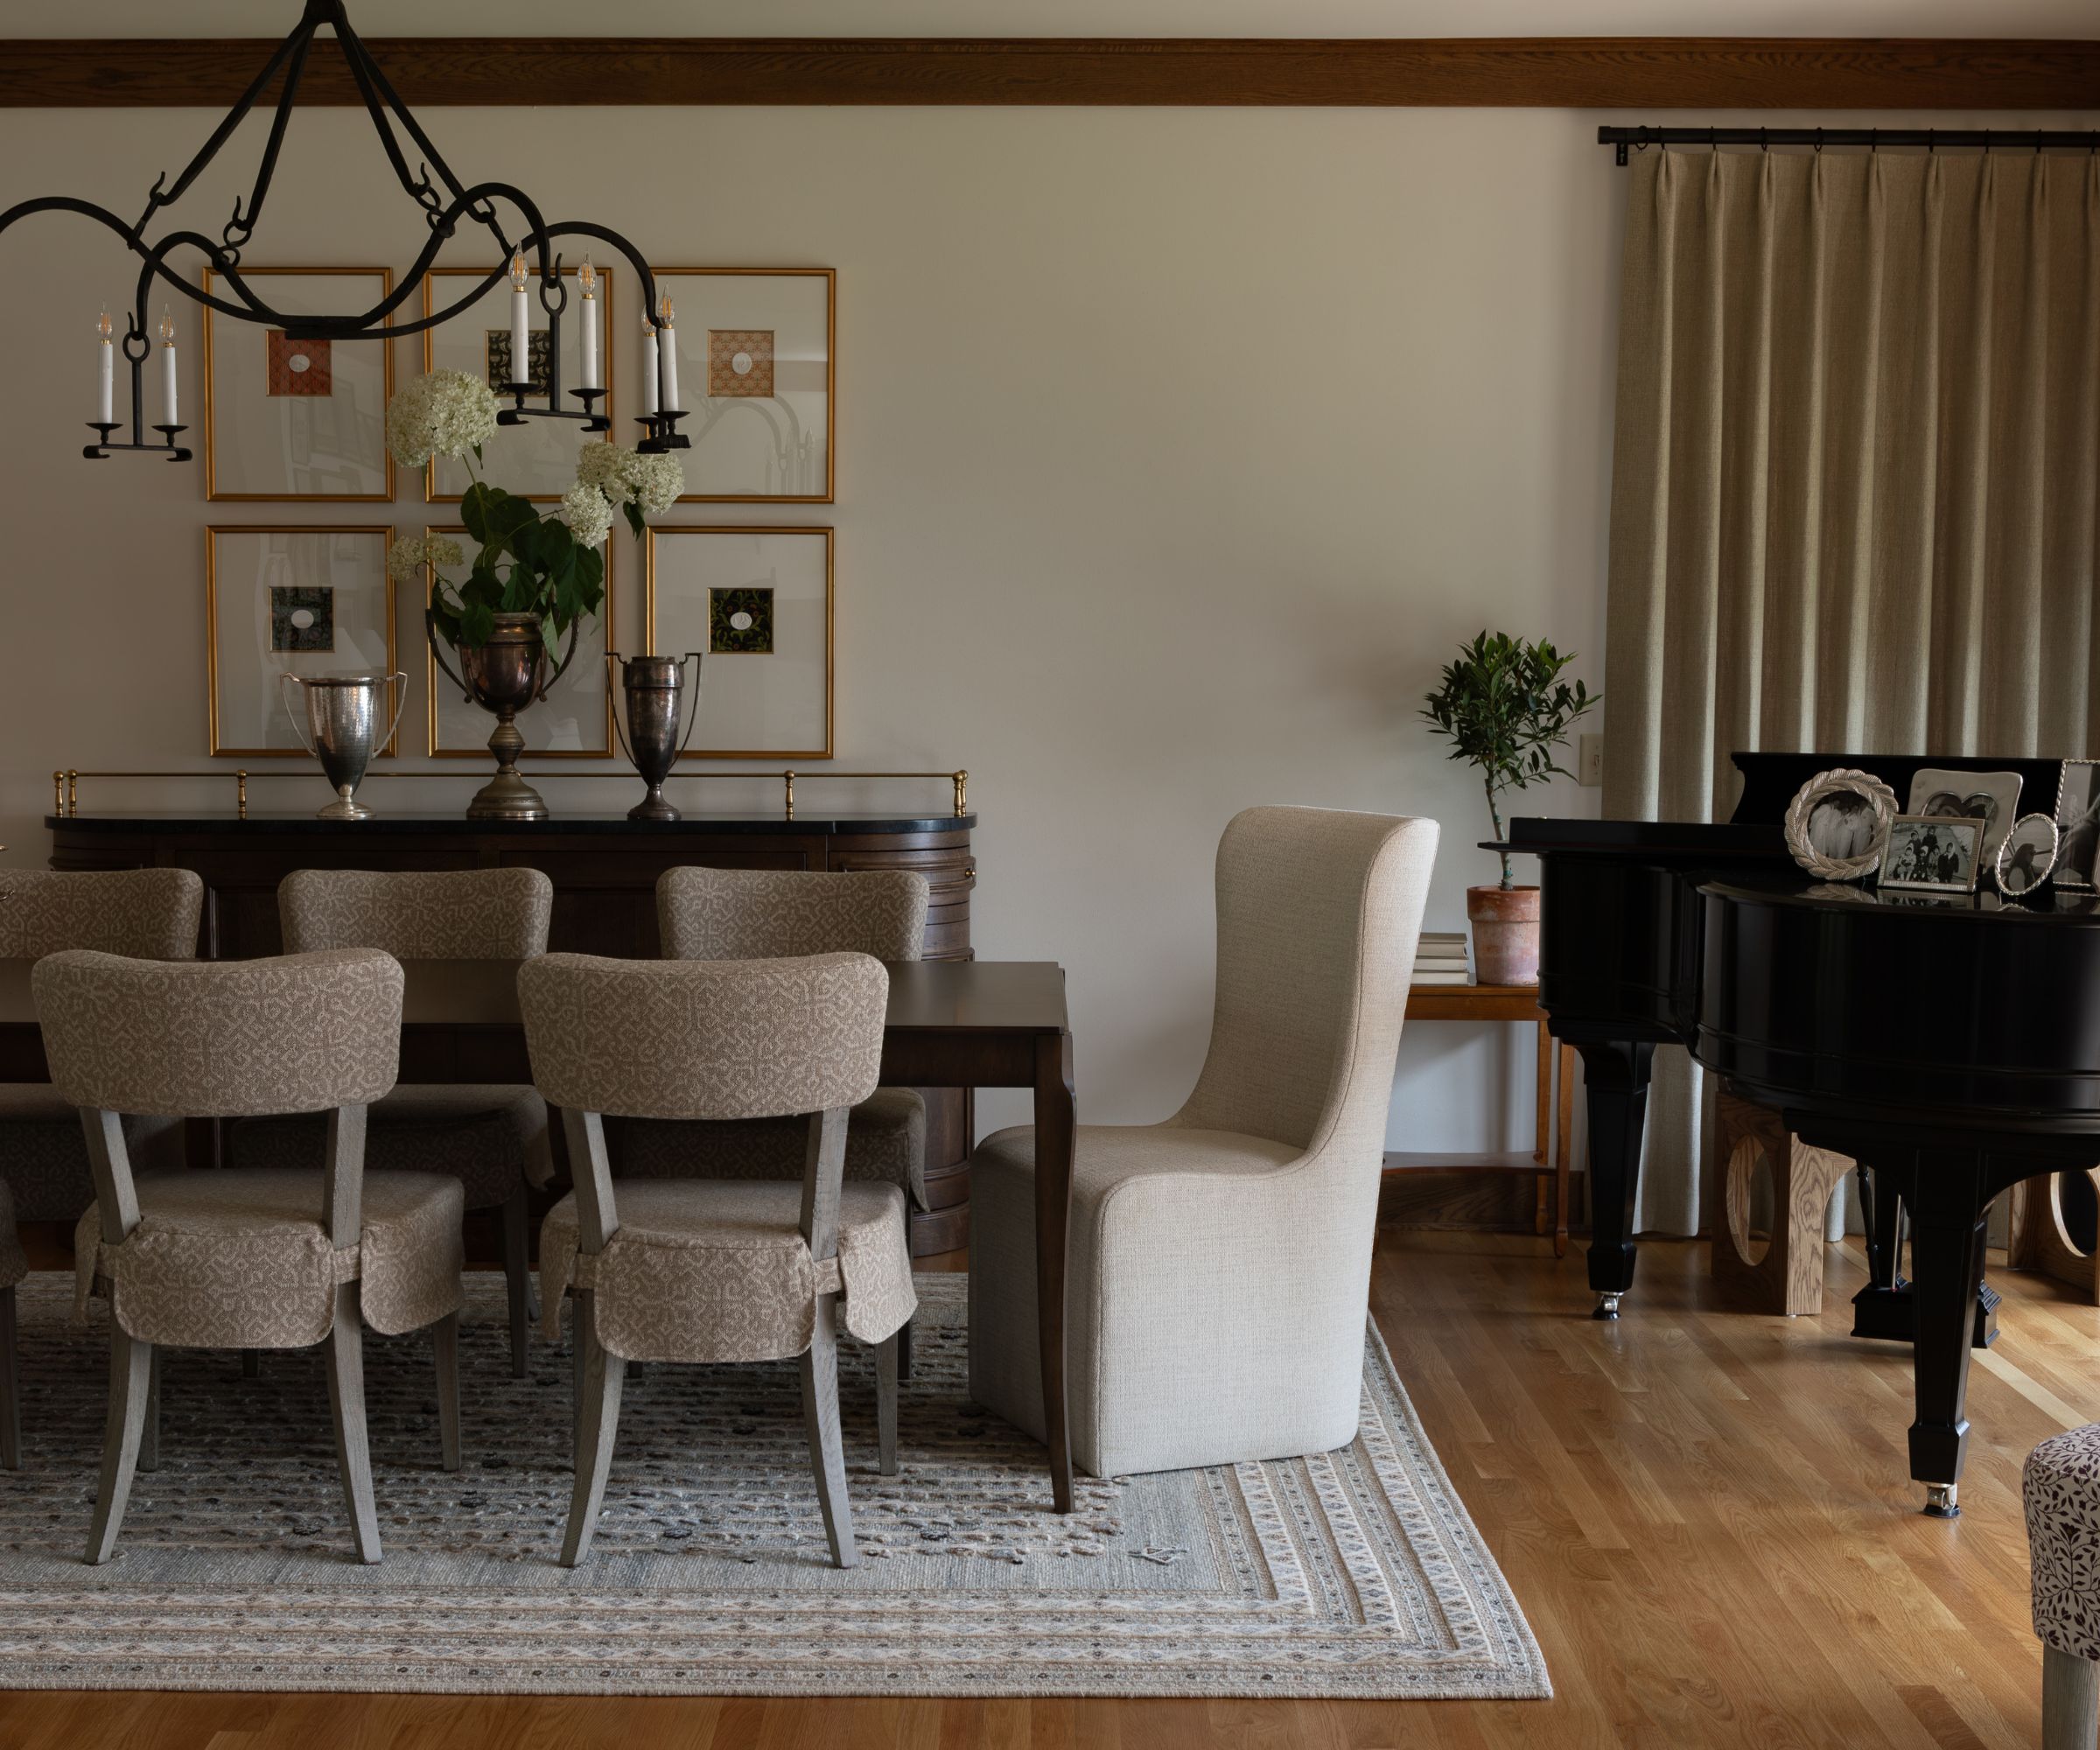
Floor outlets aren’t something you can easily add later, so planning them ahead is key. I cannot stress this enough: think about floor outlets. We didn’t, and now we have a sofa that floats perfectly in the room – but a lamp cord that snakes awkwardly to the nearest wall.
It's one of those little oversights that bugs me every time I walk past.
'Don’t forget to plan for floor outlets in your living areas and power needs for any TV or electronics in the wall,' Melissa adds. 'Team no-visible-cords over here.'
On that note, if you want to avoid ugly dangling wires or clumsy trunking, ensure your TV electronics aren't an afterthought. Planning for concealed wiring makes all the difference.
5. Light switch locations
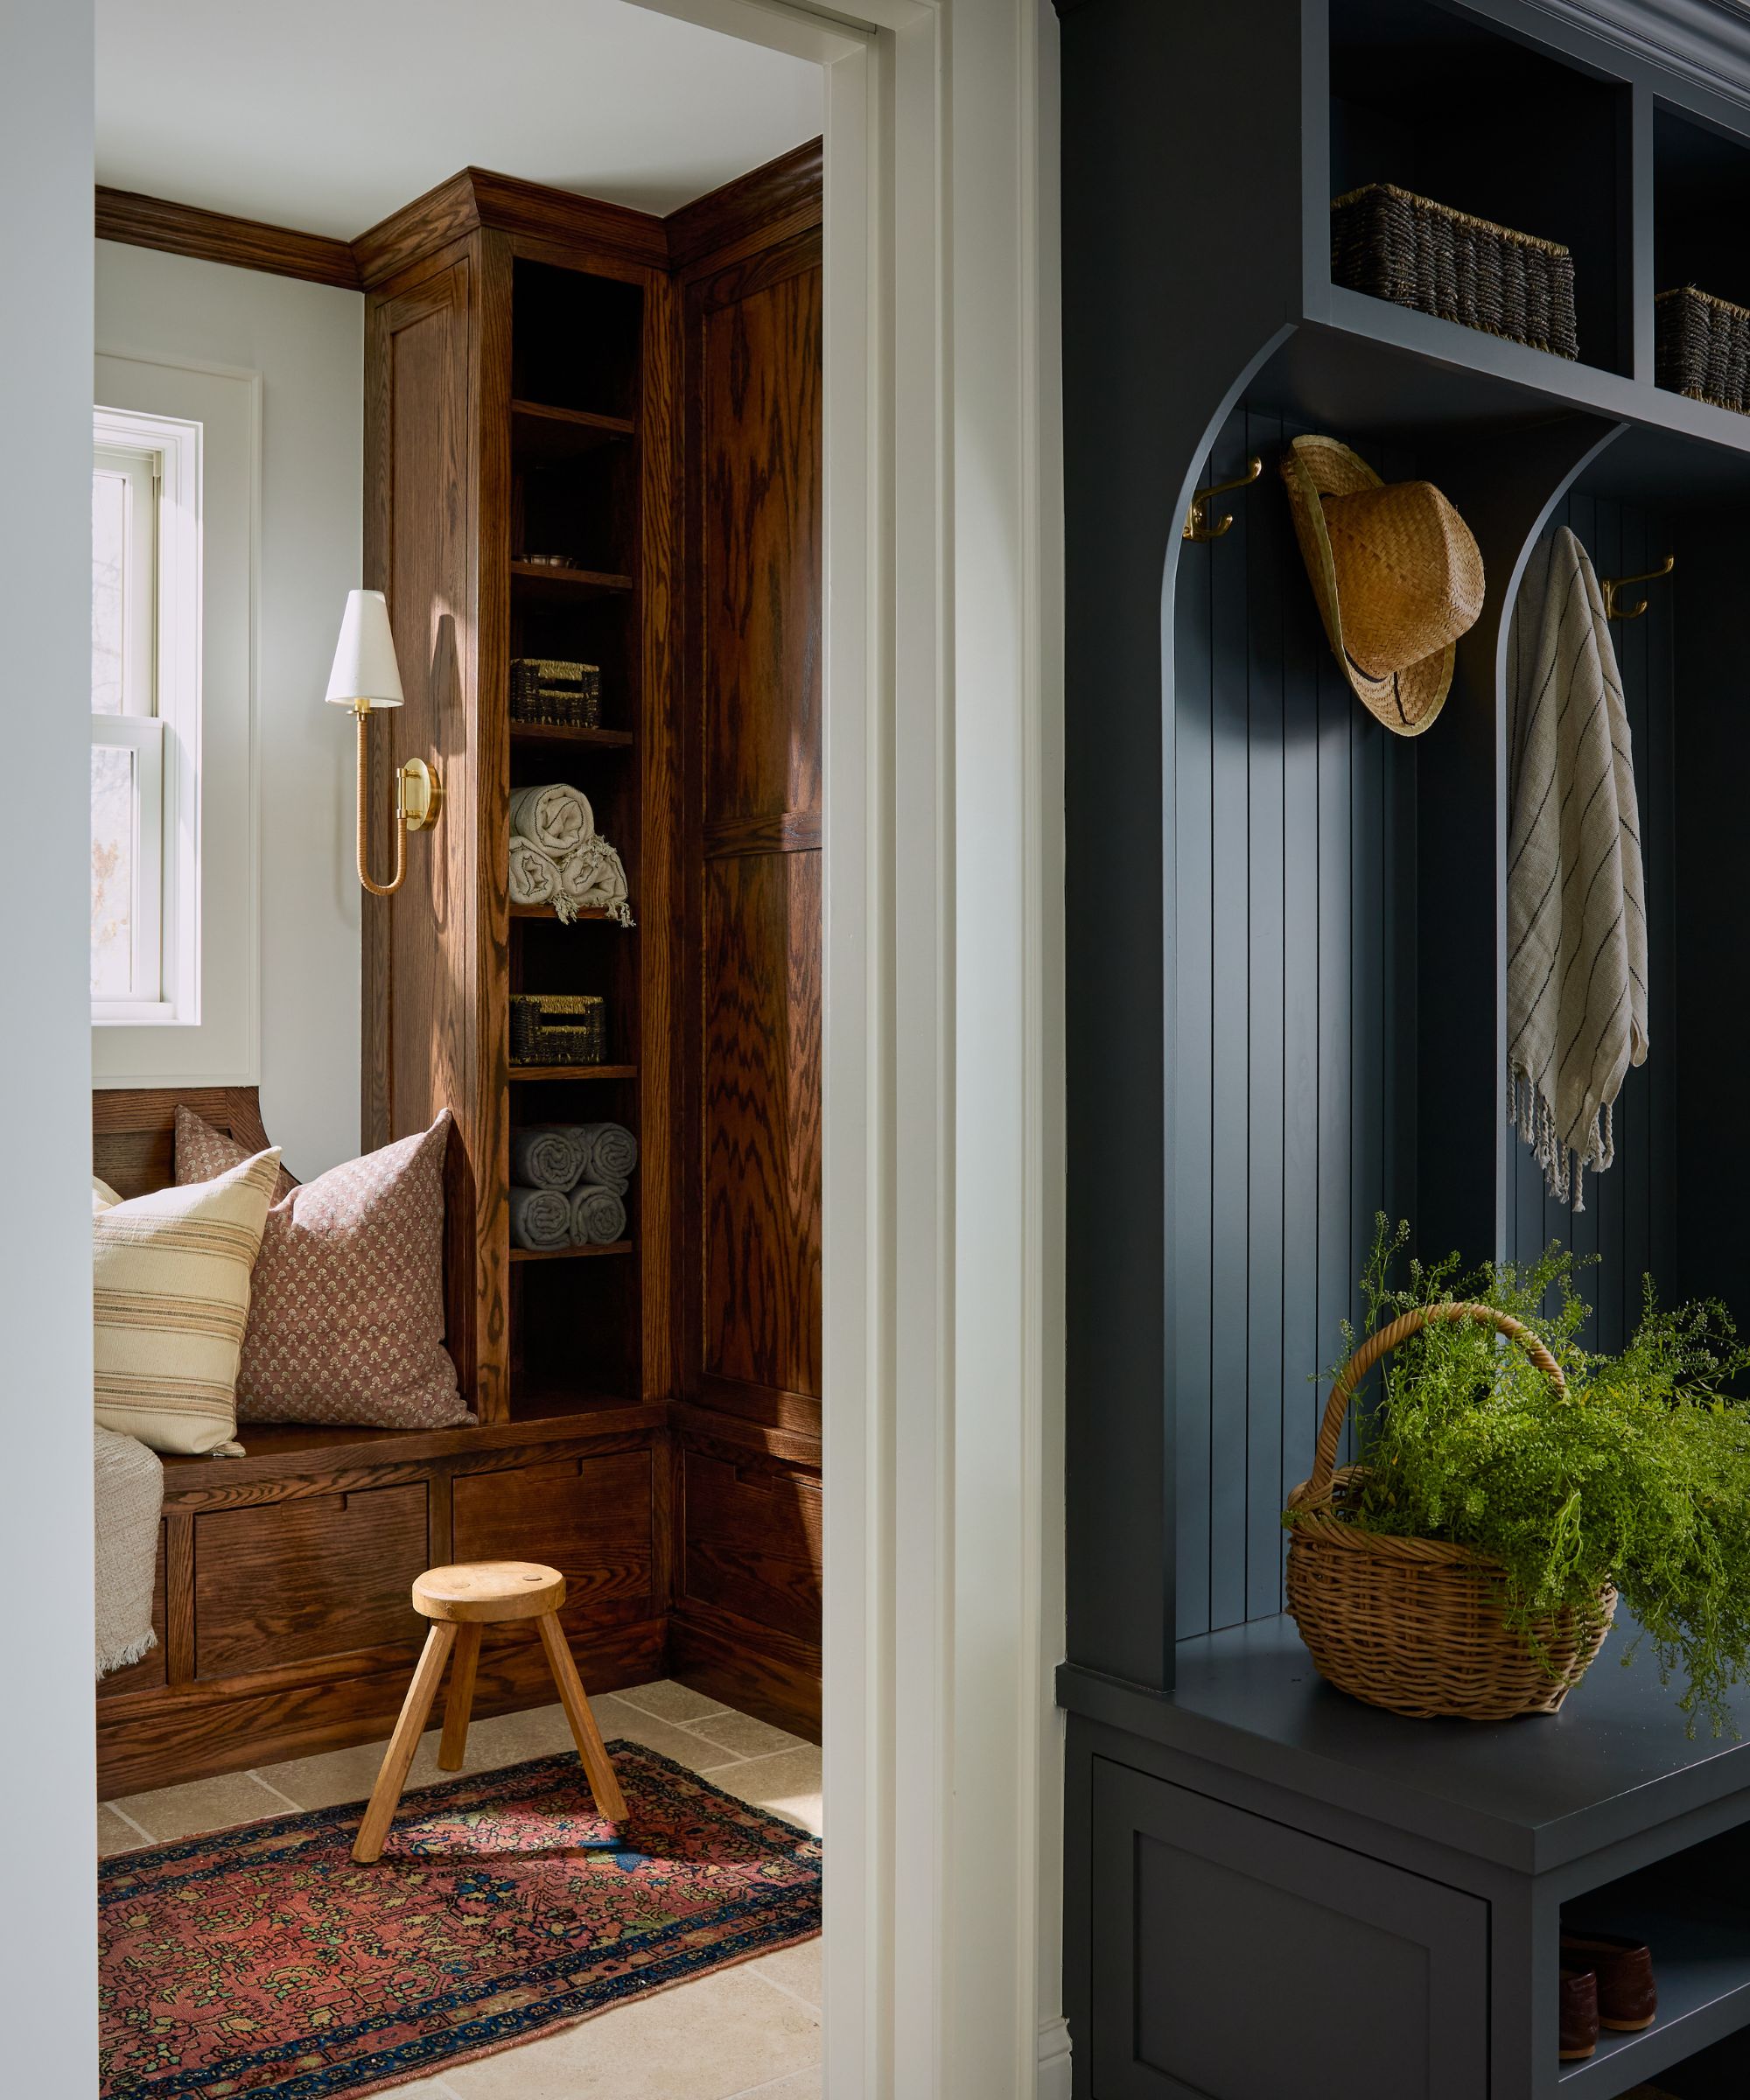
Out of everything, this might be the one that haunts me most: awkward light switch placement. I've got switches that turn on the upstairs hall lighting from downstairs, but no way to turn it off once I'm upstairs – something I never thought to test during our walk-through.
'Think about how you will live in these spaces – will you want to turn on the lights in a different location than you will turn them off?' Melissa asks. 'Use this time to romanticize your life and think about the routines you want to have as sunrise turns to day and dusk turns into night.'
I now understand how important switch placement can be. During your walk-through, mentally (and physically) walk through your day. Think about where you’ll reach, what you’ll want lit, and mark those moments before they close the walls in.
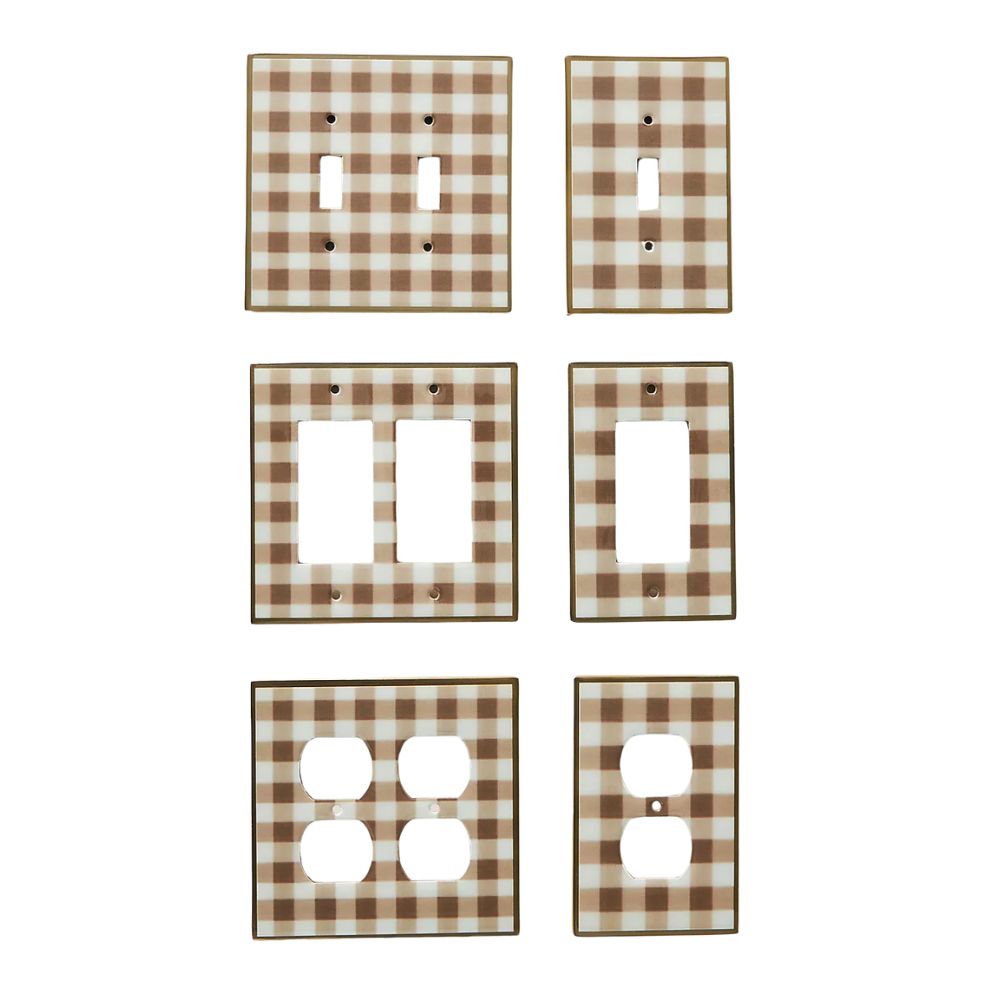
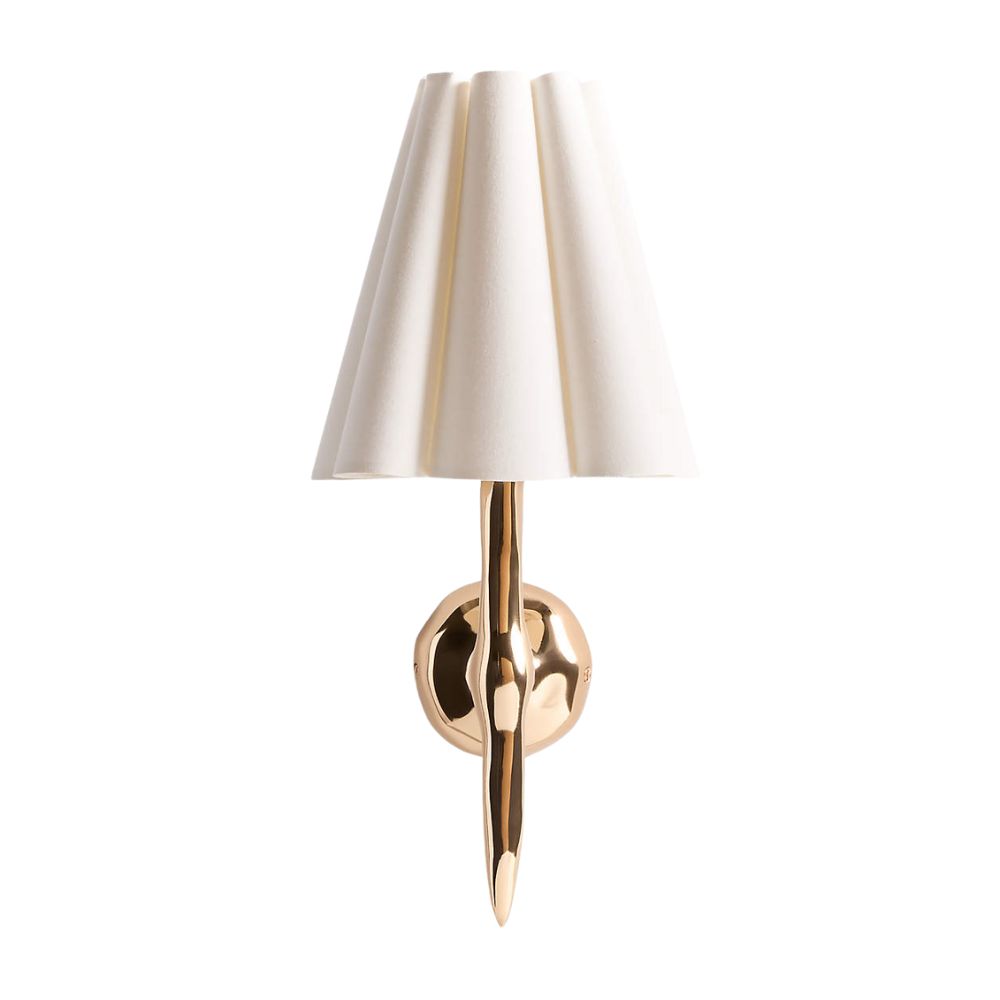
Once you've nailed your switch and socket placements, please don't just settle for white plastic. Anthropologie has an entirely new range of pretty switch plates that range from ornate brass to scallops, and these adorable, cottagecore style gingham designs.

My top tip for corners where you might have missed a socket for a table lamp is to pick up a few rechargeable portable lamps. Joanna Gaines' range at Target does some of the best and most affordable ones I've seen, like this vintage-style fluted library lamp.
If you're asking what I would do differently in my remodel, this is a big one. Looking back, the electrical walk-through felt like just another job on a long list of renovation tasks. But so many of the things that now make our home feel either intuitive or frustrating stemmed from decisions (or indecisions) made at that stage.
I wish I’d slowed down, asked more questions, and taken the time to think through how we’d actually live in each space. If you’re heading into your own walk-through, use this list as a guide to help you move through the process with more confidence and fewer regrets.
Trust me: your future self will thank you every time the lights turn on exactly where you want them to.

Charlotte is the style and trends editor at Homes and Gardens and has been with the team since Christmas 2023. Following a 5 year career in Fashion, she has worked at many women's glossy magazines including Grazia, Stylist, and Hello!, and as Interiors Editor for British heritage department store Liberty. Her role at H&G fuses her love of style with her passion for interior design, and she is currently undergoing her second home renovation - you can follow her journey over on @olbyhome
