The Library: All the Basics You Need to Know About Lighting Before Starting Your Next Project, According to the Experts
Lighting 101: How to plan, layer, and create a lighting scheme like an interior designer

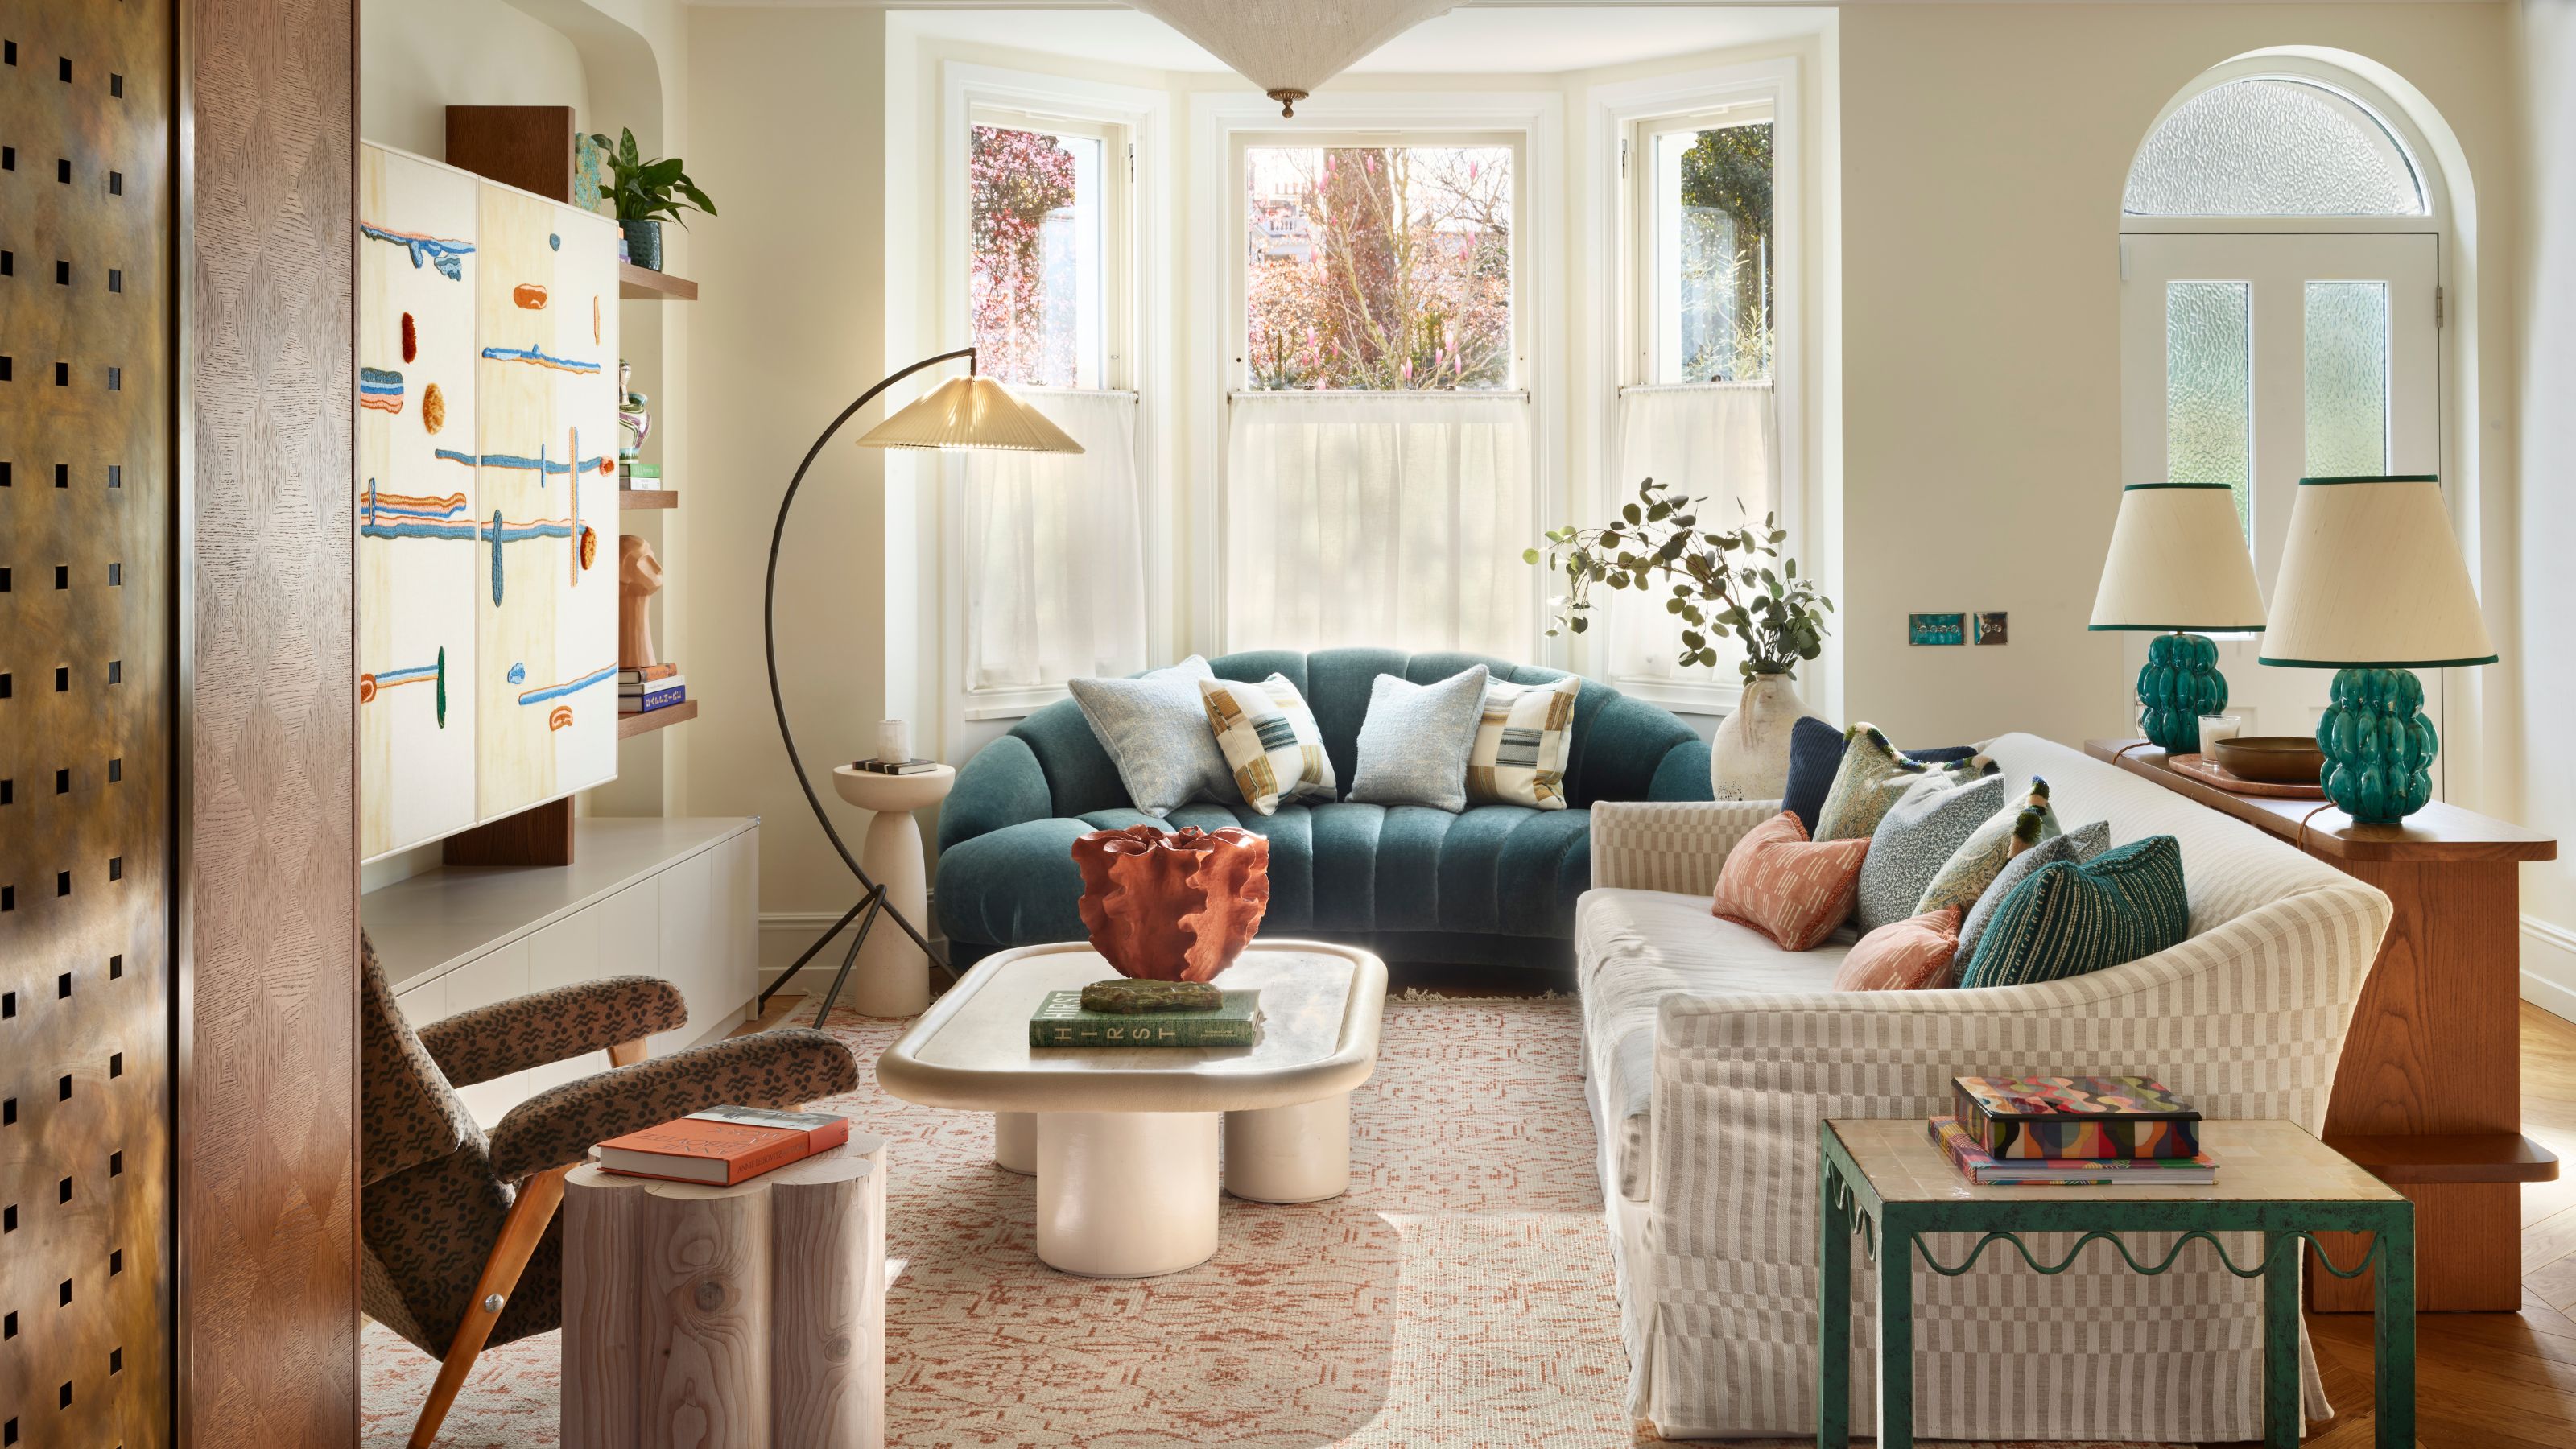
While often overlooked, lighting ideas dictate the mood, function, and the very character of a room. Get it right, and every surface, texture, and color comes to life; get it wrong, and even the most beautiful interiors can fall flat.
So if you're planning a major makeover, remodel, or home renovation, before you start poring over the latest lighting trends, there are some basics you need to nail from the outset. In The Library this month, we explore the foundations of great lighting design – from layering and placement to color temperature, output, and control.
With priceless and practical tips from interior designers and professional lighting experts, plus easy-to-digest rules to remember, consider this your blueprint for lighting a home that works beautifully from morning to night, and summer to fall – no matter your interior design style. This is Lighting 101.
The Essentials
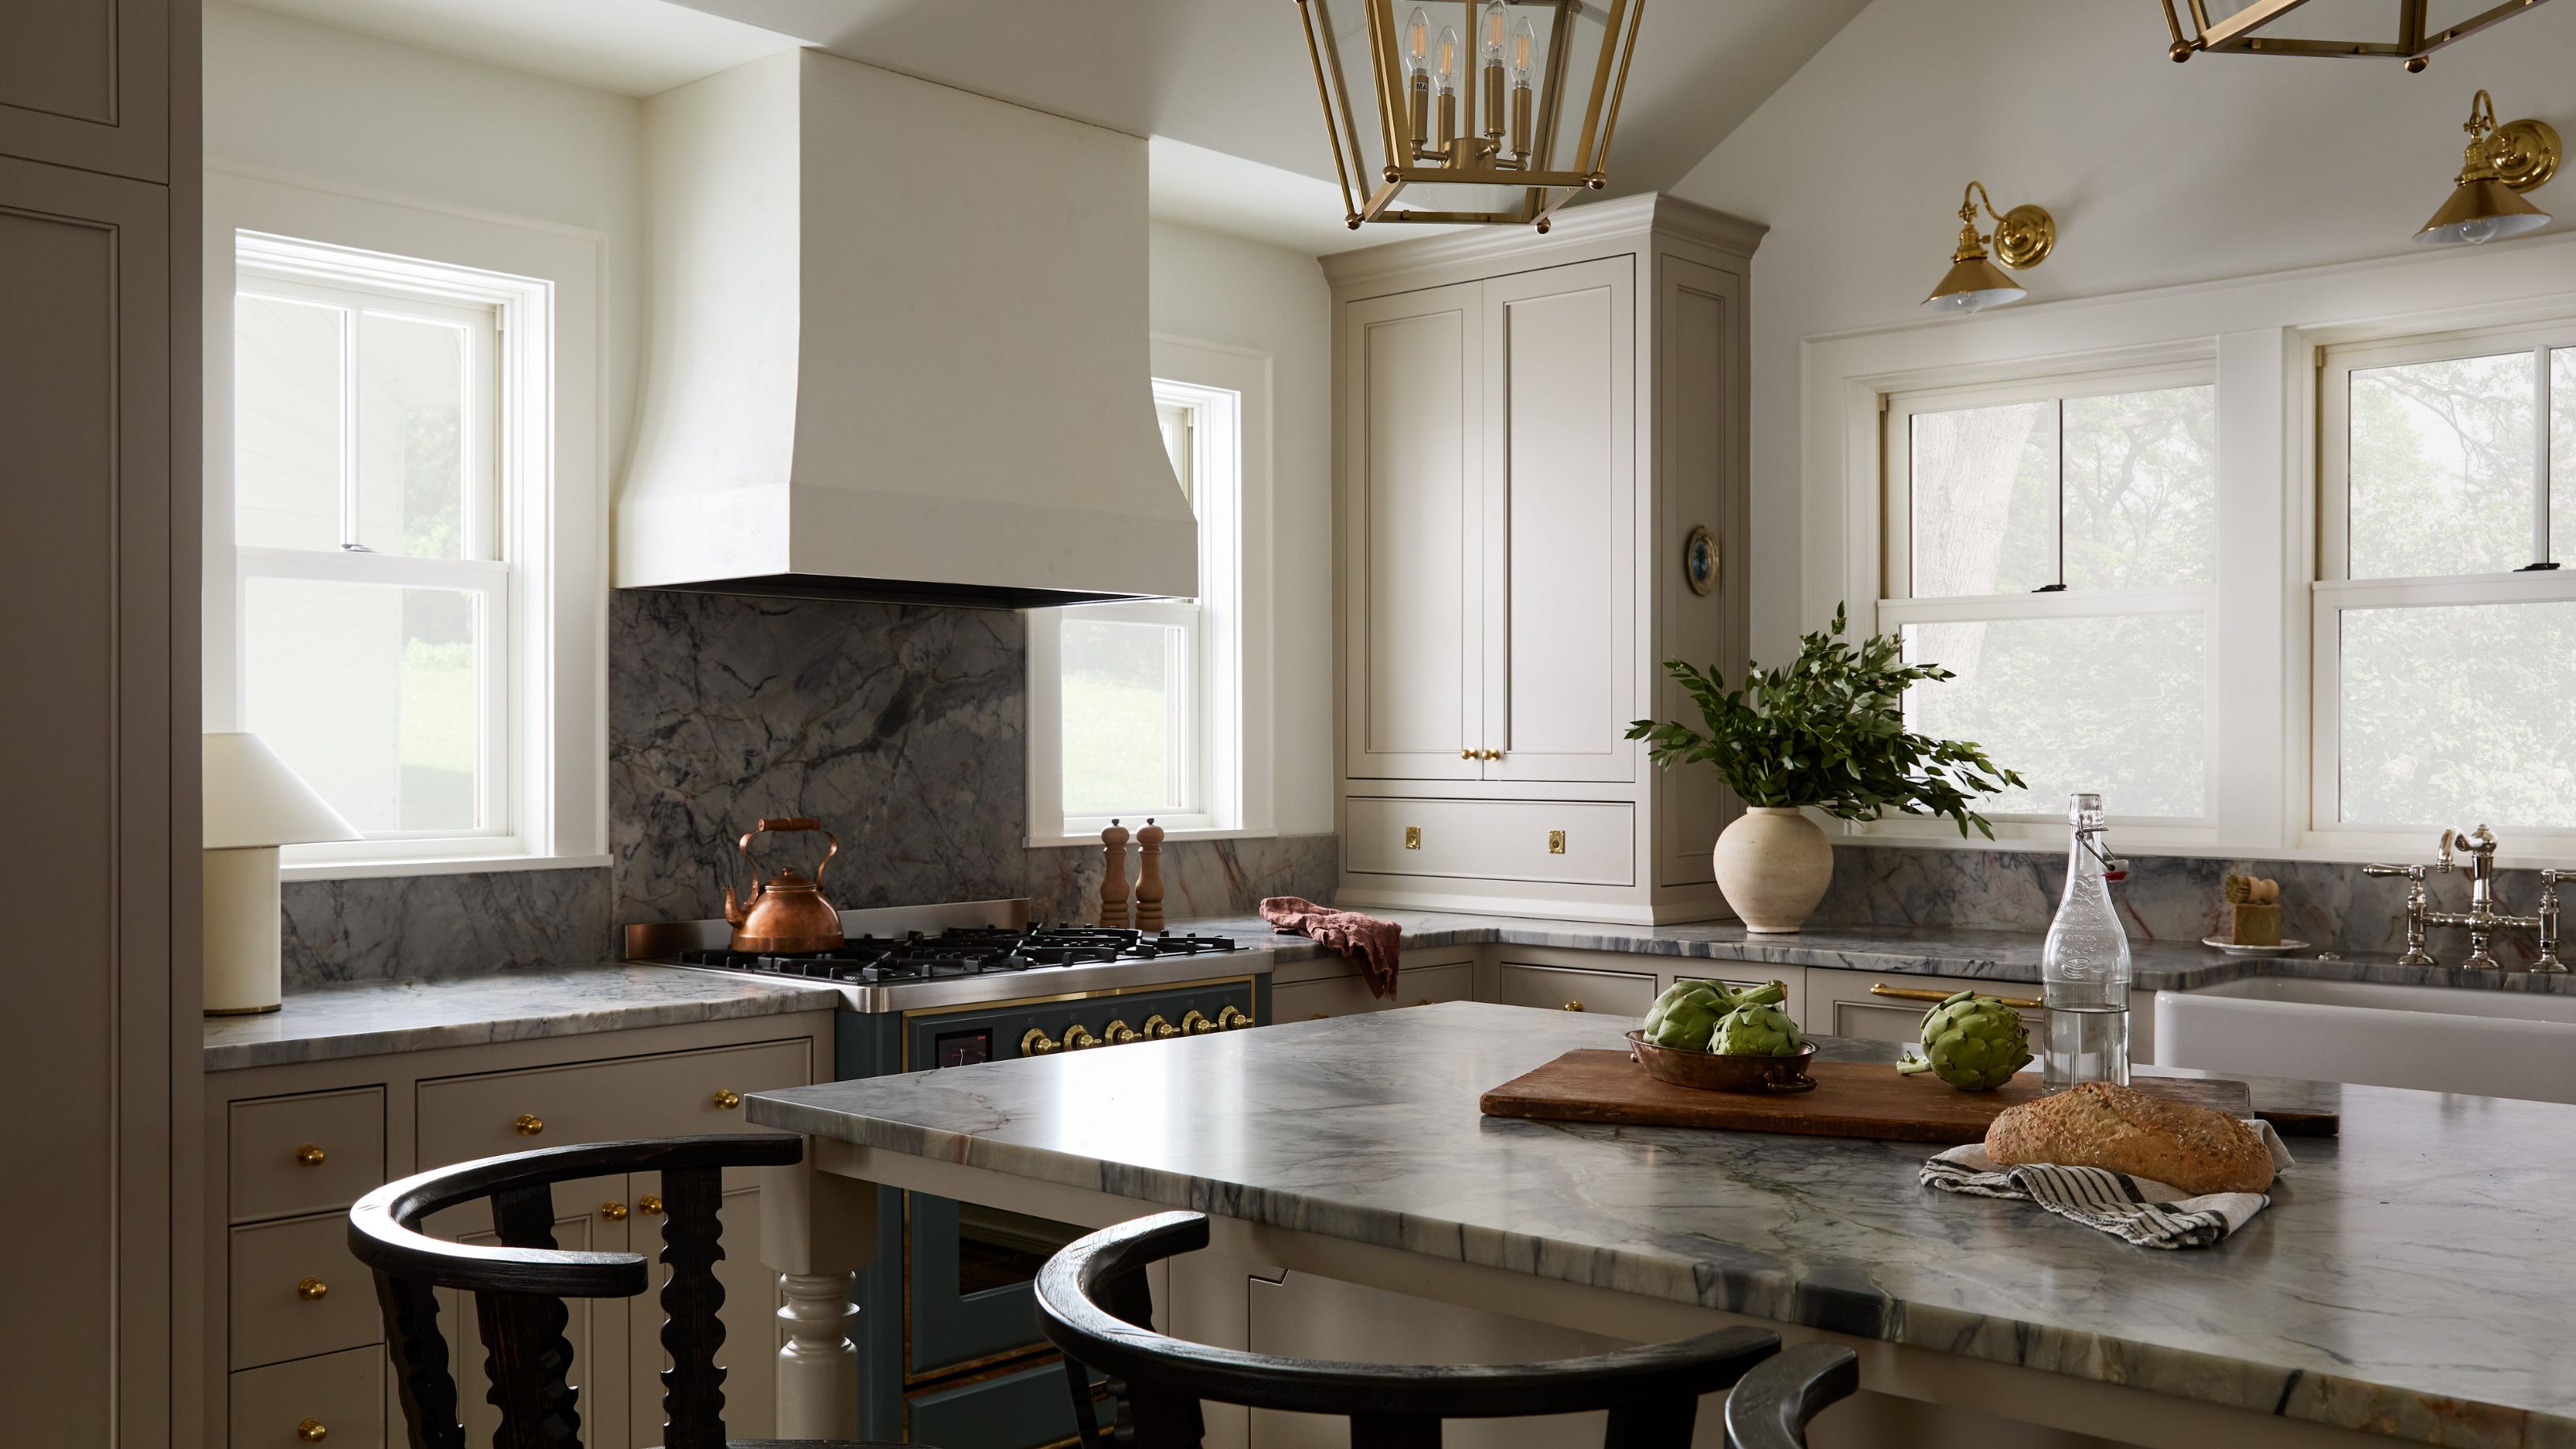
Before you even start looking at beautiful fixtures, you need to sort out the Where, What, When, and How.
Where do you need lights? What do they need to light? And at what time of day? How many lights do you need in that space? And what wiring or ratings do they require? These are just the tip of the iceberg of questions that designers and lighting experts ask before working out how to practically and stylishly light a home.
But don't panic, here, we break it all down for you. Consider this your ultimate guide to everything you must consider for your home renovation – before you get to your electrical walk-through.
1. Layers of Light
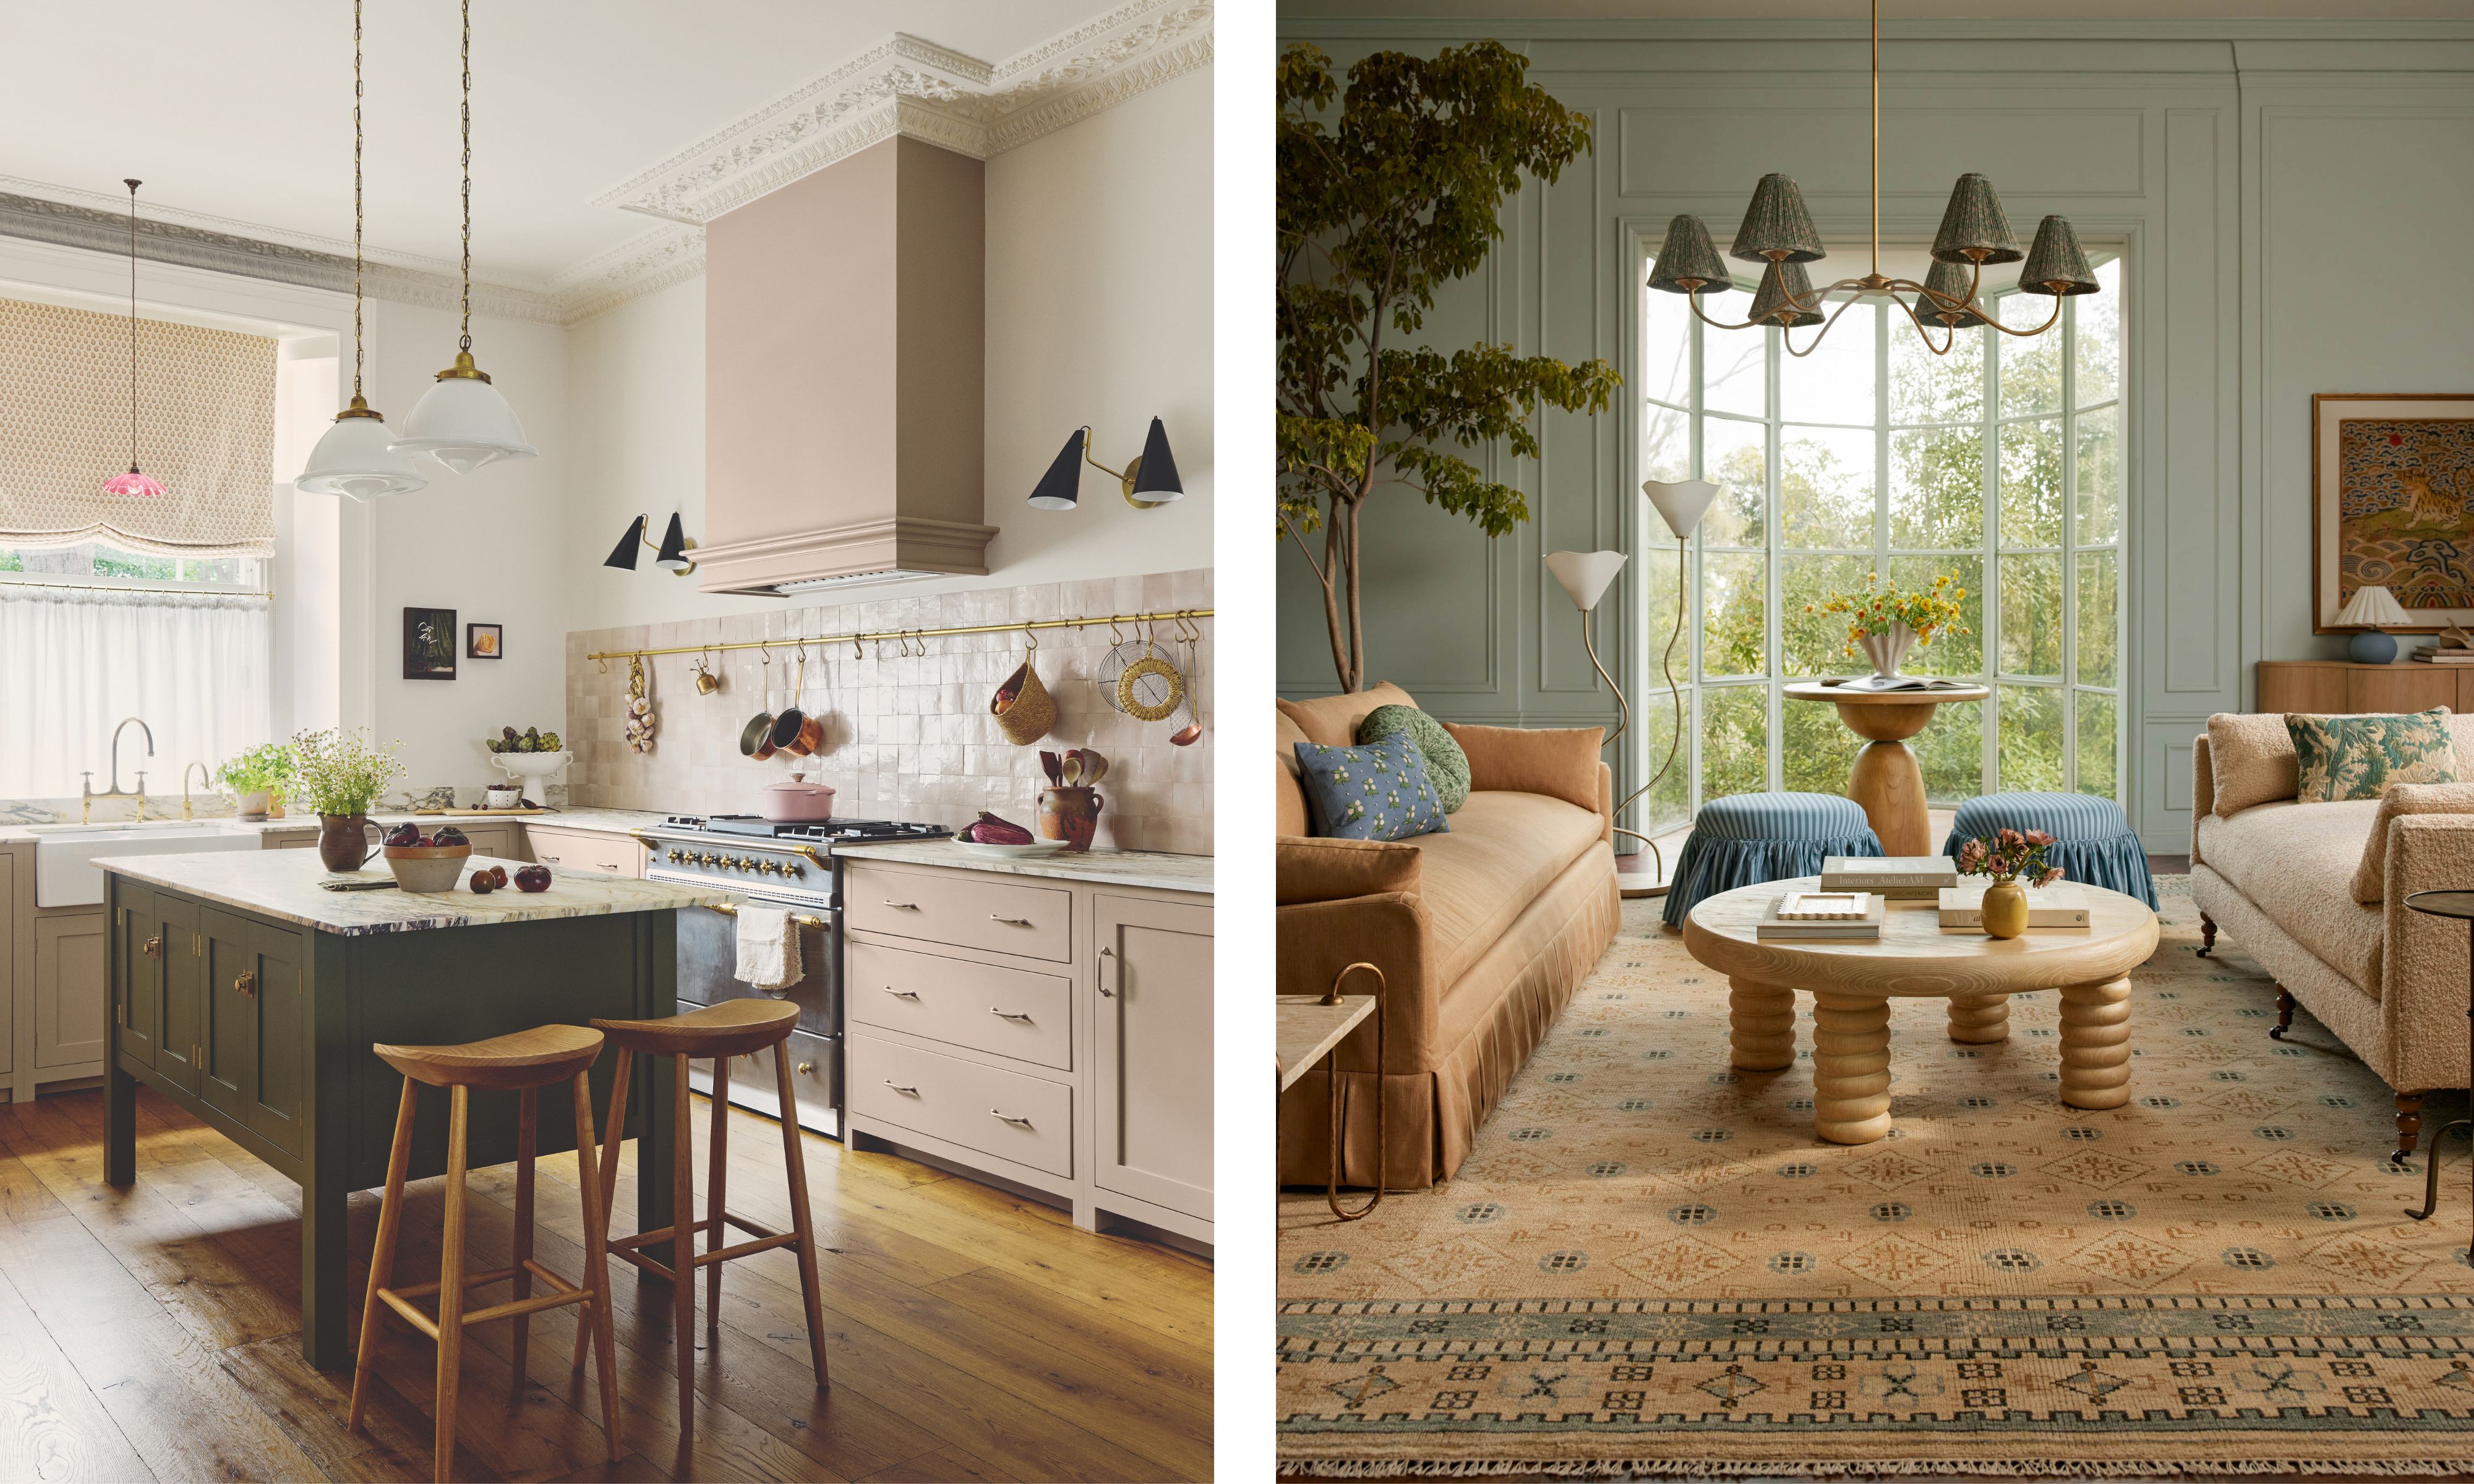
How to layer lighting is one of the biggest tricks you can learn from the experts. Unfortunately, it's not as simple as picking a beautiful overhead light and being done. In fact, designers are leaning more and more away from the 'big light' in favor of a more layered and cozy approach.
'Lighting is far too often a design element that is overlooked – not the fixtures themselves, but the functionality and mood behind them,' explains Allison Lind, Design Director of Allisson Lind Interiors. And there are three key types that designers implement in almost every space.
'Just like textures and materials, one layer won't suffice when it comes to lighting. Every beautiful room needs its full function (brighter overheads), mood (sconces or decorative floor lamps), cozy task (table or reading lamps), and even sexy evening light (toekick or decorative uplighting),' she suggests.
These three layers are often referred to as:
- Ambient Lighting provides overall illumination. This often comes from ceiling fixtures or recessed downlights.
- Task Lighting targets specific activities like under-cabinet lights in a kitchen, a reading lamp beside a chair, or vanity sconces flanking a bathroom mirror. These lights are focused and purposeful.
- Accent Lighting adds mood and character and can be used to highlight certain features within a room, like picture lights to draw the eye to artwork.
Charlie Bowles, Director at Original BTC, recommends 'combining task, ambient, and accent lighting to ensure both functionality and atmosphere.'
'Lighting for the home has three distinct purposes. Task lighting helps you perform specific jobs, ambient or mood lighting creates atmosphere, while accent lighting highlights areas of interest,' Charlie explains. 'Effective, efficient lighting should be built up in layers, using a mixture of all three lighting types to achieve the perfect balance. If possible, consider at the planning stages to maximize opportunities,' he advises.
Similarly, Mark Holloway, Director at Holloways of Ludlow, also believes that good lighting design is all about balance. 'Start with a practical foundation, like your ceiling or wall lights, then build up with task lighting for function, and finish with decorative pieces that bring personality and warmth,' he suggests.
2. Placement and Spacing
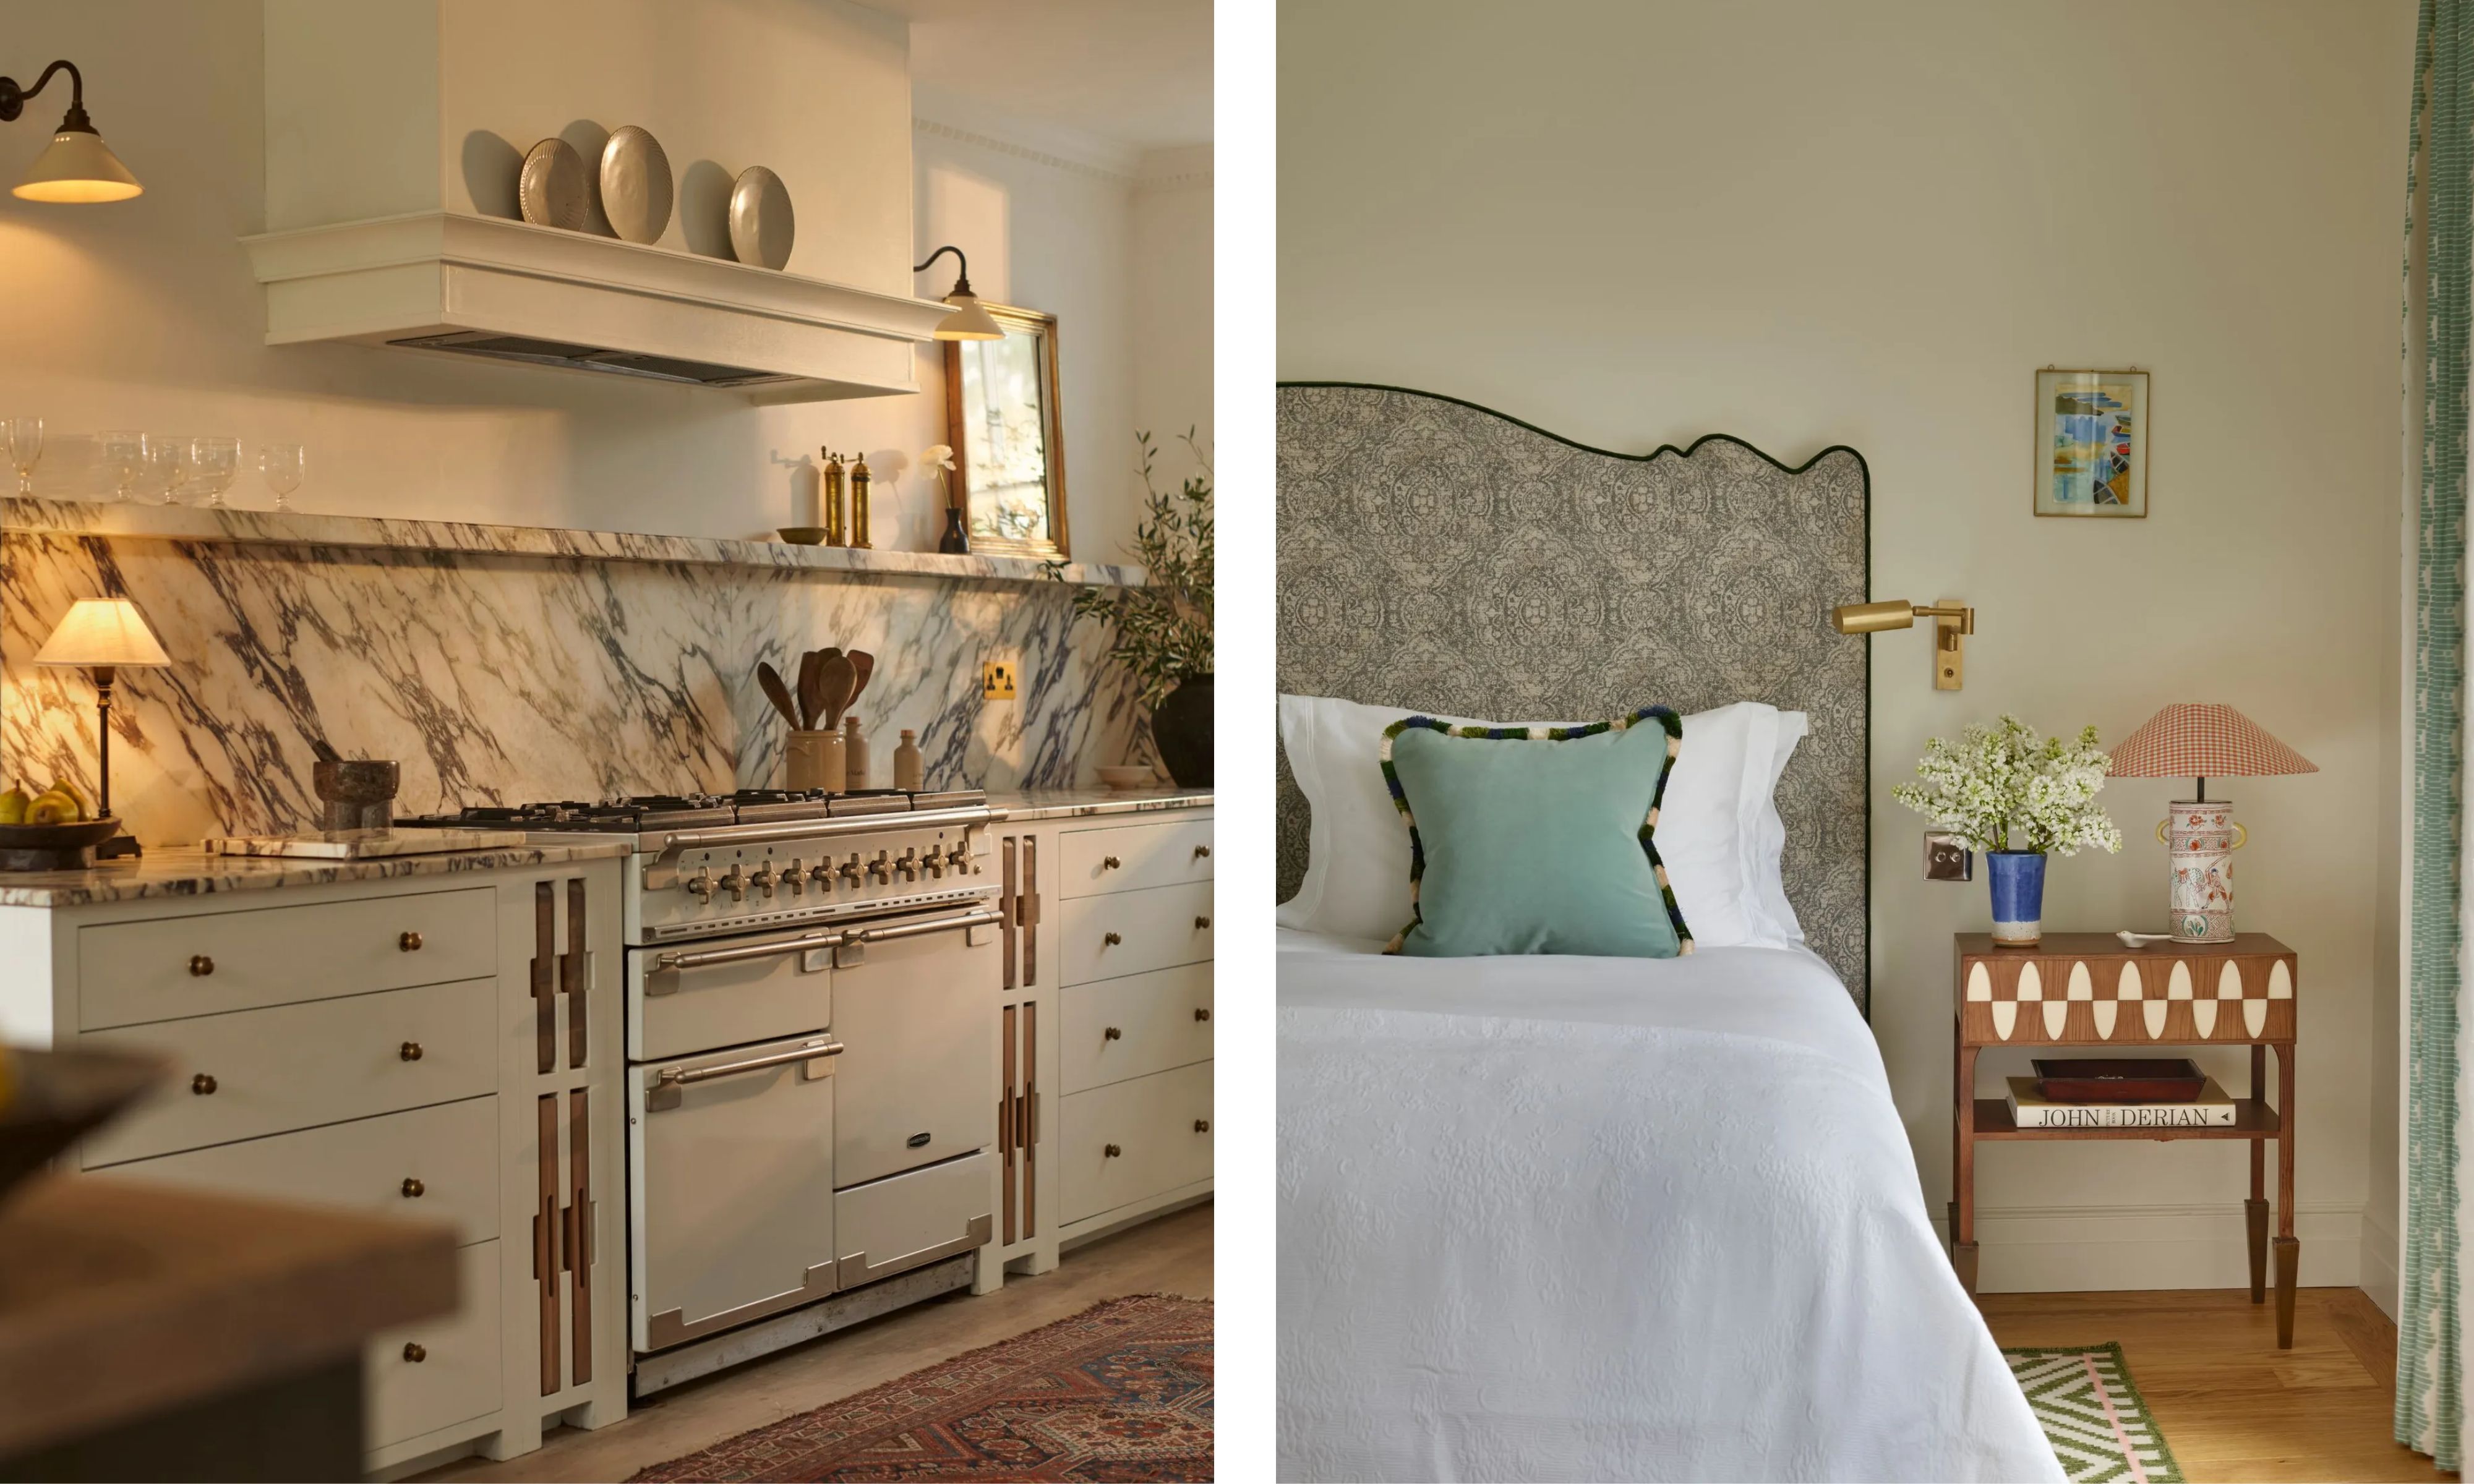
Good lighting is as much about practicality as it is about looking pretty, and even the smallest shifts in position can change how a room feels and functions. Once you know what layers you need, you then want to work out placement – a.k.a. where light falls, and how evenly it is distributed.
This can vary between lighting types and from room to room. For kitchen lighting ideas, designers recommend following the three kitchen lighting rule that suggest using ambient, task, and accent lighting as follows: pendant or overhead lighting for the main cooking area or over an island, task lighting over the counters with sconces or under-cabinet lighting, and then finishing with some accent lighting with a kitchen countertop light.
Alternatively, for living room lighting, Charlie Bowles suggests: 'Pendants will throw down a large pool of light, while carefully placed table, floor, and wall lights will provide task and accent lighting for reading, watching TV, or highlighting your favorite piece of art. Having lots of options also means you can pare back your lighting later in the evening for a more intimate, cozy feeling.'
Sarah Magness, founder of Studio Magness, advises, however, that 'When lighting specific decorative features or elements, it's important to consult with an art or lighting specialist. The intensity of the light could be damaging to specific artworks or textiles. Always steer on less is more.'
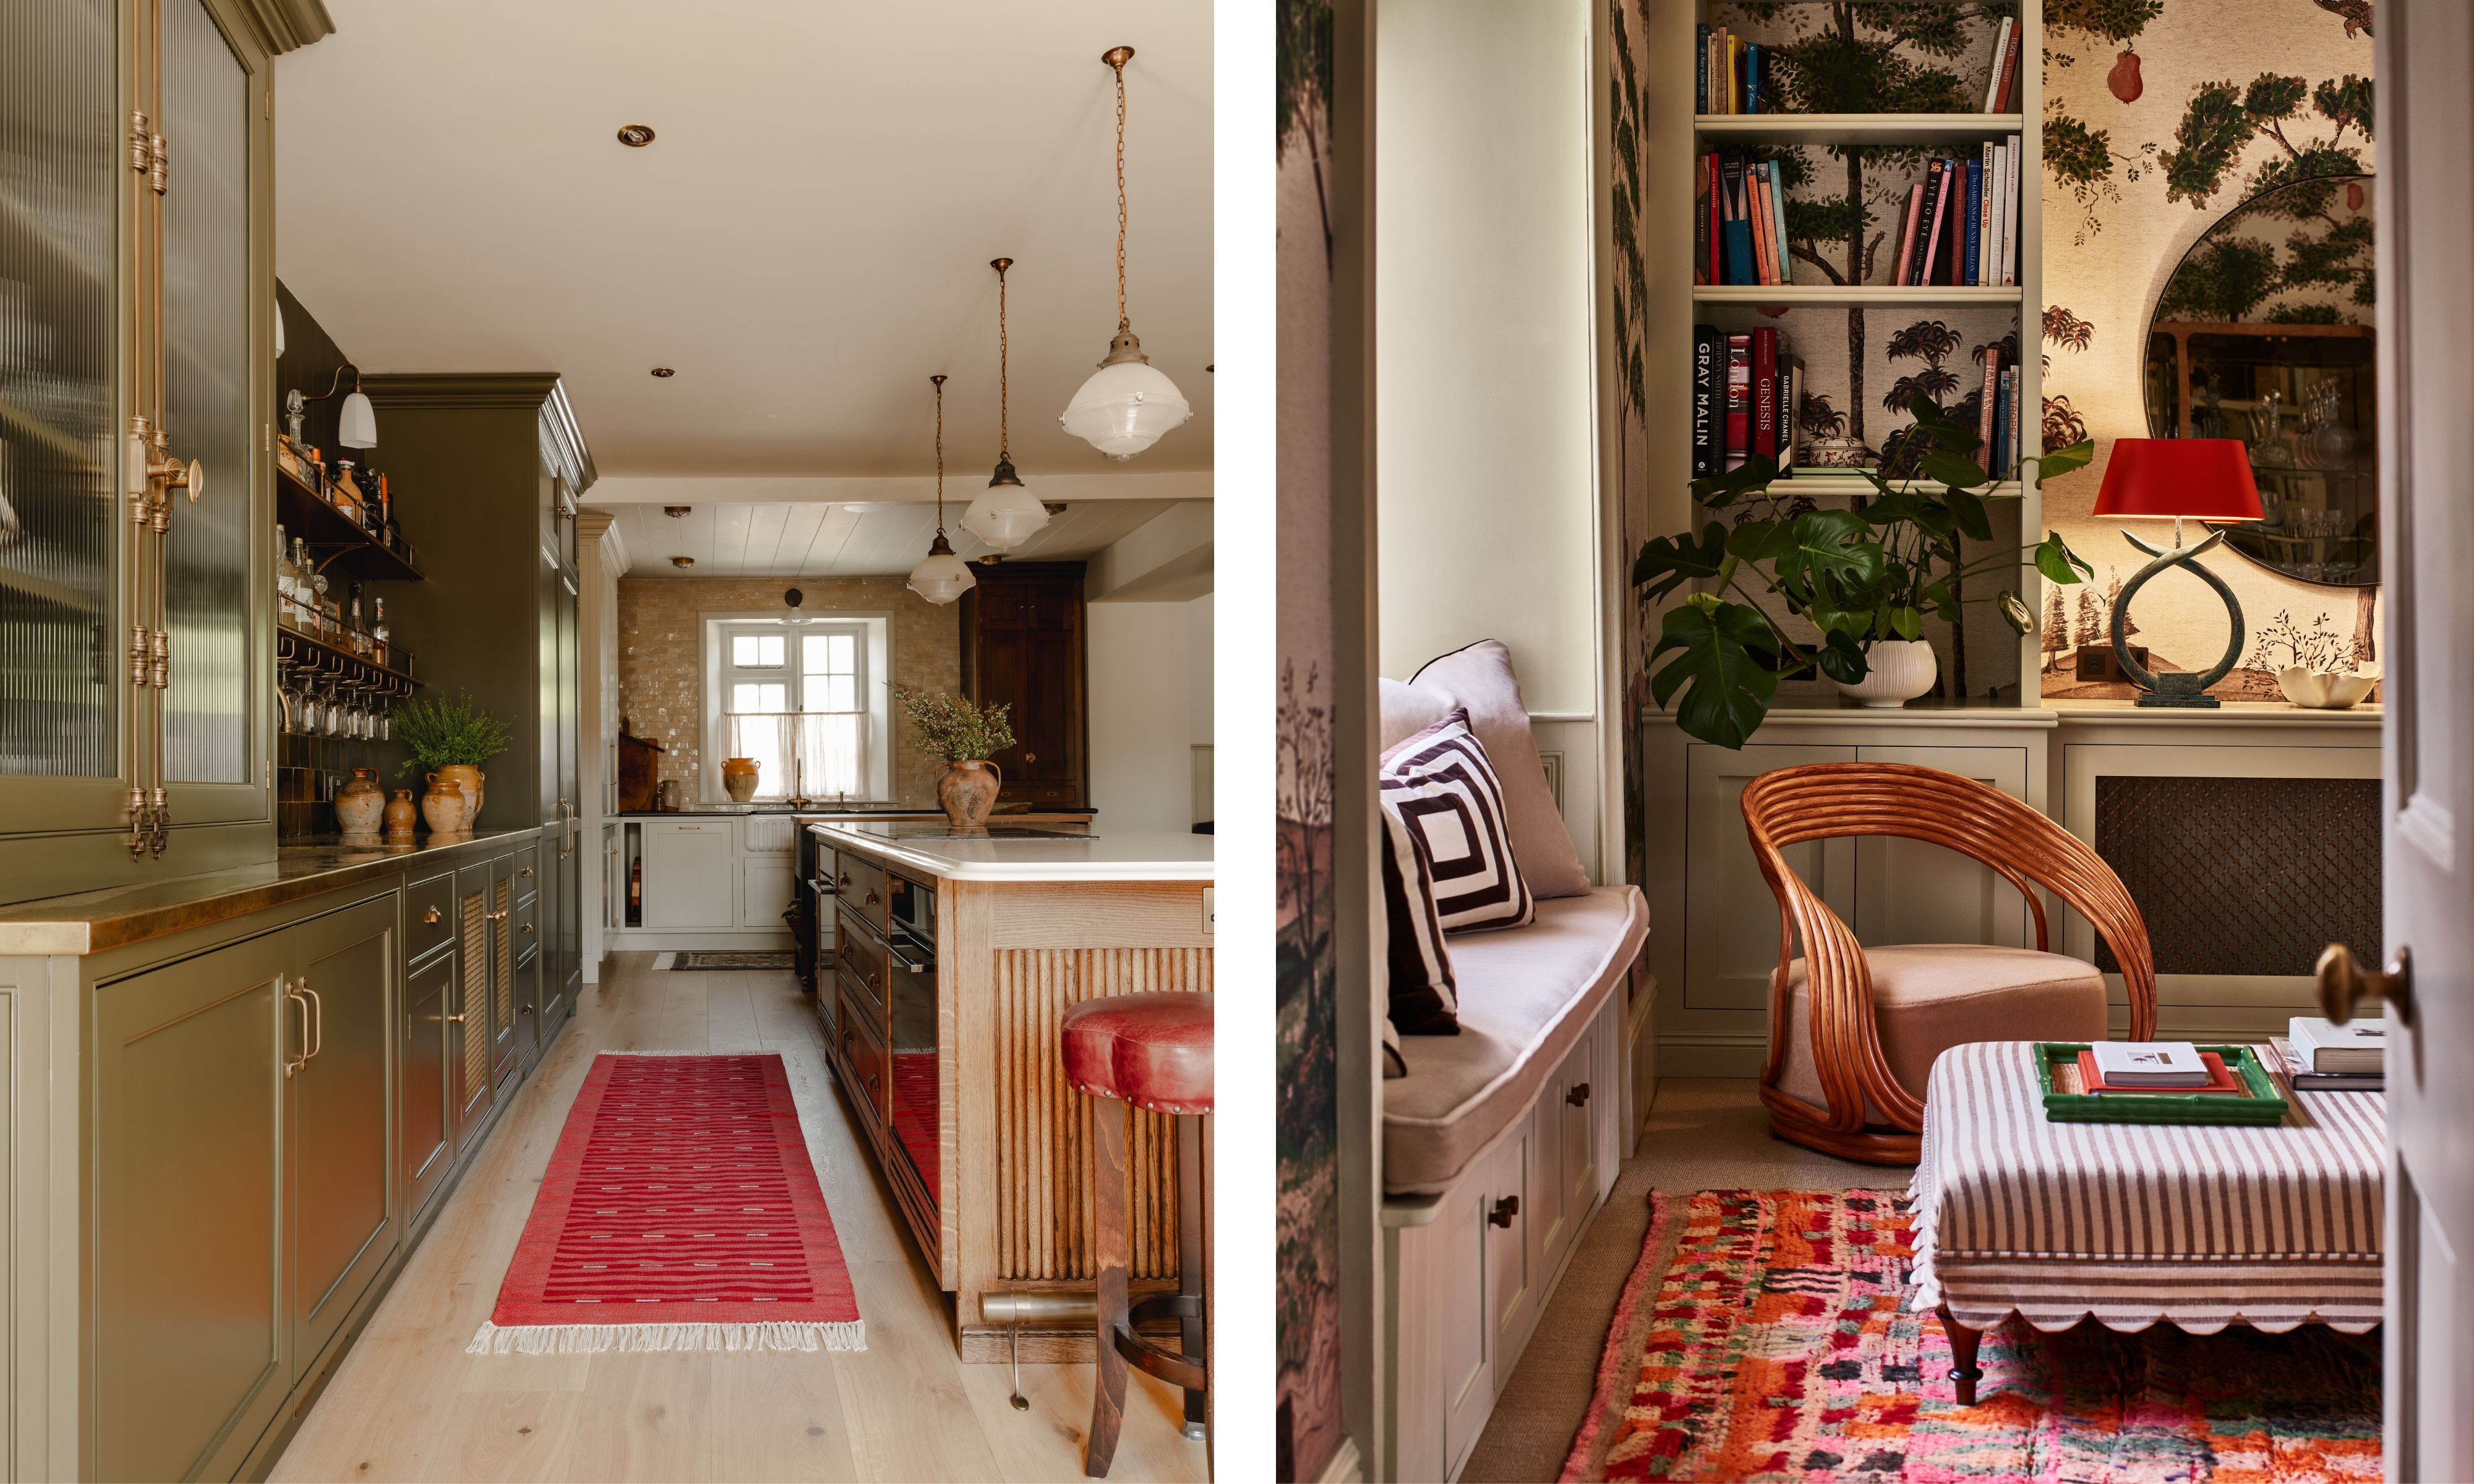
Once you've worked out locations for your lights, there are a few reliable measurements to keep in your back pocket.
'For recessed fixtures, start with 4–6 feet of spacing between downlights, adjusting based on beam spread,' advises designer Nina Lichtenstein. This helps prevent harsh “hot spots” in the center of the room and creates a more flattering ambiance.
Olga Malyev, cofounder of Malyev Schafer, shares her top placement tip for recessed lighting: 'Follow the furniture lines,' she advises. 'Align your lights with the furniture below to create balance, symmetry, and a sense of flow throughout the room.'
'As a general rule, I place recessed lights around the perimeter of the room to avoid dark corners,' she continues. 'They should not be closer than 20–24 inches from the wall to prevent unwanted reflections. In larger rooms, perimeter lighting alone may not suffice, so I add extra fixtures above seating areas, never along main circulation.'
Pendant placement is also key. 'Placement and proportion matter,' Mark Holloway continues. 'For pendants, aim to hang them around 30–35 inches above a dining table or kitchen island, and allow roughly 20 inches between multiple fittings.'
At the bedside, sconces should sit roughly 20–24 inches above the top of the mattress, with the shade at eye level when seated for bedtime reading (or scrolling). For bathroom vanities, flank the mirror with sconces set around 4–6 inches from the mirror edge to provide balanced, shadow-free light and combine with some ceiling downlights on a separate switch circuit.
3. Color Temperature
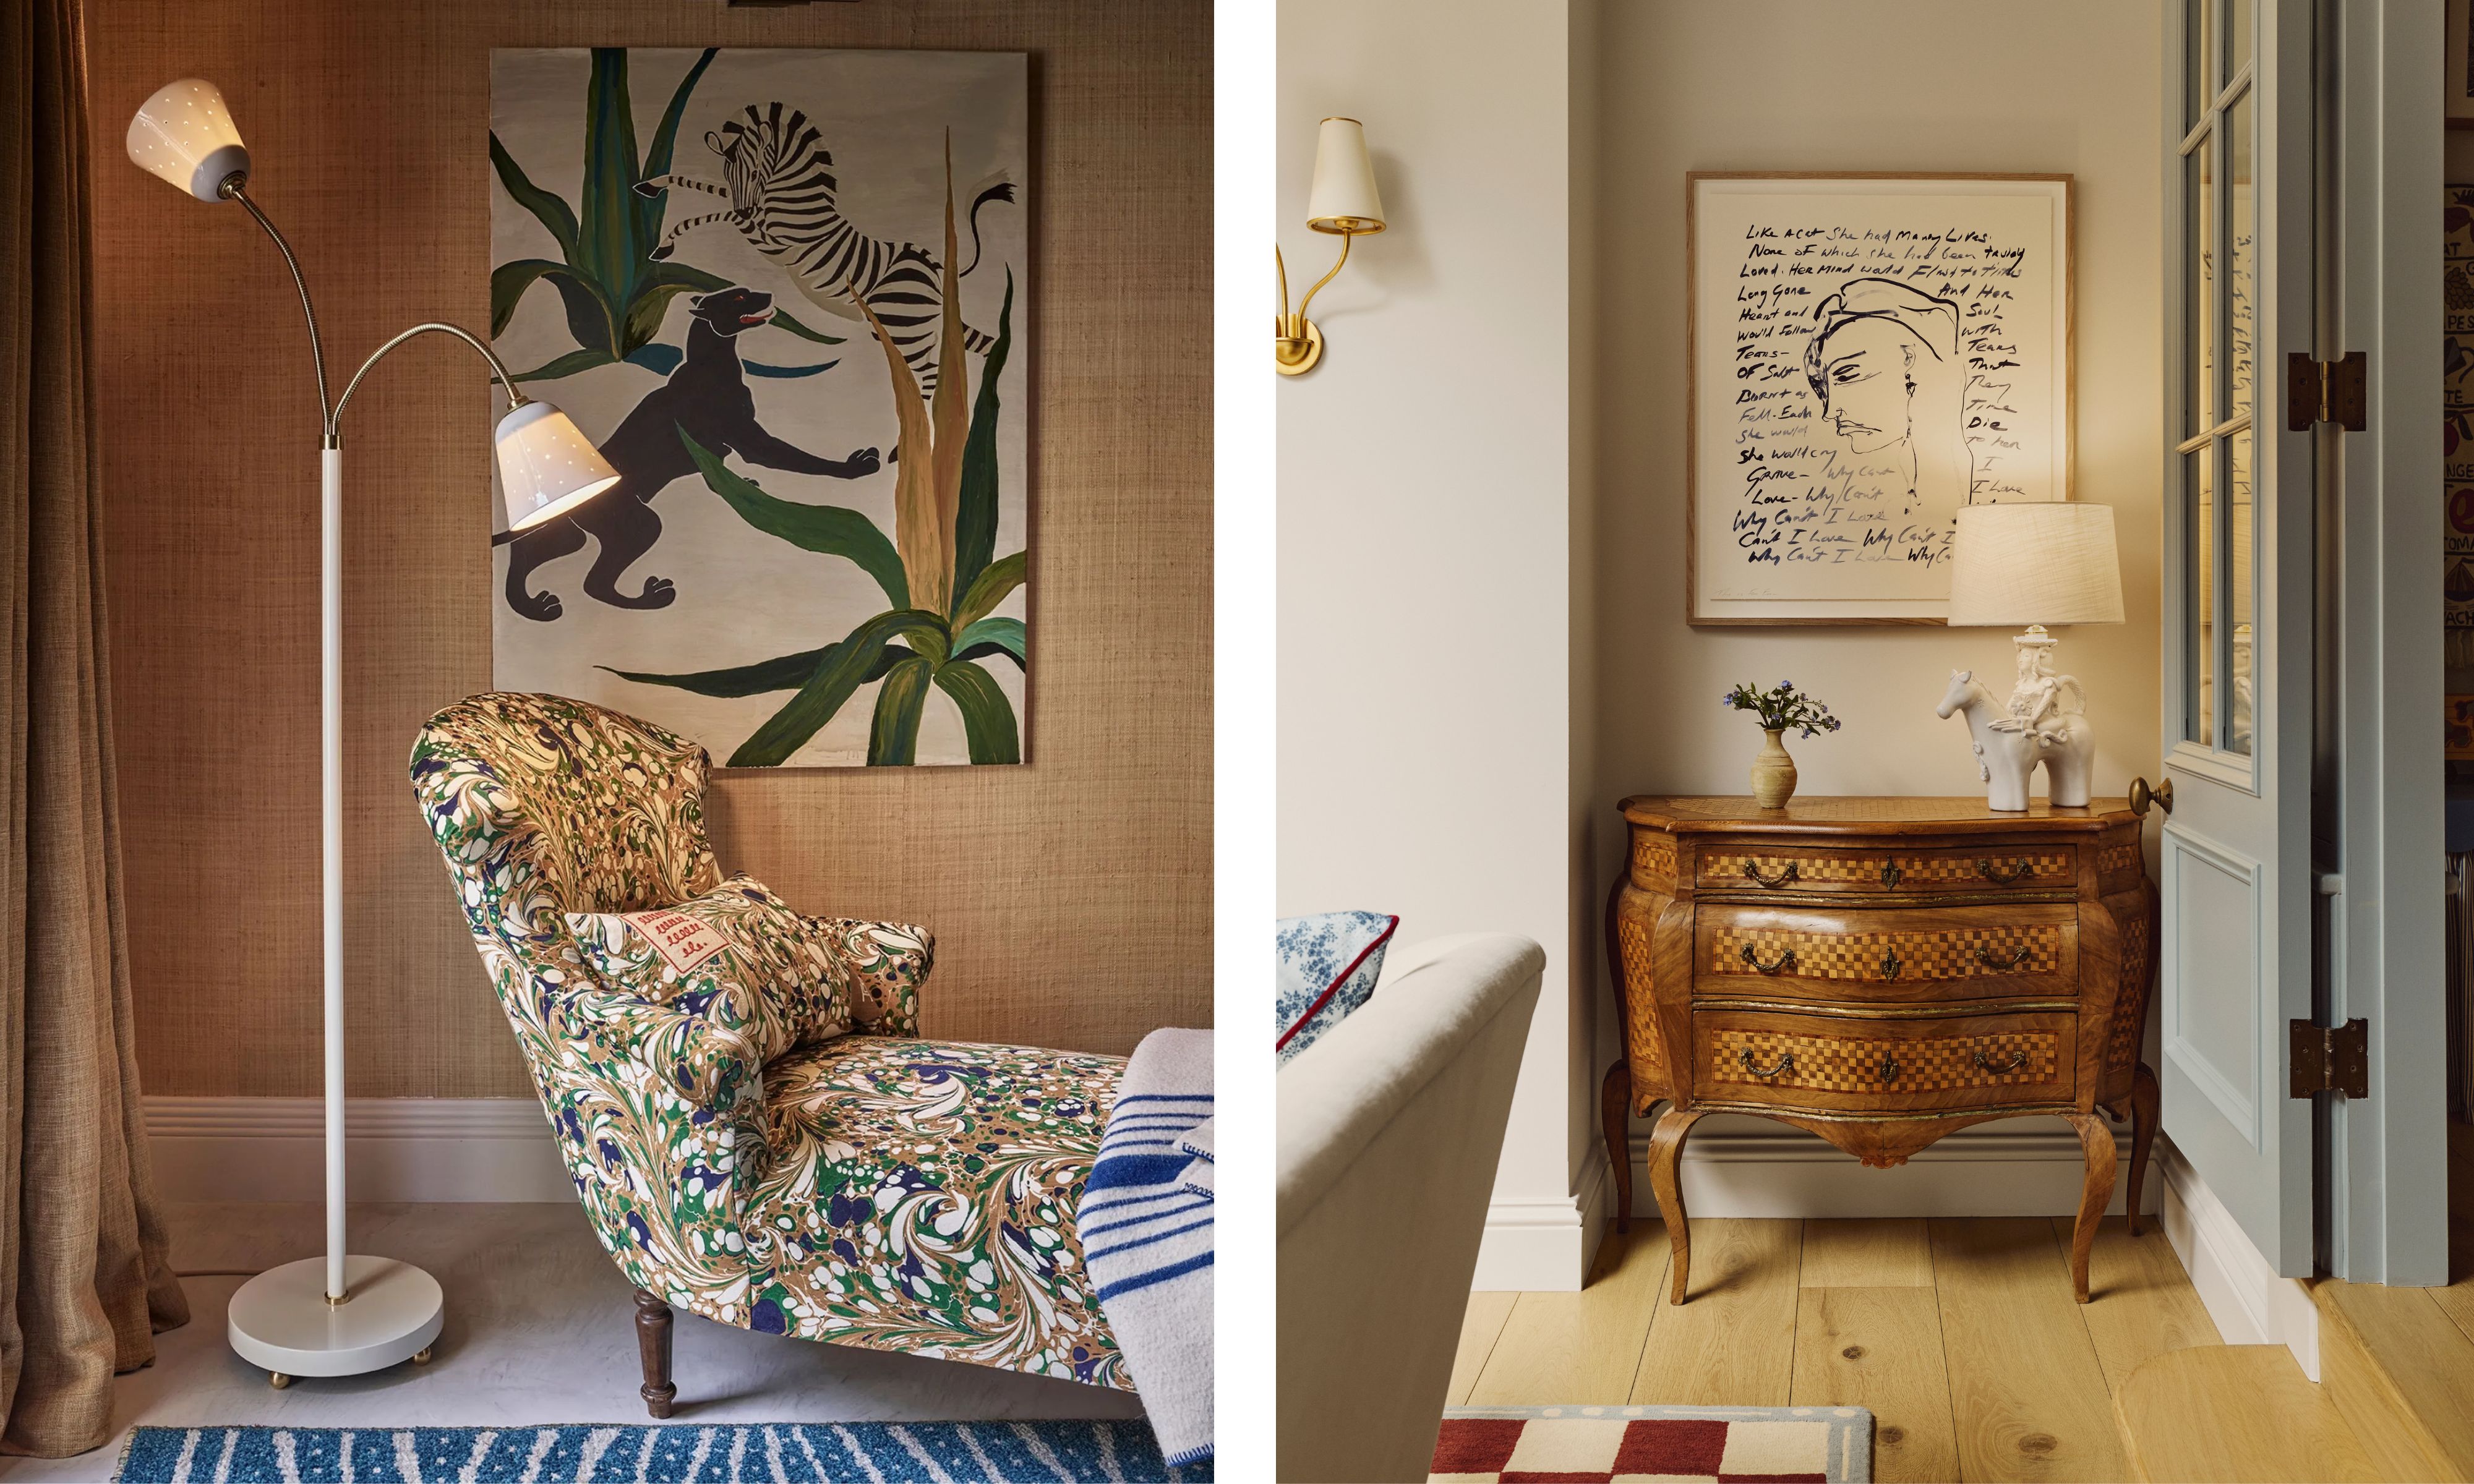
While it might sound all rather technical, understanding lighting temperature is essential. To put it simply, the color temperature of your bulbs and lighting fixtures will determine how the paint on your walls reads (warm or muddy), how the slab of marble in the kitchen looks (crisp or stark), and how your own skin tone appears in the bathroom mirror (flattering or flat).
'Color temperature is the difference between a cool white or blue light – approximately ~3000 Kelvin, which is often referred to as daylight – and the warm soft light, ~2,700 Kelvin, you would get from traditional bulbs,' Charlie explains. 'Daylight bulbs are good for creating a bright room, but aren’t the best for relaxing in – throughout my home, I prefer to use warm light.'
Measured in Kelvins (K), as Charlie points out above, color temperature runs on a scale from warm to cool. Designers typically lean towards 2700K, or warm white, bulbs for living spaces and bedrooms, as it feels softer, more inviting, and is the closest to candlelight.
3000k, on the other hand, works better in kitchens and bathrooms where it offers a slightly cooler, more neutral tone that keeps these functional spaces looking fresh.
One of the most common lighting mistakes made is mixing multiple color temperatures in a single space. A combination of warm and cool light sources can create an uneven and unsettled effect, so instead, choose one consistent baseline for each room to create a sense of harmony.
'CRI (or Color Rendering Index) is just as important,' adds Lauren Gilberthorpe. 'Aim for 90 or above to ensure colors appear true and materials retain their richness under artificial light.'
Additionally, Olga suggests you should prioritize light quality and 'look for a high CRI (90+) for colors that pop naturally, and make sure your lights are flicker-free. A quick phone video can reveal hidden flaws: if the light dances or flickers, it’s not up to standard.'
4. Output and Dimming
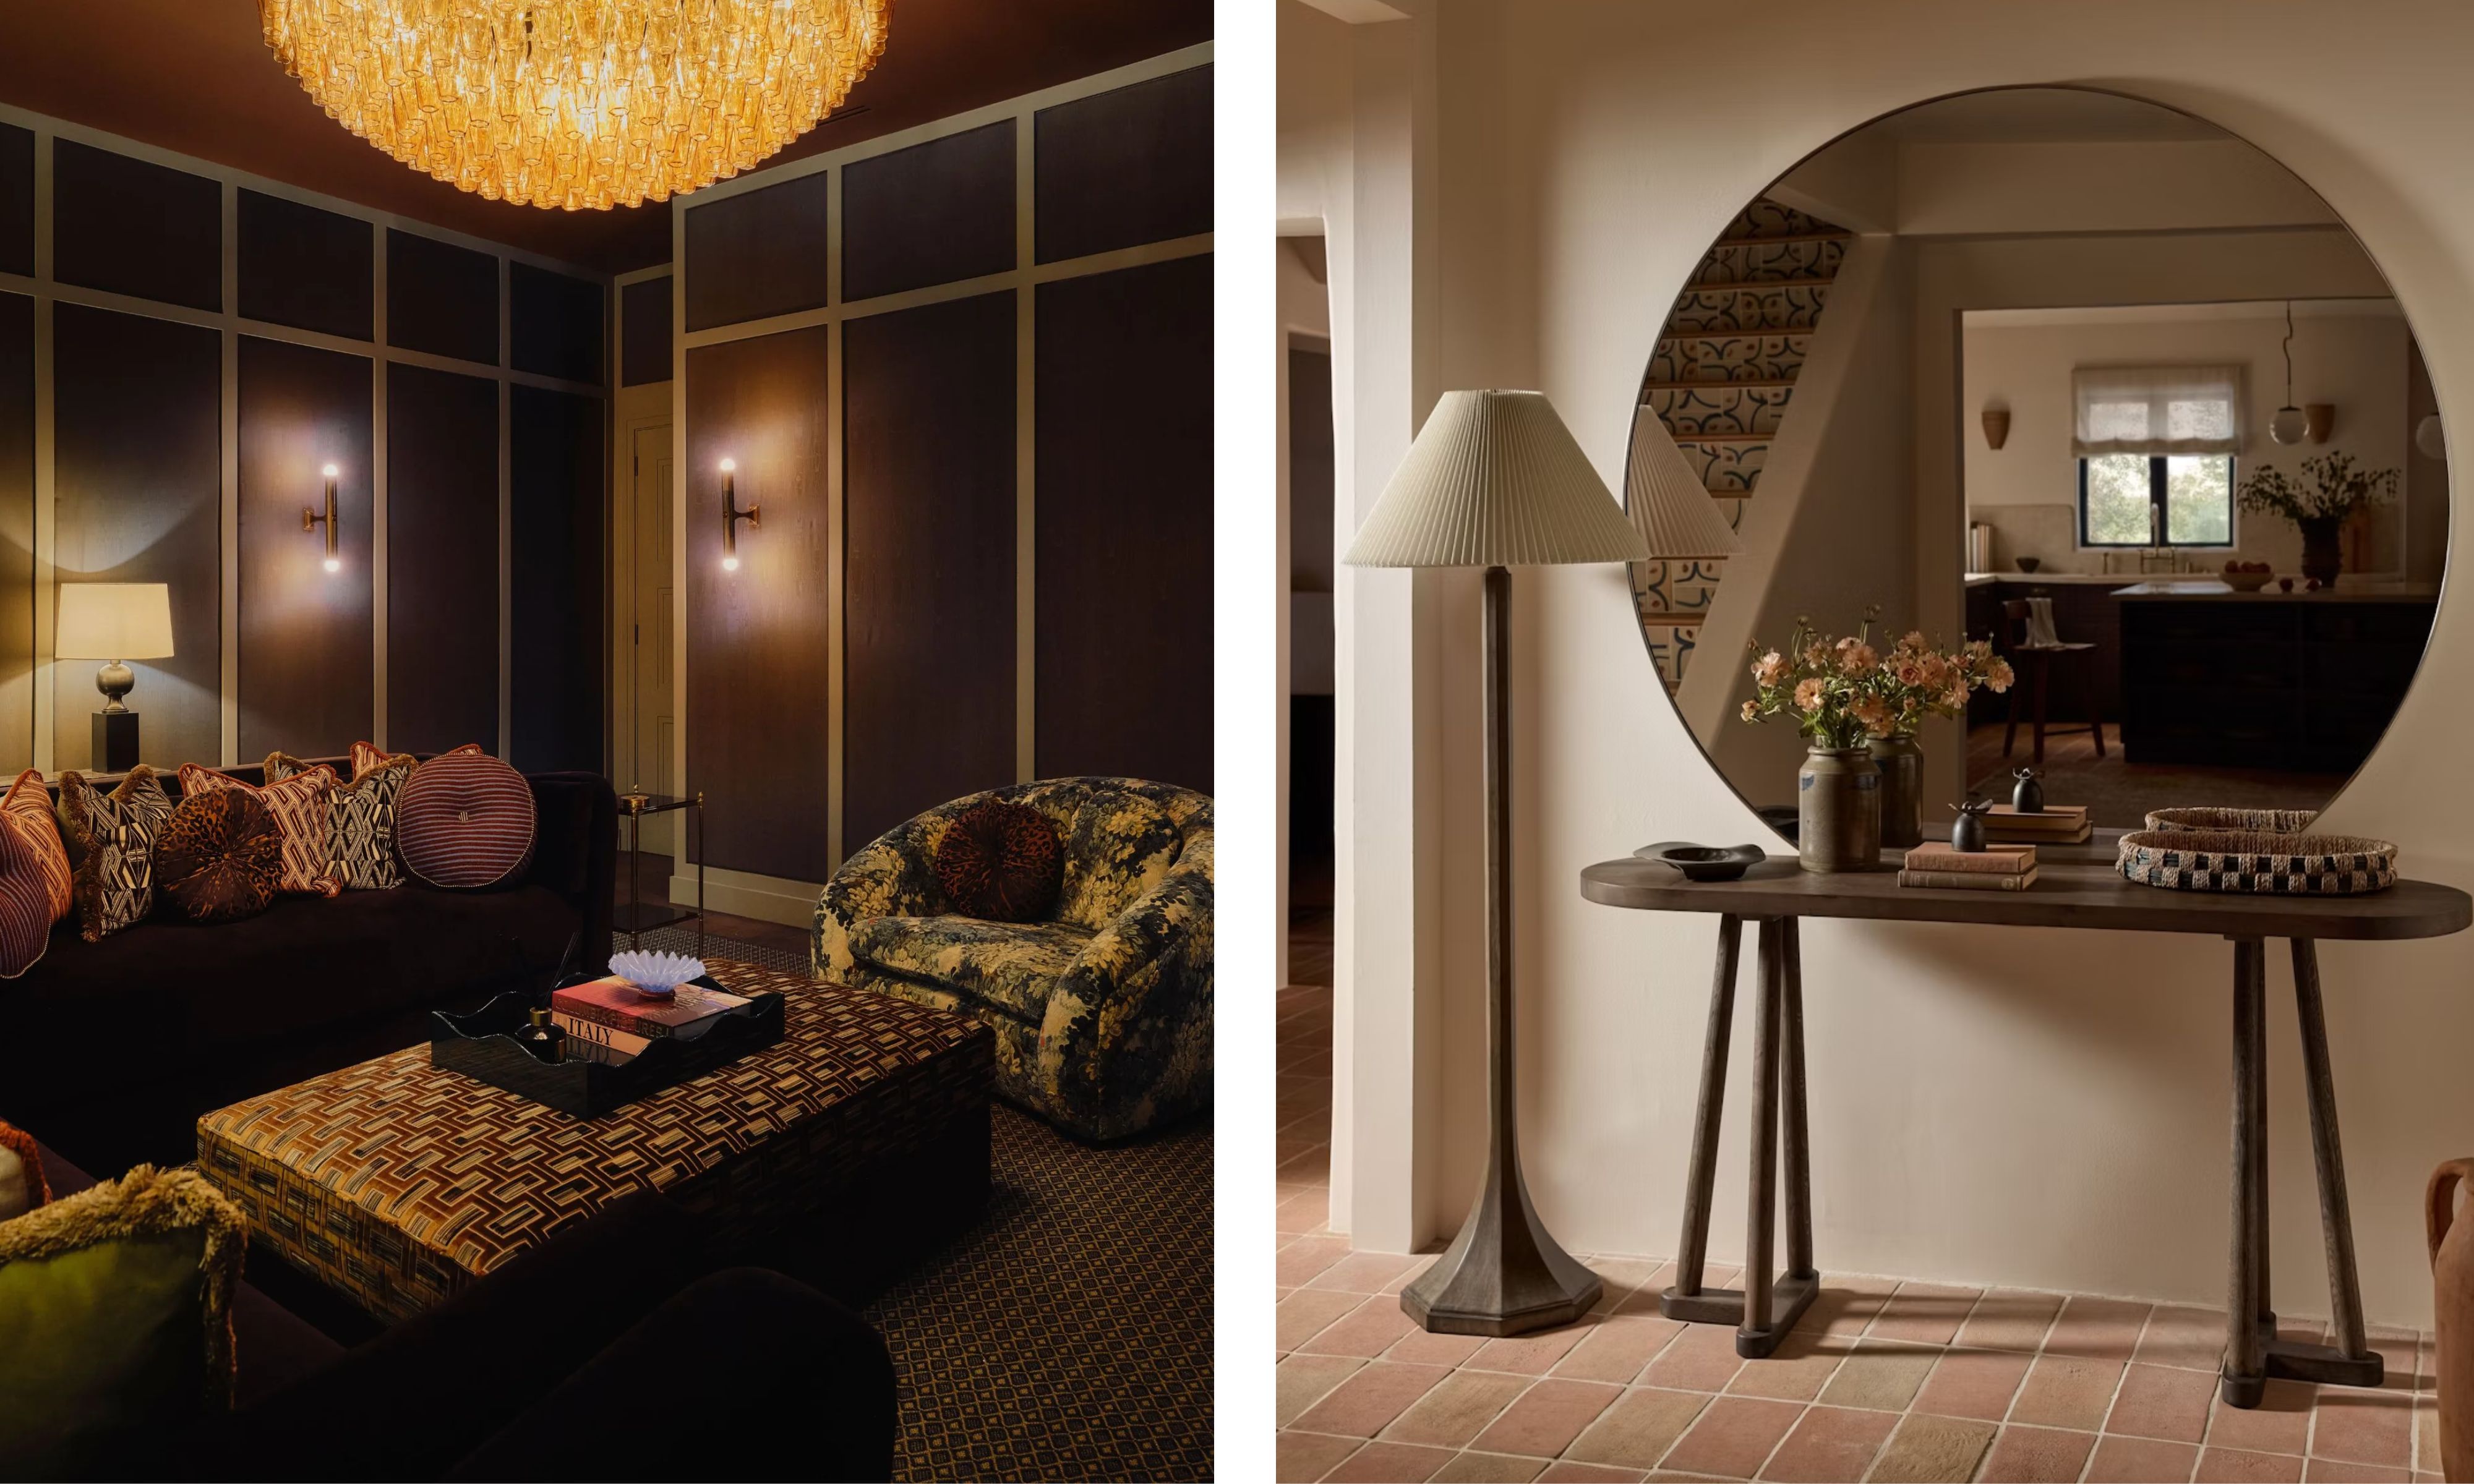
The brightness level, otherwise known as the output, of lighting is an often misunderstood aspect of lighting. We often think the brighter the better, but too much, and a room feels harsh – while too little, and it becomes flat or impractical rather than cozy.
The idea is to balance output with dimming, which is an approach that allows you to fine-tune the atmosphere in the room as the light and your tasks change throughout the day.
'For output, aim for flexibility,' Nina suggests. 'Overhead ambient lighting should deliver around 20 lumens per square foot, task lighting around 50, and accent lighting can be lower but more focused.'
Beyond brightness, dimming lets you transition from crisp morning light to an intimate evening glow with a simple adjustment. 'Always ensure you can dim – it’s the simplest way to shift mood and function without changing the fitting itself,' says Mark.
'When it comes to choice of bulb, ideally, all your lights should be controlled separately and on dimmers, so you can switch off your bright task lighting when it’s time to sit down and relax,' adds Charlie.
'If possible, make sure your lights are controlled separately so you can create different moods at the flick of a switch. Asking your electrician to install several circuits means you’ll be able to introduce texture and depth.'
5. Bathrooms and Safety Ratings
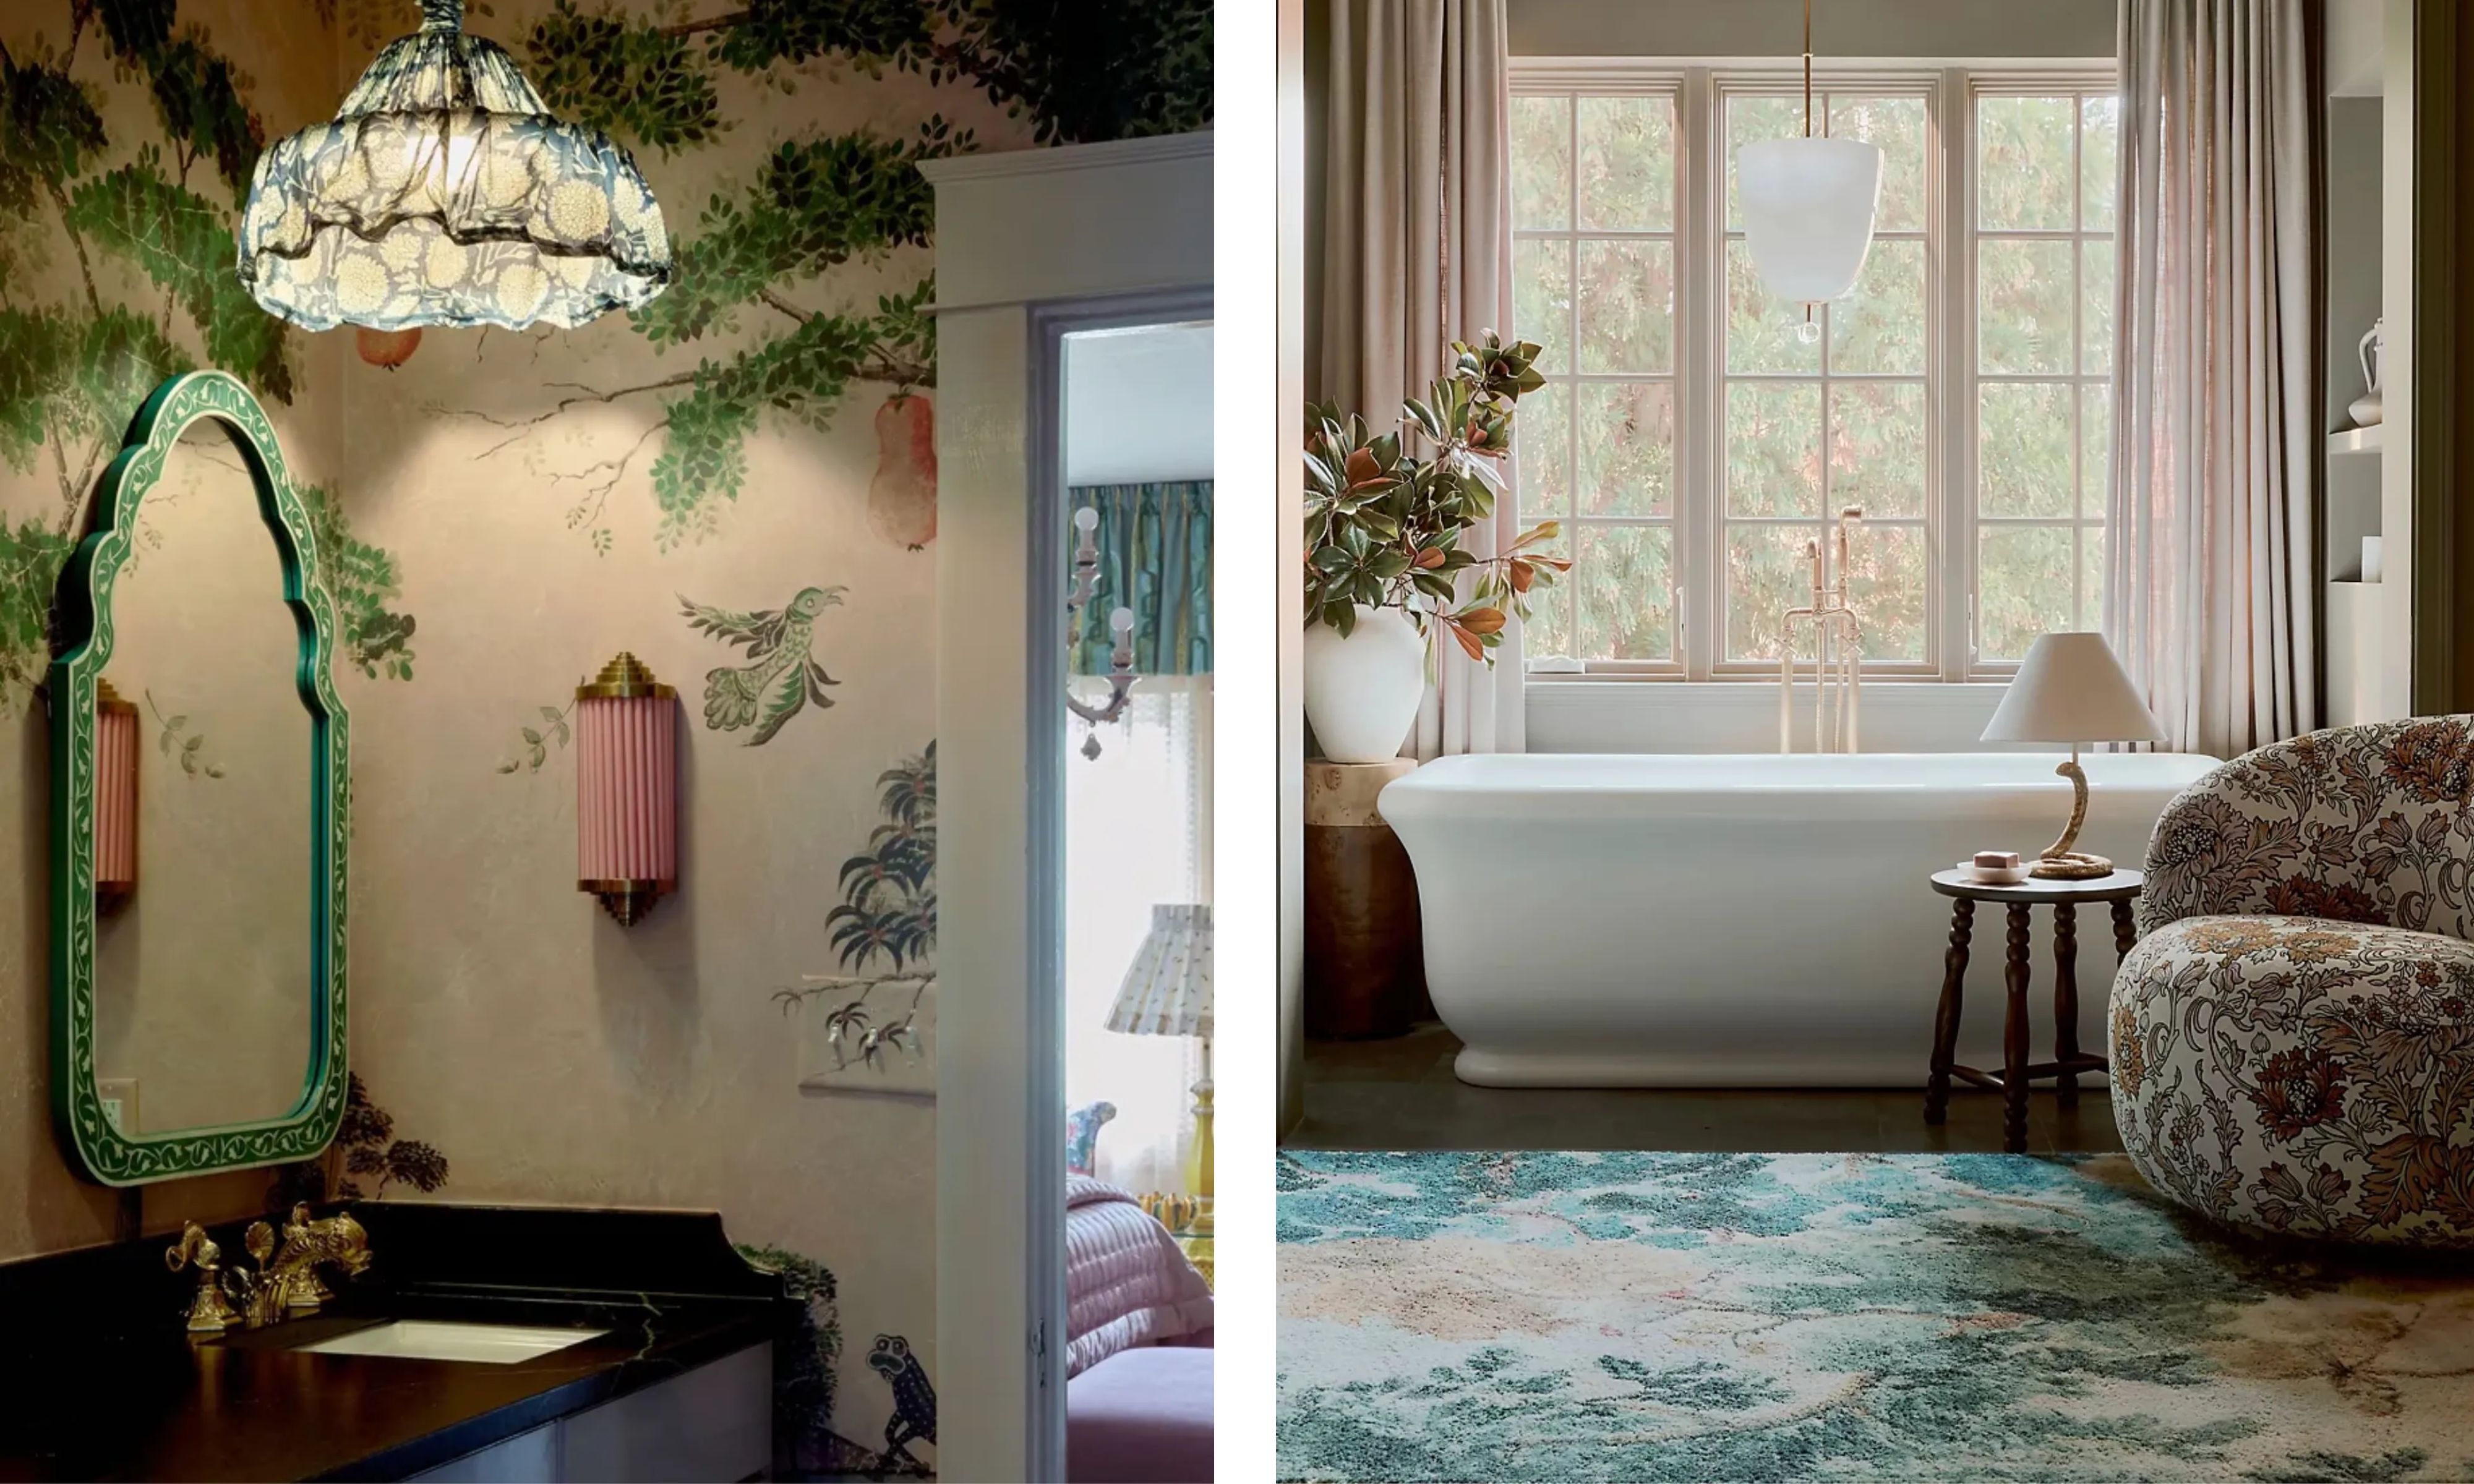
While there are no hard and fast rules to lighting areas like your kitchen, bedroom, dining, or living spaces, bathroom lighting is a totally different game.
When it comes to lighting a bathroom, be that the master bathroom or a small powder room, they demand a mix of practical precision lighting and moody, atmospheric lighting for relaxing moments. They also come with strict safety requirements, since water and electricity don't mix well.
A well-planned bathroom scheme strikes the balance between function, feeling, and compliance. Start with the right ratings. Fixtures in bathrooms and wet rooms should be designed to withstand moisture, so you must be sure to use damp-rated fittings for general bathroom zones, and wet-rated fixtures inside showers or anywhere exposed to direct spray.
'Lighting should be factored in at the initial design stage to allow for the wiring and the creation of two or more lighting zones within the space,' Charlie suggests. 'Remember to ensure the lights you are planning to install have the relevant rating for where they are being placed. You don’t have to use damp-rated lights in a bathroom if they are outside the zones, for example, more the 60cm (23.6") away from the tap of a bathroom sink,' he notes.
In terms of layout, wall sconces flanking the bathroom vanity remain a designer favorite. 'One major mistake is relying solely on overhead lighting, which can cast unflattering shadows and create a flat, uninviting space,' he continues. 'Instead, incorporating wall lights at eye level provides even, flattering illumination.'
Layer this with ambient lighting from a ceiling light, and, if space allows, add a dimmable accent or decorative element for a spa-like finish.
'It’s also important to consider how lighting needs change throughout the day – brighter task lighting for mornings, softer ambient lighting for winding down in the evening,' says Charlie. 'Dimmable fixtures offer flexibility, while well-placed wall lights help reduce shadows for grooming tasks.'
Rules to Remember
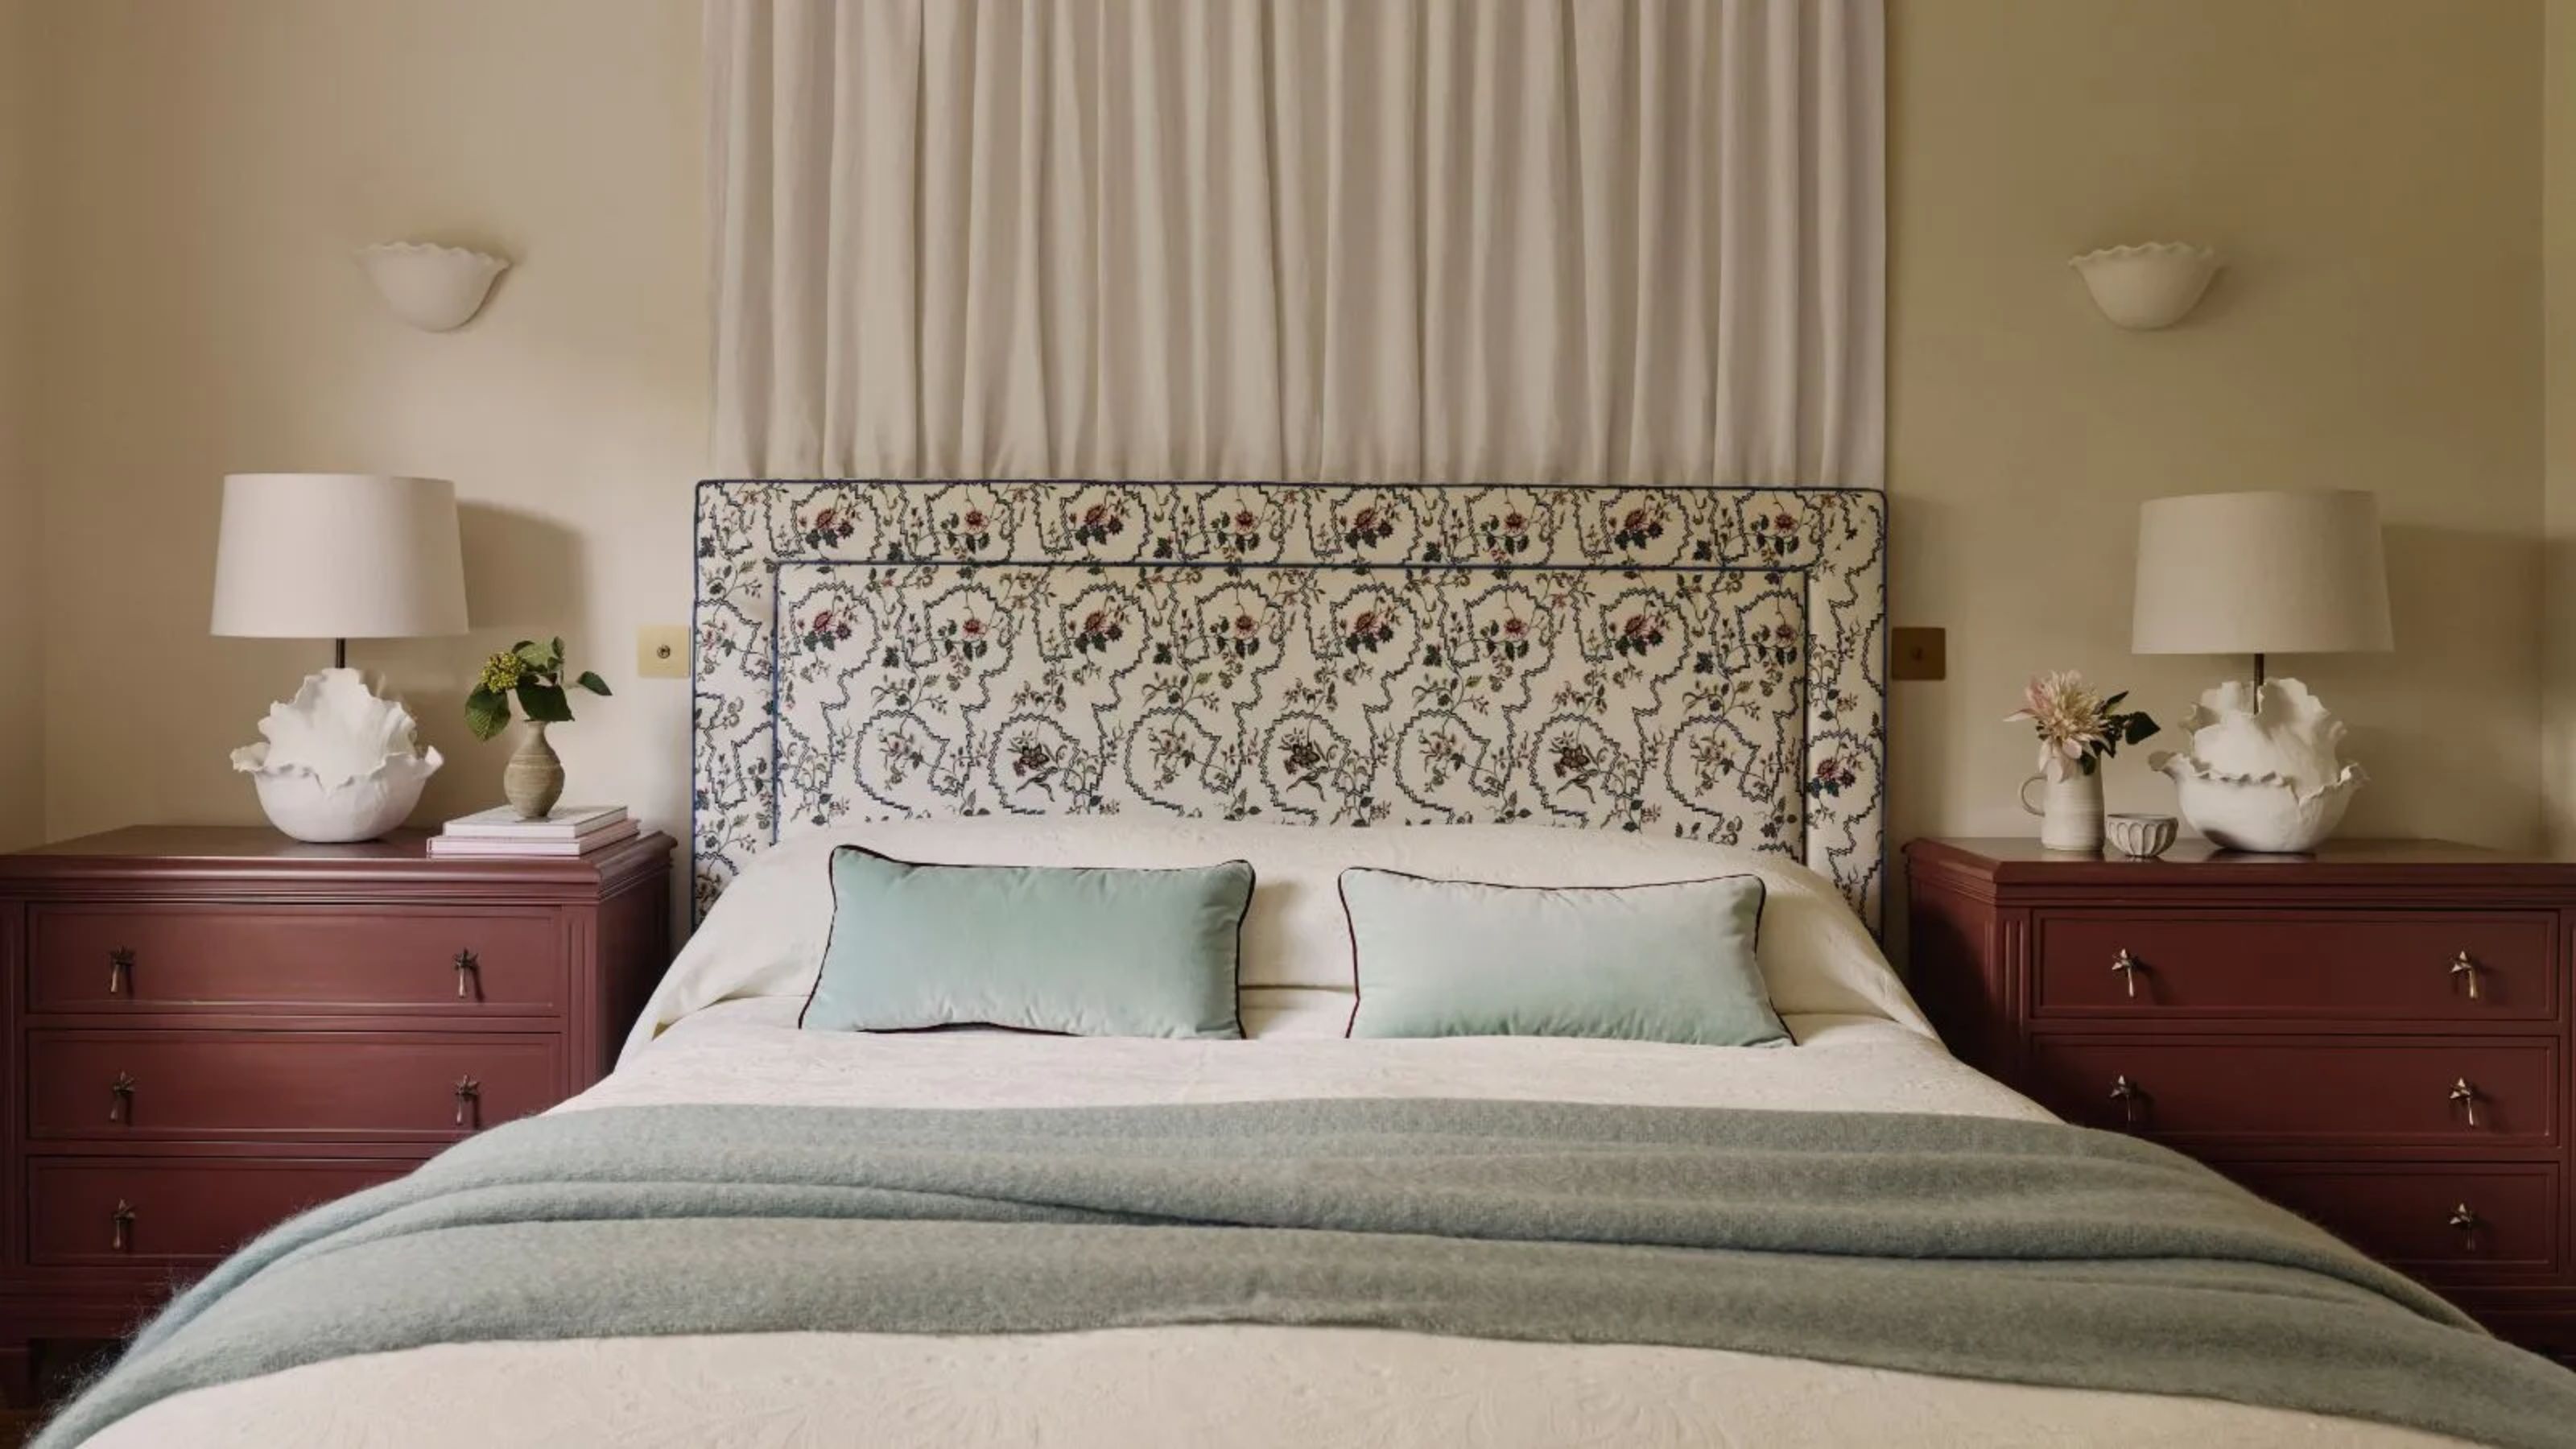
To sum it all up, here are a few quick-fire tips and tricks to help you light your home with confidence and clarity.
1. Remember you're lighting THINGS, not the floor
It is worth remembering that you're looking to light surfaces and focal points, not creating a puddle of light on the floor in the middle of a room. Layering is your best key to achieving this.
Christina Cruz, of Christina Cruz Interiors, recommends: 'Layer in task lighting, like unique table lamps and art lights that display artwork on the wall. Incorporate cordless reading lamps that can move around the room freely. Sconces are always a nice touch if you want to create a mood.'
2. Three is the magic number
Designers urge you to consider three light sources in every room. Jeanne Barber, founder of Camden Grace Interiors, reiterates: 'Three is the magic number of light sources you need per room! You know that feeling when you walk into a boutique hotel or restaurant and it feels so cozy?! It’s the lighting!'
She says each room needs to have: 'Ambient background lighting like sconces, table lamps, recessed lights, or a beautiful sculptural overhead fixture. Accent lighting to add drama: think picture lights and strip lighting in bookcases. and task lighting like cozy reading lamps and floor lamps.'
3. Dimmers on everything
One of the biggest tips designers and lighting experts agree on is ensuring everything is dimmable. 'I love dimmers,' says Michelle Murphy of DEMI RYAN. 'They’re not just functional – they’re emotional. They let you shift the energy of a space throughout the day. I believe all lighting should be on a dimmer, whether it be task lighting or mood.'
'My golden rules are simple,' agrees Nina. 'Every room deserves at least three light sources, dimmers on every circuit, and color temperature consistent throughout the home. When light is right, everything and everyone feels better.'
4. Stick to one temperature per room
The color temperature of your bulbs is another small detail that designers urge you not to overlook. For an easy guide, Christina Cruz recommends:
'Kitchen: We recommend 2700-3000K for recessed lighting, but prefer a dimmer to provide control.
Undercabinet Lighting: 2700-3000K, align the temperature to the same lights in the space.
Sconces & Decorative Fixtures: 2700–3000K to create a calming atmosphere when the overheads are off.'
5. Mix up your lighting STYLES as well as TYPES
As well as creating layers of ambient, task, and accent lighting, Olga Malyev advises: 'To avoid making the space feel overloaded – like a lighting showroom – I suggest mixing fixtures of different designs and scales: sculptural and minimal, vintage and contemporary, with shades and without. As always, it’s all about contrast.'
'When choosing fixtures, don’t be afraid to combine different finishes, metal tones, and shapes – they shouldn’t look like they were all bought in one shop,' she adds. 'What matters is that the fixtures are connected stylistically and by the warmth of their light. I prefer a consistent, warm tone close to that of traditional incandescent bulbs (around 2700 K).'
6. Have different lights on different switch circuits
As well as ensuring your lighting is dimmable, you want to be able to switch off these different layers depending on the time of day or task. For example, in the bathroom, overhead lights and sconces will help you with getting ready, while switching off the overheads leaves lower light for relaxed bathing.
'If there are many decorative fixtures, I like to divide them into several groups on separate switches,' says Olga. 'This allows you to create different lighting scenarios and adjust the atmosphere depending on the mood or occasion. Brighter, more functional lights can then be on dimmers.'
7. Placement is crucial, too
Don't underestimate the power of the placement and spacing of your lighting in each space.
Designer Lauren Gilberthorpe shares her easy tips: 'For ceiling fittings, I typically place recessed lights around 4-5 feet apart, depending on ceiling height and the size of the space. Over a dining table or kitchen island, pendants should hang around 30–35 inches above the surface for balance and proportion. Wall lights are ideally positioned at eye level, approximately 5 feet from the floor, while table and floor lamps should be scaled to the furniture and surrounding space.'
8. Don't ignore bathroom safety ratings
Lighting in bathrooms requires a little extra attention due to moisture and electrical safety standards, and it is important to ensure you're being code-compliant.
Christina Cruz breaks it down, saying you need to look for the "Damp Location" on the spec sheet, as this means 'the fixtures are suitable for areas with humidity but without direct water contact (e.g., above mirrors, general ceiling lights). Most bathroom sconces and ceiling lights fall into this category,' she says.
'A wet-rating is required anywhere a fixture may come into direct contact with water (e.g., inside a shower or above a freestanding tub if within the splash zone),' she adds. 'These fixtures are sealed to prevent moisture damage and electrical hazards. Look for “Wet Location” or “IP65” or higher ratings.'
FAQs
When should I plan my lighting in a remodel or build?
While it seems trivial when you're at breaking ground stage, lighting and your electrical plan should be up there with the first design considerations.
Ideally, it’s planned alongside your architectural layout and electrical drawings, at the same time as plumbing and joinery.
By thinking about lighting early, you can ensure there’s space for recessed fixtures, wall lights, and wiring runs before insulation and plaster go up. It also means you can coordinate lighting control, dimmers, and smart home systems, rather than retrofitting them later (which often leads to compromises, mess, and extra cost).
Designers often start by mapping how the room will be used, then adding in a light plan accordingly. Early planning also allows you to align your lighting with interior finishes and focal points: a pendant centered over a table, a sconce aligned with artwork, or under-cabinet lighting in the kitchen.
Should I spend money on a professional lighting design?
In most cases, this is always a good idea – especially if you’re building from the ground up or planning a hugely complex remodel. A professional lighting designer brings both technical expertise and creative vision, helping you avoid costly mistakes and make the most of your home’s architecture.
'Lighting design is often neglected in many projects I visit,' says Mark Holloway. 'I see customers who have spent huge sums of money on architects and interior designers but have failed to spend the few hundred dollars needed for a basic lighting design that does justice to their home.'
'I would strongly recommend seeking advice, as fixing things once a project is completed can be very expensive,' he suggests.
'Lighting is a delicate balance in residential design. There have been many advancements in architectural lighting, and consulting with a lighting designer is always a valuable step when designing a home,' adds Sarah Magness. 'I frequently collaborate with lighting designers and AV consultants on light settings. It is always beneficial, though most clients today prefer simplified systems with options such as “all on,” “all off,” “evening,” and “daytime",' she advises.
That said, if a professional designer isn’t within budget (it's hard to know where to spend and where to save in a home renovation), investing time in your own lighting plan is still worthwhile. Putting together a comprehensive plan will allow you to fine-tune placement, layering, and dimming controls, giving your lighting the same consideration that a bespoke design would achieve.
When done well, good lighting disappears – or rather, it becomes something you feel rather than notice. It shapes mood, flatters color schemes, and turns a room from purely functional into deeply inviting. Whether you’re mapping circuits or choosing shades, it always pays to start with expert guidance and remember to light things, not floors, layer for warmth and clarity, and plan for all moments of the day.
The Homes & Gardens Library is your definitive guide to timeless design wisdom. From choosing the perfect sofa to mastering the fundamentals of layout, each piece in the series draws on expert insight to guide you through the key principles of interior design. Thoughtfully curated yet easy to digest, it’s the essential reference for anyone looking to create a home that is beautiful, practical, and enduring.

Charlotte is the style and trends editor at Homes and Gardens and has been with the team since Christmas 2023. Following a 5 year career in Fashion, she has worked at many women's glossy magazines including Grazia, Stylist, and Hello!, and as Interiors Editor for British heritage department store Liberty. Her role at H&G fuses her love of style with her passion for interior design, and she is currently undergoing her second home renovation - you can follow her journey over on @olbyhome