How to read a tape measure – for project success
Accuracy is crucial in any craft or construction task so this is how to read a tape measure correctly


Design expertise in your inbox – from inspiring decorating ideas and beautiful celebrity homes to practical gardening advice and shopping round-ups.
You are now subscribed
Your newsletter sign-up was successful
Want to add more newsletters?

Twice a week
Homes&Gardens
The ultimate interior design resource from the world's leading experts - discover inspiring decorating ideas, color scheming know-how, garden inspiration and shopping expertise.

Once a week
In The Loop from Next In Design
Members of the Next in Design Circle will receive In the Loop, our weekly email filled with trade news, names to know and spotlight moments. Together we’re building a brighter design future.

Twice a week
Cucina
Whether you’re passionate about hosting exquisite dinners, experimenting with culinary trends, or perfecting your kitchen's design with timeless elegance and innovative functionality, this newsletter is here to inspire
Whether you’re measuring for window shades, fitting shelves, or working on a construction project knowing how to read a tape measure correctly is essential.
Accuracy in measuring could be the difference between success or failure – and it will certainly prevent a waste of both materials and time, especially if you're approaching a large project, such as wallpapering a room.
Our guide has all the details necessary to get measurements right, as well as the lowdown on the additional information with which a tape measure can provide you.
How to read a tape measure
In the US, a tape measure generally uses the imperial system, although it may also show metric measurements, and we’ll provide you with details on the latter, too.
This is how to read a tape measure the right way, and we’ll remind you, too, of the saying ‘measure twice, cut once’ – worth following every time.
Read the markings

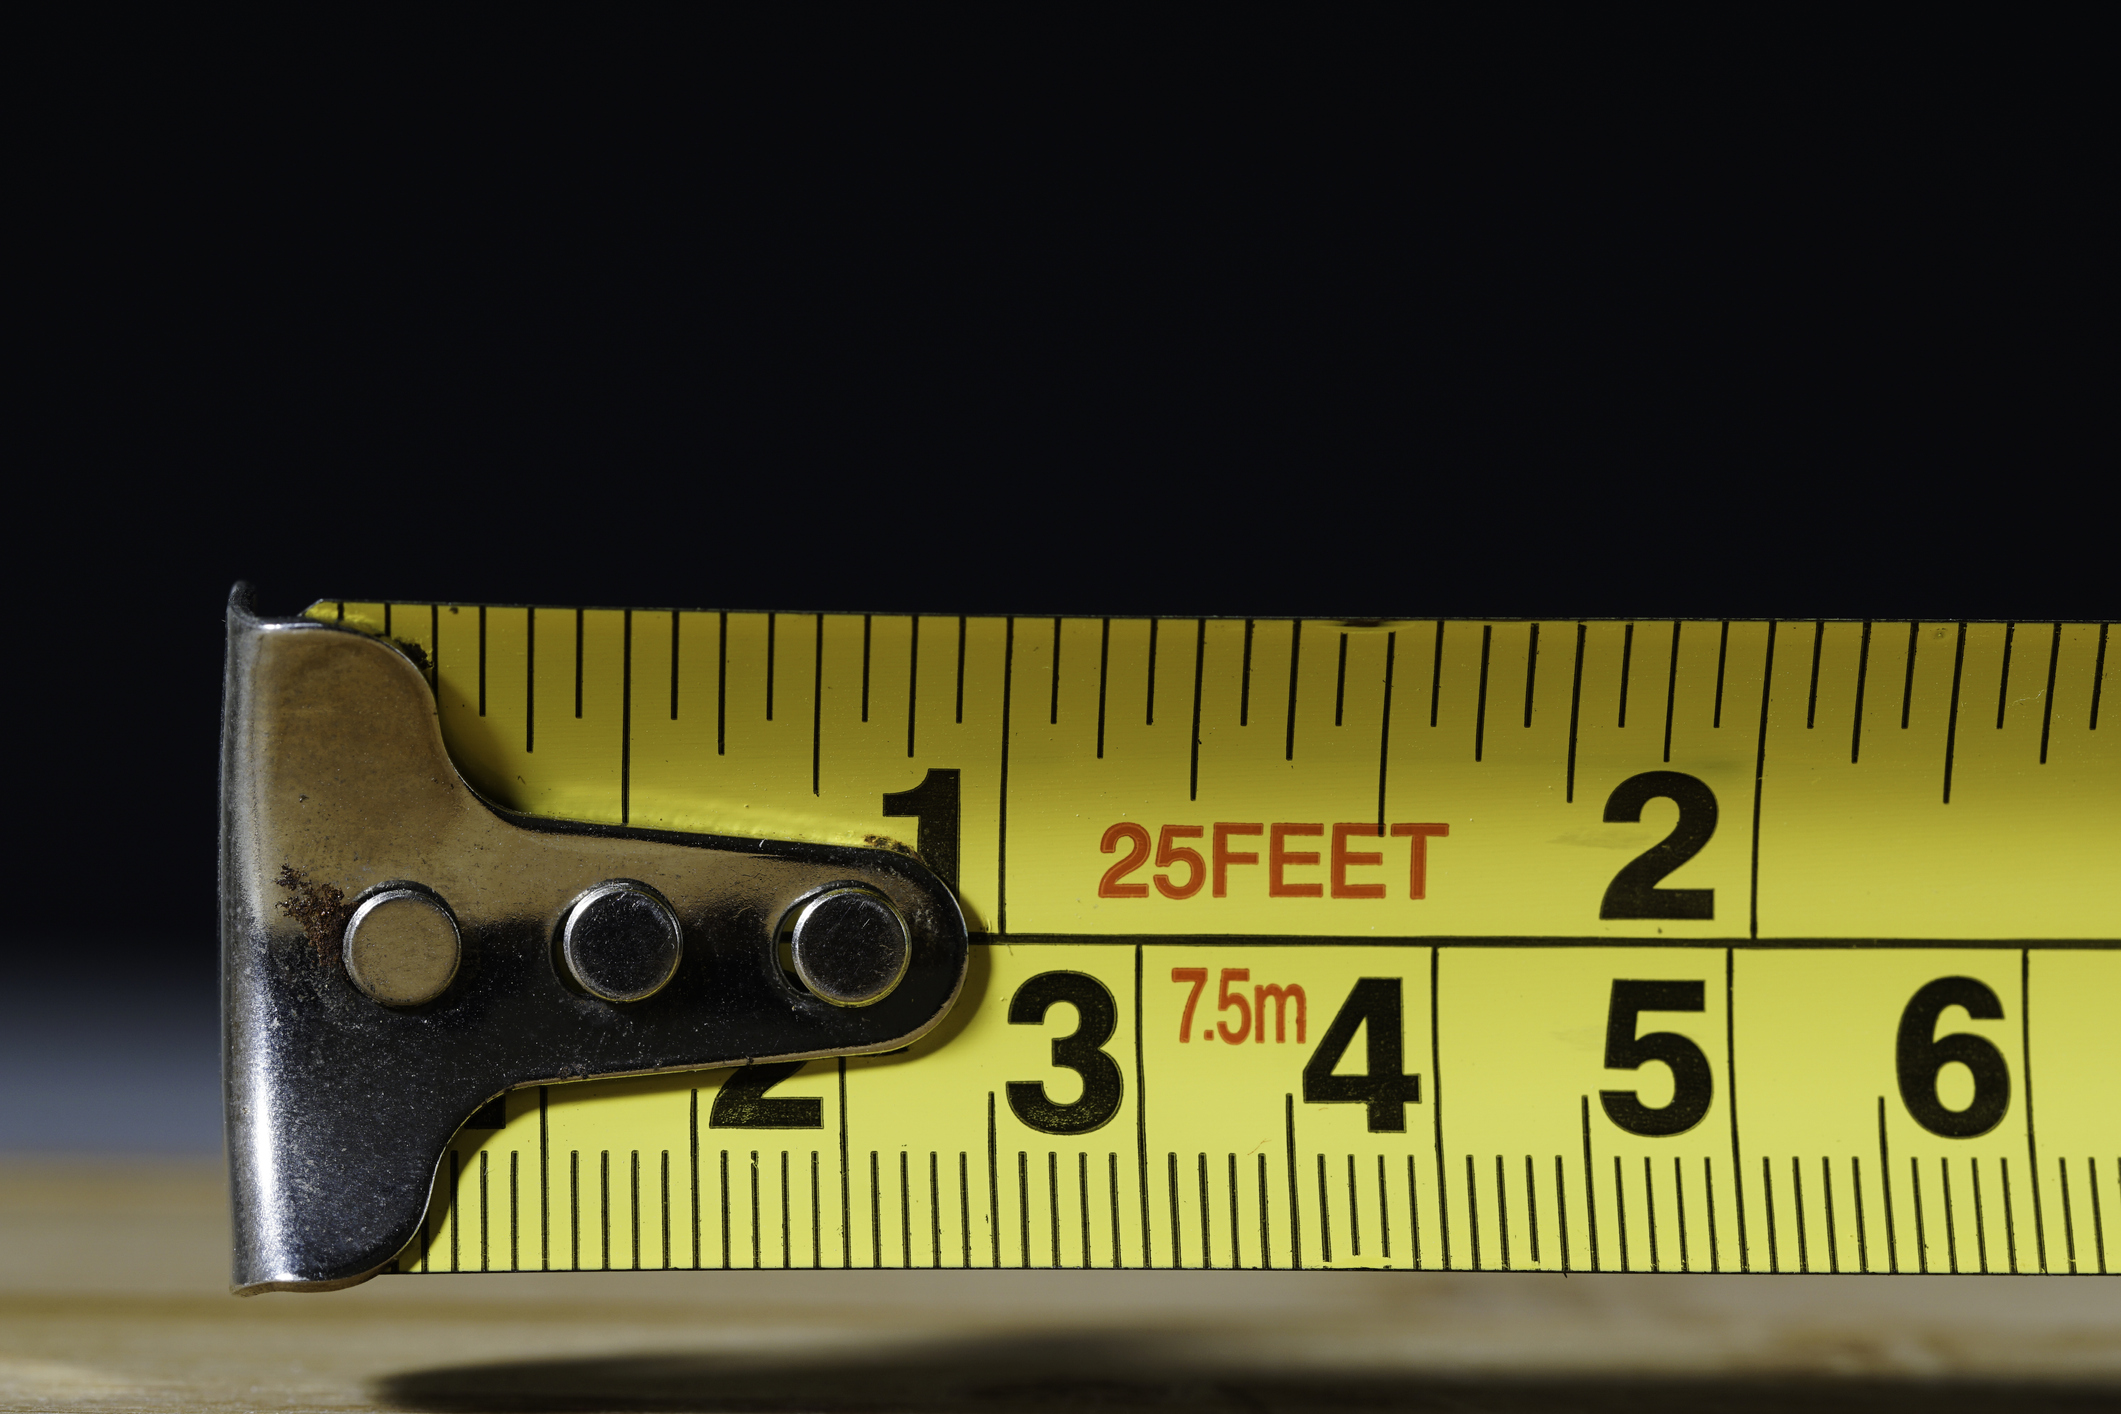
The longest vertical line marks the inches on an imperial tape measure. There will be a number beside it, but it’s the line itself that marks each inch when measuring.
At 12 inches, there may be a foot marking, and the subsequent inch increments might start again from one, or carry on.
Design expertise in your inbox – from inspiring decorating ideas and beautiful celebrity homes to practical gardening advice and shopping round-ups.
In between each whole inch, there are further markings, showing sixteenths of an inch. It is possible to get tape measures showing smaller fractions, but generally, the sixteenths are the smallest. A measurement of two-sixteenths equals one-eighth, and so on, when measuring.
A vertical line in the center between two inches shows each half inch, and is likely to be the second longest line after the inch line. Shorter lines between each whole inch and the half inch marking show the quarter inches, meanwhile, and the sixteenths are the shortest lines.
Read metric markings
If the tape measure also shows metric markings, the longest lines with numbers beside them indicate centimetres with the space in between divided into millimetres, and a longer line in the center for a half centimetre (5mm).
Measure accurately
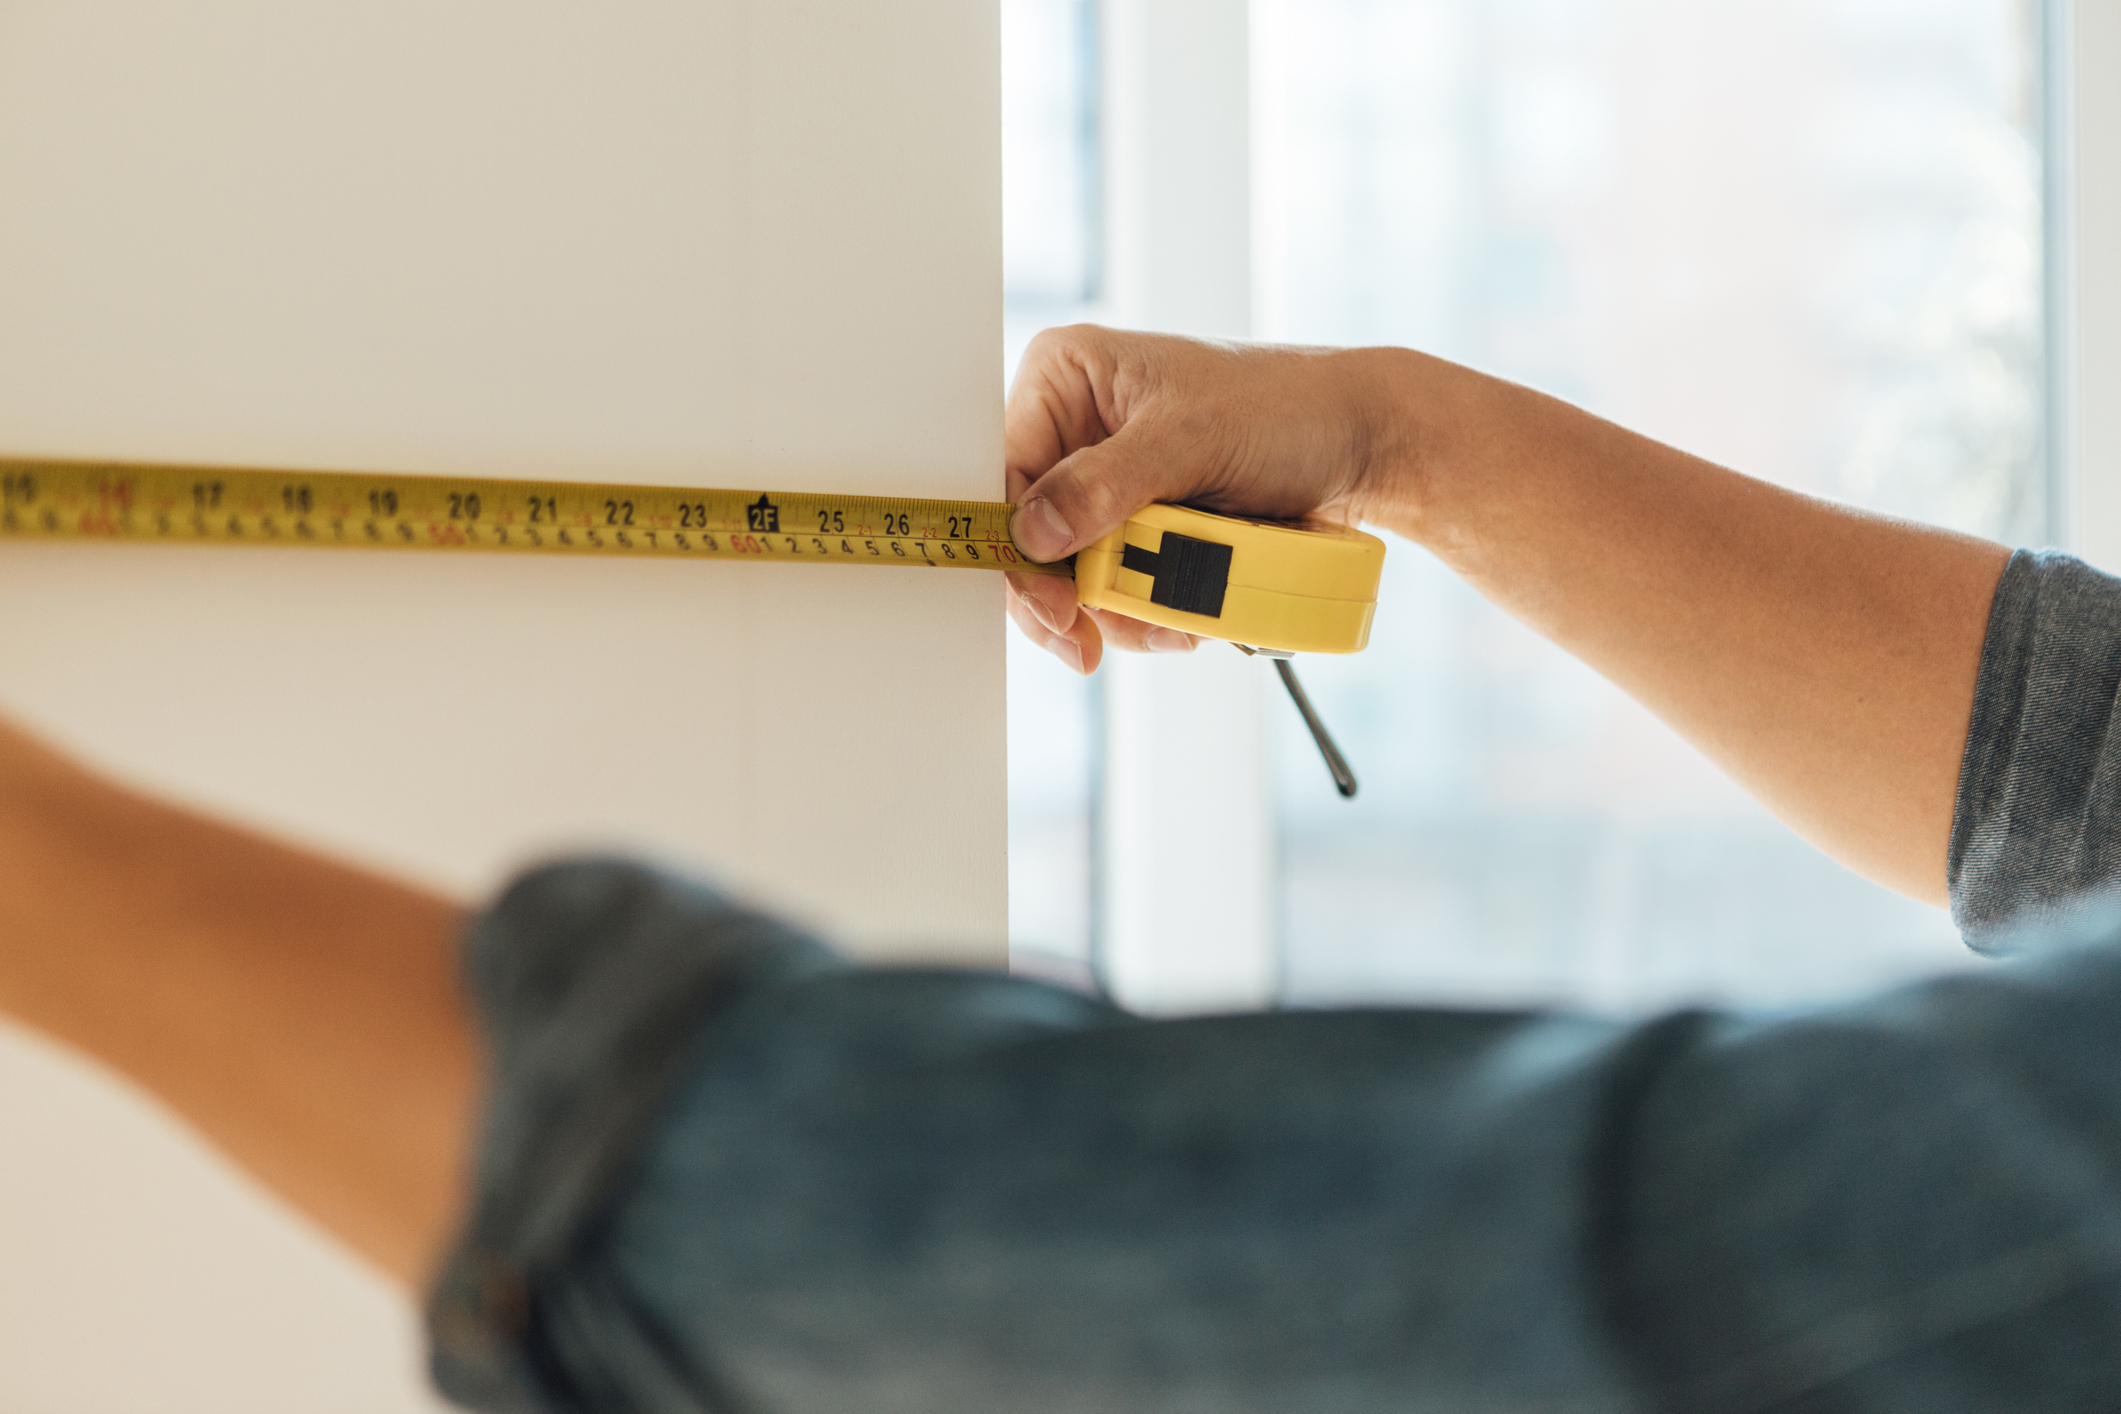
A retractable metal tape measure has a hook at its end, and when you’re measuring with one of these, this should be hooked on the edge of what you are measuring. The measure can then be pulled across the material or object to take a measurement.
When taking a measurement where you can’t hook the tape measure around the edge of an item, push the hook against the side of a corner, door frame, etc to measure.
‘To ensure measurements are accurate, always make sure the tape measure’s hook is fully pulled out when hooked over the edge of something, and fully pushed in when it’s against a surface,’ says Lucy Searle, global editor in chief of Homes & Gardens.
Read the tape measure where it meets the edge of what’s being measured, rounding upwards if the measurement falls between two lines. ‘If you cut too short, you’ll waste material,’ cautions Lucy.
Additional readings on a tape measure
There is some additional information a tape measure can provide. Red numbers every 16 inches show wall stud spacing. Meanwhile, diamond shapes every 19 3/16 inches show joist spacing.
Mistakes to avoid when reading a tape measure
Make sure not to bend the tape measure if you’re measuring inside an object. Instead make use of the measurement on the tape measure’s housing, which shows its size.
‘Put the base against one side of the object, then pull the tape measure across until the hook is against the other side,’ says Lucy Searle. ‘Then all you need to do is add the measurement from the tape and the measurement of the base to get the total dimension needed.’
Don’t let the tape measure sag as you measure, particularly over a longer distance, as this will make the result inaccurate.
How to read a non-metal tape measure

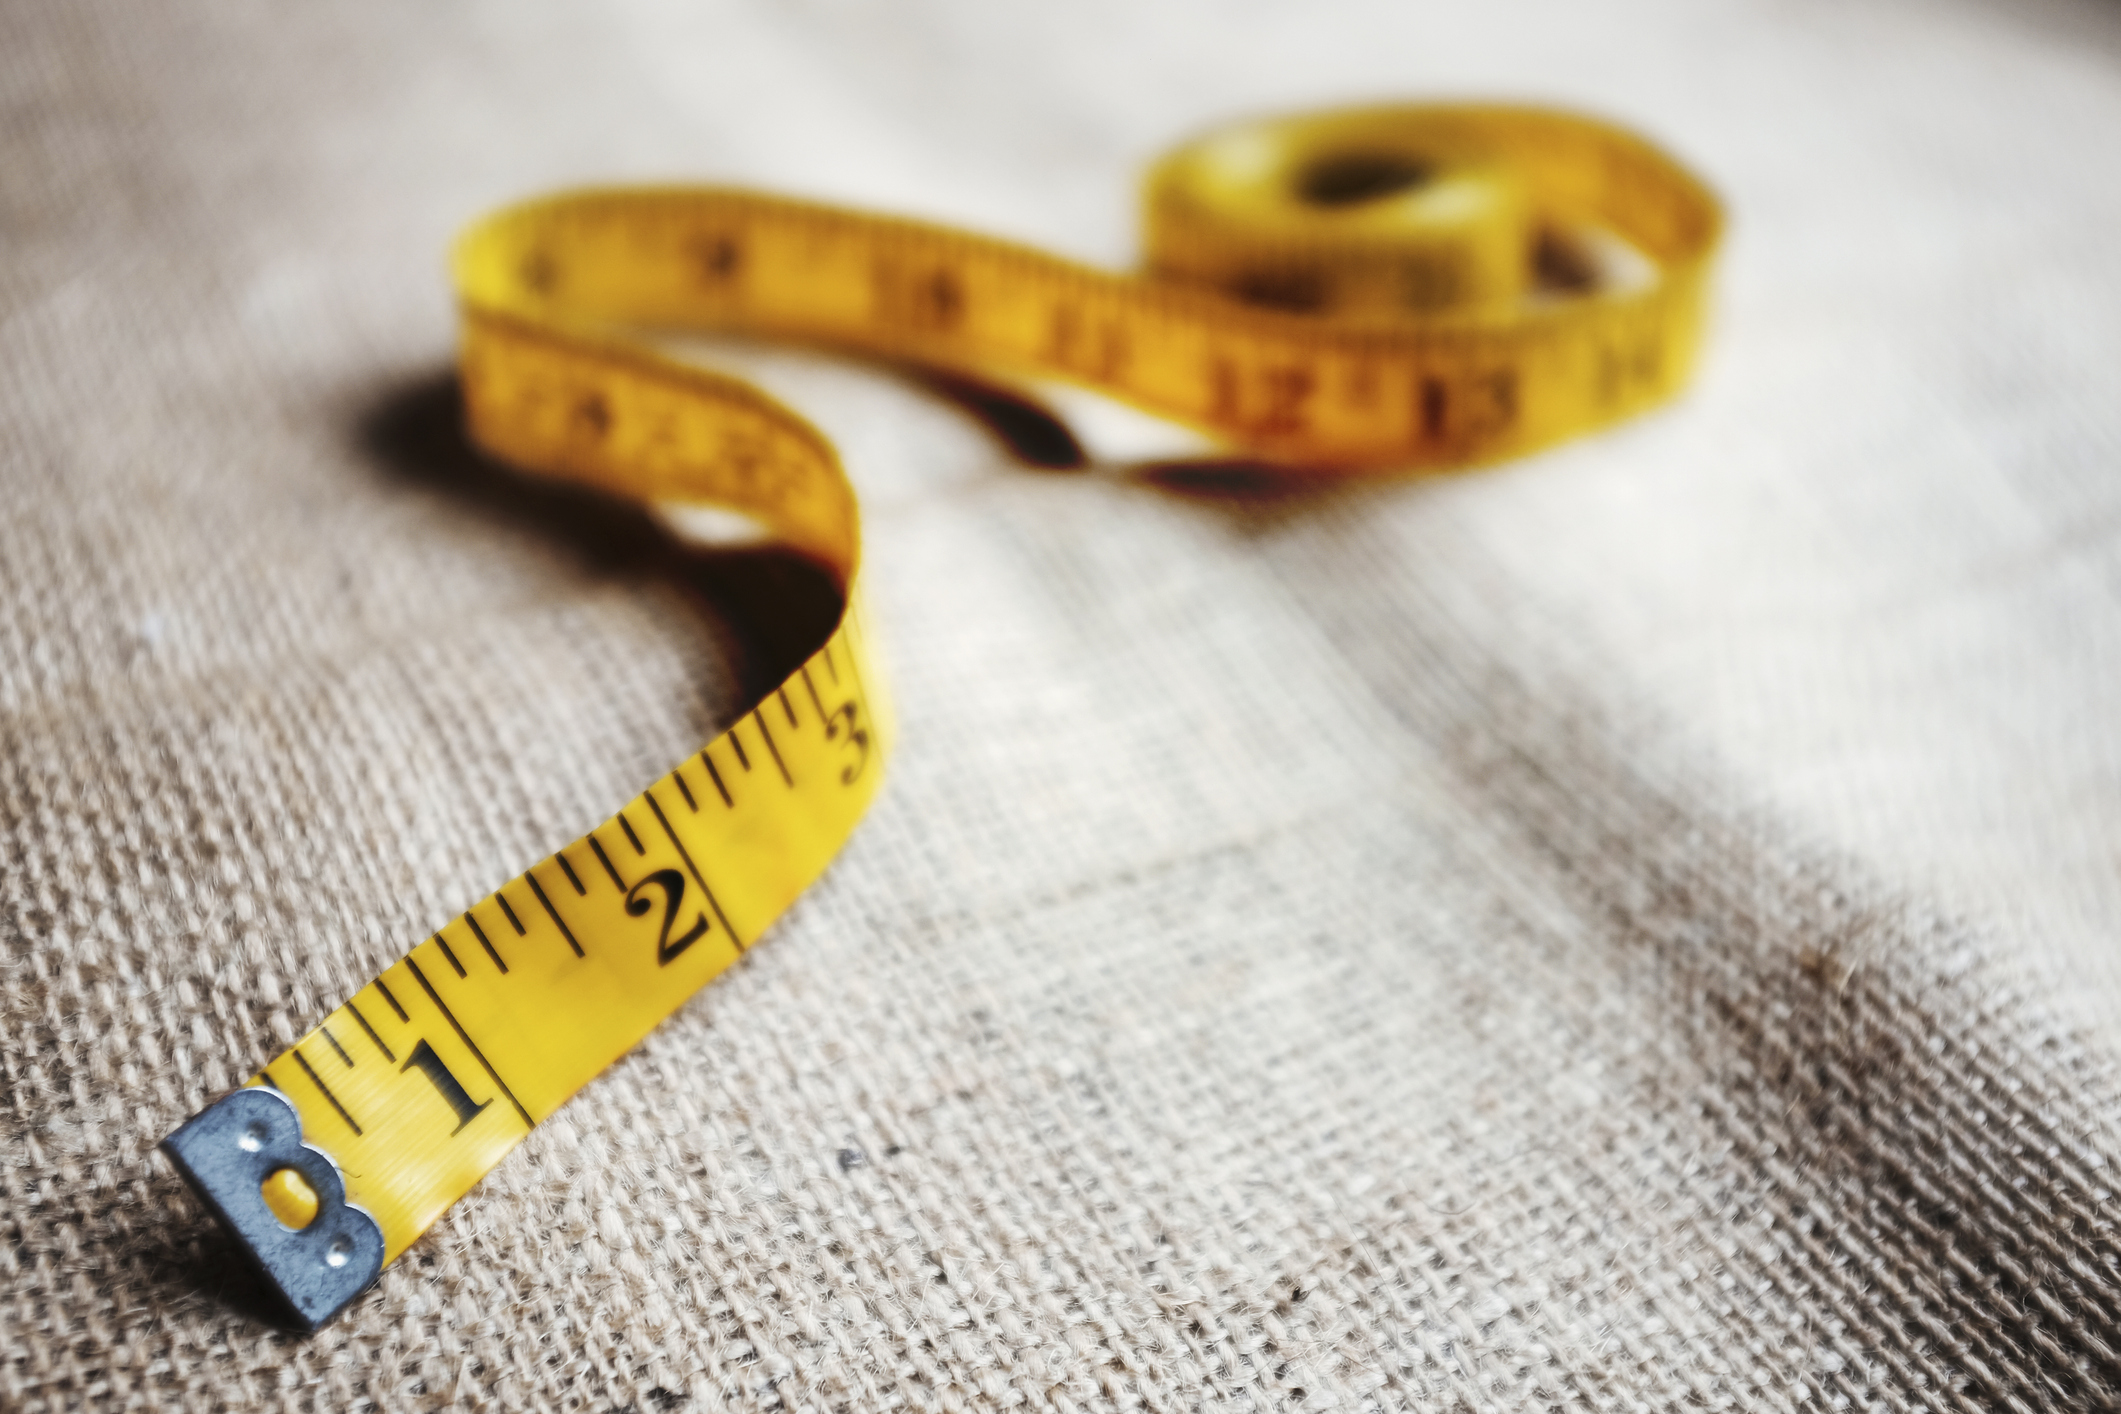
If you are using a flat, ribbon-style tape measure, then line the metal ‘zero’ end up against one side of what you want to measure, hold in place with one hand, then move the tape across the distance. The tape should be taut but not stretched.
The advantage of a ribbon-type tape measure? It can go around objects. If you are measuring this way, make sure to keep the tape level all the way around for an accurate reading.
‘Older tape measures of this style can become stretched over time, so I would never advise using one of these for craft or construction,’ says Lucy Searle. ‘Newer versions are better as they won’t stretch, but I recommend investing in a retractable metal tape measure as well because of its useful features.’ We like the Craftsman 25 foot tape measure from Amazon.
Which side is cm on a measuring tape?
Where cm (centimetres) are located on a measuring tape depends on the individual tape measure. On some, the imperial measurements are on the top with the metric (cm) measurements on the bottom. On other tape measure designs the inches might be on one side with the centimetres on the reverse side.
The tape measure may well have the words inch and cm by the scales and you can also take a look at the smallest divisions between the whole numbers. On the metric scale of the tape measure there will be 10 spaces in between each whole centimetre.
What is the easiest tape measure to read?
The easiest tape measure to read is probably one with just clear imperial markings (or just metric) on both edges. Look for clean lines and whole numbers you can read easily; you might also want a design with the fractions printed on it.
‘Although a tape measure with imperial measurements only is likely to be easiest to read, it is worth thinking about investing in one with metric measurements as well for fine measuring without having to work in fractions,’ says Lucy Searle.

Sarah is a freelance journalist and editor. Previously executive editor of Ideal Home, she’s specialized in interiors, property and gardens for over 20 years, and covers interior design, house design, gardens, and cleaning and organizing a home for Homes & Gardens. She’s written for websites, including Houzz, Channel 4’s flagship website, 4Homes, and Future’s T3; national newspapers, including The Guardian; and magazines including Future’s Country Homes & Interiors, Homebuilding & Renovating, Period Living, and Style at Home, as well as House Beautiful, Good Homes, Grand Designs, Homes & Antiques, LandLove and The English Home among others. It’s no big surprise that she likes to put what she writes about into practice, and is a serial house renovator.