These are 5 grouting mistakes the pros always notice, and how you can avoid them for a high-end finish
Swerve these grouting bloopers so your hard work doesn’t go to waste

Design expertise in your inbox – from inspiring decorating ideas and beautiful celebrity homes to practical gardening advice and shopping round-ups.
You are now subscribed
Your newsletter sign-up was successful
Want to add more newsletters?

Twice a week
Homes&Gardens
The ultimate interior design resource from the world's leading experts - discover inspiring decorating ideas, color scheming know-how, garden inspiration and shopping expertise.

Once a week
In The Loop from Next In Design
Members of the Next in Design Circle will receive In the Loop, our weekly email filled with trade news, names to know and spotlight moments. Together we’re building a brighter design future.

Twice a week
Cucina
Whether you’re passionate about hosting exquisite dinners, experimenting with culinary trends, or perfecting your kitchen's design with timeless elegance and innovative functionality, this newsletter is here to inspire
Small but mighty, humble grouting can make or break your tiling finish, and the pros are always quick to spot these bloopers.
Everything from your choice of grout to the way in which it is applied will have a massive effect on the final look of your tiled surfaces – so it pays to be aware of the top grouting mistakes to avoid when carrying out this all-important finishing touch.
Here, with the help of some home improvement experts, we explain the mistakes most commonly made by DIYers when grouting so that you can be confident that you know how to grout tiles you'll feel proud of once finished.
Common grouting mistakes
'Eventually, any tile job ends with grouting,' points out Clint DeBoer, editor-in-chief and home improvement expert at Pro Tool Reviews. 'This involves adding either sanded or un-sanded grout to fill in the area between the tiles. It adds color and also helps form a necessary protective barrier to prevent moisture and dirt from permeating the tiles.'
Watch out for these common grouting errors the pros see time and time again.
1. Choosing the wrong color grout
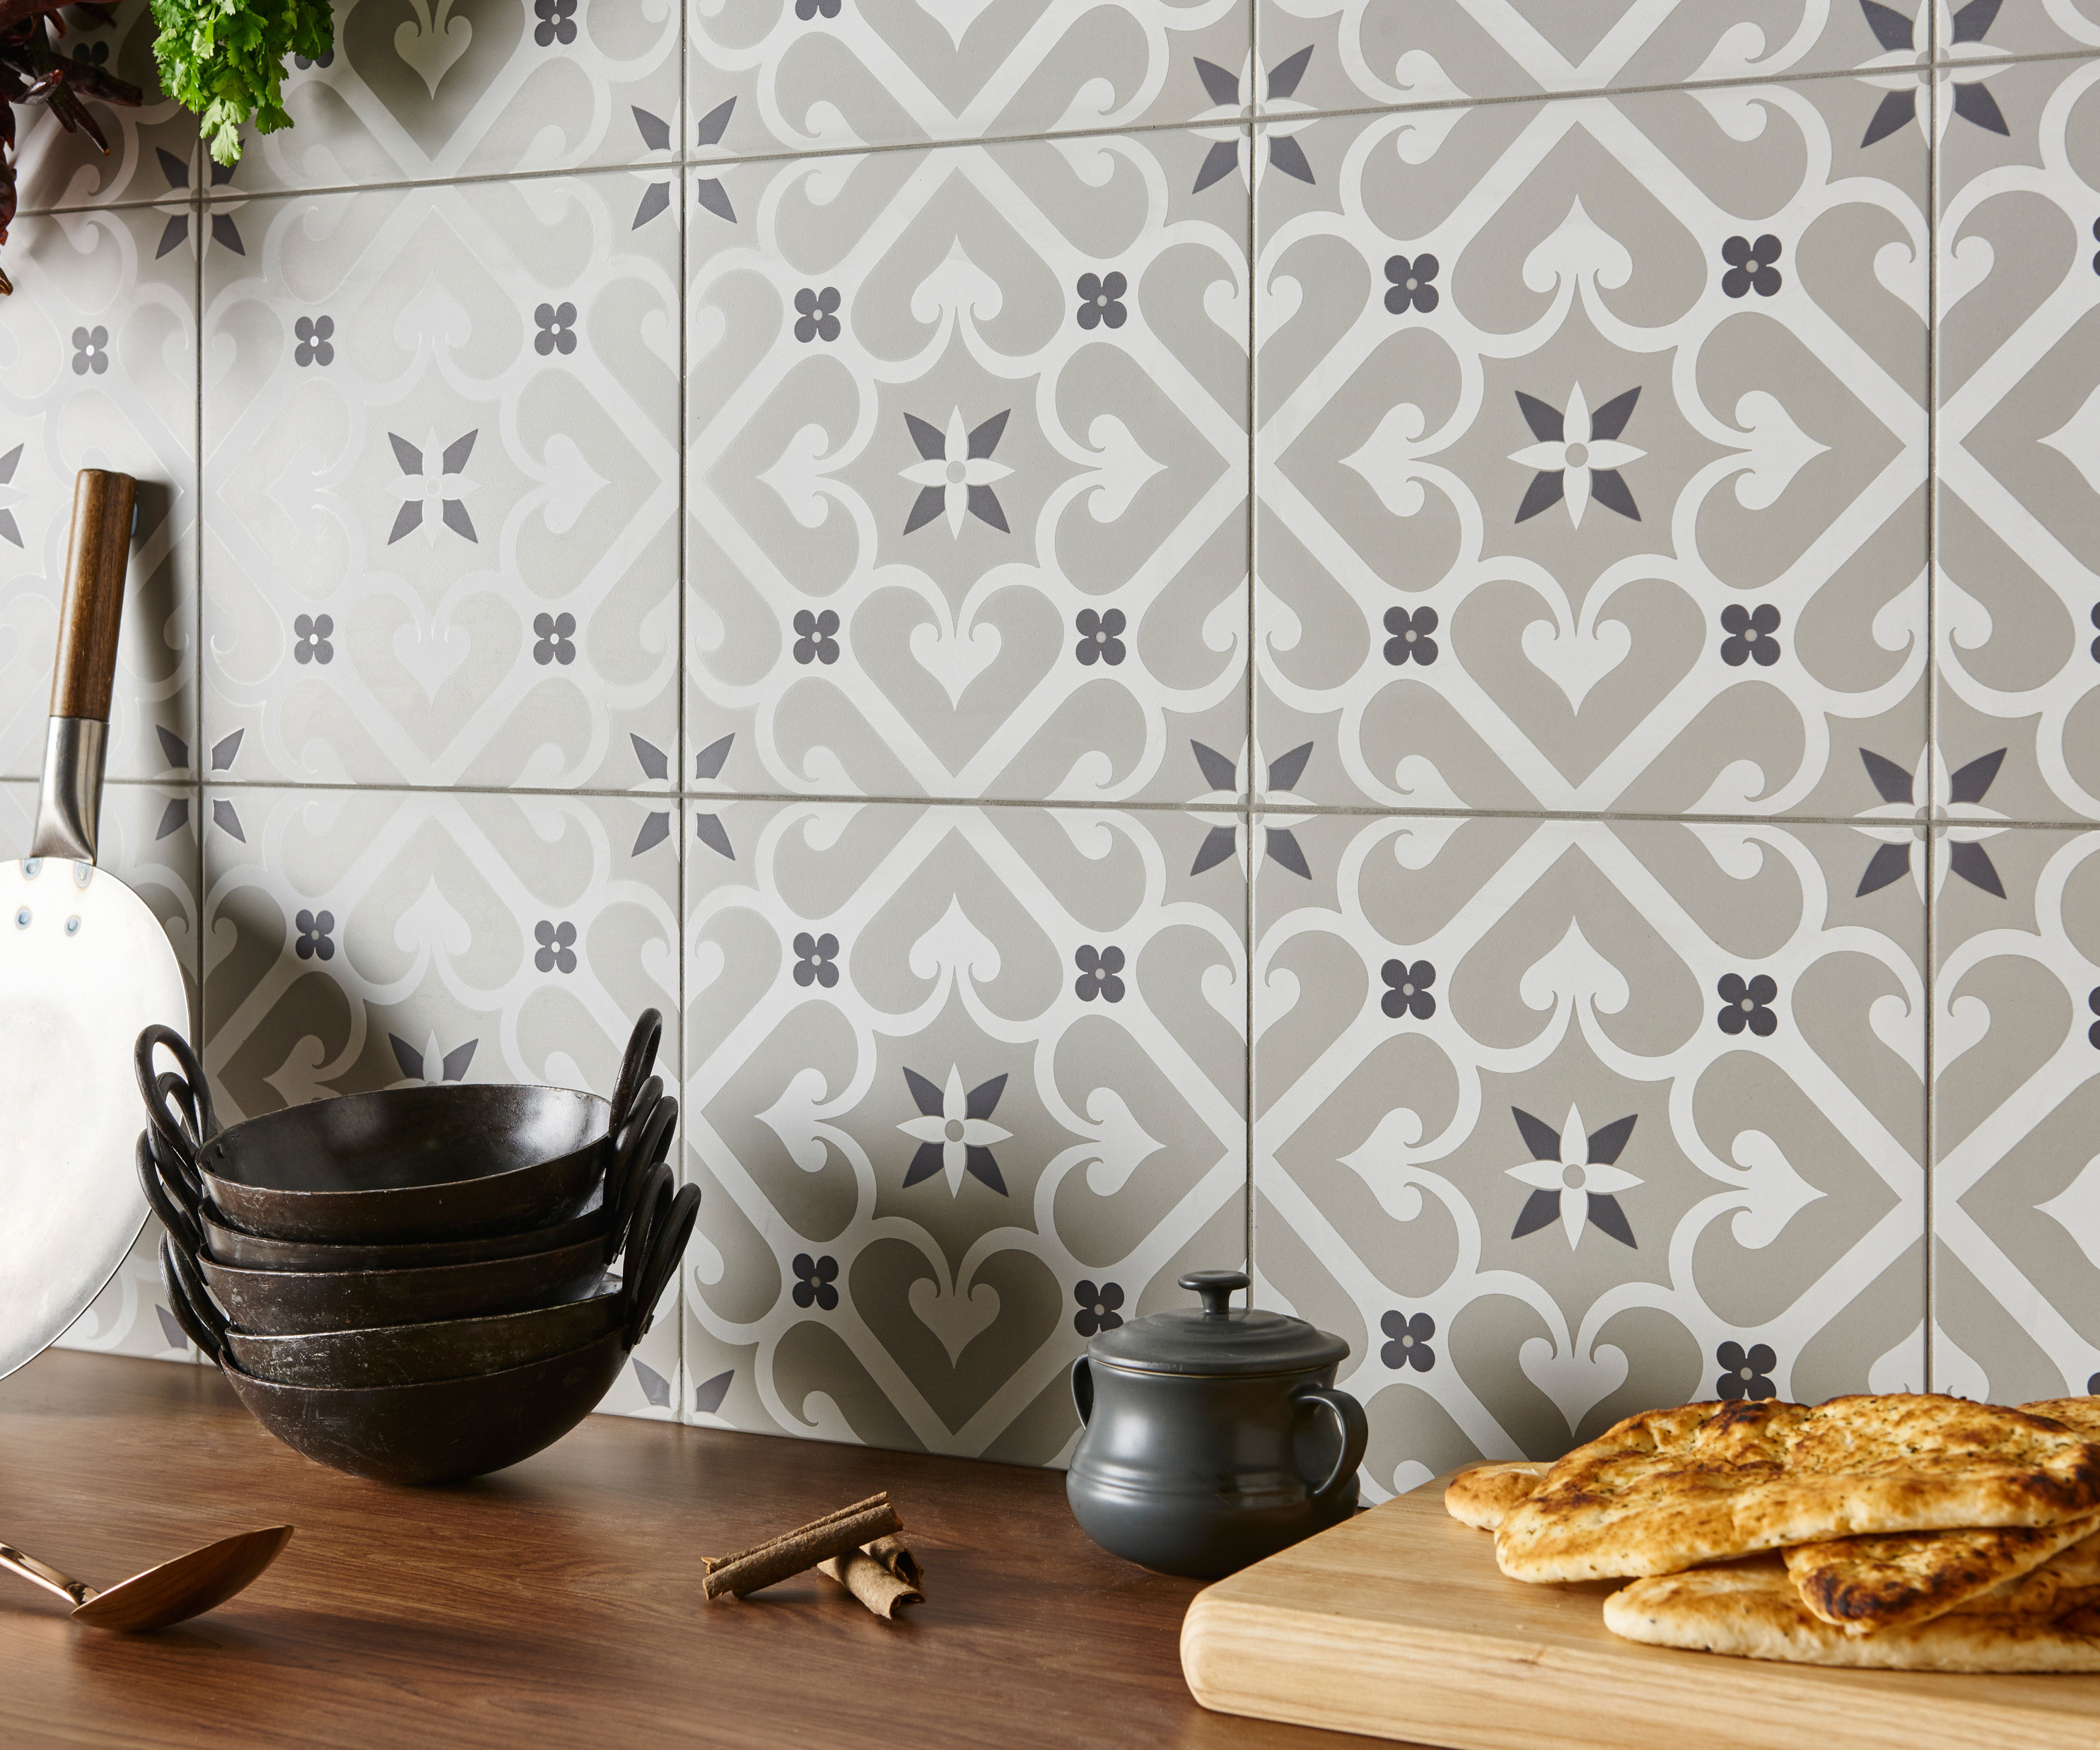
There was a time when white was the default color for grout and little thought was given to seeking out a different shade – not so these days. There is a now a huge range of grout colors to pick from, so make sure you give some consideration to which will work best with the types of tile you have chosen.
Many people later ask 'can you paint grout lines?' and while it is possible, it is better to get the color right first off.
'For most tiles, you want to either contrast the tile color or match it as best as possible,' advises Clint DeBoer. 'For example, those installing tile that simulate the look of wood planks want to use a grout color that matches the overall tone of the tile. If, however, you're installing subway tile in a bathroom, you may want to contrast the tile with a gray grout – like MAPEI Ultracolor Plus FA Pearl Gray from Lowes – or blend it in with a matching white grout. Small mosaic-style floor tile can look completely different depending upon the color grout you use – so choose carefully!'
2. Leaving gaps in the grout
Although grouting is not a difficult DIY job, there is a bit of a knack to getting it just right. One of the main areas you want to concentrate on is ensuring you are using enough grout between each individual tile and that you are getting it in evenly.
Design expertise in your inbox – from inspiring decorating ideas and beautiful celebrity homes to practical gardening advice and shopping round-ups.
DIY expert Morgan Mcbride, who writes blog Charleston Crafted, says, 'The biggest issue is air bubbles in the grout. When this happens and the grout dries, you end up with a void or hole in the grout, which is obviously not great aesthetically and can lead to further chipping.
'The best way to prevent this is to be sure you are really working the grout deep into the grooves, pressing firmly to be sure that you fill the gap completely and no gaps remain,' continues Morgan. 'It's better to overfill and wipe clean than to underfill.'
The QLT by Marshalltown Flooring Float from Lowes has a gum rubber face which is securely bonded to a dense rubber pad which means no scratches to either tile or grout.
Shop your essential grouting kit
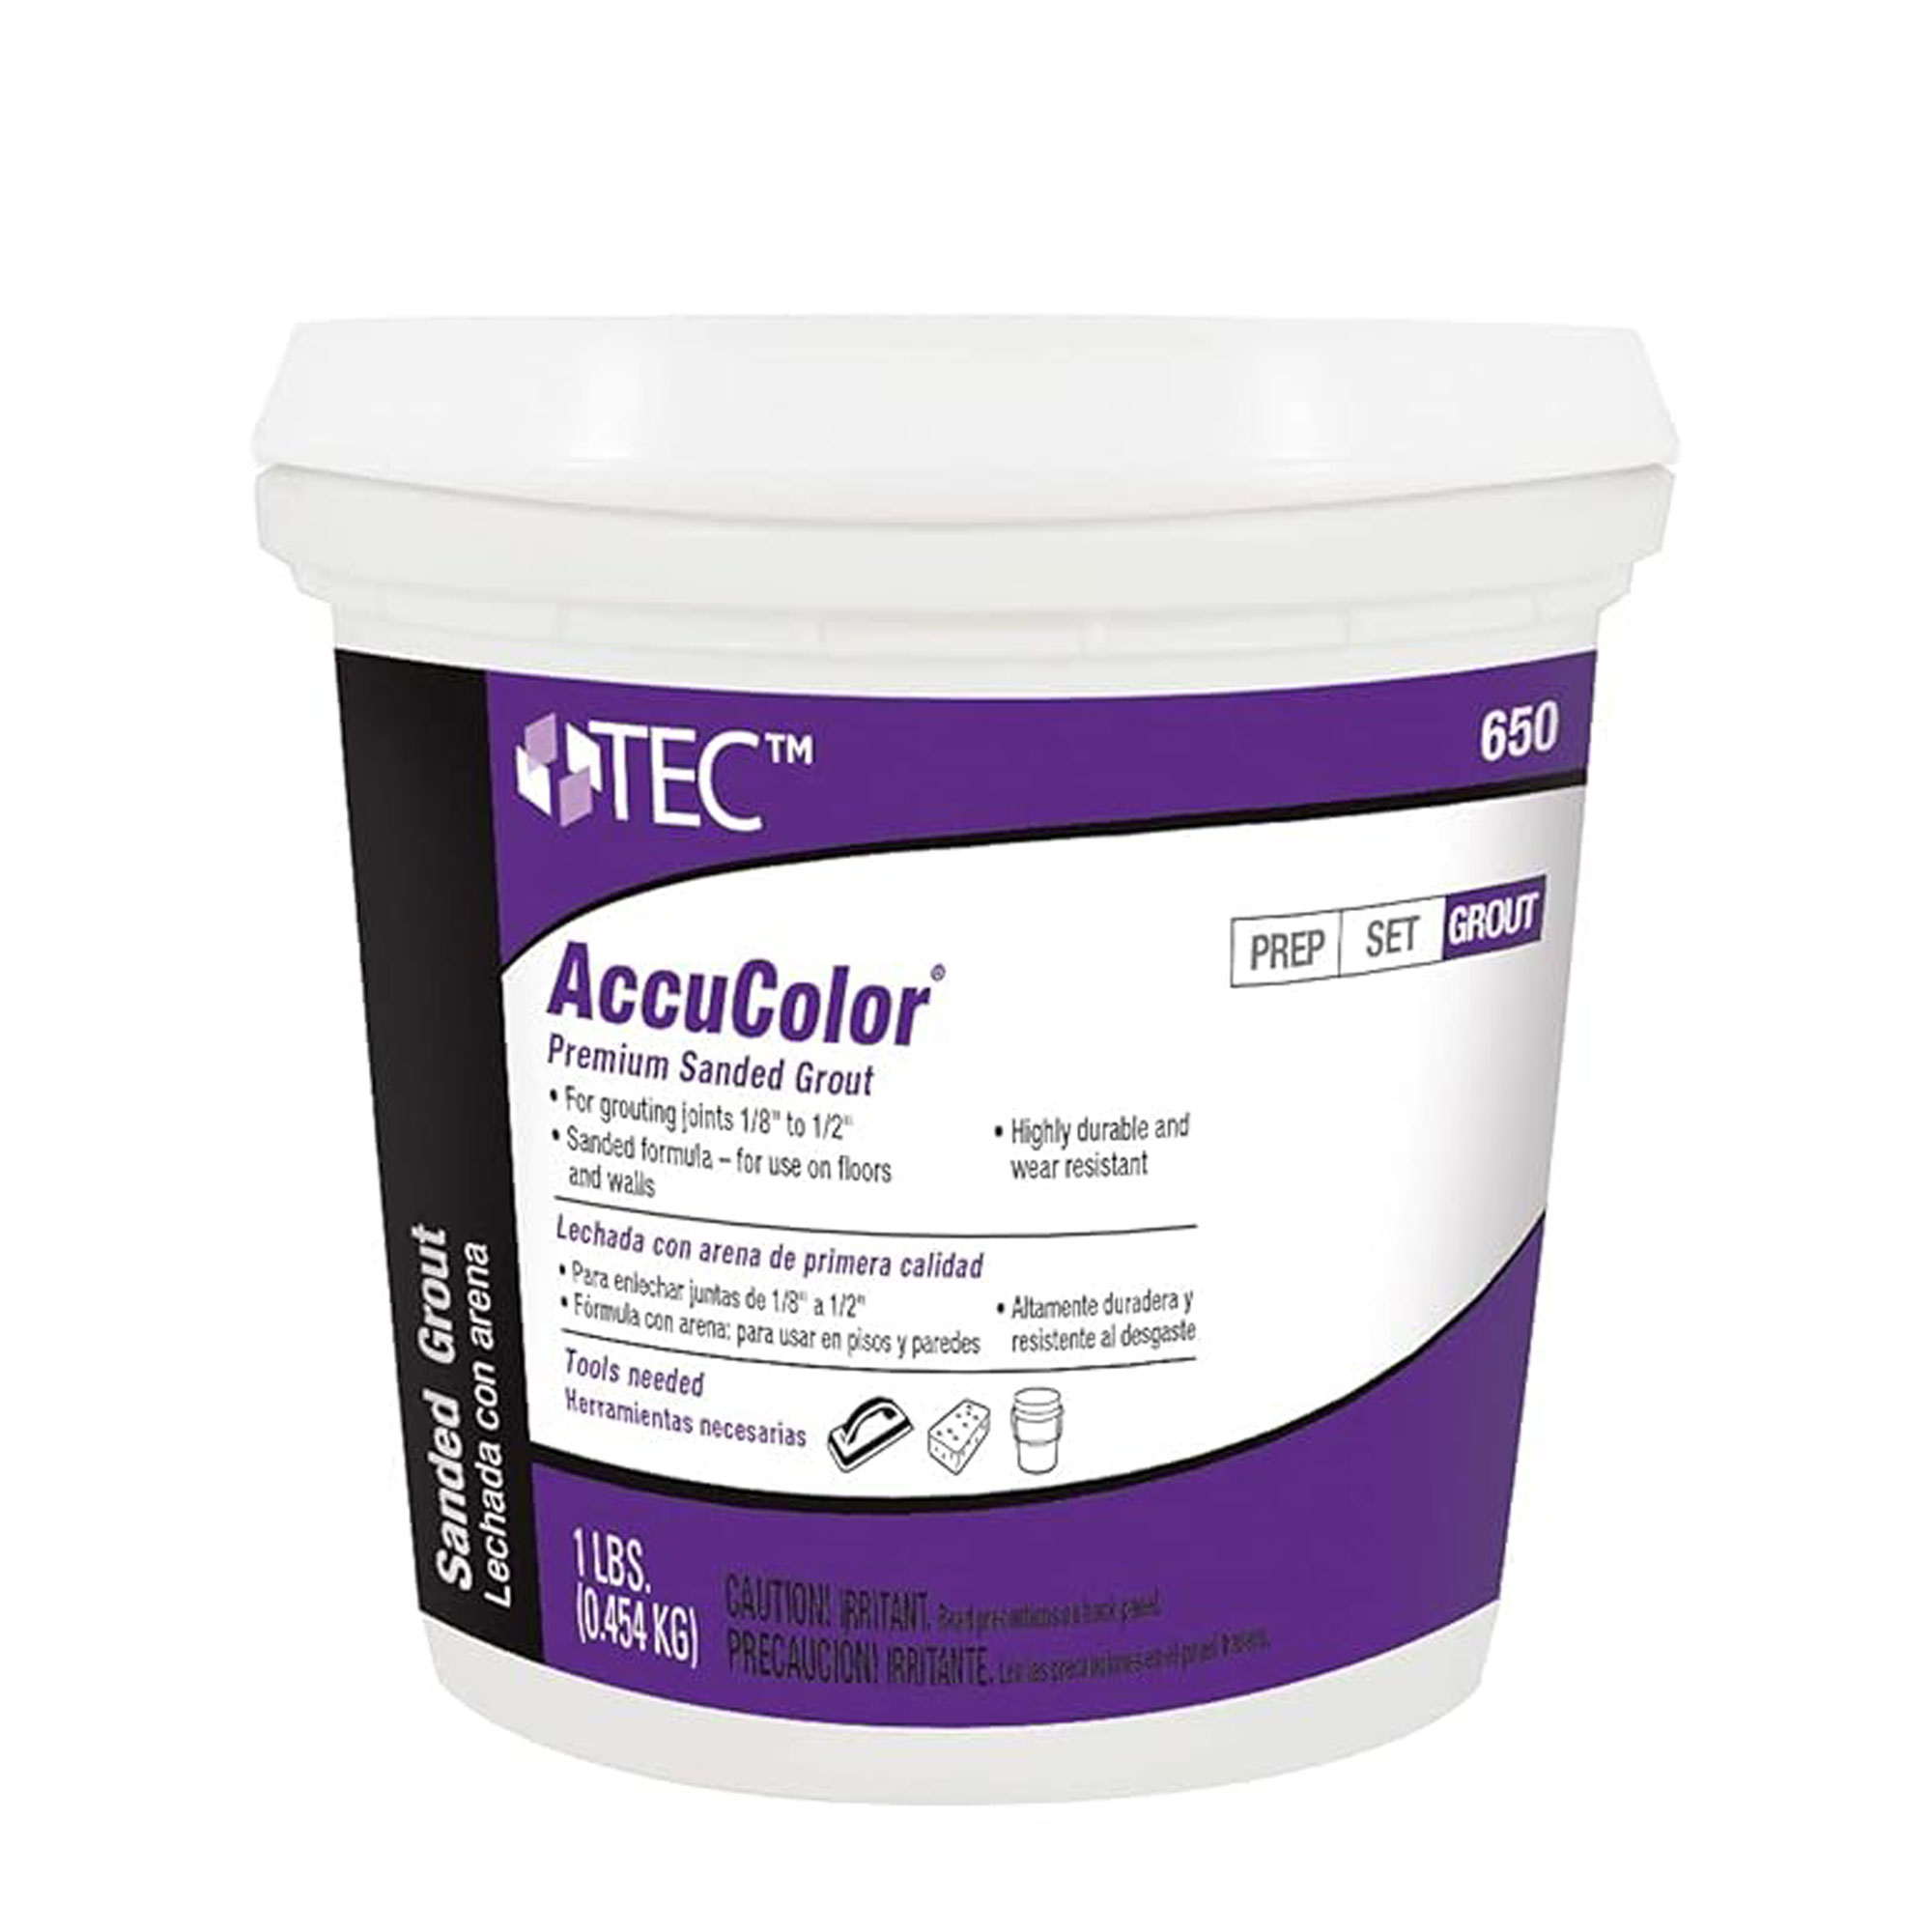
Offering fantastic value for money, this sanded grout is simple to mix up and comes in a whole range of different colors. It is also known for being easy to work with for a smooth end result. Shrinkage can be an issue with some grouts but not this one. We also love the guaranteed color consistency when mixing up new batches.
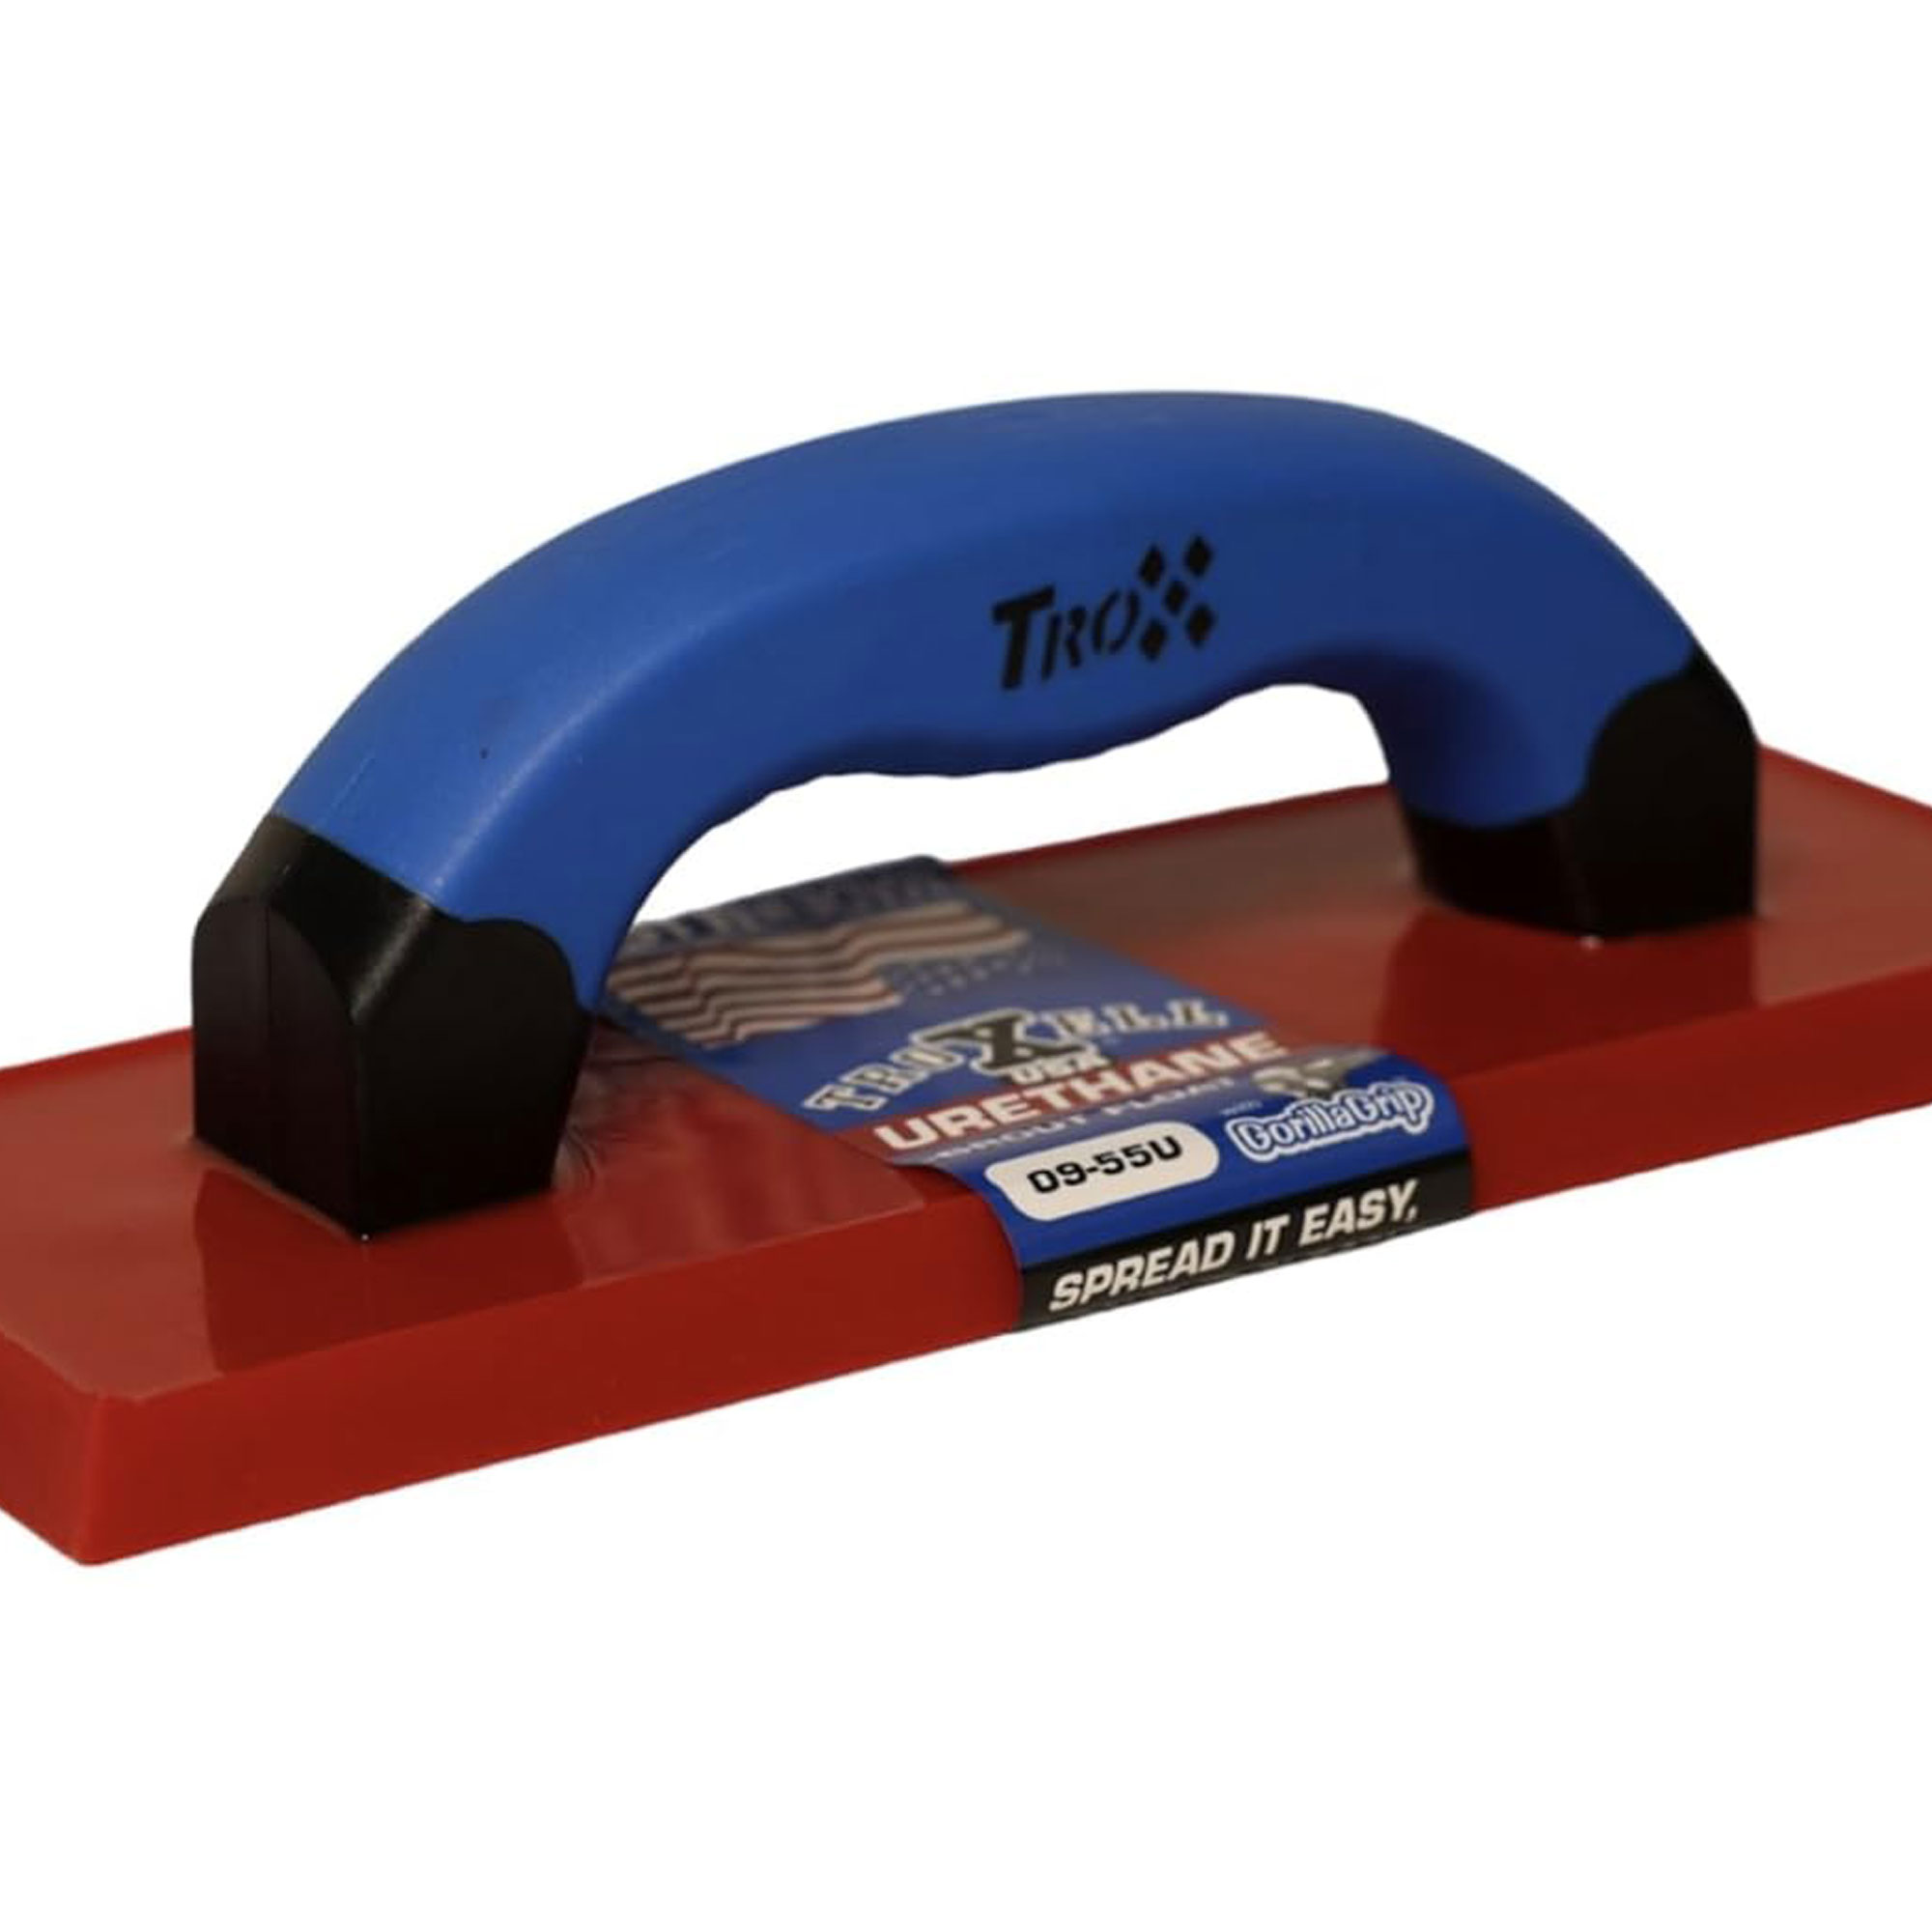
This is a fair bit more expensive than some other grout floats out there, but if you are tackling large areas of tile that need to be grouted then you should seriously consider it. It is lightweight, comfortable to grip, grabs and pushes grout easily into joints and is built to last. Users also love how easy it is to clean off.
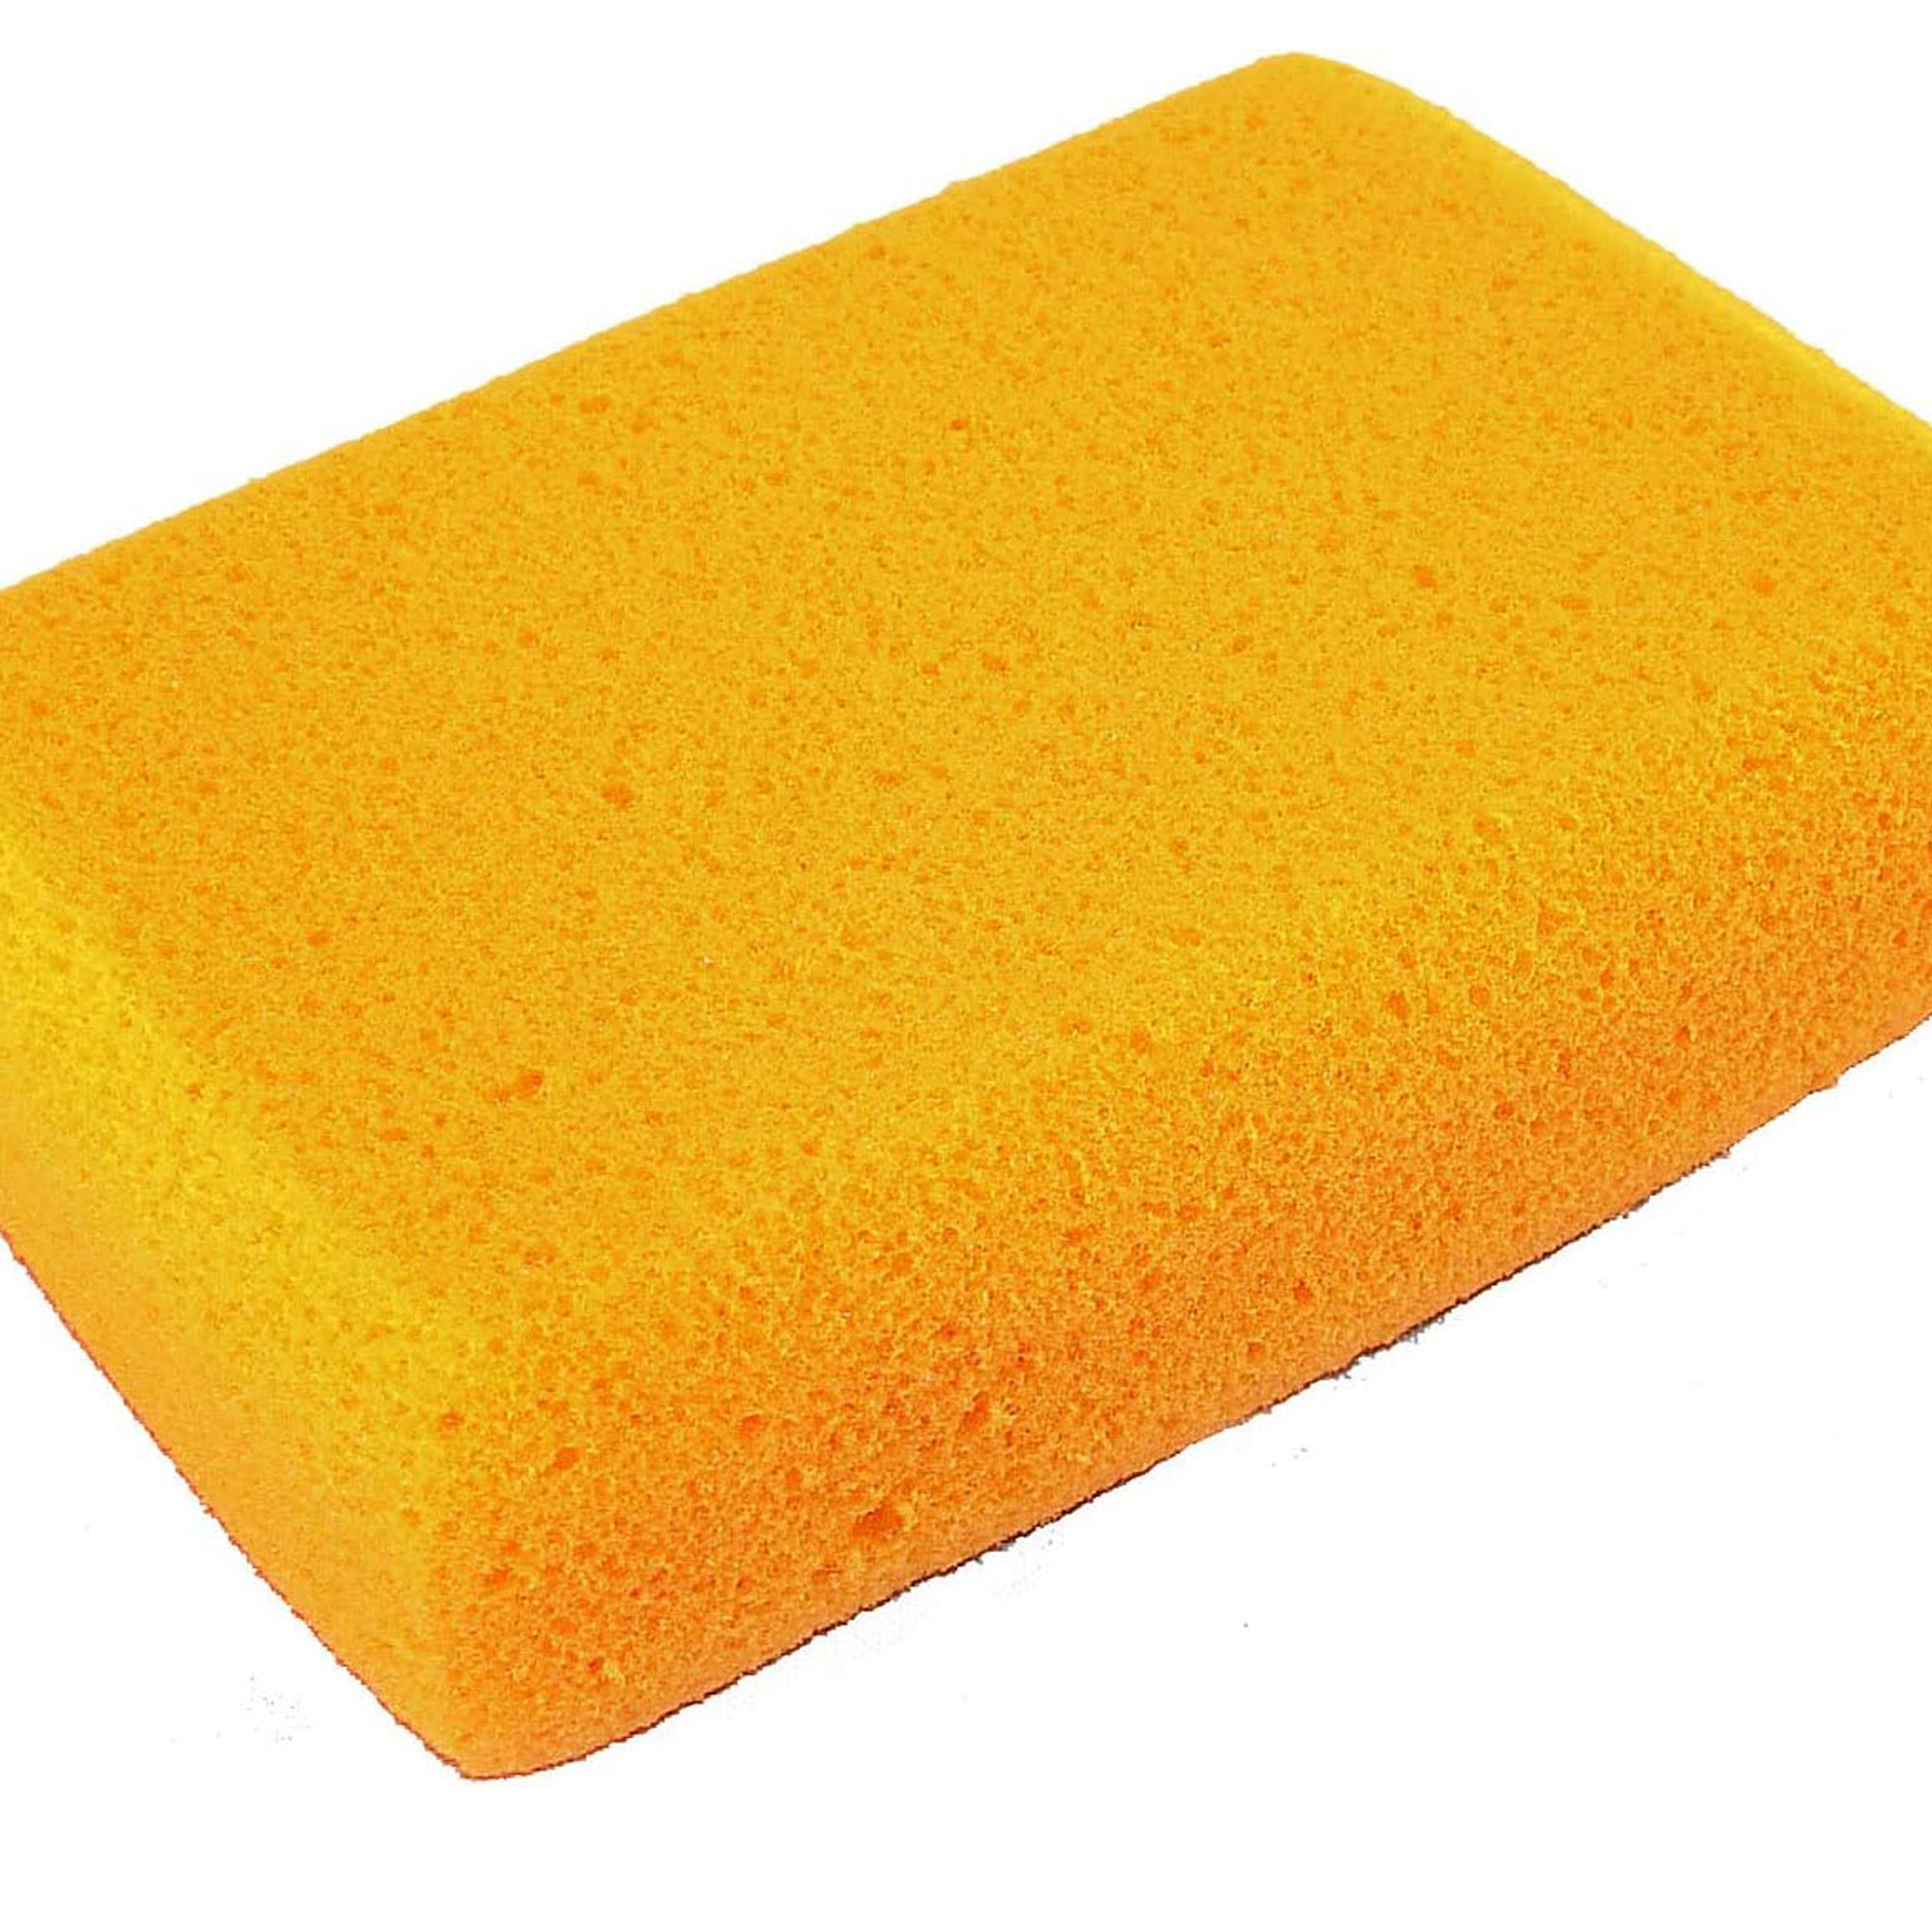
You'd be forgiven for thinking that a sponge is a sponge, but when it comes to grouting you need to look out for certain features – and this one has them all. Firstly it is a nice size, making clean up fast. Then there is the fact that it is slightly abrasive which helps remove product and, finally, it is durable, so won't fall apart while you work.
3. Mixing up too much grout at a time
If you want to be enjoying your bathroom tile ideas as quickly as possible, be aware that much like mixing up tile adhesive or mortar, grout can dry out quite quickly and become hard to work with.
'When working with grout, you want to recognize that the material dries out over time,' says Clint DeBoer. 'Grout is best applied when it flows like a non-runny pancake batter. This makes it easier to spread diagonally across grout lines and work in between the tile.
'Because you don't want the grout to dry out before you're done, mix it in smaller batches,' continues Clint. 'In general, only mix enough grout for 30-minute intervals to prevent waste and keep you from having to work with material that is quickly hardening on you.'
'The key is to mix small batches (about 1 to 2 cups) at a time to prevent the grout from drying prematurely,' adds Jay Sanders, a Baltimore based licensed contractor for Maryland Contractors. 'For reference, you can imagine the consistency of peanut butter, and use a margin trowel for mixing efficiently.'
The Goldblatt Industries Margin Trowel set from Amazon is a great buy that will come in handy for DIY jobs other than grouting.
4. Failing to seal the grout
To stand the test of time and remain looking good for as long as possible, there are certain steps to take after you have applied your grout.
'The other big issue I'd caution against is failing to seal the grout when you are done,' warns Morgan McBride. 'I know, I know – you just want the project to be over already! But, grout can be super porous and will absorb both colored and greasy-looking stains. Applying a sealant is the best way to protect your hard work, plus it is super easy and quick to do.'
If you don't want to be looking into how to clean grout sooner than you need to, a grout sealer such as Black Diamond Ultimate Grout Sealer from Amazon is essential – plus this one just has to be sprayed on.
5. Cleaning grout off the tile too soon
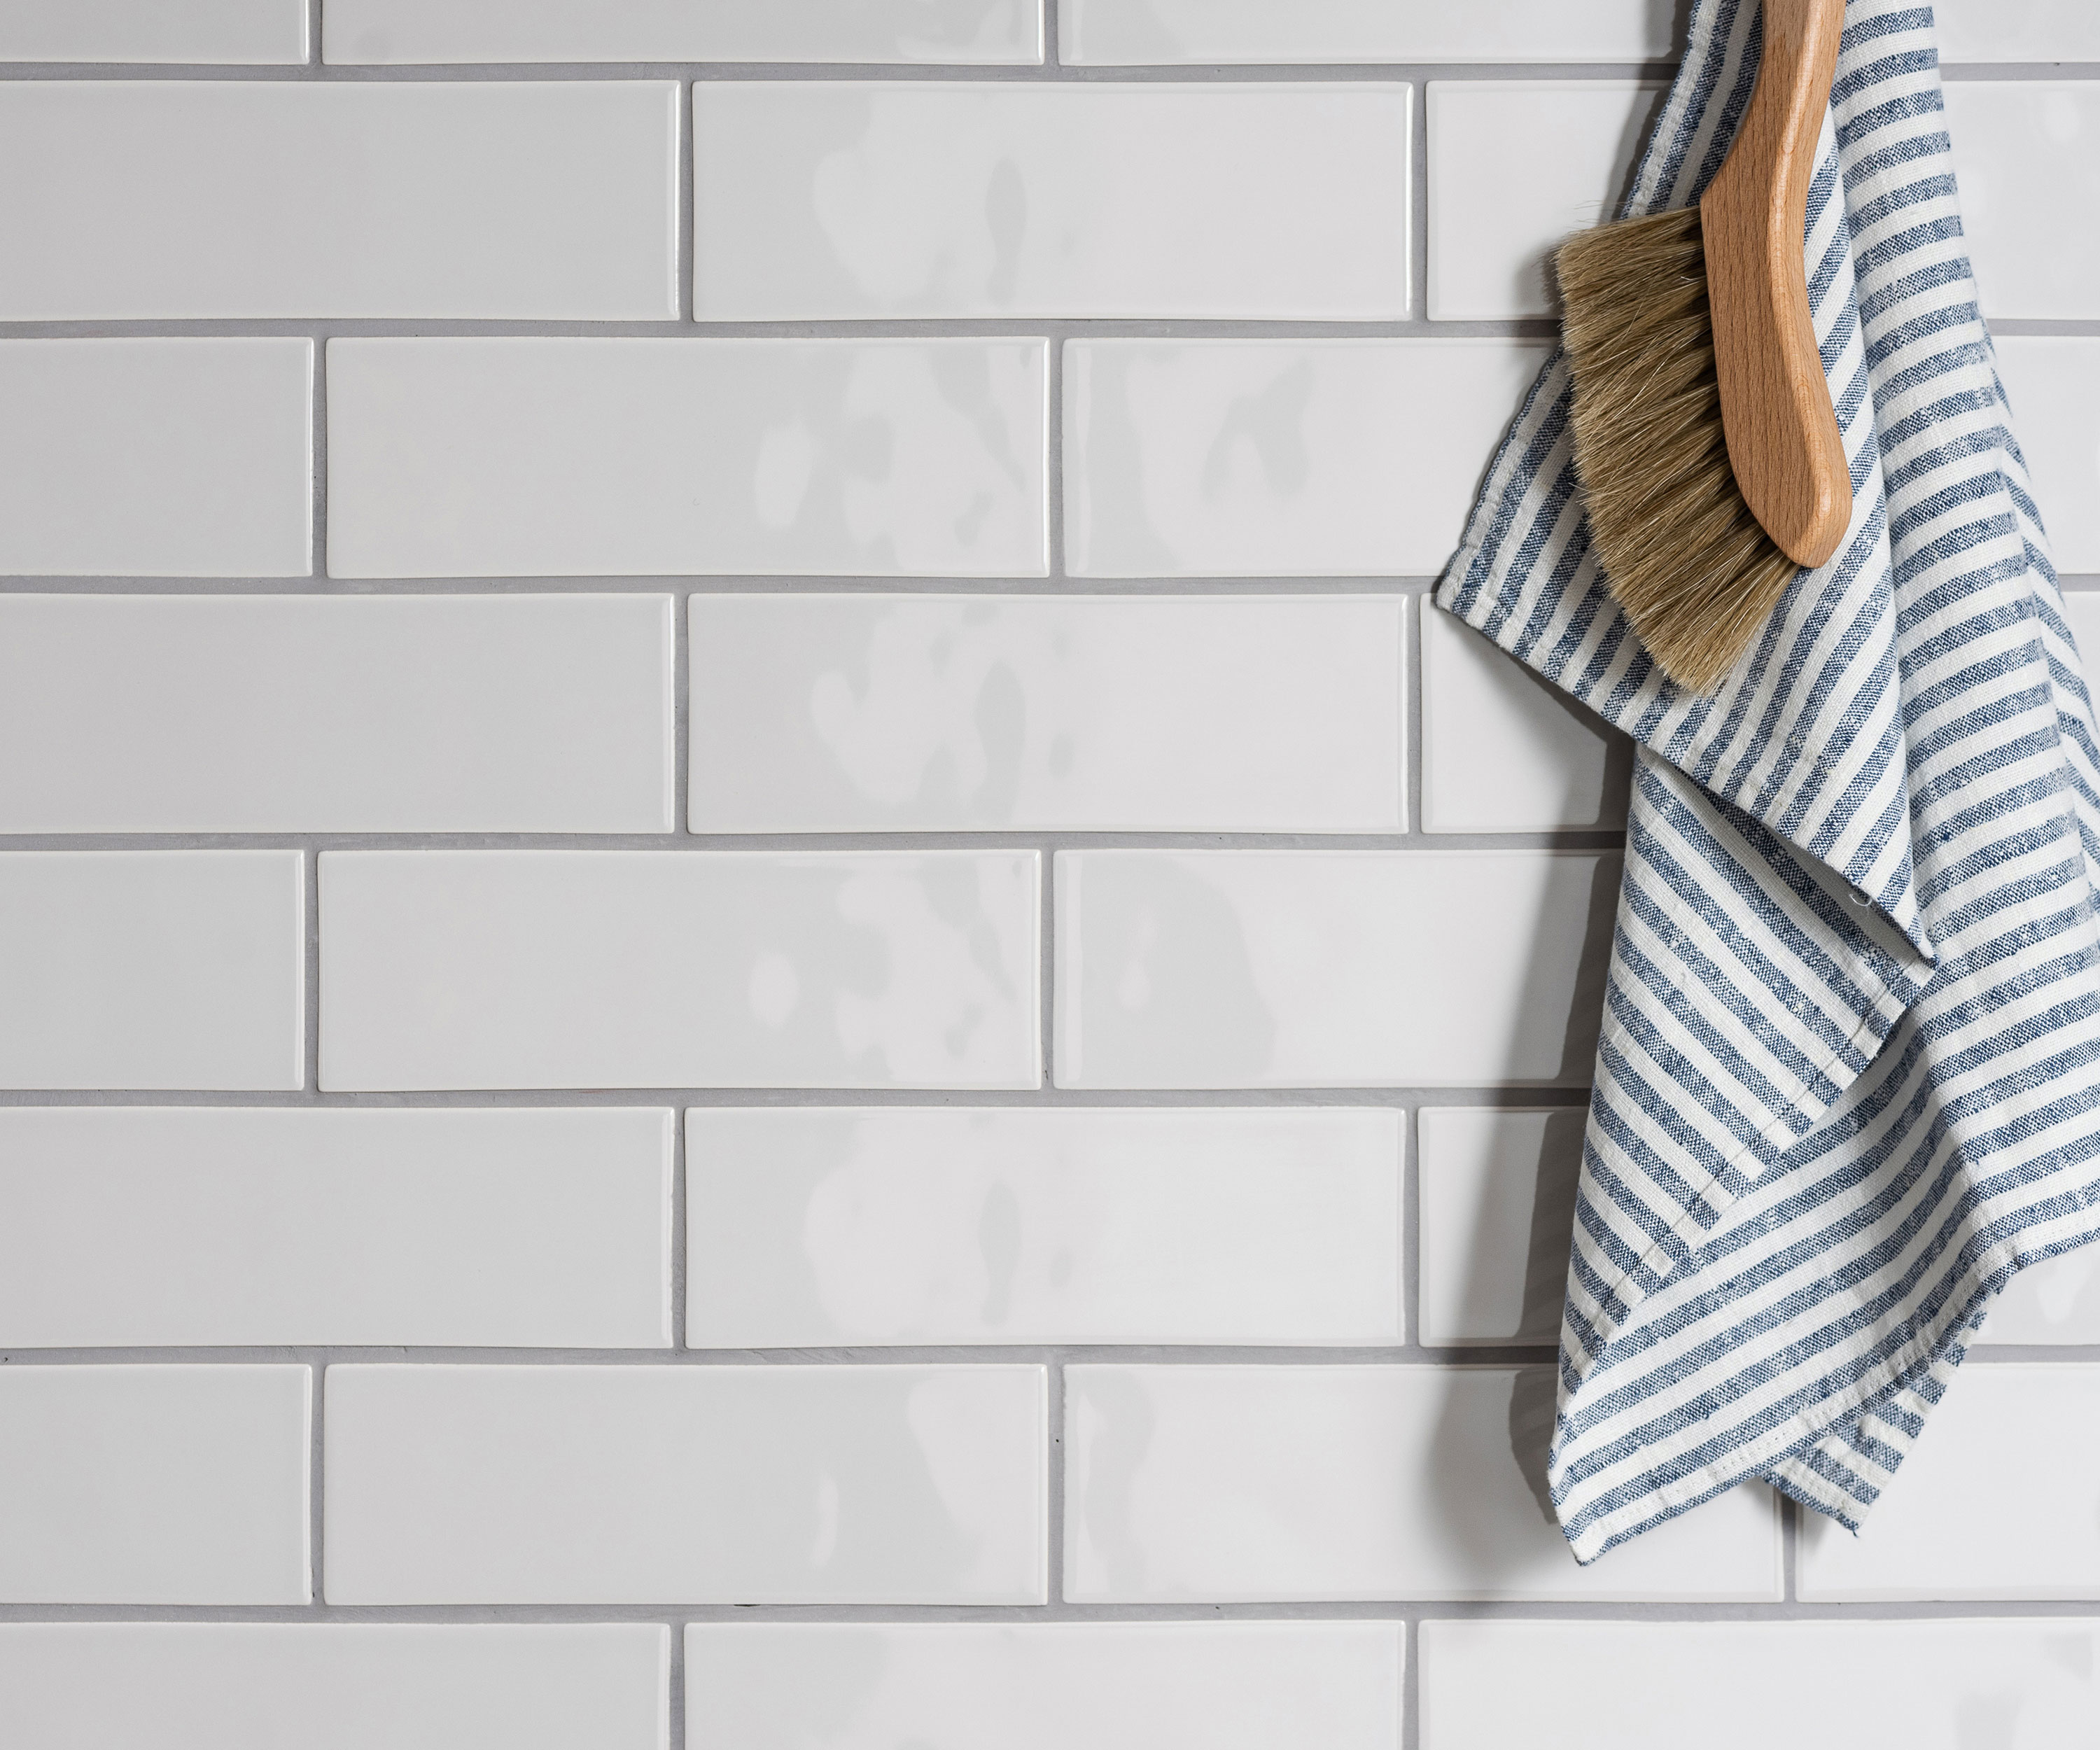
Whether you are learning how to tile a floor, wall or backsplash, it is important to remove excess grout while finishing off. While you want to clean grout off your tile face before it sets hard, you need to exercise a little caution here.
'Immediately after grouting a section of tile, go back with a damp tile sponge and gently wipe away any excess grout,' begins Clint. 'Be careful not to press into the grout lines. You want to end up with a nice, even layer of grout and avoid creating any deep ruts. If you do accidentally remove too much grout, simply work a small amount of grout back into the affected area.'
We think these Extra Large Grouting, Cleaning and Washing Sponges from Amazon would make quick work of the job.
'The last step in grouting involves wiping the surface of the tile with a dry cloth or towel to remove any excess haze left over from the grout sponge,' continues Clint. 'Do this a couple of hours or so after the grout has dried, and you'll leave a nice finished appearance.'
FAQs
What type of grout is best for tile?
Not all tile grout is created equal so be sure to choose the correct product for the task.
'Grouting is generally a relatively easy task, but selecting the correct type of grout is essential and depends on the tile spacing and location' explains Clint DeBoer. 'For example, use un-sanded grout for tile gaps of 1/16" or less. For anything over 1/16" and for any flooring applications, you want to use sanded grout as it offers greater stability against cracking.'
'For larger projects, you can choose powder grout. It offers up to two hours of working time,' adds Jay Sanders. 'On the contrary, premixed grout sets faster.'
How long should tile grout last?
One you are done grouting you will probably be keen not to have to pick up that grout float for quite some time.
'In most cases, grout lasts 'forever', however, it's not uncommon to regrout after 8-10 years to address degradation and color fading,' says Clint DeBoer. 'This is an entry-level maintenance task that many homeowners like to do themselves to save money.'
Before re-grouting you will need to look into how to remove tile grout.
Meet the experts

In 2008, Clint founded Pro Tool Reviews which is now the largest power tool review publication in the industry. Pro Tool Reviews critically reviews hundreds of hand tools, power tools, and accessories each year to help inform users about the best and newest products in the industry. Reaching everyone from the construction industry professional and tradesman to the serious DIYer, Pro Tool Reviews helps tool consumers shop better, work smarter, and stay aware of what tools and products can help put them at the top of their game.

On her website, Morgan shares her DIY home renovation, woodworking and decorating tips as she carries out work on her South Carolina home.

Jay Sanders is a Baltimore based licensed contractor. He's been working on construction for more than 10 years with a solid track record of successful projects.
Grouting is just one job that you should consider tackling on a DIY basis in order to save a little money. If you are remodeling a bathroom on a budget be sure to look into how to caulk a bathtub - another simple and quick task.

Natasha has been writing about everything homes and interiors related for over 20 years and, in that time, has covered absolutely everything, from knocking down walls and digging up old floors to the latest kitchen and bathroom trends. As well as carrying out the role of Associate Content Editor for Homebuilding & Renovating for many years, she has completely renovated several old houses of her own on a DIY basis.