How to achieve an antique finish with paint– 4 crafting tips to fake a well-loved piece
These simple steps for a distressed paint look will fake years of age without the peeling paint and tarnished metal

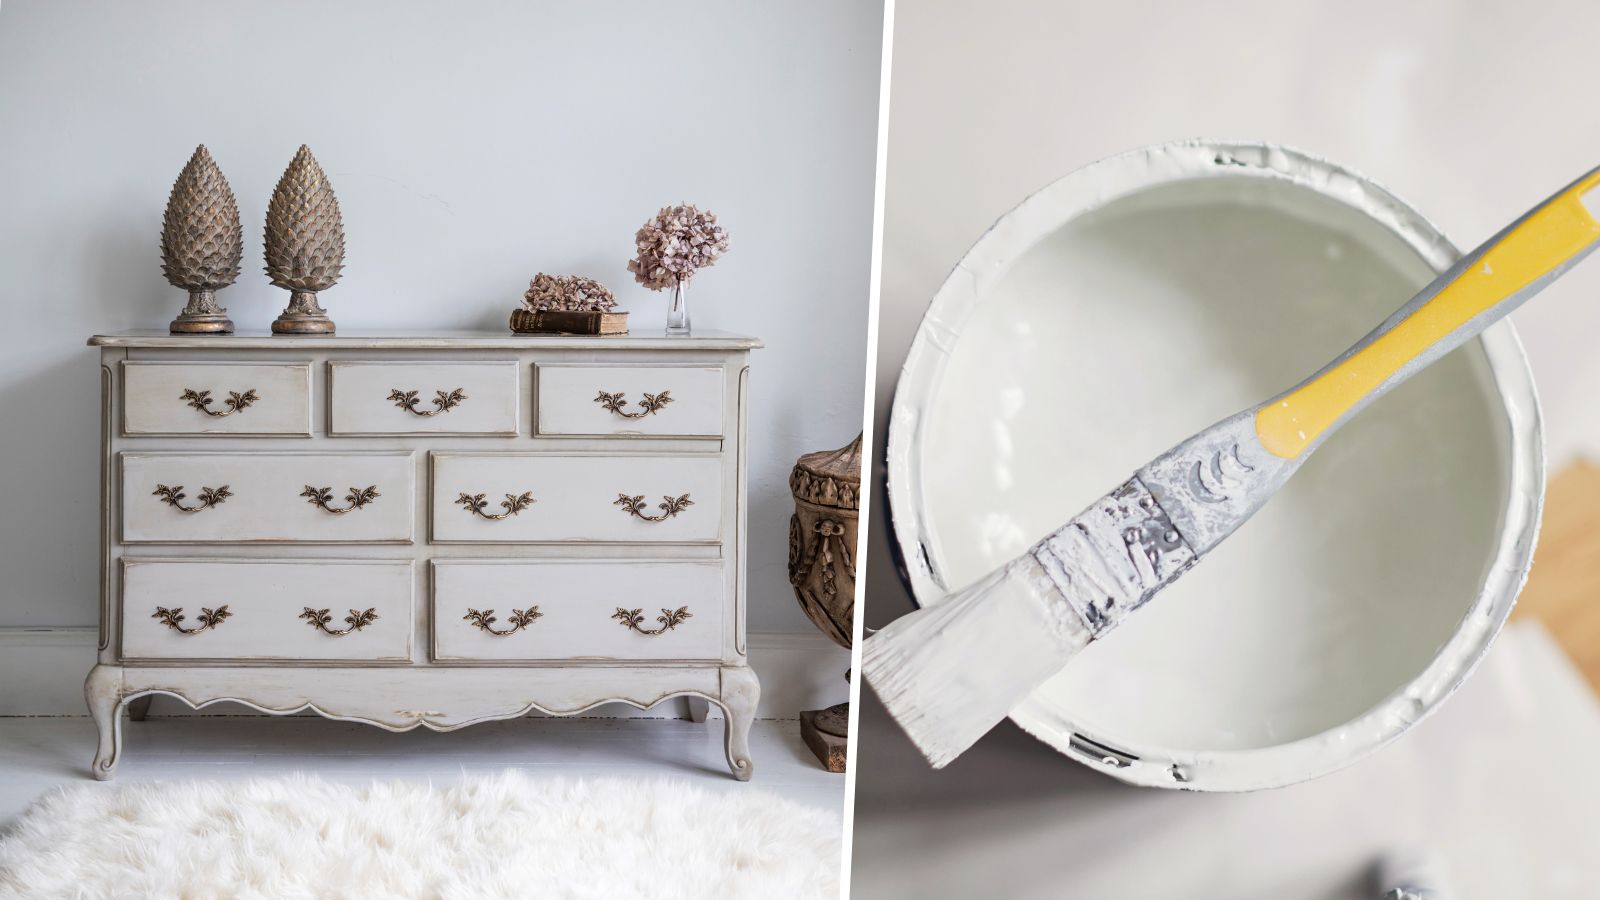
When we think of upcycling, we might think about taking something old and making it look new, but have you considered adding character with a faux antique style?
There is a lot you need to consider when caring for antique furniture, not to mention some of the upfront costs of true vintage pieces as the antique market booms. As a result, faking an antique finish with paint can be a fun alternative.
This is how to achieve the perfect imperfect finish for that ‘well-loved’ look.
How to achieve an antique finish with paint
As with any painted furniture ideas, it is important to put as much effort into the prep work as you do the painting itself for the best final look – even when you are going for a more lived-in rustic aesthetic.
These are the four steps expert crafters use for a long-lasting look every time.
1. Clean, sand, and dust the surface
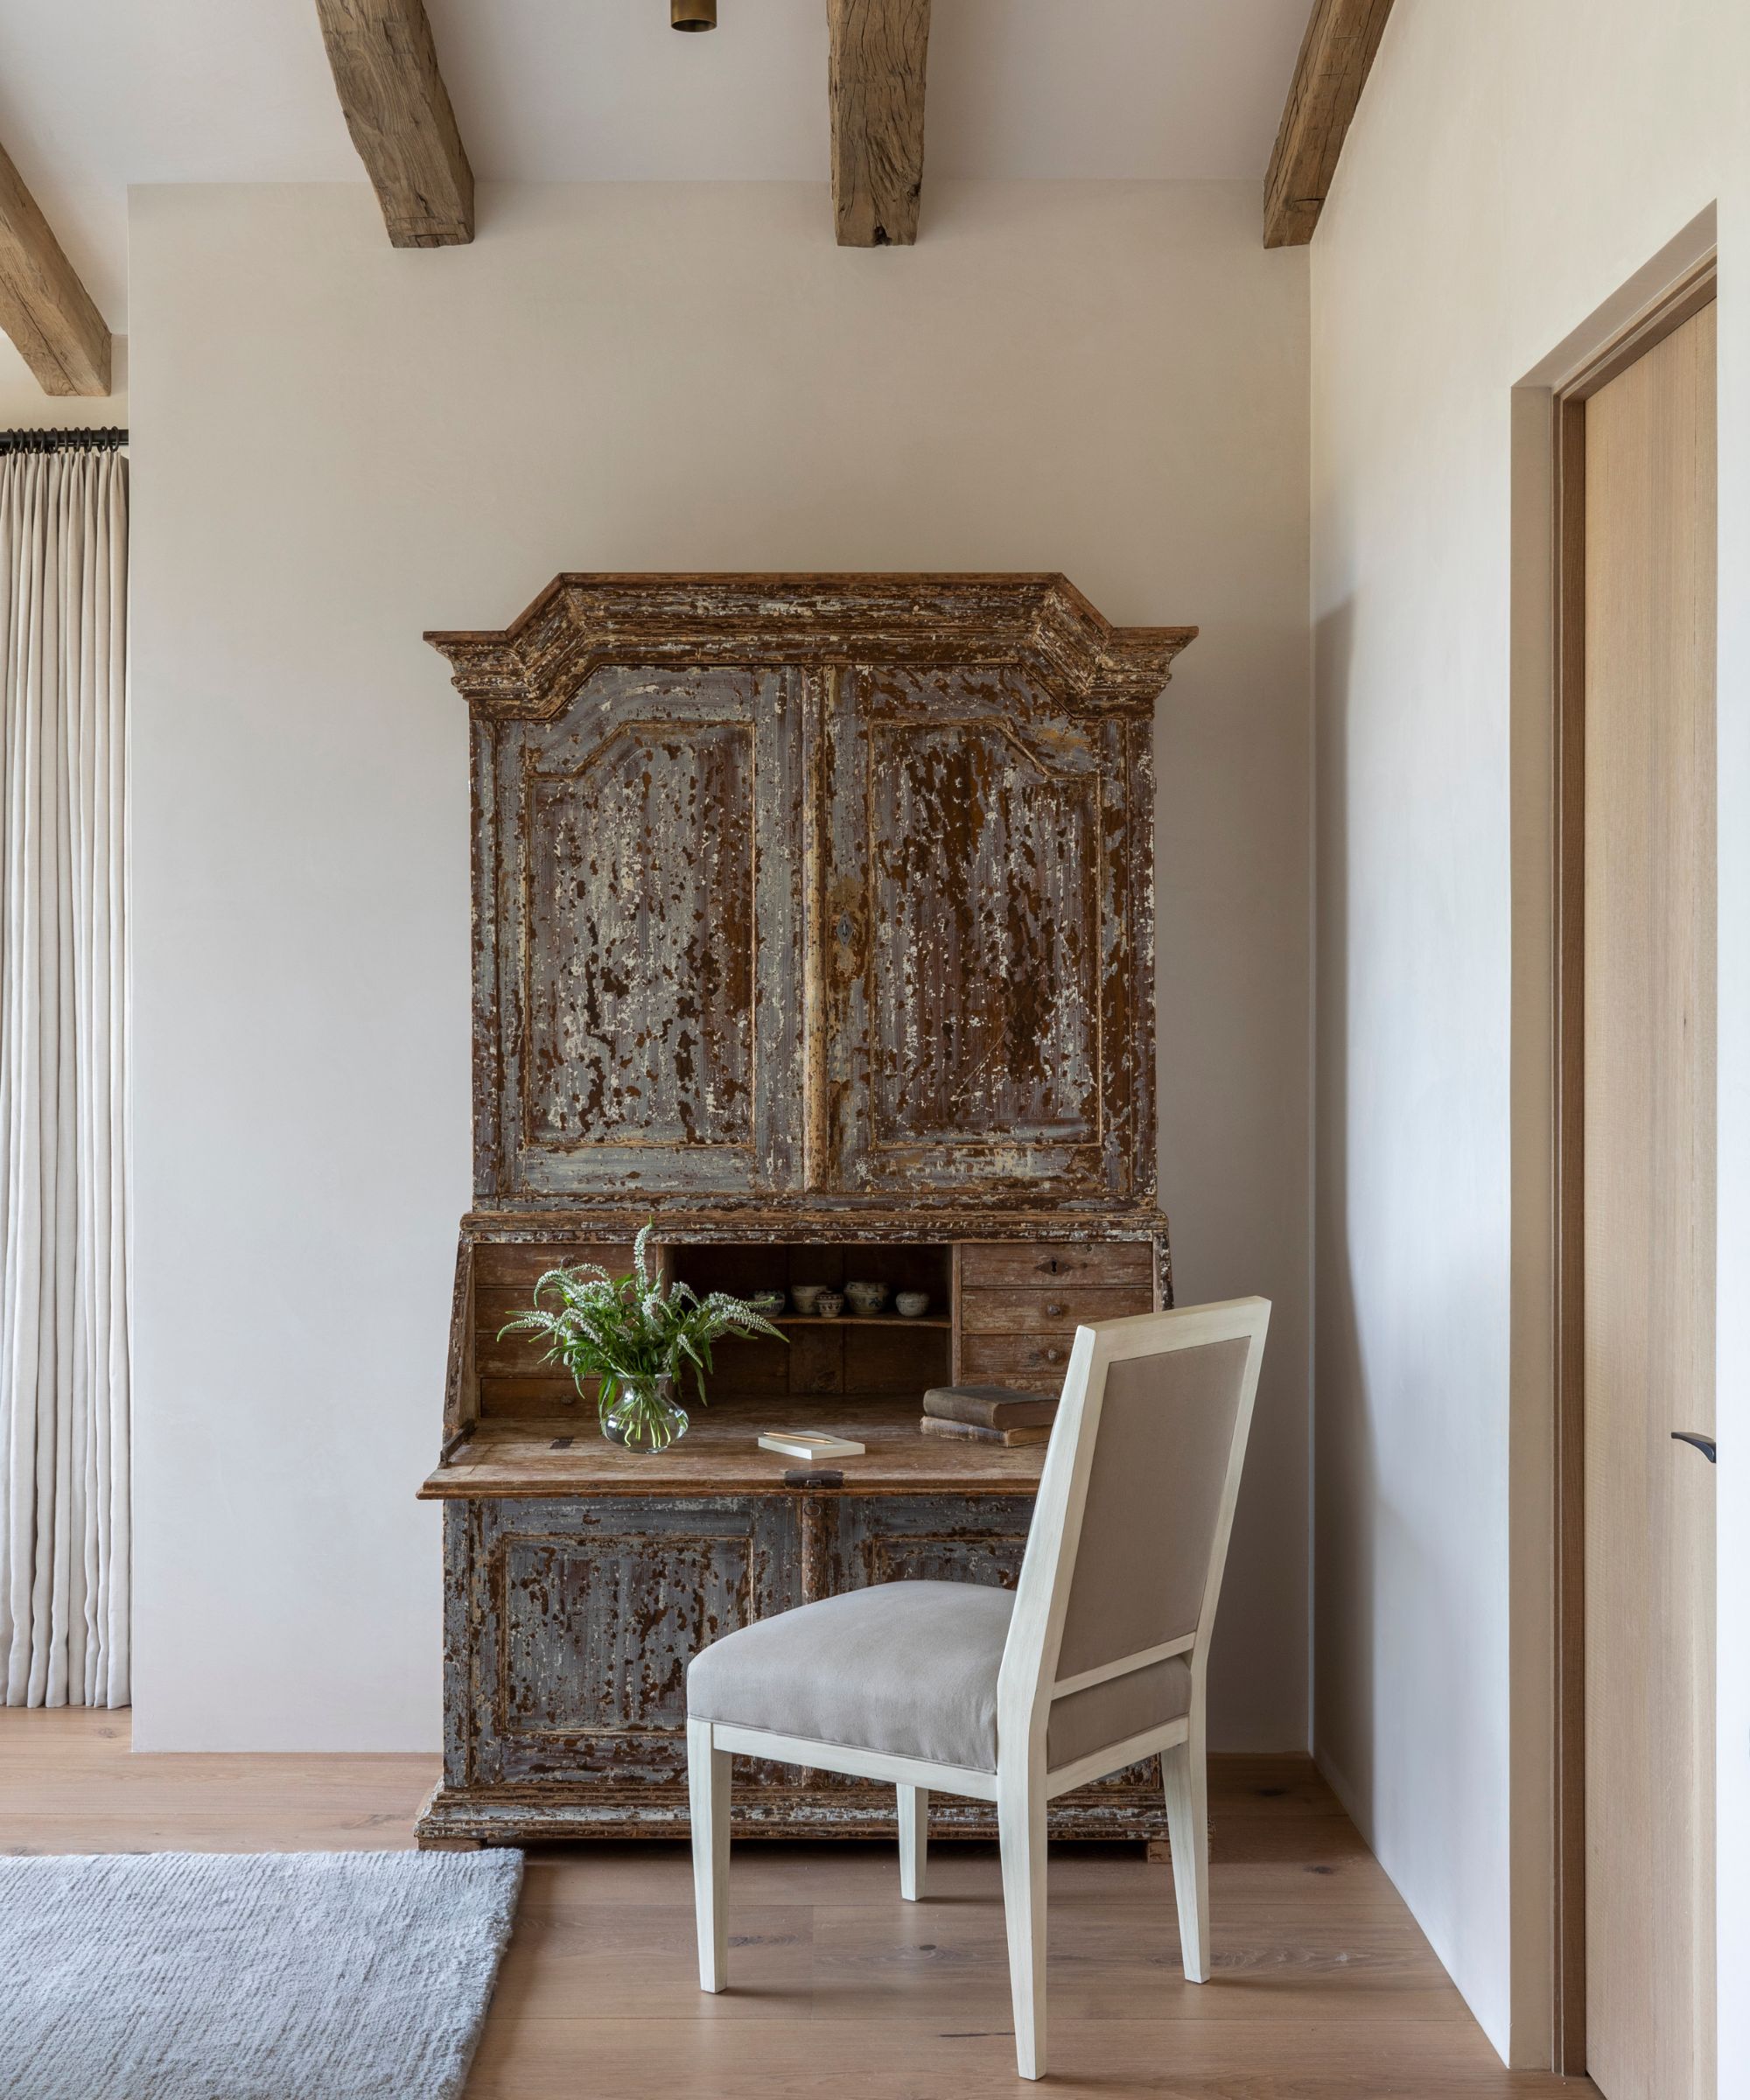
Before you go in with any paint, you need to clean, sand, and remove debris first – especially when painting wooden furniture, begins Gabriella Dyson, Solved section editor at Homes & Gardens. This will give you the best surface for your paint layers to adhere to so that it doesn't chip. Just because you want the piece to look worn in doesn't mean you want it to look messy.
Wash the piece down with some sugar soap and warm water to remove any grease and grime before using a fine grit sandpaper to take any existing varnish or paint off. You don't need to sand it down completely in most cases – a rough surface should suffice for the paint to adhere.
Design expertise in your inbox – from inspiring decorating ideas and beautiful celebrity homes to practical gardening advice and shopping round-ups.
Be sure to use a lint-free cloth or vacuum to remove dust and sawdust before continuing.

Gabriella Dyson is Head of Solved at Homes & Gardens, editing and writing practical advice for homeowners in the process of cleaning, decluttering, or attempting home improvements and DIY projects. Gabriella previously worked on Homebuilding.com, writing features about issues surrounding historic and listed building projects.
2. Layer paint coats with crackle medium
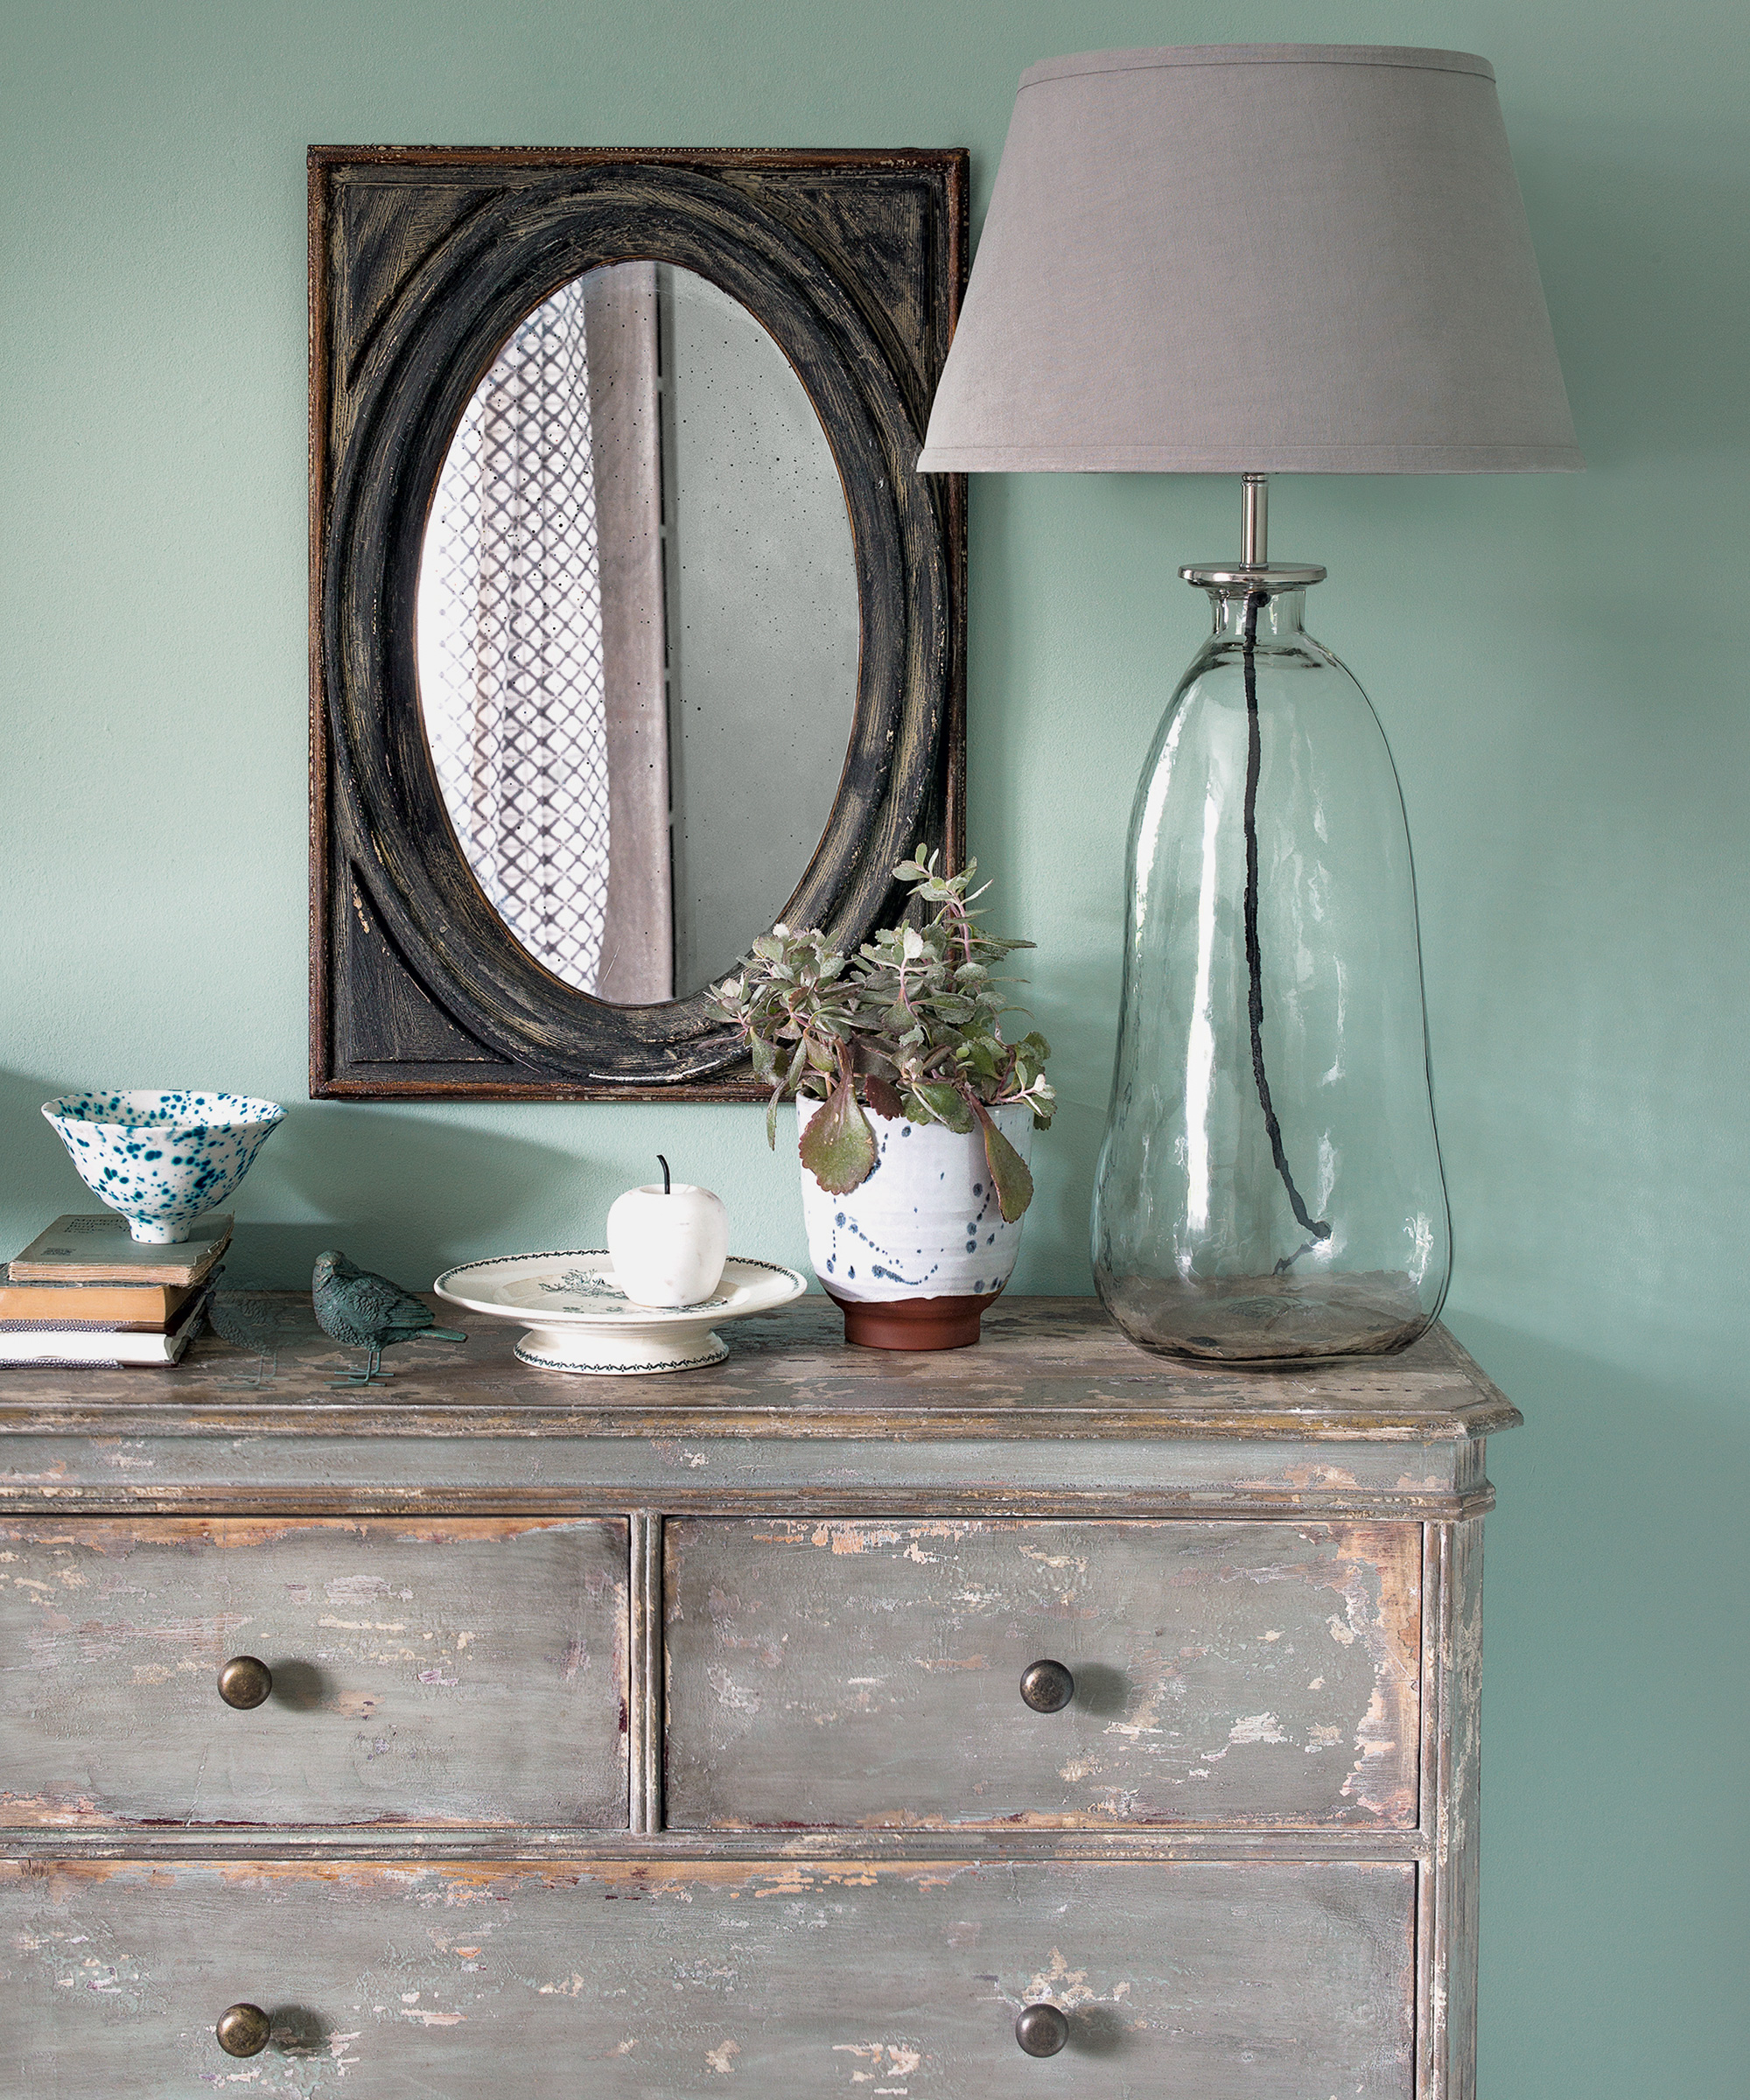
'The trick to achieving the perfect antique paint finish is to apply paint in thin layers, allowing some imperfections in the brush strokes to show through,' explains Jay Sanders, contractor and owner of Castle Dream Construction.
You want to start with a base coat, usually a chalk paint for the best effect, and apply one or two coats for good coverage, he begins. You will want to paint with a brush as opposed to painting with a roller for the rough coverage.
‘Then, apply a coat of crackle medium and let it dry. Once dry, apply a top coat of paint in a contrasting color. As the top coat dries, it will crackle and reveal the base coat underneath, creating an antique look.
‘For a more authentic finish, sand the edges and corners of the furniture to reveal the base coat,’ he adds.
Crackle Medium | View at Amazon
This crackle medium is perfect for furniture projects, and will give that worn look without the risk of flaking paint.
3. Don't forget the metal accents
A post shared by Kendra Hagerman . Affordable decor and fashion. (@kendrafoundit)
A photo posted by on
Any piece of furniture with metal accents, hinges, or handles needs the metal removed and treated to help tie the look together and transform your home with paint. Otherwise, they will stick out.
Home decor blogger and crafter Kendra Hagerman uses back spray paint and Rub n’ Buff to help recolor decor for that vintage look. She starts by cleaning the surface, be it metal, glass, ceramic, or plastic, before spraying it with an even layer of black spray paint as a base.
She then uses a gold or bronze Rub ‘n’ Buff in thin layers with a dry paintbrush, allowing some black to remain visible beneath thin layers to give it a worn-out finish. Simply allow it to dry before reassembling your furniture.
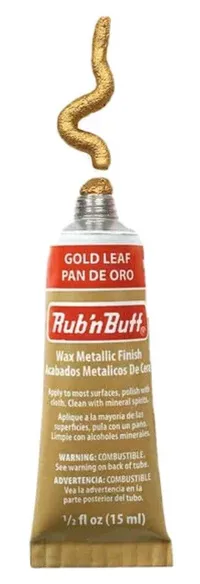
Amaco Rub 'N Buff Gold Leaf | View at Walmart
With a metallic finish, gold leaf Rub 'N Buff is perfect for faking an aged look on any project.

Kendra uses her platforms to create DIYs and home crafts for every budget, with smart tricks for DIY, thrifting, and decorating.
4. Finish the piece with wax
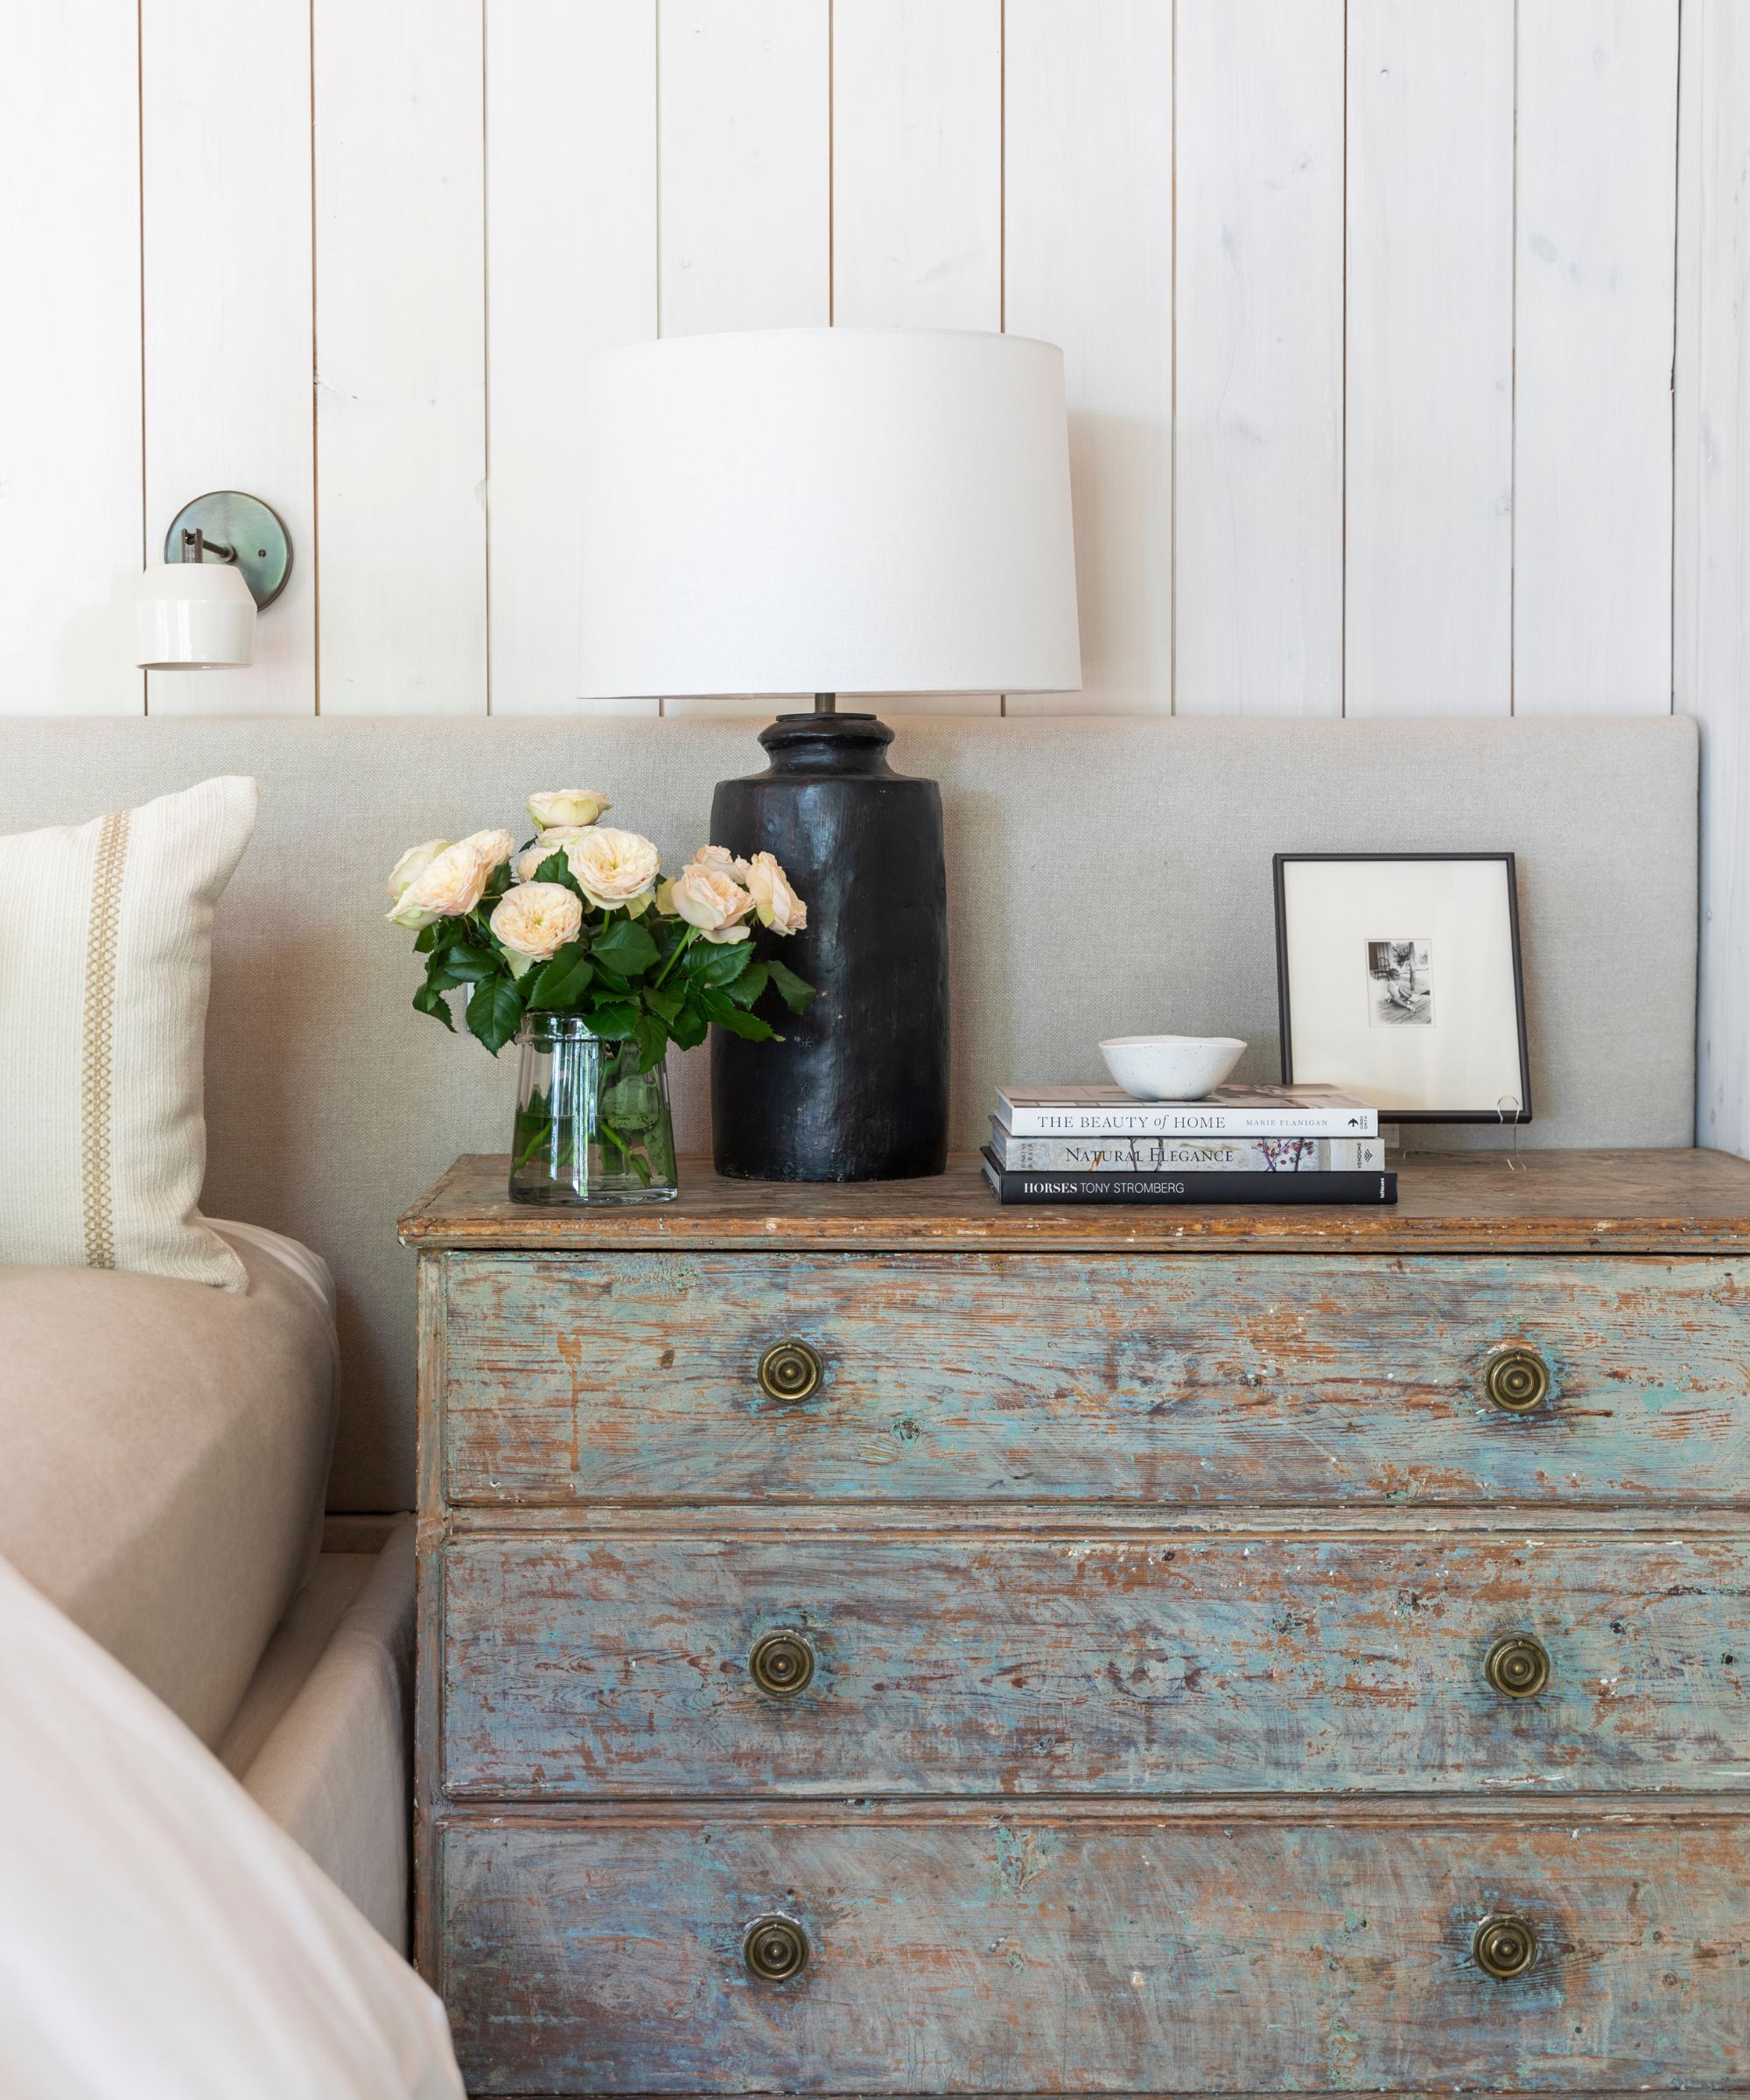
'It is not just smart paint tricks that play into emulating an antique piece. Your finishing coat will arguably have the biggest impact on whether your piece looks vintage or shabby chic,' says Artem Kropovinsky, interior designer and founder of Arsight.
Finish your masterpiece with a clear or tinted wax to help protect the piece and enhance that aged look. We recommend this Jolie Finishing Wax from Amazon, as it is an odorless, non-hazardous, and water-resistant sealing wax available in various colors.
FAQs
What is antiquing glaze?
An antiquing glaze is a specific type of top coat that can be applied over a base to give the final piece an older, more worn-in look by simulating age. It also acts as a protective sealant so that any paint beneath does not flake or chip with use.
How do you make walls look vintage?
If you want to add an old-world appeal to your home, you can start by adding character features to your property, even if it is not a period home. Using wallpapers and adding paneling will help to add interest, or you can consider color washing to add texture.
‘When painting for an antique finish, always remember that imperfections make the perfect touch,’ concludes Artem Kropovinsky, interior designer. ‘Don't aim for perfection. Instead, permit brush strokes and minor color variations that complete the vintage appearance.’

Chiana has been at Homes & Gardens for two years and is our resident 'queen' of non-toxic living. She spends most of her time producing content for the Solved section of the website, helping readers get the most out of their homes through clever decluttering, cleaning, and tidying tips. She was named one of Fixr's top home improvement journalists in 2024.

