How to color-wash walls to create a dreamy, faux-textured look
With textured walls set to be big this year, the color-wash technique is making a comeback

Design expertise in your inbox – from inspiring decorating ideas and beautiful celebrity homes to practical gardening advice and shopping round-ups.
You are now subscribed
Your newsletter sign-up was successful
Want to add more newsletters?

Twice a week
Homes&Gardens
The ultimate interior design resource from the world's leading experts - discover inspiring decorating ideas, color scheming know-how, garden inspiration and shopping expertise.

Once a week
In The Loop from Next In Design
Members of the Next in Design Circle will receive In the Loop, our weekly email filled with trade news, names to know and spotlight moments. Together we’re building a brighter design future.

Twice a week
Cucina
Whether you’re passionate about hosting exquisite dinners, experimenting with culinary trends, or perfecting your kitchen's design with timeless elegance and innovative functionality, this newsletter is here to inspire
Color-washing is a versatile painting technique that, if done correctly, can transform your walls by infusing them with a soft, textured appearance.
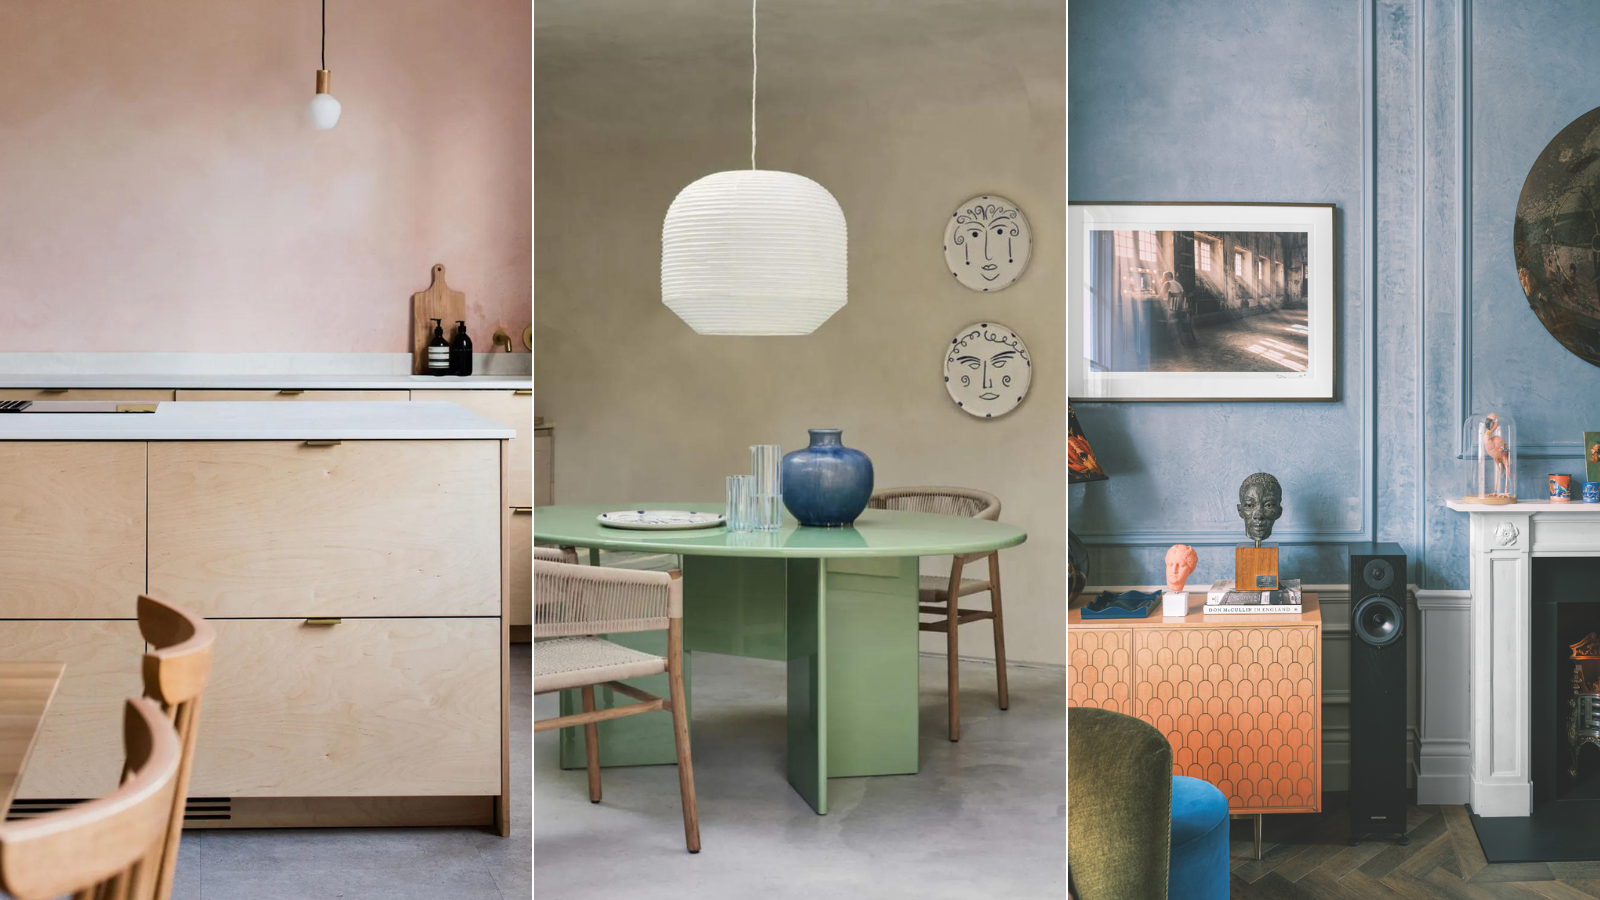
Though popularized in the 1980s – an era also responsible for artex ceilings and Memphis Design – color-washing is set to make a comeback this year as a method of adding a sophisticated faux finish and visual texture to walls. Whether you are aiming for a dreamy, subtle look or something more striking, this technique can be tailored to your personal style.
Our seven-step guide will help you master the color-washing technique. So embrace the trend by painting a room or an accent wall in a color of your choice.
How to color-wash walls
'Color-washing your walls is like giving your space a little personality boost, but it can take some practice to get it perfect,' says Jon Christensen, CEO of Bidmii.
'You'll need a base color and then a glaze color that goes well with it. Think of the base color as the backdrop and the glaze as the star of the show. The base is just regular wall paint, but the glaze is a bit different – it's like a see-through paint that lets the base color peek through.'

Jon is the CEO at Bidmii where he oversees thousands of home improvement projects and renovations every year. Bidmii, known for streamlining home improvement projects, caters to homeowners, realtors, and hardware stores seeking contractors.
1. Choose your colors and tools
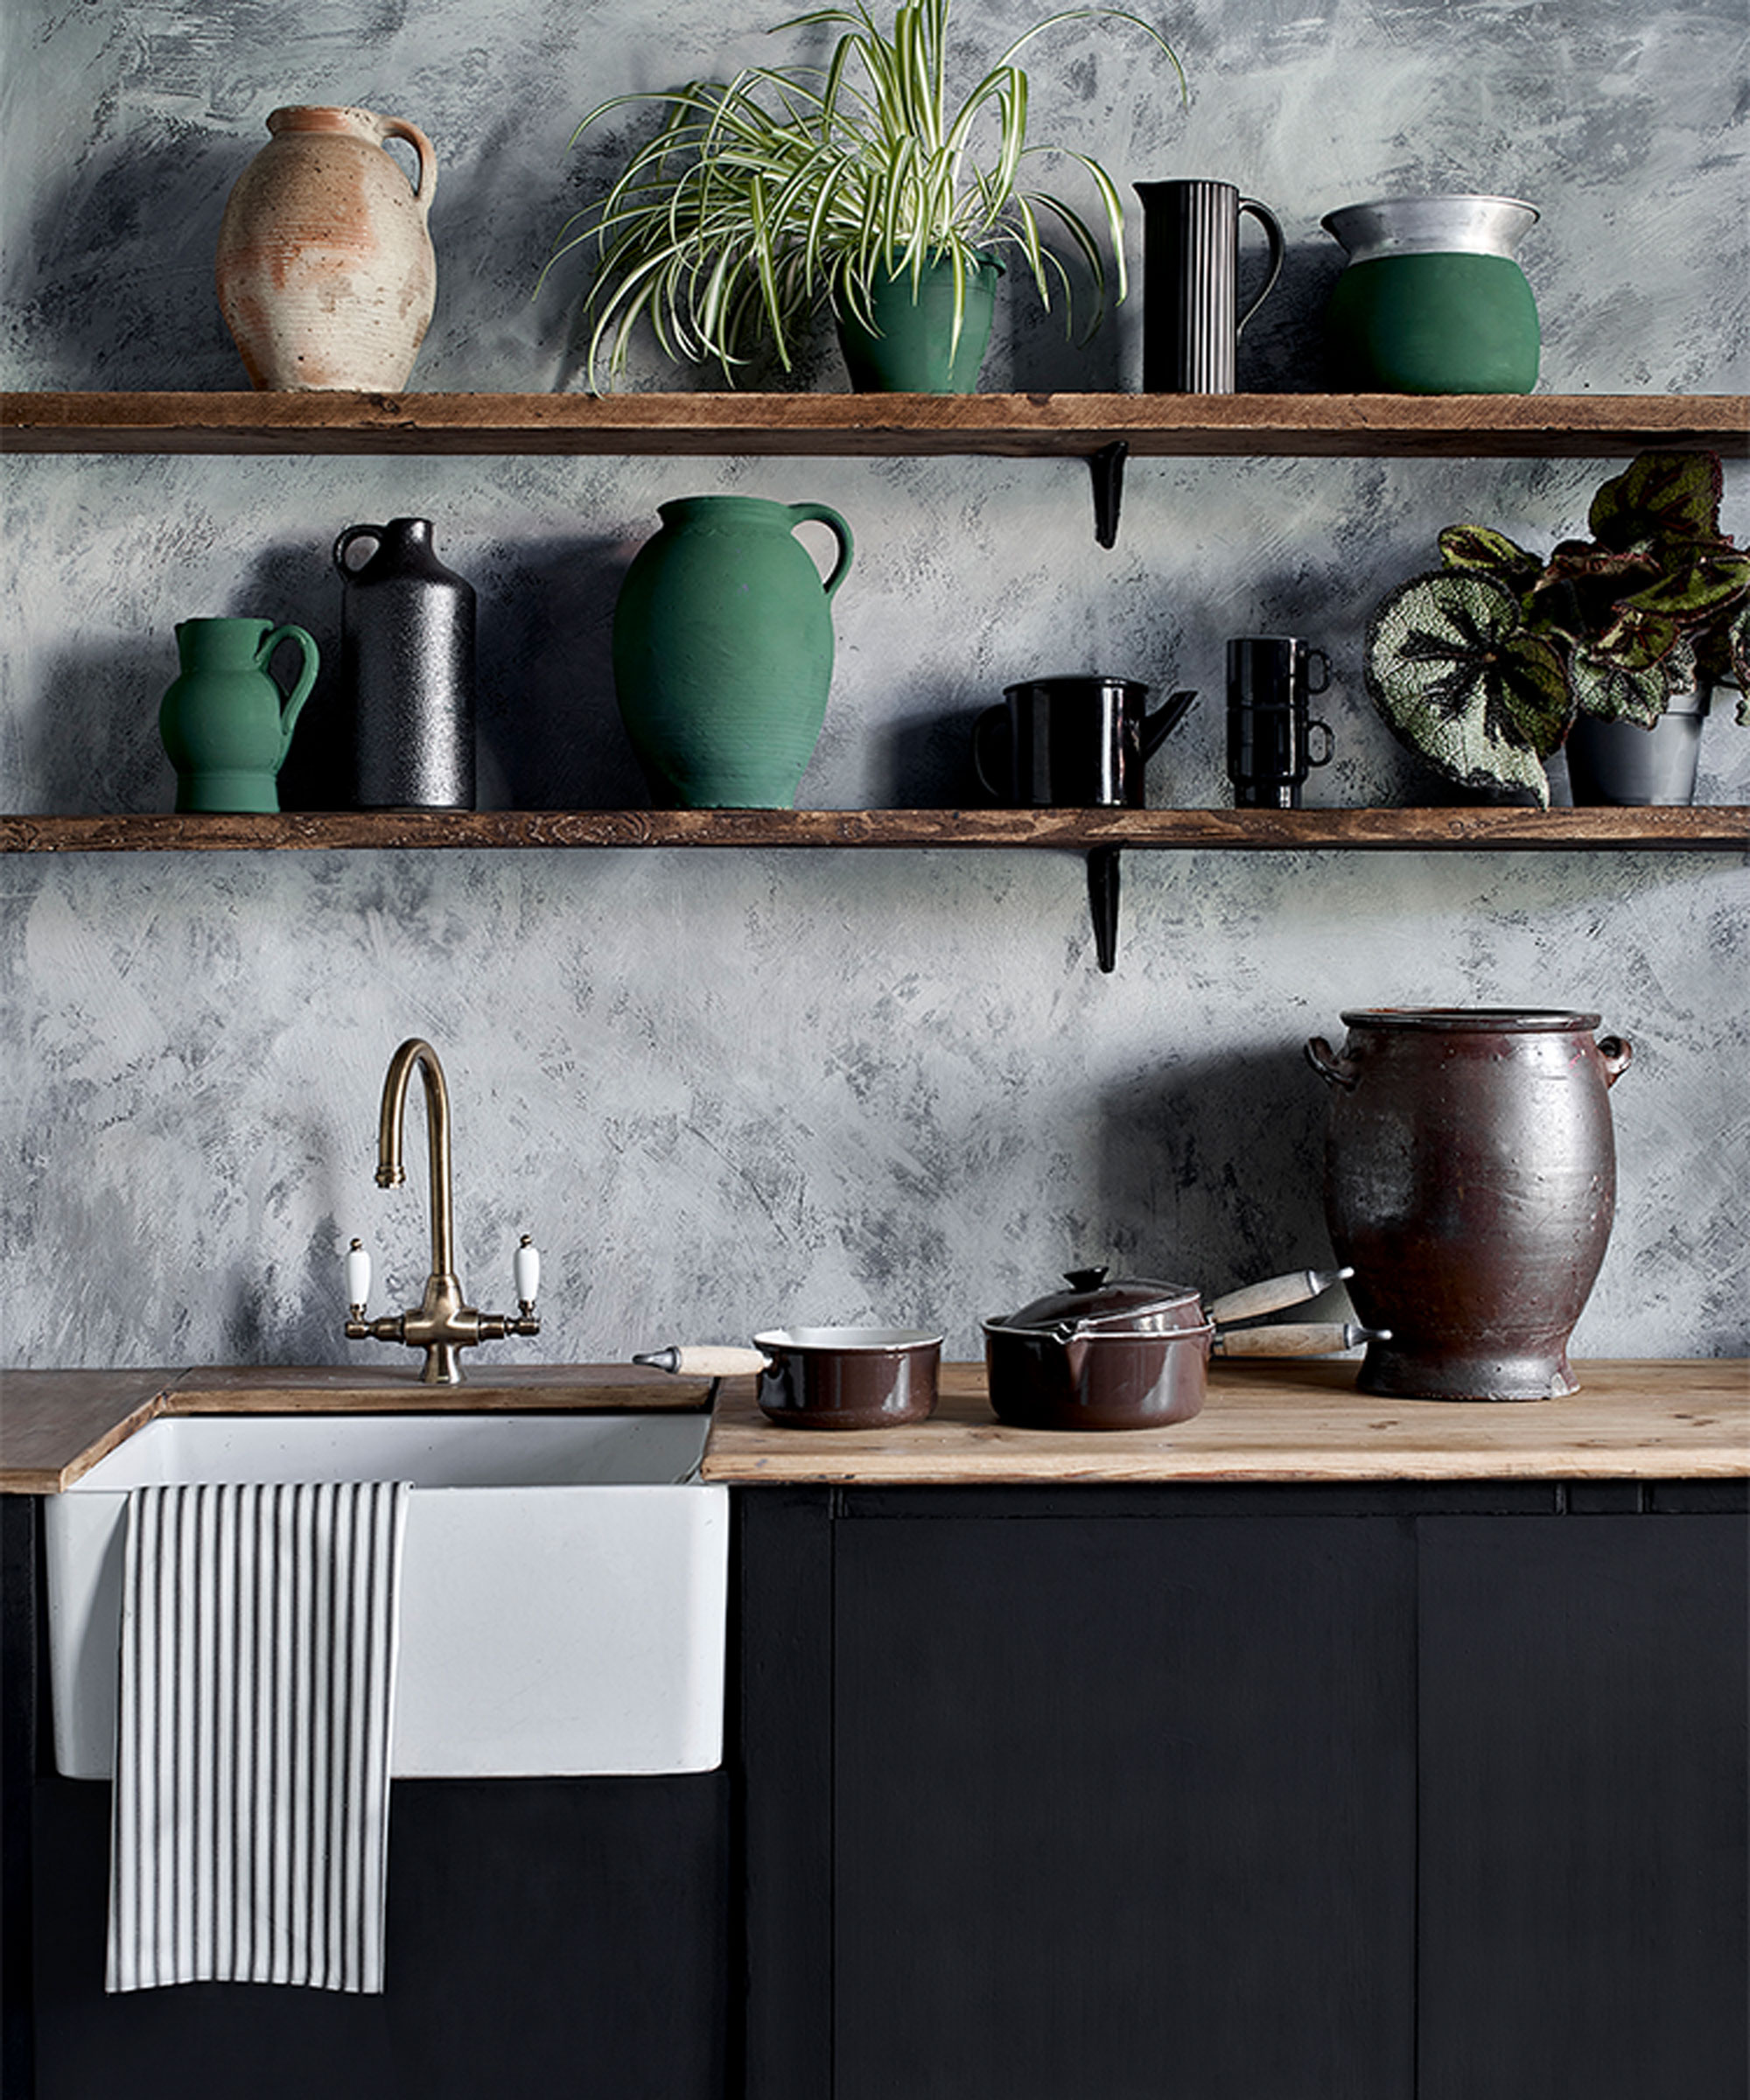
When color-washing a wall, choosing the right colors is key. You can use one color for a subtle effect or combine several for a richer, more layered look.
'I often select 2-3 similar but contrasting shades that work well together,' says Keely Smith, lead interior designer at JD Elite Interiors. 'I typically lean towards colors like stucco, mauve, sage, or Bordeaux to create a cozy feel, but jewel tones like sapphire or emerald can add richness.'
Design expertise in your inbox – from inspiring decorating ideas and beautiful celebrity homes to practical gardening advice and shopping round-ups.
When painting a wall, we recommend choosing hues that complement your existing decor or those that will create a bold statement. Don't be afraid to experiment.
Before you begin this project, make sure to properly stock up on the supplies you will need so as not to be caught short midway through the painting process. 'You can use a brush, a sponge, or whatever tool gives you the texture you're after,' says Jon Christensen.
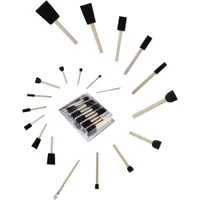
Opt for a large flat brush for broad strokes, a smaller brush for corners and edges, and a selection of sponges to create a softer, more organic texture.
Zibra KIT4FUR 4-Piece Furniture Paint Brush Set | Was $39.85, now $36.35 from Amazon
This four-piece paintbrush set has all the bases covered, including a long handle trim brush, a 2-inch Palm Pro paint brush, a chiseled wedge paint brush, and a round detail brush.
conda 50 Pack Assorted Foam Brush Set | $11.99 from Amazon
This set of sponges, ranging from 0.5"-2" in different shapes, allows you to have full control over your color-washing design, helping you to create the texture you want.

Keely Smith is an interior design expert and artist at Home Stratosphere, a leading interior design studio in North Vancouver, BC. With over ten years of experience, she has helped numerous businesses and individuals realize their interior design goals.
2. Prepare the area and walls
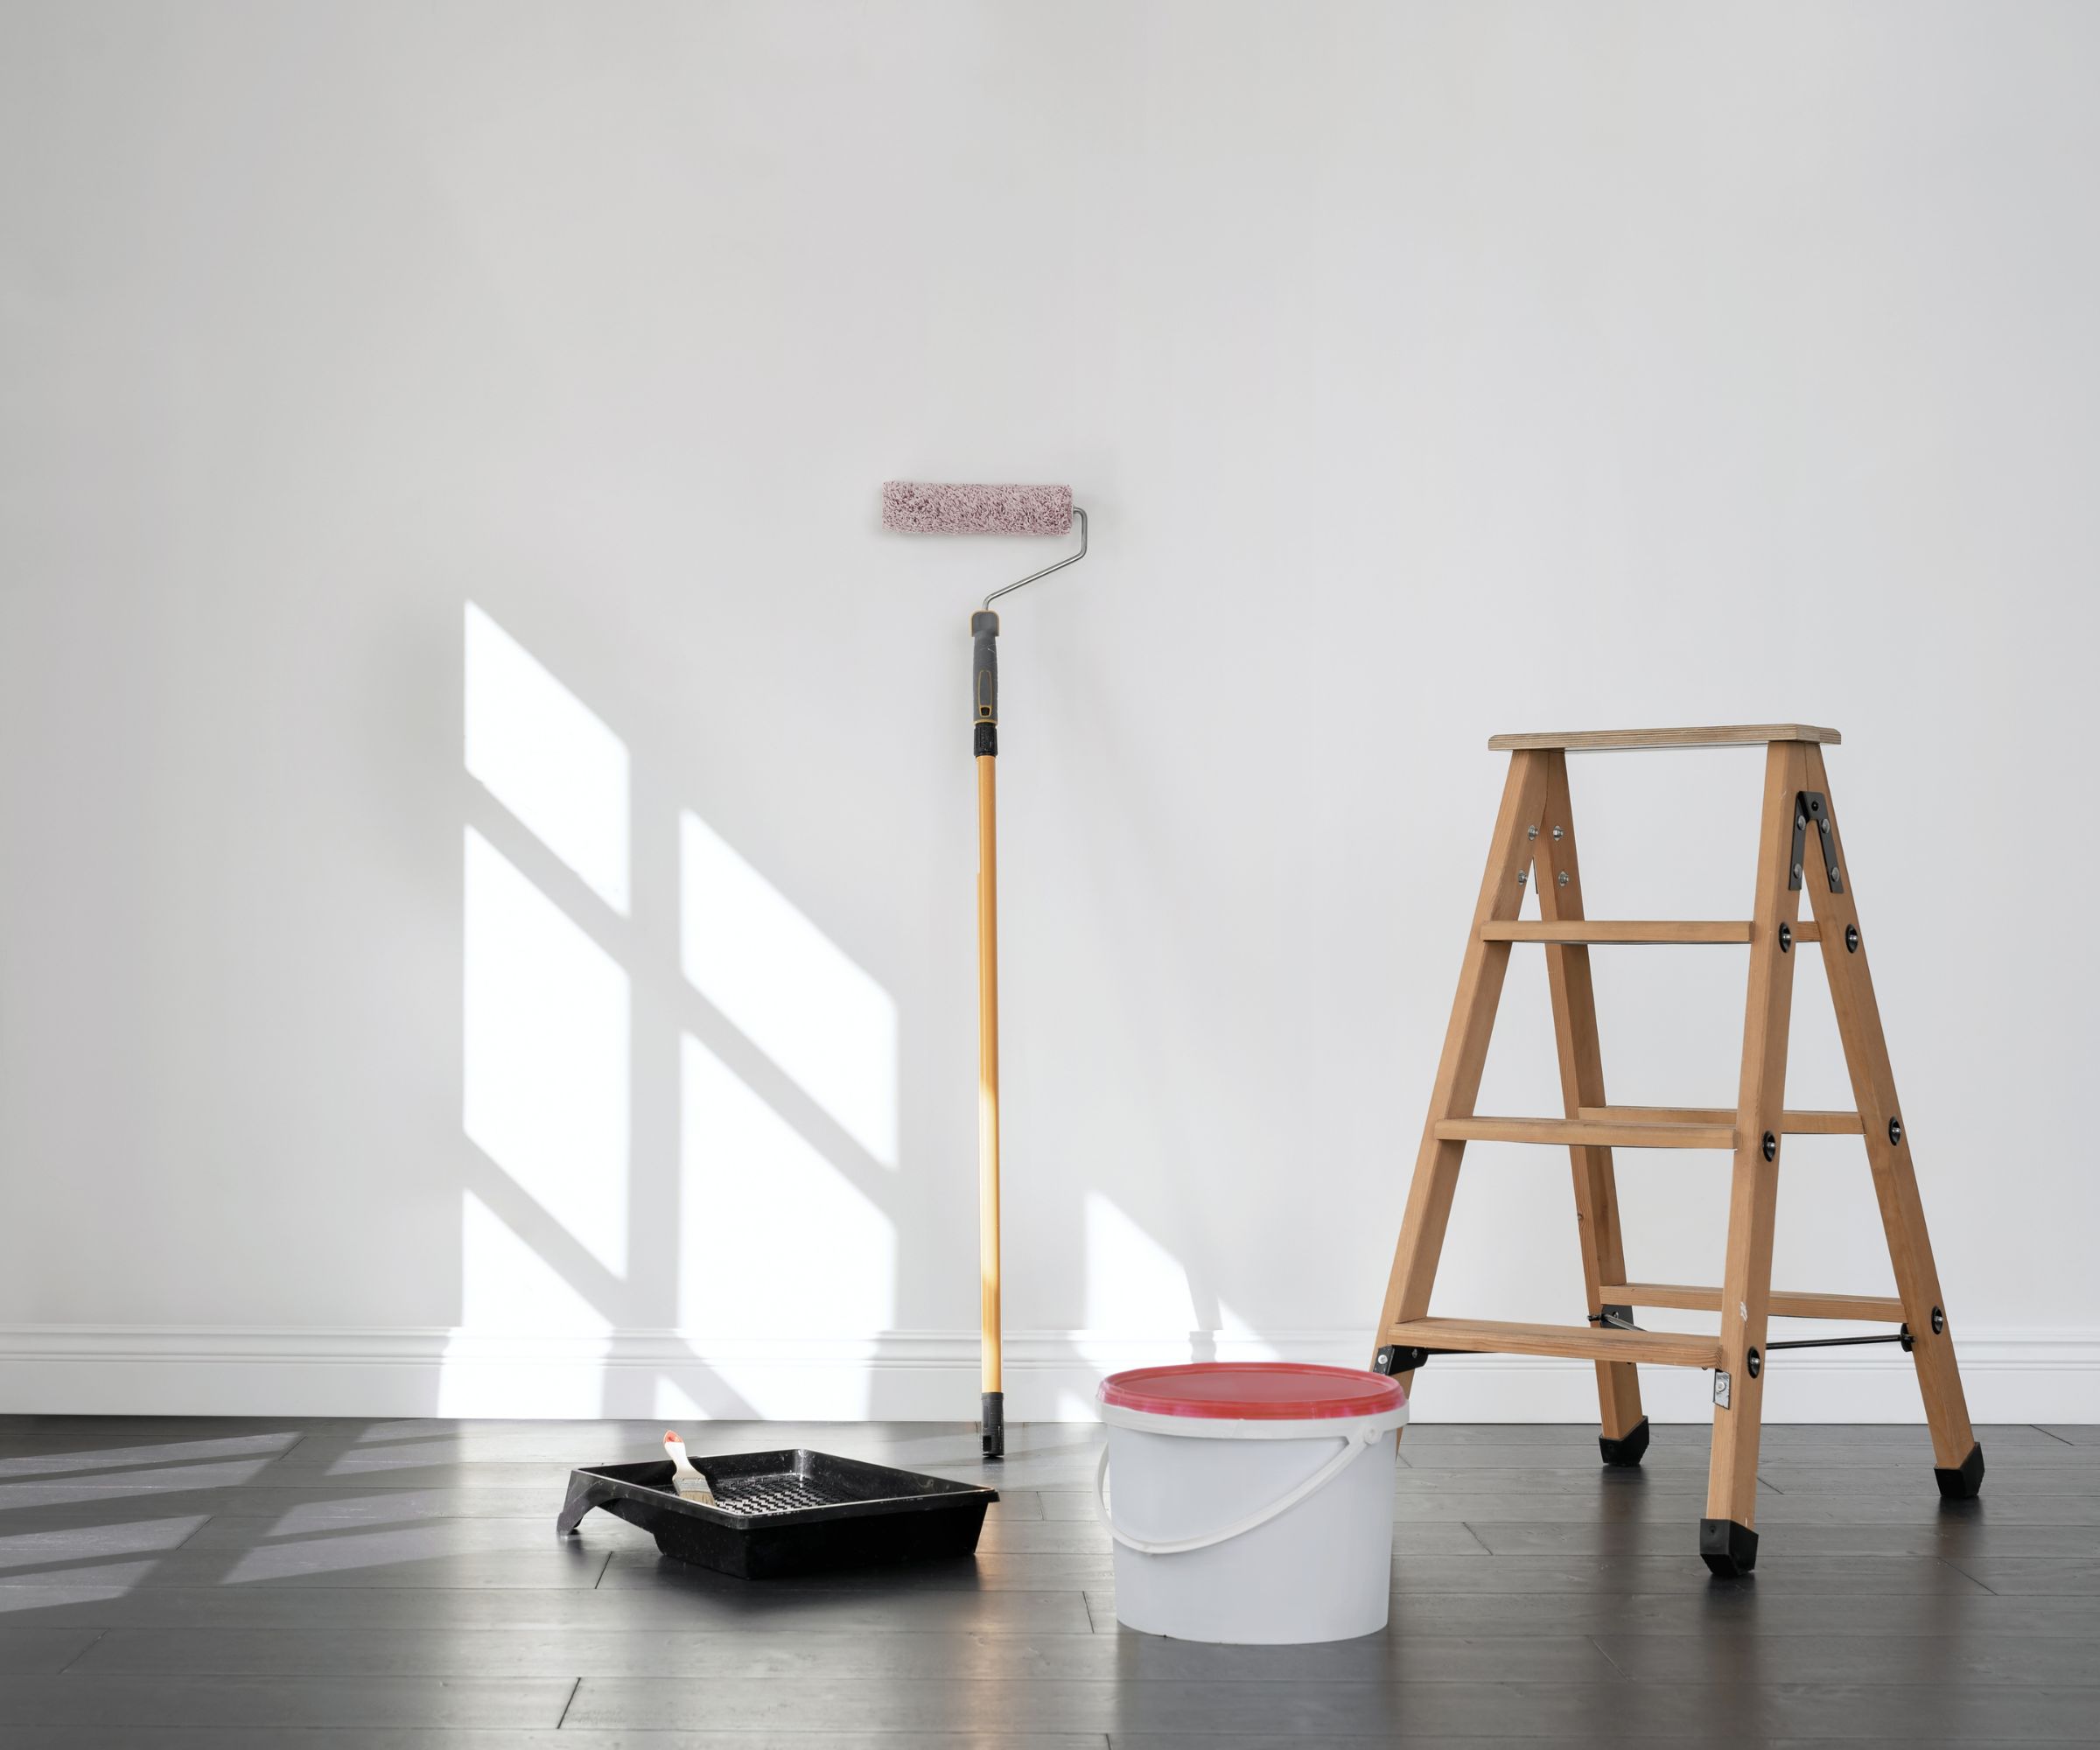
'Start by moving your furniture out of the way, and protect your floor. If you’re planning on doing a ton of painting, then you should invest in proper drop cloths,' recommends Jon Christensen. 'If this is a one-off project, just grab a surface protection mat instead.' You can find this reusable drop cloth at Amazon.
'Before starting the color-washing process, prepare the walls by cleaning them and ensuring they are free from dust and debris,' advises Shlomo Cherniak, owner of Cherniak Handyman Services. You should also apply painter's tape around door and window frames and baseboards to protect them from drips or splashes.
After cleaning the walls, take this opportunity to repair any cracks, dents, or imperfections in the wall. You can also prime the entire surface with a high-quality primer suitable for color-washing. This creates a consistent base and helps the color adhere better.
3. Apply a base coat
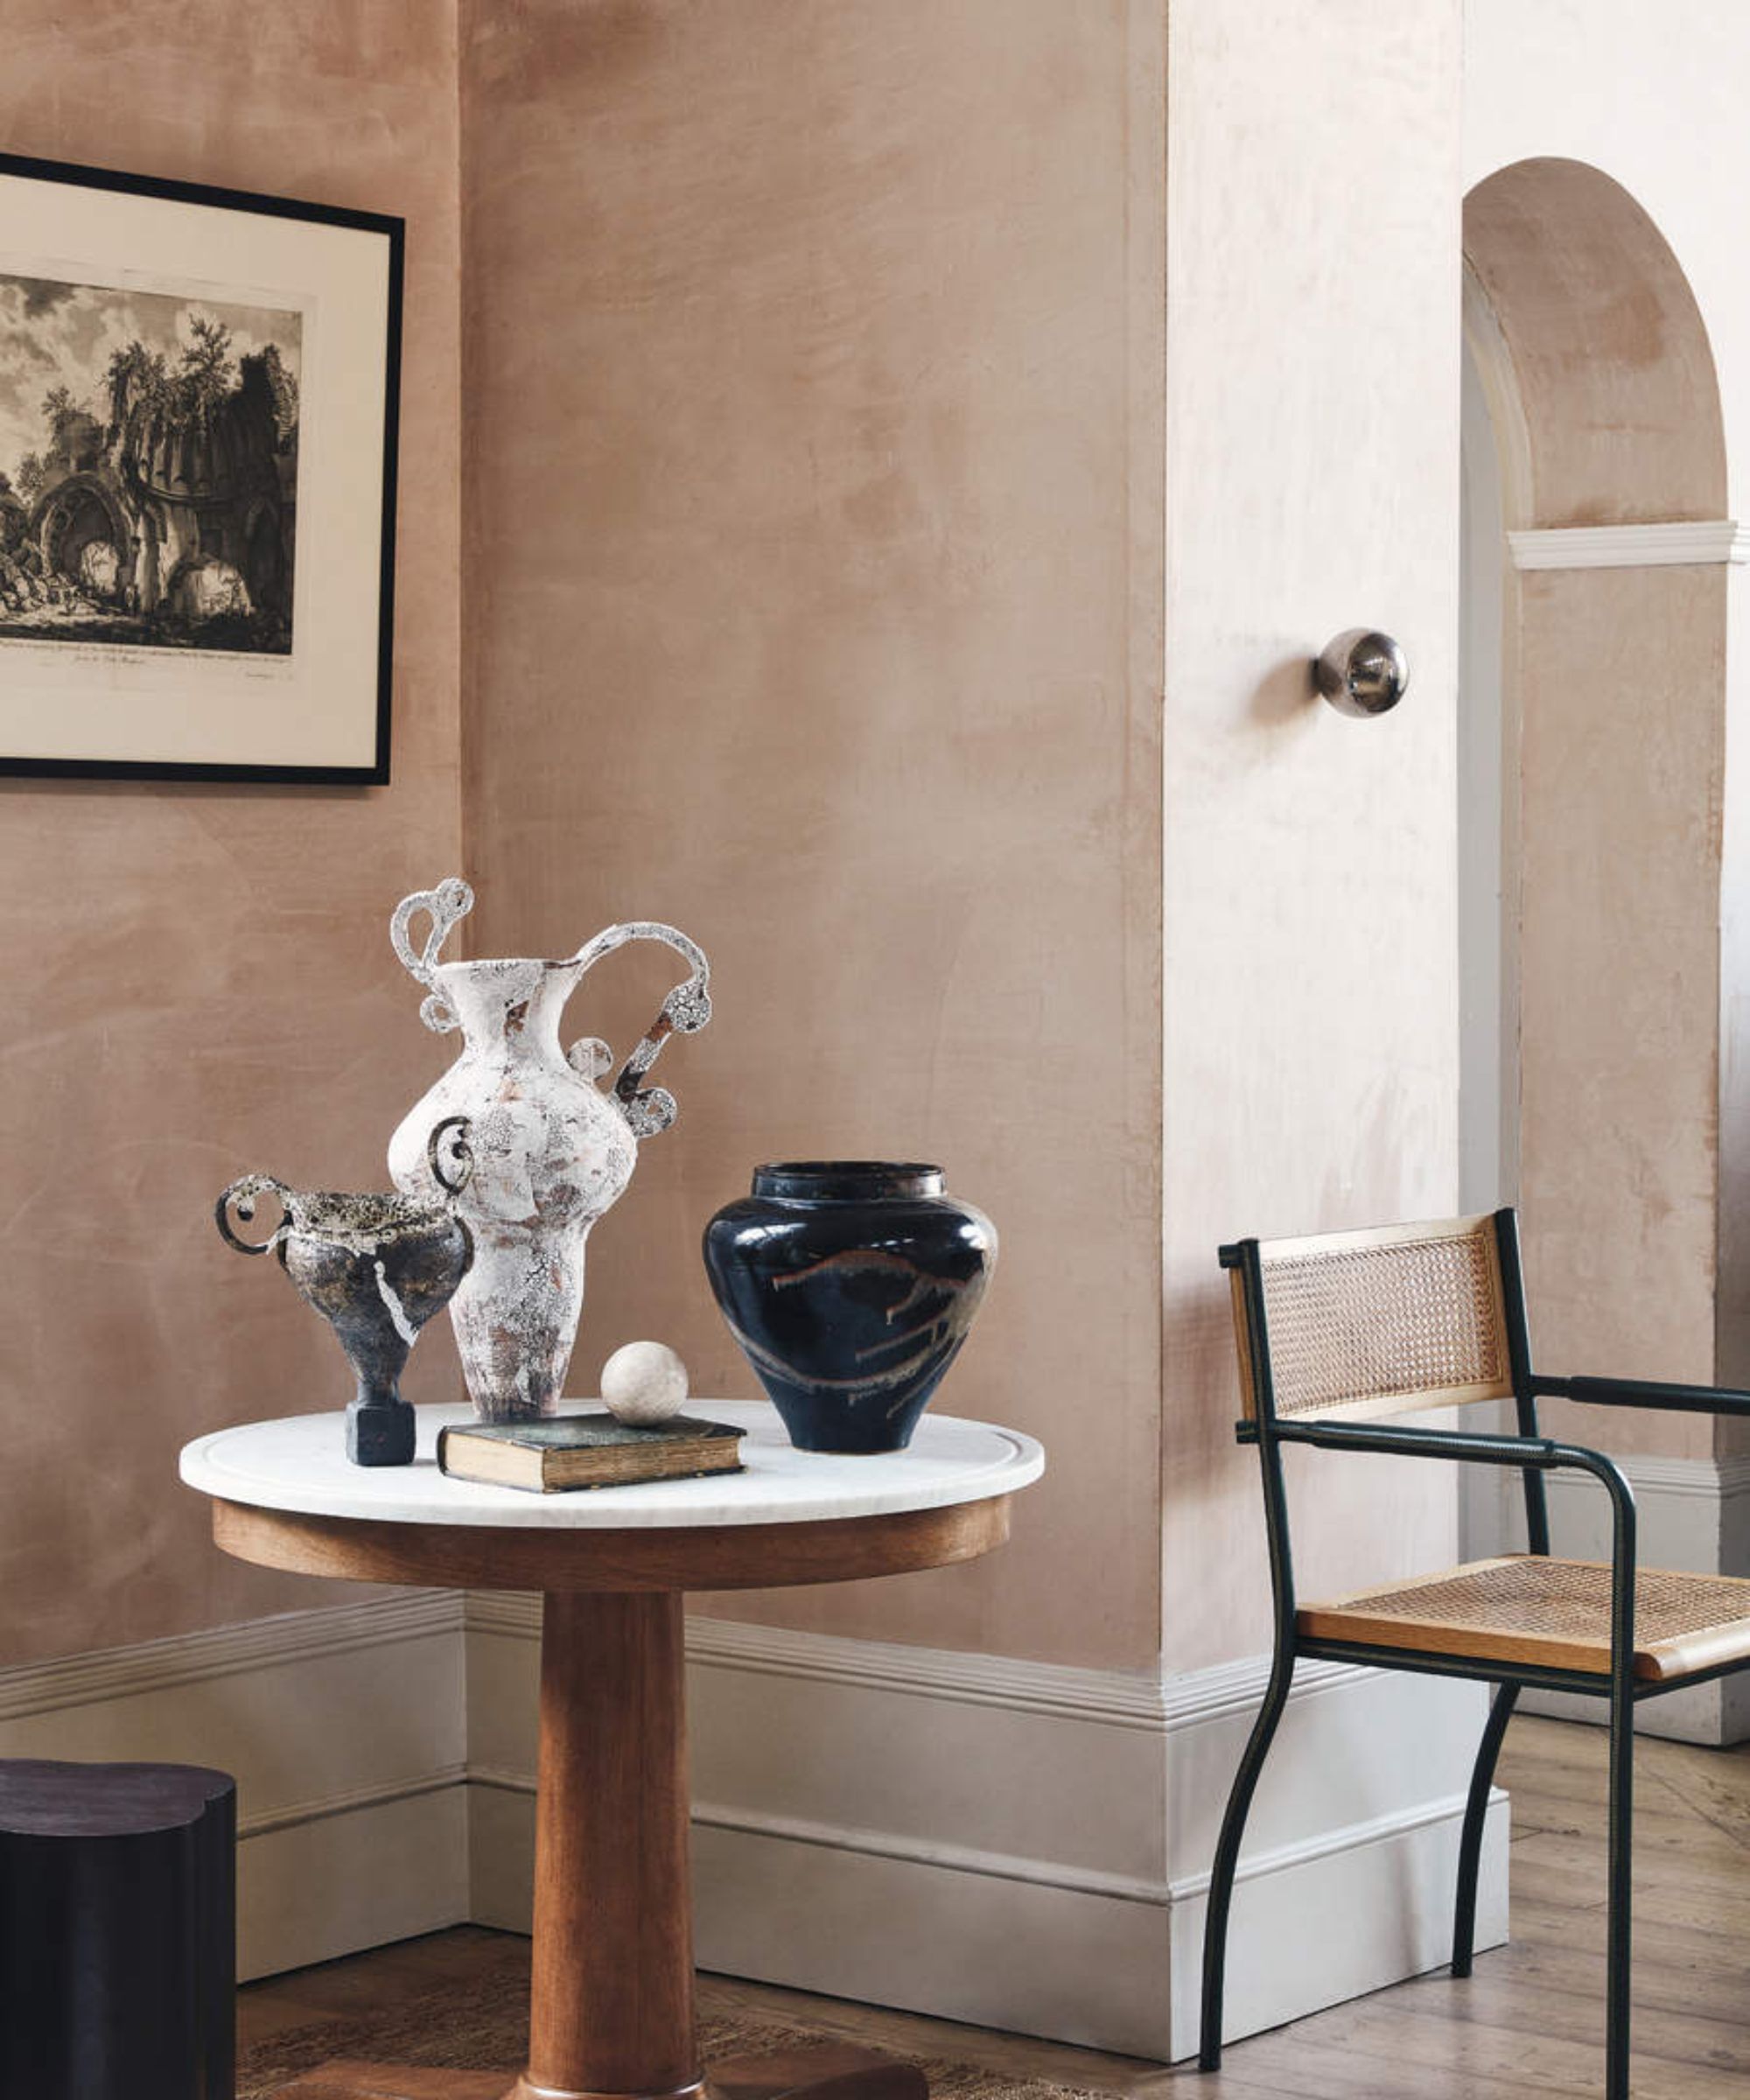
'Start by applying a base coat of paint to the walls. This base coat will serve as the background color for the color wash,' explains Shlomo Cherniak. 'Choose a color that complements the desired color wash effect and let your base color dry completely before you apply the color wash. Patience is key, as this usually takes a full day.'
4. Mix the glaze
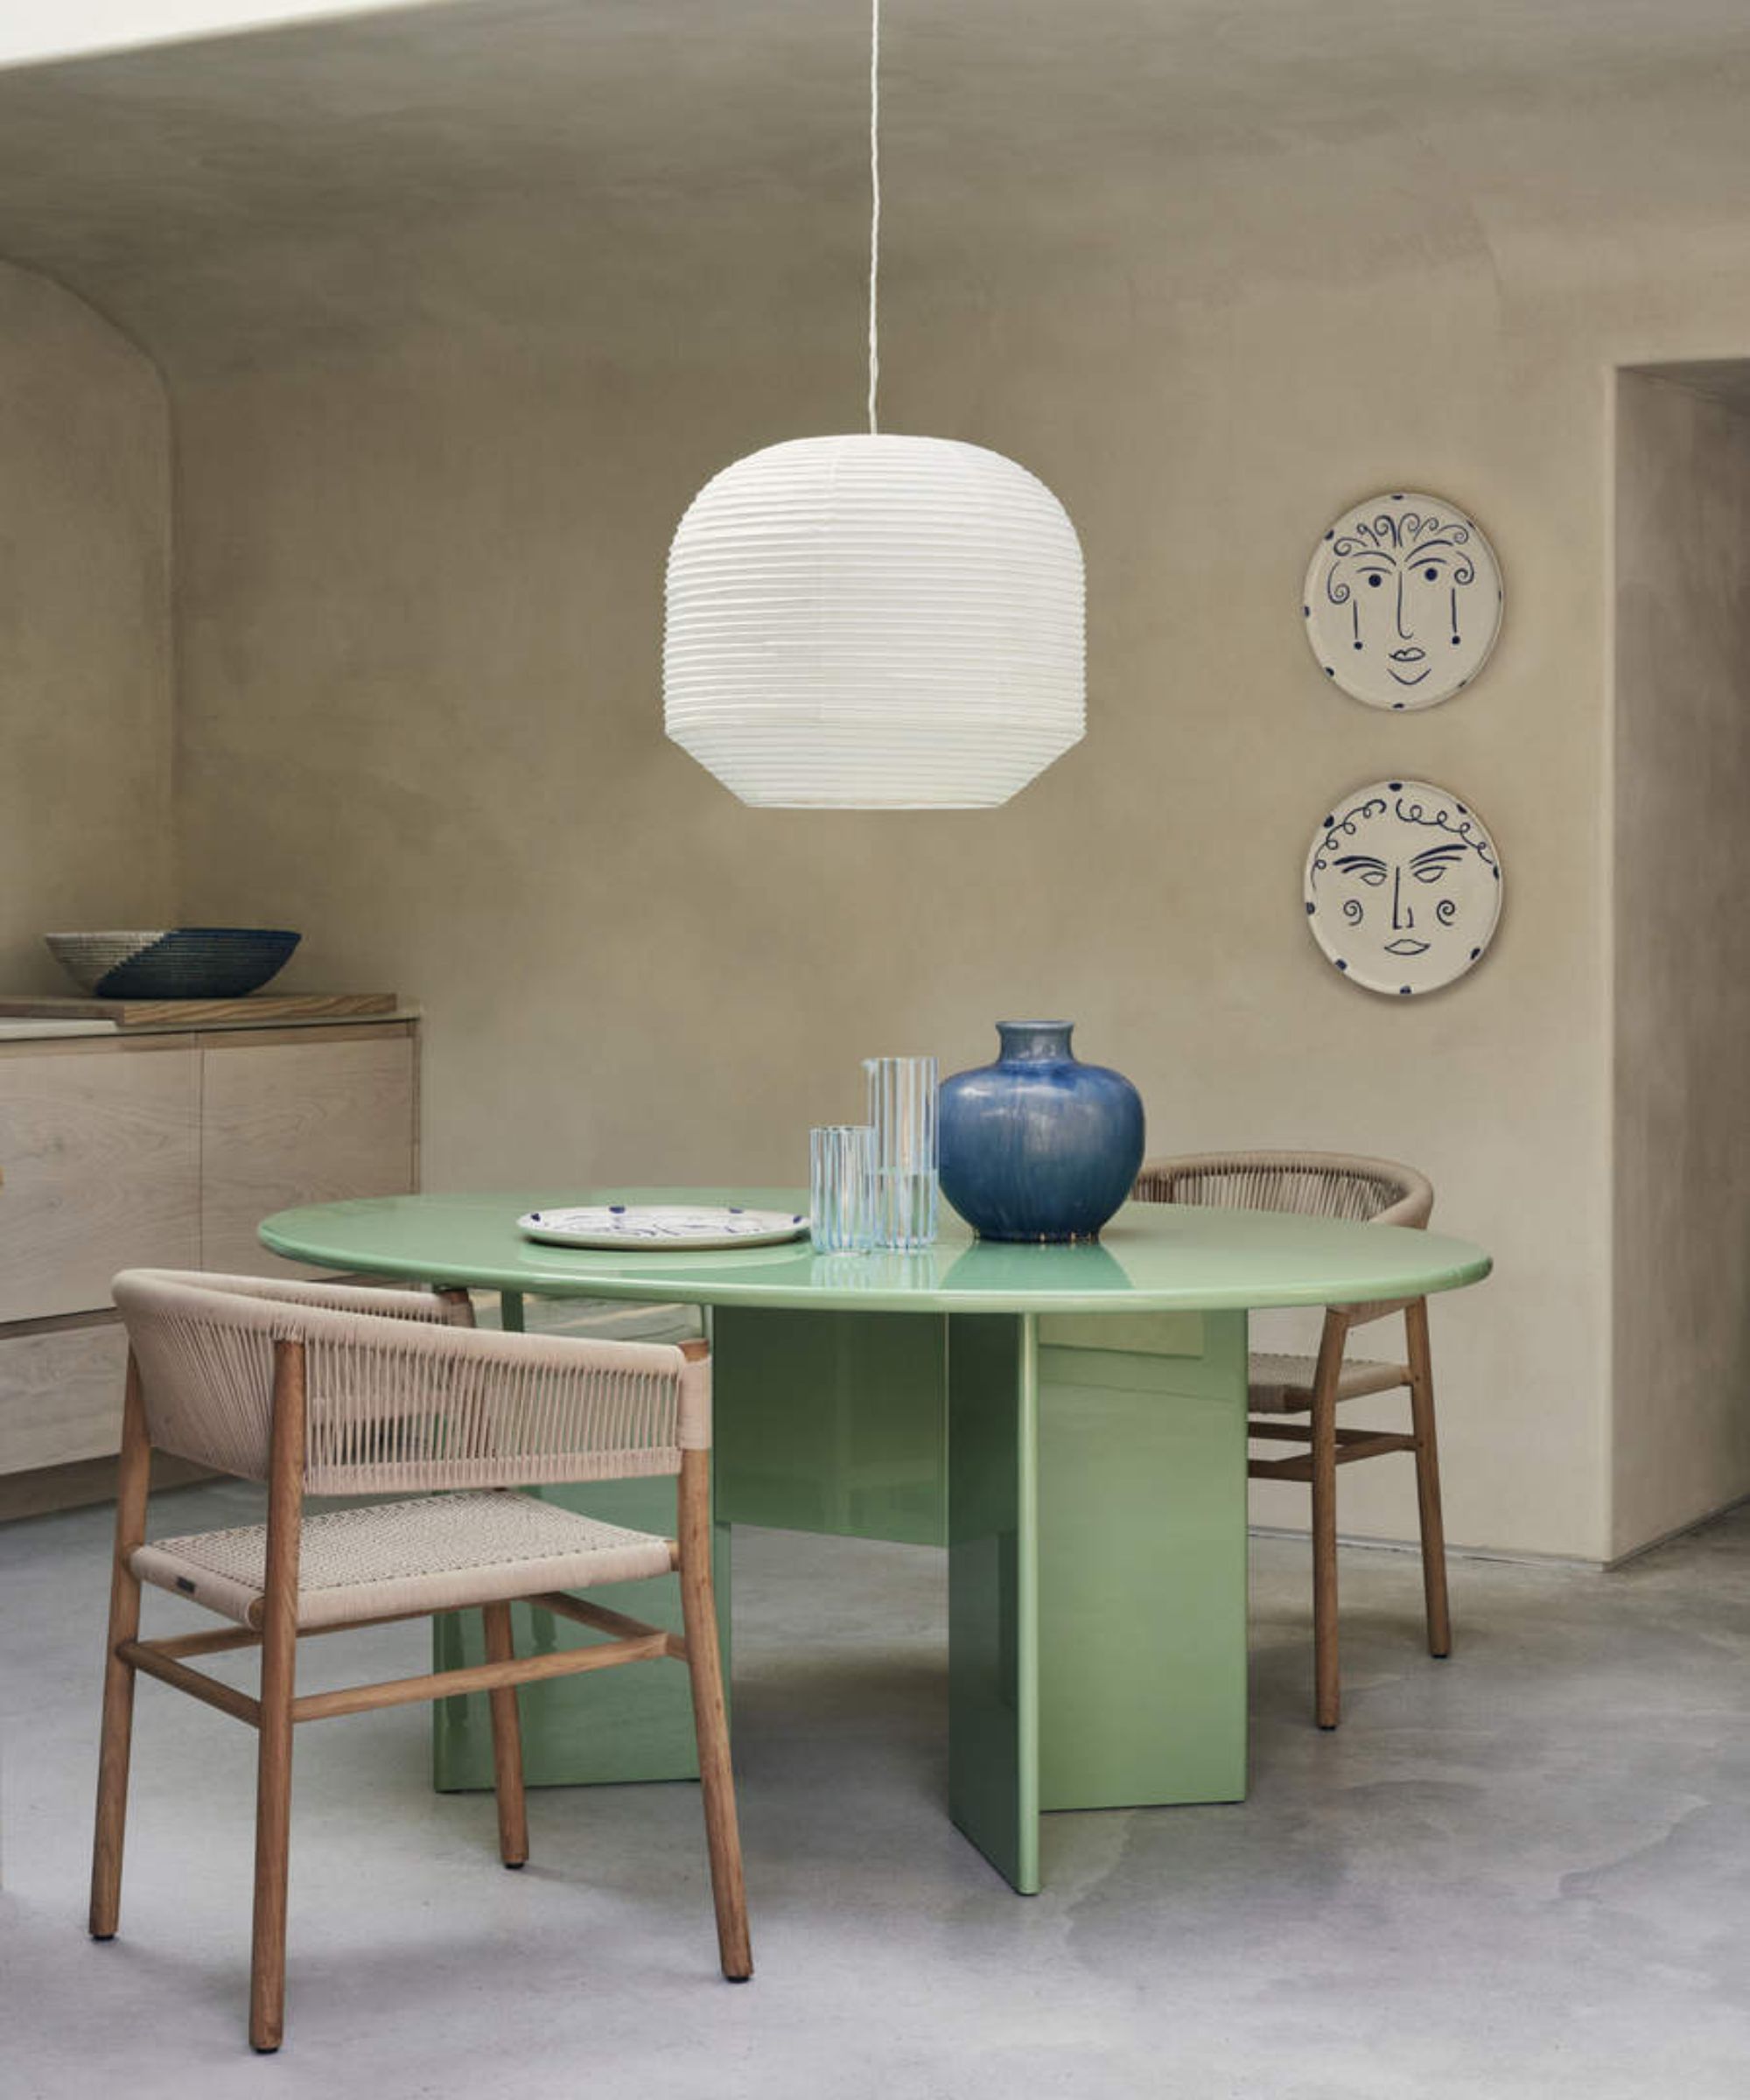
'Once the wall is dry, mixing the glaze is where the magic starts. You'll mix a glaze medium with your colored paint,' says Jon Christensen. 'A common mix is four parts glaze to one part paint, but feel free to tweak it, and if you want more of the base color to show, add more glaze.'
The specific ratios may vary depending on the desired effect and the instructions provided by the paint manufacturer.
Eli Cohen, co-founder of The ADU Guide explains: 'To create a translucent glaze, combine a glazing liquid and a complementary tint in a ratio of around four parts glaze to one part paint.'
Mix the glaze thoroughly until it is well blended.
5. Apply the glaze

'When you apply the glaze, work in manageable sections, working from top to bottom,' advises Jon Christensen. 'You can use a brush, a sponge, or whatever tool gives you the texture you're after, lightly squeezing off excess glaze.'
'Work in parts, blending and manipulating the glaze to achieve a consistent, watercolor-like look,' adds Eli Cohen. 'The goal is to experiment and welcome the organic variations that arise. This process not only adds a subtle beauty to your walls but also allows for a personalized touch, transforming each color-washed wall into a unique work of art.'
'Don't be afraid to add some personality with your strokes – crisscross, dab, or swirl,' days Jon Christensen. 'Glaze dries pretty quickly though, so keep the edges wet and work fast to avoid harsh lines. As you finish each section, blend the edges with a dry brush to make it all seamless.
After you're done, let it all dry, and if you want extra protection, seal it with a clear topcoat. Remember, don't overwork it and don't worry about achieving perfect uniformity – let the streaks and imperfections add to the character, that's the point of color washing!
6. Experiment and adjust
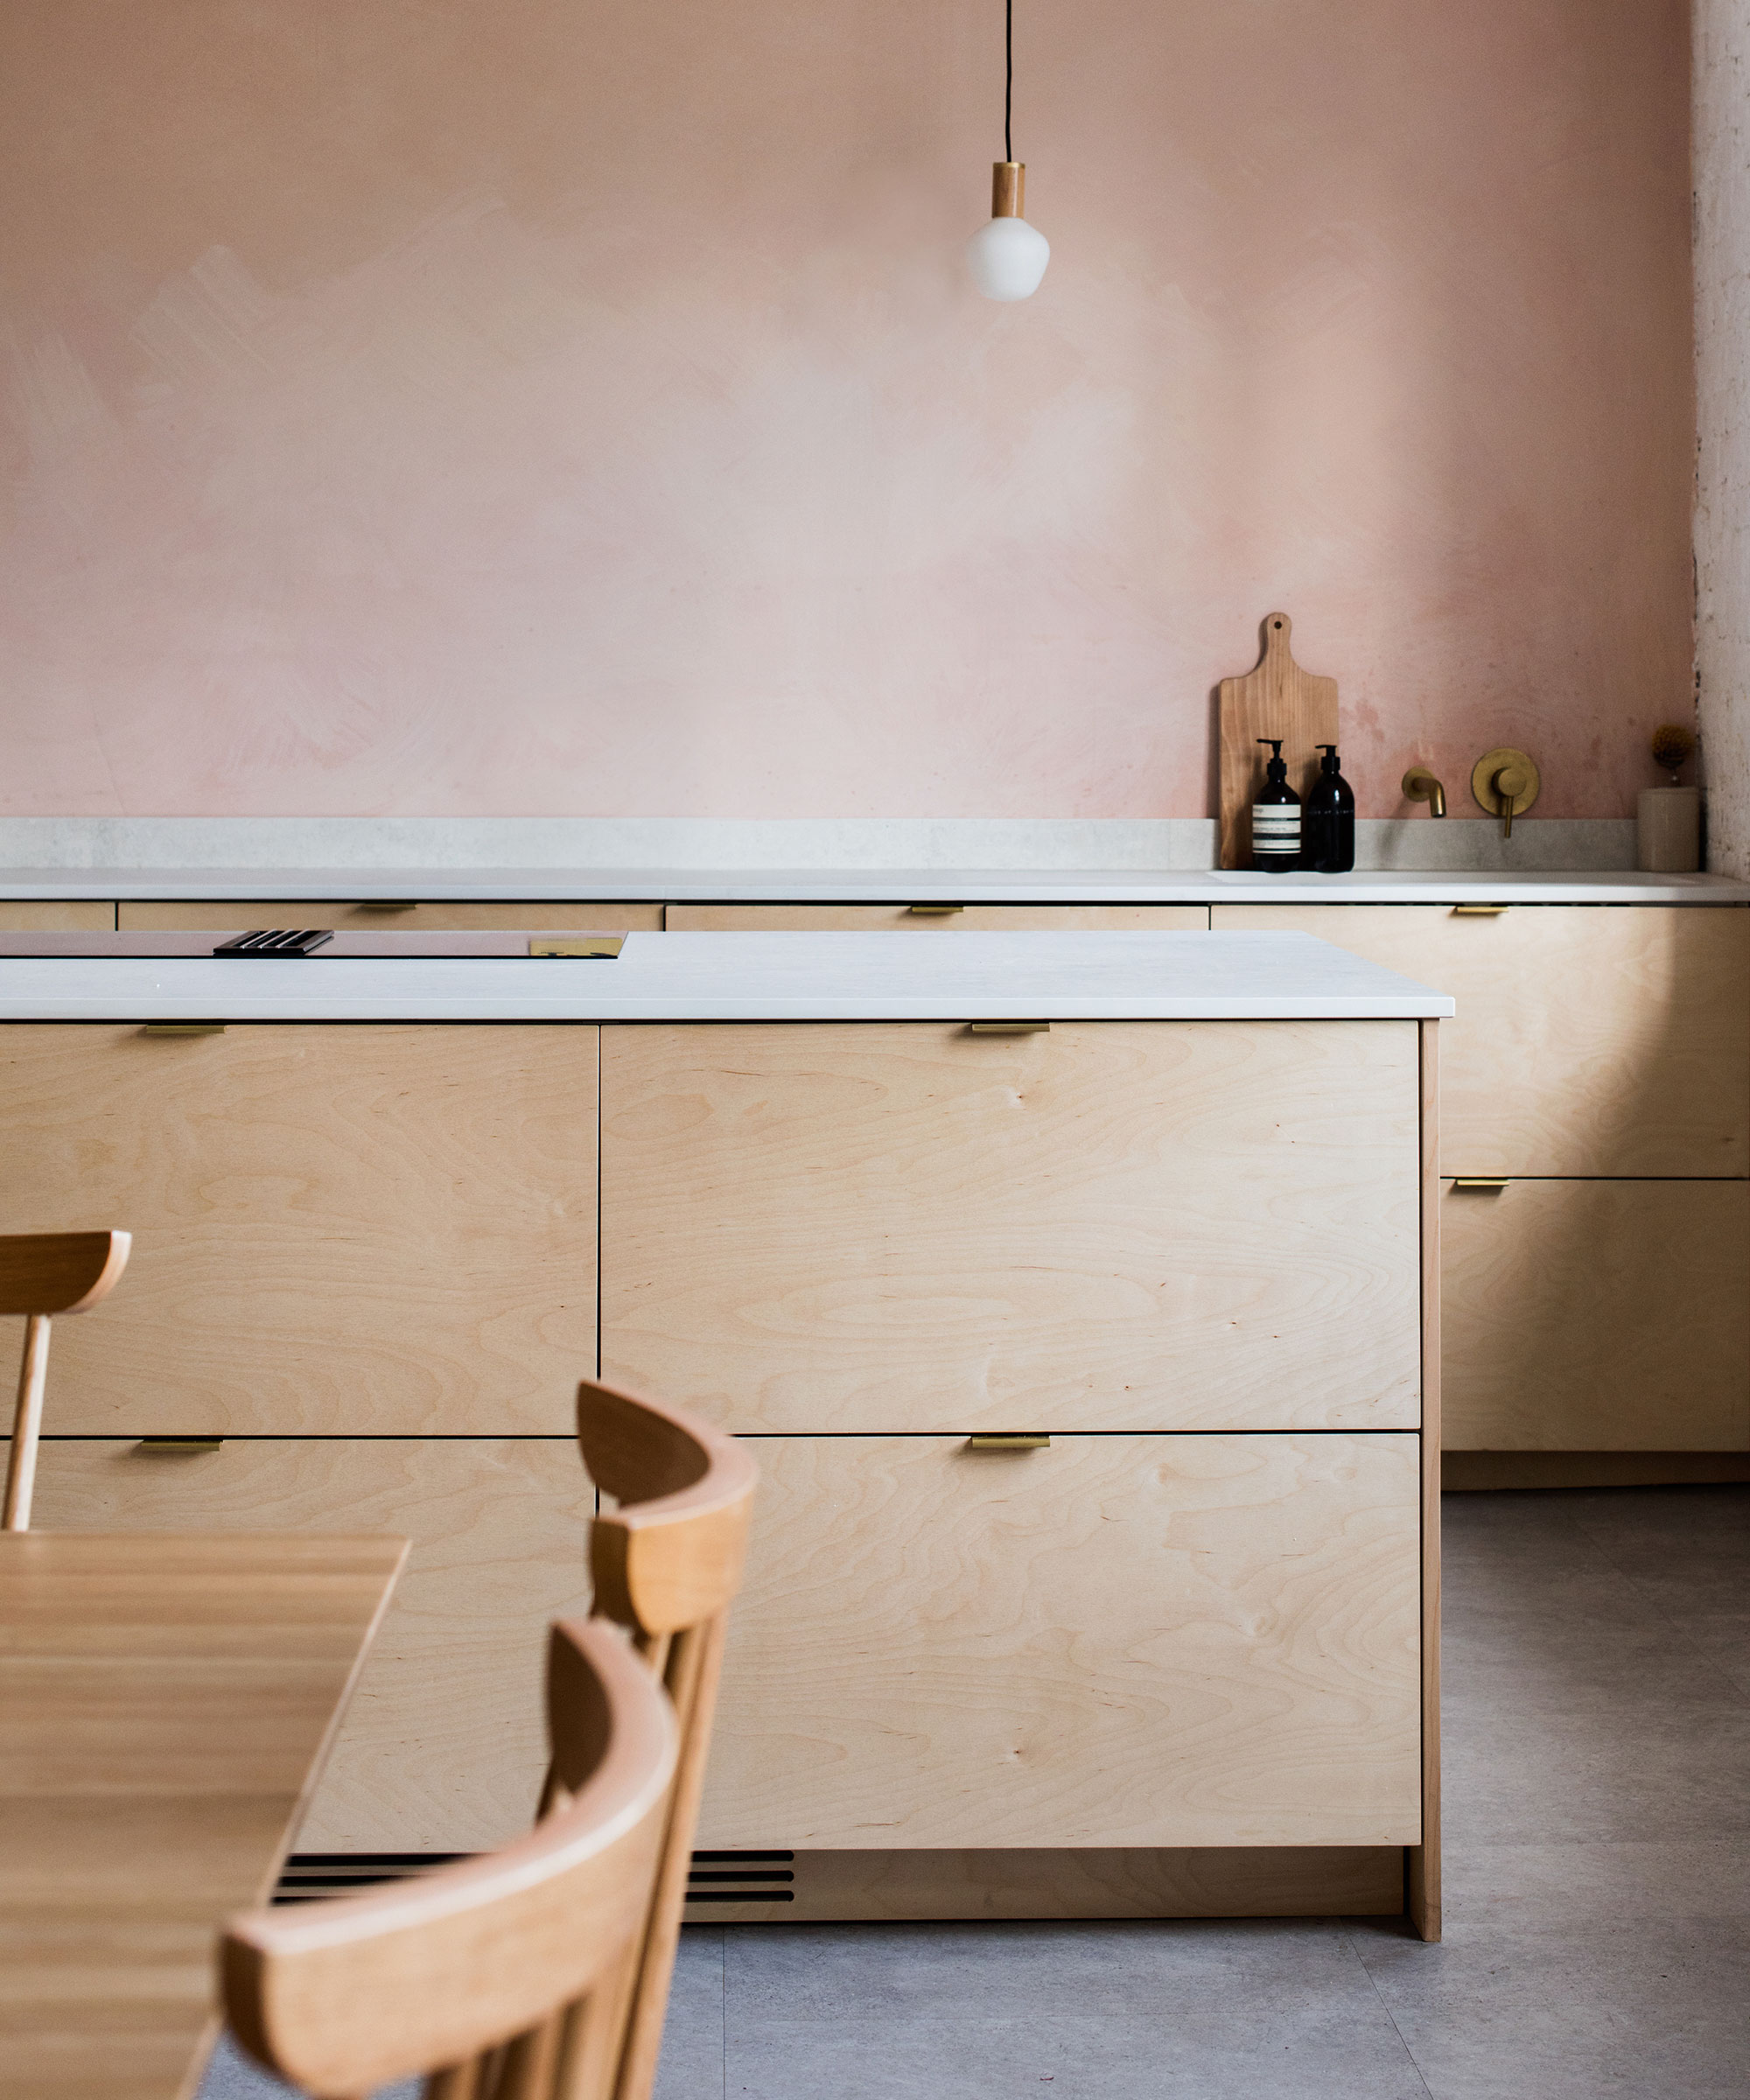
'Color washing is a technique that allows for creativity and experimentation. Feel free to adjust the amount of glaze and the pressure applied or even try different colors to achieve the desired effect,' concludes Shlomo Cherniak.
Remove painter's tape carefully while the paint is still wet, and touch up any missed spots or drips with a small brush.
If you’re an inexperienced painter, or your finished walls need to be perfect, Jon Christensen, CEO of Bidmiigo, recommends trialing the whole process on a test board first. This allows you to master the technique prior to applying any glaze to your walls. But don't be afraid to experiment, color-washing is more of an art than a science, after all.

Lola Houlton is a news writer for Homes & Gardens. She has been writing content for Future PLC for the past six years, in particular Homes & Gardens, Real Homes and GardeningEtc. She writes on a broad range of subjects, including practical household advice, recipe articles, and product reviews, working closely with experts in their fields to cover everything from heating to home organization through to house plants. Lola is a graduate, who completed her degree in Psychology at the University of Sussex. She has also spent some time working at the BBC.
