How to clean an air mattress – so you are always prepared for your next guest
Regularly cleaning your mattress can ensure is easy to maintain and lasts longer, so you'll be prepared for your next guest visit

Design expertise in your inbox – from inspiring decorating ideas and beautiful celebrity homes to practical gardening advice and shopping round-ups.
You are now subscribed
Your newsletter sign-up was successful
Want to add more newsletters?

Twice a week
Homes&Gardens
The ultimate interior design resource from the world's leading experts - discover inspiring decorating ideas, color scheming know-how, garden inspiration and shopping expertise.

Once a week
In The Loop from Next In Design
Members of the Next in Design Circle will receive In the Loop, our weekly email filled with trade news, names to know and spotlight moments. Together we’re building a brighter design future.

Twice a week
Cucina
Whether you’re passionate about hosting exquisite dinners, experimenting with culinary trends, or perfecting your kitchen's design with timeless elegance and innovative functionality, this newsletter is here to inspire
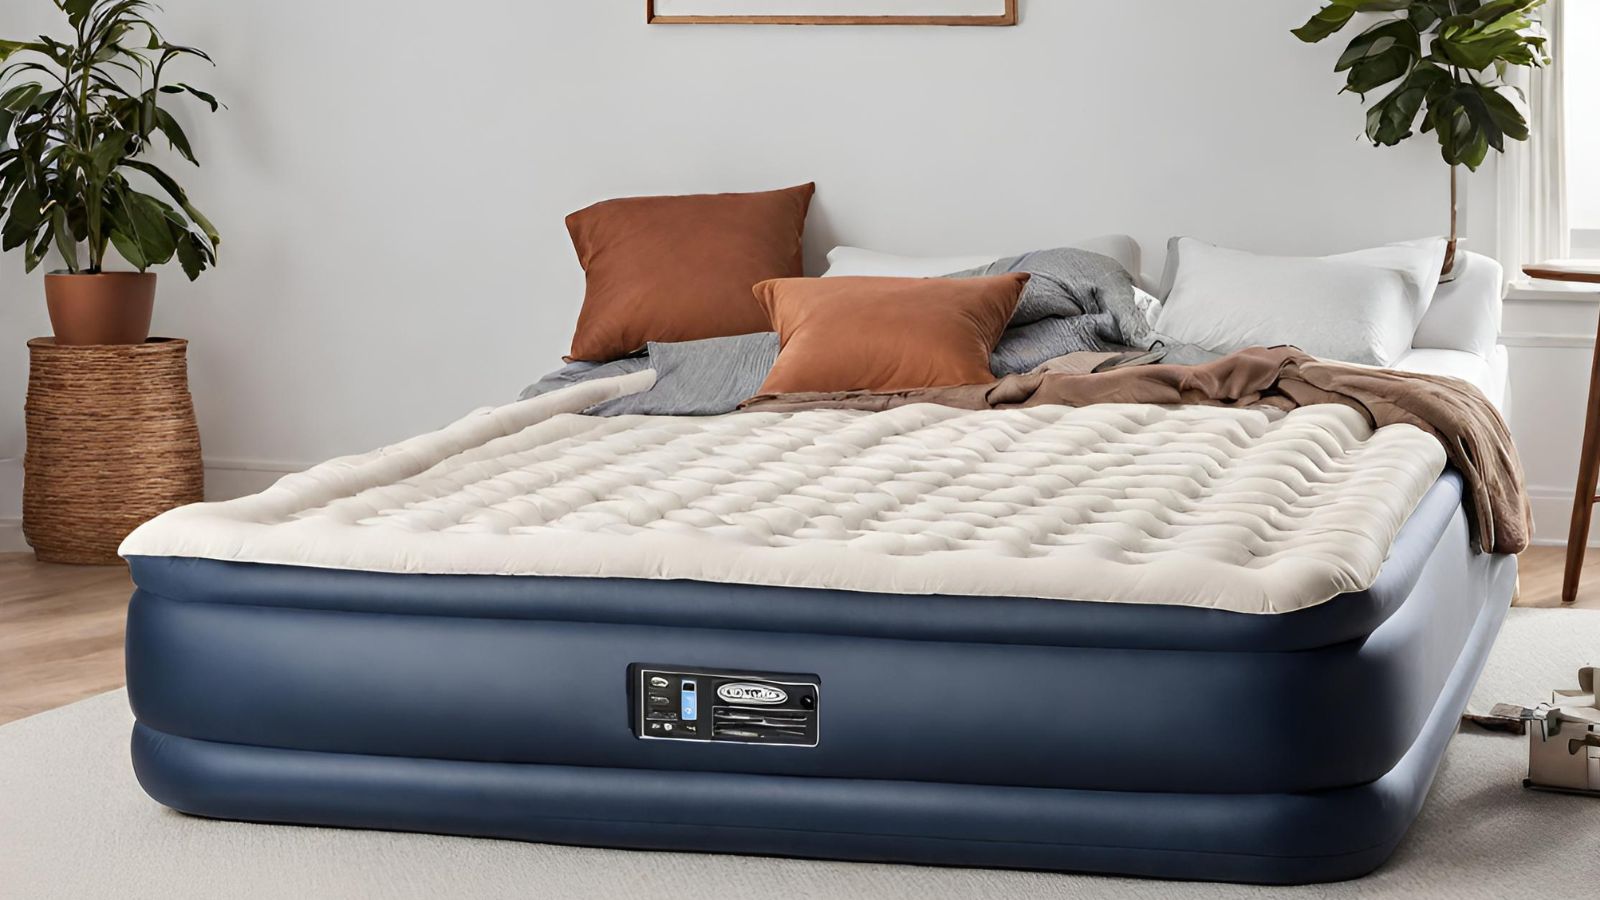
Cleaning your air bed after each use is the best way to keep it in good shape. Not only will this extend the mattress's usability, but it means you'll always be prepared for your next guest visit.
Like any mattress, these temporary sleeping arrangements can accumulate skin, perspiration, dust mites, and moisture which can lead to mold developing and microbes thriving. So, while cleaning your mattress can be an easy task to neglect, if you allow these to build up over time it will be harder to maintain and you may have to replace it sooner, which can be costly.
So, to make your air mattress more comfortable and long lasting, it is essential to incorporate these cleaning tips into your routine, including how to banish stains, odors, and mold.
How to clean an air mattress
If you can't clean the air mattress every time you use it, cleaning it at least once a month will still contribute to extending its longevity and ensuring it remains pleasant for guests. These are the ten steps for a pristine air mattress, recommended by cleaning and mattress experts.
Choose the right cleaning method
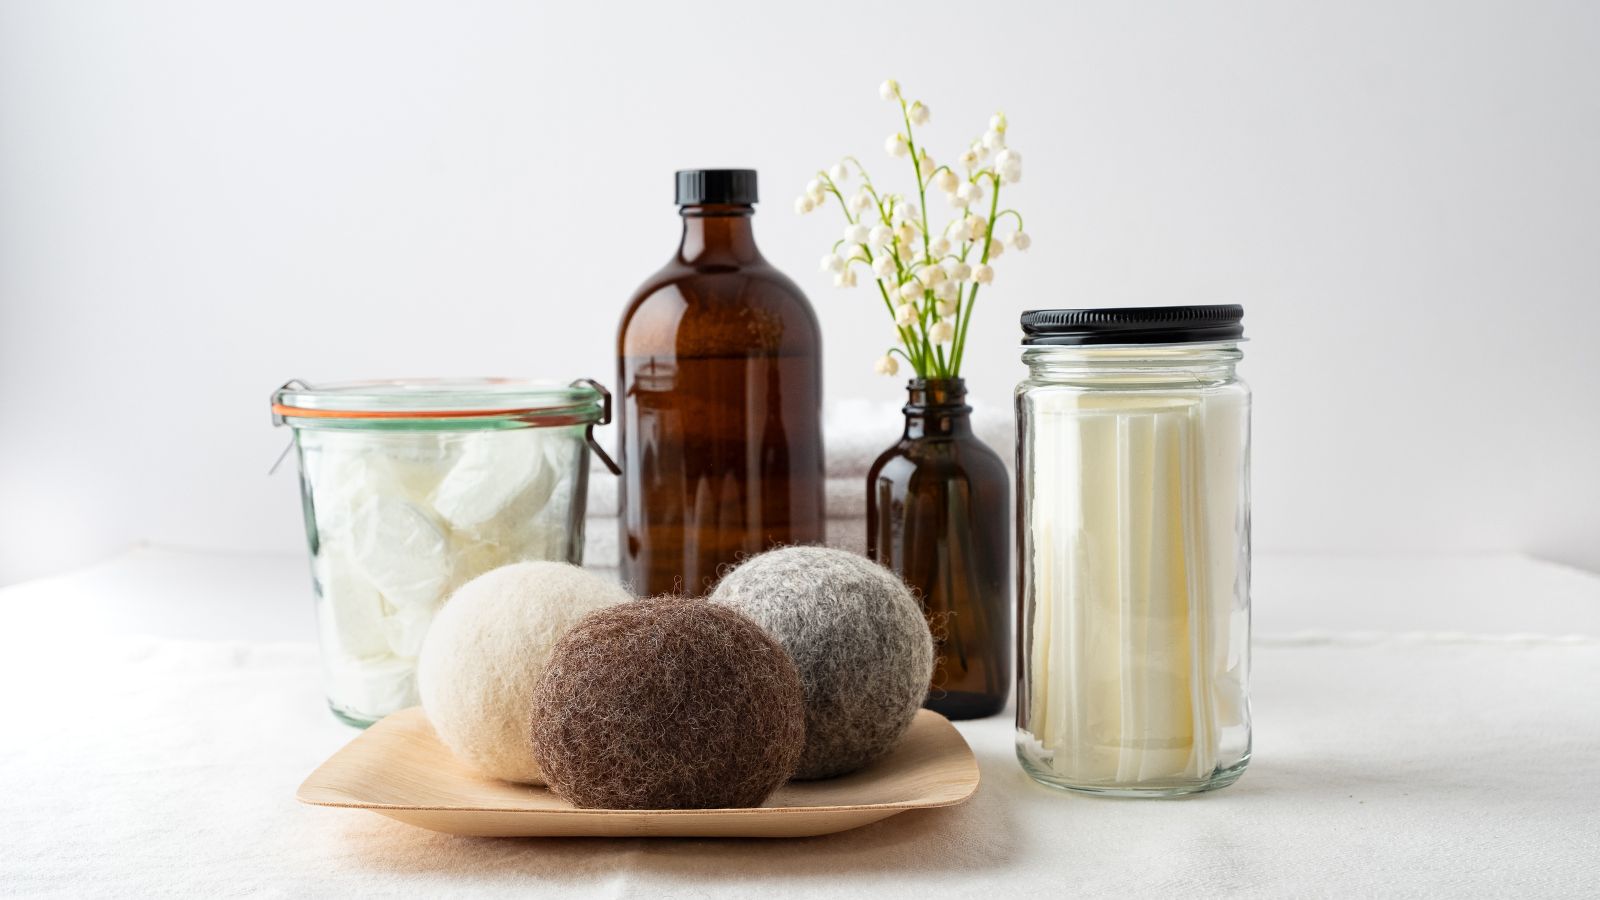
'Different materials require different cleaning methods,' explains James King, operations manager of DeluxeMaid, so knowing what you’re dealing with is important.
'It’s a good idea to stick to what the manufacturer suggests when it comes to cleaning your air mattress. They usually give you all the details on the best cleaning methods and products so you don’t end up ruining it or breaking the warranty.
'For example, a mild detergent solution and gentle blotting for fabric mattresses will do the trick. Avoid using any harsh chemicals or abrasive tools, as these can damage the material. Meanwhile, for vinyl mattresses, a damp cloth and mild soap are all you need to keep them clean and fresh.'
Design expertise in your inbox – from inspiring decorating ideas and beautiful celebrity homes to practical gardening advice and shopping round-ups.
Top tip: Before applying any cleaning solution, do a patch test first. This will help you determine if the cleaning solution matches your mattress material. Once you've got the green light, you can proceed with confidence.

James King is operations manager of DeluxeMaid, a home cleaning service in Indianapolis. With years of experience in the industry, he oversees all aspects of the business, ensuring exceptional service to clients.
Assemble your cleaning equipment
Before you start, gather the necessary supplies and tools. Having these supplies on hand can make cleaning easier and guarantee that you have all you need.
While this will depend on the method you've chosen, we recommend:
- A vacuum with an upholstery attachment
- A mild detergent/a specialized mattress cleaner
- Warm water
- A bucket (to mix them)
- A soft cloth or sponge (or brush)
- Baking soda
- Vinegar
Check for holes or damage
'Before you start cleaning your air mattress, you need to do a thorough inspection,' recommends James King from DeluxeMaid. 'Check for any visible damage like punctures, tears, or leaks. Pay close attention to areas that are prone to wear and tear, like the seams and valve openings.'
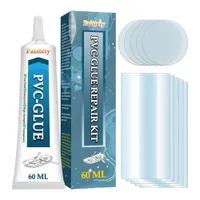
'To locate holes, pump up the air mattress all the way and listen carefully for any hissing sounds,' he continues. 'If you find any issues, don't panic. Just grab a suitable patch kit and follow the instructions carefully.
Tighten valves and seams when necessary. If things are too loose, it can mess up the airtight seal and make it harder to inflate the thing you’re trying to inflate. Plus, it might make it uncomfortable to sleep on.
'And, when you’re cleaning around your mattress, make sure you’re being careful not to accidentally scratch it with any sharp objects.'
Air Mattress Patch Kit | View at Amazon
This handy kit is perfect for patching up small holes or damage to your air mattress.
Step-by-step guide
1. Deflate the air mattress
Before starting the cleaning process, it is important to deflate the air mattress completely. This will make it easier to handle and clean.
2. Vacuum the surface
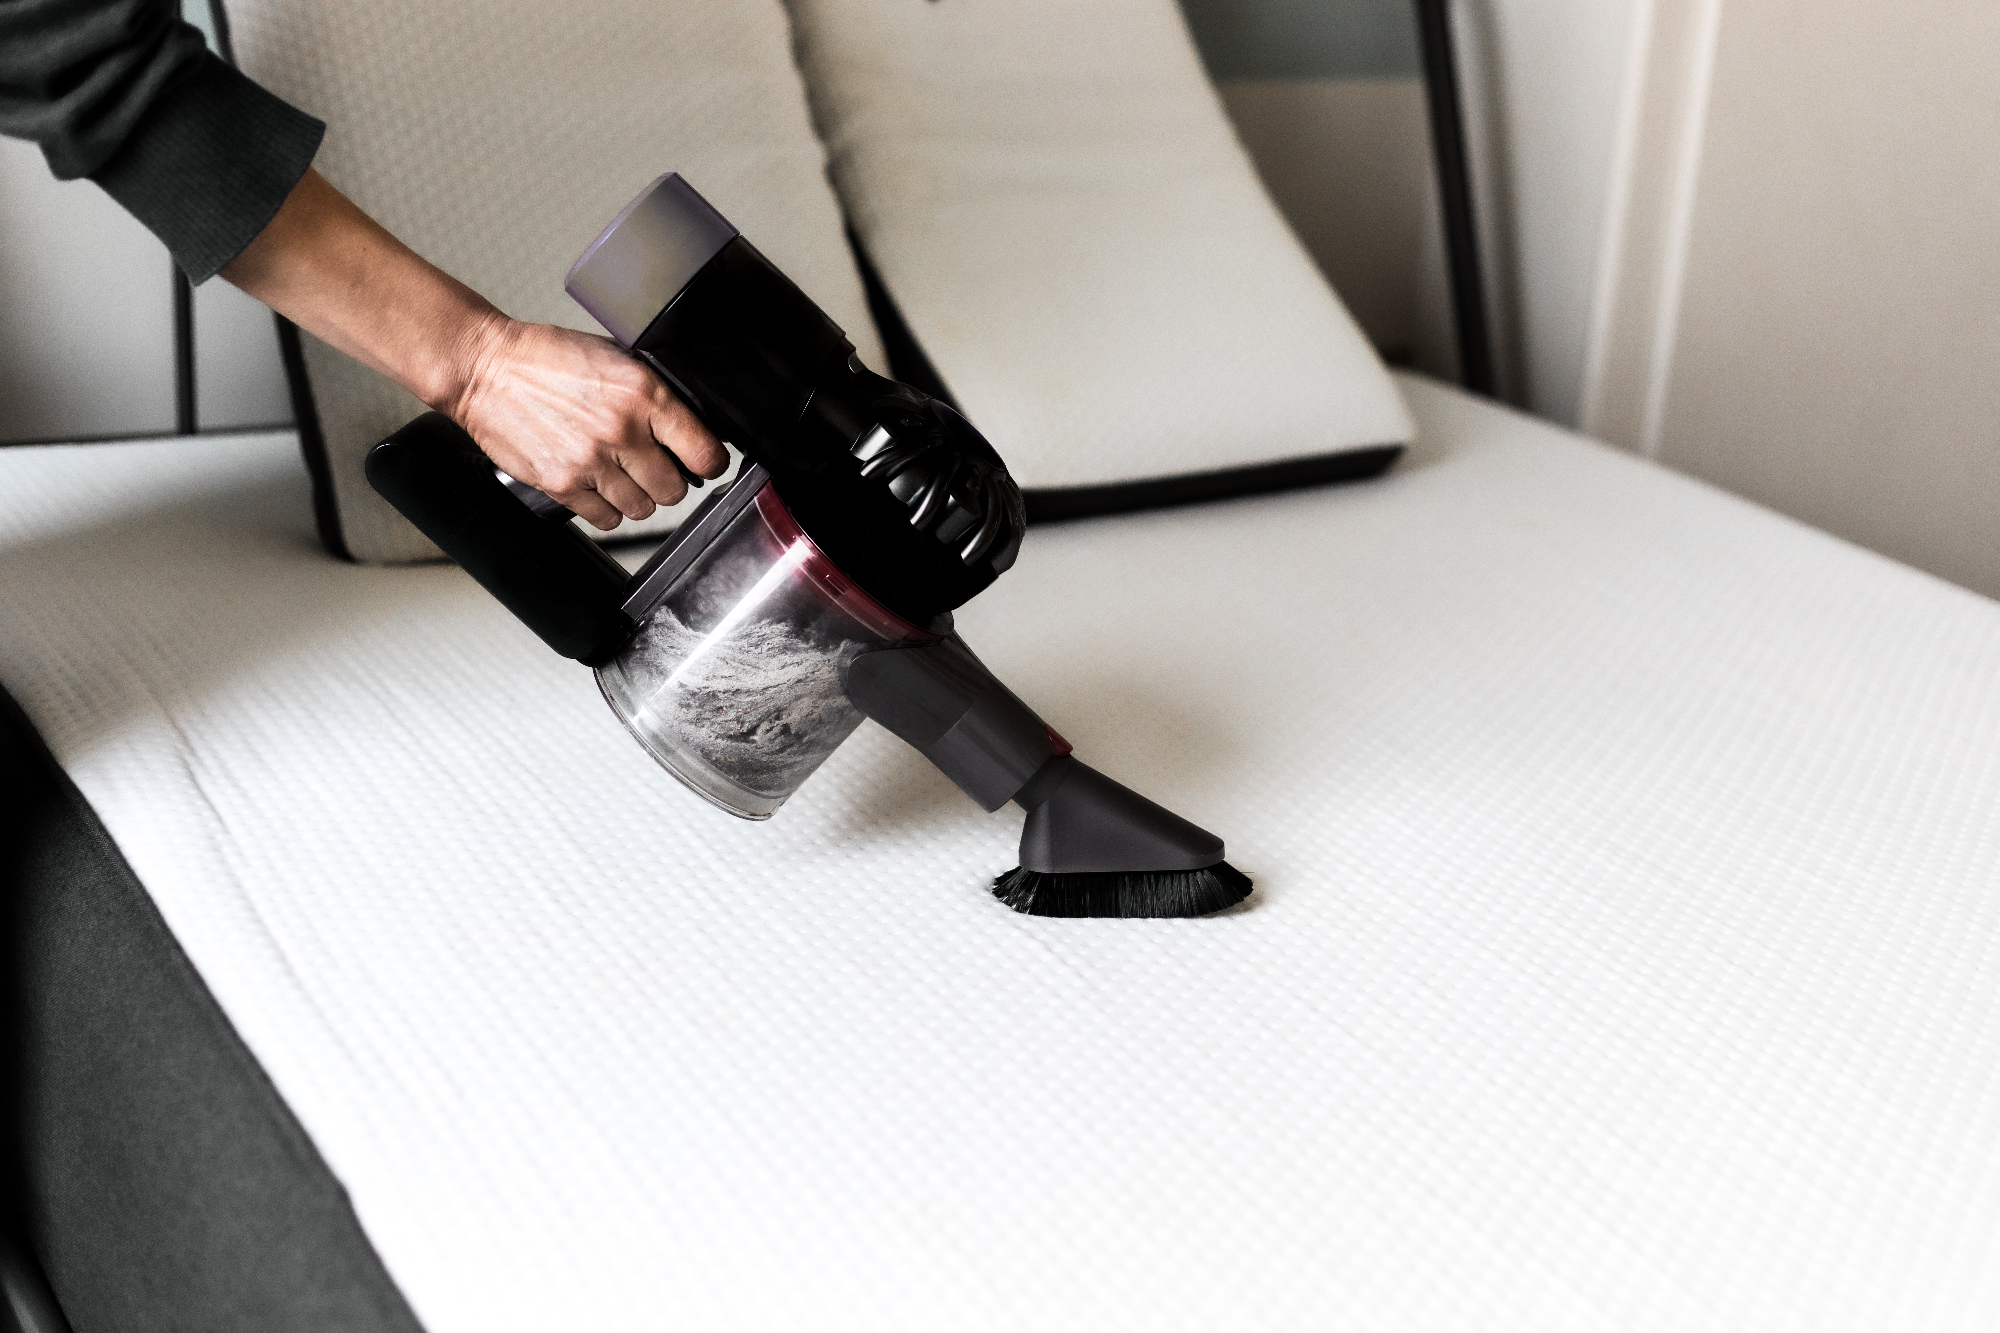
Use a handheld vacuum or an upholstery attachment on a regular vacuum to thoroughly clean the surface of the air mattress. You can also use a specialized Hersven mattress vacuum cleaner, from Amazon. This will help remove any loose debris, dust, or hair.
3. Clean with water and soap
'Next, wipe the surface with a soft cloth or sponge and a solution of tepid water and
mild detergent,' advises Martin Seeley, Founder and CEO of Mattress Next Day. 'Spot clean any stains and particularly focus on areas of discoloration and accidents.'
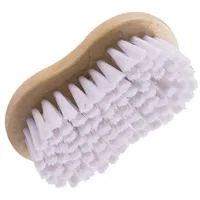
Alternatively, for a more in-depth clean, Axel Avery at Oakville Maids recommends: 'Give it a wash with a soft brush, you may need a large brush to clean the entire surface faster. Make sure you don’t soak the mattress completely, use just enough water to clean the surface. Then, wipe down with a cloth and let dry.'
JSCARLIFE Deep Scrub Cleaning Brush | Was $10.99, now $9.99 at Amazon
Use a soft bristled brush such as this to avoid damaging your air mattress.
4. Sanitize with vinegar solution
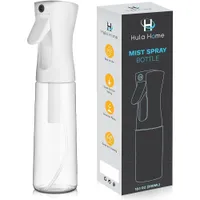
Create a cleaning solution by mixing equal parts of white vinegar and water, put this in a spray bottle and shake. Vinegar is known for its disinfecting properties and will help eliminate any bacteria or odors on the mattress.
You can also add a few drops of isopropyl alcohol, such as this one, from Amazon, to disinfect the mattress. Using a spray bottle, lightly mist the entire surface of the air mattress.
Hula Home Continuous Spray Bottle | Was $14.99, now $7.99 at Amazon
Use a spray bottle such as this to create your own DIY cleaning solutions and lightly mist your air mattress.
5. Remove odors with baking soda
Baking soda is a great ingredient to clean your air mattress and remove odors. Plus, it's abrasive texture is good at scrubbing away dirt, grime and stains without damaging the surface.
You can even mix some dried lavender with you baking soda and leave it for a few hours to allow the scent to be absorbed by the baking soda. Using this to clean your air mattress will also add a nice fragrance to it.
Cover the air mattress surface with a sprinkle of baking soda. When you do this, be careful not to use too much baking soda, because too much of it can get deep into the air mattress. Leave it for a while to absorb any odors before vacuuming it up.
For areas with stains, use a paste of baking soda and water to gently scrub the surface. Before re-inflating, thoroughly rinse the air mattress with clean water.
6. Let it dry completely
'When you clean your air mattress, moisture can get trapped inside. This can create the perfect breeding ground for mold and mildew, which can lead to unpleasant odors and even health problems,' explains James King. 'Similarly, when an air mattress gets damp, it can cause some damage to the material. Vinyl mattresses, in particular, can get cracks if they’re exposed to moisture for too long.'
The best way to dry your air mattress is by putting it in a breezy spot that’s a little off the ground. You’ll want to make sure that air can flow underneath it, so it’s good to elevate it a bit. Spin it every now and then so that all sides can get some fresh air.
'If you want to speed up the process, you can also use a fan to increase airflow,' says James. 'But be careful to avoid leaving it in direct sunlight, as that can make the material fade and wear out faster.'
7. Don't forget to clean the pump
Use a damp towel and a little detergent to clean the pump on an air mattress. Let it air dry for a while before putting the pump away in a box or other container.
Remember, consistent upkeep, including drying the mattress between uses and storing it in an appropriate manner, will extend the longevity of your air mattress.
Storage is also important. The risk of an air mattress getting moldy increases when it is put away for the season because they are frequently kept in dimly lit basements or storage units. Be sure to keep it somewhere with good circulation.

Lola Houlton is a news writer for Homes & Gardens. She has been writing content for Future PLC for the past six years, in particular Homes & Gardens, Real Homes and GardeningEtc. She writes on a broad range of subjects, including practical household advice, recipe articles, and product reviews, working closely with experts in their fields to cover everything from heating to home organization through to house plants. Lola is a graduate, who completed her degree in Psychology at the University of Sussex. She has also spent some time working at the BBC.
