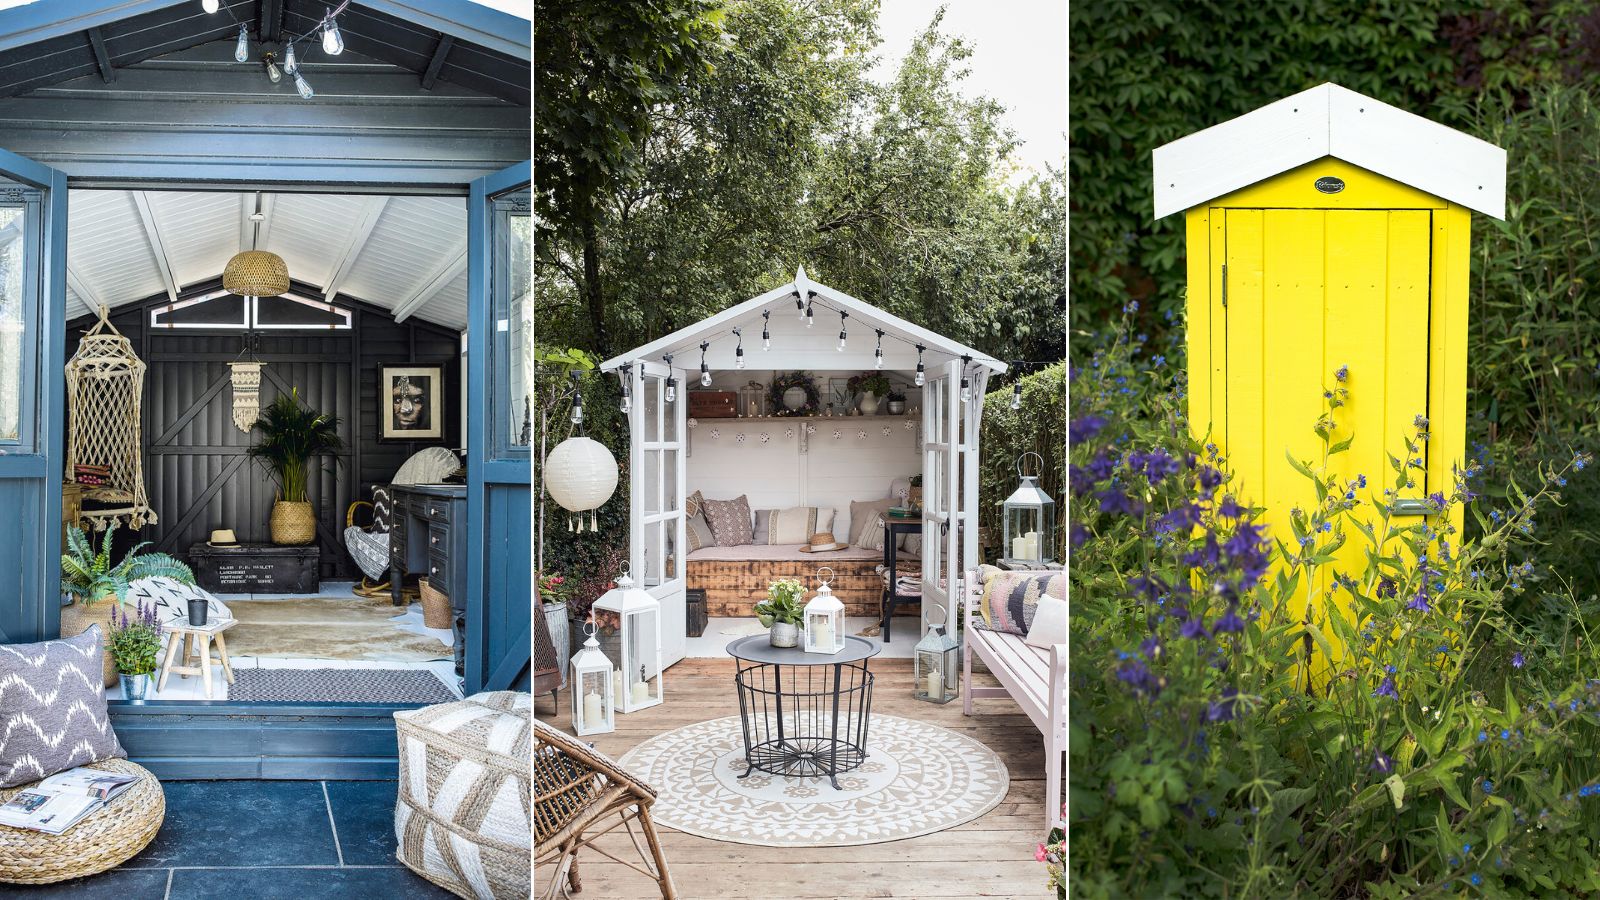
Give your tired garden shed a summer makeover – how to paint a shed in 5 easy steps
Refresh a tired exterior by painting a garden shed the way the pros do


Design expertise in your inbox – from inspiring decorating ideas and beautiful celebrity homes to practical gardening advice and shopping round-ups.
You are now subscribed
Your newsletter sign-up was successful
Want to add more newsletters?

Twice a week
Homes&Gardens
The ultimate interior design resource from the world's leading experts - discover inspiring decorating ideas, color scheming know-how, garden inspiration and shopping expertise.

Once a week
In The Loop from Next In Design
Members of the Next in Design Circle will receive In the Loop, our weekly email filled with trade news, names to know and spotlight moments. Together we’re building a brighter design future.

Twice a week
Cucina
Whether you’re passionate about hosting exquisite dinners, experimenting with culinary trends, or perfecting your kitchen's design with timeless elegance and innovative functionality, this newsletter is here to inspire
Painting a garden shed can give it a whole new lease of life, and turn it into an attractive feature in the backyard. It could make it last longer, too.
Like any DIY project, though, getting great results involves some know-how, good preparation and the right tools and materials for the job.
Our step-by-step guide to painting a shed has all the details you need from the experts to get a pro-level finish whether your shed is made from wood, metal, or vinyl.
How to paint a shed
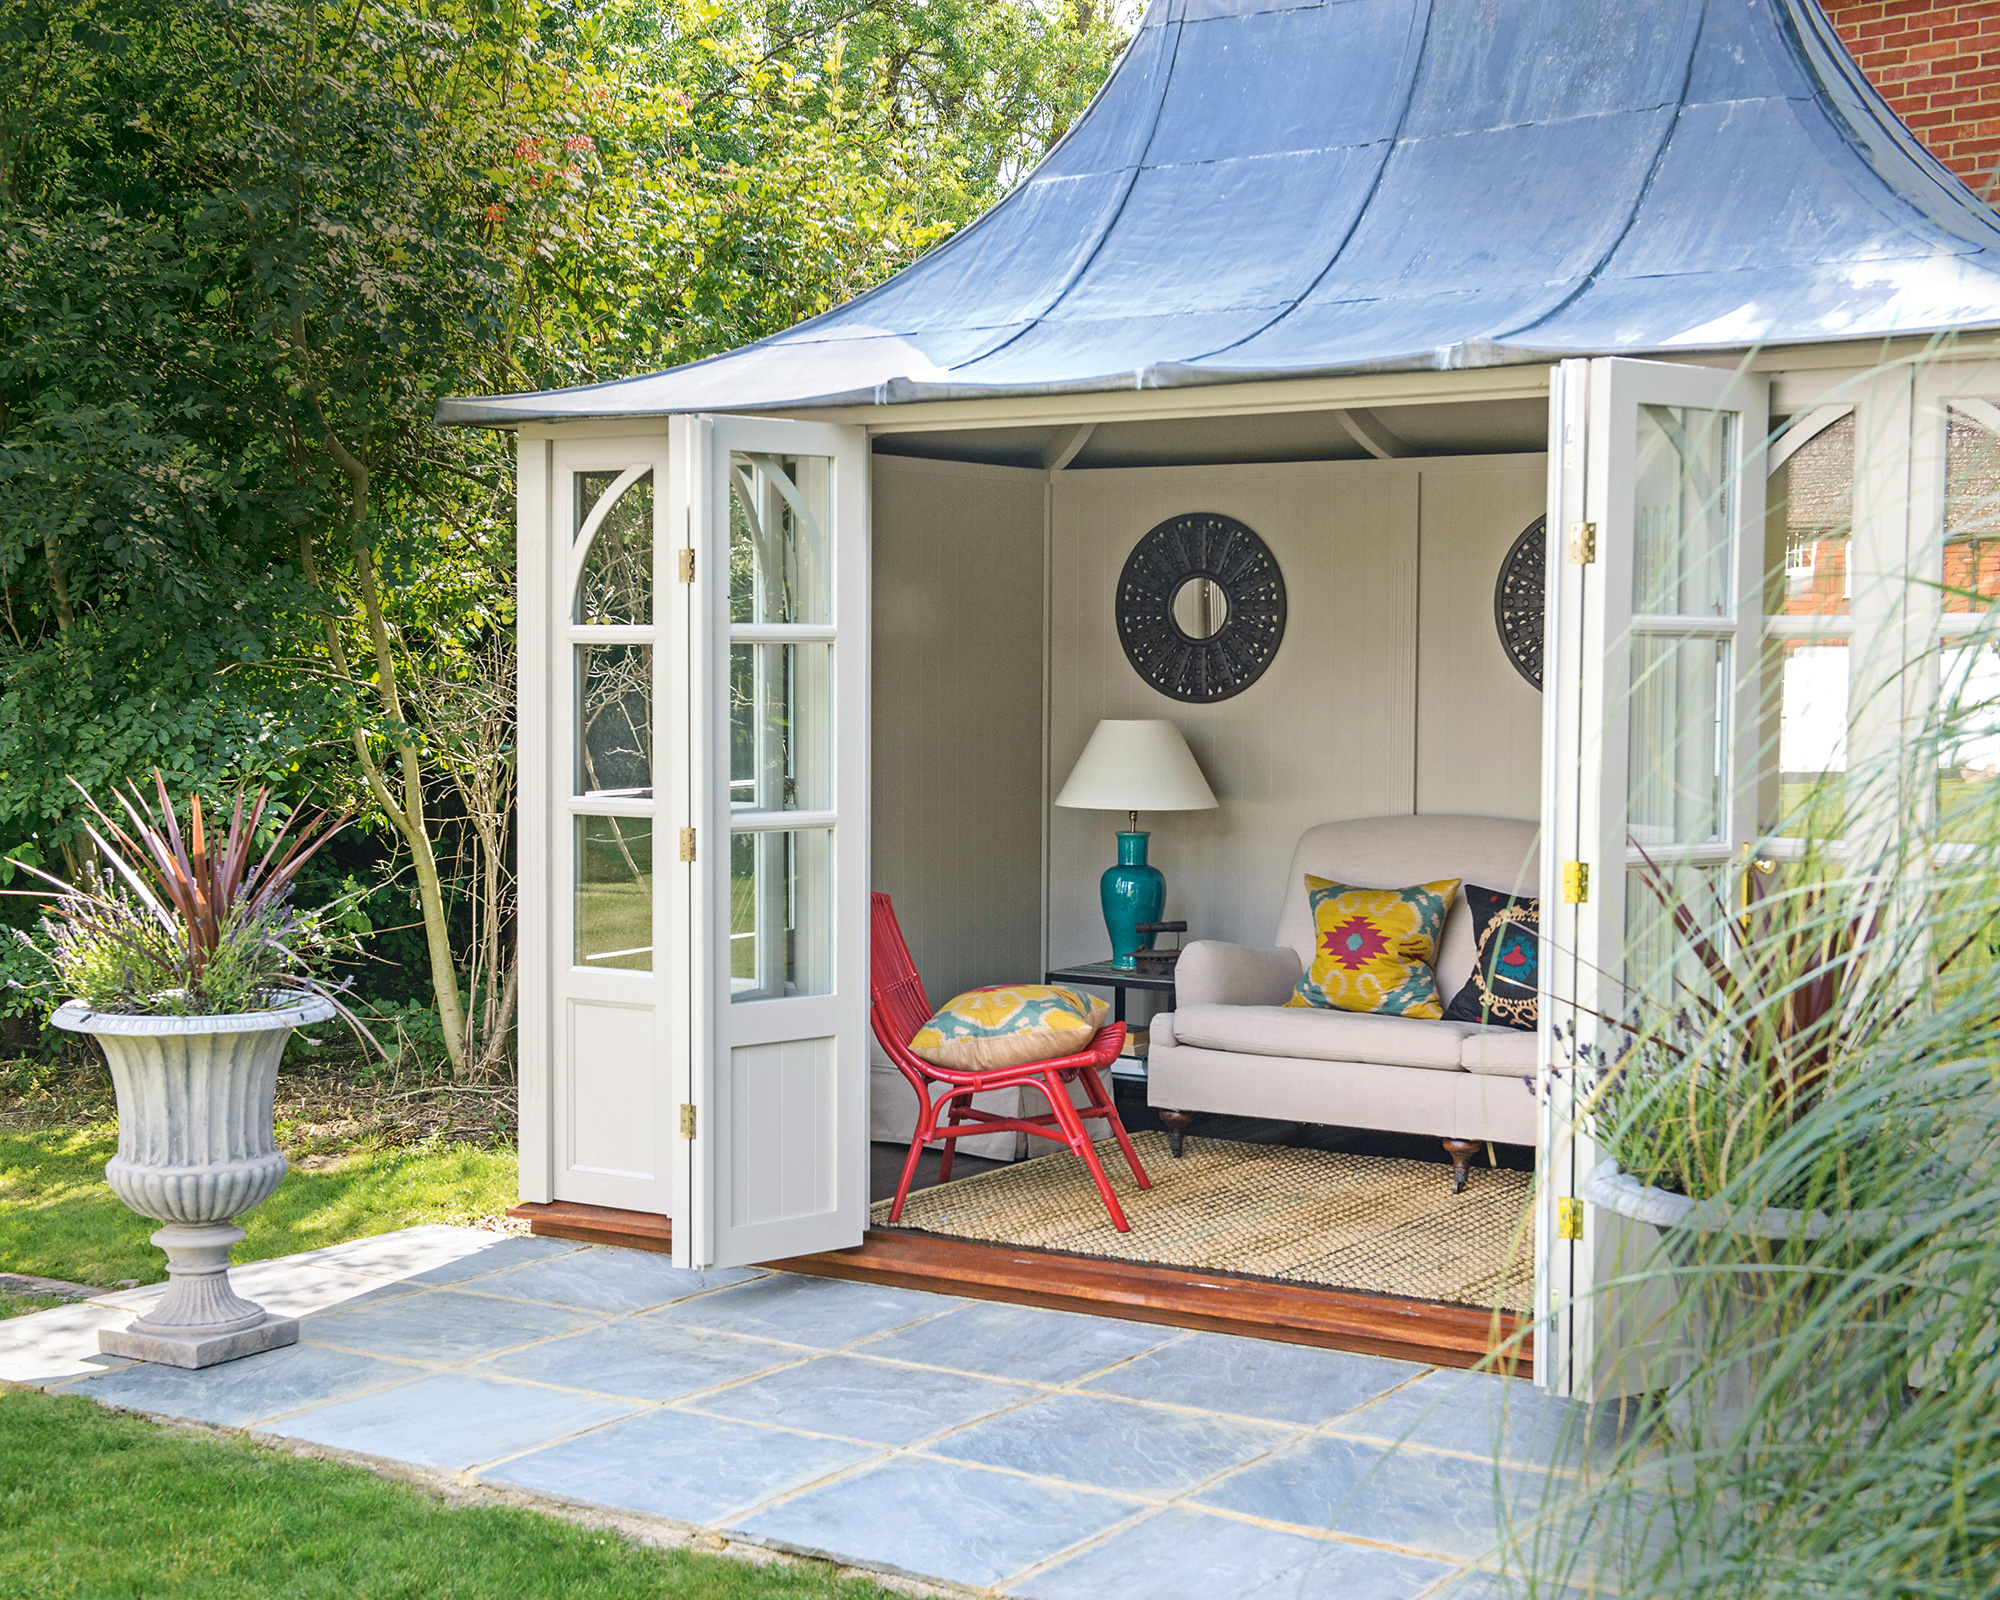
Painting a shed can ensure it blends in with planting better or provides a great complement when you’re painting the exterior of a house. Following the correct procedure ensures the finish looks great, and it lasts.
Different types of shed can be painted. ‘You can paint wood, metal, and vinyl sheds, but it’s crucial to select a paint formulated specifically for the substrate you’re painting,’ says Julie Fisher, product manager at Dutch Boy Paints. ‘Always refer to the label on the paint can to ensure you choose the correct paint for your shed’s surface. For example, some paints are designed to be vinyl-safe, while others are formulated for metal or wood surfaces.’
Choose the right day to paint a shed to create a pro-level finish. ‘The best conditions for painting a shed are warm, between 75 and 85 degrees, and dry,’ says Matt Boden, Owner of Fresh Coat Painters of Tampa. ‘It will allow the paint to dry completely and consistently.’

Tools you'll need
- Plastic tarps, sheets, or drop cloths (such as this pack of 2 canvas drop cloths from Walmart)
- Wire brush (optional)
- Caulk (optional)
- Sandpaper
- Cloth
- Mild dish soap
- Painter’s tape
- Paint brushes
- Roller
- Primer
- Paint
Put together materials and essential DIY tools before you start, then follow these steps.
Design expertise in your inbox – from inspiring decorating ideas and beautiful celebrity homes to practical gardening advice and shopping round-ups.
1. Protect the area around the shed
To keep the area around the shed free of paint splatters as well as to make it easy to complete the project, it’s important to clear and protect this space first.
‘If the foundation is on dirt, dig out the bottom of the shed 6 to 10 inches past the base,’ says Brandon Walker, construction manager at ASAP Restoration. ‘Lay down protective plastic tarps, sheets or drop cloths to ensure that any overspray or splatter doesn’t get on anything nearby. If there are plants or other objects close by, they should be covered or moved to prevent damage.’
2. Prepare for painting
The right start is key to the success of a DIY project, and just as there is a procedure when preparing walls for painting, so it is when getting a shed ready for the application of paint. However, what you do will vary a little depending on what the shed is made from.
‘If the shed is made from aluminum or plastic, then the process is to move everything away from the shed,’ says Brandon Walker, construction manager at ASAP Restoration.
‘Pressure wash the outside to get off the caked on dirt and debris. Then use a cleaning solution like Simple Green (available from Amazon) to take down the grime that needs a solvent for release. Then hose it down with water. Then let it all dry.’
Clean a wood shed with mild soapy water and a wire brush. Fill any small holes. Sand off old paint, and remove dust.
‘At this point you can mask off and tape any sections that you want to be a secondary color if any,’ says Brandon.
3. Prime the surface
Before you apply paint, the surface should be primed. ‘Always prime every surface before painting it,’ advises Brandon Walker. ‘This is a critical step to ensure that the actual paint layer has total adhesion and the proper substrate surface to cling to.
‘It’s always best to use a primer that is designed for the substrate that you will be painting onto, or in the worst case scenario to use an all-purpose primer,’ he says.
Note that there is an extra step if the substrate is galvanized sheet metal. ‘Then it will need to be treated with an etching solution prior to priming,’ says Brandon.
4. Apply paint to the shed
For best results use both a roller and a paintbrush to paint the shed.
‘A roller would be best to cover large surface areas and the brush would be for fine touches or the trim if painting a different color than the rest of the shed,’ explains Matt Boden.
Allow the paint to dry completely.
5. Apply a second coat
While a shed will look a whole lot better after a single coat of paint, it is worth repeating the painting process.
‘I would always suggest using two coats of paint when painting a shed,’ says Matt Boden. ‘It gives it a stronger barrier for dealing with the elements outside for a longer lasting look.’
Remove painter’s tape and allow to dry.
Updating one area of the yard can leave others looking a little tired in comparison, and if that’s the case consider painting a fence. It’s also possible to paint a concrete patio that needs a new lease of life, as well as consider other painted patio ideas for a great makeover.

Sarah is a freelance journalist and editor. Previously executive editor of Ideal Home, she’s specialized in interiors, property and gardens for over 20 years, and covers interior design, house design, gardens, and cleaning and organizing a home for Homes & Gardens. She’s written for websites, including Houzz, Channel 4’s flagship website, 4Homes, and Future’s T3; national newspapers, including The Guardian; and magazines including Future’s Country Homes & Interiors, Homebuilding & Renovating, Period Living, and Style at Home, as well as House Beautiful, Good Homes, Grand Designs, Homes & Antiques, LandLove and The English Home among others. It’s no big surprise that she likes to put what she writes about into practice, and is a serial house renovator.