How to paint a concrete patio – 7 steps to simplify this mammoth DIY project and ensure a perfect finish
Get your concrete patio looking its best again

Design expertise in your inbox – from inspiring decorating ideas and beautiful celebrity homes to practical gardening advice and shopping round-ups.
You are now subscribed
Your newsletter sign-up was successful
Want to add more newsletters?

Twice a week
Homes&Gardens
The ultimate interior design resource from the world's leading experts - discover inspiring decorating ideas, color scheming know-how, garden inspiration and shopping expertise.

Once a week
In The Loop from Next In Design
Members of the Next in Design Circle will receive In the Loop, our weekly email filled with trade news, names to know and spotlight moments. Together we’re building a brighter design future.

Twice a week
Cucina
Whether you’re passionate about hosting exquisite dinners, experimenting with culinary trends, or perfecting your kitchen's design with timeless elegance and innovative functionality, this newsletter is here to inspire
Learning how to paint a concrete patio will allow you to spruce up your outdoor seating areas, ripping everything out and starting again.
Better yet, painting concrete patios can increase their lifespan, reducing wear and tear, and providing a non-slip coating that keeps your family and pets safe when outside, too.
Here, pro contractors have explained how to paint a concrete patio, step-by-step, to easily elevate your patio ideas in one sunny weekend.
How to paint a concrete patio
Before you start painting a concrete patio, you should wait for a spell of dry, warm weather, preferably with low humidity so that products can dry properly.
Then, to paint outdoor concrete, you will need the following supplies:
- A cleaning solution. The Krud Kutter Concrete Clean & Etch, available at Walmart, cleans and roughs up the surface to prepare for painting.
- A primer, such as the BEHR Concrete & Masonry Bonding Primer, from The Home Depot.
- Your paint of choice. Experts recommend the Rust-Oleum EpoxyShield Concrete Floor Paint, from Amazon, or BEHR Premium Porch & Patio, from The Home Depot.
- A sealer, such as Foundation Armor AR350, also at The Home Depot.
Step 1: Clean the surface

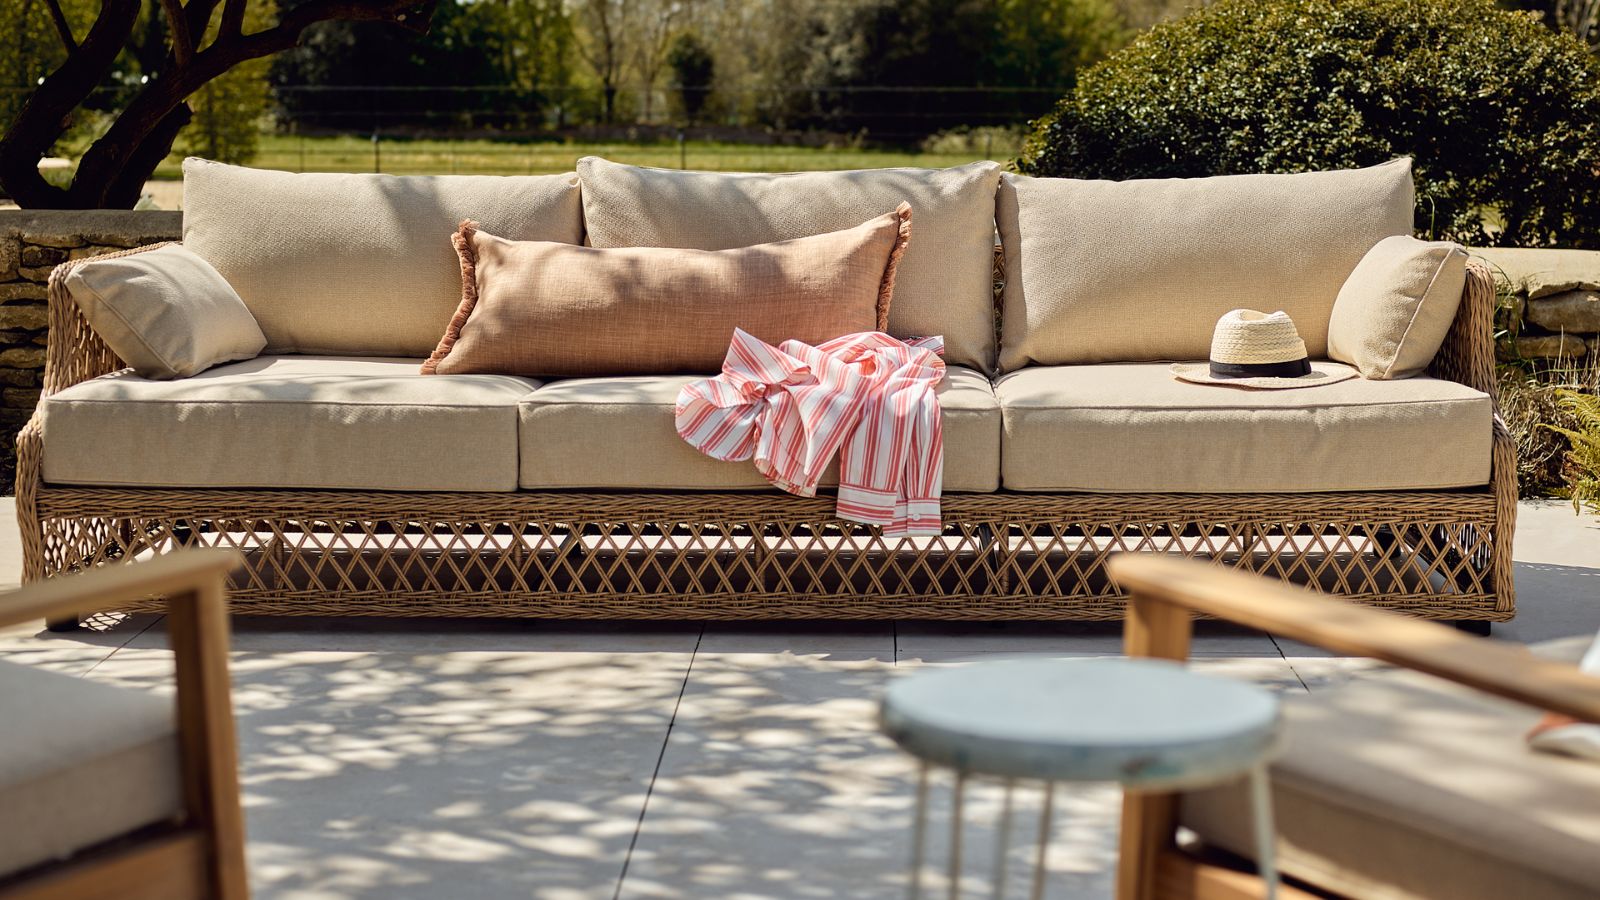
Painting your patio can help to protect it from wear and tear.
As with any DIY project, correct preparation is key. Chores are certainly not the most exciting part of DIY, but they can prevent problems down the line and help the finished product last much longer.
It’s far worse to skip an essential step and have to start again than just getting it over and done with from the beginning.
Design expertise in your inbox – from inspiring decorating ideas and beautiful celebrity homes to practical gardening advice and shopping round-ups.
Zak Fleming, owner of Express Handyman, advises using a power washer such as the Ryobi cold water corded pressure washer from The Home Depot.
You can also clean patio pavers without a pressure washer using just a stiff-bristled brush, available from Walmart, and a cleaning solution such as the 30 Seconds Outdoor Concrete Concentrate from The Home Depot, to freshen up the surface.
Zak says, ‘Start by thoroughly cleaning the patio to remove dirt, debris, and any existing paint or stains. A clean slate will help the paint better adhere to the surface.' Be sure to also get rid of moss on a patio for smooth application.
Step 2: Patch and repair damage

Patching cracks prevents future damage, especially from rain and ice.
Before you can paint a concrete patio floor, you need to repair any damage, lest your final finish end up pockmarked.
Lior Kahana, operations manager at 123 Remodeling, says, 'Before any paint goes down, you’ve got to inspect for cracks or rough patches. Use a concrete repair compound for cracks.
'Fill in the cracks and let it cure before you sand it down. If you skip this, then every imperfection will show through the paint.'
The Quikrete concrete patching compound available at The Home Depot has over 500 five-star reviews, with customers praising it for being easy-to-use and quick drying time.
A plastic putty knife, also from The Home Depot, will make application quick, even, and mess-free.
Step 3: Etch smooth concrete
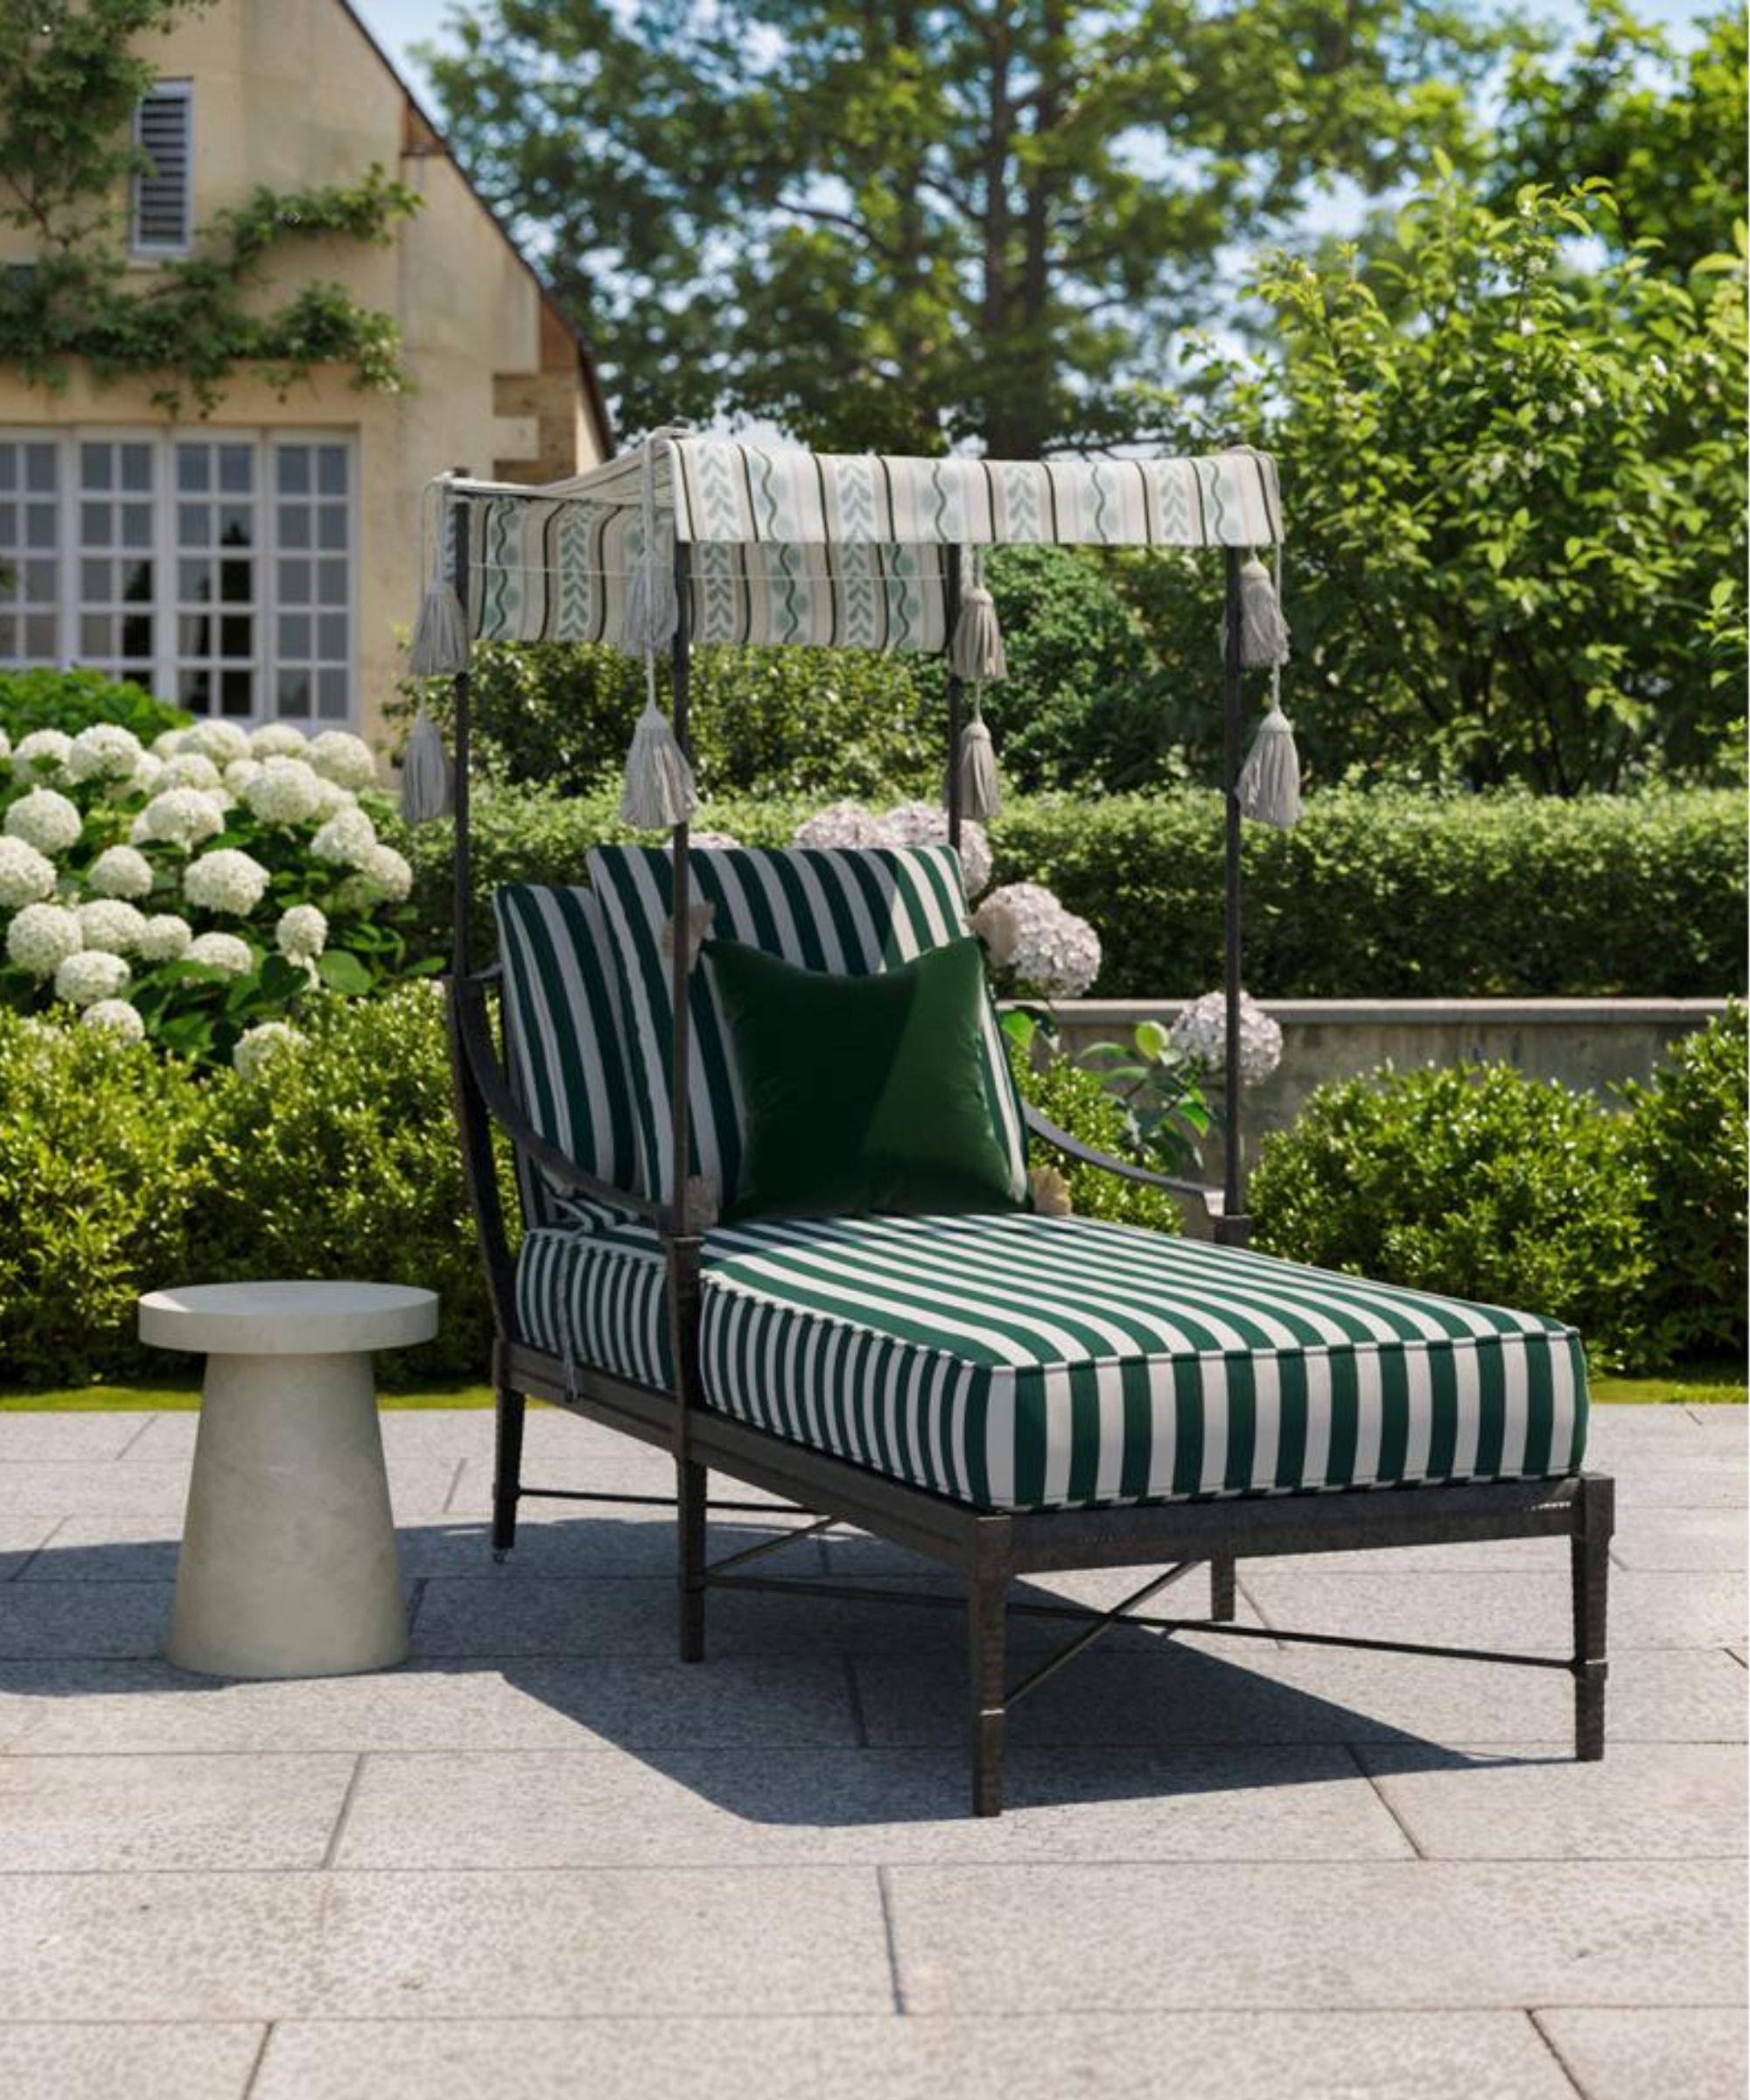
This rule applies if you are painting pavers, too.
If you have just spent time fixing cracks and chips, it might not make sense to then etch your entire patio.
However, as Sabrina Phillips, owner, contractor, and designer at Designing Women of Orange County, points out, it will help your primer stick for longer-lasting paint. It is the same as sanding a deck, but takes a little more effort.
She suggests, 'Be sure to etch the surface, or the paint won't stick effectively. Purchase or rent a quality concrete etcher to help the paint adhere properly. Then simply rinse and let dry.'
The Home Depot offers both Klean-Strip Concrete Etching Solutions for chemical etching and tool rental, depending on your preferences.
Step 4: Dry the surface
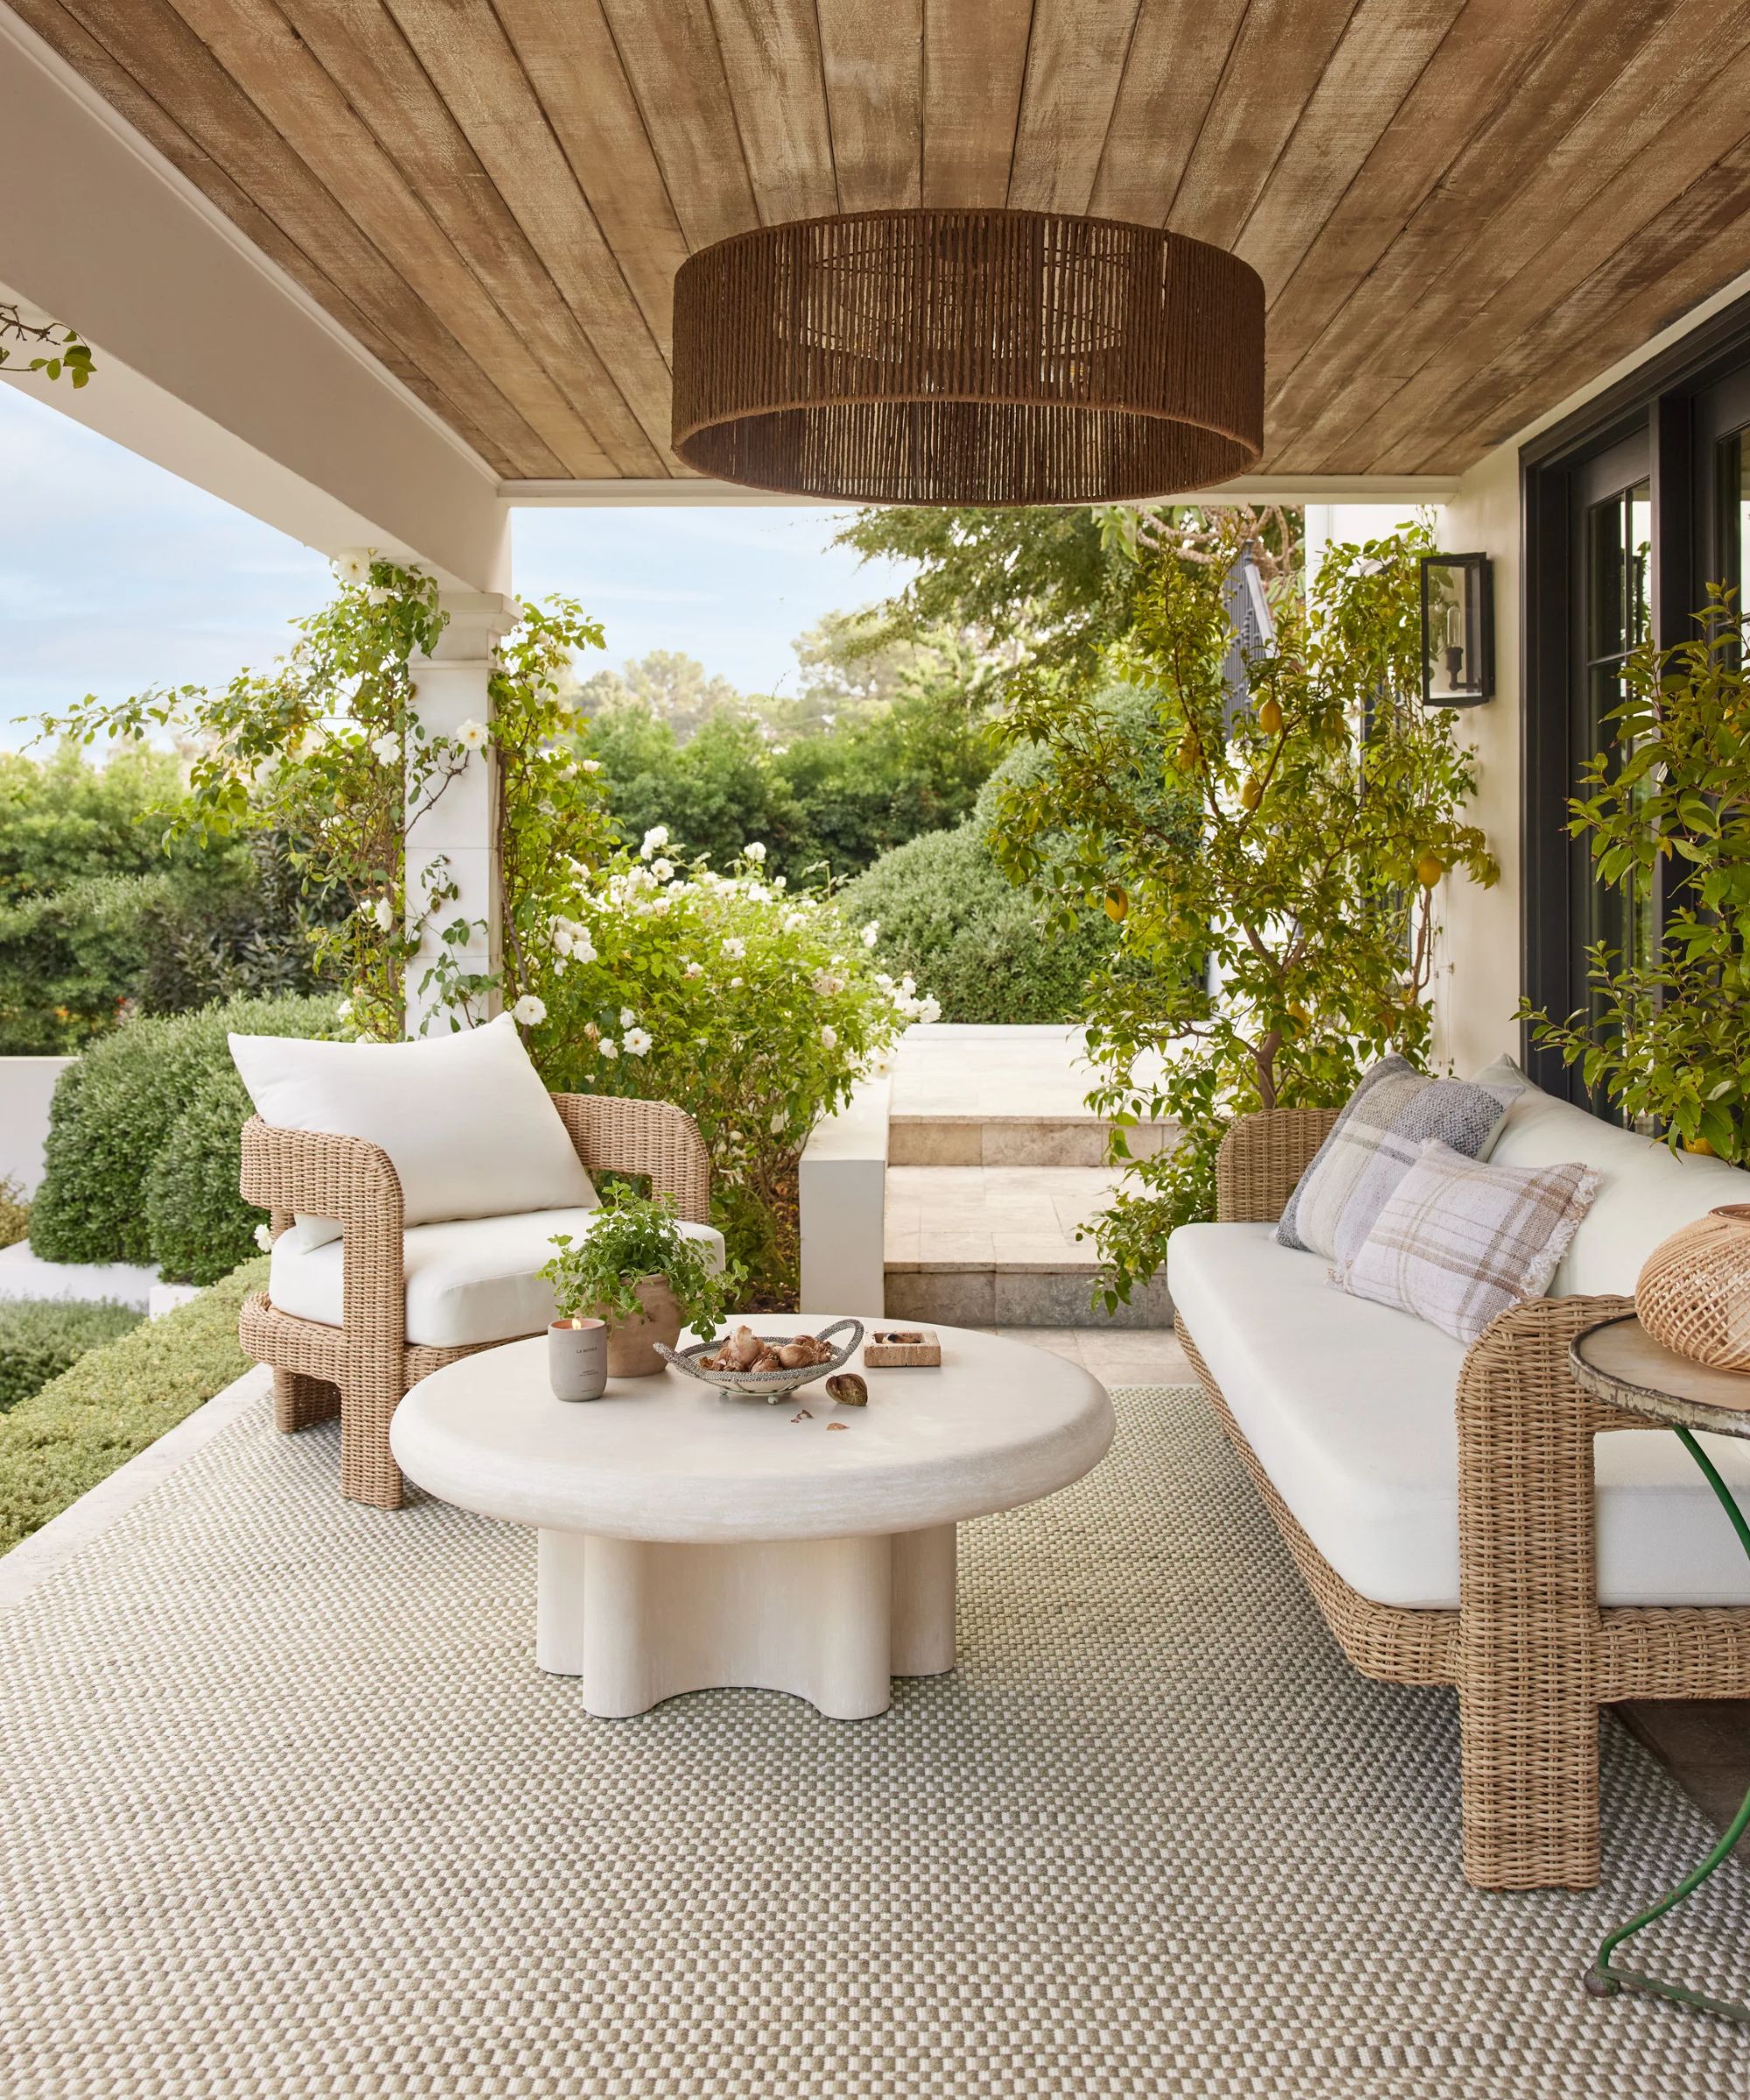
Working on a warm, sunny day will speed up drying.
Waiting for your concrete patio to dry after etching and rinsing is arguably the most frustrating part, but it is essential Lior warns. That is why it is best to work on a warm, sunny, low-humidity day.
He shares, 'The biggest patio painting mistake people make is rushing. You have to be patient and wait until the surface is completely dry. And don’t skip the etching and priming to save time.
'That usually leads to flaking and peeling after the first winter.'
Step 5: Apply a bonding primer
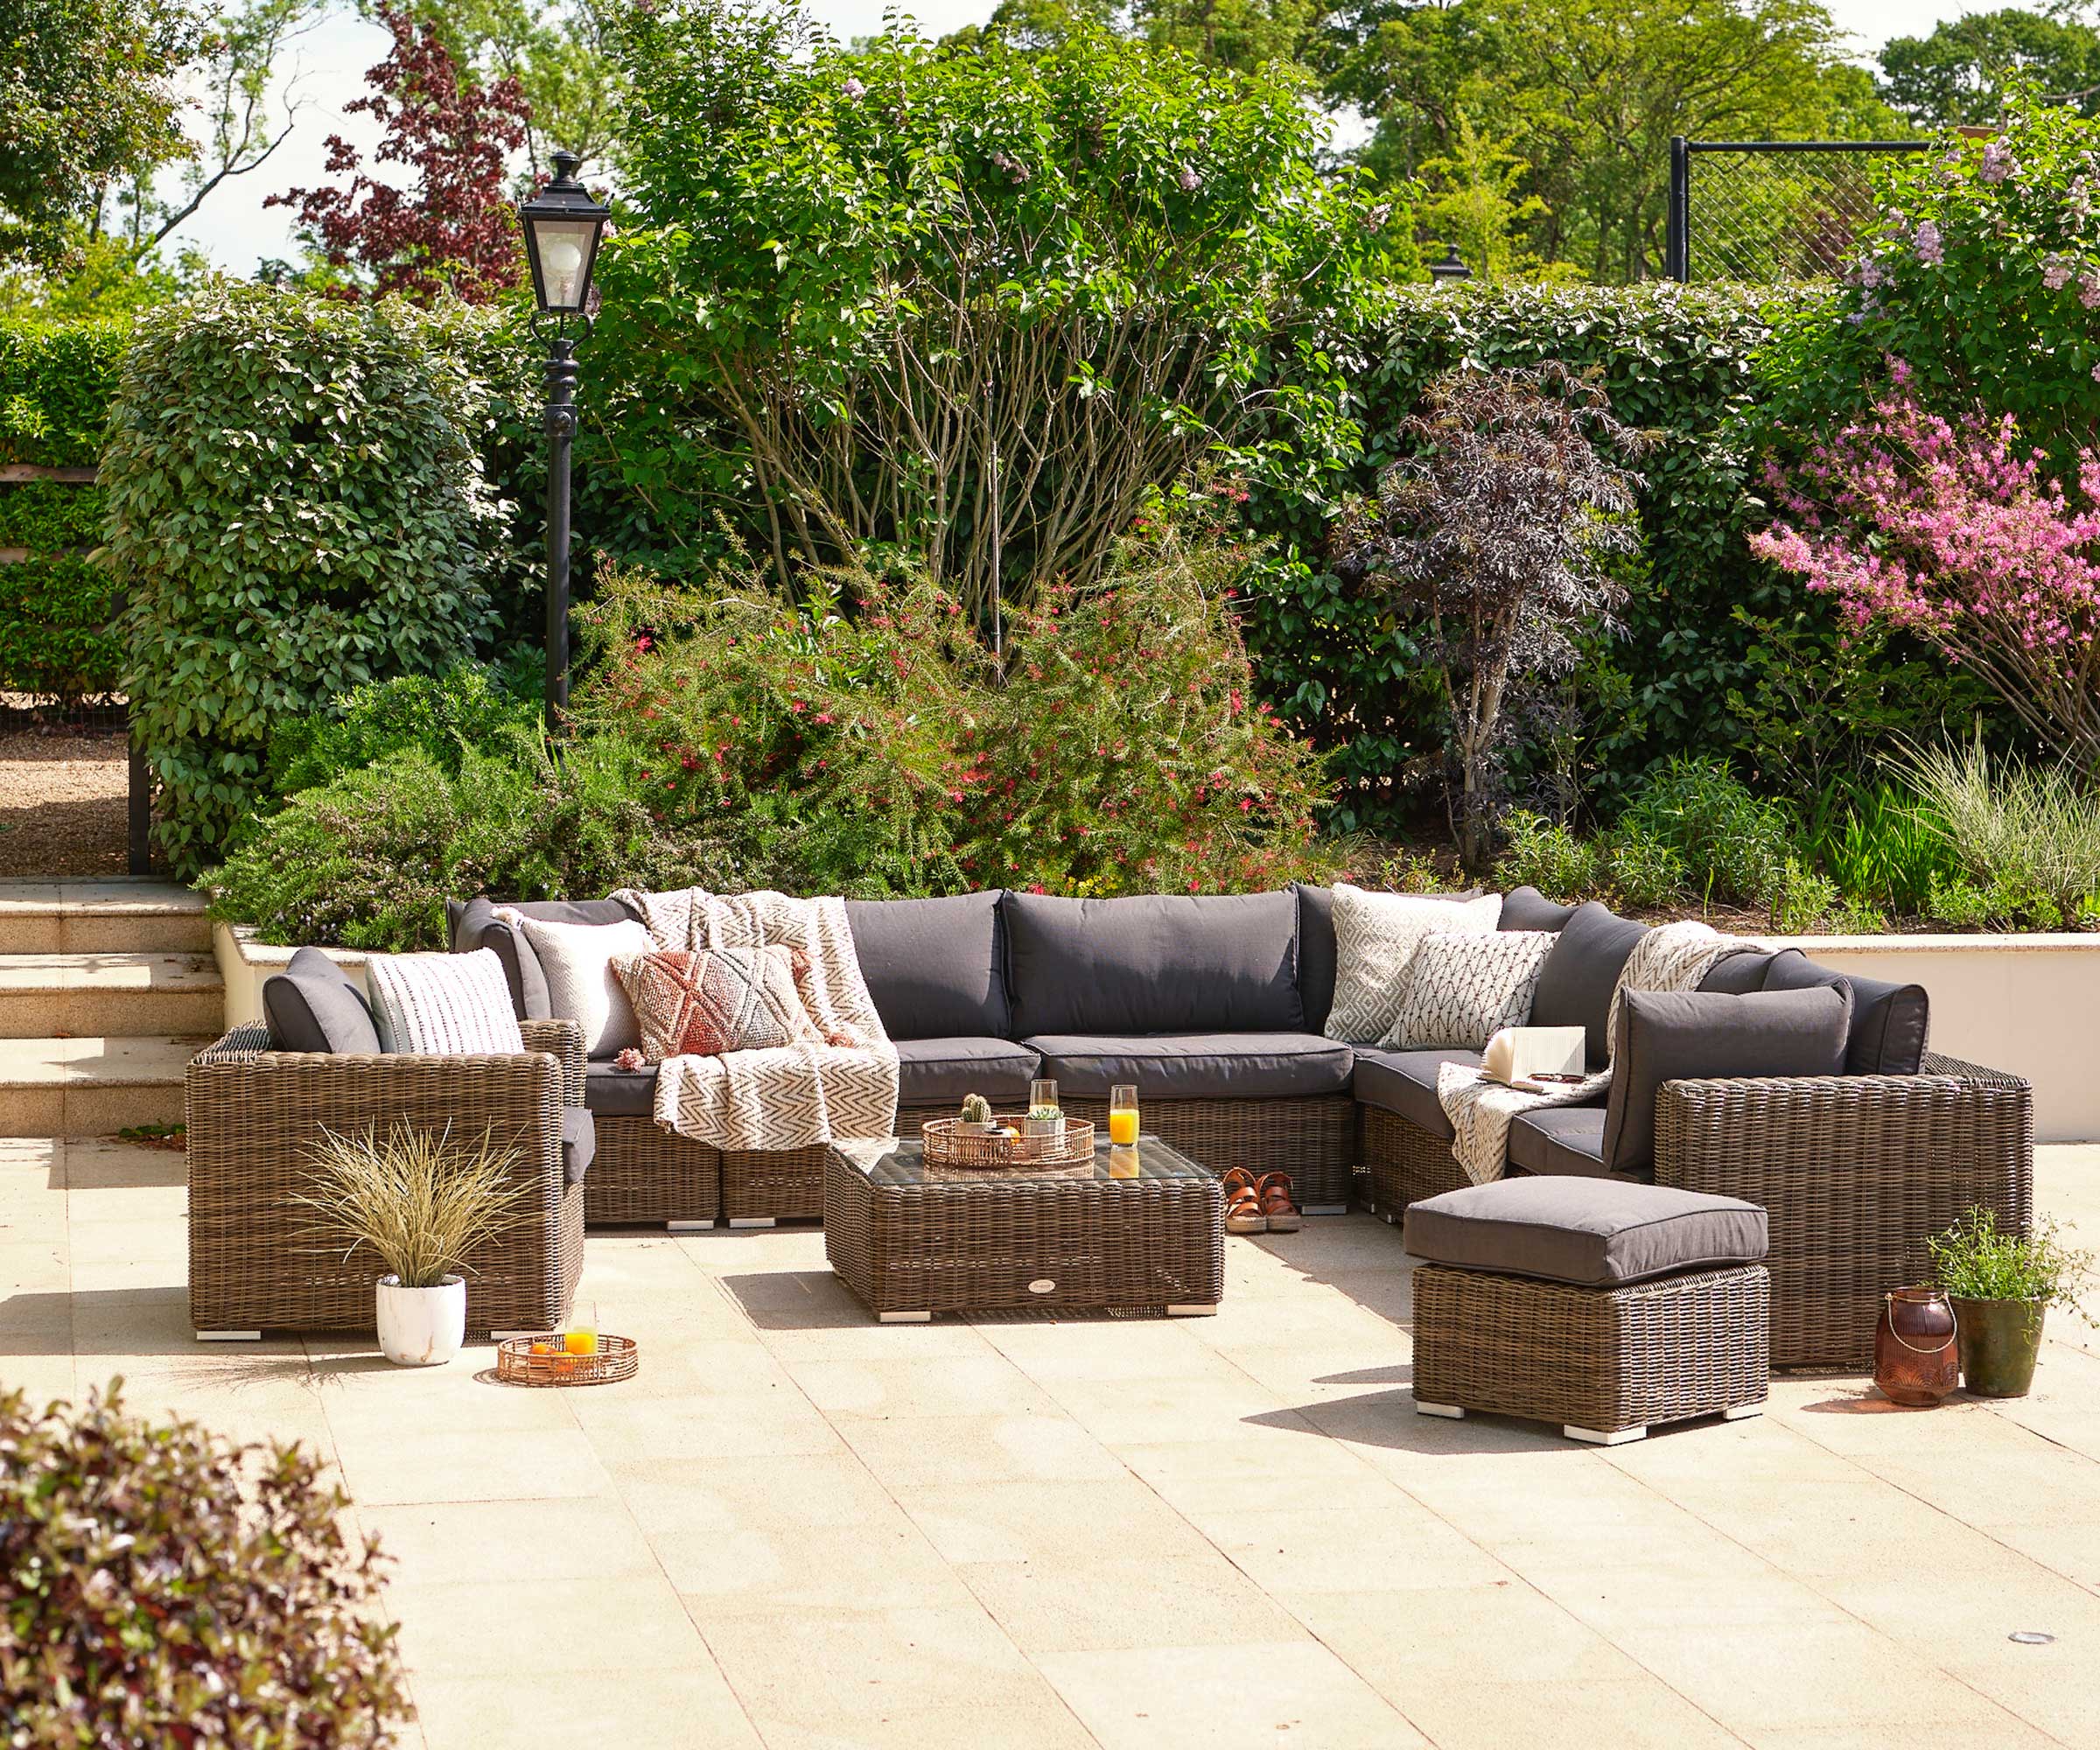
Priming first ensures your patio stays looking fresher for longer.
Carr Lanphier, CEO and contractor at Improovy says, 'After your surface is clean, I would recommend using a primer specifically formulated for concrete before painting. This will help provide a better surface for your paint to adhere to, which can result in a longer-lasting finish for your painted patio ideas.
'You can paint concrete without a primer, but I don’t tend to recommend this, especially when you’re DIY-ing it,' he adds.
Step 6: Paint with concrete paint

Before painting, you may wish to brush your patio again to remove any dust that settled as it was drying.
Now comes the most important step – applying the paint. The best application method will depend on whether you have big or small patio ideas.
For larger patios, Zak recommends using both a brush and a roller. ‘Start by using a brush to cut in around the edges of the patio, then use a roller to cover the larger areas. Apply multiple thin coats, allowing each coat to dry according to the manufacturer's instructions before applying the next.’
Picking up some of our painting hacks to minimize clean up will help you avoid unnecessary chores in between coats.
When it comes to picking the right paint for a job, Mike Fretto, creative director at Neighbor, adds, 'Just because you have a can of paint from a past project in your garage doesn’t mean it will work for your concrete patio. You need a kind of paint that is specifically designed to work well for masonry surfaces, where it will be durable, moisture-resistant, and UV-resistant. Generally, the two best choices are epoxy or acrylic-based paints.
'Additionally, you can also get a non-slip additive, which is often a great idea to reduce the risk of falling on your patio.'
Waiting for a good spell of weather is also key when painting a fence, too.
Step 7: Seal
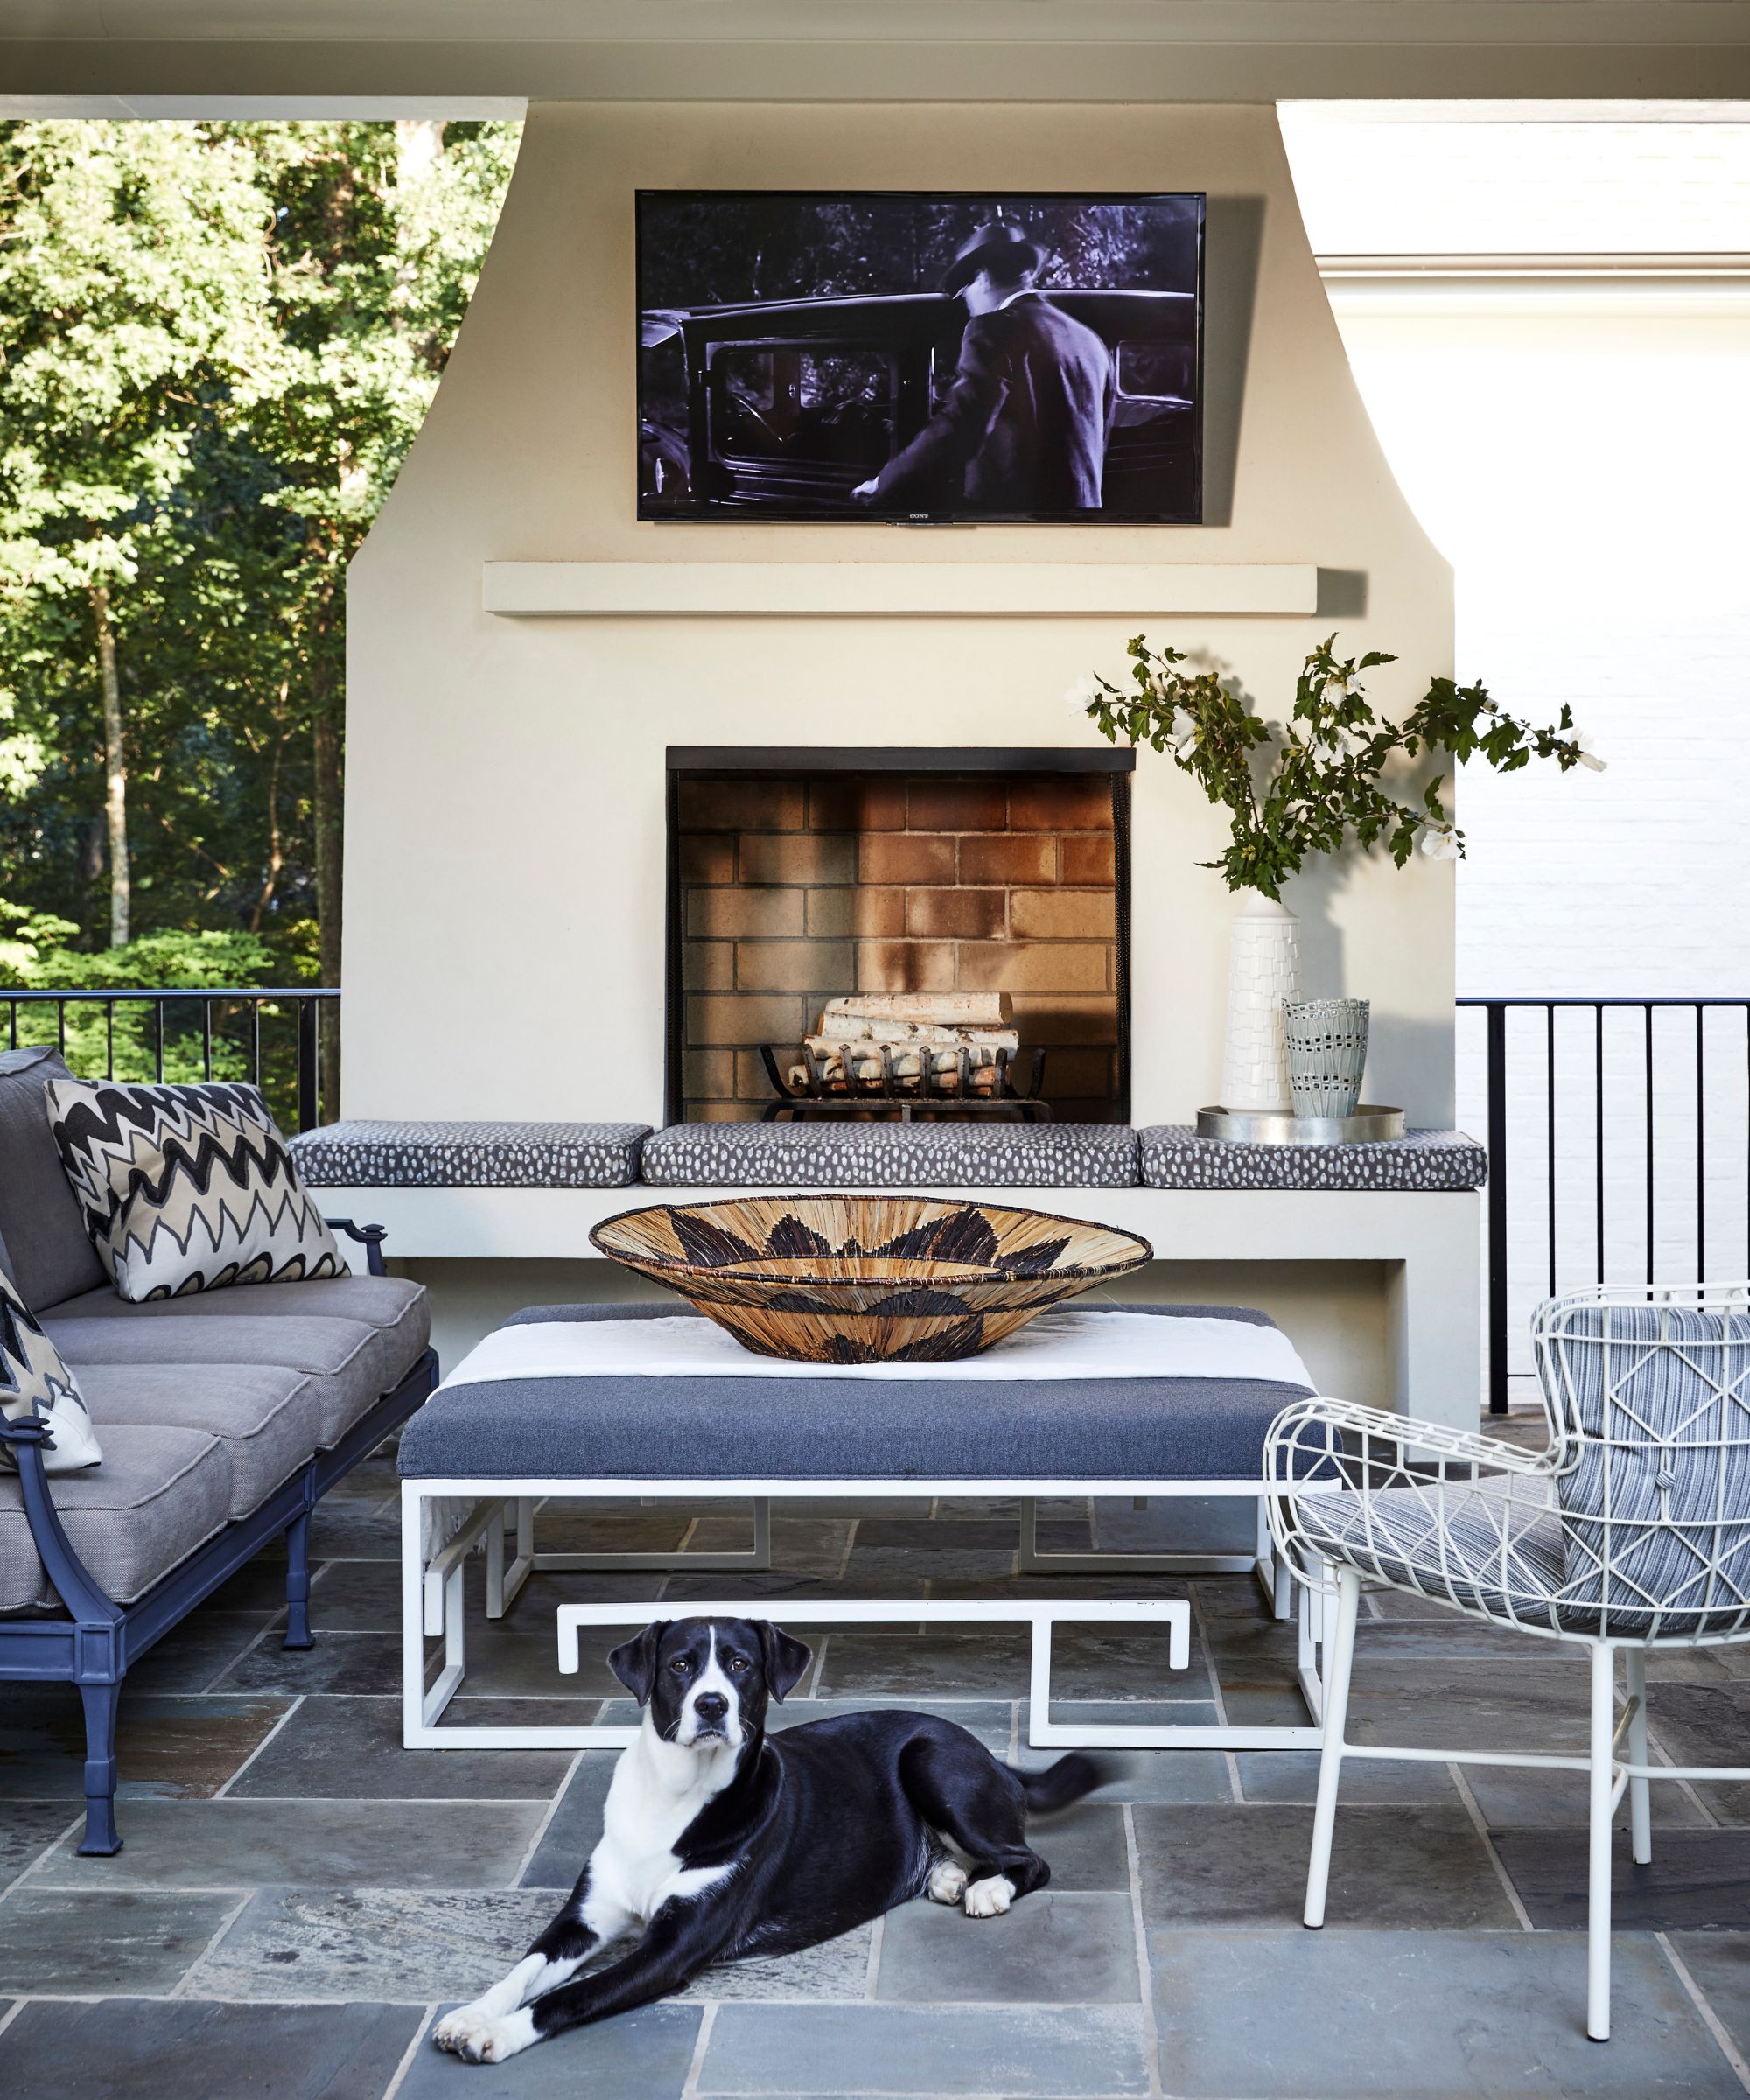
Sealing your patio also helps protect the concrete from damage from pets.
Once you’ve finished painting and the surface is completely dry, the final step in the process is to seal the patio. Although it can be tempting to skip this step after several rounds of painting, sealing is crucial to a long-lasting finish and is the best way to make a patio look more expensive.
Lior explains, 'This topcoat protects your paint from sun and weather damage. It will also make the surface much easier to clean later on. Some sealers add a slight sheen, which can also make colors pop.
'I recommend Foundation Armor AR350, available at Lowe's. It is one of the best for outdoor concrete. It’s breathable and offers solid protection without making the surface slippery. For a budget-friendly option, the Valspar Concrete Stain and Sealer, also from Lowe's, performs well.'
Patio painting essentials
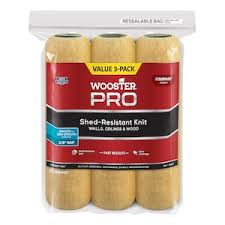
The Wooster rollers have been designed with heavy-duty tasks in mind, making them perfect for painting large concrete patios.

Using a long handled paint roller will help you to avoid arm and back ache, reducing the need to be on your knees, or hunched over. It will also help you to cover larger areas more quickly.
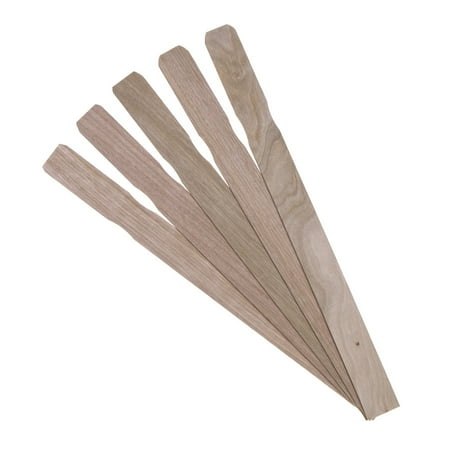
Improperly mixed paint, primer, and sealer may not dry correctly, resulting in an uneven finish. Mix thoroughly before starting any project.
Meet the experts

A qualified electrician, Zak has more than 20 years experience in all aspects of the construction industry. At the age of 23, Zak founded Fleming Construction, which later became Remodeling Contractors. Express Handyman is a division of Remodeling Contractors, and the company offers a wide range of services, catering for everything from simple repair jobs to building decks as well as bigger remodeling projects.

Lior Kahana is a seasoned operations manager with extensive expertise in interior design and home improvement. At 123 Remodeling, he oversees project execution, ensuring efficiency, quality, and client satisfaction.

Sabrina Phillips, is a General Contractor, ASID Interior Designer, and a former Broker Realtor and Color forecaster for Sherwin Williams.
Sabrina originally started designing doctor's offices in 1986, then moved into residential design in 1991. To date, she has designed everything from kitchens to entire homes worth over $10 million.

As a paint expert, Carr is clued up on transforming walls and making a big impact on a budget. His favorite paint color? Swiss Coffee (OC-45) by Benjamin Moore.

Mike Fretto is Creative Director for Neighbor. He advises on all things outdoor furniture and outdoor styling.
Whether you have a poured concrete patio or concrete pavers for your patio flooring, adding a coat or two of paint can be an inexpensive way to give your outdoor space a makeover.
Although neutral colors such as gray and off-white are the most popular paint choices, there's no reason why you can't get a little more creative with your painted patio and introduce some bolder splashes of color with everything from a terrazzo-inspired pattern to a geometric design with multiple colors.

Chiana is Homes & Gardens’ kitchen appliances editor. With a lifelong passion for cooking and baking, she grew up experimenting in the kitchen every weekend with her baking-extraordinaire Mom, and has developed a great understanding of how tools and appliances can make or break your ideal relaxing kitchen routine.