How to remove exterior paint from a house – to give your home a fresh new look
What is the best way to remove exterior paint? Find out what the experts recommend

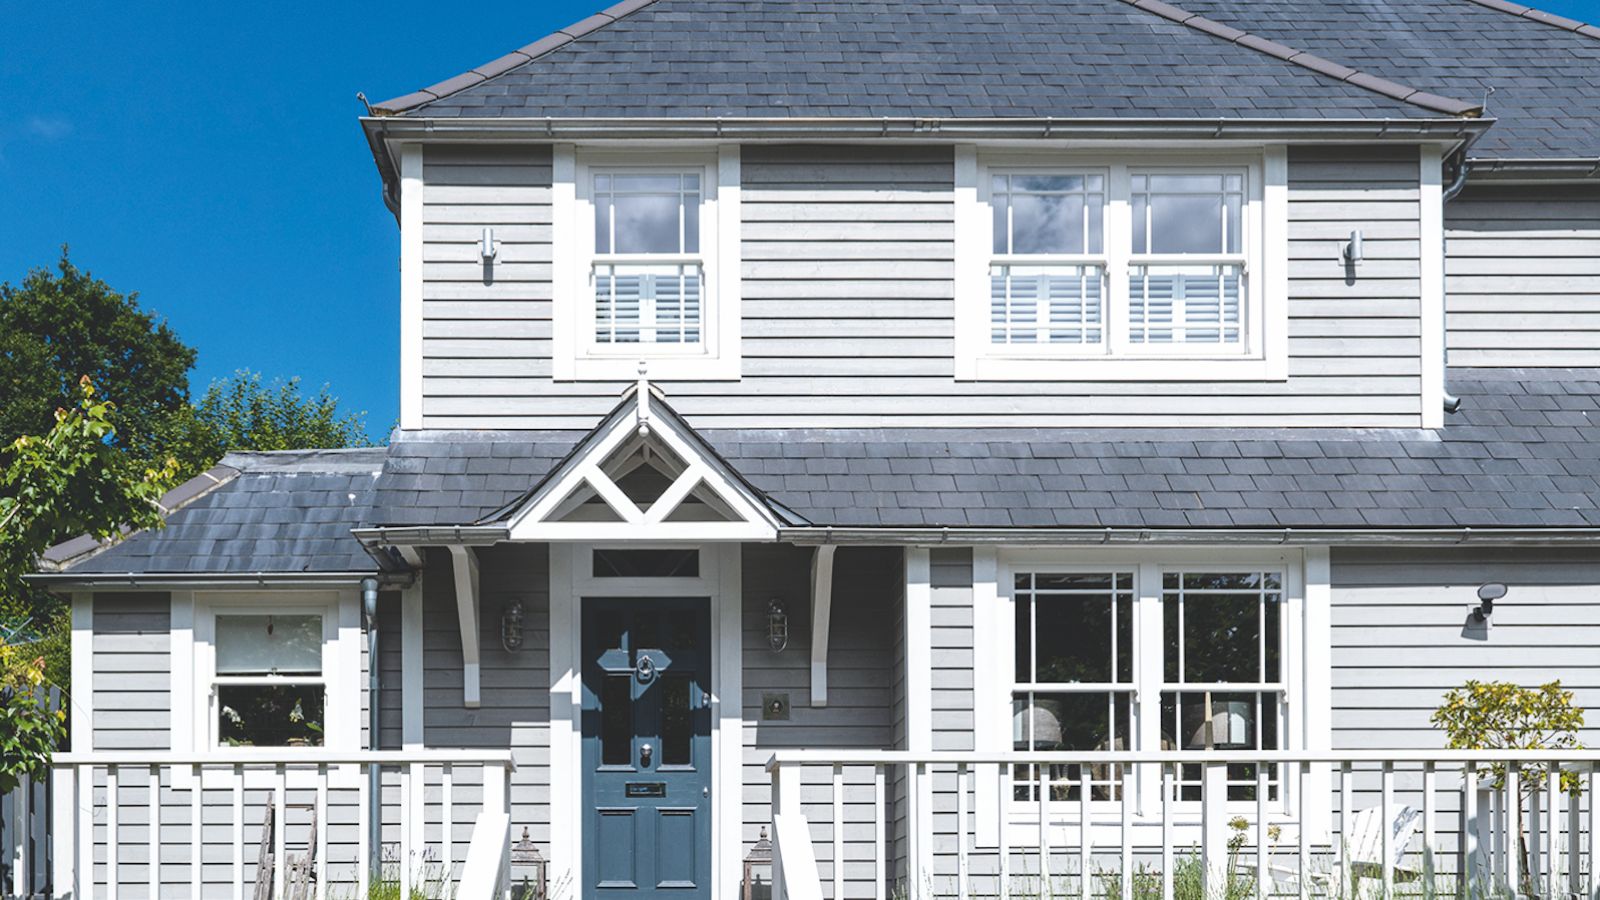
Flaking, fading paint is not a good look for the outside of any home. It's ugly, unattractive and it’s not a surface you can simply paint over. Whether you are looking to freshen up the exterior or transform the outside with a hot new contemporary color, preparation is the key.
You need to remove as much of the exterior paint as possible when painting a house to get the best finish, but you have to make sure that it's done right. Get it wrong and it won’t be long before your fresh new paint starts peeling and you’ll need to get ready for repaint, much sooner than you wanted.
Here you’ll discover the techniques and tools you’ll need to make sure that the exterior of your home is prepared perfectly for a new coat of paint.

The tools you'll need to remove exterior paint
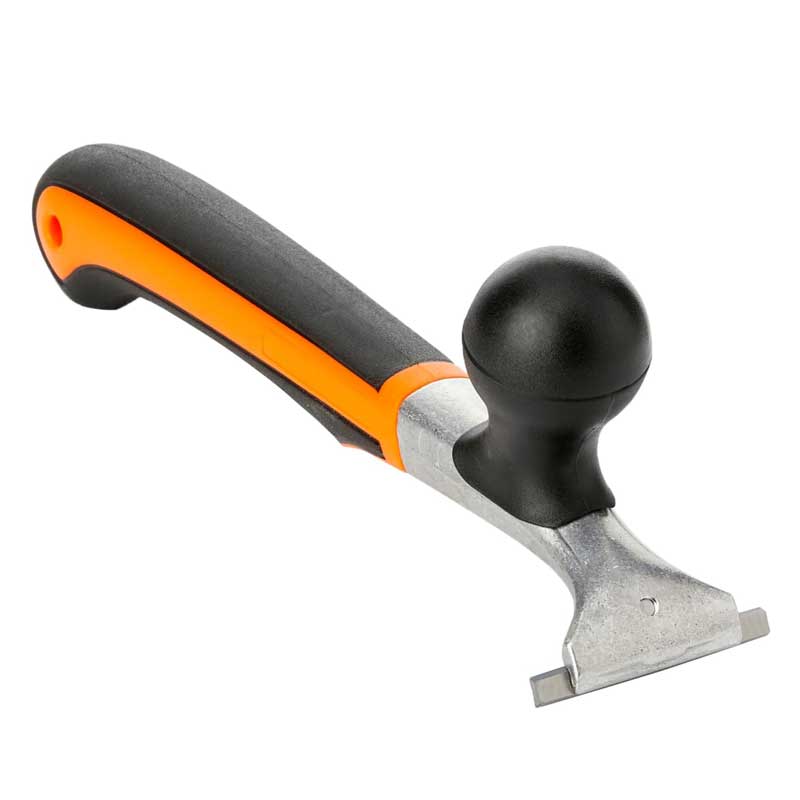
- Paint scraper
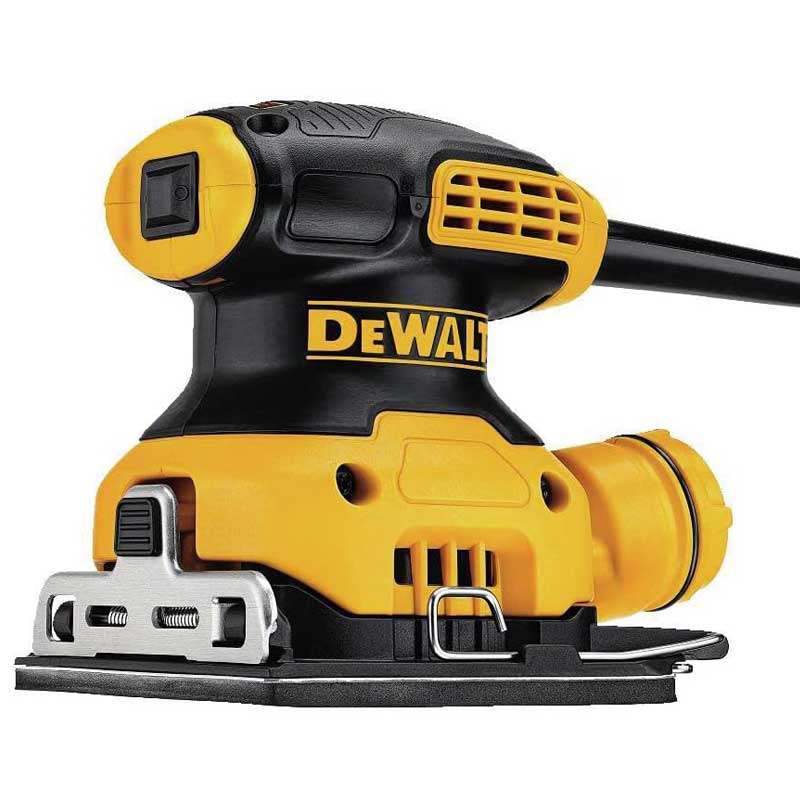
- Electric sander
- Ladder
- Scaffold tower/platform
- Lead test kit
- PPE (Overalls, gloves, mask)
- Drop cloths
- Heat gun
- Wood filler
Removing exterior paint from a wooden house: A step-by-step guide
Before you start removing paint you need to make sure that you have all your tools nearby and PPE ready to go. If using a scaffold tower or platform make sure this is set to the right height for you to work safely. Start at the top and work your way down.
1. Check paint for lead
Older properties may have used lead paint on the exterior of a property. It's unlikely that your exterior has lead paint if it has been painted in the last 20-30 years. But be warned, the latest layers of lead-free paint could have been added over lead paint. To check, use a home testing kit. These are available from your local hardware store, or online, like this Schneider Labs Lead Test Kit from Amazon.
2. Prepare work area
If you do have lead paint you will need to tape up and cover windows, air conditioning outlets and any other points that could let the paint into the inside of your home. Switch off any appliances that use the outlets before you cover. This is a good idea for normal paint but not as important.
Protect the surrounding grounds by laying down drop cloths and weighing them down with a heavy object to stop the clothes from moving or getting blown away by the wind. The drop cloths will also collect the old paint, making it easy to dispose of. Simply wrap the sheets and empty them into the garbage or trash bags.
3. Remove paint
This is typically the most time-consuming part of the project. The length of the job depends on the size of the project and the condition of the paint, but schedule in at least two days to finish the job.
Design expertise in your inbox – from inspiring decorating ideas and beautiful celebrity homes to practical gardening advice and shopping round-ups.
If you have lead-free paint that is in reasonable or good condition, you want to start off with a paint scraper to remove any loose or flaking paint. Strip back so there are no loose edges. The better you do your preparation the better the finish will be.
If you are looking to do a full restoration and take the paint job to bare wood you can use a heat gun, scraper, or use a chemical stripper. A heat gun is a good choice if the current paint is in reasonably good condition. This will quickly blister up the paint, making it easy to remove. If you are removing lead paint, wet the paint first to help stop dust particles travelling through air.
4. Fix and fill
Removing the paint will reveal any loose planks or tiles, and any cracks or holes. Fix any loose planks/tiles back into place and make sure they are secure. Use a suitable exterior wood filler to fill holes and cracks and a strong waterproof sealant - like this GE Advanced Silicone Caulk from Amazon - to replace any old sealant around windows and doors.
5. Sand the surface
To improve the adhesion of the paint and smooth out any raised edges, you will need to sand the surface. A 120 or 150-grit sandpaper is typically a good choice. Note, the higher the number, the finer the grade and the smoother the finish.
Sanding by hand is hard work, especially if working on a large area. Ideally, you want to use an electric sander to speed up the process.
6. Prepare for painting
A wooden surface stripped of its painted protection shouldn't be left exposed to the weather for too long. Ideally you want to be adding the first coat of protection as soon as possible. The longer it’s left, the more issues can arise and you may need to prepare again. Get a good exterior wood primer like this KILZ 3 Premium Primer from Amazon, and apply as soon as you can.

Matt Boden is the proud owner of Fresh Coat Painters of Tampa, and offers professional painting services delivered with a white glove approach to ensure beautiful finishes.
FAQs
What is the best method to remove exterior paint from a wooden house?
'Removing exterior paint from a wooden house can be a significant task, but there are several effective methods you can consider,' shares Matt Boden, owner of Fresh Coat Painters of Tampa. Here, he reveals the options and the best approach:
Scraping: This requires patience and some physical effort but allows you to control the process and minimize damage to the wood.
Sanding: Sanding can be used in combination with other methods to smooth out surfaces after paint removal or to remove any remaining paint residue. It's particularly useful for smaller areas or detailed work.
Heat Guns: Heat guns soften the paint, making it easier to scrape off. This method is effective for stubborn paint but requires careful handling to avoid damaging the wood or creating a fire hazard.
Chemical Strippers: Paint strippers chemically break down the paint, allowing it to be scraped off easily. There are both solvent-based and eco-friendly options available. Follow safety instructions carefully when using chemical strippers.
Pressure Washing: This uses high-pressure water to blast off loose paint. It's effective for paint that is already peeling or loose. Be cautious not to damage the wood by using too high pressure or holding the nozzle too close.
Sandblasting or Soda Blasting: These methods use abrasive materials (sand or baking soda) to remove paint. They are effective but can be quite aggressive, potentially damaging the wood if not done carefully.
Matt recommends that you 'Start with the least aggressive method (like scraping or pressure washing) and escalate to more intensive methods if necessary. Often, a combination of methods works best, such as using a chemical stripper followed by scraping or sanding.'
How can you speed up the paint removal process?
'Use power tools,' suggests Boden. 'Consider using power tools like electric sanders or paint strippers. Electric sanders (orbital or belt sanders) can quickly remove paint from large flat surfaces, though they require careful handling to avoid gouging the wood.'
'Paint strippers, especially those that heat up, can soften paint quickly for easier scraping.'
Adding a tool to a power tool like this Diamabrush Wood Deck Removal Tool from Amazon is another option. It works similarly to a sander; it is effective but is more aggressive, so you need a light touch when using it. And it's more expensive than sandpaper.
'Work in sections,' says Boden. 'Divide the house into manageable sections and focus on one area at a time. This approach helps maintain momentum and prevents overwhelm.' And, get help if you can, 'Involve additional help to speed up the process. More hands can make lighter work, especially when tackling larger surfaces.'
Finally, Boden recommends, 'For very large houses or when dealing with complex paint removal situations, hiring professionals who have the right equipment and expertise can save time and ensure a high-quality result.'
How long does it take to strip exterior paint from a house?
'As a rough estimate, stripping exterior paint from a house could take anywhere from several days to a few weeks,' explains Bowden. 'Especially if you're doing it yourself and working on weekends or evenings. For larger houses or those with multiple layers of paint, the process could extend even longer.'
He continues, 'The time it takes to strip exterior paint from a house can vary widely depending on several factors. These include the size of the house, number of layers of paint, condition of the paint, methods (e.g., scraping, chemical stripping, sanding) and tools (e.g., scrapers, heat guns, power sanders), skill and experience, weather conditions and accessibility around a home. All play a role in determining the overall time frame.'

Steve has been a homes writer and editor for two decades, regularly contributing to brands like Homebuilding & Renovating Magazine. He is an avid DIYer with over 20 years of experience transforming and renovating homes. He specializes in painting and decorating but has strong all-around building skills, having worked in the industry for ten years.
