How to divide daylilies – expert propagation advice for these vigorous, colorful blooms
Plant division is a fun and free way to fill your borders with flowers

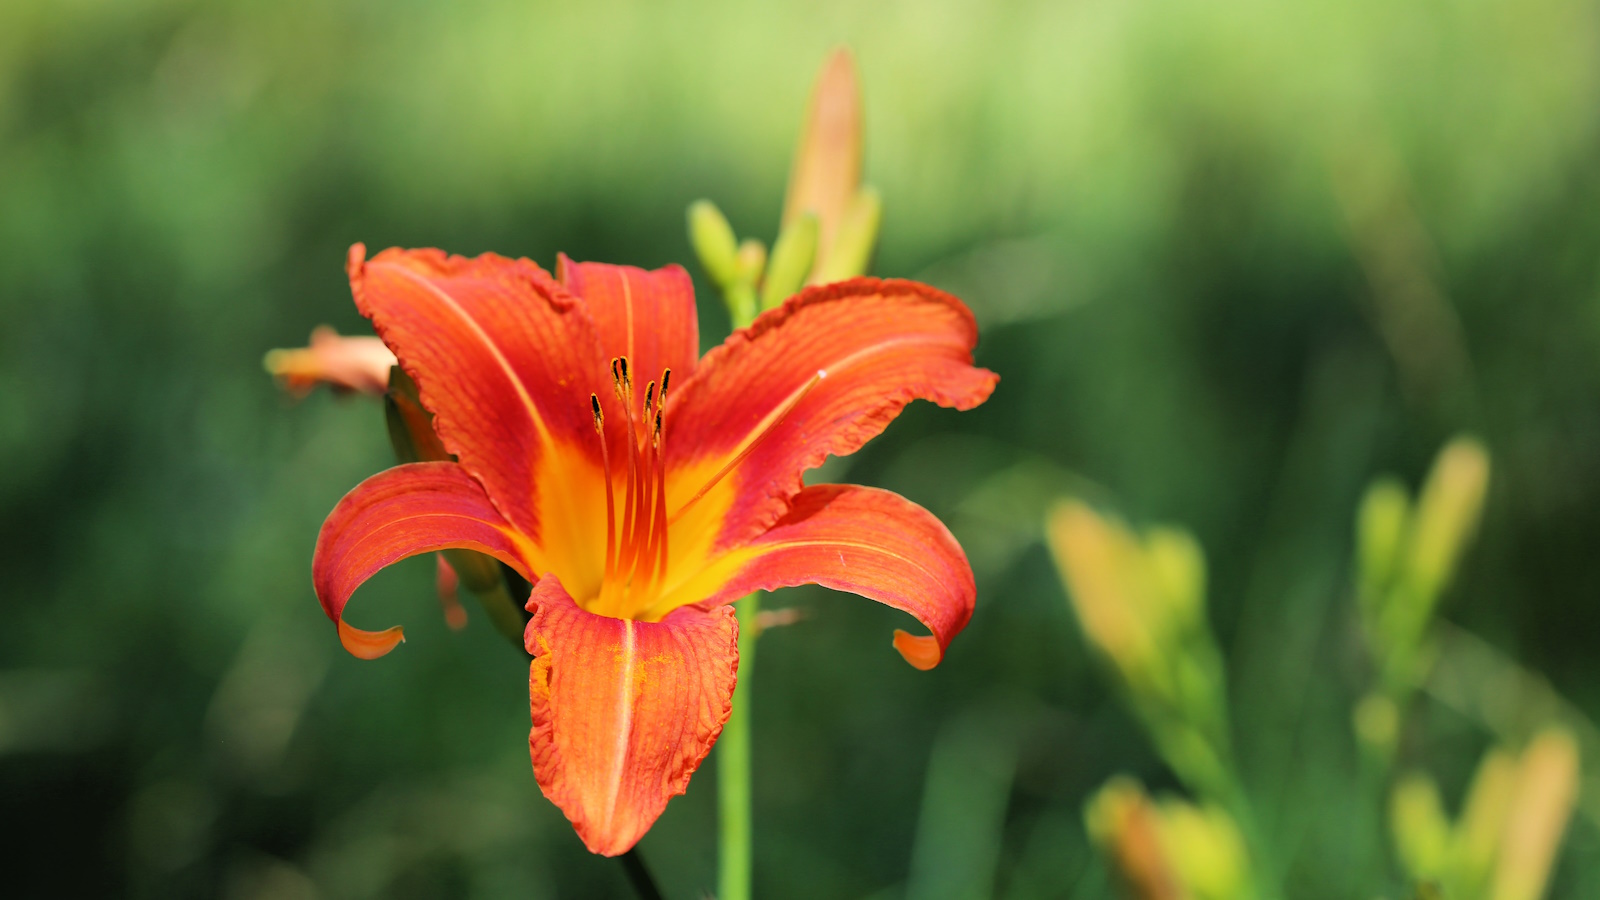
Daylilies are some of the toughest plants that you can grow. Exhibiting remarkable drought tolerance and flood resilience, daylilies are often considered invincible perennials, thriving wherever they are planted.
If you are already growing daylilies and enjoy having these vibrant blooms in your borders, why not consider growing your collection via plant division? Propagating daylilies in this way is a simple and easy way to grow more plants that are already well-suited to your yard.
As with any garden maintenance, there are a few key rules to follow when dividing plants. Here, one garden expert reveals the best approach when dividing daylilies to ensure that your original clump remains in good health and your new plants succeed.
How to divide daylilies
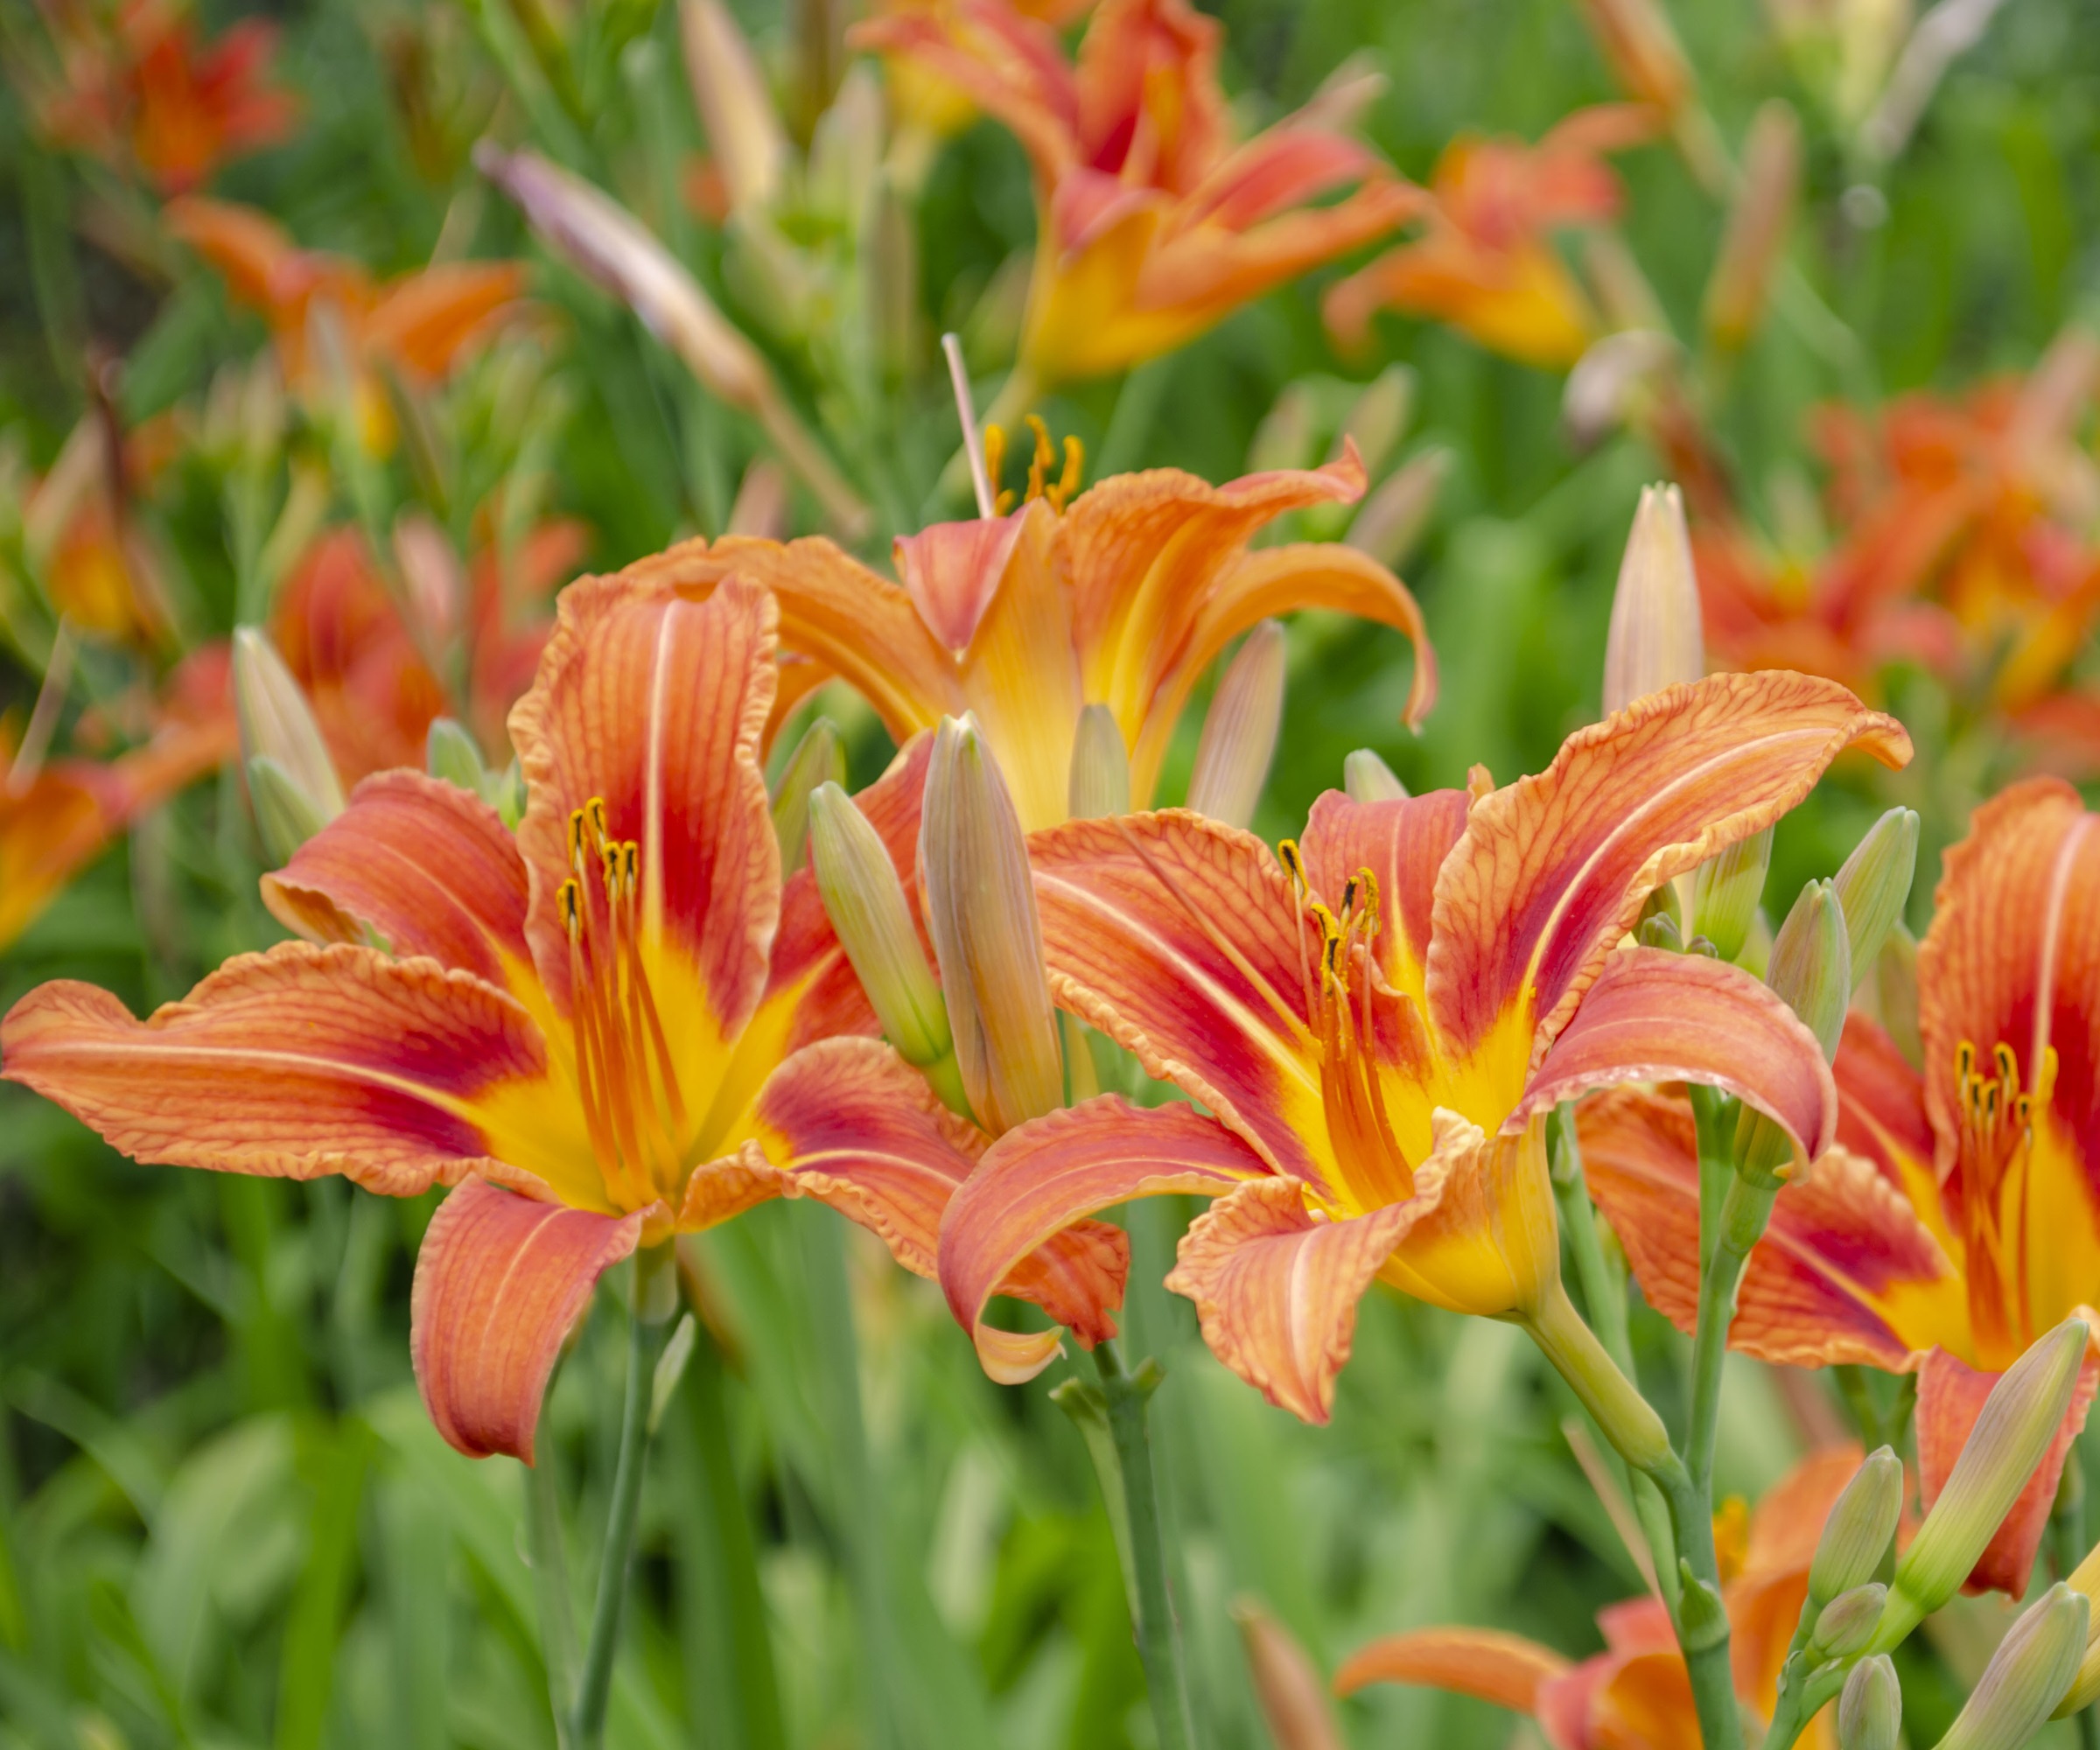
Daylilies are often considered ditch plants, as they can grow in various terrains and conditions. While you might be confident growing daylilies, there are certain rules to follow when learning how to divide them, such as knowing the right time of year to propagate. Our guide has all the information you need.
When to divide daylilies
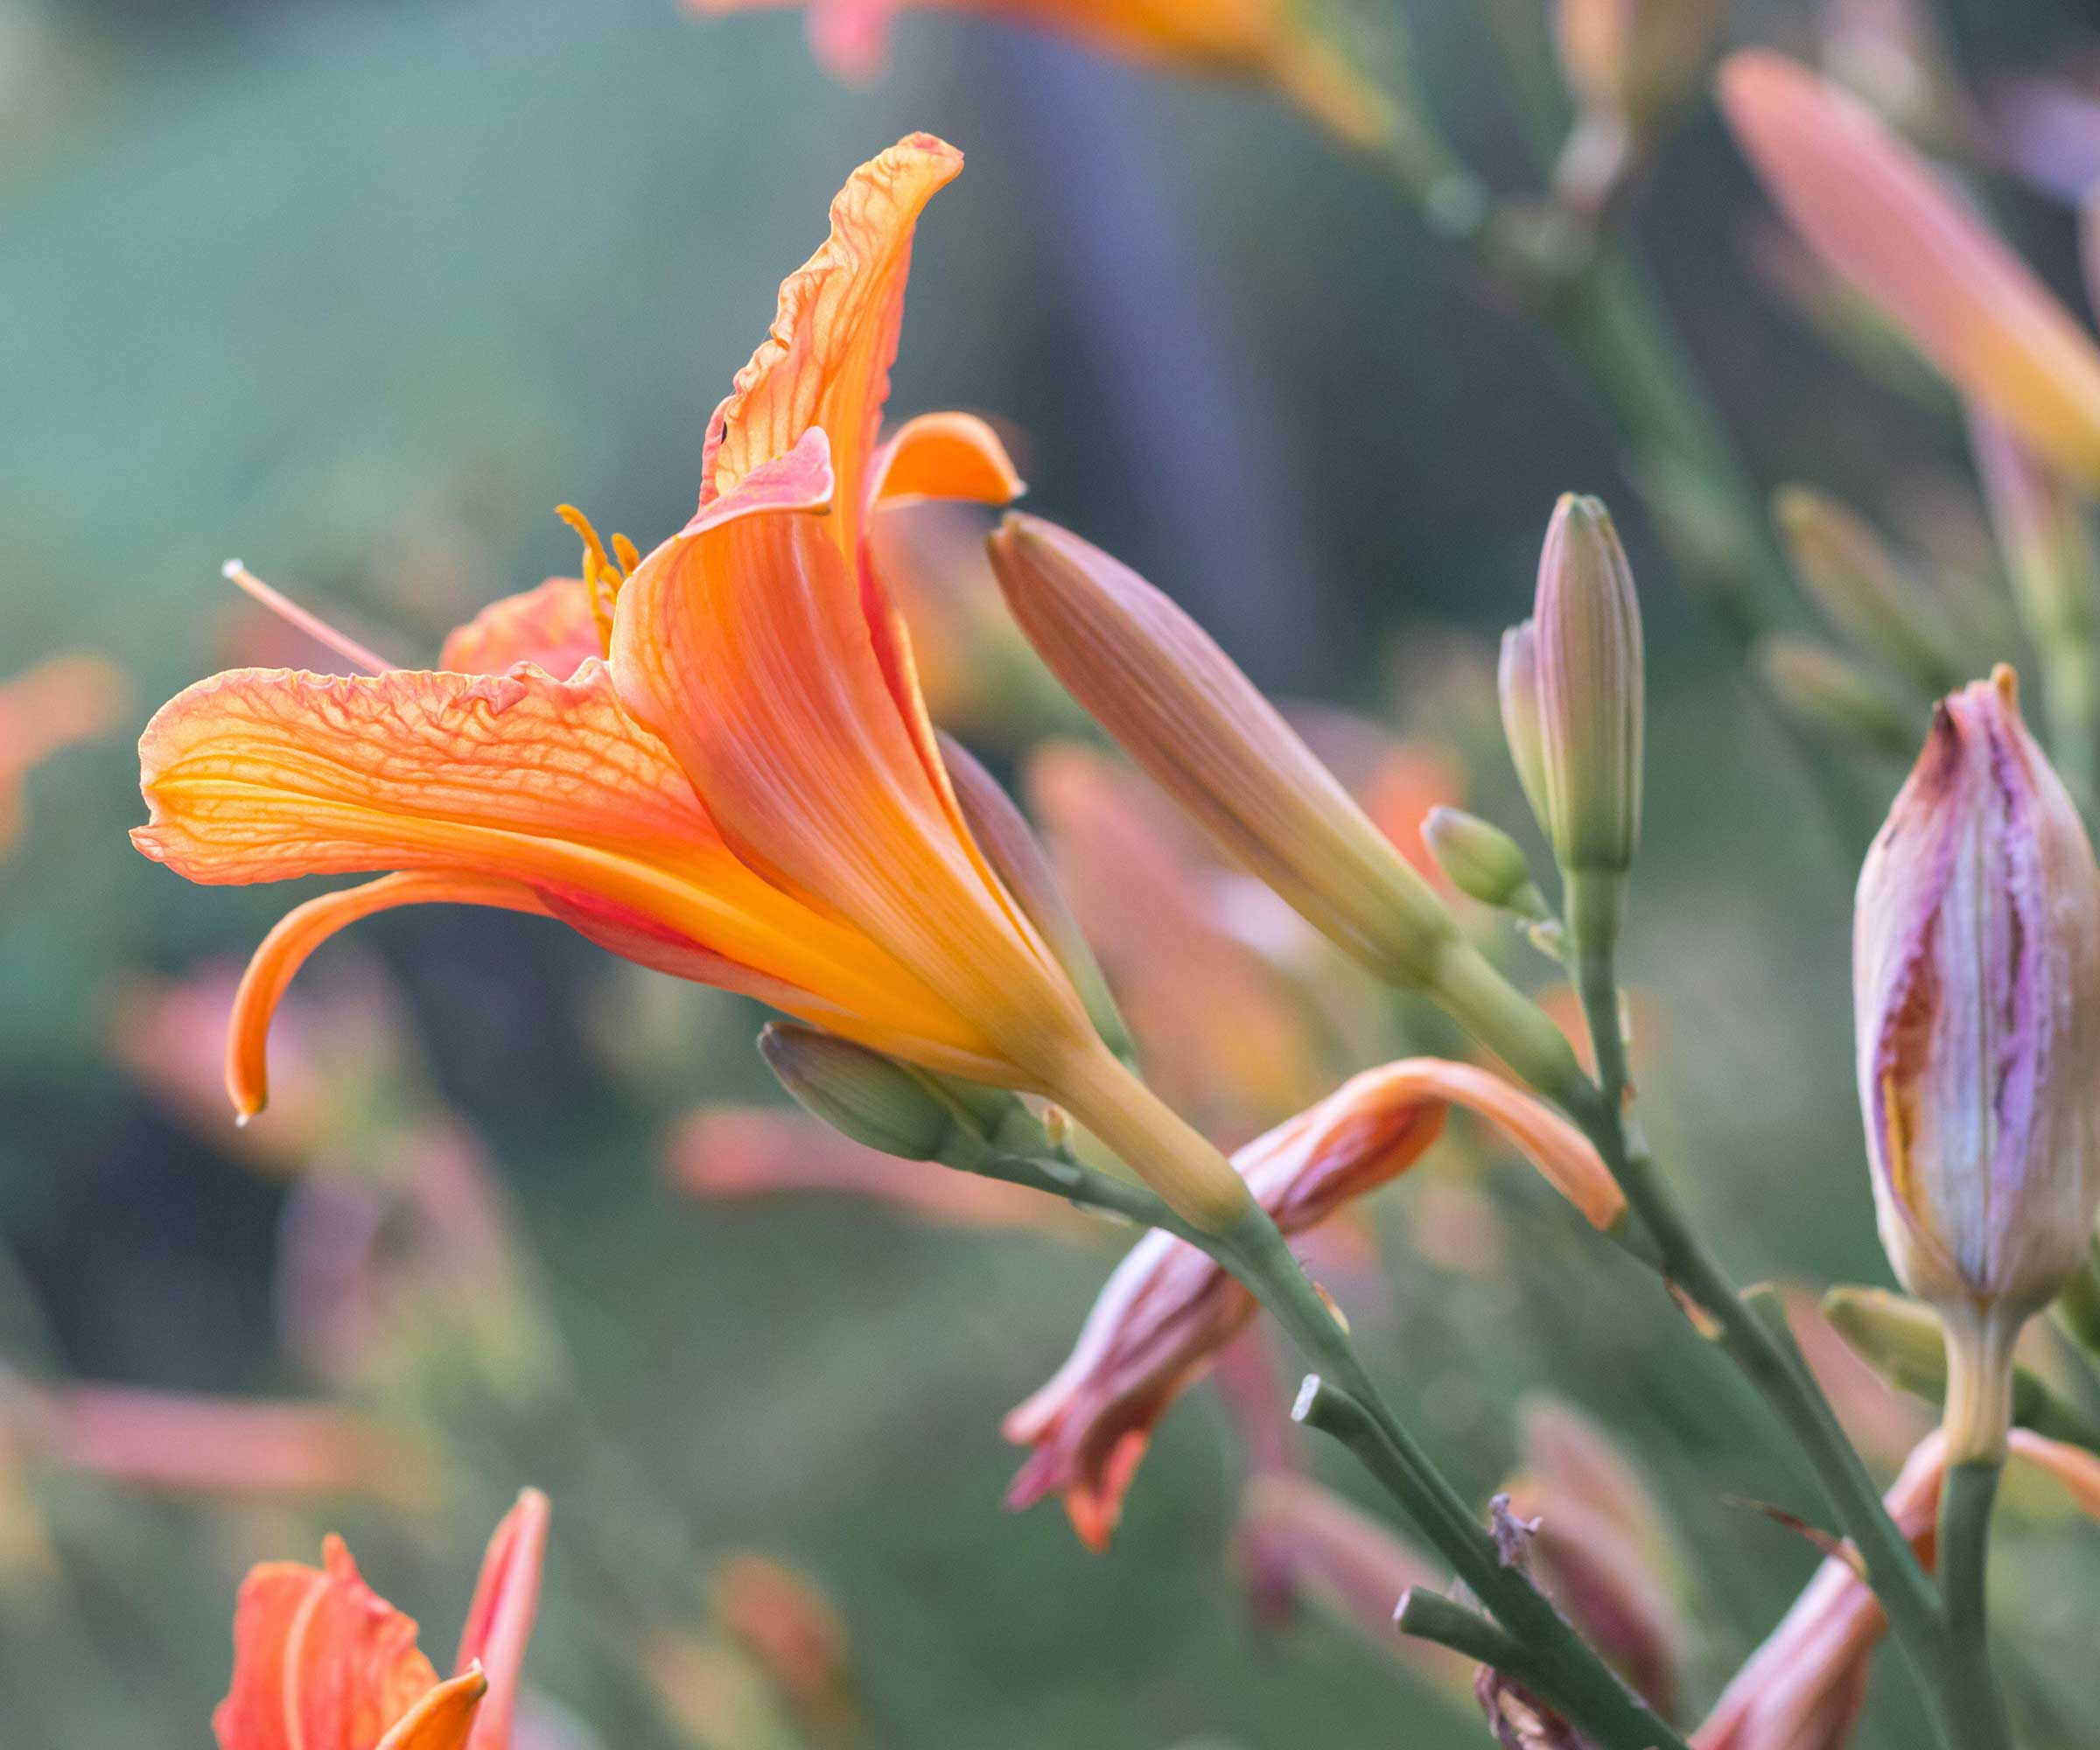
'Daylilies should be divided every three to five years to maintain optimum health and prolific blooms,' says plant expert, Katie Sunderlage. 'The best time to divide is during the fall, once blooms have ended for the season, or during early springtime before flower buds have set.'
While the approximate timeframes to divide plants will depend on where you live and your US hardiness zone, I find that doing so during October or November will often have the best results, so this is a job to add to your fall gardening checklist.
'When dividing in the fall, just make sure to allow plenty of time before the temperature drops,' Katie warns. 'I recommend dividing four to six weeks before the first expected frost, to make sure they have time to become established before winter.'
Design expertise in your inbox – from inspiring decorating ideas and beautiful celebrity homes to practical gardening advice and shopping round-ups.

Operations Manager at Holland Group, managing the customer service department and purchasing. Katie has been in the green industry since 2005 in the Greater Milwaukee area, earning her degree in Horticulture in 2008. She has been able to share her love for plants working in multiple garden centers, in sales positions and most recently in an online retail platform at Holland Group.
Shop propagation tools
How to divide daylilies
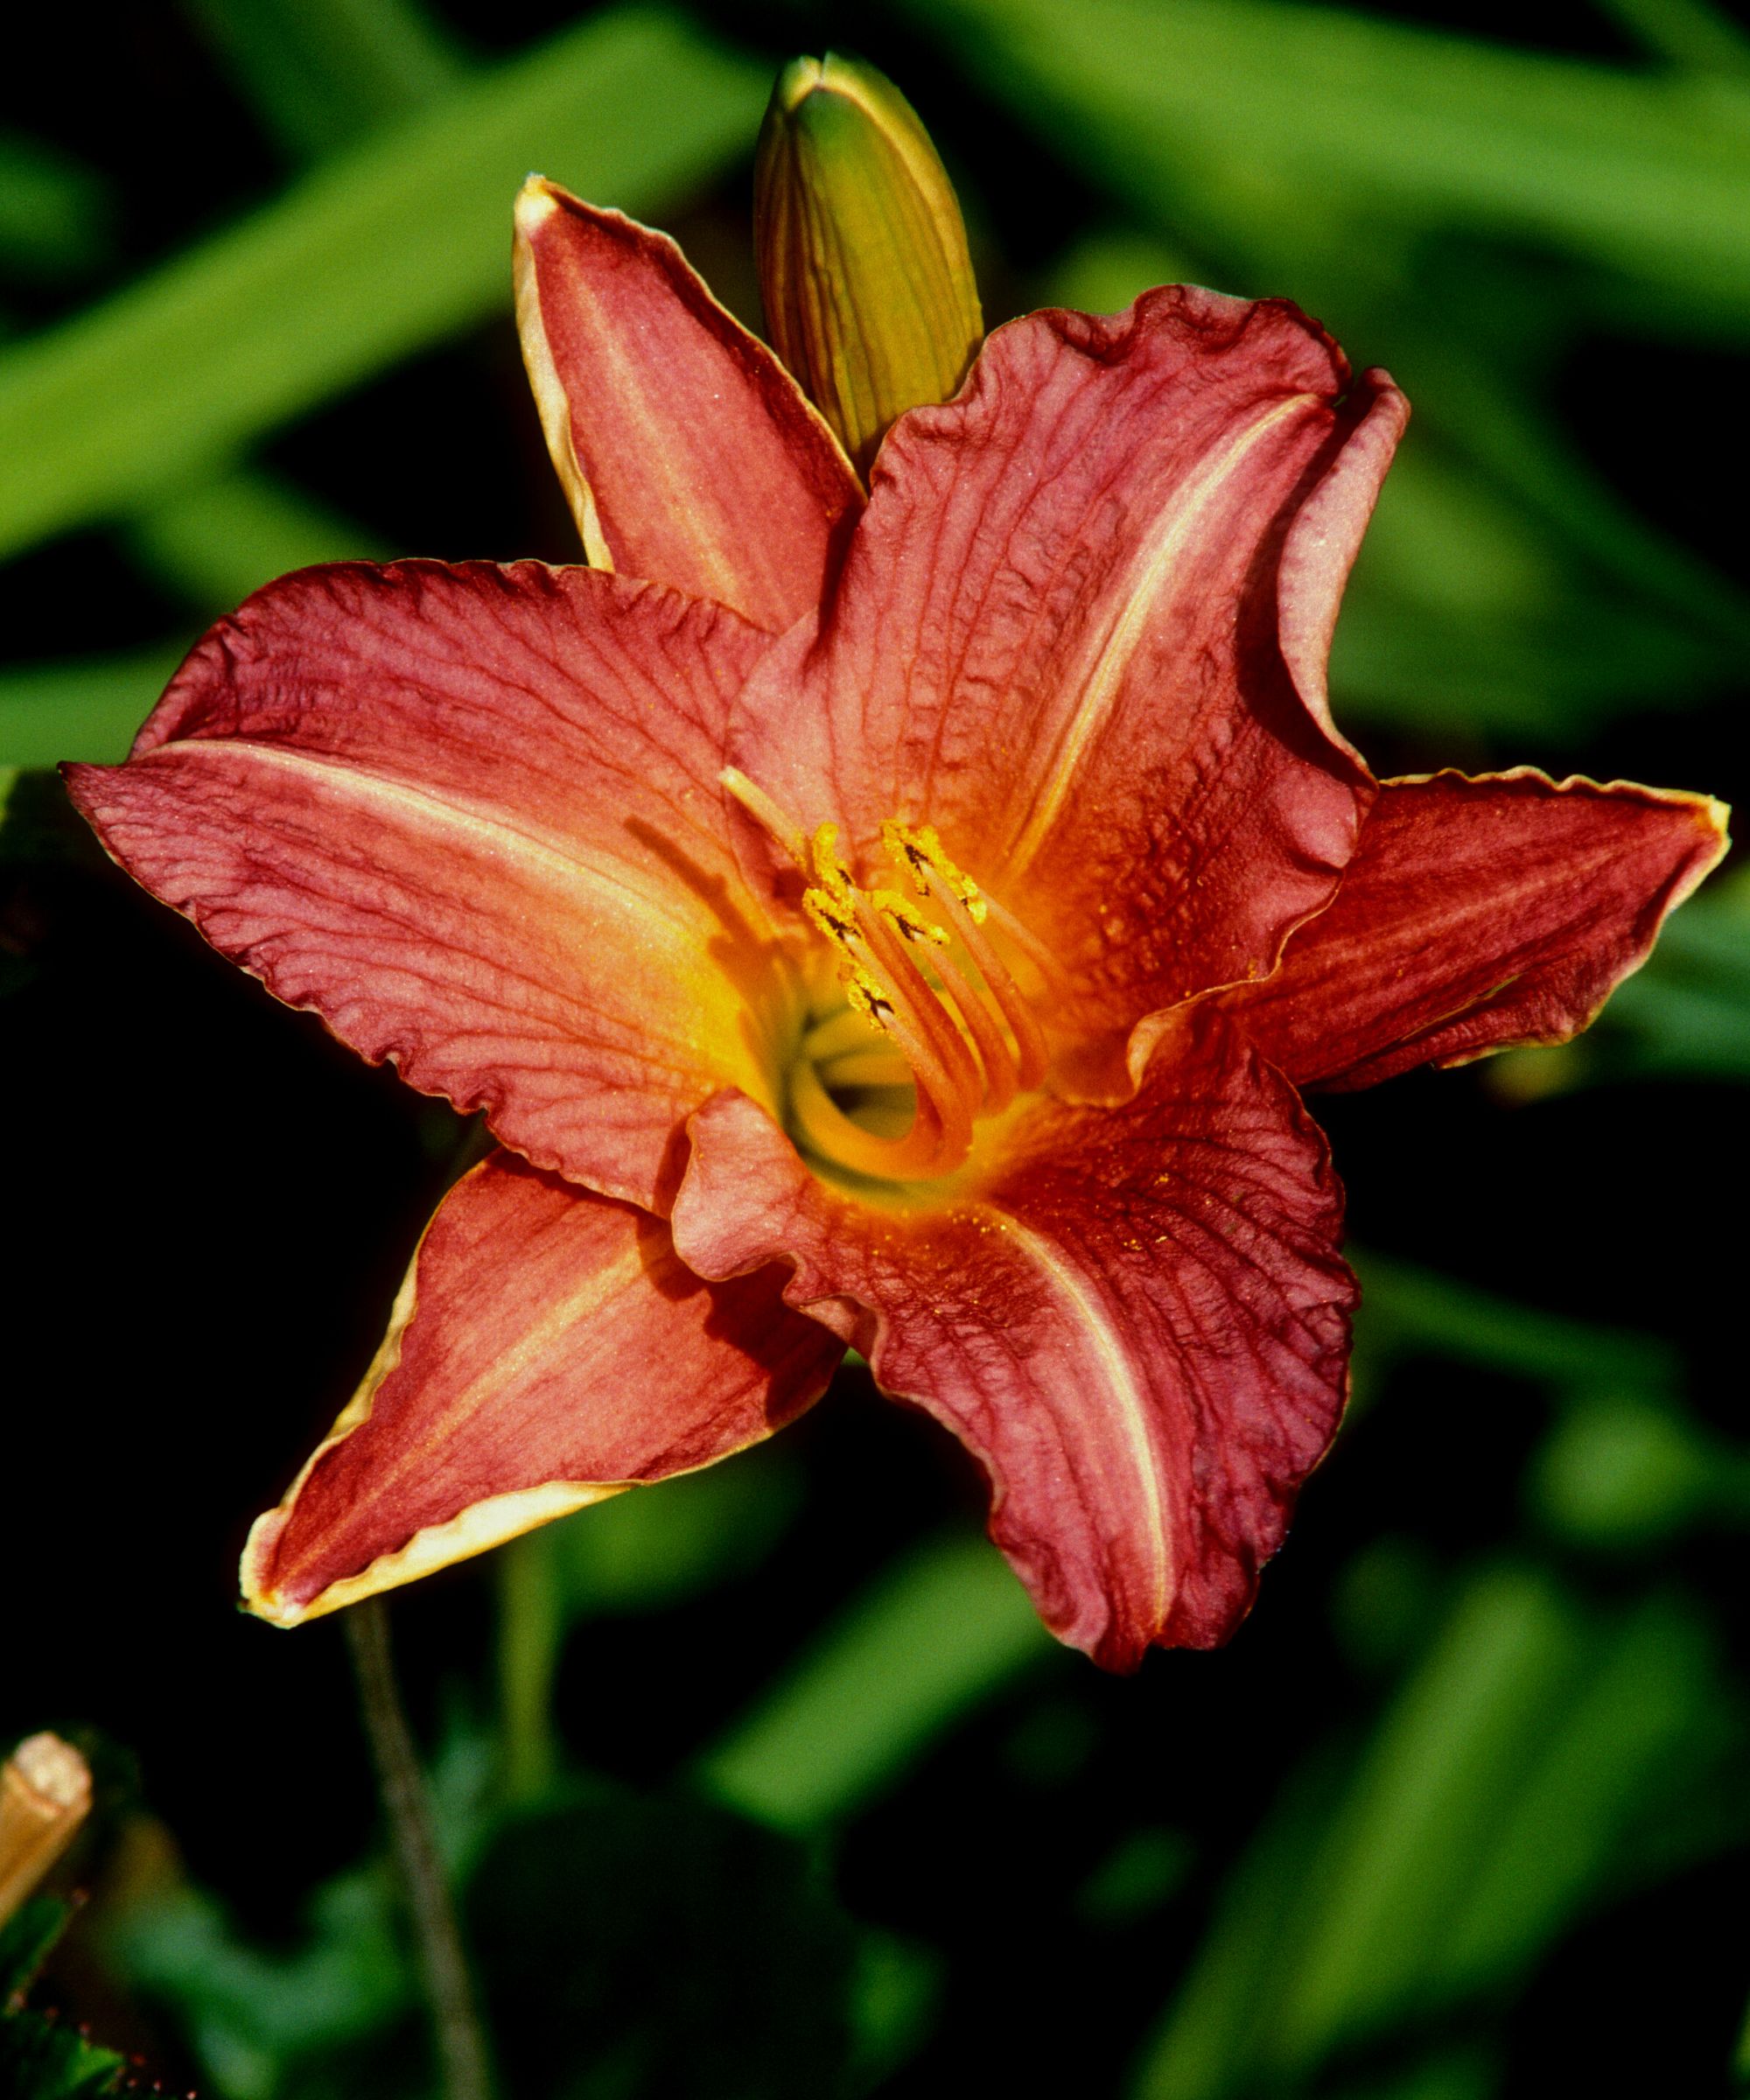
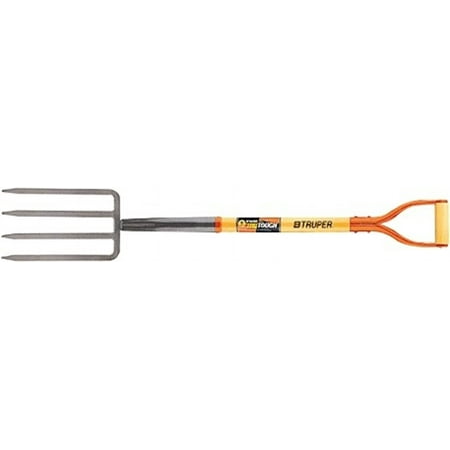
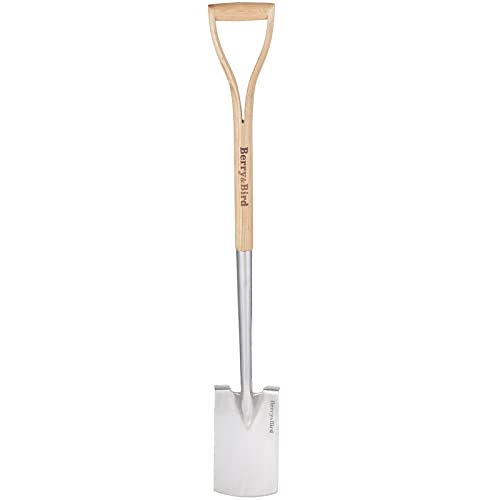
It is best to use a heavy-duty fork or spade for this job, as small trowels or hand tools will make the task significantly harder. In addition, it is always advisable to use clean, sharp garden tools when dividing plants, to prevent the spread of disease.
'Using your tools, focus on one small, dense clump that appears healthy and has plenty of growth. Work in a circular motion around the clump to lift it,' Katie says. 'Work slowly, taking care to dig up as much of the root system as possible to give your new clump the best chance of success.'
'Once the root structure is lifted, shake the clump to remove any extra soil from the roots. Next, identify where to divide. You want to make sure that each division has three well-established stems, or fans, intact. Once you have decided where to cut, use a garden knife or very sharp spade to divide the clump.' It can be a good idea to invest in a pruning saw, available from Amazon, which will easily slice through congested daylily clumps.
'Once separated, you can then cut back the daylily foliage, pruning the stems down to about six inches from the roots,' Katie adds. Store your plants in a bucket of water until you are ready to plant them.
Finally, a note of caution - daylilies are vigorous perennials, and can be considered invasive plants. For this reason, plant any divided daylily clumps only where you are happy for them to grow and spread.
Aftercare for divided daylilies
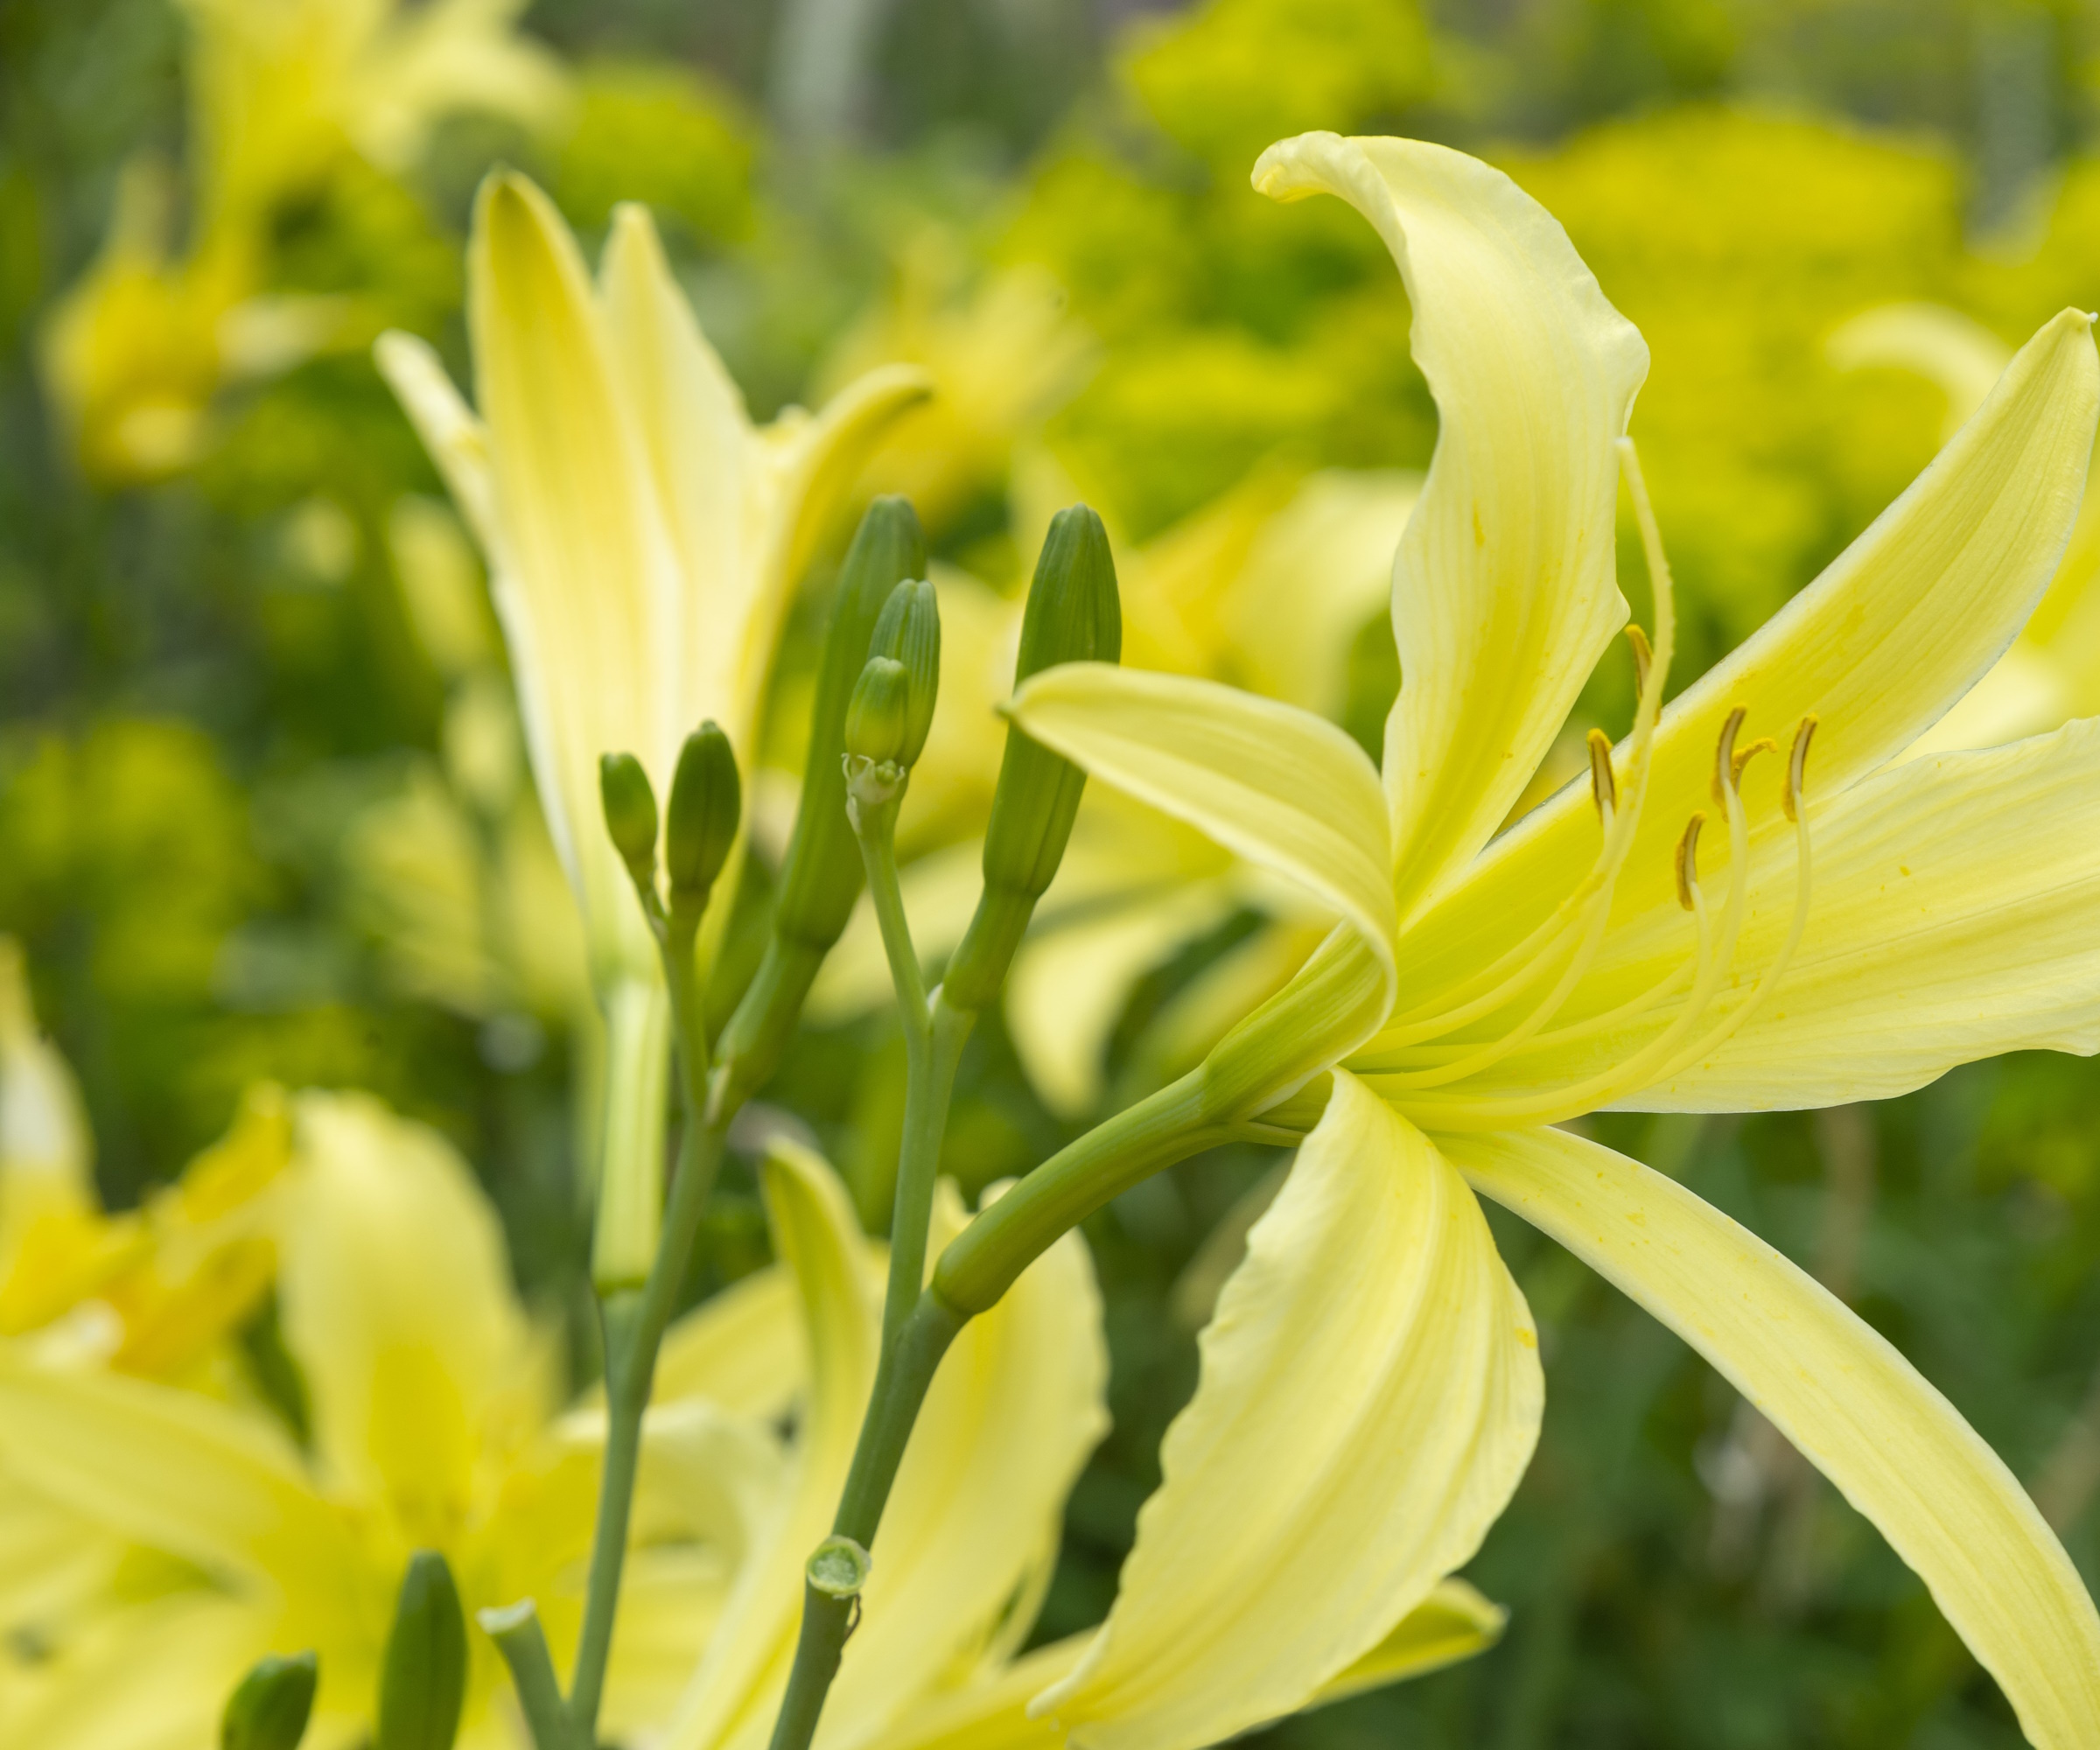
'Daylilies do best planted in the ground,' Katie says. 'While you can plant them in pots, I suggest growing them in borders if you want them to spread.'
'It is important once they are divided to plant as quickly as possible. Be sure to plant the crown one to two inches deep, in a sunny border with well-draining soil. Be sure to give your plants space to grow, placing each division at least two feet apart.
'Be sure to water the transplants well in the first few weeks after dividing,' Katie continues. 'It will not be necessary to fertilize them until the following spring, using an all-purpose granular fertilizer once the foliage starts to emerge.'
FAQs
Will the divided daylily clumps flower next year?
'Daylilies likely won’t bloom the first year after division,' Katie says. 'It can take two years for the divisions to become established enough to bloom again, but it is certainly worth the wait.'
If you forget to divide daylilies and it is too close to winter, I advise holding off and propagating in April or May, just as new shoots emerge. Any divisions that have not had time to establish before the cold weather will fail, so waiting for the warmer months is recommended.
For more propagation inspiration, see our guide to herbs to divide in October, increasing your collection of fragrant and aromatic herbs that will fill your yard in the years to come.

Thomas is a Content Editor within the Gardens Team at Homes and Gardens. He has worked as a professional gardener for both public spaces and private estates, specializing in productive gardening, growing food and flowers. Trained in Horticulture at the Garden Museum, he has written on gardening and garden history for various publications, including The English Garden, Gardens Illustrated, Hortus, The London Gardener and Bloom. He has co-authored a Lonely Planet travel book, The Tree Atlas, due out in 2024.
