How to dry flowers – for everlasting blooms
Discover how to dry flowers to preserve cherished blooms and make a beautiful decorative display in your home

Design expertise in your inbox – from inspiring decorating ideas and beautiful celebrity homes to practical gardening advice and shopping round-ups.
You are now subscribed
Your newsletter sign-up was successful
Want to add more newsletters?

Twice a week
Homes&Gardens
The ultimate interior design resource from the world's leading experts - discover inspiring decorating ideas, color scheming know-how, garden inspiration and shopping expertise.

Once a week
In The Loop from Next In Design
Members of the Next in Design Circle will receive In the Loop, our weekly email filled with trade news, names to know and spotlight moments. Together we’re building a brighter design future.

Twice a week
Cucina
Whether you’re passionate about hosting exquisite dinners, experimenting with culinary trends, or perfecting your kitchen's design with timeless elegance and innovative functionality, this newsletter is here to inspire
Learning how to dry flowers is such a wonderful way to preserve garden blooms – or even a wedding bouquet – and enable you to display them in your home for years to come.
There are so many beautiful ideas for making dried flower arrangements, and there are a variety of ways to dry them out while keeping the petals intact. Knowing how to press flowers is another age-old craft that has been practiced for centuries.
As flowers naturally contain moisture, if not dried out, they will develop mold and eventually rot.
‘Whether you're going to be putting them in a resin mold, framing them, or making a table centerpiece, it's important to dry the flowers,’ says crafter Natalie Bickel, who dries flowers and uses them to make resin jewelry.
‘The longer flowers sit in water, the longer the droop effect begins to take place over time. By removing the flowers from water to dry them, you're actually preserving their posture and vitality.’
Casting dried flowers in resin is a way to make them last indefinitely. Otherwise, you should expect an arrangement to last a few years with good care.
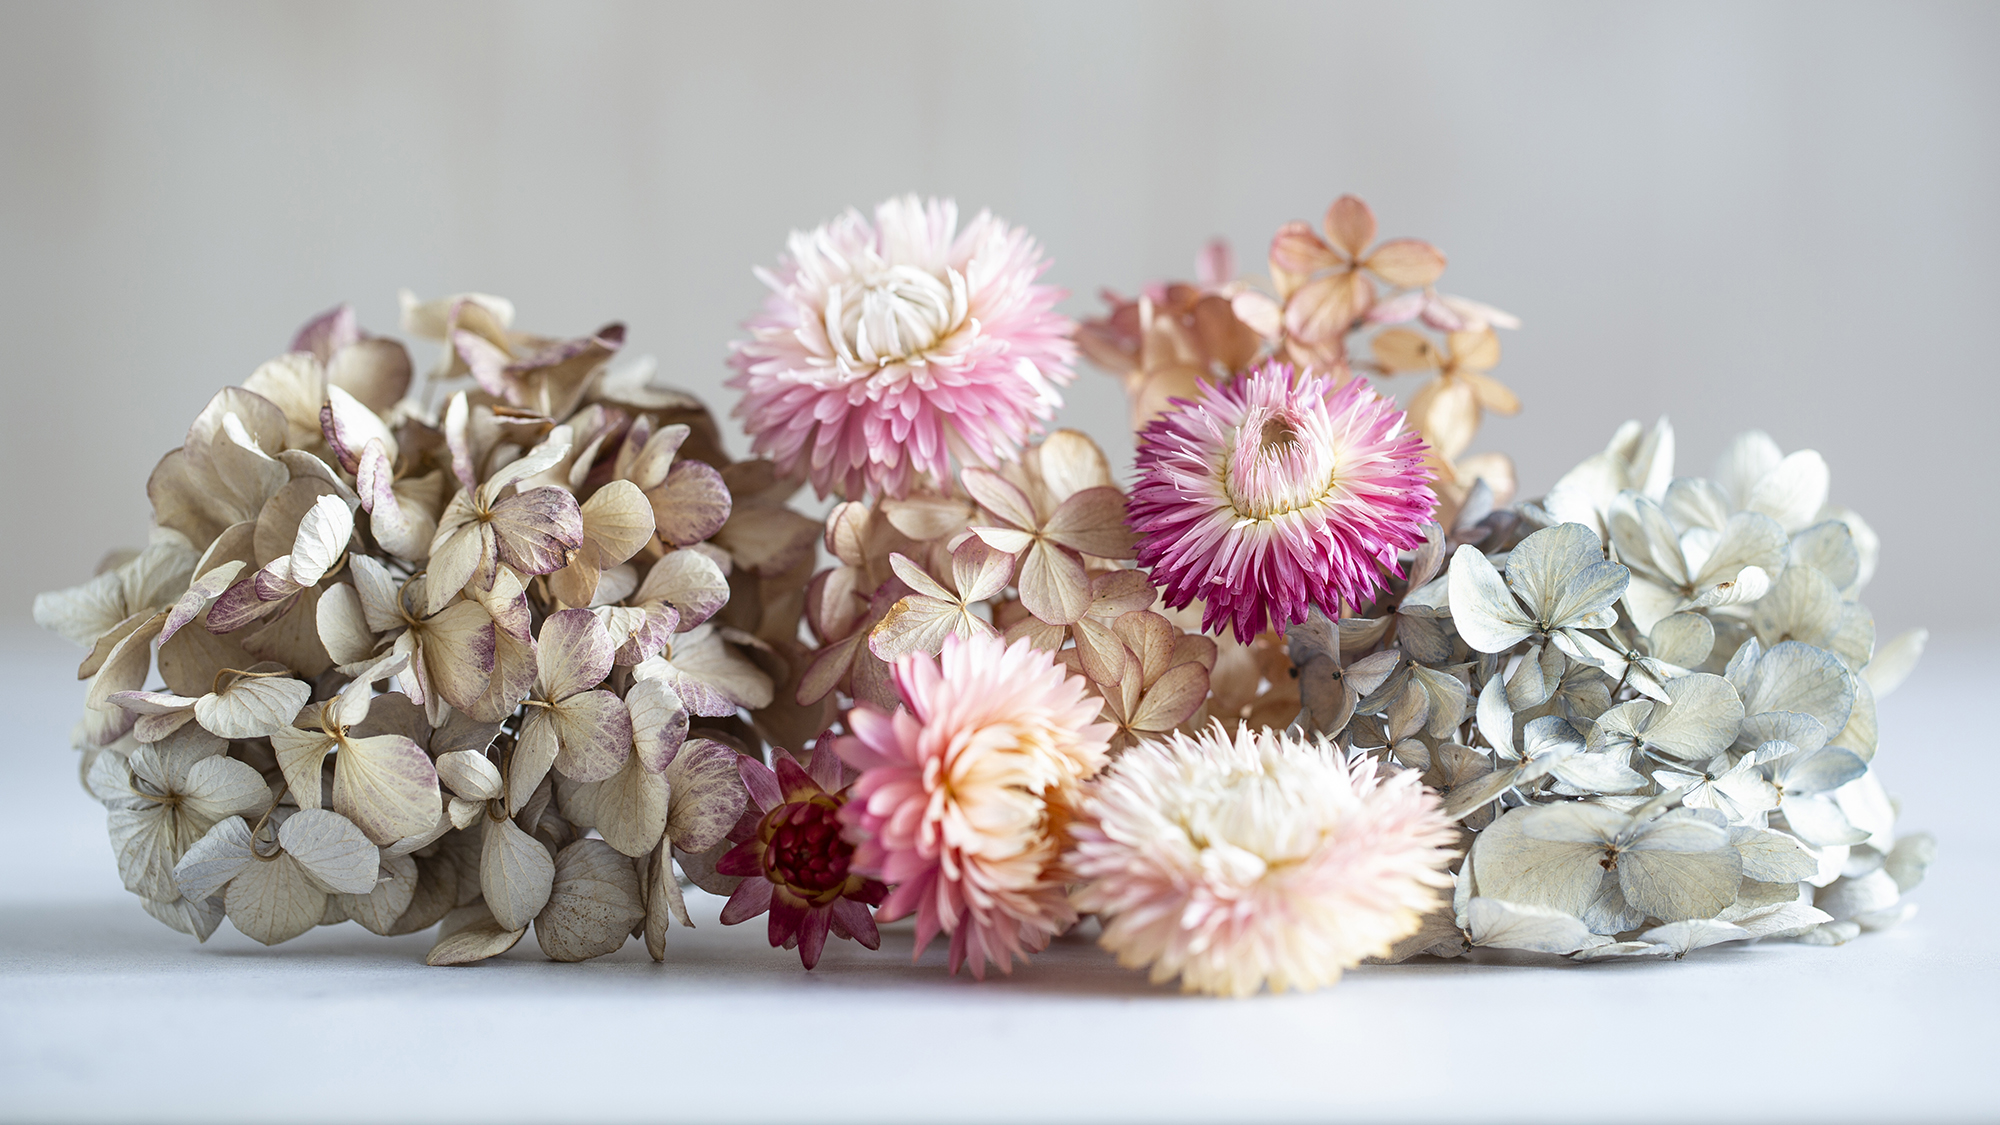
How to dry flowers – the best methods
‘There are several methods you can use to dry flowers, and the best method will depend on the type of flower you're working with,’ says horticulturist and landscape designer Kristina Matthew, who is also co-founder of Gardeningit.
Design expertise in your inbox – from inspiring decorating ideas and beautiful celebrity homes to practical gardening advice and shopping round-ups.
For example, flowers with small and robust heads, such as hydrangeas, lavender and gypsophila, respond well to being air dried, as their lower moisture content enables them to be successfully dried out over a longer period.
Larger, denser flowers with multiple petal layers, such as roses, tulips and chrysanthemums, are good candidates for drying with heat.
More delicate blooms, such as dahlias, pansies and peonies, are best dried with the addition of a desiccant, to speed up the process.
Not all flowers will dry well, but it’s fun to experiment with different varieties.
How to air dry flowers
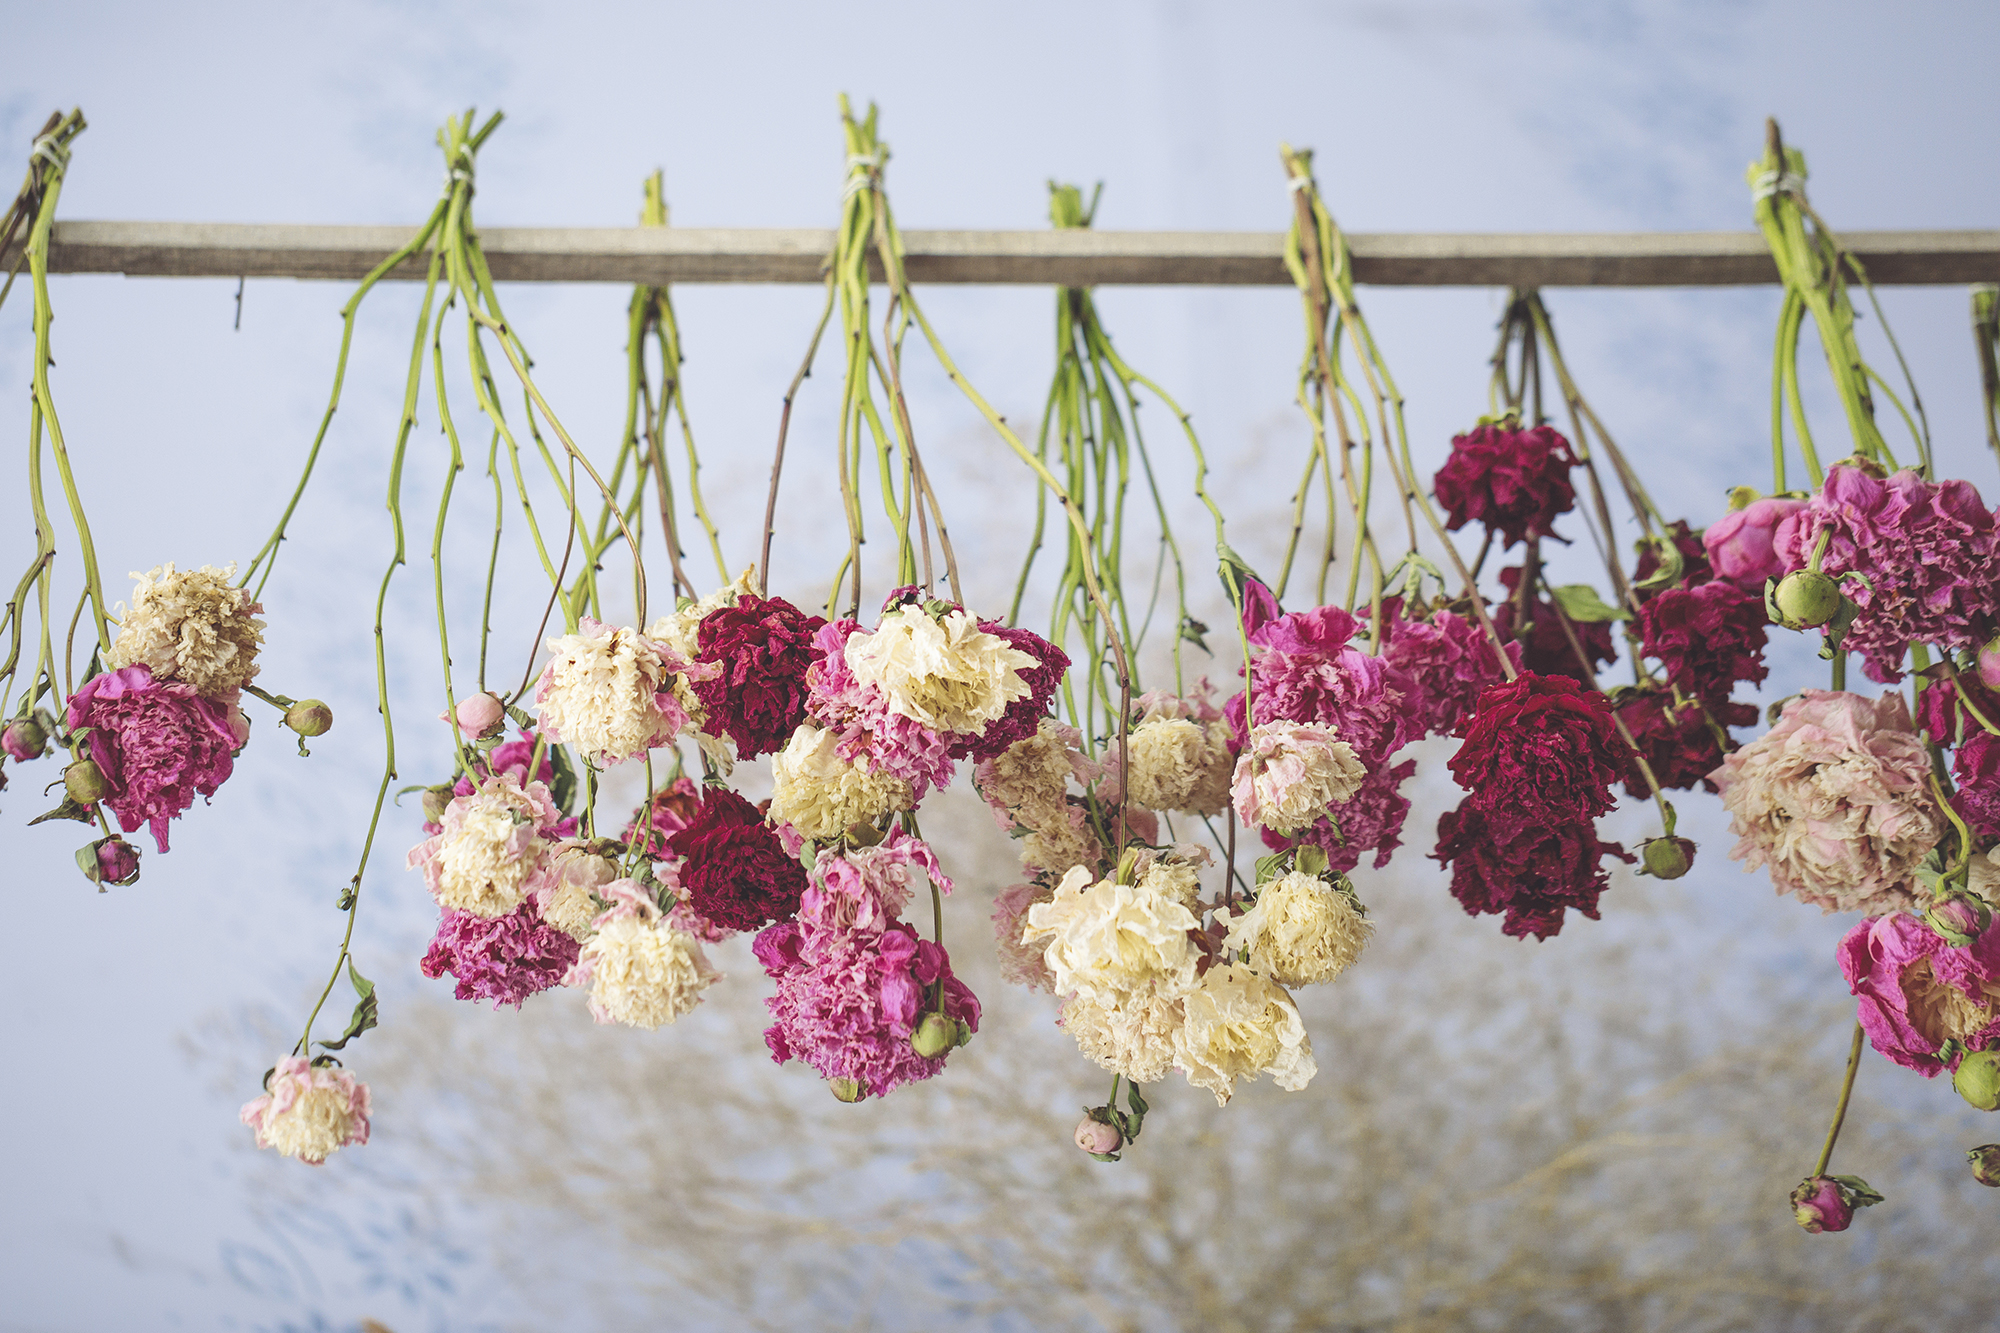
Air drying is the simplest way to learn how to dry flowers. It takes longer than the other methods, but is the best way of keeping them intact. Bear in mind that the colors are prone to fading, giving them a vintage feel.
- First select the best flowers to air dry. They should ideally have only just bloomed.
- You will need to remove the leaves and any foliage from the stem below the flower, and trim the stems.
- Arrange a few of the flowers together and fasten tightly at the end of the stems with a rubber band or twine. Bickel recommends using dental floss and a thumb tack. ‘By tying the flower stems together with the floss, and then draping the floss around the thumbtack, I can dry a bouquet easily,’ she says. Bear in mind that larger bouquets won’t dry as easily, and you’ll need to split them up into smaller sections.
- Hang your flowers upside down – to do this, attach the stems with string to a hook, nail or coat hanger.
- Alternatively, you could dry the flowers on a flat surface. ‘To do this, gently fan out the stems to create both straight and curved stems,’ says Sandra Valey at Flying Flowers.
- Place the flowers in a dry, dark, warm place, such as a large cupboard or in the attic. ‘Direct sunlight can fade the flowers,’ adds Valey. ‘You should also choose a spot that offers good air circulation.’
- It should take a few weeks for the flowers to dry out – check on them occasionally to see if they are ready. ‘They should be dry and rigid, and rustle when you move them,’ says Valey.
- Once they are dry, you can take them down and display them. It’s a good idea to spritz them with a fine mist of hairspray, which will help to preserve them and add a gentle sheen.
- Avoid displaying your dried flowers next to a heat source or in bright light.
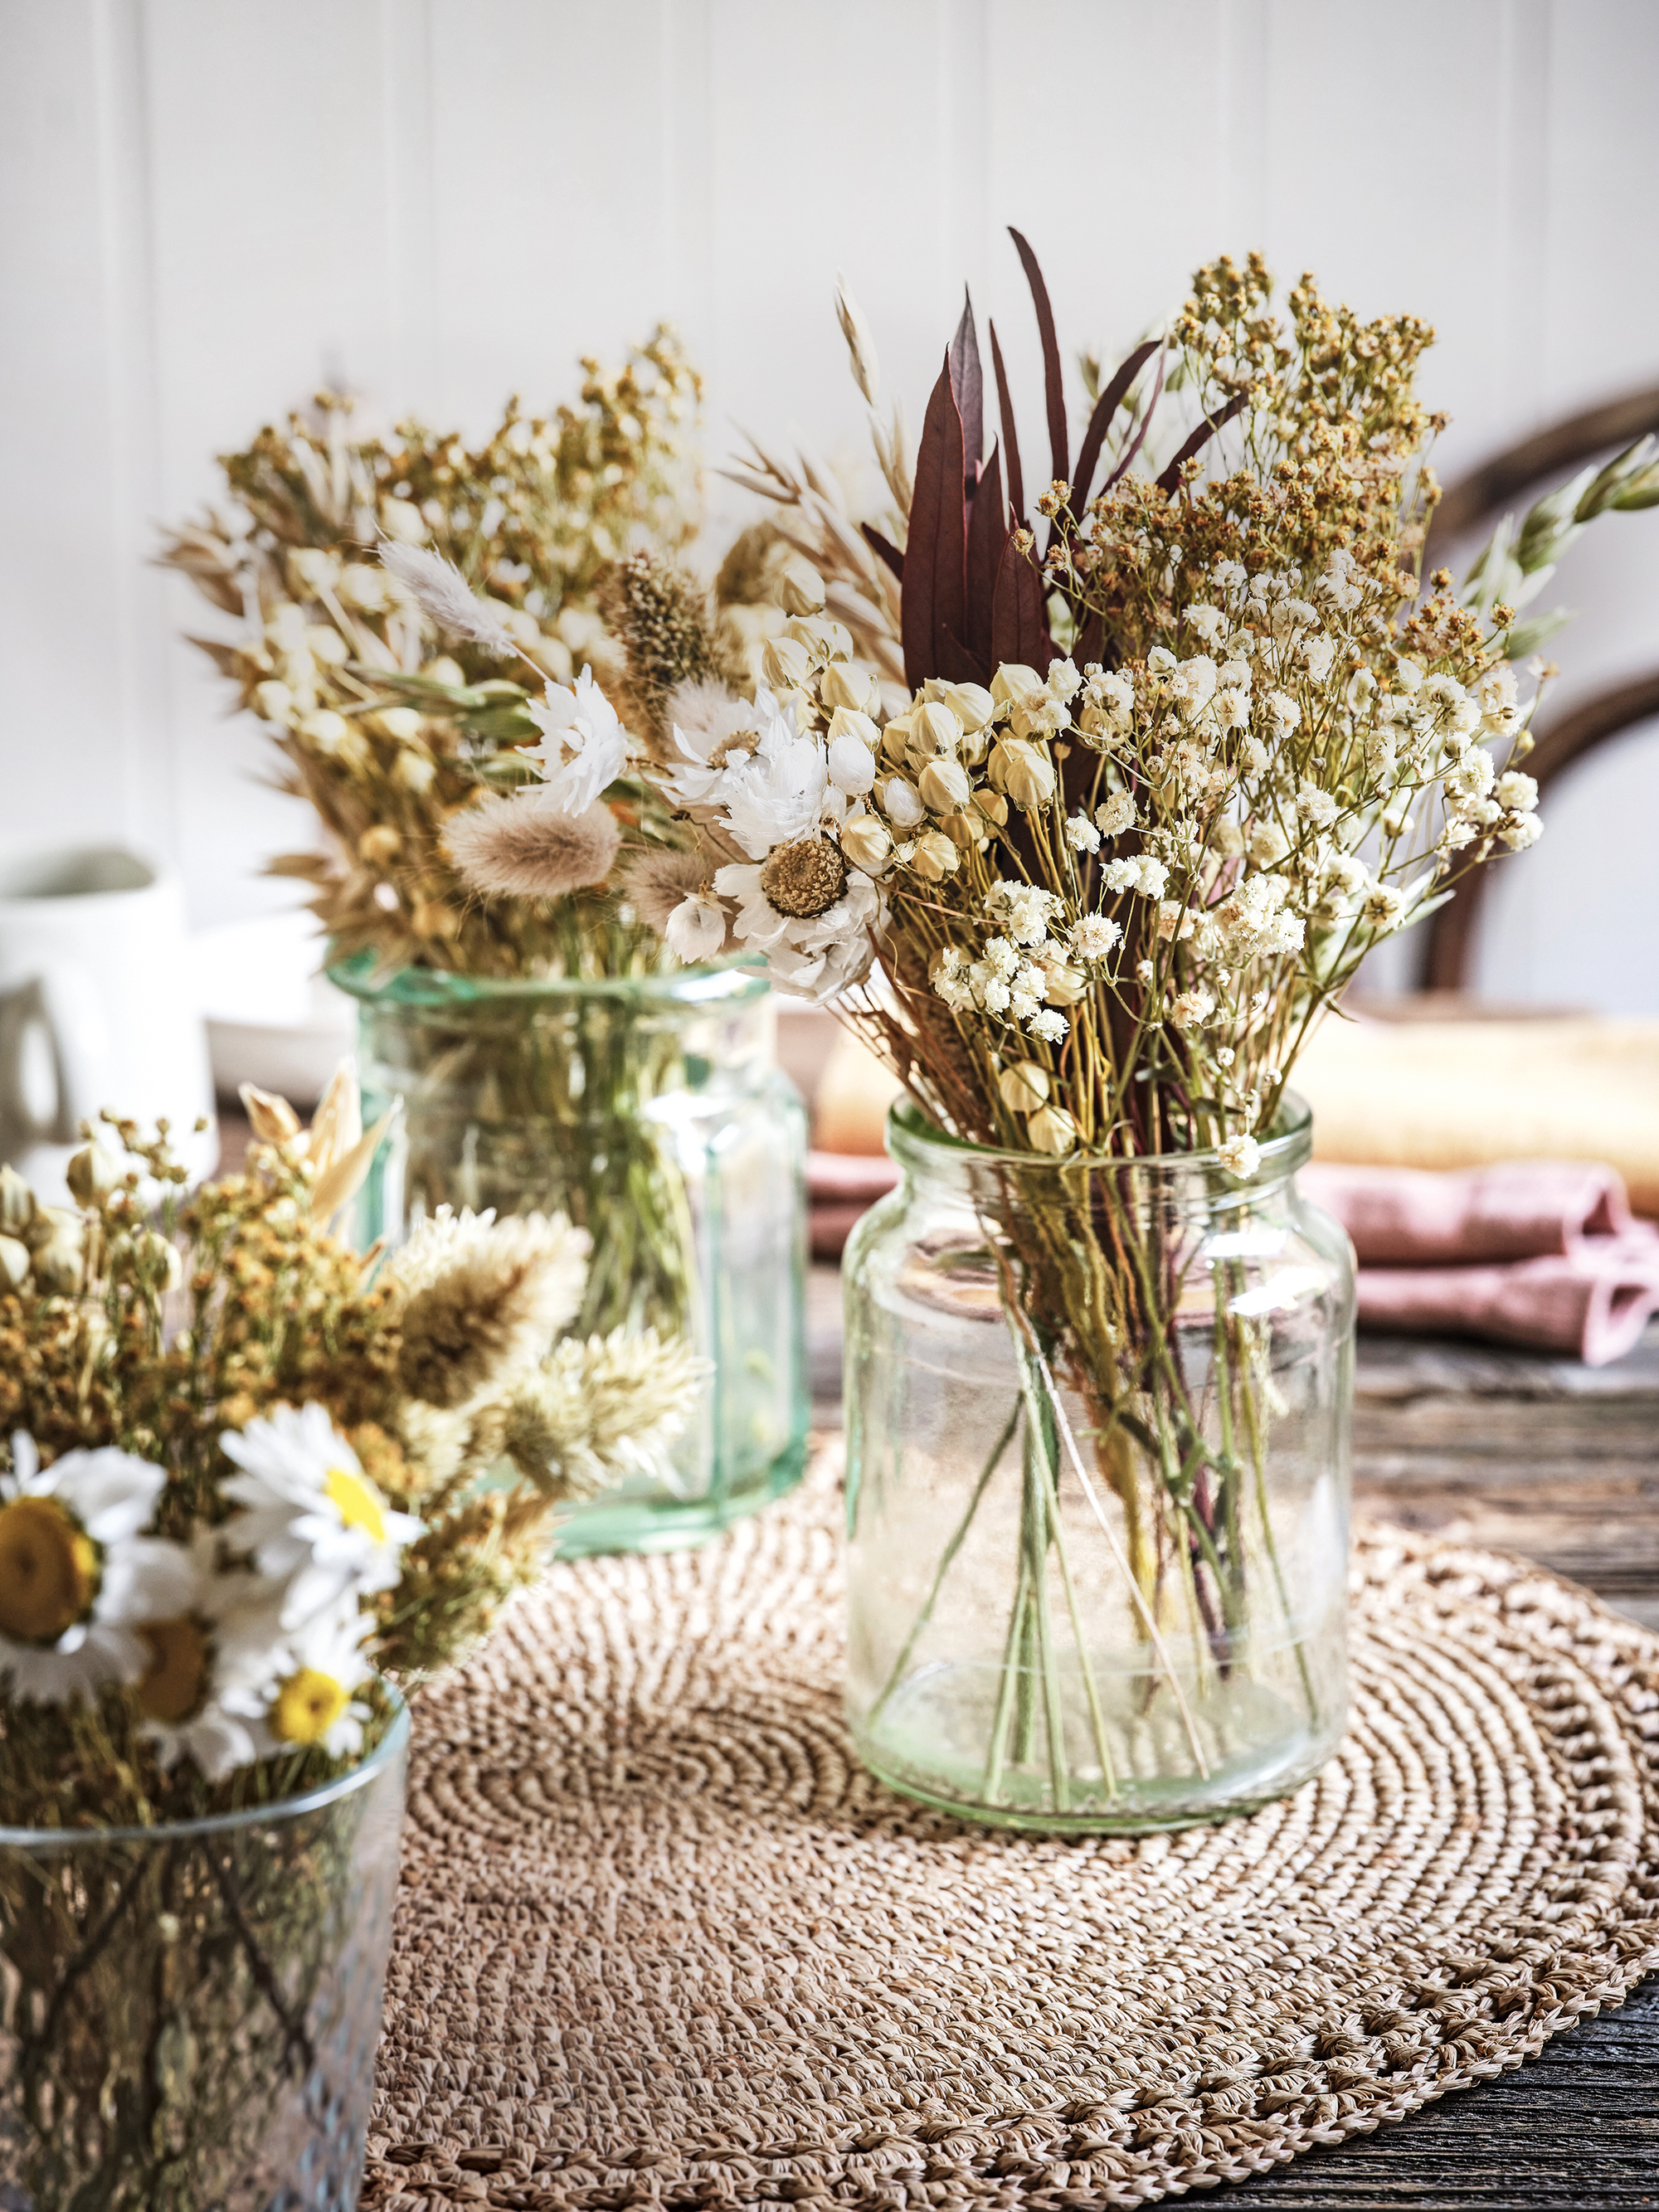
How to dry flowers quickly
Learning how to dry flowers is not always a quick process, but there are ways to speed things up.
One of the best ways is to place the blooms into a bowl of desiccant, which will help to draw out water more quickly. Silica gel is the best product for this job.
Drying your flowers using desiccant will be quicker than air drying them, taking as little as a few days. It will help the petals to hold their color, but may not preserve their shape as well as air drying.
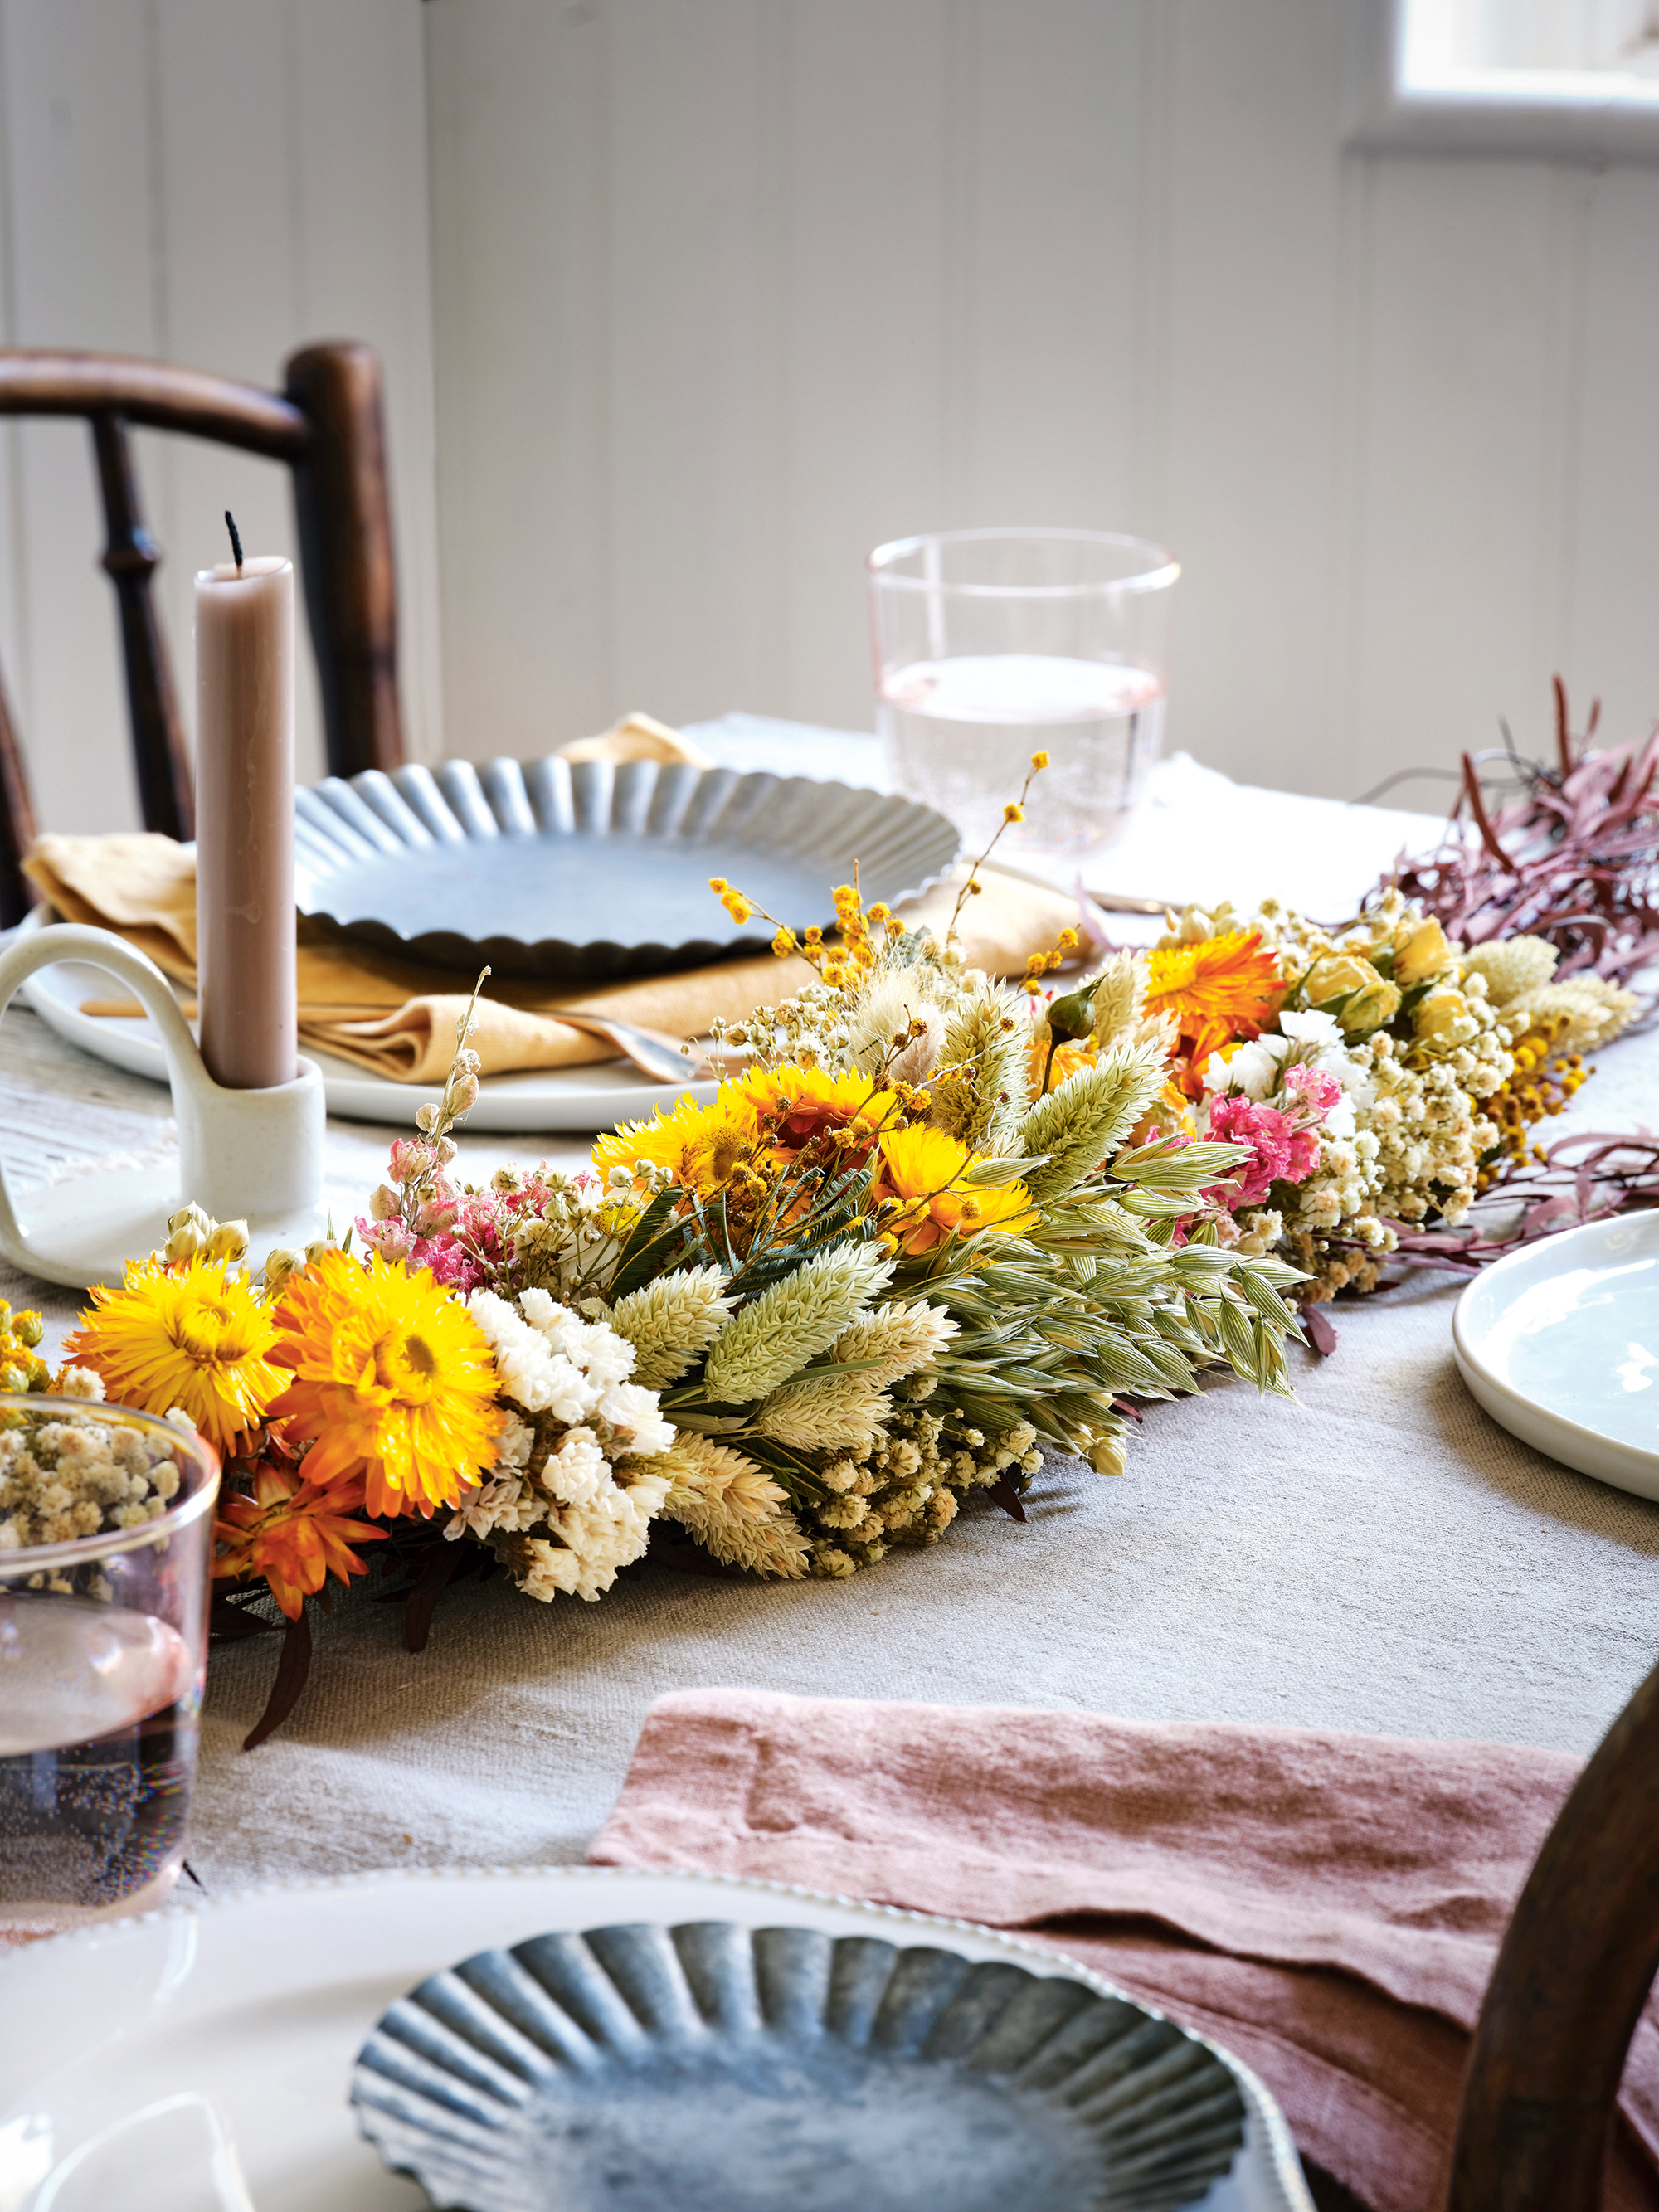
How to dry flowers in the microwave
Drying flowers in a microwave is the quickest method, and is an excellent way to preserve the flowers’ vibrant colors. You will need to use silica gel to dry flowers in this way.
- Remove the leaves and any foliage from the stem below the flower, and trim the stems.
- Wearing gloves, fill the base of a microwaveable container with a layer of silica gel (around an inch), and lay your flowers on top. You will only be able to dry a few at a time, and it’s best to only do flowers of the same type, so they don’t dry out at different rates.
- Carefully pour more gel over the top of the flowers until they are covered by a layer of about an inch.
- Place the container in the microwave and heat them in one-minute intervals until they are dry. You will need to check the flowers between each interval so that you don’t burn them.
- Once the flowers are fully dried out, loosely cover the container and leave to cool for at least an hour – ideally 24 hours to allow them time to set.
- Gently remove the flowers from the gel, taking care not to damage the petals. Use a fine brush to brush off any remaining silica gel particles.
- You can now display your flowers. Use a spritz of hair spray to help set them.
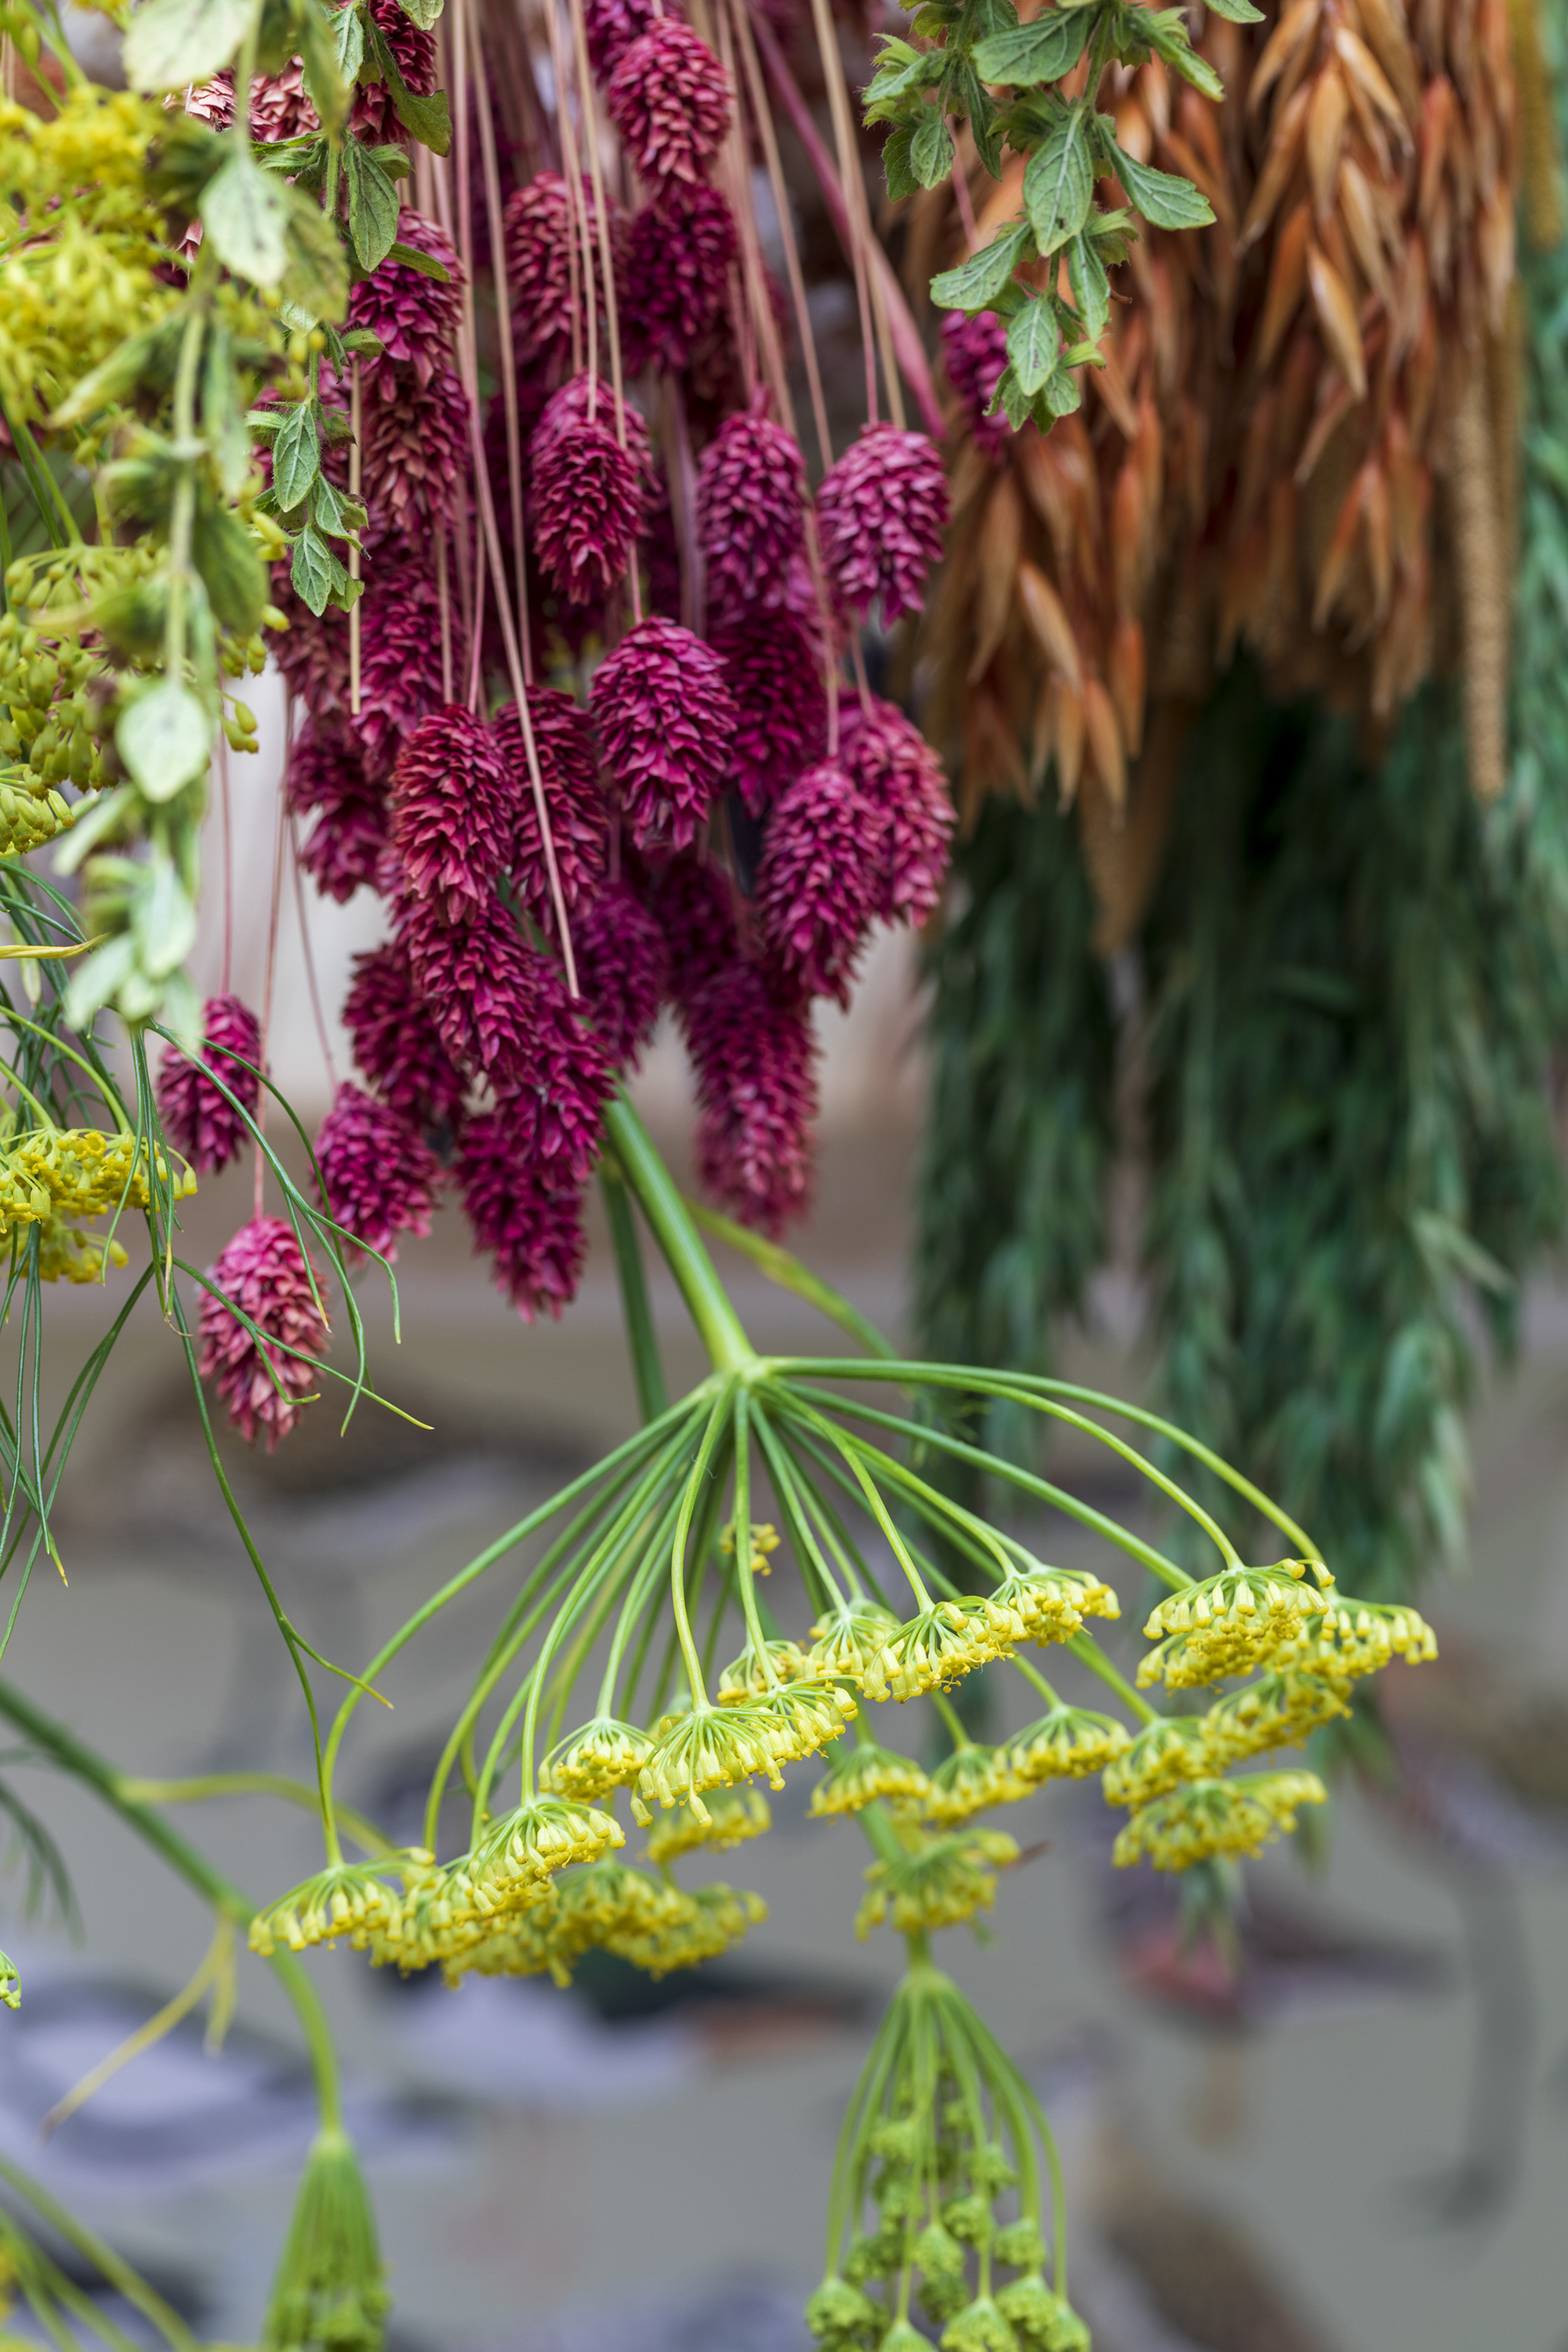
How to dry flowers in the oven
You can dry your flowers by baking them in the oven. However, apart from speed this method has few advantages, as it does not preserve the flowers’ color as well as microwaving them, and it is prone to causing more petal loss.
- Remove the leaves and any foliage from the stem below the flower, and trim the stems.
- Preheat the oven to around 175-200°F.
- ‘Arrange the flowers on a wire rack placed over a baking sheet and bake for 1-2 hours,’ says Matthew.
- Check on the flowers after an hour, to make sure they are not shriveling up, then check again every 10 minutes or so.
- Once the flowers are dry, remove from the oven and allow to cool completely.
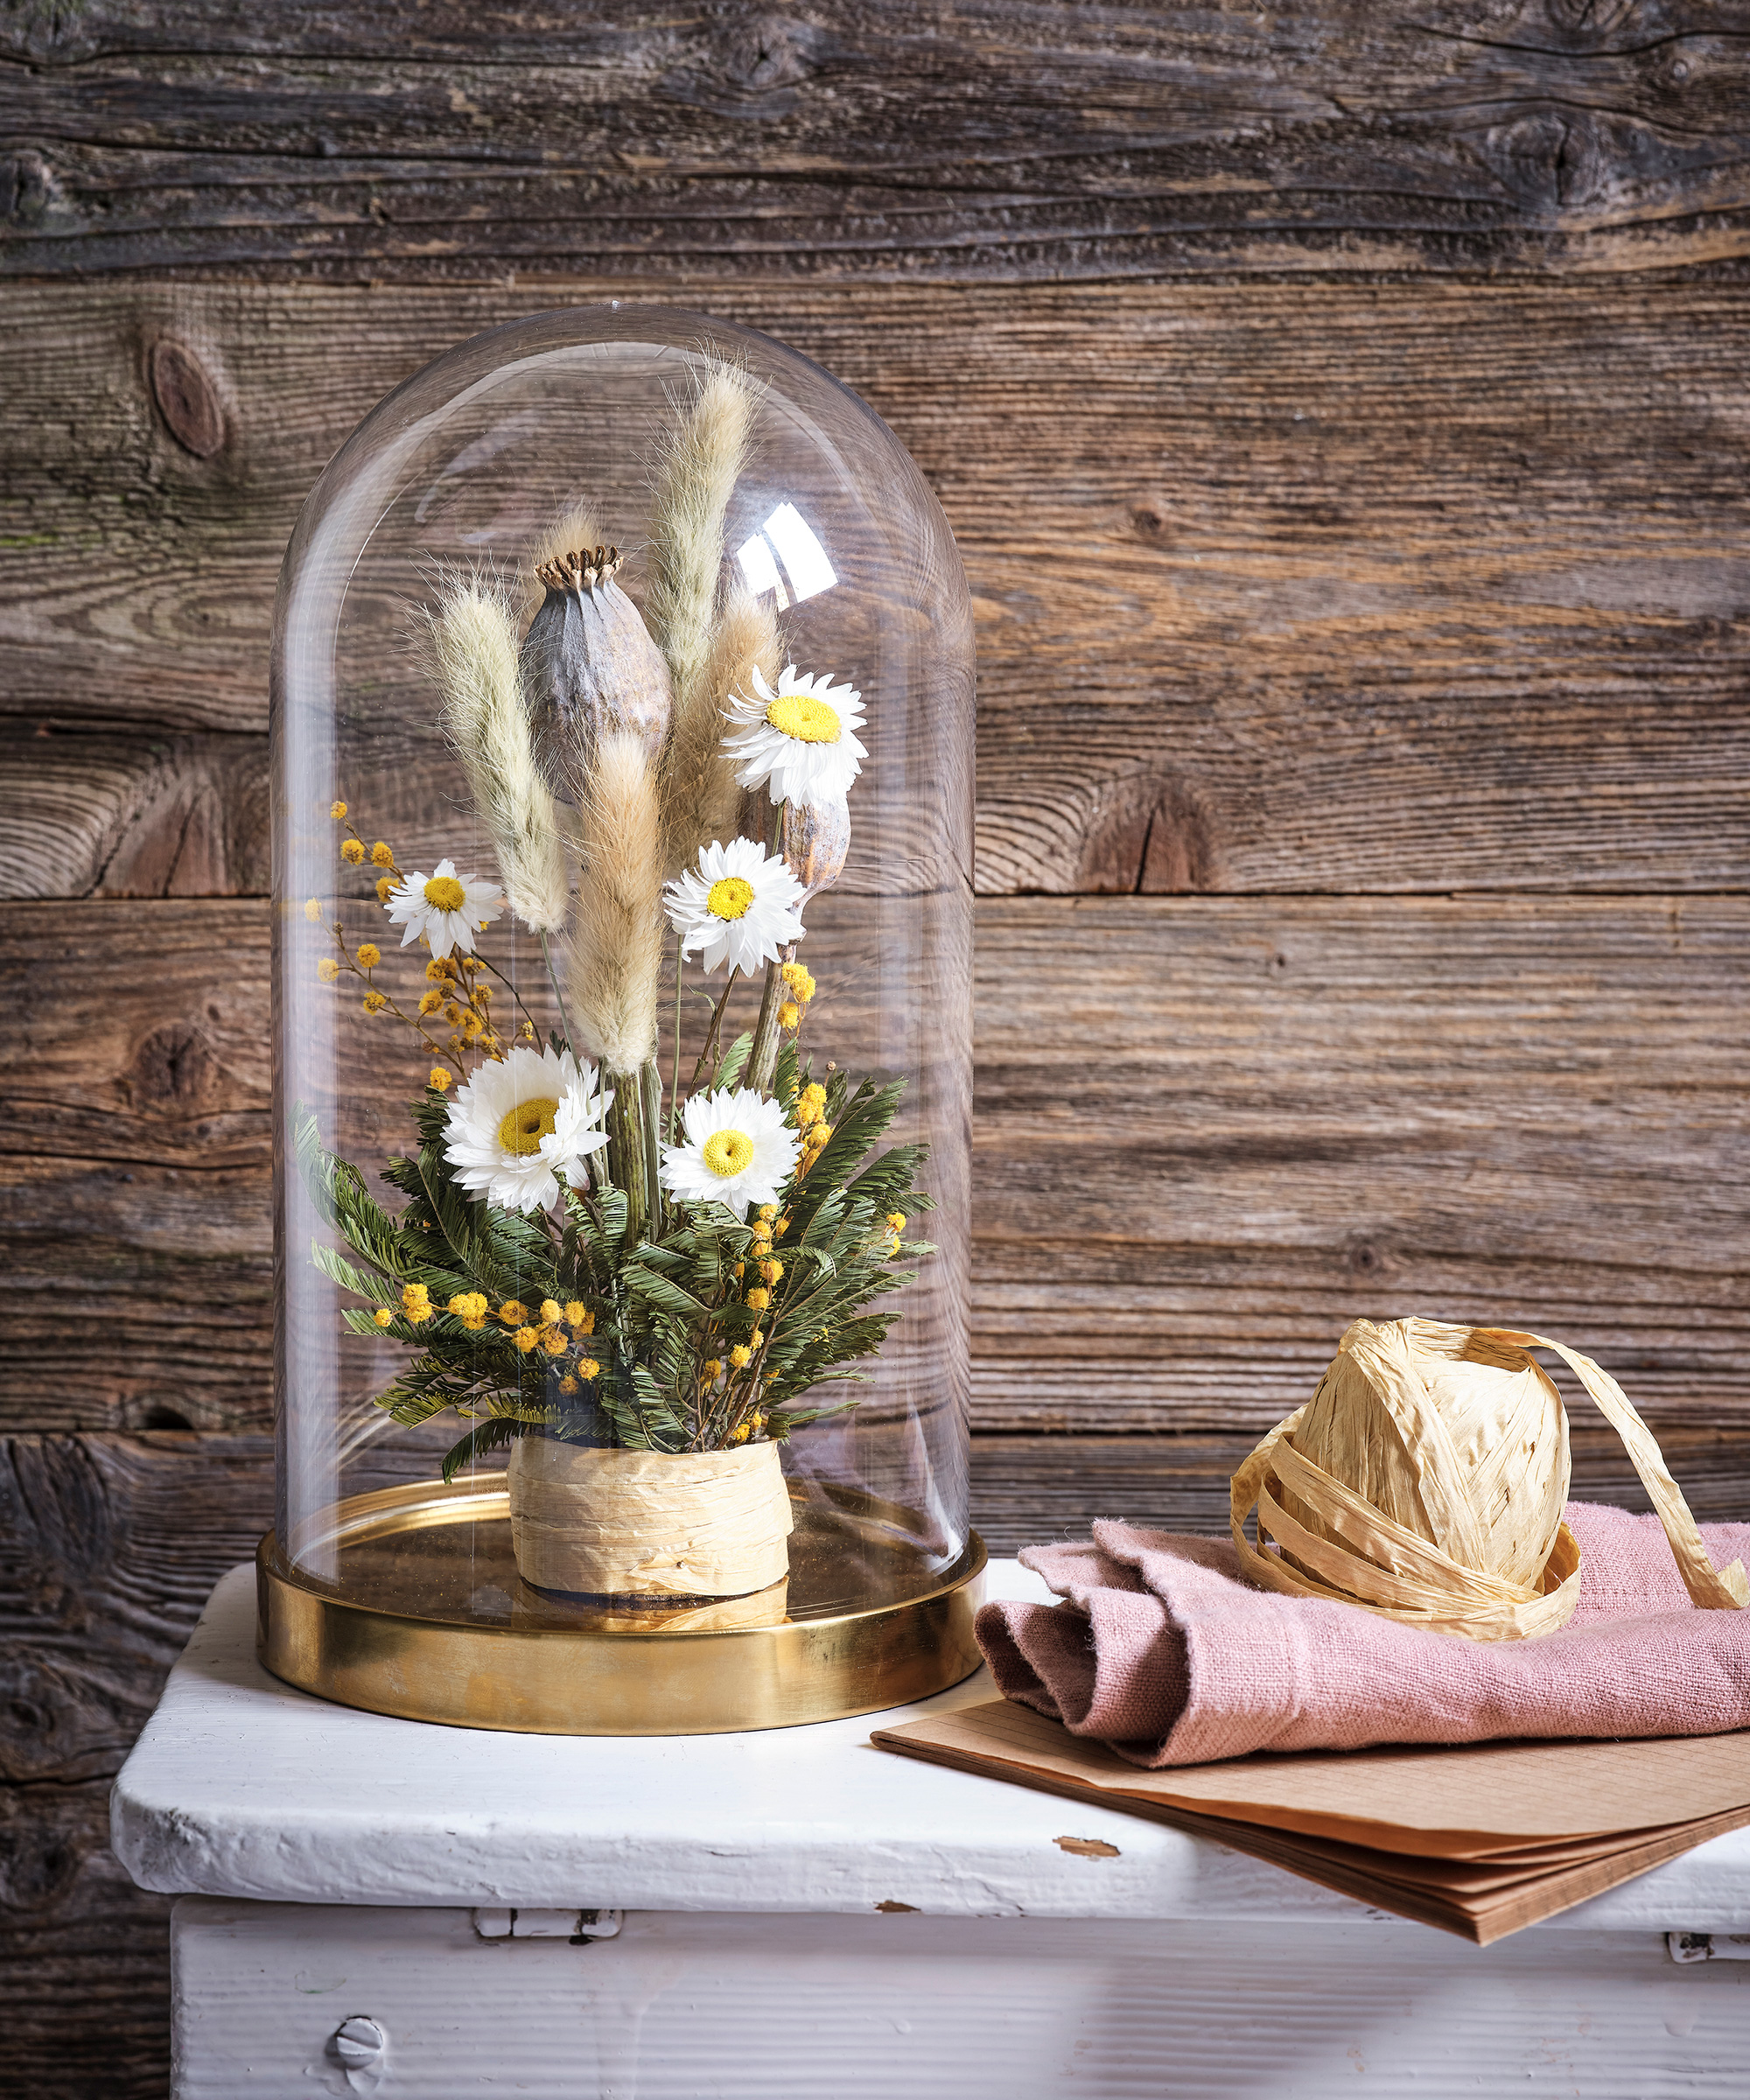
How to dry flowers for resin
Preserving flowers in resin is a beautiful craft that can be used to make jewelry and ornaments such as paperweights.
‘When creating resin designs, it's ideal for flowers to be completely dry,’ says Bickel. ‘I've tested this with fresh flowers, and almost every time, the flowers gradually turn brown as the resin sets.’
Whether you use pressed or 3D dried flowers will depend on the design you want to create.
‘Drying flowers in a press is my ideal method, as they are completely flattened, creating more room for the resin to do its job,’ adds Bickel.
This is ideal for a smaller piece, such as a resin pendant. However, for a larger design, a 3D preserved flower looks fabulous.
The best way to dry flowers for resin is to use the silica gel method – with or without the help of a microwave. This will preserve the intensity of the colors much better than air drying over a longer period. Although, if you want to create a more vintage effect, then air drying is a good option.
What is the fastest way to dry flowers?
The fastest way to dry flowers is to place them in a bowl of silica gel, and microwave for a few minutes – checking at one minute intervals.
Once dry, simply wait for them to cool down – ideally for 24 hours – and display.
How do you dry flowers without rotting them?
To dry flowers without rotting them, it's important that the moisture is drawn out as quickly as possible.
Smaller flower heads can easily be air dried without rotting, but larger flower heads containing lots of moisture may need a helping hand.
Try drying bigger flowers in silica gel – and for really quick results use the microwave method.

Melanie has worked in homes and gardens media for two decades. Having previously served as Editor on Period Living magazine, and worked on Homes & Gardens, Gardening Etc, Real Homes, and Homebuilding & Renovating, she is now focusing on her passion for gardening as a Senior Editor at Gardening Know How. As a keen home grower, Melanie has experimented with pretty much every type of vegetable at some point – with mixed results. Often it is the simplest things that elude you, which may explain why she just can't seem to master zucchinis.