How to make a rain barrel – to benefit your plants, the environment, and your wallet
Add one of these eco-friendly features to your yard with this simple guide


Making a rain barrel at home is simpler than you might expect and rewarding for multiple reasons. First, it's a great way to be more sustainable in your backyard and reduce those water bills, while keeping your garden healthily hydrated. This can be especially beneficial in the peak of summer when hosepipe bans are often enforced.
Watering plants with harvested rainwater is also much better for them than tap water as it doesn't include chemical additives, such as chlorine, and has more oxygen and nitrates. What's more, it's generally a more suitable temperature for plants than water taken straight from a cold outdoor tap, reducing the risk of 'shocking' them.
Adding a rain barrel to your yard can be as simple as buying one online, or you can upcycle old materials – 'old barrels are great or use large pots if space is tight,' says the team at Sproutl.com. Then all you need to do is connect the vessel to a drainpipe attached to roof gutters and wait for the weather to turn.
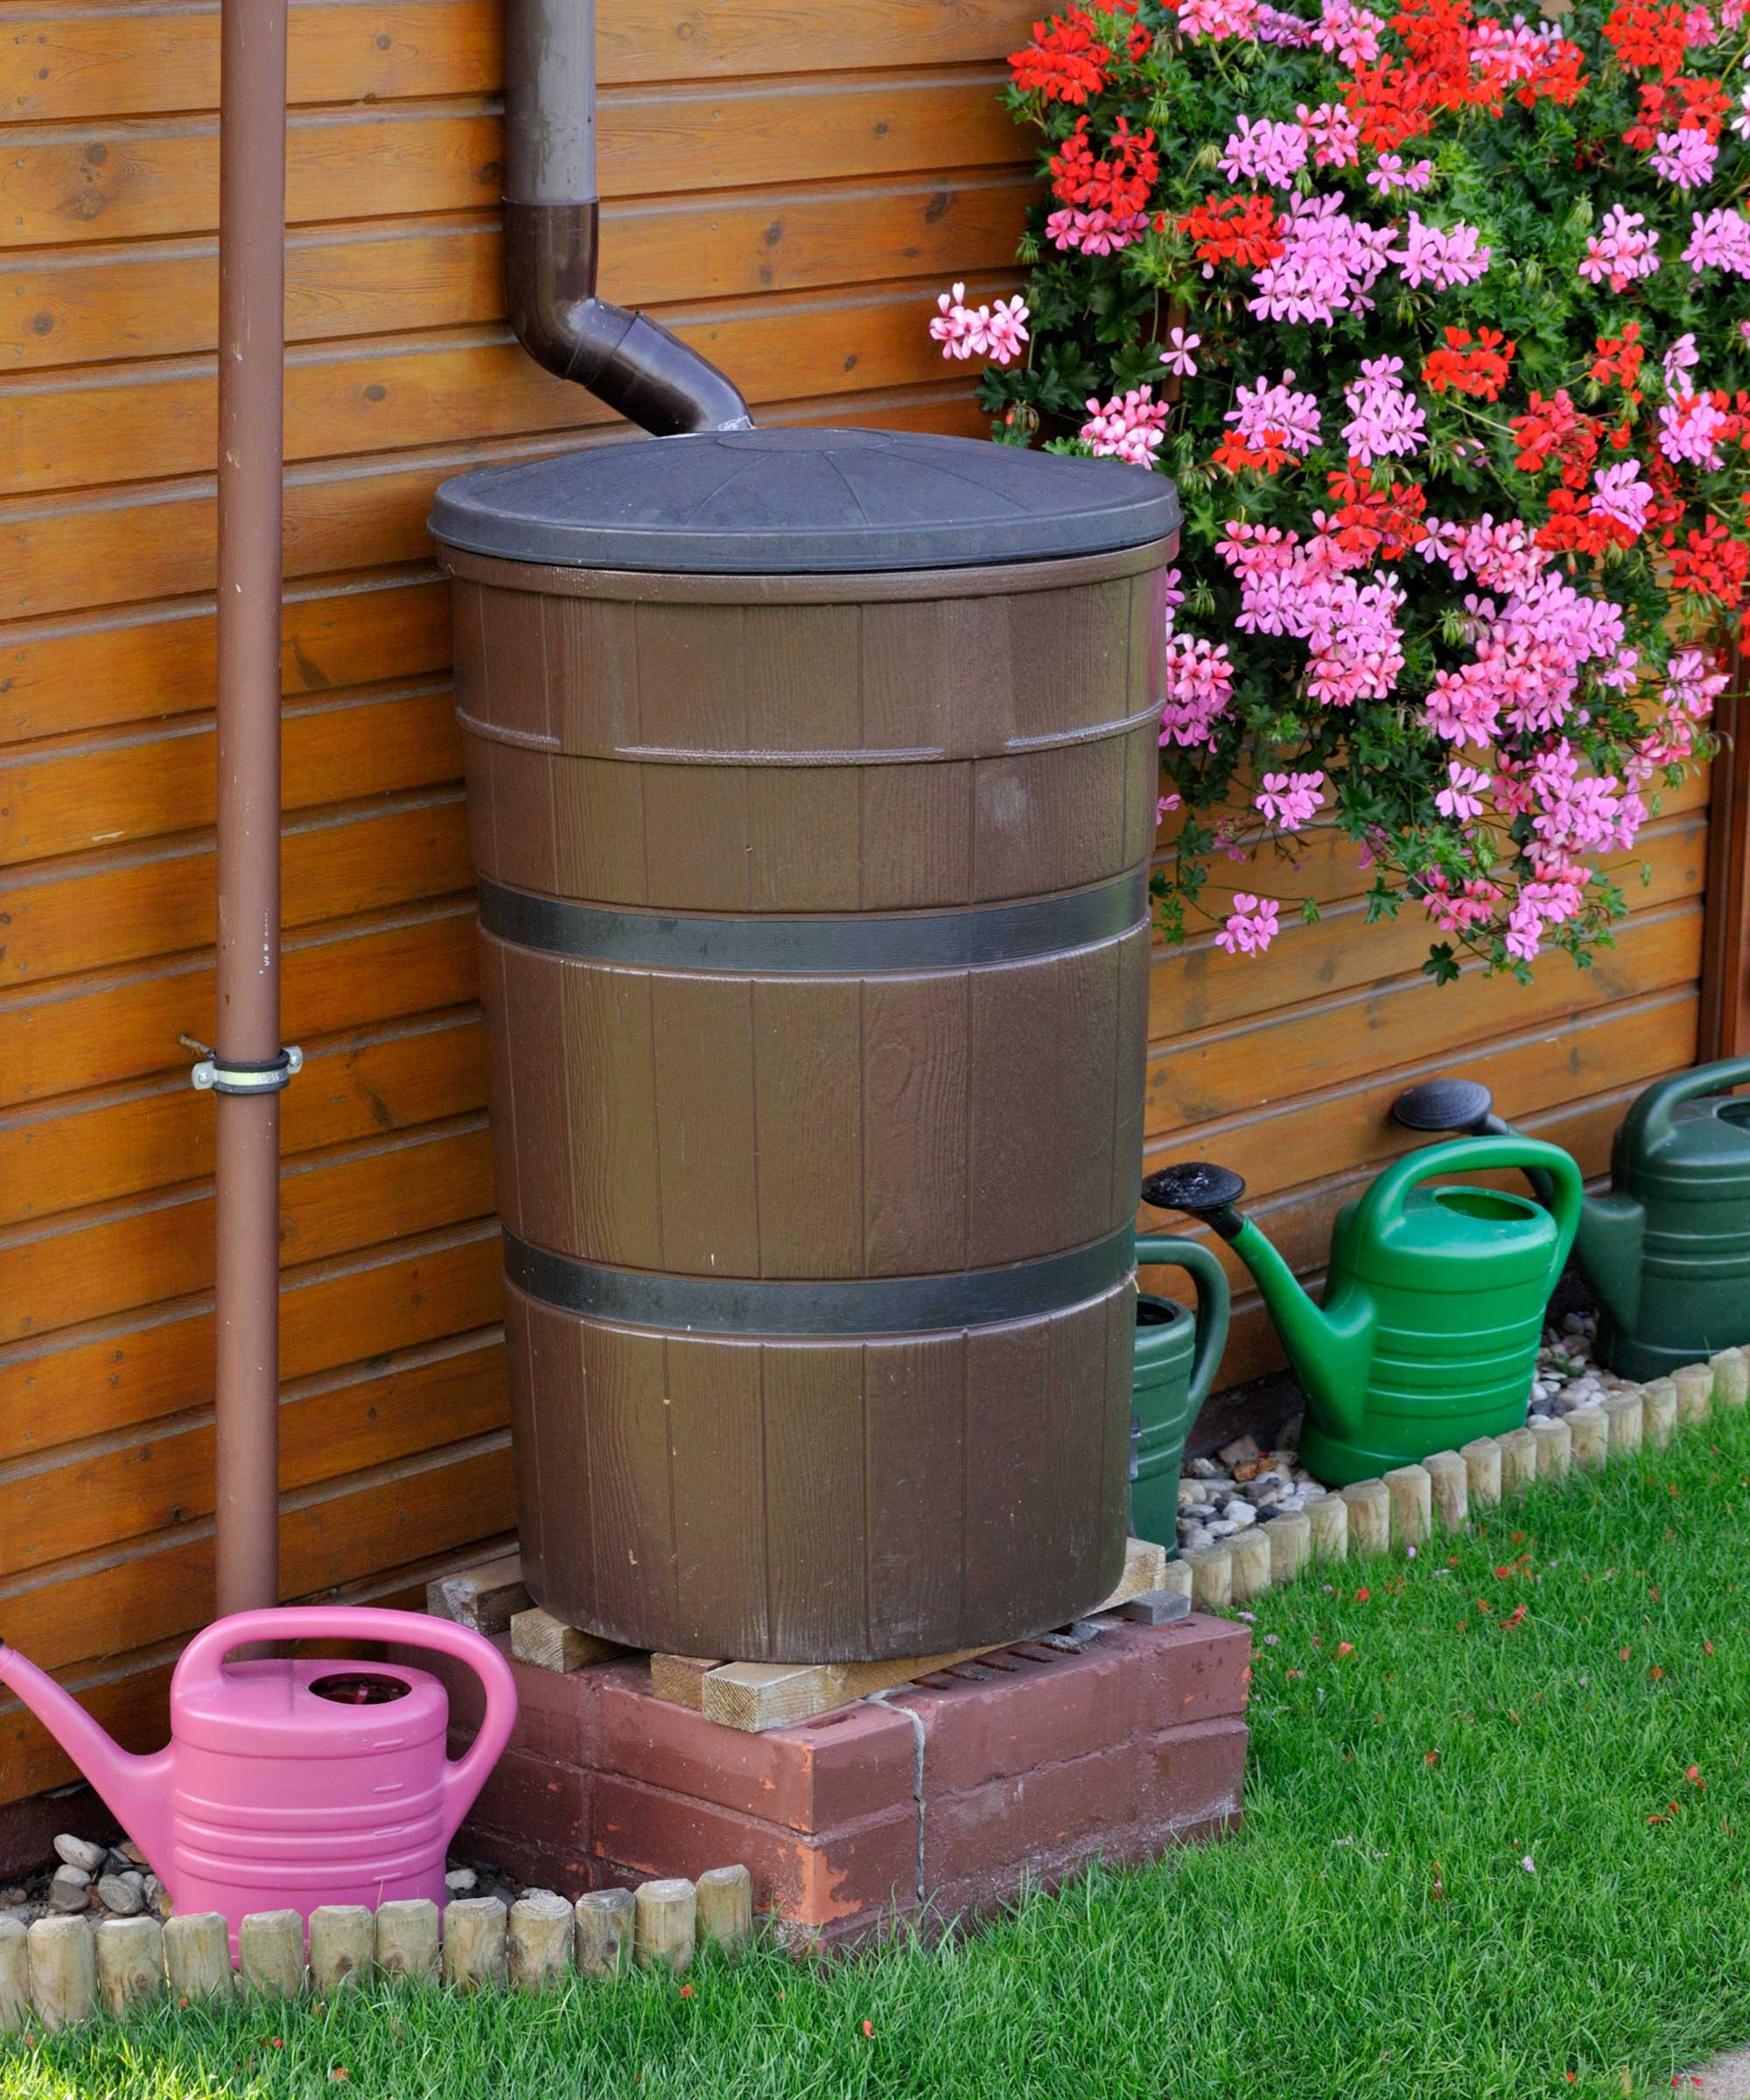
Rain barrels make watering your garden easy
How to make a rain barrel in your yard in 6 simple steps
Put aside a sunny weekend this spring to install a rain barrel in your yard.
- 'Start by deciding which downpipe you want to attach one to and work out the appropriate size of butt to fit the space available,' says Ruth Hayes, a gardening expert.
- If you're making your own, perhaps out of a wooden barrel or trash can, drill a hole in the side a few inches from the bottom. Here, you can fit a spigot.
- Drill a small hole at the top of the barrel, too, to allow air to flow in and out of the barrel.
- Create a sturdy base for your rain barrel out of cinder blocks or similar, so that it's not sat directly on the ground. This makes watering plants easier as it will increase the water pressure if you want to attach a garden hose to the faucet, and will also enable you to fill a watering can quickly.
- Attach the barrel to the downpipe (see below).
- Cover the rain barrel to prevent insects, small animals, and debris from getting into the water. These mesh covers from Amazon provide a good alternative to solid covers. This will also help to prevent algae from forming.
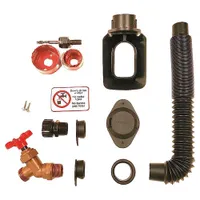
EarthMinded Rain Barrel Diverter Kit | $44.98 from Amazon
This kit is suitable for a standard 3 x 4 inch rectangular downspout and plastic or wooden containers. A spigot and a connection for a soaker hose are both included, as is a diverter which passes excess water through the downspout once the barrel is full.
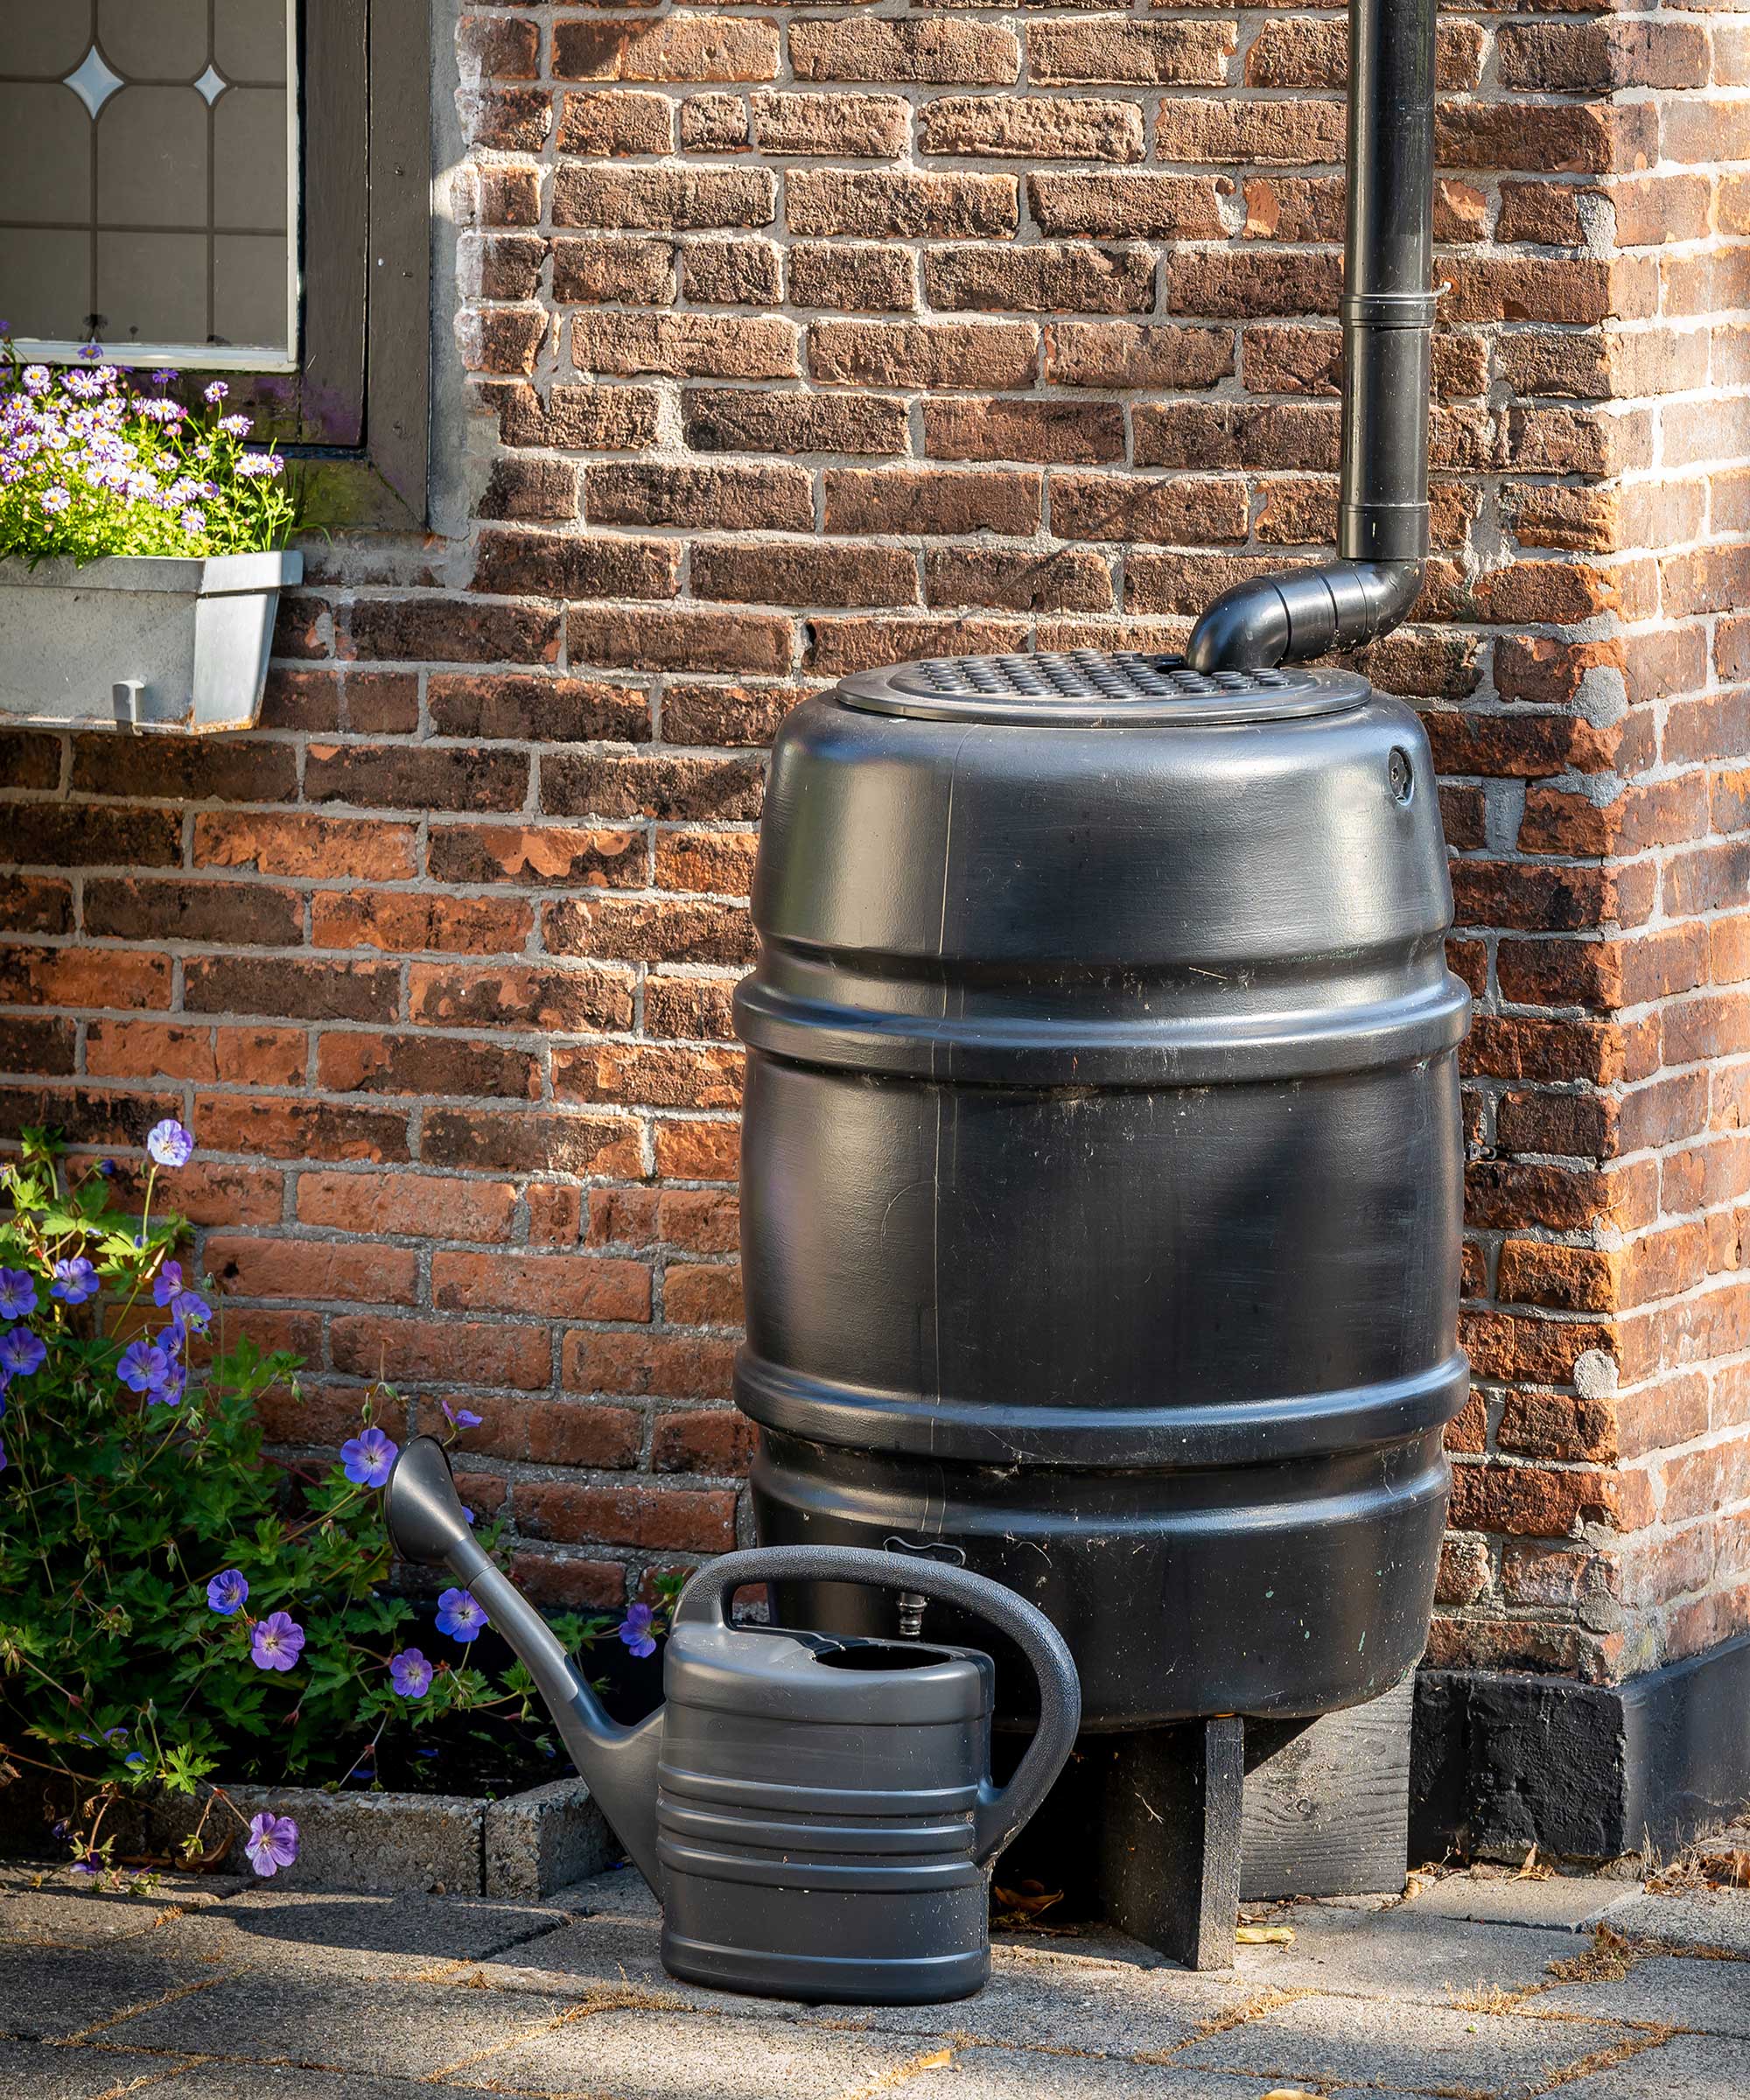
Ensure your barrel is raised high enough to fit a watering can underneath the spigot
How to install a rain barrel to your drainpipe
Whether you're buying a pre-made one or making a DIY rain barrel, you'll need a diverter kit to link it up to a downpipe.
There are a few steps involved to set these up. Ruth Hayes explains:
- Carefully cut away a section of the drainpipe where the butt adaptor will fit.
- Attach the adaptor and hose to the downpipe and make sure the water butt is raised on its stand.
- Mark where the water butt attachment will go on the butt, then carefully cut a hole and insert the spout provided with the adaptor kit. Make sure it's a good fit.
- Attach the hose to the spout and test that everything's working.
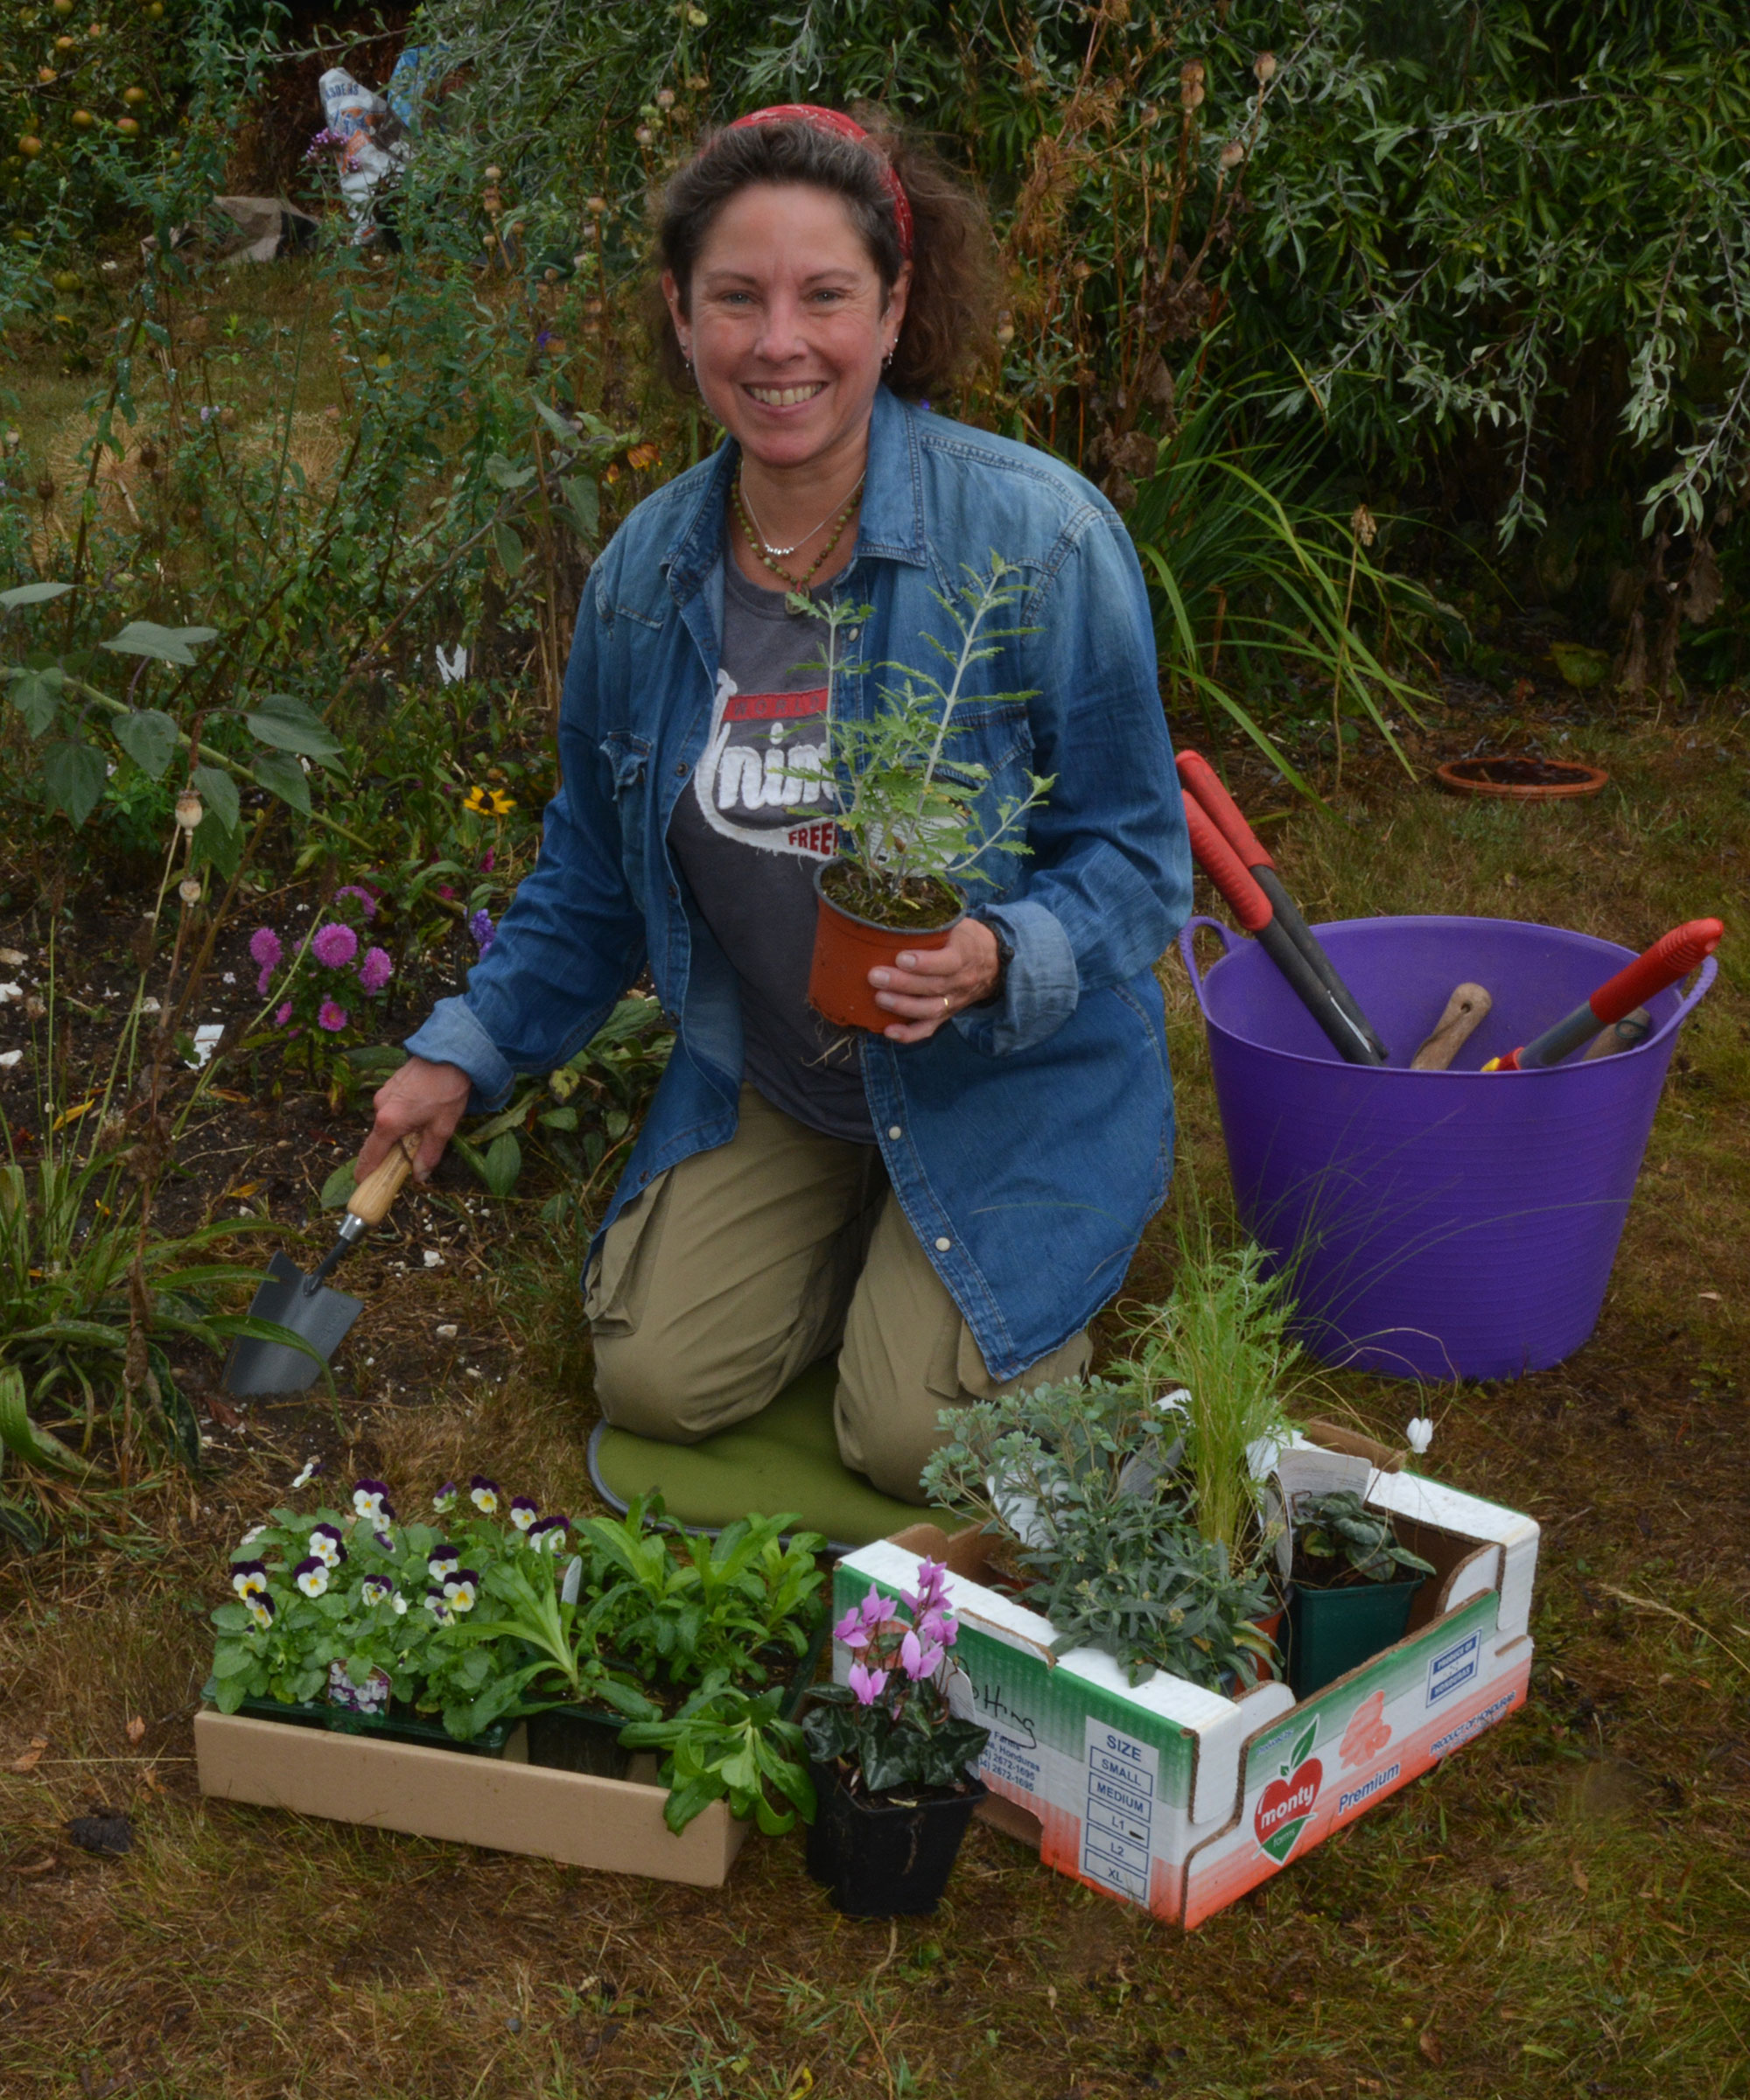
Ruth is the gardening editor of Amateur Gardening magazine, the UK's oldest weekly magazine. She is horticulturally trained and has qualifications from the Royal Horticultural Society. Ruth spends her working days writing about and photographing the gardening jobs that our readers should be carrying out each week and month, and tests many new products that arrive on the gardening market.
Tips on positioning your rain barrel
'Put water butts close to where they are most needed,' says Ruth, adding that greenhouses and sheds are often closer to the garden than the house. It's also important to ensure that any overflow drains into your own yard, rather than your neighbors'.
Design expertise in your inbox – from inspiring decorating ideas and beautiful celebrity homes to practical gardening advice and shopping round-ups.
Not everyone loves the look of a rain barrel, especially if they're the green, plastic kind. So, consider tucking it out of clear sight if possible, or using garden screening to obscure it from view as you enjoy your outdoor space.
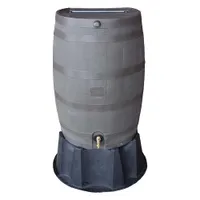
Home Accents Polyethylene 50-Gallon Rain Barrel | $181.73 from Amazon
A well-rated rain barrel with an attractive design, a brass spigot, and a sturdy base. The flat back means it can be positioned neatly against walls, making it ideal for smaller spaces.
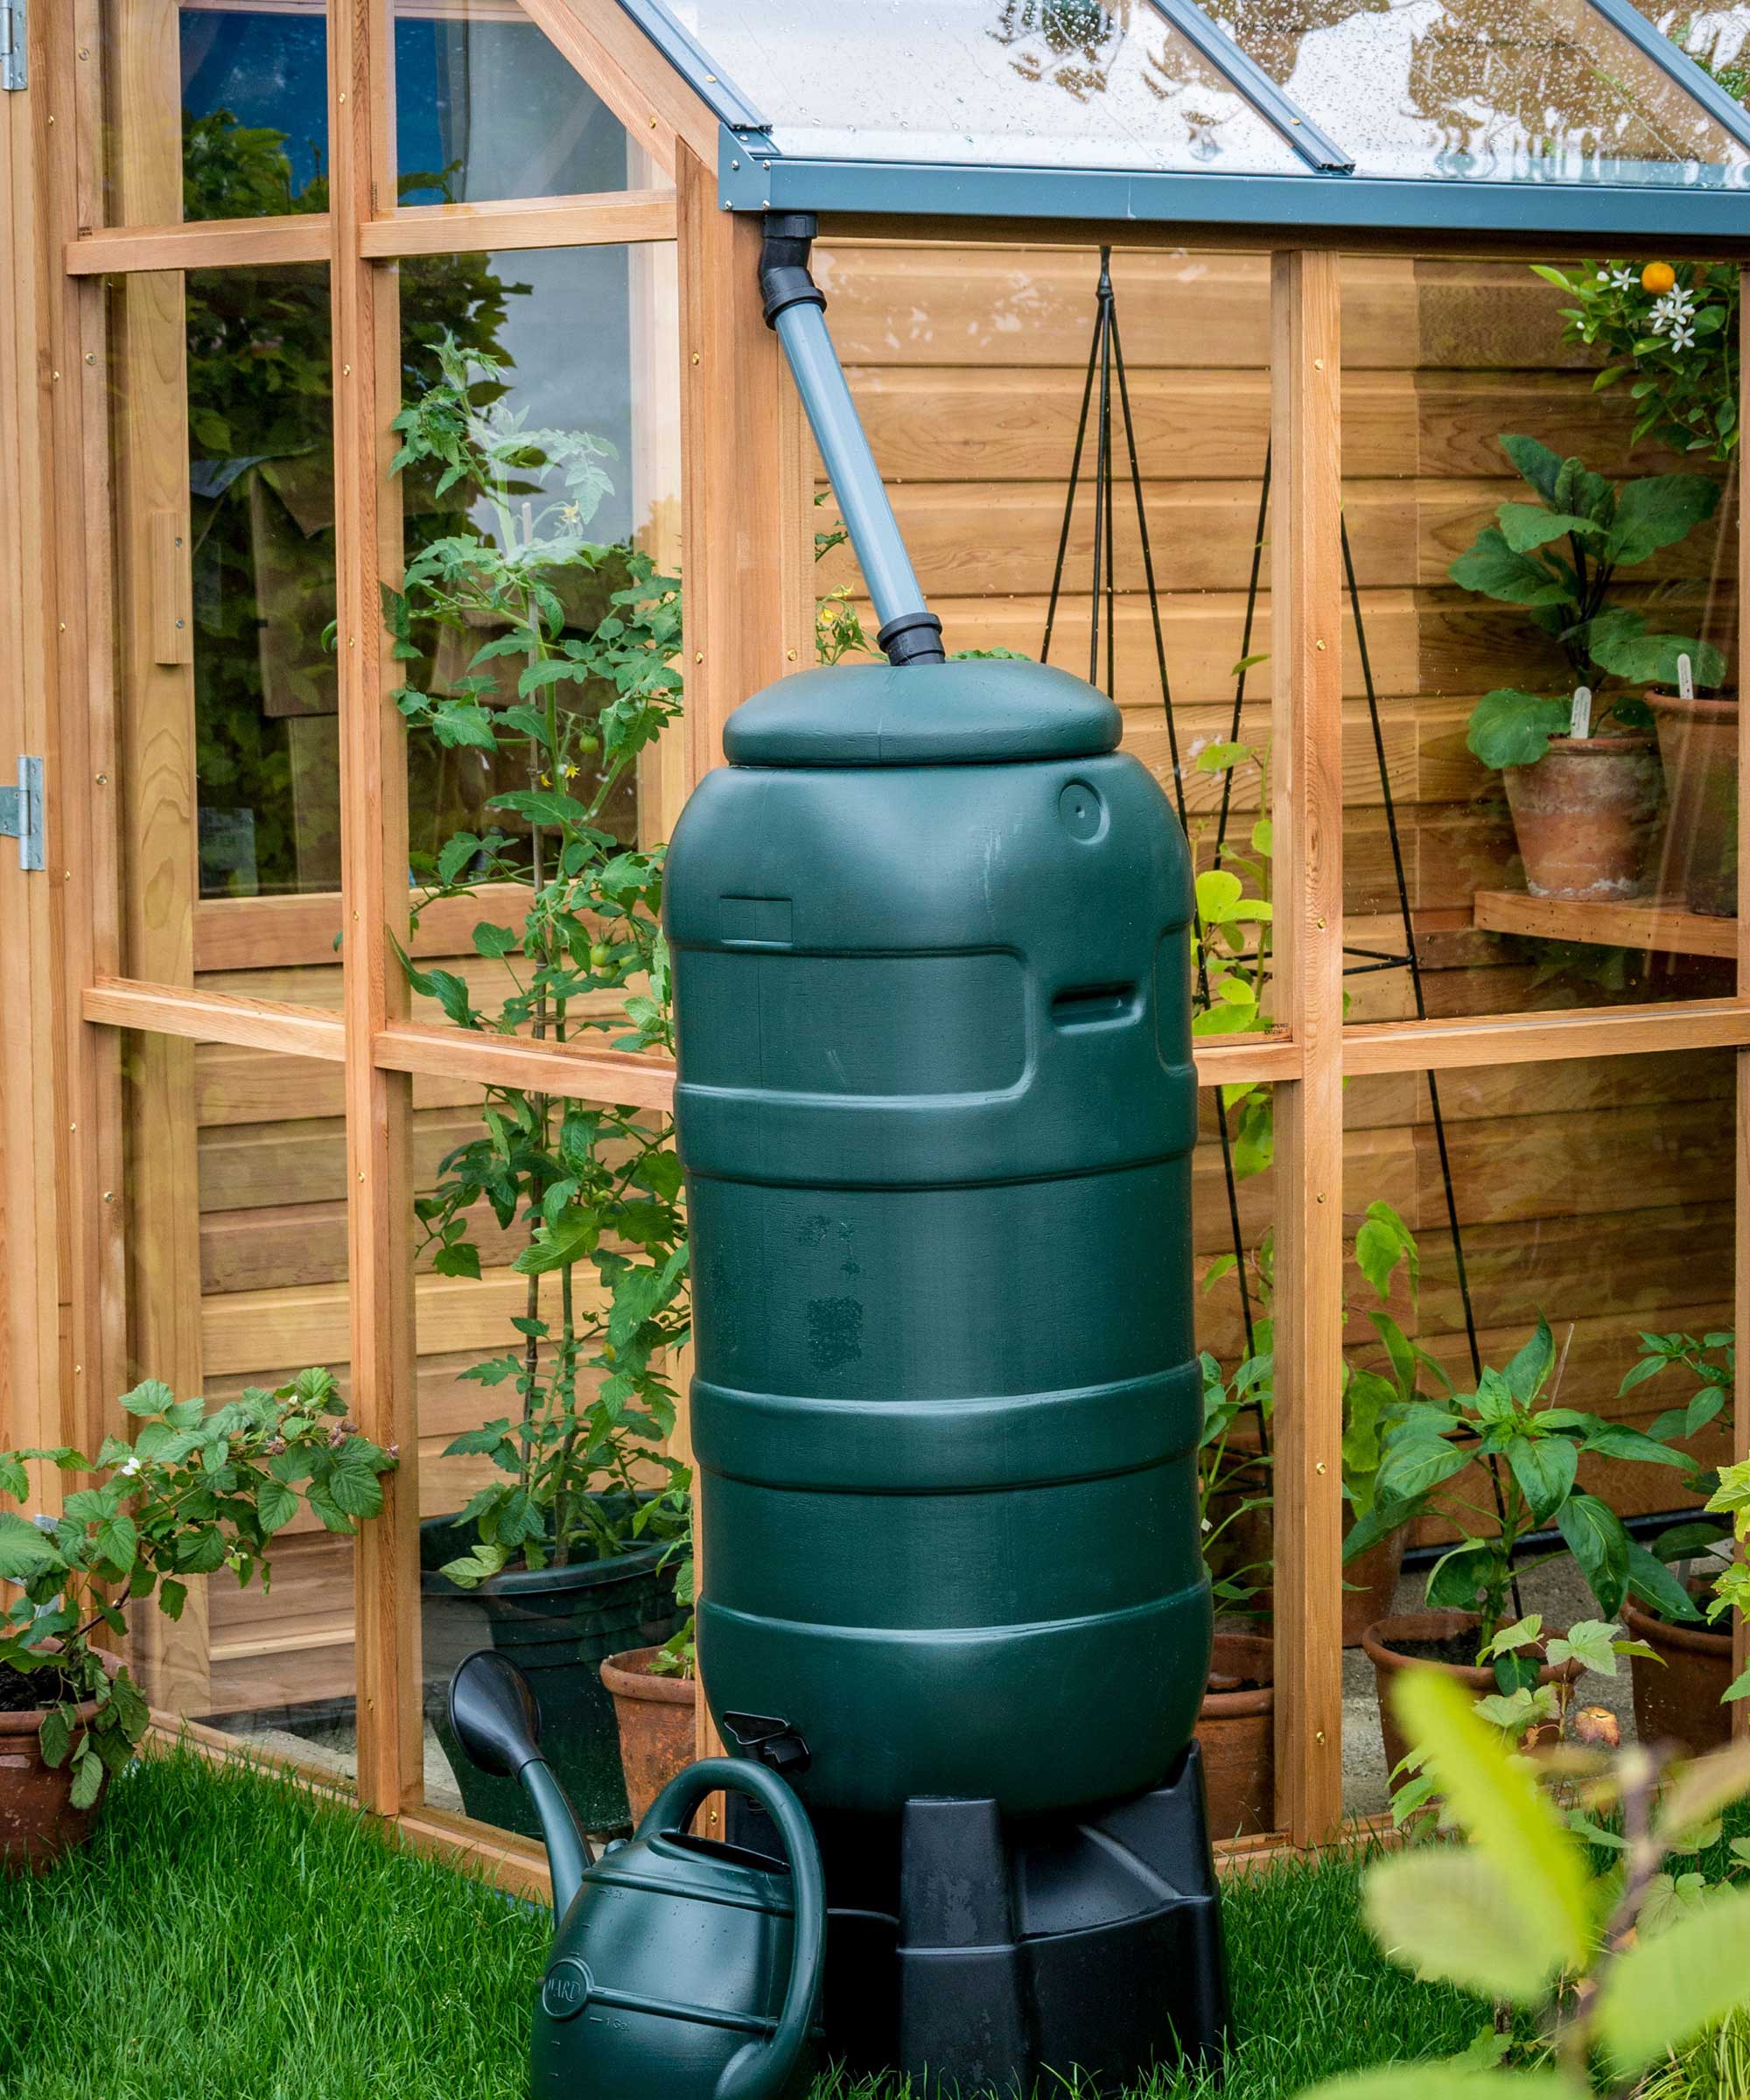
Hook your rain barrel up to a greenhouse for easy access
FAQs
Do you need to clean a rain barrel?
Add your rain barrel to your list of annual backyard cleaning jobs. Doing so can prevent it from smelling bad, a common rain barrel problem. Empty it out, disconnect it from the downpipe, and, wearing gloves, scrub the interior and exterior with warm water mixed with a splash of vinegar, dish soap, or bleach. Rinse thoroughly and allow it to dry.
Can you leave rain barrels outdoors during winter?
If you get very cold winters where you live, it's a good idea to empty your rain barrel before temperatures drop below freezing, otherwise it may crack. John Negus, a gardening expert for Homes & Gardens, says to leave them in situ and open taps to release any water.
Ensuring your barrel is raised above the ground can also help to avoid it from being damaged.
Install a rain barrel (or more than one) now and you can make the most of any upcoming showers – it's a great job to add to your to-do list when preparing the garden for spring.

Holly started writing about gardening five years ago, and she is a regular contributor to Homes & Gardens. She has also written many gardening features for Woman & Home and Real Homes, too. She has previous experience as a professional gardener, where she helped to plant and maintain private gardens. Holly has also looked after allotment plots over the years and loves to grow her own flowers and veggies from seed. In her spare time, she enjoys visiting local gardens, botanical drawing, and tending to her ever-growing collection of houseplants.
