


How to tile countertops – with top tips from the experts
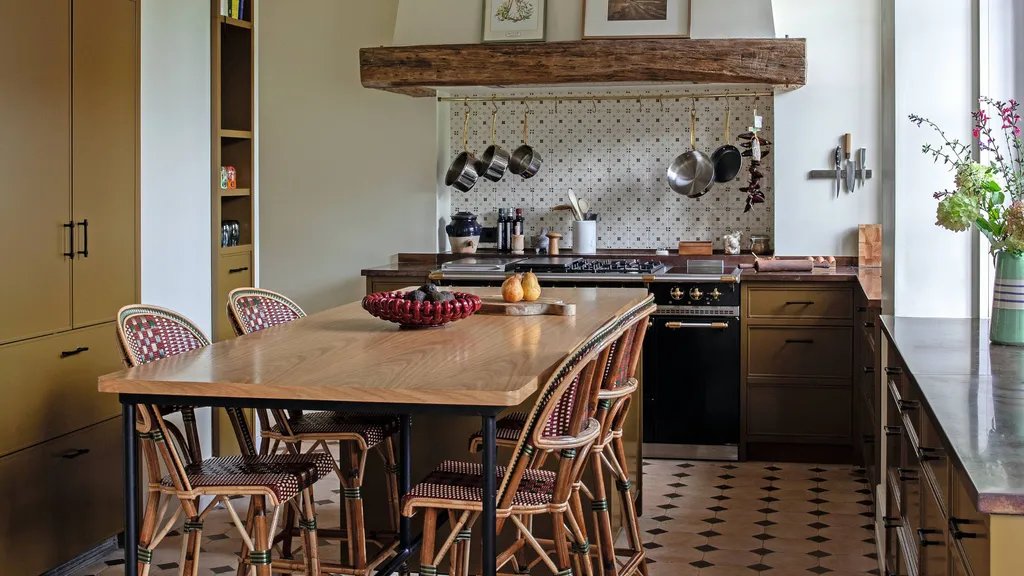
Discover how to tile countertops to embrace this farmhouse kitchen trend

Tiling countertops involves all the same skills as tiling other surfaces, with just a few extra considerations, outlined below.
Tile countertops were a hot trend in the ‘70s and ‘80s and now they’re making a major comeback, bringing high impact color, pattern and flair to kitchens and bathrooms worldwide. The best news is that tiling a countertop is absolutely a remodel project you can complete with just a little expert know-how. And if you know how to tile a wall or how to tile a floor, and how to grout tiles, you'll find the job a breeze.
A big part of the tile countertop revival is simply due to the incredible array of tiles now available. From beautiful chic concrete-look designs to on-trend terrazzo, there are just so many possibilities for fabulous kitchen tile ideas and bathroom tile ideas.

To refresh your tiling knowledge before you read on, our comprehensive guide to tiling a countertop is a must-read.
How to tile countertops

The success linked to tiling countertops is largely linked to preparation and the surface you are tiling on to. Below, we offer expert know-how.
You will need:
- Marine grade plywood board
- 1/4in tile backer board
- Jigsaw
- Tiles
- Tile cutter
- Adhesive and grout
- Caulk/silicone sealant
- Spacer pegs
- Straight edge or laser guide
- Notched trowel
- Grout float
1. Establish a firm base
While you can tile over existing countertops, as long as they are completely rigid, primed and you use the correct tile adhesive for the material in question, it usually proves far easier to start afresh. Existing countertops with curved edge profiles will be particularly tricky to tile over, and there are also height issues involved with tiling over.
Instead, remove any existing countertops and replace them with marine grade plywood board, then a layer of 6mm tile backer board. Make sure they are firmly fixed in place with no movement and the surface is clean, dry and dust-free.
2. Measure for sinks, basins and hobs
Don’t forget to cut out any holes for sinks, basins and hobs in your base material, using a jigsaw. Most sinks and hobs will come with a paper template for this purpose, or you can make one by carefully measuring the item. Sit-on, overmounted sinks, basins and hobs are much better than undermounted designs when choosing tiled countertops.
Once your tiling is complete and the grout dry, the hob, basin or sink will slot into place and the overmounted edge can then be sealed with silicone to prevent water ingress.
3. Choose the right tile
Whether you are tiling a countertop for the kitchen or bathroom, choosing the right tile is paramount. Tiled countertops are likely to come under fire from all manner of spills, from oily foods and red wine, to toothpaste, shaving foam and water.
‘Porcelain tiles are water resistant and durable, and can be relied on for longevity, so they make the best choice,’ advises Harriet Goodacre, Tile Consultant at Topps Tiles. ‘Most porcelain tiles are nano-sealed during manufacturing, meaning their surface is kept protected for longer.’
Ceramic tiles are also a sound option, but avoid tile that requires sealing, such as natural stone or encaustic, unless you are incredibly vigilant about sealing and resealing on a regular basis. ‘We also do not recommend using crackle glaze or metallic effect tiles, and it’s a good idea to try and minimise the number of tile joints and tile cuts by opting for larger format tile,’ adds Andrew Bendall, Manager at Craven Dunnill Jackfield.
4. Do a dry run
Countertops are highly visible surfaces, so there’s less room for mistakes. For this reason, experts recommend a dry run to ensure your tiles fit perfectly and work out the best starting point.
‘Lay out your tiles on the countertop, starting from the center and working outwards, remembering to leave a space for your grout lines between each tile. Most common grout line widths are 2mm or 3mm, placing tiling spacer pegs around the corners of each tile is the most accurate way to lay a dry run of your tiles,’ says Mike Head, Director, Atlas Ceramics. ‘Use a straight edge or a laser guide to ensure all your tiles are laid straight and pay special attention to the size of tiles near the outside edges – avoiding slithers of tile wherever possible.’
5. Achieve tidy edge profiles
Tiling countertops is mainly a matter of trowelling on tile adhesive with a notched trowel then pushing each tile down firmly on repeat. However, achieving a neat edge finish is often where the main challenge arises.
‘Once you have applied your tiles, you’ll need to finish the front and end edges of your countertop – there are a few ways to do this,’ says Harriet Goodacre, Tile Consultant at Topps Tiles. The most wallet-friendly solution, Harriet suggests, is silicone sealant; you simply apply a thin layer to the edges for a clean, waterproof seal. But silicone isn’t suitable for every situation, especially if the front edge is raw tile.
‘You can create a mitred edge with smaller cuts of the same tiles for a sleek finish, but this can be time consuming and tricky,’ she adds. ‘Overall, we’d recommend using tile trims; they create clean lines and protect the edges of your tiles, and will give your countertop a slick, professional finish.’
6. Be grout savvy
On tiled countertops, it’s important to use a resin-based grout that is stain repellent and non-absorbent. This will help protect your countertops from bacteria, stains and water ingress.
Take care to ensure the grout is completely flush with the tiles and doesn’t dip down in places. Air bubbles need to be avoided at all costs. Use a grout float to help push grout deep into the gaps. The aim is to avoid germs and spills gathering in the grout lines wherever possible. You may need to regrout in time, especially if the grout starts to wear away from consistent cleaning. Colored grouts will conceal stains better than bright white.
‘Prevent new grout from getting grubby on your countertop by applying grout sealant,’ adds Gary McCoy, Store Manager, Lowe’s. ‘Grout sealant can also be reapplied annually to maintain protection.’
How do you attach tile to a countertop?
To attach tile to a countertop you will need tile adhesive that is suitable for the type of tile you are buying and the core material they are going to be bonded onto. For example, if you are tiling onto laminate countertops, you will need adhesive designed to bond onto plastic surfaces.
‘Also be sure to select an adhesive suitable for the conditions of the environment, i.e. capable of withstanding elevated levels of moisture in bathroom areas,’ says Mike Head, Director, Atlas Ceramics . 'On bathroom countertops and around kitchen sinks we recommend Weber Set SPF. It is suitable for fixing all types of ceramic wall and floor tiles, mosaics, marble, terrazzo, natural stone, brick slips and glass blocks in areas that will be dry or wet, including swimming pools. It is particularly suited for situations where some movement, deflection or limited shrinkage is likely.’
Mix up your adhesive – following the manufacturer’s instructions (often found on the back of the bag) – in small batches. Tiling adhesive only stays wet and usable for a certain amount of time, so it’s much more efficient to mix up more as and when you need it.
How much does it cost to tile countertops?
If you are doing the labor, calculating the cost of tiling a countertop is a simple case of adding up the cost of materials. The tile will be your biggest expense, but the area is unlikely to be vast, compared with tiling a floor for example, so you should be able to splash out on a design you really love.
Additional material costs include any sheet material required to tile onto, plus adhesive, grout and grout sealant. Unless you buy tile backer board, you might also like to invest in tile primer, to ensure the surface you are tiling onto won’t suck the moisture from the adhesive.
Finally, if you don’t already own a tile cutter, spirit level, grout float and notched trowel, head down to your local hardware store and stock up. These are not expensive items, but they will make the job a whole lot easier.
