The best way to stain wood – 4 time-saving tips from the experts
Prevent drips and achieve an even finish with these four expert tips for staining wood


Design expertise in your inbox – from inspiring decorating ideas and beautiful celebrity homes to practical gardening advice and shopping round-ups.
You are now subscribed
Your newsletter sign-up was successful
Want to add more newsletters?

Twice a week
Homes&Gardens
The ultimate interior design resource from the world's leading experts - discover inspiring decorating ideas, color scheming know-how, garden inspiration and shopping expertise.

Once a week
In The Loop from Next In Design
Members of the Next in Design Circle will receive In the Loop, our weekly email filled with trade news, names to know and spotlight moments. Together we’re building a brighter design future.

Twice a week
Cucina
Whether you’re passionate about hosting exquisite dinners, experimenting with culinary trends, or perfecting your kitchen's design with timeless elegance and innovative functionality, this newsletter is here to inspire
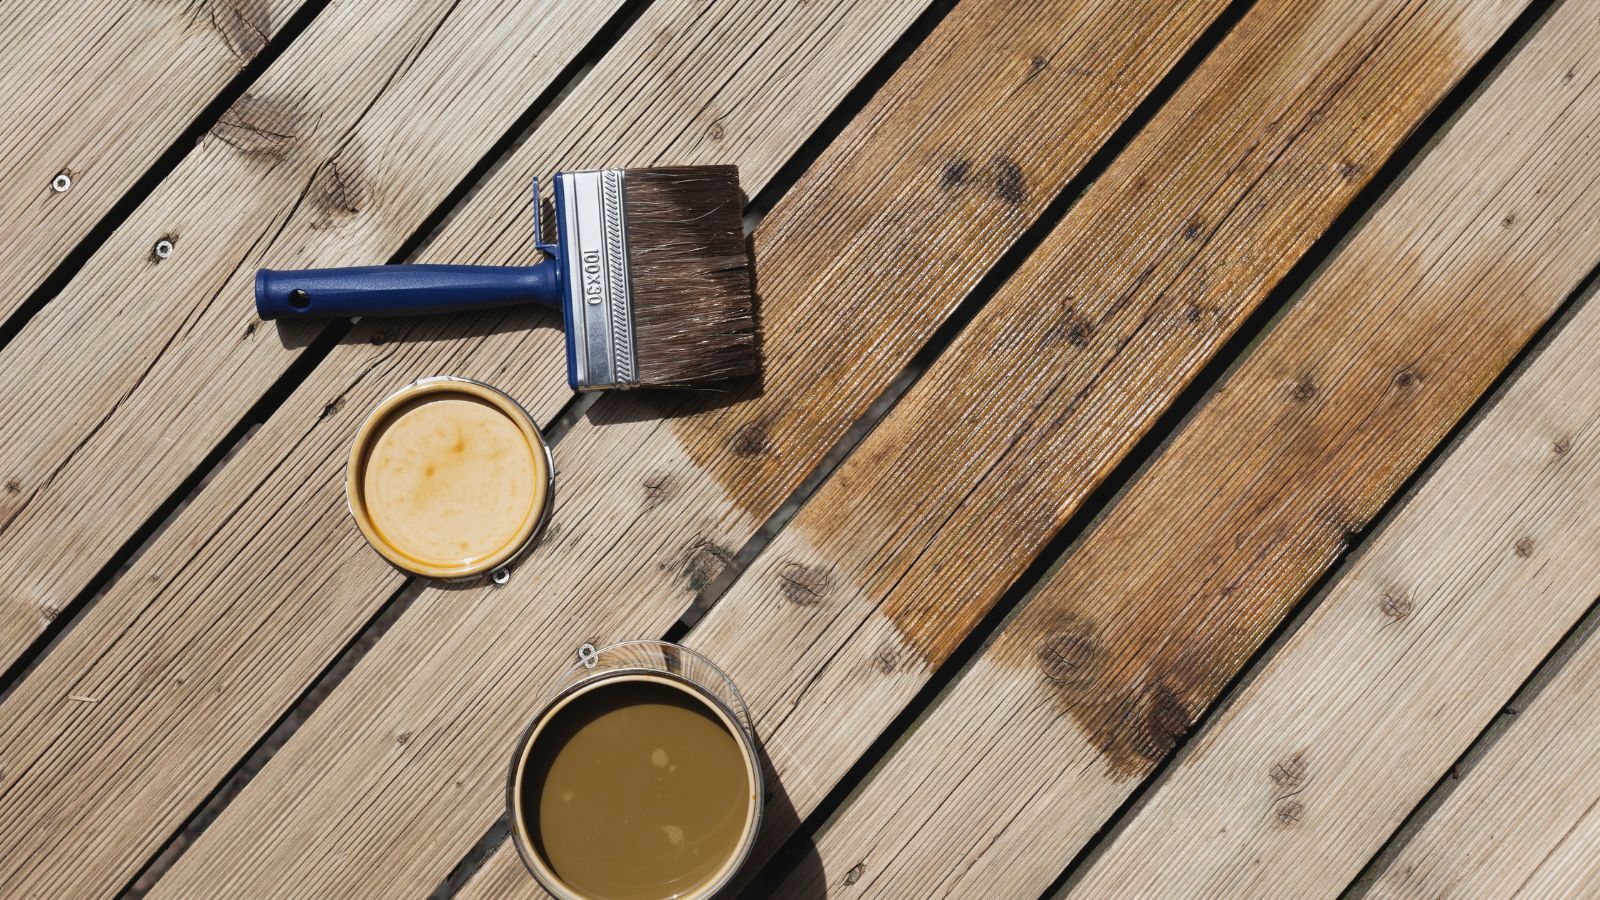
Staining wood has a whole host of benefits, from improving the look to protecting the natural material. But what is the best way to stain wood to prevent drips and uneven coverage?
Whether you are refreshing your kitchen by staining kitchen cabinets, are staining a fence, staining a deck, the way you apply a stain can make all the difference to the final results – and doing it wrong could result in a subpar, patchy finish.
Here, experts have revealed the best way to stain wood to avoid unsightly drips and achieve a truly flawless finish.
The best way to stain wood
Wood stain is not as easy to undo as paint, as stripping doesn't remove the soaked-in color. Getting it wrong means deep sanding, which could ultimately damage the look of your wooden surface over time.
Getting it right the first time is, therefore, essential.

1. Clean and prepare the wood
As with any project, it is best to start with cleaning and prepping the surface. With wood, you should ensure it is free from any other coatings such as existing stains or paint by sanding it with 80-120-grit sandpaper, suggests Shlomo Cherniak, professional handyman and founder of Cherniak Home Services.
‘After sanding, clean the area thoroughly with a microfiber cloth to make sure that it is even and sand-free.’
Design expertise in your inbox – from inspiring decorating ideas and beautiful celebrity homes to practical gardening advice and shopping round-ups.

Shlomo Cherniak is a handyman and founder of Cherinak Home Services in Baltimore. He has over seven years of experience in home improvement; he and his team specialize in everything from installing kitchen cabinets to fixing leaky faucets to hanging pictures on the wall.
2. Apply wood conditioner
Just as you would use a primer when painting wood furniture, it is important to use a wood conditioner before staining to ensure the stain soaks in evenly. This is especially important for softer woods like white wood or pine, explains Rachel Blanding, woodworker and owner of the home blog, Everything DIY Projects.
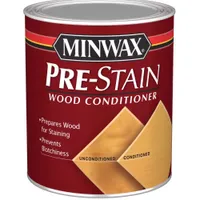
‘My favorite pre-stain conditioner is by Minwax, which is available at Walmart,’ Rachel continues. The idea for the pre-stain conditioner is so that the wood will take in the stain evenly and not blotch, producing a uniform color and lasting finish.’
Minwax Pre-Stain Conditioner | Was $14.25, Now $7.98 at Walmart
Minwax Pre-Stain Wood Conditioner penetrates the grain of the wood to promote even coverage of any oil-based wood stain – better yet, it dries in as little as 15 minutes.

Rachel Blanding started woodworking in their spare time during the pandemic and continues to make furniture and art from wood and metal at weekends and after work, teaching themselves and sharing their knowledge and experiences through their blog to help others on a similar journey.
3. Apply the stain in the direction of the grain
Once the wood conditioner is dry it is time to apply the first coat of stain.
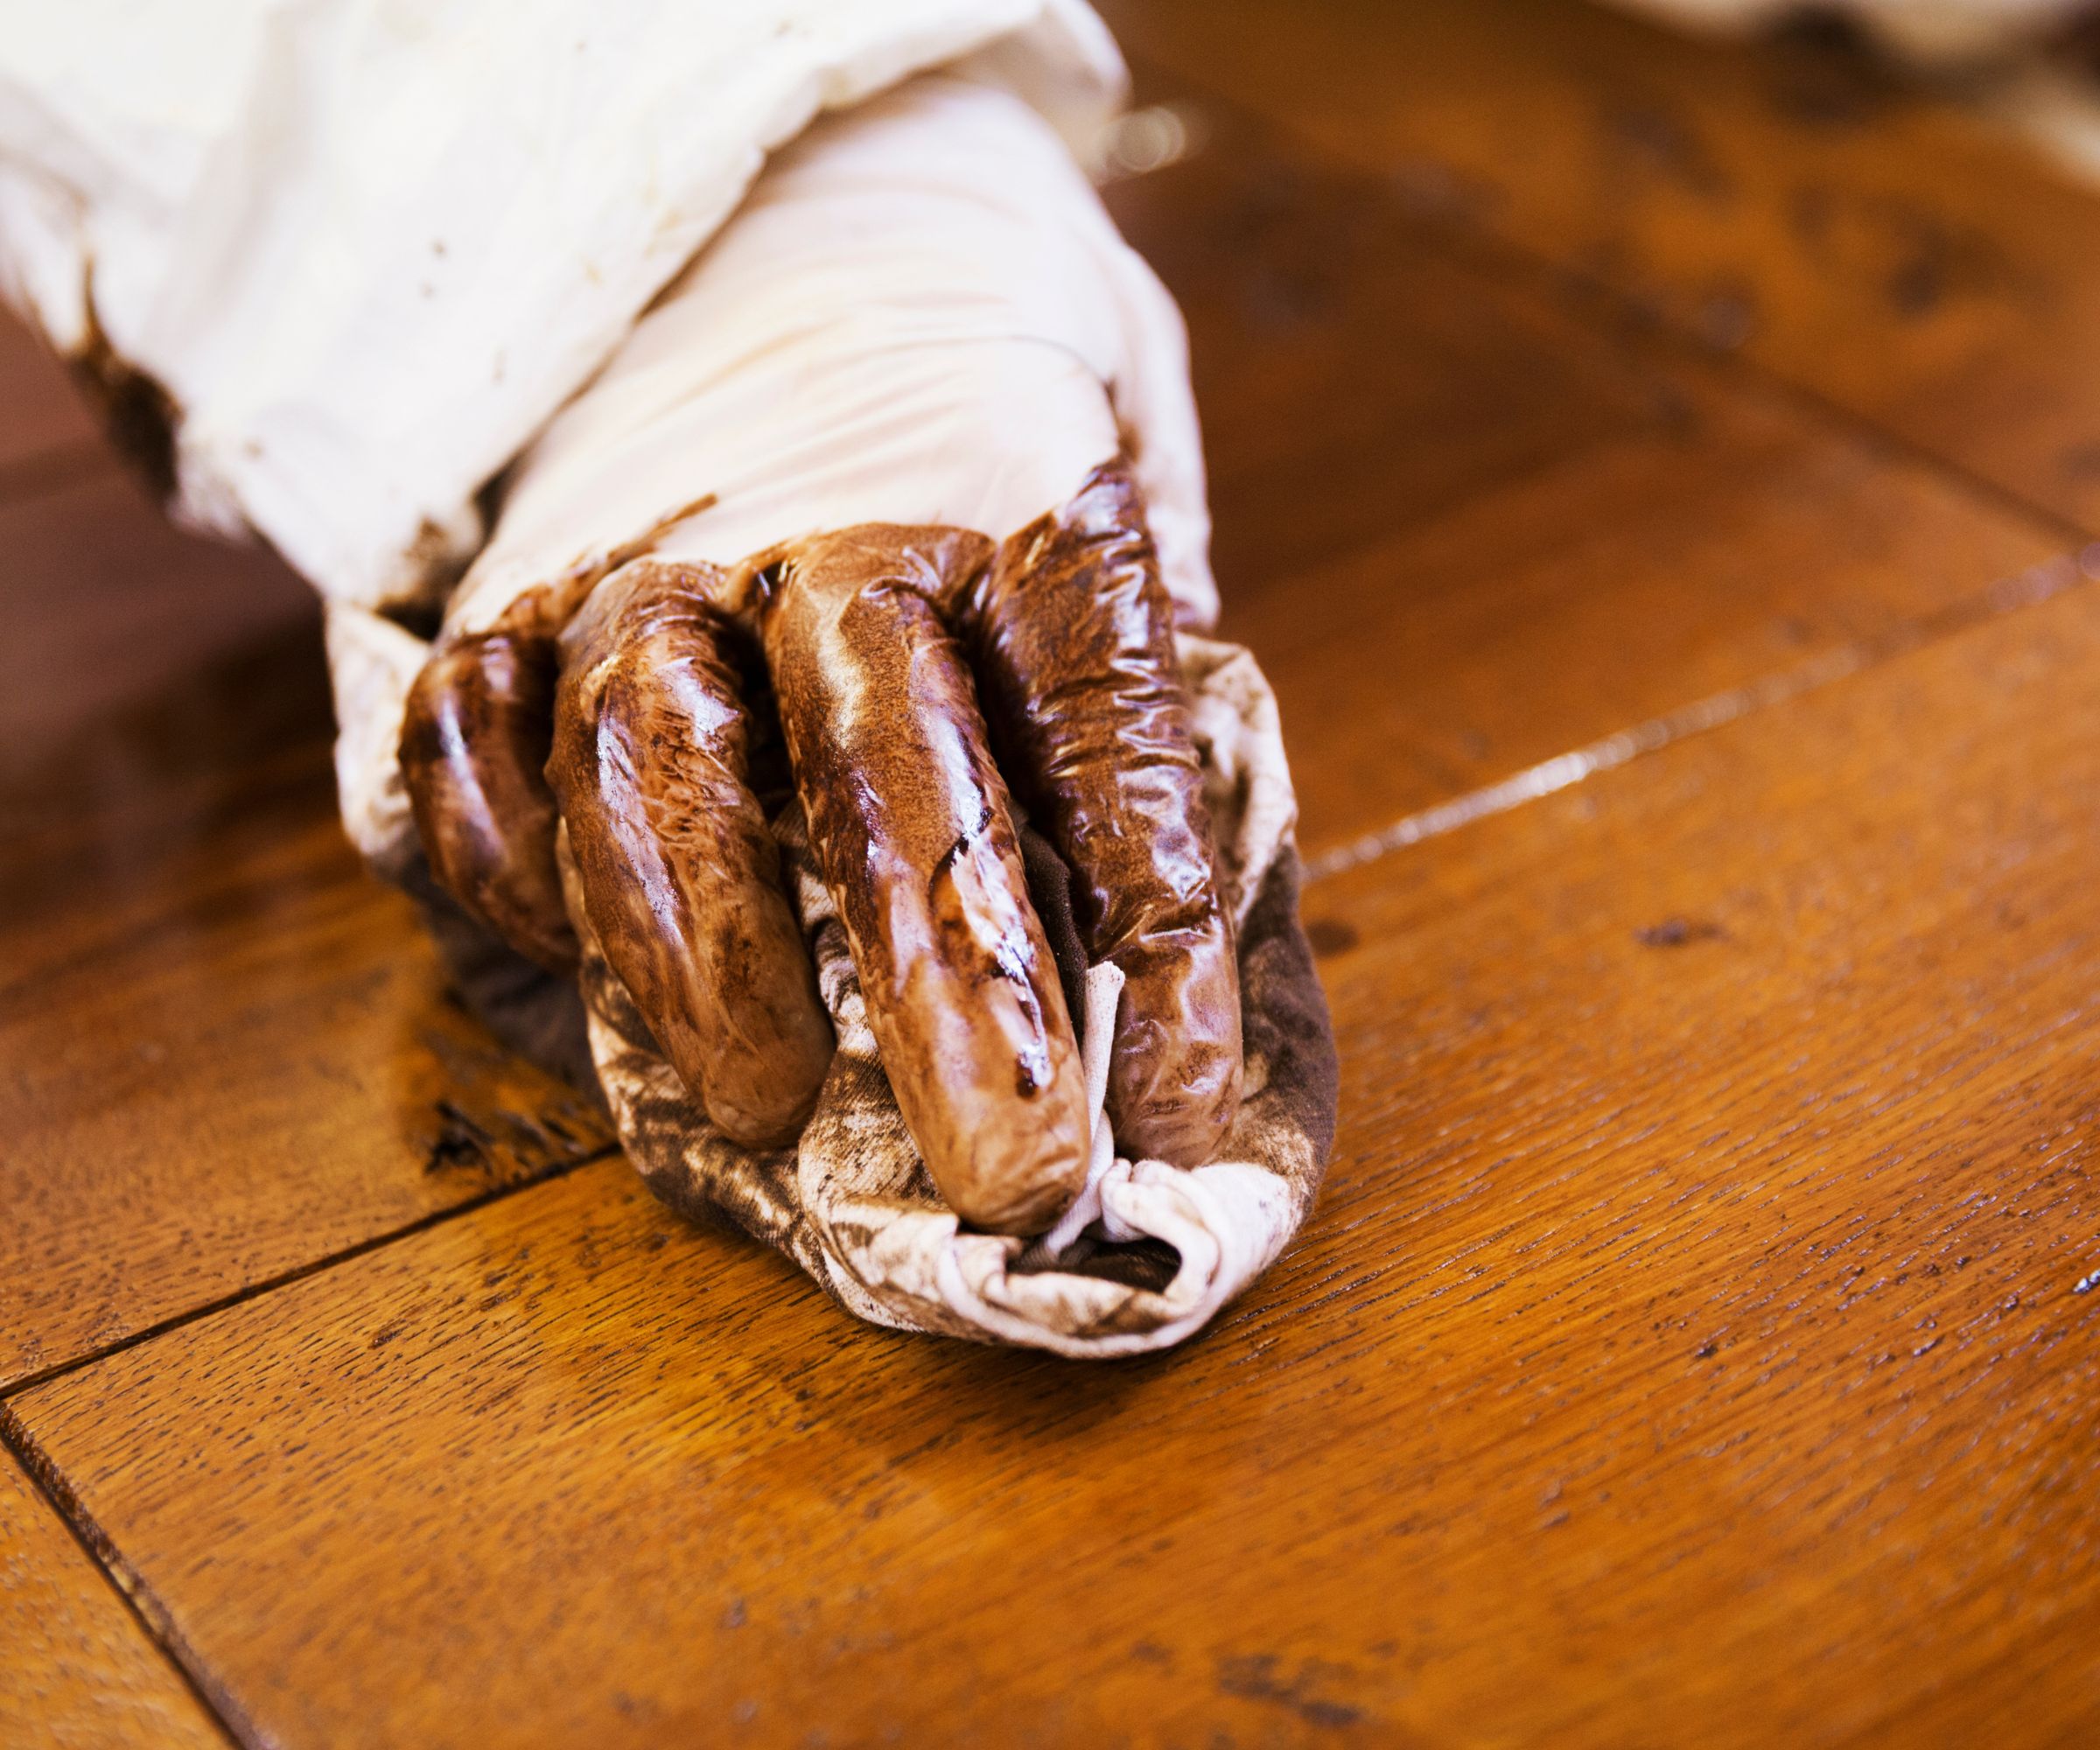
To do this, it is best to work in the direction of the grain to ensure even coverage. Andre Kazimierski, professional painter and CEO of Improovy, suggests applying the stain with a cloth as opposed to a brush or roller for the best finish without lines and to avoid drips. This is also a useful painting tip for restoring wood furniture with wax or restoring hardwood floors.
‘Make sure you use a lint-free cloth, and then either dip it directly in the stain or pour a small amount of stain onto the wood as you go,’ he explains. ‘Using a cloth will help control where the stain moves better, along with how much stain is applied, which can help prevent drips. Plus, using a cloth makes it easier to wipe up any drips you see as they happen.’
It also helps to apply the stain on a flat surface to prevent drips. Lay the wood flat and work only on the top, allow that side to dry, then flip to paint the edges, and so on. This is time-consuming but prevents drips on vertical edges.
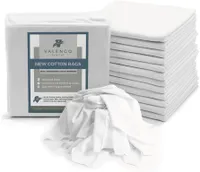
Lint-free Rags | $8.99 at Amazon
This pack of lint-free rags is perfect for a huge range of DIY projects. Whether you're applying a wood stain or cleaning a surface, there's no residue or annoying lint left behind.
4. Apply a protective coating, depending on the wood's location
Depending on where the stained wood will be used, you may wish to apply a protective top coat to keep the stain looking its best, suggests Tony Adams, home improvement expert at DIYGeeks. Cabinets and furniture, for instance, would benefit from a topcoat to protect them from grease or water splashes. However, outdoor fence panels may not need a topcoat, as fence stain often comes with waterproofing protection already.
When adding a top coat, Tony recommends using polyurethane. ‘Stir the polyurethane and apply it with a natural bristle brush or foam brush, following the wood grain. Allow the coat to dry for three to four hours, then lightly sand with 220-grit sandpaper, wipe clean, and apply a second or third coat,’ he advises.

Tony has been a handyman for over 27 years, having followed in his father's footsteps. He has since opened his own handyman services and has begun sharing his expertise on the DIYGeeks home blog to help those he can't reach with his business.
How to fix drip marks on stained wood
If you notice any solid drips of stain forming on your wood, and it is too tacky to brush away, then all is not lost. If there are only a few drips the solution is relatively simple – but requires a careful hand, says home improvement expert, Tony Adams:
- Wait for the drips to harden: If the drips are still wet, give them time to dry and harden before attempting to remove them. You can press your fingernail into the drips to check if they have hardened.
- Scrape the drips off: Use a razor blade or 400-grit sandpaper, (like these 400-grit sandpaper sheets at Amazon) to gently scrape the dried drip marks. Be careful not to damage the surrounding stained surface. If using sandpaper, alternate between going with and against the wood grain. Then, rub the area with a fine scouring pad to further smooth the surface.
- Remove residual stain with mineral spirit: Dab a small amount of water or mineral spirits on the surface to remove any bits of stain that you've scraped off. Then, use a clean cloth or sponge to gently wipe the area and allow it to dry completely.
- Reapply the stain: If you have removed some of the stain while removing the drips, you can reapply stain to the affected area. Use a cotton swab or small brush to lightly dab the stain onto the area. You must use the same exact stain you have used before for it to match.
FAQs
How long do you leave stain on wood before wiping off?
If you have applied too much stain to the wood and it has not all soaked in, then it is best to wipe off the excess around five to 10 minutes after the first application. This is when the stain will still be wet, any stain that is going to be absorbed has done, and the stain has not started to turn tacky – making it easy to remove without marking the surface.
Will multiple coats of stain make wood darker?
Applying multiple coats of the same wood stain will give the wood a darker appearance as you layer the color on top of itself. However, given that many stains recommend using two to three coats, multiple coats will not darken the wood to the point of it looking unlike the color on the tin. If anything, two to three coats will achieve the tin's advertised color.
Along with following these experts' steps for the best way to stain wood, it is important to pick the right stain for your project. Wood that will be staying outside requires a stain specifically formulated to stand up to outside weather conditions (which are usually oil based), while interior wood can be stained with a water-based stain and finished with a top coat for a glossy, professional finish. Using the wrong stain type in the wrong location could undo all of your hard work.

Chiana is Homes & Gardens’ kitchen appliances editor. With a lifelong passion for cooking and baking, she grew up experimenting in the kitchen every weekend with her baking-extraordinaire Mom, and has developed a great understanding of how tools and appliances can make or break your ideal relaxing kitchen routine.

