How to restore hardwood floors without sanding – a step-by-step guide
Use these professional tips to restore hardwood floors to a perfect finish every time, without sanding

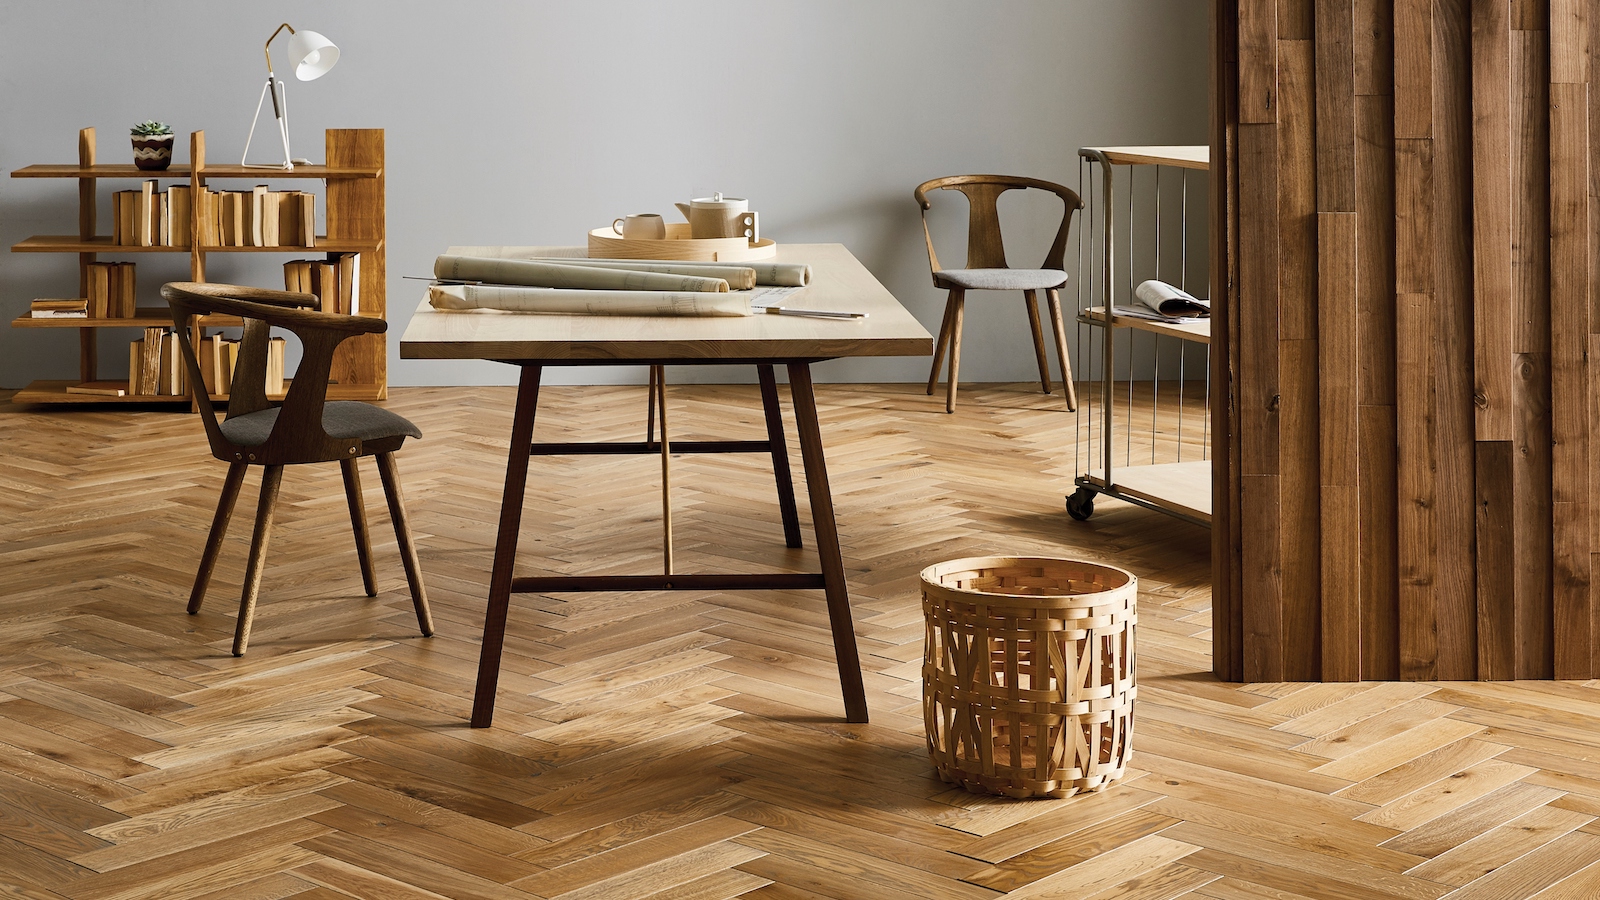
Wooden flooring is hardwearing, beautiful, and practical – a design trifecta that means wood flooring ideas (from herringbone and parquet to simply laid planks) are a style standard in all manner of homes, whether that's an urban loft or a rural farmhouse.
But what if the shine is coming off your floorboards, and the surface is beginning to show some wear and tear? Sanding may seem the obvious solution when you're looking to refinish hardwood floors to keep them in good condition. Sanding removes the top surface of the wood to reveal the fresh timber beneath, but this is a serious – and seriously messy – job, that most likely isn't necessary. Instead, recoating the wood could restore the finish, beauty, and longevity of your flooring, with a fraction of the effort and disruption.
'Recoating is a great way to restore the look of your hardwood without a full sand down. It’s the process of adding a new topcoat of finish to an existing wood floor finish,' explains Brett Miller, vice president, Technical Standards, Training, and Certification at the National Wood Flooring Association.
'One of the benefits of real wood flooring is that almost all wood floors, whether pre-finished or site finished, solid or engineered, can be recoated. The trick is ensuring the new finish will adhere to the existing finish. The sheen of the floor can be changed through a recoat, but the color will remain the same.'
How to restore wood floors: the professional view
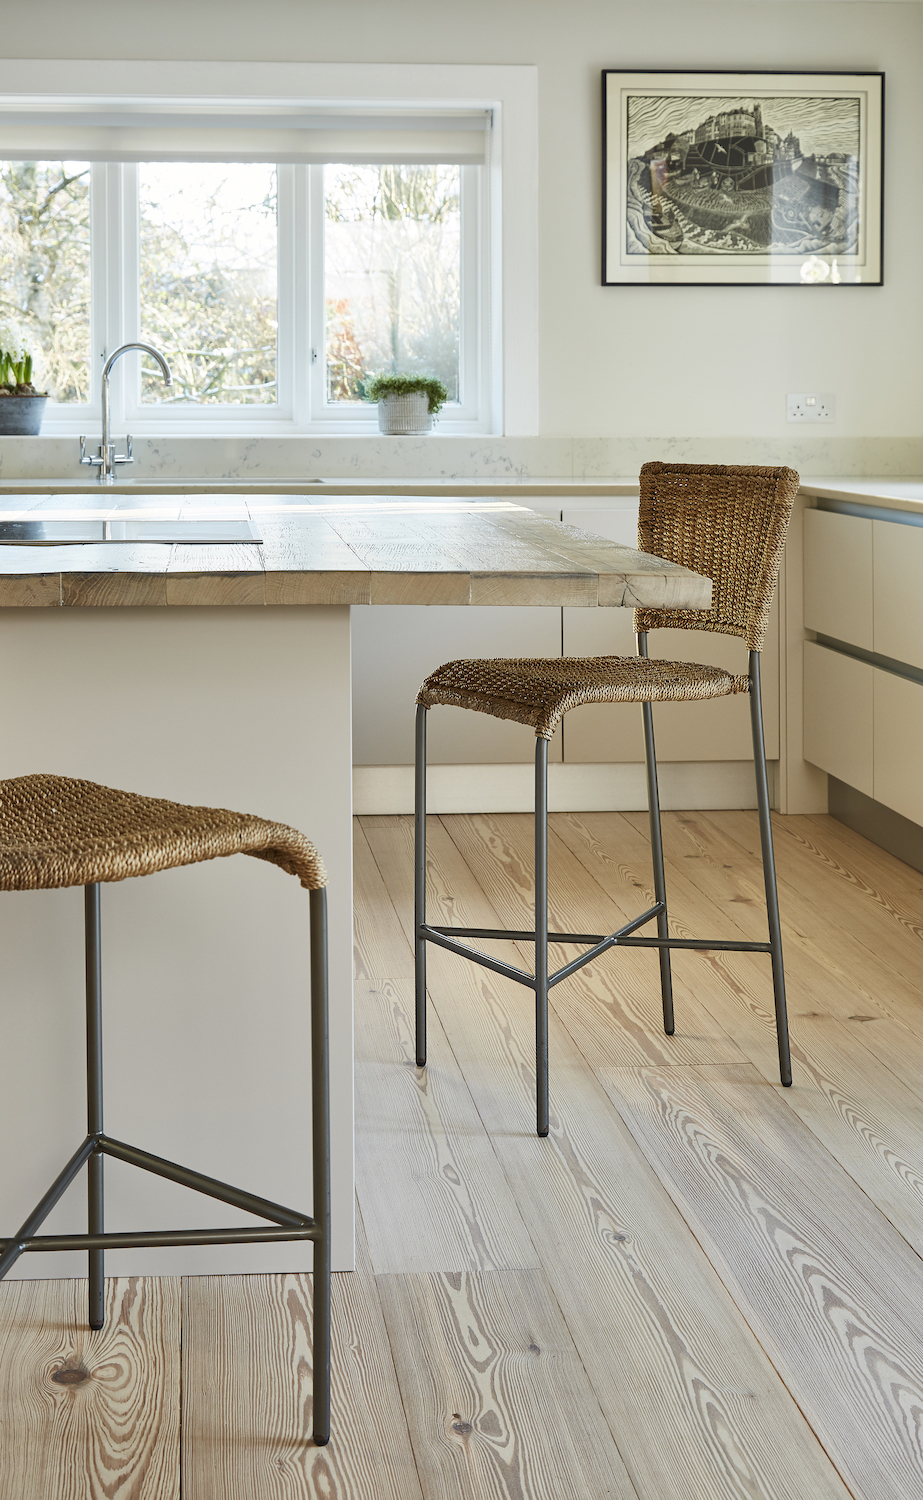
Generally speaking, wood floors can be restored without sanding by recoating, using either mechanical or chemical methods. These can be used across wood flooring ideas for a living room, wood floors for a bedroom, kitchen flooring and splash-safe wooden bathroom flooring.
'Mechanical adhesion is a recoat process that involves physically buffing, or lightly abrading a wood floor. This is also referred to as a "Screen and Recoat",' explains Brett Miller, vice president at the National Wood Flooring Association. 'This process involves lightly abrading the surface finish, leaving behind micro-scratches in the existing finish which allow the new coat of finish to bond to the old coat.
'Chemical adhesion is a recoat process that involves using an adhesion promoter, or a bonding agent, that sticks to the existing finish and allows a new topcoat to stick to it – kind of like using double-sided tape.'
Design expertise in your inbox – from inspiring decorating ideas and beautiful celebrity homes to practical gardening advice and shopping round-ups.

Brett Miller is Vice President, Technical Standards, Training, and Certification, at The National Wood Flooring Association, an international not-for-profit trade association representing all segments of the hardwood flooring industry.
What to consider before restoring a hardwood floor without sanding
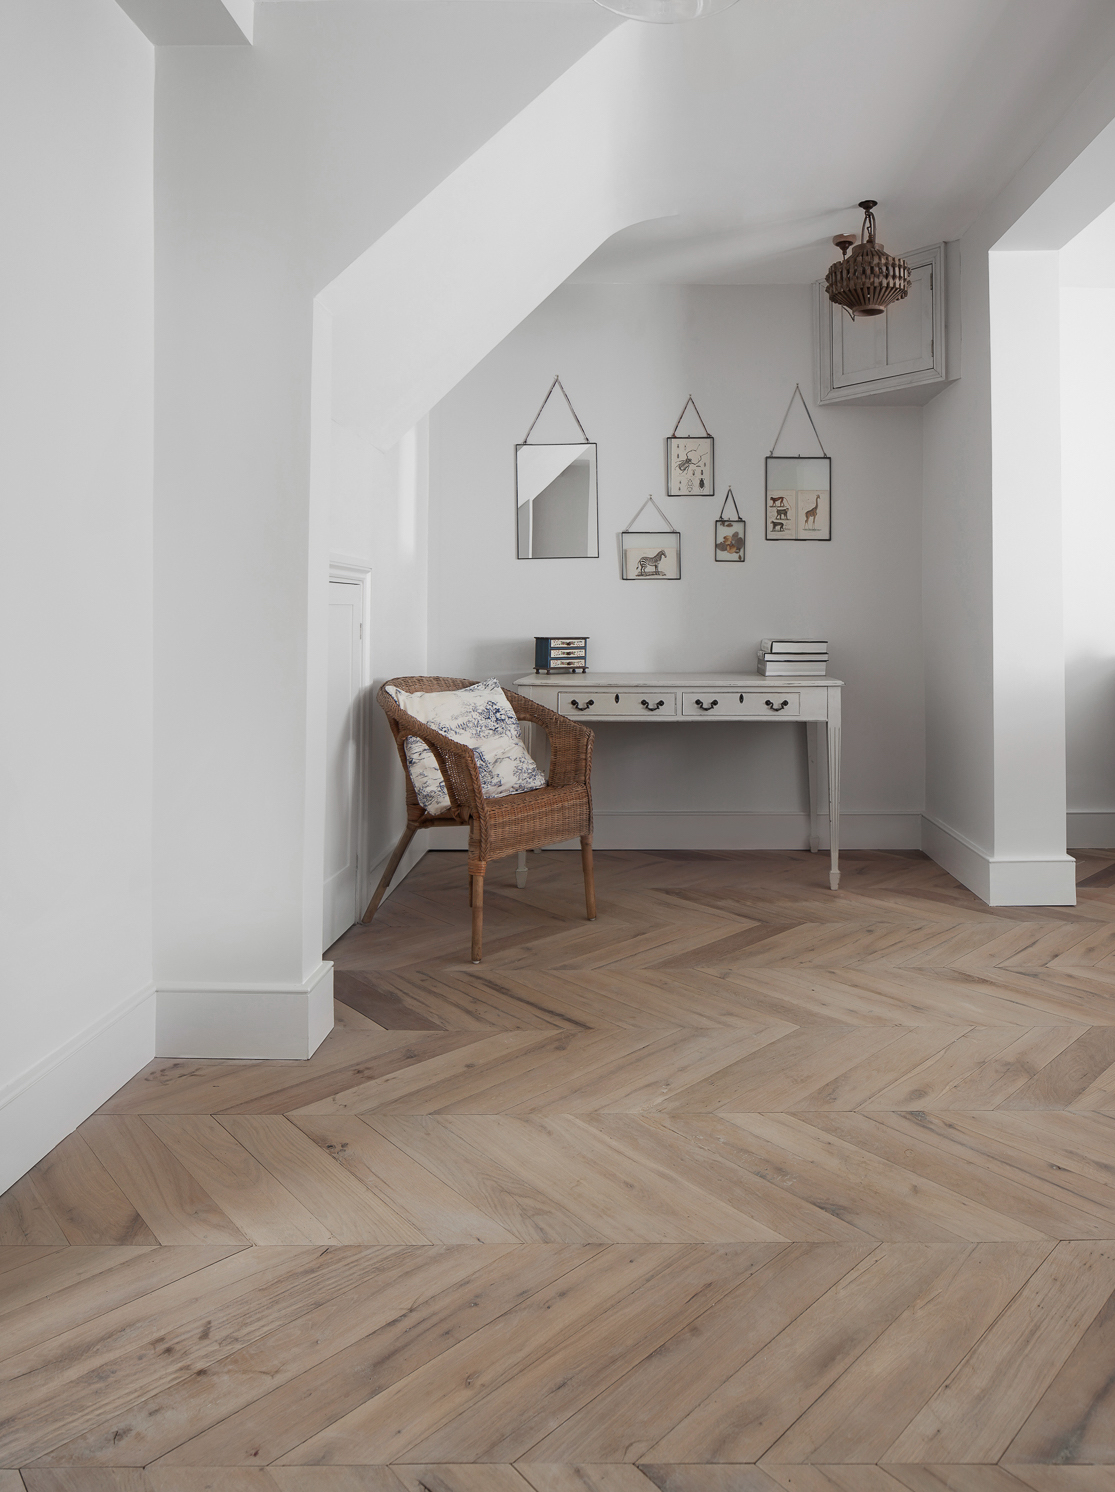
There are a few things to consider when recoating any wood floor, especially if don't plan to sand back the boards to remove damage and stains.
'If the floor has visible dents, wear patterns or permanent cupping, recoating may not be a viable solution, and a full sand down may be your only option to restore the finish,' explains flooring expert Brett Miller.
'Dents, gouges, and scratches may be recoated, but will still remain in the flooring surface and may become more apparent after the new coating has been applied.'
How to prepare your floor to get the best finish
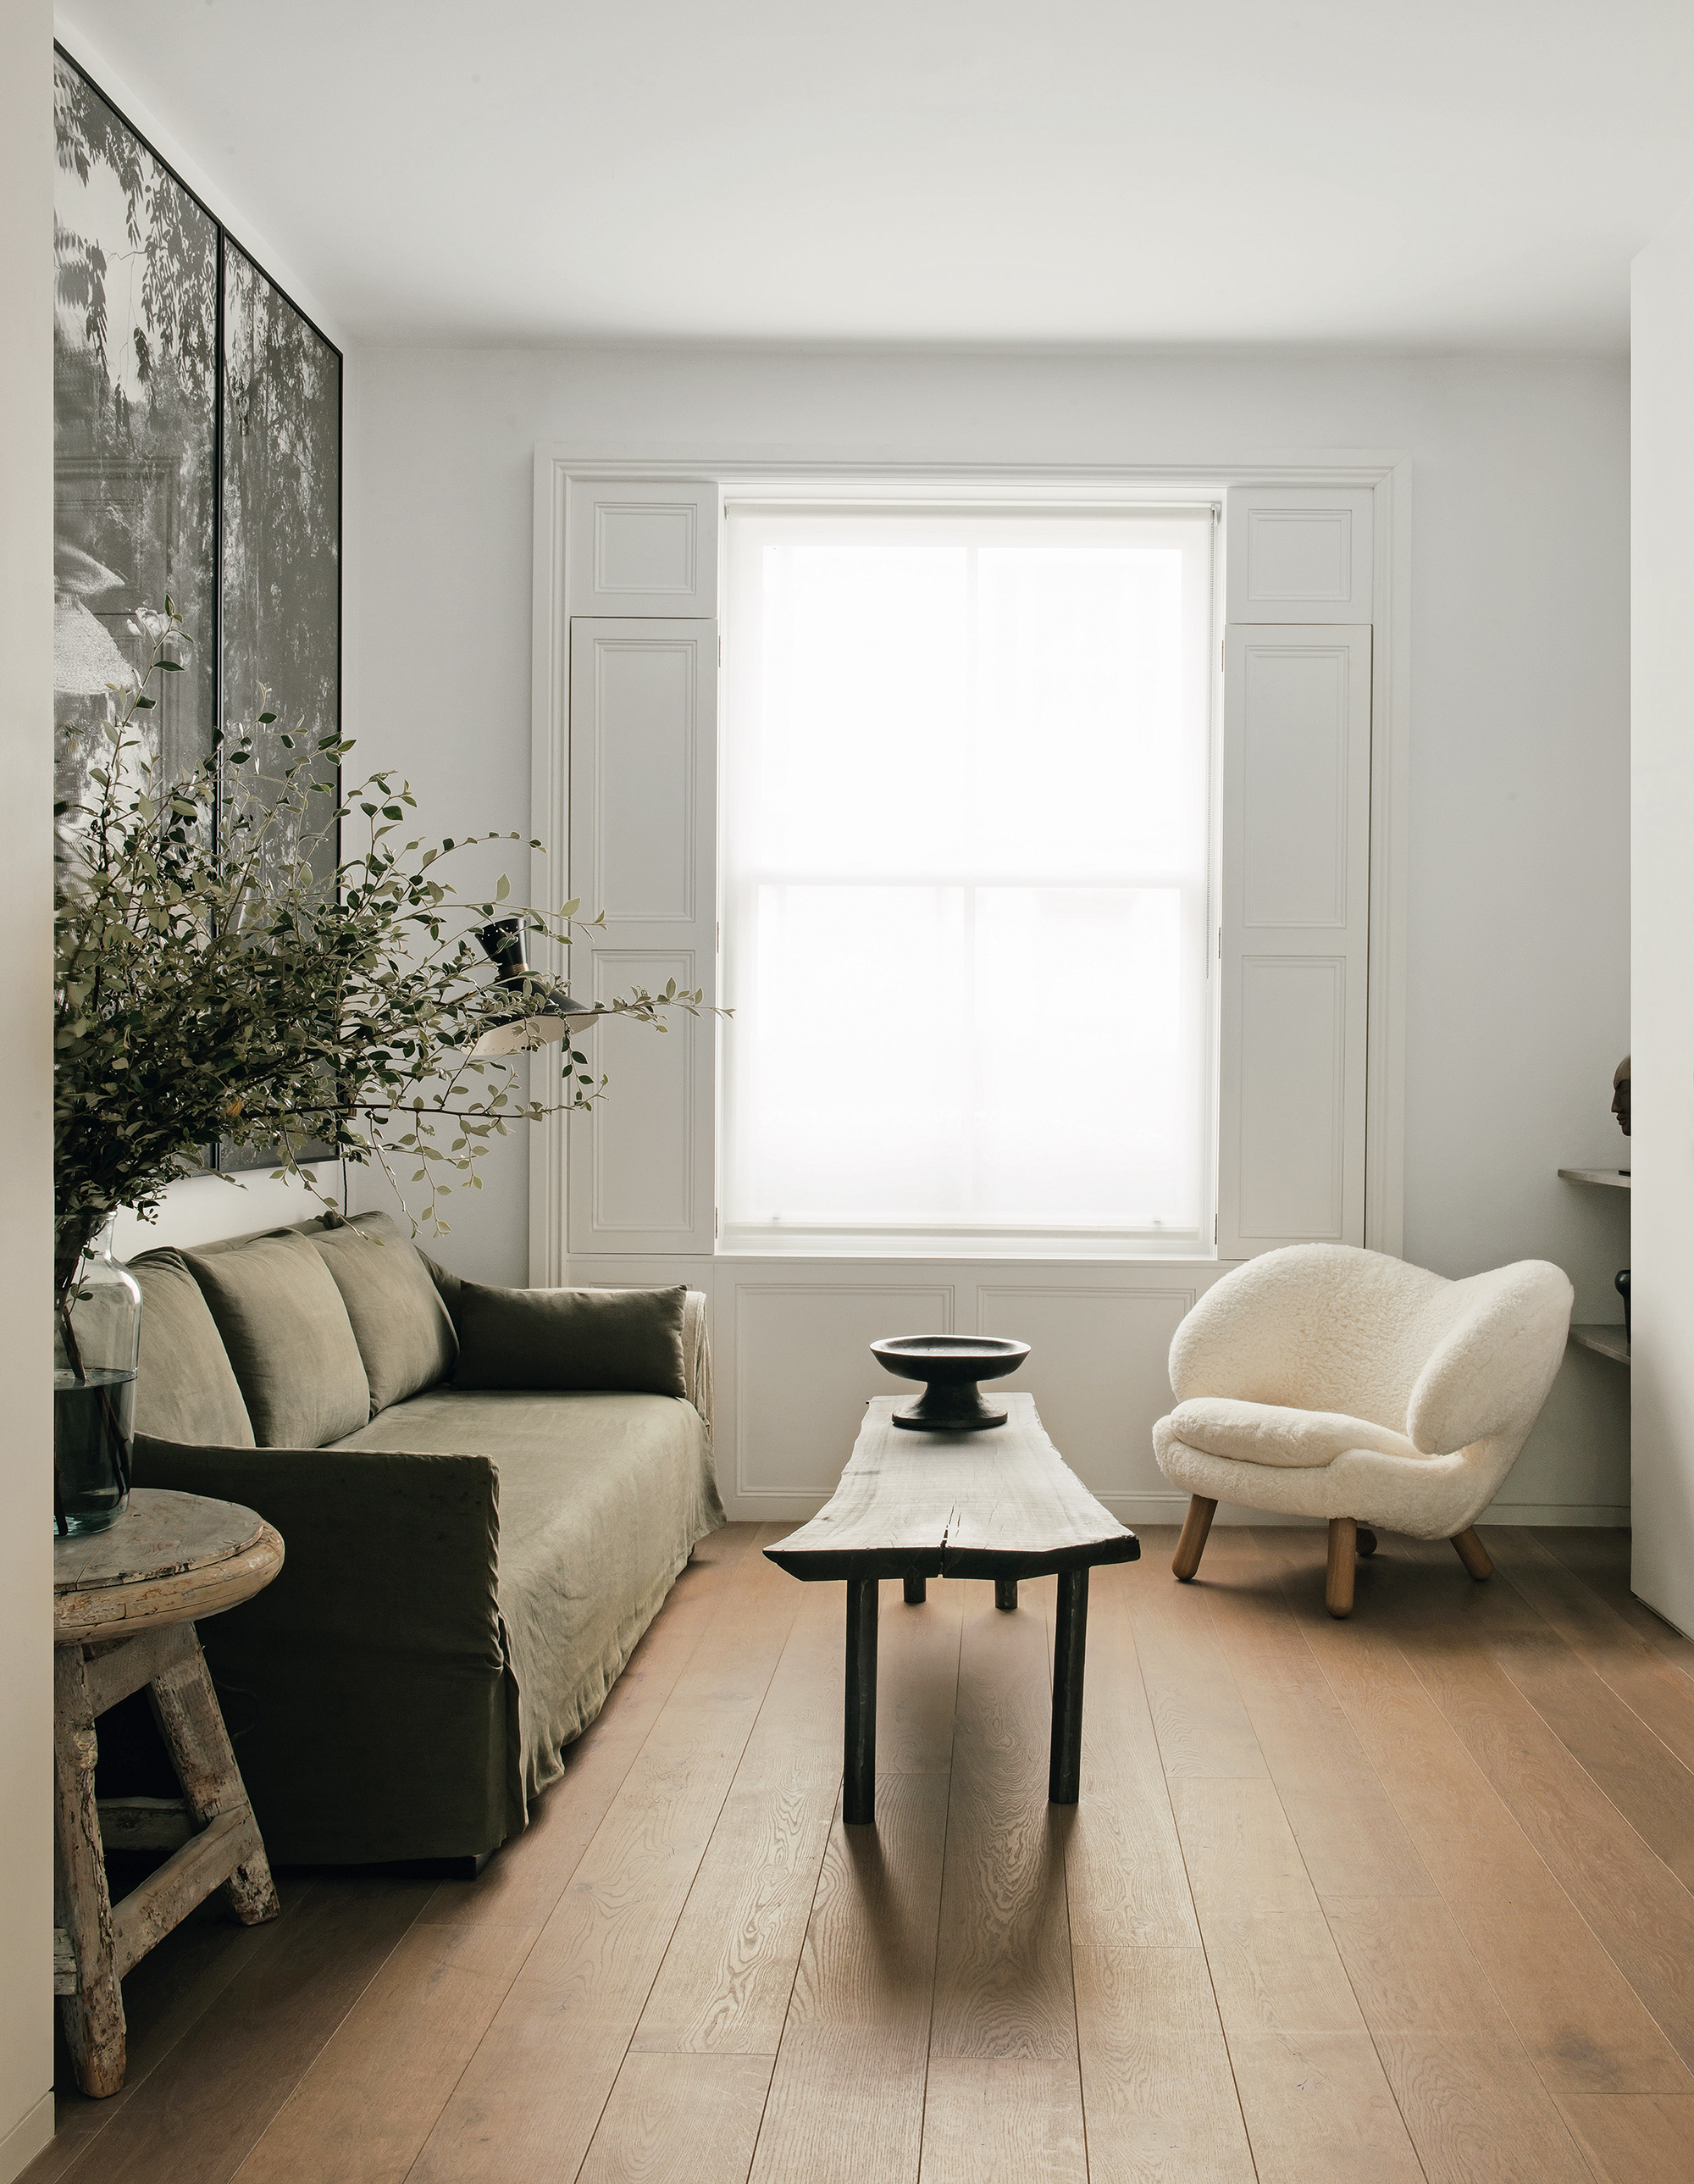
In order to restore a hardwood floor without sanding, and achieve a professional-look finish in the process, the wood must be absolutely clean and smooth before any new coating is applied. Wax, grease, and residue from cleaning products can all affect how well any fresh polish or lacquer adheres to the surface of the wood.
'Floors that have had the wrong maintenance products applied to them may not be candidates for a recoat,' says Brett Miller. 'At the National Wood Flooring Association, we suggest using a wood floor cleaner recommended by the floor manufacturer. For example, Bruce produces hardwood flooring and has a line of floorcare products that could be helpful in this search.
'Cleaning products that may be problematic often include descriptive terms such as “refreshes, restores, rejuvenates, polishes, renews, renovates, shines…” These terms are indicative of adding something foreign to the surface of the floor, which means these products may interfere with a new topcoat adhering.'
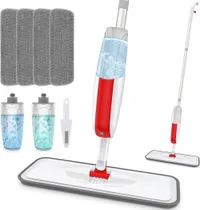
MANGOTIME Microfiber Floor Spray Mop | $23.99 at Amazon
Clean and maintain a hardwood floor, or prep it for restoring without sanding, with this mop. It can be used dry or wet, and comes with 2 refillable bottles and 4 washable and reusable mop pads.
How to restore a hardwood floor without sanding: step by step
With a little preparation and know-how, it is possible to restore the hardwood floors in your home without sanding down the surface. We asked carpenter Matt Hagens, founder of Obsessed Woodworking to share his skills with step-by-step instructions.
'As a wood expert, I have had the opportunity to work on many hardwood floor restoration projects over the years,' he says. 'One project that stands out in my mind is a home that had been sitting vacant for several years. The floors were dull and scratched, with stains and discoloration in various areas. The homeowners were concerned that they would need to sand the floors, which would be costly and time-consuming. However, I was able to show them that there are several effective ways to restore hardwood floors without sanding.'

Matt works on furniture projects, as well as large-scale renovation projects using carpentry and woodworking.
1. Clean the surface of your hardwood floors
One of the first steps in restoring hardwood floors without sanding is to thoroughly clean the surface.
'This can be done by using a mild detergent and water, or a specialized hardwood floor cleaner,' suggests carpenter Matt Hagens.
'It is important to remove any dirt, dust, or grime that may have accumulated on the surface. This will help to brighten the color of the wood and make it easier to see the existing scratches and stains.'
2. Fill any scratches on the floor surface
Next, it is essential to address any scratches or stains on the surface.
'For light scratches, a simple coat of wax can be applied to fill in the damage,' says Matt Hagens. 'For deeper scratches, a wood filler can be used to fill in the area and then sanded down until it is flush with the surrounding wood.'
3. Polish and finish the floor
Once the surface is cleaned and repaired, it is time to polish and finish the floors.
'This can be done by using a hardwood floor polish or a specialized buffing machine,' explains Matt. 'The key is to use a light touch and to work in small sections at a time. This will help to distribute the polish evenly and prevent any buildup of excess material.
'Restoring hardwood floors without sanding is an effective and cost-efficient way to bring new life to your floors. By following the proper techniques and tips, you can achieve a beautiful, professional-looking finish that will last for years to come.'
What mistakes might I make when restoring a hardwood floor without sanding?
One common mistake that is made when restoring hardwood floors without sanding is to use too much polish or finish.
'This can result in a cloudy or hazy appearance that is difficult to remove,' explains carpenter Matt Hagens. 'To avoid this, it is important to use the recommended amount of polish or finish and to work in small sections.
Another mistake that is often made is to neglect the importance of vacuuming and sweeping the floors before restoring. This can result in small particles of dirt and dust being embedded in the finish, which can lead to discoloration and unevenness in the finish.'
How can I clean and maintain a hardwood floor?
'Routine maintenance should be all you need with wood floors – daily sweeping, vacuuming on the bare floor setting about once per week and using a damp mop with the right cleaning product monthly,' advises Brett Miller from the National Wood Flooring Association.
But when it comes to how to clean hardwood floors, the type of finish on the floor can dictate which type of mop is appropriate to use.
'The mop should be slightly moistened and well-wrung out, ensuring the amount of moisture left on the floor surface is minimal,' Brett says. 'When using spray mops, use only high-quality spray mops that provide greater control over the amount of solution that is applied, and that comes with super-absorbent, disposable, or washable pads that remove the cleaning solution and soil from the floor’s surface.
'Never use a steam mop on a wood floor. The steam can travel deeper and faster between the cracks and into the cells of the wood. Repeated use can permanently damage the wood and the floor’s finish.'
Andrea has been immersed in the world of homes, interiors and lifestyle since her first job in journalism, on Ideal Home. She went from women's magazine Options to Frank. From there it was on to the launch of Red magazine, where she stayed for 10 years and became Assistant Editor. She then shifted into freelancing, and spent 14 years writing for everyone from The Telegraph to The Sunday Times, Livingetc, Stylist and Woman & Home. She was then offered the job as Editor on Country Homes & Interiors, and now combines that role with writing for sister title homesandgardens.com.
