7 expert tips for hanging plates on a wall – perfectly
Follow interior designer Emma Sims Hilditch's tips to hang plates like a pro


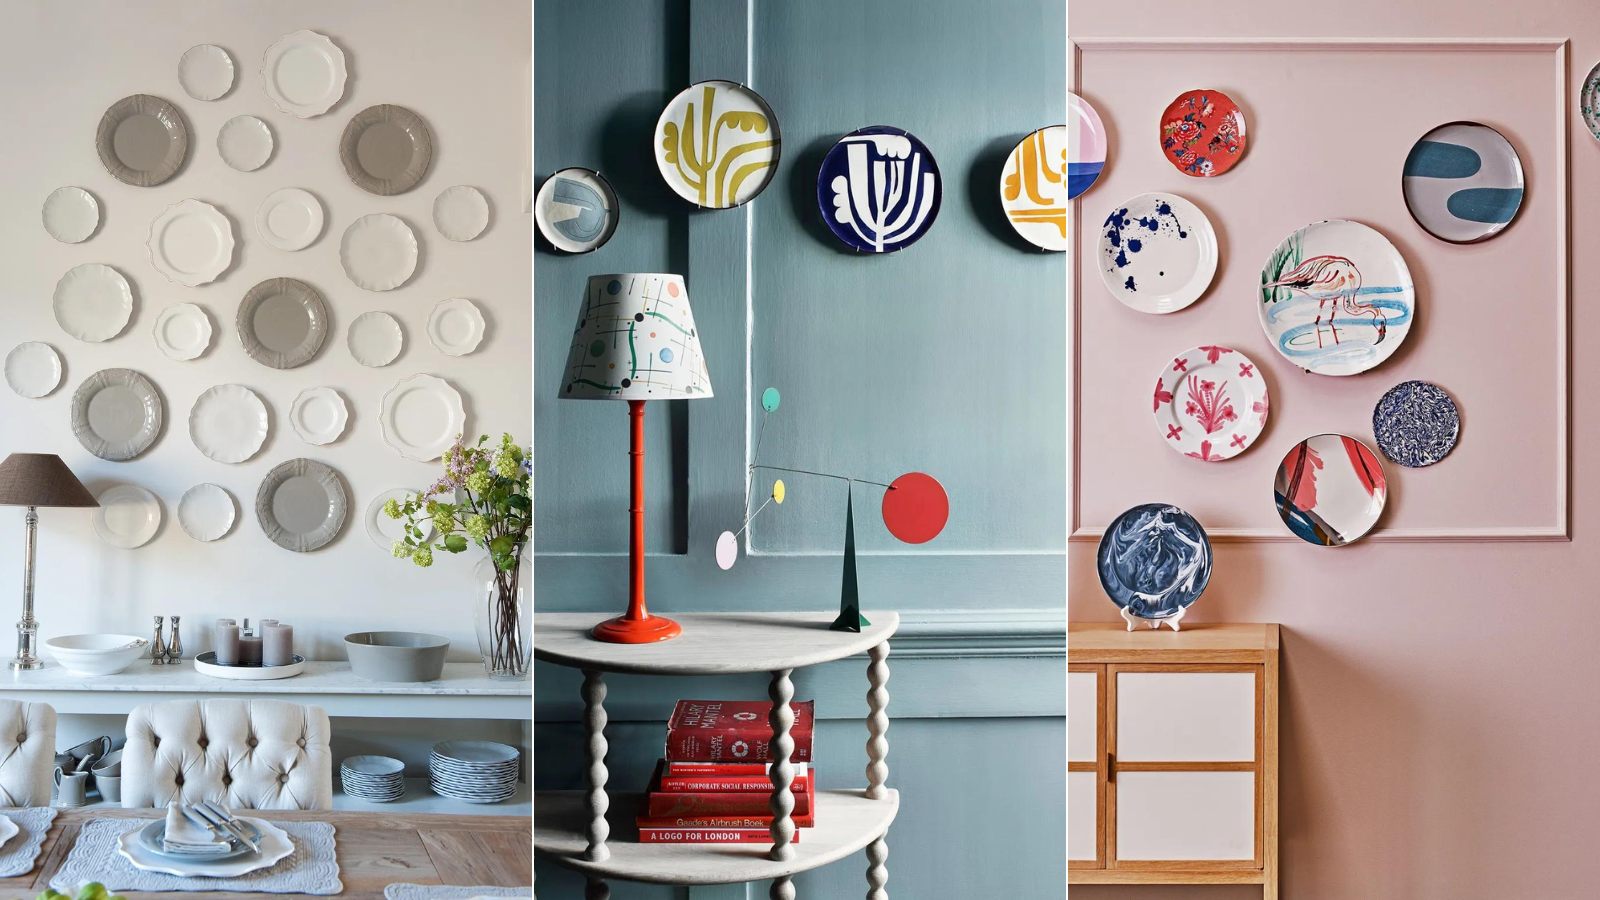
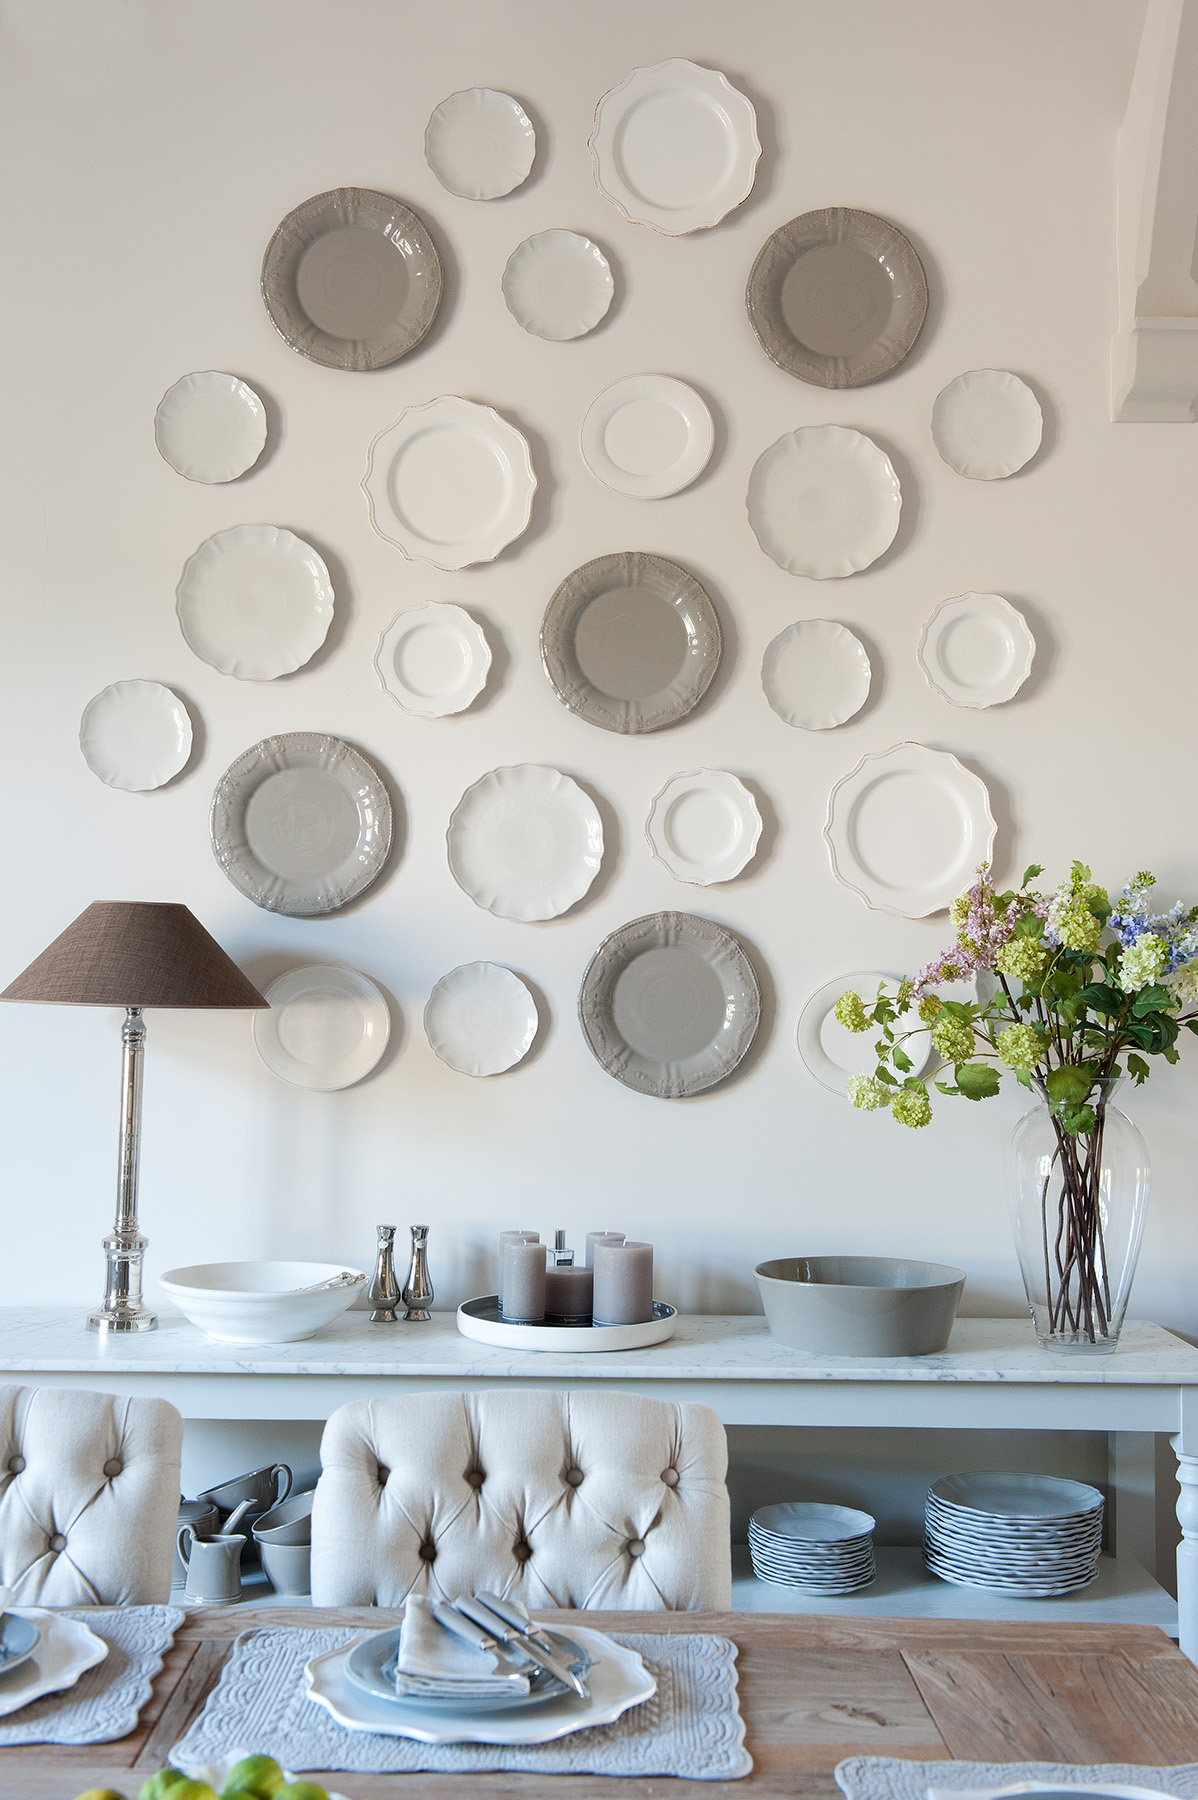
Hanging plates on a wall is a little trickier than hanging pictures. First, there's their fragility, their varying shapes and sizes, and, of course, weights. However, a plate wall can be extraordinarily beautiful, individual and can make for a wonderful accent feature in a room.
See: Home makeover ideas – simple ways to transform your home
'The selection of art is an intensely personal and often costly process,' says Emma Sims Hilditch, founder and creative director of Sims Hilditch, who is something of a plate wall expert. 'For those looking for a more economical and slightly different way to fill a blank space in a room, then a plate wall is a great solution and is easier to do than you might think.'
Below, Emma demonstrates the simple process in easy steps – including her tips for getting the process just right.
How to hang plates on a wall

'When choosing the plates, try to select a range of sizes and a variety of origins,' says Emma. 'Plates which carry meaning or a message are great additions to the design as they help it to become a meaningful part of the home.'
Follow her instructions below – and see Emma's video on hanging plates for more tips.
See: 5 tips for displaying china – plate wall inspiration, plus more ways to create a beautiful arrangement
Design expertise in your inbox – from inspiring decorating ideas and beautiful celebrity homes to practical gardening advice and shopping round-ups.
1. Measure the wall
'Use a tape measure to work out the dimensions of the plate wall first and arrange the plates accordingly on the floor,' says Emma.
It's useful to mark with pencil or tape the central point of the plate wall. This is where you will hang your first plate. It can also be helpful to use low-tack masking tape to mark out the boundaries of the plate display on the wall – and to repeat the exercise on a table or the floor to ensure the plate display you are planning will fit comfortably into it.
2. Measure your plate arrangement
'Draw a rough sketch of where the plates will be positioned and record the measurements on paper,' says Emma.
Use this as a guide to arrange the plates on the table or floor within your taped boundaries – and adjust it until you are happy with it.
'Once the plates are arranged, measure the distance to the top of each plate starting from the highest point down, with the topmost plate being ‘0’. Then mark these measurements on the wall,' says Emma.
3. Create templates of the plates
Draw around each plate on to separate pieces of paper and cut them out to create templates. Stick each template to the wall in the arrangement you have planned on the floor. Now stand back and adjust the arrangement until you are happy with it.
'Try to stick to the measurements as a guide at this stage, but remember that this is an artistic process which may be deviated from slightly to add creative flair!' says Emma.
See: Cottage decorating ideas – charming ways to get a characterful look
4. Clean the plates
'Before hanging, clean the back of each plate where an adhesive disk with a hook will be applied.'
Ensure you clean the front of the plates, too, so that your display isn't marred by fingerprints.
5. Prepare the plates for hanging
'Prepare the disk (‘The Original Invisible Plate Hanger’) by applying water to the back and rubbing it with your finger for five to 10 minutes. Stick it on the underside of the plate and leave it for 24 hours to bond.
'Once the plates are ready, find the center point on the wall and use the measurements/templates previously recorded to place a hook point where each plate will be positioned, before finally hanging them according to the design.'
6. Hang plates with Command Strips
Hanging plates with Command Strips means that you don't need nails or screws and you can remove or rearrange the plate display without damaging the wall. However, it does mean that the bottom of the plates needs to be flat to the wall – and plates with a lip underneath won't be able to be displayed with Command Strips – although Command Hooks should work if the plate has a hole for you to be able to attach to the hook with string threaded through it.
Assuming you can use them, clean the back of the plates thoroughly, stick the adhesive strip to the wall and another to the plate then press together until you are happy they are attached.
7. How to hang plates with plate hangers
Plate hangers grip the rim of the plates in three or four places and have a clasp at the back of the plate that you can hook over a nail. The important part of this process – other than getting the nail firmly into the wall – is to ensure the plate hangers you choose are the right size: too small and the plates are in danger of falling.
See: Interior design tips – decorating secrets for the world's top experts
The downside to plate hangers? You can see the grips from the front of the plate, so be ready to touch them up with paint – or even nail varnish – that matches the color of your plates so that they blend away.

Founded in 2009, the Sims Hilditch design practice has become one of the most trusted and respected in the industry. Its couture approach combines interior architecture, interior design and procurement management within one concept-to-completion, fully bespoke service. Creative Founder, Emma Sims-Hilditch is passionate about her belief that good design can transform not only how people live but also how they feel.