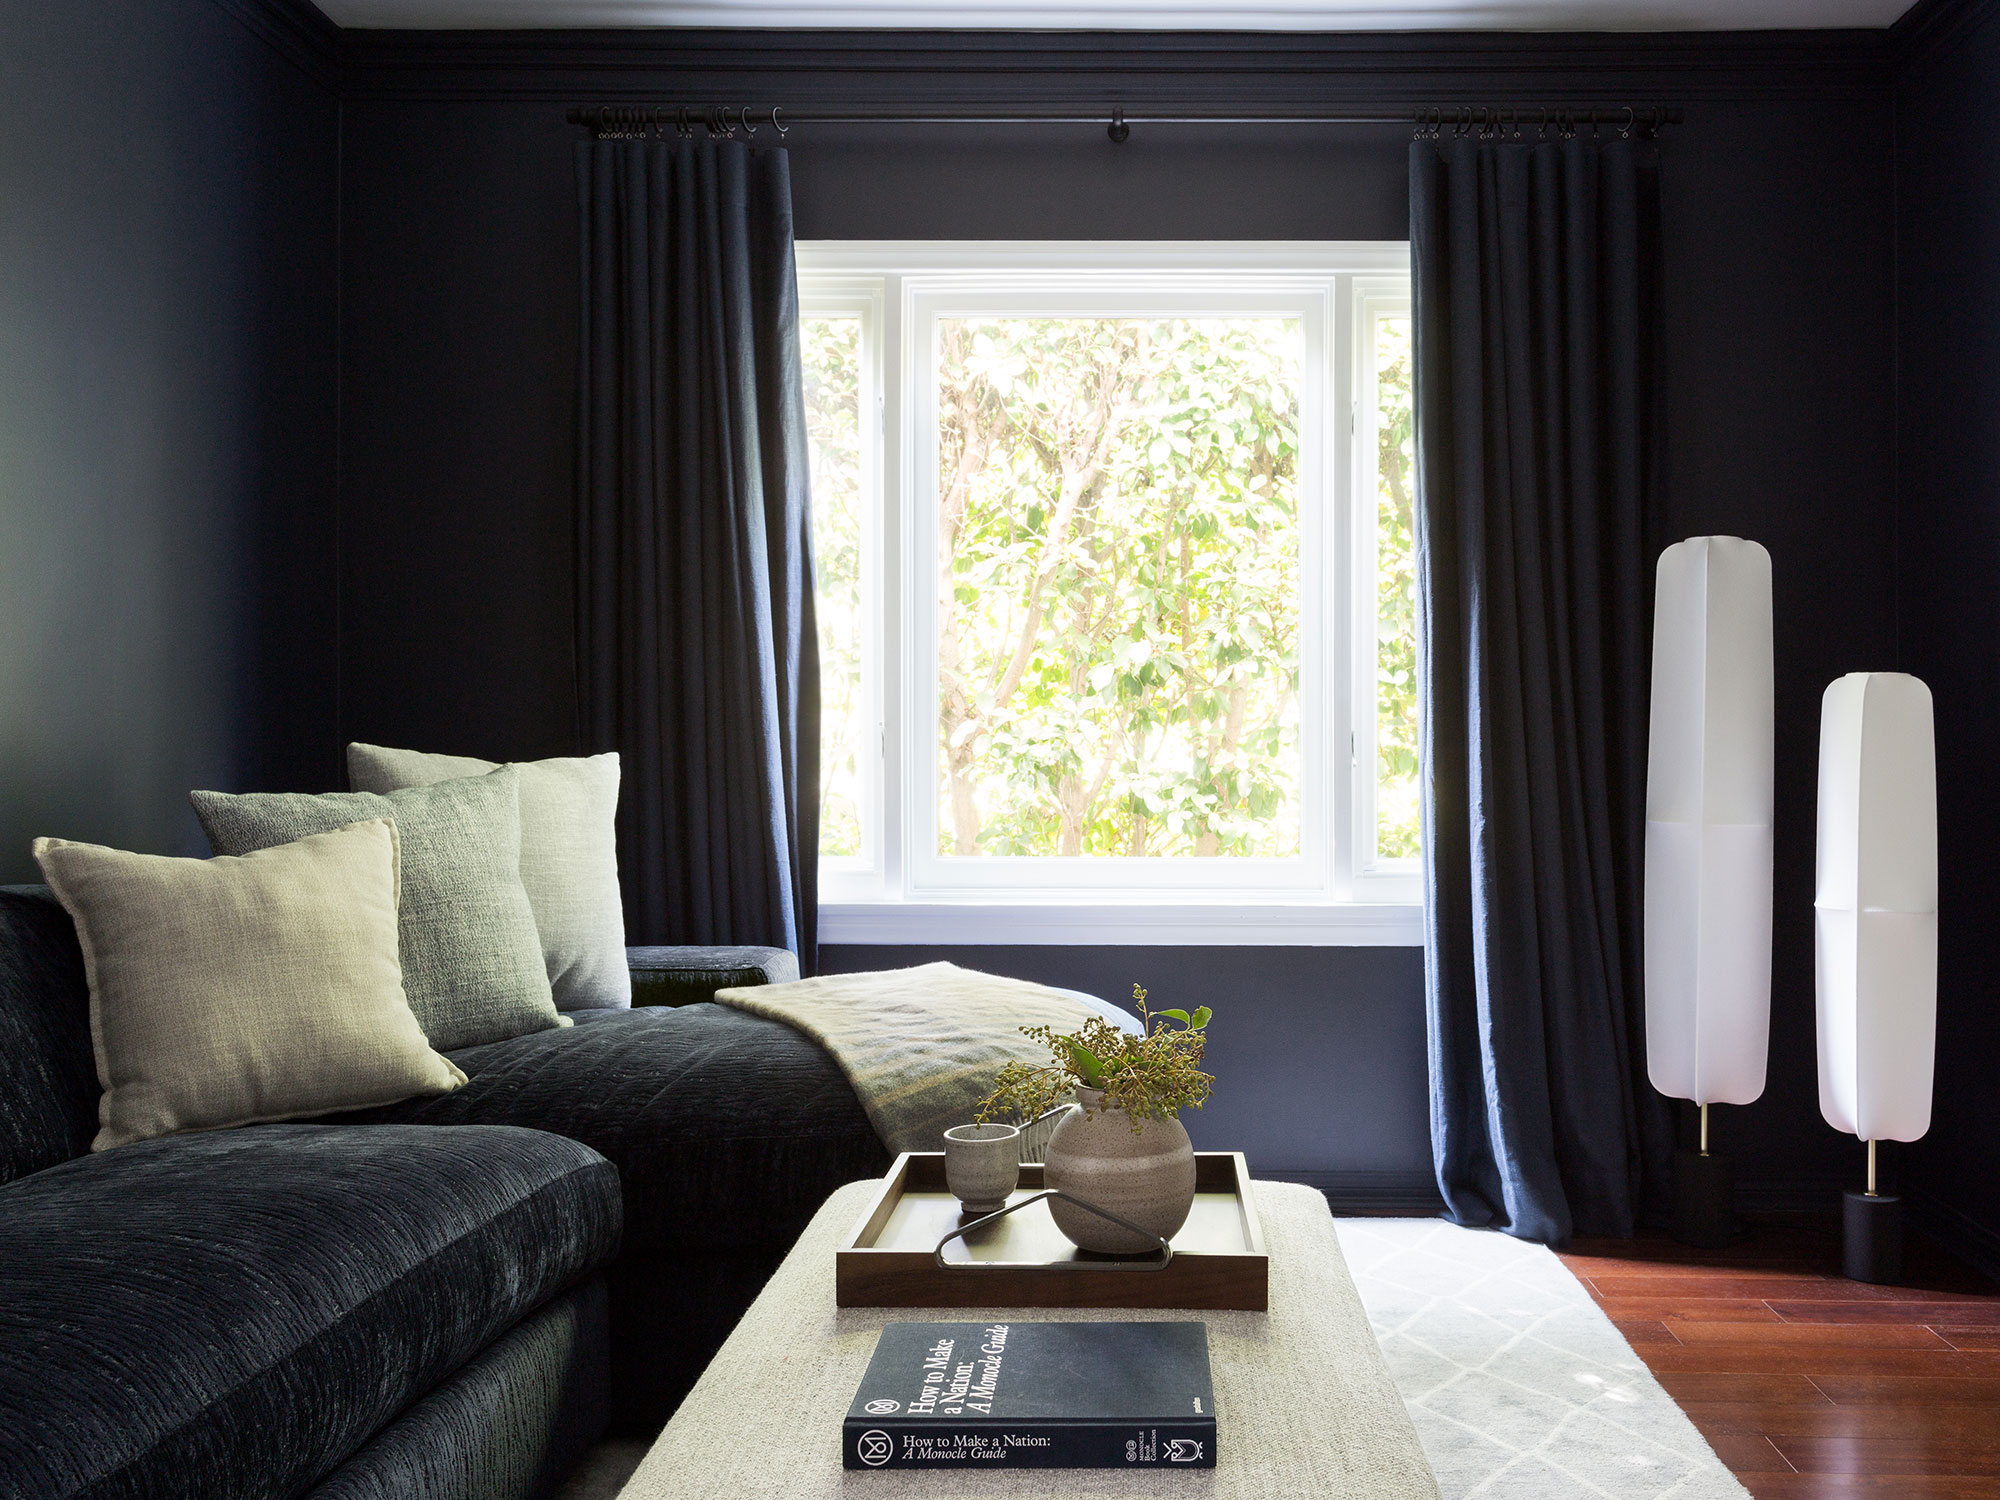
How to install blackout curtains – Handymen share their secrets
How you install blackout curtains makes all the difference to the light levels in your home


Design expertise in your inbox – from inspiring decorating ideas and beautiful celebrity homes to practical gardening advice and shopping round-ups.
You are now subscribed
Your newsletter sign-up was successful
Want to add more newsletters?

Twice a week
Homes&Gardens
The ultimate interior design resource from the world's leading experts - discover inspiring decorating ideas, color scheming know-how, garden inspiration and shopping expertise.

Once a week
In The Loop from Next In Design
Members of the Next in Design Circle will receive In the Loop, our weekly email filled with trade news, names to know and spotlight moments. Together we’re building a brighter design future.

Twice a week
Cucina
Whether you’re passionate about hosting exquisite dinners, experimenting with culinary trends, or perfecting your kitchen's design with timeless elegance and innovative functionality, this newsletter is here to inspire
Blackout curtains are an excellent addition to any room. Not only do they give you the most amount of control over the light, but they can help to keep heat both in and out, depending on the season.
However, how you install blackout curtains makes a big difference to their efficiency. Hanging them wrong could result in light leakage that mitigates their purpose.
Here, professional handymen have shared their top tips for how to install blackout curtains correctly.
How to install blackout curtains
Before you install blackout curtains, it is essential to measure first and pick the right size curtains. Picking the right size can help block light at the top of curtains and will forgive many hanging sins by easily covering all of the window.
When measuring for curtains, measure from a few inches below the ceiling straight to the floor for a full, luxurious drop, and then measure across the window, adding eight to 12 inches to either side of the frame to block light at either side.
1. Choose the right curtain rod

Blackout curtains are some of the heaviest window treatment ideas, with thick quality fabric needed to help block out light. As such, you need to pick a good, heavy-duty curtain rod to support them, begins Brandon Walker, construction manager at ASAP Restoration.
He recommends picking up an extendable option to accommodate larger curtains.
Design expertise in your inbox – from inspiring decorating ideas and beautiful celebrity homes to practical gardening advice and shopping round-ups.
2. Mark the bracket positions

When hanging curtains, getting the rod in the right position is the most important step – from getting the perfect height to ensuring it is flush enough to the wall to stop light leaking around the edges of the curtains. Ideally, you want to hang them a minimum of two inches above the window, but preferably as close to the ceiling as possible, with a rod that sits close to the wall. Not close enough that you cannot open and close the curtains easily, but close enough that the curtains still brush the wall when hanging.
‘The curtain rod will need to be held to the wall with brackets, and typically these are installed with wall anchors and screws,’ Brandon Walker, construction manager, continues. ‘Installing curtain rods may sometimes require more support than this, but for the most part, this is universal.
‘Start by marking where the brackets will go once they are supporting the curtain rod, and make sure that they are positioned equally on both sides of the window opening. Some like to mark the edge of the bracket while others like to make a mark where the screw hole is placed in the bracket so that they know where to drill.
‘Installing the brackets can sometimes require drilling a pilot hole in the wall if there is a stud in the way,’ Brandon says. ‘If there isn’t then you will likely need to place a wall anchor in the spot where the screw hole will go. Then you can mount the bracket against the wall and screw in the provided screws until they won’t turn anymore. This ensures they are as tight as can be and won’t let your curtains fall off the wall when opening and closing them to see the light.'
3. Hang the curtains

With the rod and brackets in the final spot, you can take the rod back down and hang the curtains themselves, continues Ira Lysa, style expert and owner of Imperial Alterations. She urges you to avoid some common curtain mistakes to help make curtains look expensive and improve their efficiency:
‘If using curtain hooks or rings attach them uniformly on the top part of the curtain tab. This makes the furniture evenly balanced hence helping in preventing the chances of sagging in the future,’ she explains.
4. Check for light leaks

With the curtains hung, you can check for light leaks. All being well, the room should be plunged into darkness.
‘Draw the curtains and examine the surfaces lightly for any cracks or openings along the edges. Check the curtain positioning and if possible add some sort of liners that will help in total blockage of the light,’ suggests Ira Lysa, style expert.
5. Block any leaks

If there are significant light leaks, check that the curtain rod is not too far away from the wall, or that the curtains are not large enough to fully engulf the windows. If they fit well, but you are not happy with escaping light, consider adding to the curtains, suggests Andriy Boyko, professional handyman at A.O. Handy Inc.:
‘Use tape or Velcro to attach the curtain edges to the wall, preventing light from entering from the sides,’ he recommends. ‘For larger gaps at the top or bottom, consider using light-blocking tape, such as Blackout Ez Total Blackout Window Cover from Amazon, or caulk to seal these areas effectively.'
‘For the most relief from the light and to achieve as close to darkness as possible, it may be necessary to mount a second rod and a set of flush curtains that are sheer against the window wall,’ adds Brandon Walker, construction manager. ‘This makes for a better “seal” to keep out the light.’
FAQs
How can I make my blackout curtains more effective?
A great way to make blackout curtains more effective is to use a wrap-around curtain rod to bring the curtains around the window to stop light leaks, rather than having them sit against the wall and risk light coming from either side.
What curtain headings are best for blackout?
When picking blackout curtains, deep pencil pleat curtain headings are some of the best options as they can be mounted to a track that is flush to the wall, minimizing light leaks from the tops and sides of the curtains.
How you hang your blackout curtains will only make so much difference to the light levels in your room. – picking the best curtains for a bedroom or the best curtains for a living room is another essential step. Low-quality curtains will equal more light leakage, so invest in the best quality you can afford.

Chiana is Homes & Gardens’ kitchen appliances editor. With a lifelong passion for cooking and baking, she grew up experimenting in the kitchen every weekend with her baking-extraordinaire Mom, and has developed a great understanding of how tools and appliances can make or break your ideal relaxing kitchen routine.