Professional painters reveal how to make paint dry faster – without compromising on quality
Bored of watching paint dry? These five professional tips could speed up the process


Design expertise in your inbox – from inspiring decorating ideas and beautiful celebrity homes to practical gardening advice and shopping round-ups.
You are now subscribed
Your newsletter sign-up was successful
Want to add more newsletters?

Twice a week
Homes&Gardens
The ultimate interior design resource from the world's leading experts - discover inspiring decorating ideas, color scheming know-how, garden inspiration and shopping expertise.

Once a week
In The Loop from Next In Design
Members of the Next in Design Circle will receive In the Loop, our weekly email filled with trade news, names to know and spotlight moments. Together we’re building a brighter design future.

Twice a week
Cucina
Whether you’re passionate about hosting exquisite dinners, experimenting with culinary trends, or perfecting your kitchen's design with timeless elegance and innovative functionality, this newsletter is here to inspire
There is a reason that a common phrase for boredom is ‘like watching paint dry’. It is a long, dull process that really slows down many home renovation and DIY projects. But how can you make paint dry faster?
It turns out there are a few interior painting tips professional painters depend on to speed up the drying process so they can complete the job efficiently without rushing in and ruining a hard day's work.
Here, we have asked the pros to reveal their secrets to making paint dry faster, without having to rush the work.
How to make paint dry faster
Trying to rush paint drying could risk ruining your paintwork if you use the wrong techniques, or try adding a new layer of paint before the last has fully dried. As a result, it is essential to follow these expert's tips to make paint dry faster.

1. Improve the ventilation
Ventilation is a must when painting anything – whether you are painting walls or painting furniture, but it is not only good for safety. Maintaining good airflow and regulating humidity can help paint dry more quickly, says Andre Kazimierski, professional painter and founder of Improovy.
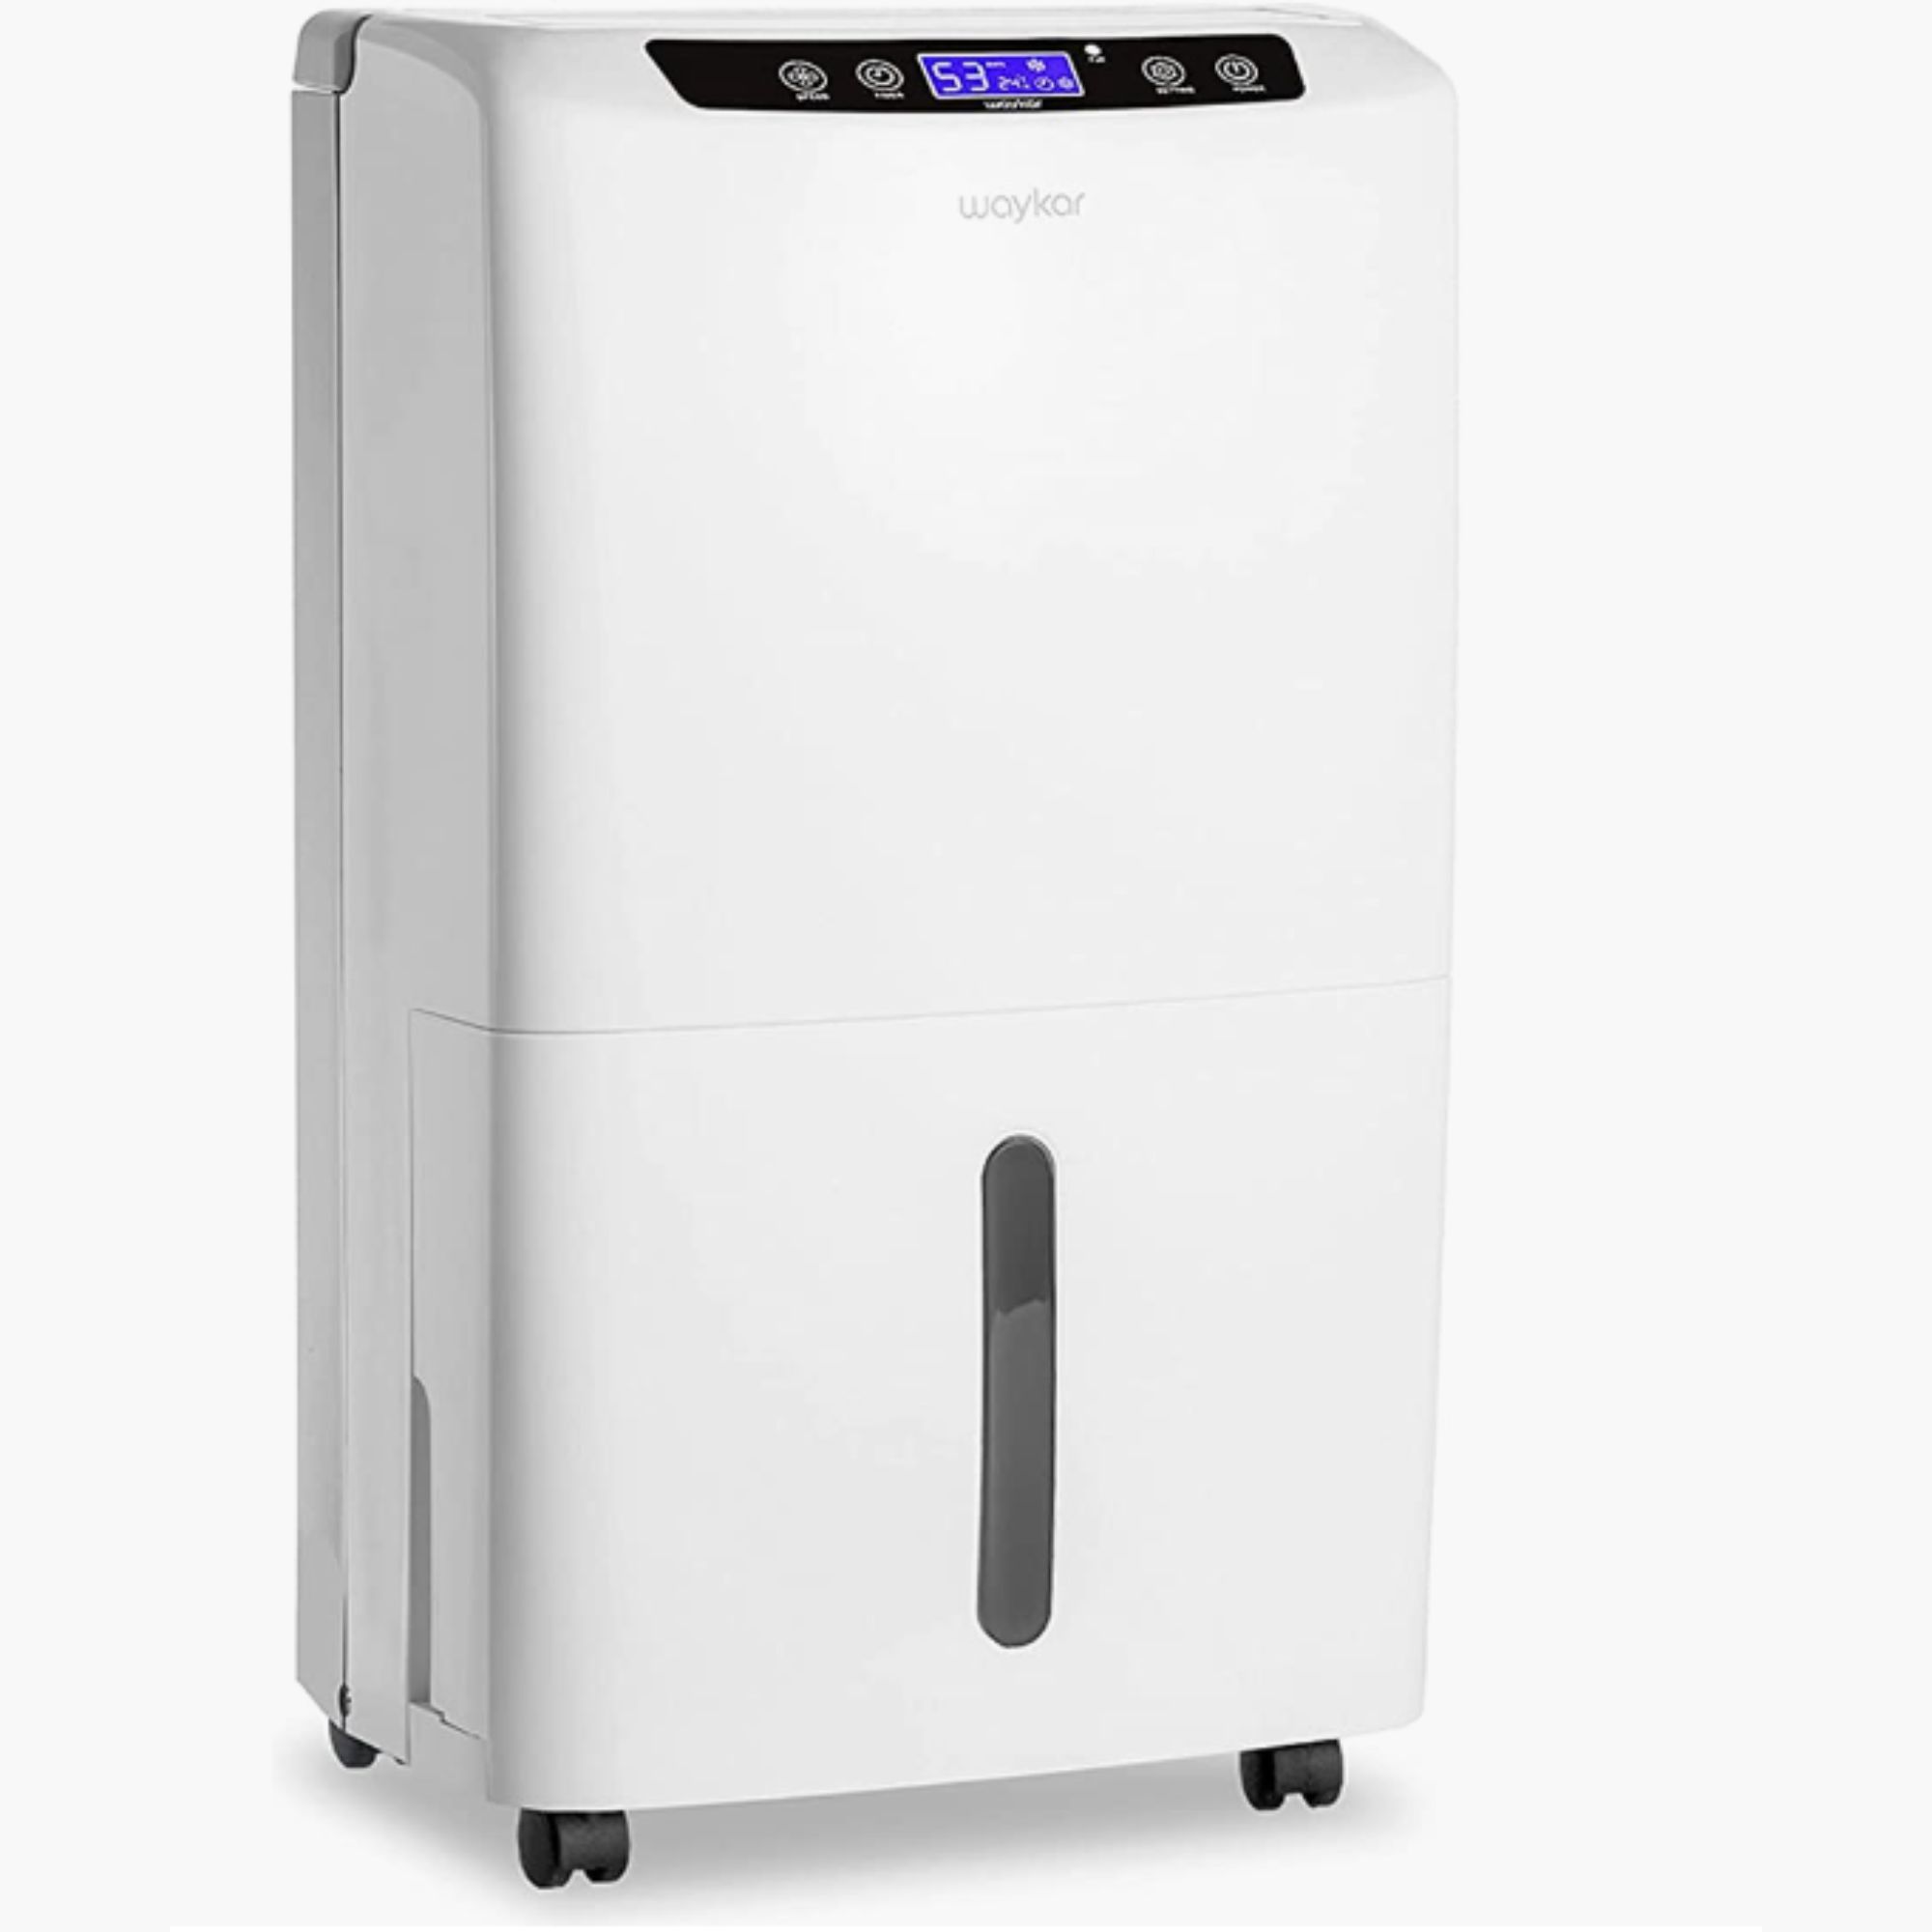
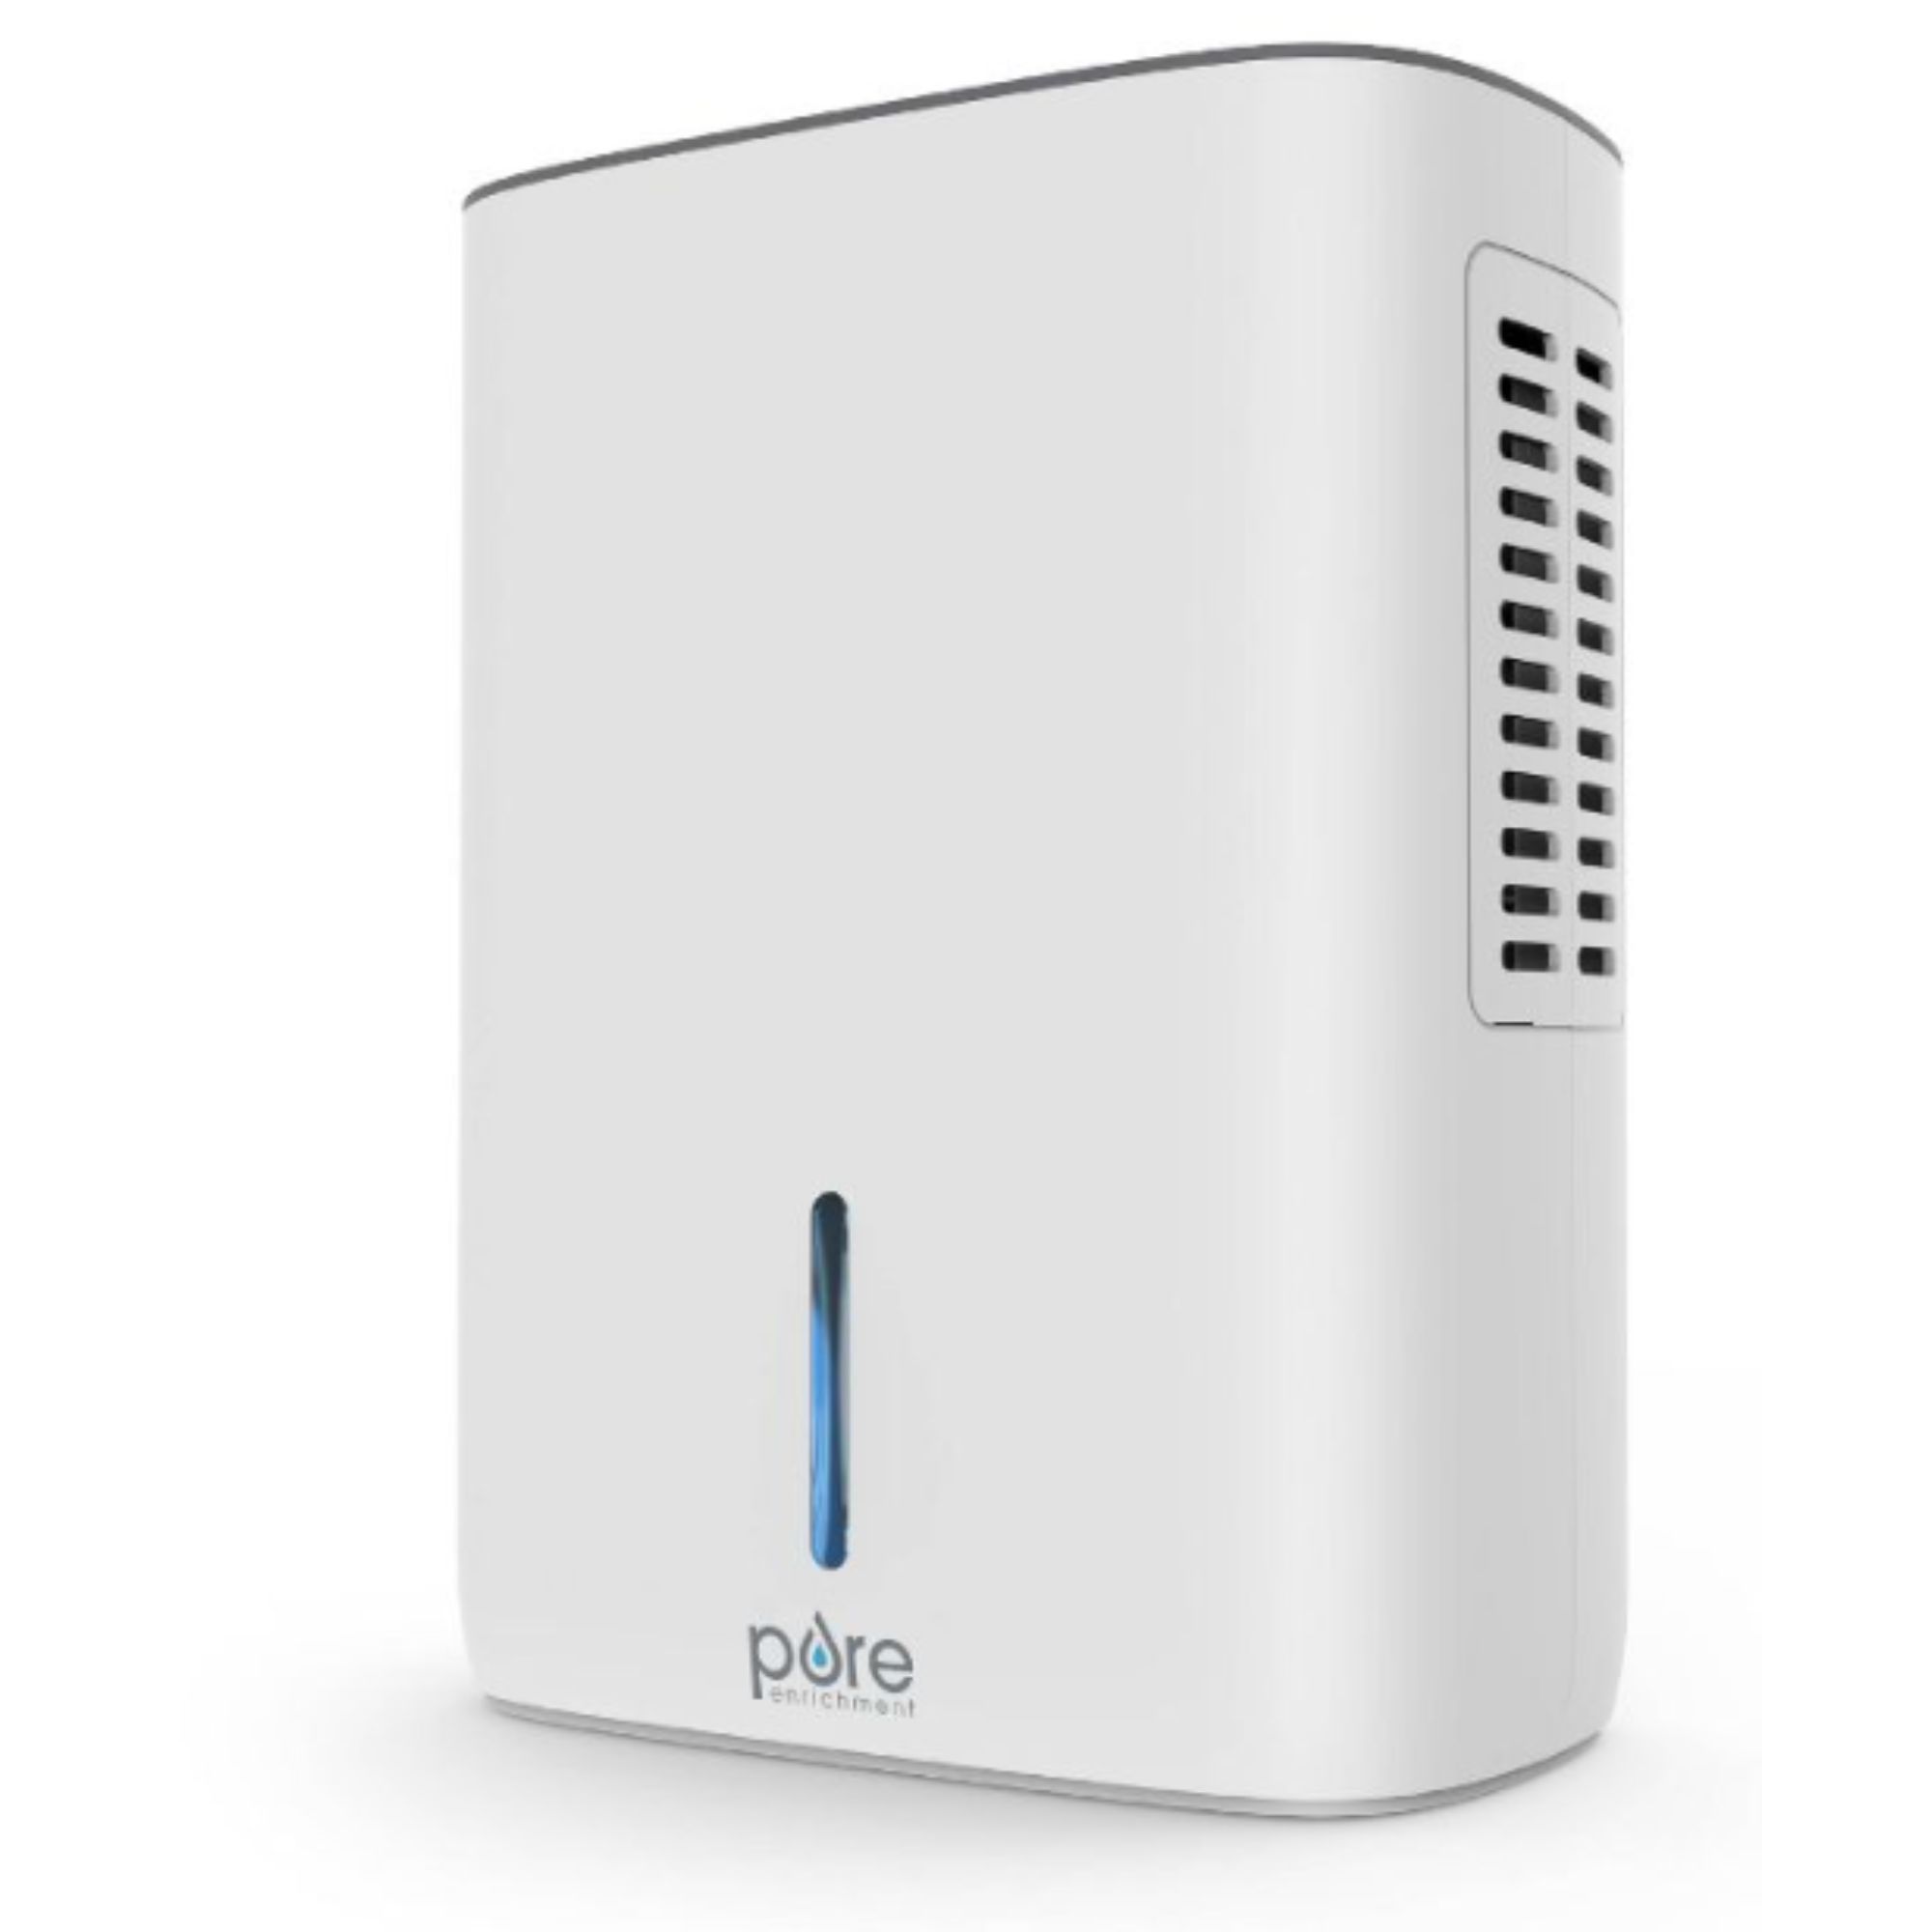
Andre suggests painting on a warm spring or summer day when the humidity is low for the best results, keeping the windows open when working inside. You can even use a dehumidifier to help control the moisture levels in the room.
‘You may also wish to consider pointing a fan inside the room to encourage better air flow and reduce the humidity,’ he adds.
Design expertise in your inbox – from inspiring decorating ideas and beautiful celebrity homes to practical gardening advice and shopping round-ups.

Andre Kazimierski founded Improovy in 2019 and has developed it into a leading home improvement service. It is his mission to make painting more efficient for all of his clients and uses generations of expertise to inform his work.
2. Apply paint in multiple, thin coats
To make any task a quick and easy paint project, it is best to apply paint in multiple thin coats and allow them to dry before applying another. Although it may sound like this would take longer, it is the most efficient way to paint quickly, says Joshua Bartlett, home improvement expert and founder of I’ll Just Fix It Myself. ‘Thinner paint coats also achieve good results,’ he adds.
‘Applying the coats thinly will result in faster and more even drying as well as reduce the potential for drips and runs, resulting in a more polished finish. Finally, always follow the manufacturer's instructions regarding the thickness of each coat.’

Joshua Bartlett has been responsible for the upkeep of several homes, apartments, and rentals. He created I’ll Just Fix It Myself to help others learn alongside him, sharing what he has learned through his decades of successes – and failures – to tackle home improvement.
3. Don’t paint on wet surfaces
After you have cleaned walls for painting or removed wallpaper it is best to allow the area to dry fully before applying any paint to prevent it slowing the drying process.
‘If you apply paint over a wet surface, the paint will turn sticky,’ says Tony Adams, home improvement expert at DIYGeeks. ‘The sticky texture of the paint is caused by moisture that gets underneath the coating from the surface.’

Tony has been a handyman for over 27 years, having followed in his father's footsteps. He has since opened his own handyman services and has begun sharing his expertise on the DIYGeeks home blog to help those he can't reach with his business.
4. Use a water-based paint
Paint is usually water-based or oil-based, and the type you pick can affect how quickly your paint dries. Water-based paints usually have shorter drying times and, when paired with good ventilation and painting in thin coats, you can achieve a perfect paint finish in far less time, shares Tony Adams, home improvement expert.
‘That's because water-based paints use water as their solvent, and water tends to evaporate faster than oil. However, water-based paint isn't as durable as oil-based paint, so only use it for indoor surfaces.’
5. Use a hair dryer
Given that warm temperatures speed up paint drying, using a heat tool such as a hairdryer can help to dry smaller areas of paint, as when painting baseboards, Tony Adams, a home improvement expert suggests.
‘When using this method, only set the hairdryer to medium heat (around 100 degrees F) and move it back and forth along the painted area for a few minutes, keeping a distance of at least six to 12 inches to prevent the power of the hair dryer disturbing the paint.
‘You should only apply the direct heat for three to five minutes, if you dry the paint too fast the paint particles won't have enough time to harden naturally so the paint will crack easier,’ he warns.
FAQs
What happens if you don’t let paint dry completely?
If you are in a rush and do not let the paint fully dry, no matter if it is on walls or furniture, then you can end up marking or chipping the paint, resulting in a sub-standard final look. Rushing will often make the job longer too, as you will have to spend additional time trying to fix or cover up your mistakes. It is better to allow the paint to dry fully in the first place than mess around with damp paintwork.
Will paint dry in the cold?
Paint will often not dry properly in cold temperatures, or will take longer to dry, which is why it is best to use paint outside in warmer parts of the year. More often than not, your paint will specify temperatures it is safe to use in – typically above 50 degrees and below 95 degrees Fahrenheit – for the best results. Inside your home, these temperatures are easily achieved by putting on your central heating system or using an air conditioner to keep it cooler in summer.
Although you cannot get your paint ideas to dry immediately, these quick tips are perfect for moving the process along without much effort. Make sure to also prepare your walls for painting, or sand and prime any furniture DIY projects beforehand too, for even quicker results.

Chiana is Homes & Gardens’ kitchen appliances editor. With a lifelong passion for cooking and baking, she grew up experimenting in the kitchen every weekend with her baking-extraordinaire Mom, and has developed a great understanding of how tools and appliances can make or break your ideal relaxing kitchen routine.


