How to apply peel and stick wallpaper
With a few basic tools, and absolutely no messy paste, peel and stick wallpaper is a breeze to hang. Simply follow our expert guide


Design expertise in your inbox – from inspiring decorating ideas and beautiful celebrity homes to practical gardening advice and shopping round-ups.
You are now subscribed
Your newsletter sign-up was successful
Want to add more newsletters?

Twice a week
Homes&Gardens
The ultimate interior design resource from the world's leading experts - discover inspiring decorating ideas, color scheming know-how, garden inspiration and shopping expertise.

Once a week
In The Loop from Next In Design
Members of the Next in Design Circle will receive In the Loop, our weekly email filled with trade news, names to know and spotlight moments. Together we’re building a brighter design future.

Twice a week
Cucina
Whether you’re passionate about hosting exquisite dinners, experimenting with culinary trends, or perfecting your kitchen's design with timeless elegance and innovative functionality, this newsletter is here to inspire
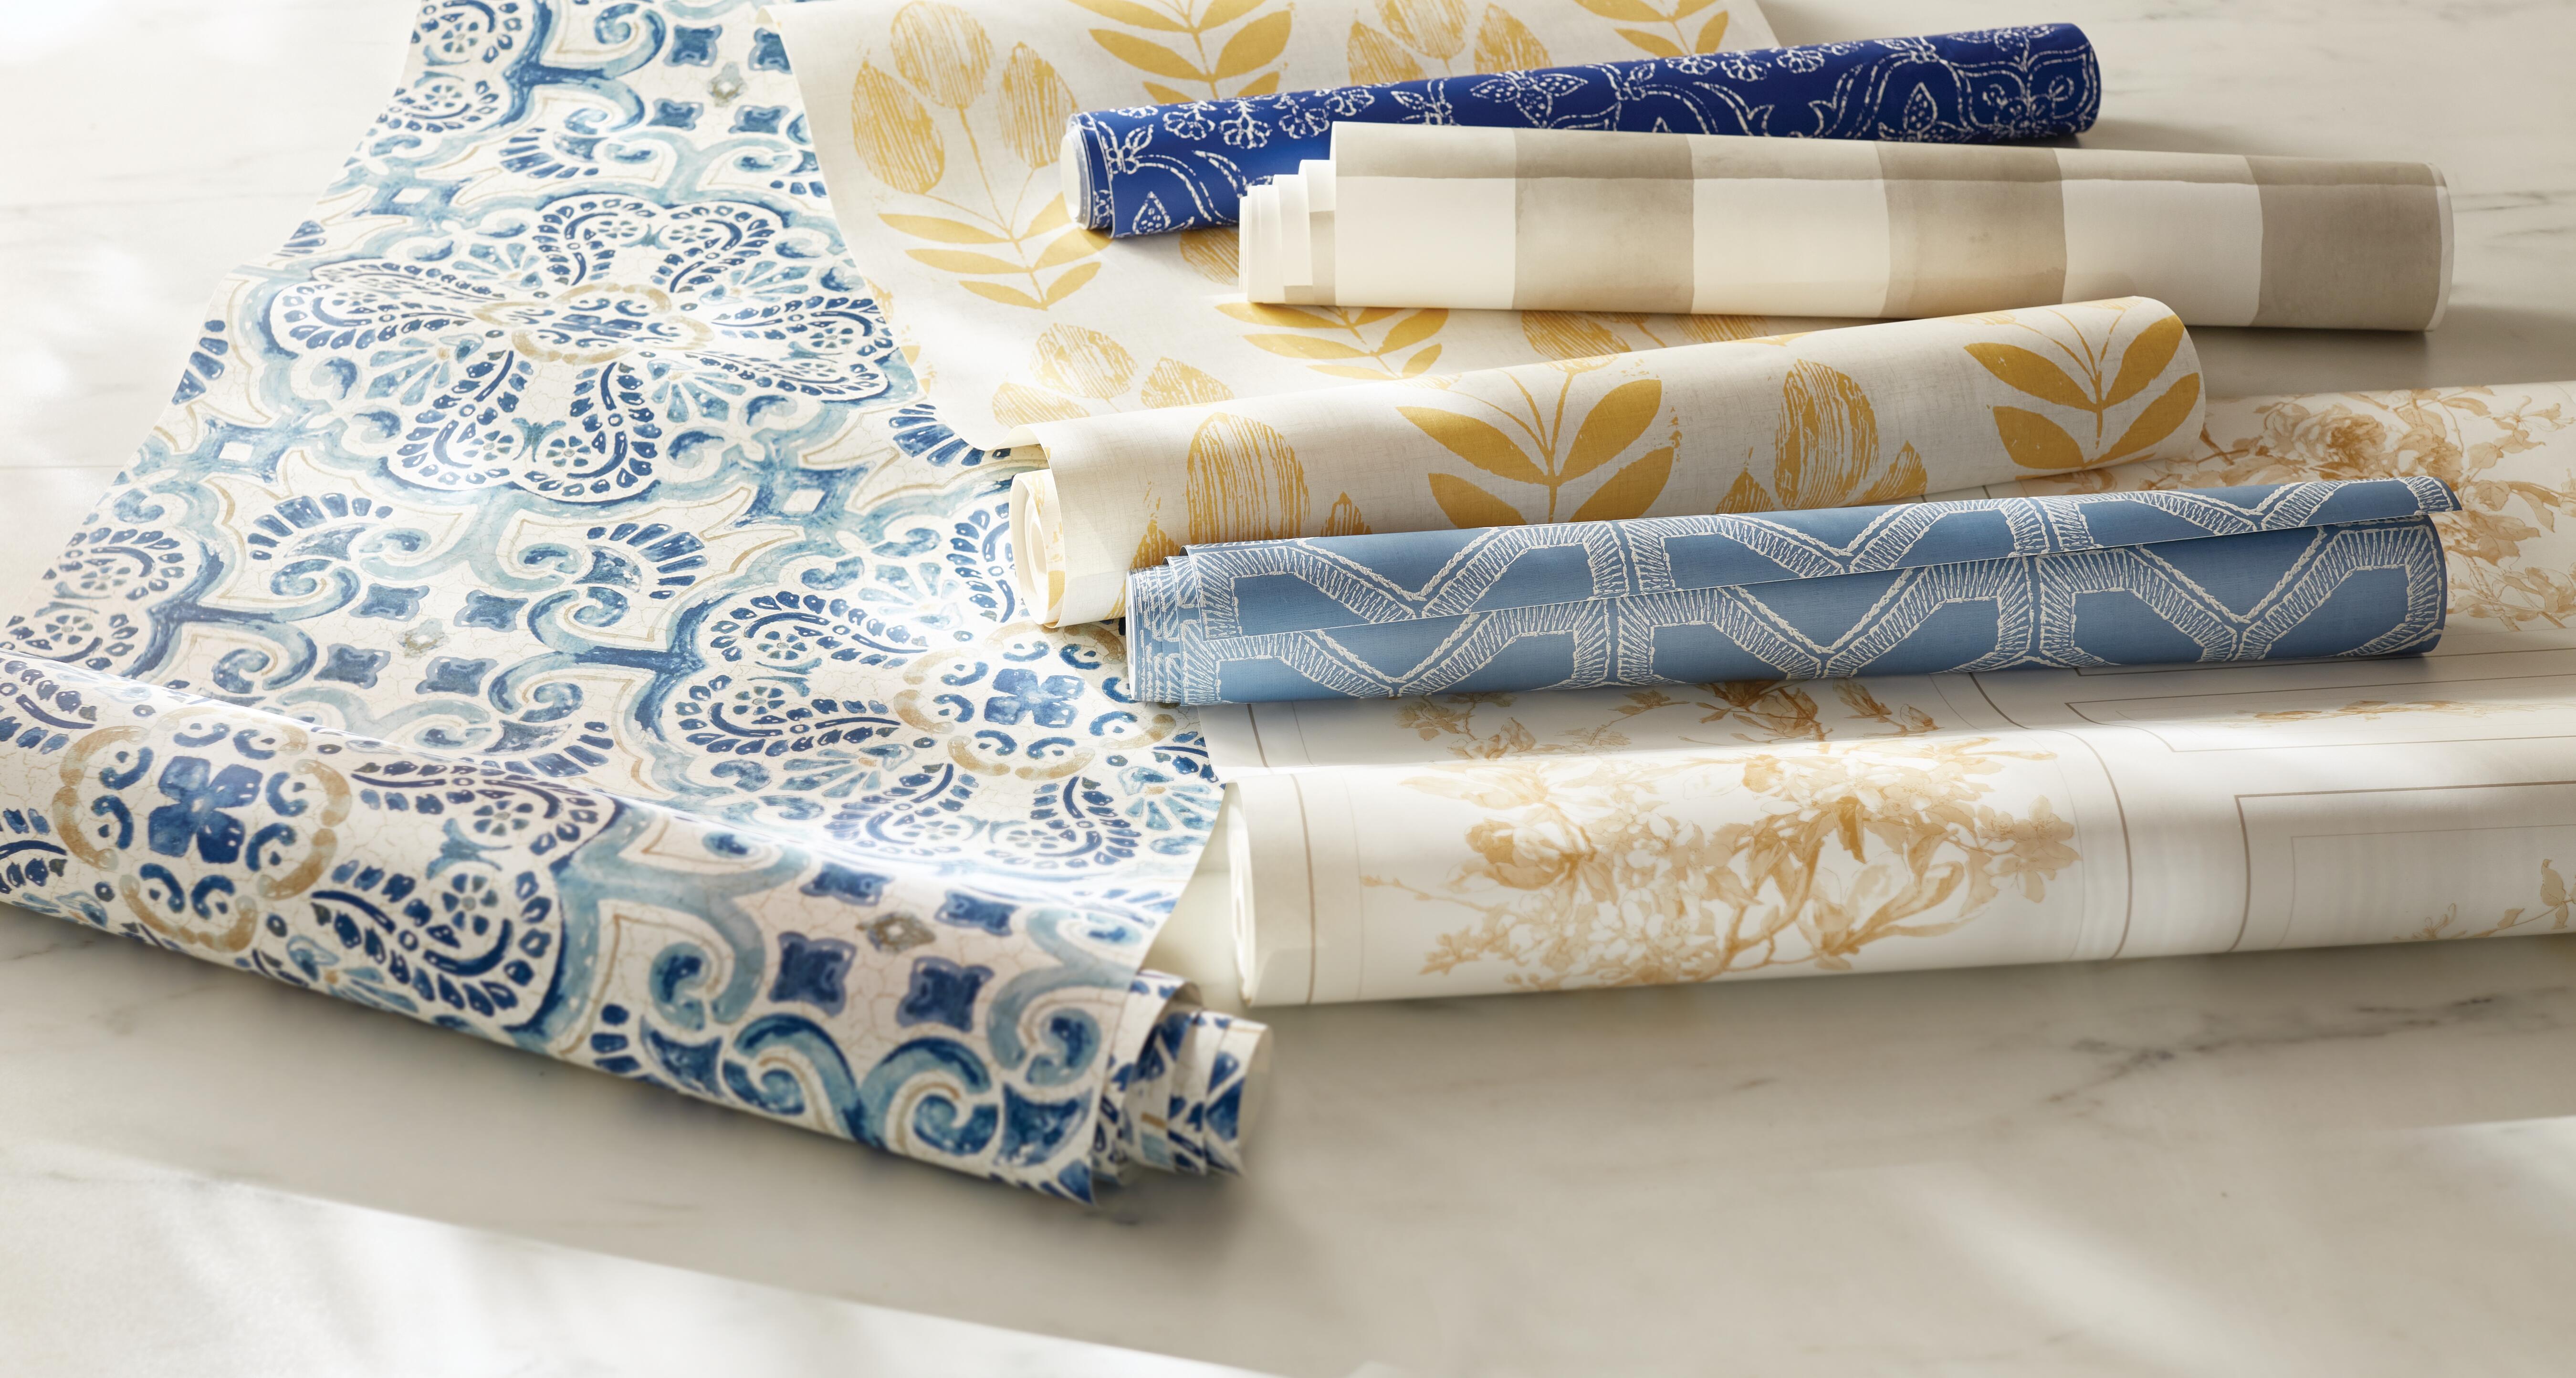
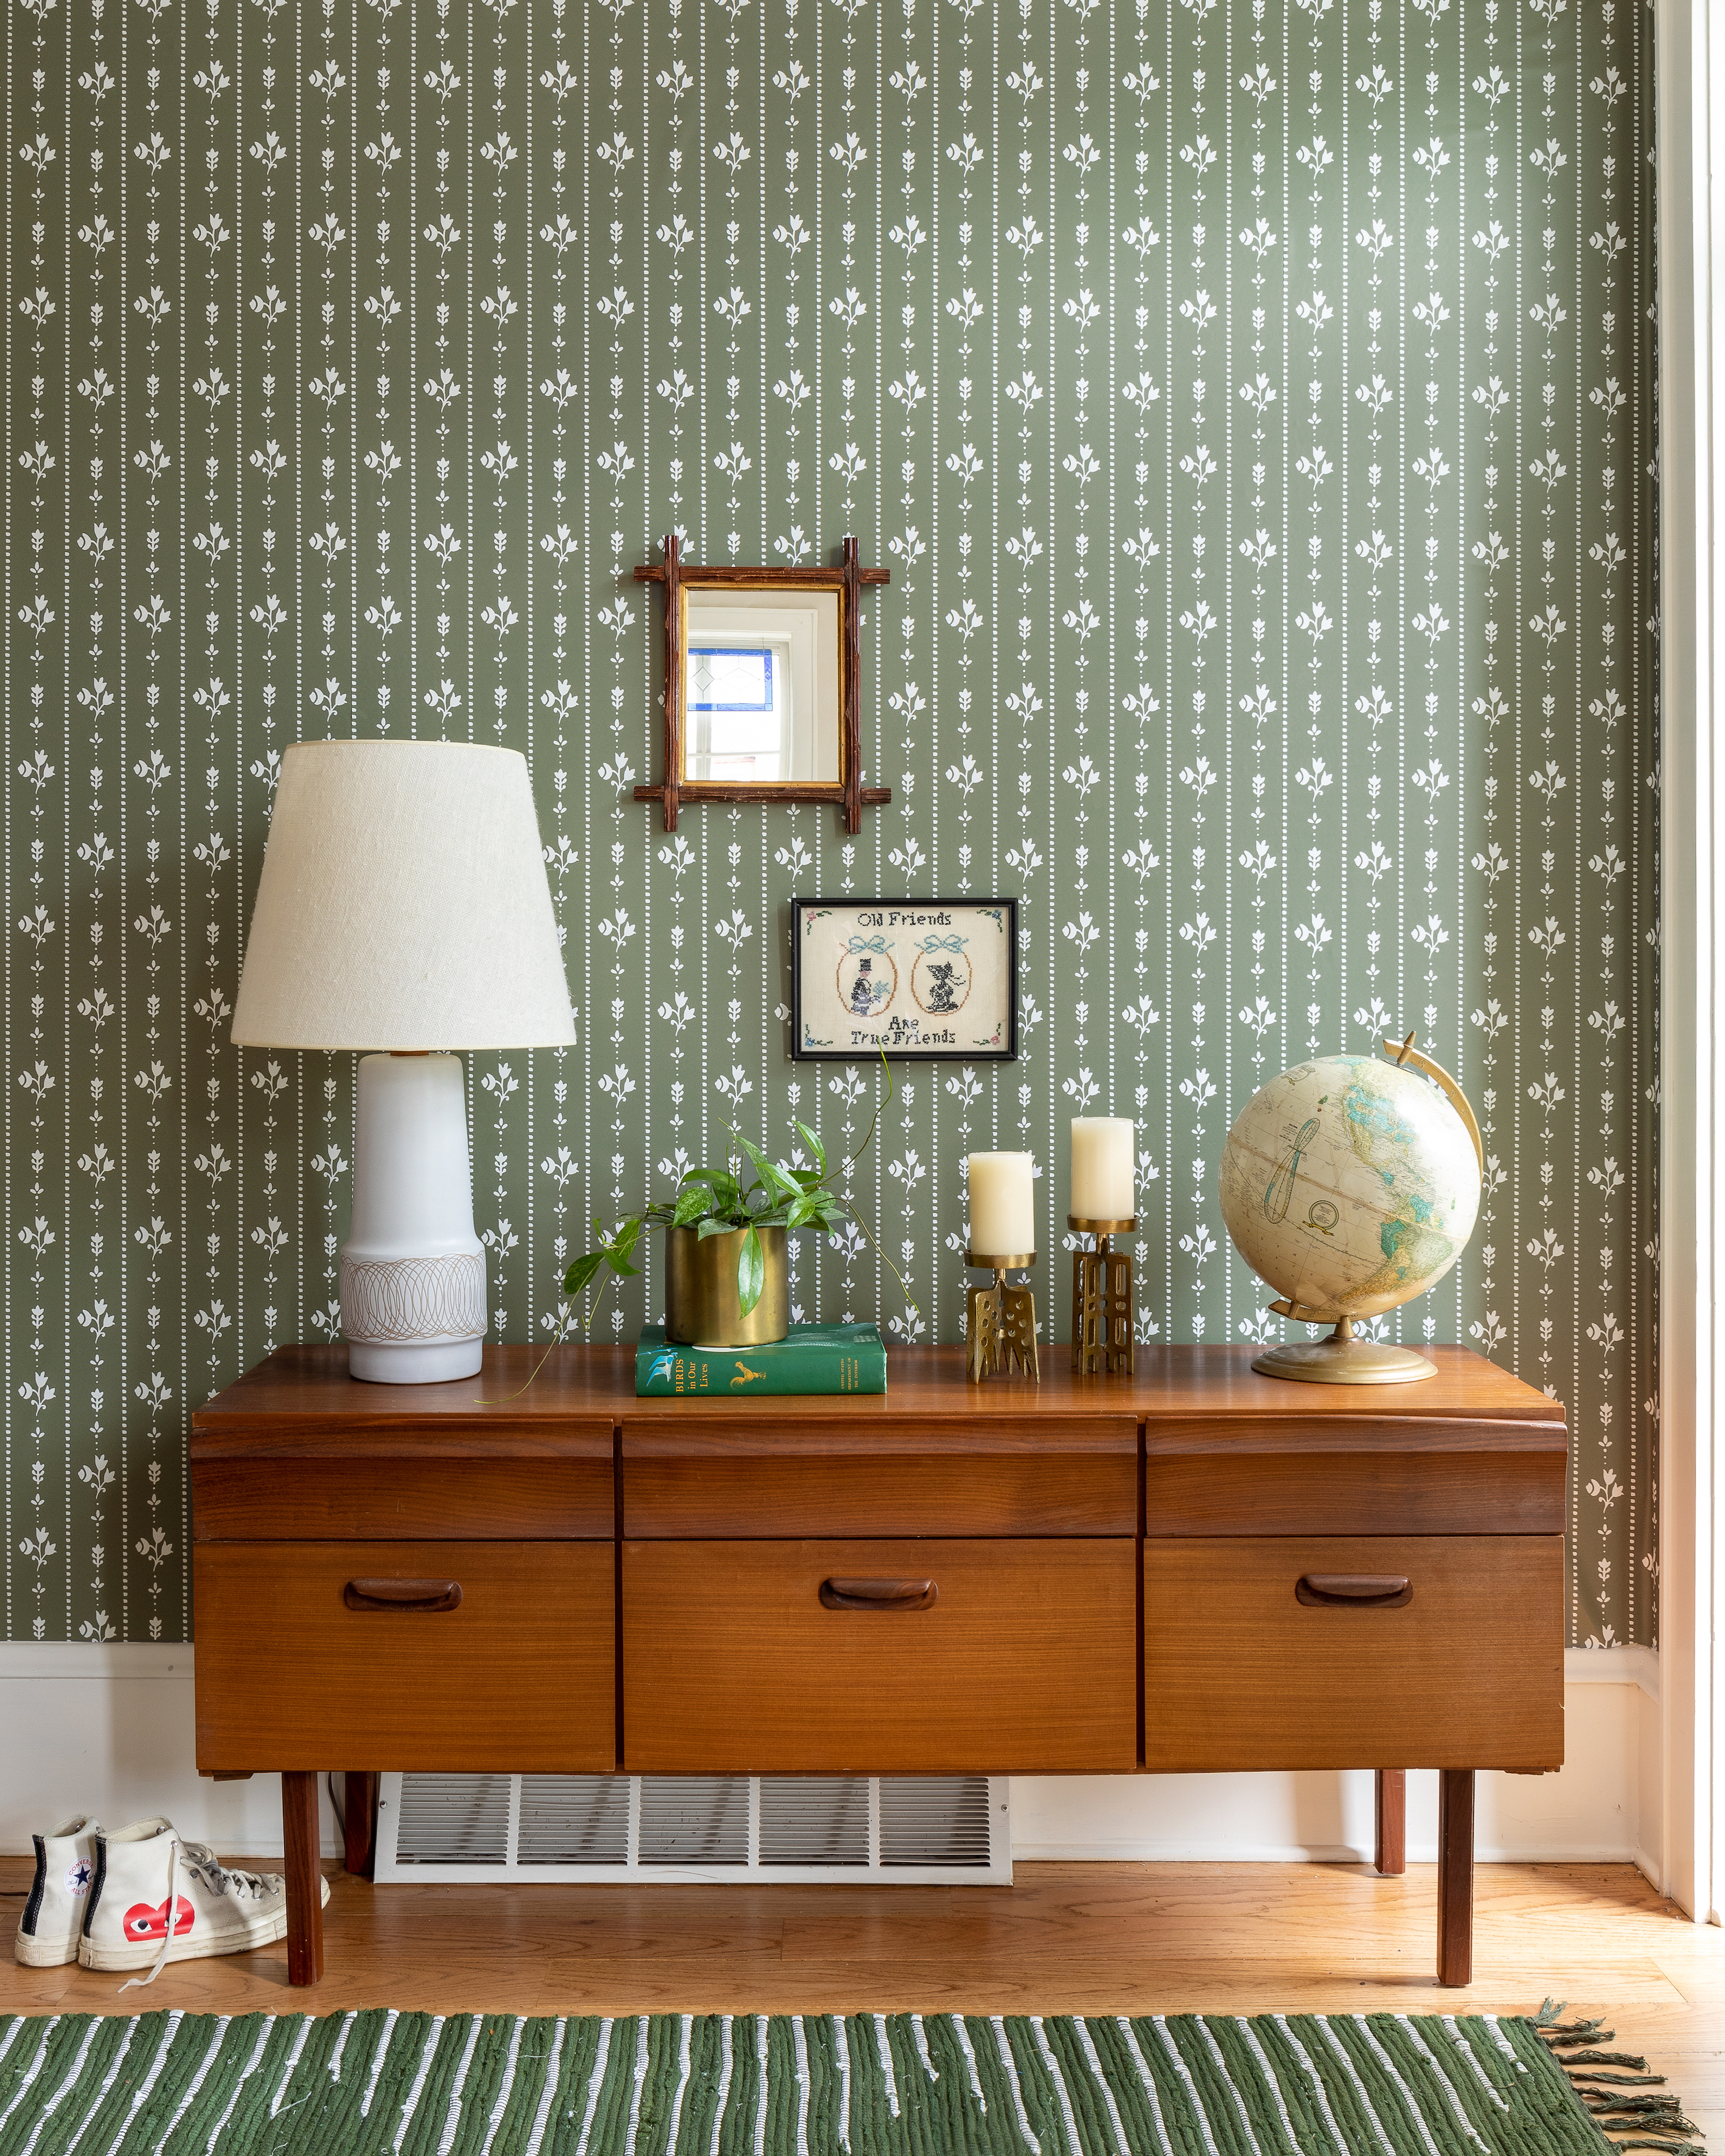
Peel and stick wallpaper is hot news on social media right now and it’s easy to see why. Also known as removable wallpaper, self-adhesive wallpaper, temporary wallpaper (and a whole host of branded names), this versatile paper is a huge hit with serial decorators, renters and commitment-phobes.
The main USP of wallpapering with peel and stick wallpaper is that it can be easily removed, without damaging the walls behind. Forget hours of removing wallpaper and using a wallpaper steamer. This innovative wallpaper features special pre-applied adhesive that’s designed to fix firmly to walls when required and pull clean off when it’s time for a change.
‘Peel and stick wallpaper allows renters to make a space feel like their own yet remove it at a later date. It’s perfect for homeowners, too. If you like to switch up your home decor more frequently this might be the option for you,’ says Sydney MacIntyre, co-founder of Anewall.
‘Another benefit to peel and stick wallpaper is that it’s very easy to clean. If the wallpaper is going to be in a high traffic area, especially with kids around, this is a great option. Simply wipe it down with a cloth and water!’
With care, many Peel and Stick wallpapers can also be re-used again and again, making it the perfect sustainable product to treat walls to a pattern boost. Moving house? Take your wallpaper ideas with you, or perhaps gift it to a friend who has admired the design.
How to apply peel and stick wallpaper

Applying peel and stick wallpaper is similar to hanging regular wallpaper in many ways. As you might expect, the main difference is the way you stick the paper to the wall, which we outline in more detail in the quick step-by-step guide below.
It’s important to note that not all peel and stick wallpapers are designed to be hung in the same way, particularly when it comes to wall prep. Always check individual installation guides before you start.
Design expertise in your inbox – from inspiring decorating ideas and beautiful celebrity homes to practical gardening advice and shopping round-ups.
1. Prep the walls
Depending on the type of adhesive used, some peel and stick wallpaper may require you to apply a coat of gloss paint or satin paint to the walls before you hang. If you’re in a rental and this isn’t an option, or you just don’t want the extra bother, seek out peel and stick wallpaper designed to work on any smooth surface.
‘Recently primed or painted walls must be allowed to dry for at least 30 days before installation,’ advises Kerry Maguire King, Senior Director of Process Innovation, Textiles & Wallpaper, Spoonflower. ‘We also recommend not using peel and stick wallpaper on walls with washable or scrubbable paint, or No VOC paint, as they may not allow for sufficiently strong bonding of wallpaper to wall.’
2. Establish your starting point
As with any wallpapering project, it’s vital to start your first panel on a straight vertical line. ‘It’s tempting to line up the top of your wallpaper along the ceiling, but keep in mind that ceilings aren’t always perfectly straight,’ says Greg Allgeyer, Online Merchant of HD Home at The Home Depot.
Instead, use a plumb bob or laser level to find the correct vertical line to follow. You can also draw a line on the wall or use low tack tape to create a line, but you must use some form of spirit level to make sure it is vertical.
‘If you are wallpapering all four walls, the final panel may not align seamlessly with the first,’ says Kerry from Spoonflower. ‘To reduce visual disconnect, hang the first panel at an inconspicuous point in the room, such as behind an open door or taller piece of furniture.’
3. Cut to size
Next cut the first panel to the full height of the wall you are papering, allowing about four to five inches for trimming at the top and bottom.
4. Start sticking
Peel about 10 inches of the backing paper off, and start to align the top of the paper with your plumb line, gently pressing the sticky section onto the wall. Make sure to leave a good couple of inches at the top for trimming. Use a rubber squeegee to smooth out any bubbles.
Once you are happy with the alignment, gradually remove another 10 to 15 inches of backing paper, pulling the wallpaper taught and slightly away from the wall as you work downwards.
Continue removing the backing paper in this manner, 10 to 15 inches at a time, working out any air gaps out as you go until you get to the floor.
‘Smooth it out with your hands or with a straight object like a wallpaper smoother. If you still have an air bubble, just prick it with a small pin to release the air,’ adds Elizabeth Rees, founder, Chasing Paper.
5. Top and tail
Trim off excess wallpaper at the top and bottom using a sharp blade – one with snap-off blades is easiest to keep sharp as you work – and edging tool or metal ruler in the same way you would with regular wallpaper. Press firmly on the ends and edges to ensure the adhesive has stuck soundly to the walls.
6. And repeat
Repeat steps three-six until your desired area is papered. Make sure to hold the roll of wallpaper up to the preceding panel to find the pattern matches before you cut the next piece. Some peel and stick wallpaper suppliers recommend overlapping subsequent panels by about ½ an inch to avoid unsightly gaps between panels.
Is peel and stick wallpaper easy to hang?
If you can hang regular wallpaper, you should find hanging peel and stick wallpaper a breeze. Some people do struggle with handling large panels of wallpaper taut while removing the backing paper, particularly those with high ceilings.
‘It’s possible to install peel and stick wallpaper by yourself, but the task is much quicker and easier with two people. One person can hold up the strip and smooth it onto the wall while the other peels the backing off and ensures the lines are straight,’ says Greg Allgeyer, Online Merchant of HD Home at The Home Depot.
‘Peel and stick wallpaper can be hard to manage in large areas,’ adds interior designer, Irene Gunter of Gunter & Co. ‘Try practicing on the back of bookshelves or a small space like a cloakroom before tackling a full room.’
One of the greatest benefits of peel and stick wallpaper is it can be repositioned should you miss a pattern repeat or fail to smooth out major creases. Gently pull it off and try again. ‘To adjust, slowly peel the paper from the wall and reapply as necessary. The paper graphic is dimensionally stable but pulling with force may slightly stretch the wallpaper and compromise seamless installation,’ Kerry Maguire King, Senior Director of Process Innovation, Textiles & Wallpaper, Spoonflower.
Can peel and stick wallpaper be reused?
It depends on the product but there are many peel and stick wallpapers available that are specifically designed to be used time and time again. ‘The key to a successful wallpaper transfer is to not handle it too much, so that it doesn’t lose too much of its tackiness,’ says Elizabeth Rees, founder, Chasing Paper.
Once you have gently removed a panel of peel and stick wallpaper, lay it flat on a clean, dry surface – glue side up – and cover with a couple of overlapping strips of parchment paper from a roll. Then simply lay each covered panel on top of each other and gently roll, securing with a loose piece of ribbon or tape, until you’re ready to use it again.
Can I use peel and stick wallpaper on any surface?
Peel and stick wallpaper is designed to stick to most smooth surfaces; some even work on glass, wood panelling and furniture. It is not recommended to use peel and stick wallpaper over the top of existing wallpaper, partly because old paper can often peel away and also the pattern or color may show through.
‘Generally, textured walls make it difficult for peel and stick wallpaper to adhere properly,’ says Elizabeth Rees, founder, Chasing Paper. A lightly textured wall may be okay. We’d recommend ordering a large sample piece to test adhesion and establish if you’re happy with the any visible texture that comes through. If the sample piece drops off your wall, bubbles or peels back at the edges, it’s a lost cause.'
‘For a fun accent, there are also peel and stick wallpaper borders that run along the edges of your walls,’ adds Greg Allgeyer, Online Merchant of HD Home at The Home Depot.
Linda graduated from university with a First in Journalism, Film and Broadcasting. Her career began on a trade title for the kitchen and bathroom industry, and she has worked for Homes & Gardens, and sister-brands Livingetc, Country Homes & Interiors and Ideal Home, since 2006, covering interiors topics, though kitchens and bathrooms are her specialism.
