Breville Barista Pro review: our barista's favorite espresso maker
Our barista couldn’t fault the Breville Barista Pro. It made aromatic espressos, glossy milk, and is packed with well-considered features.
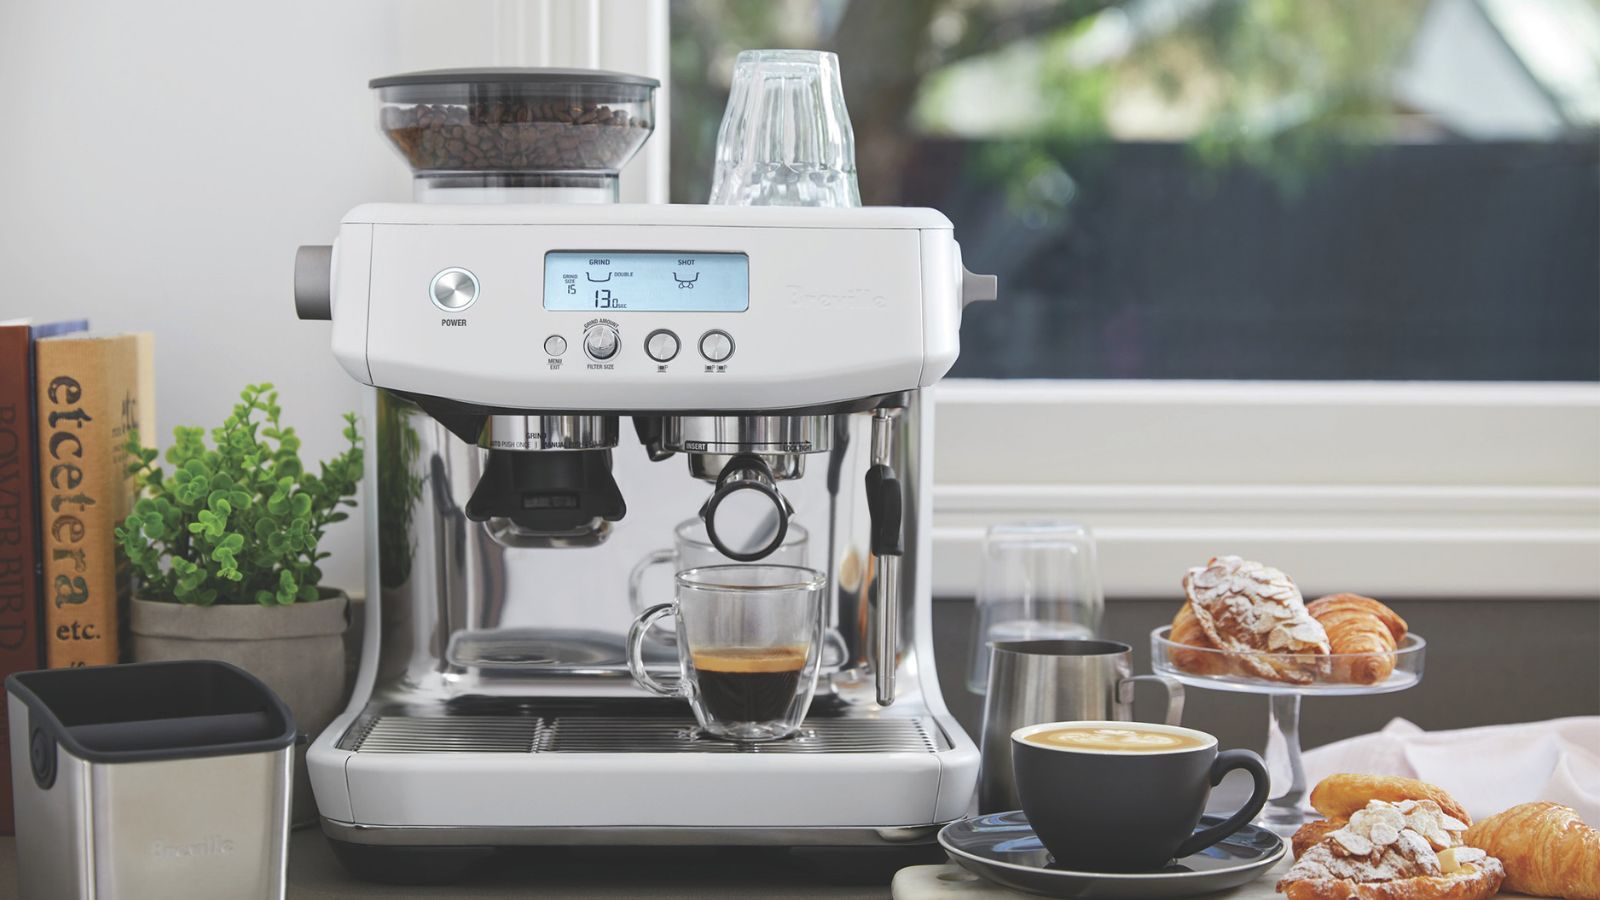
The Barista Pro is everything you need in an espresso machine. It’s the perfect balance of hands-on and automated. User-friendly and well-designed, it’s the best espresso machine that I’ve tested.
-
+
Makes amazing coffee
-
+
High-quality features
-
+
Quick start up
-
+
Integrated bean hopper
-
+
Easy to clean and refill
-
-
Some non-recyclable packaging
-
-
Requires some milk frothing practice
You can trust Homes & Gardens.

If you’ve had a look through lists of the best espresso machines on the market, chances are, you’re more than familiar with Breville The Barista Pro.
If you haven’t come across this model, it’s a shiny, stainless steel machine that every barista dreams of. It’s not only one of the best coffee machines on the market, it’s also one of the best espresso machines. It’ll pre-bloom coffee (to make it sweeter), it can change temperature, pressure, and extraction time to suit you, and it’s incredibly well-built.
I took the Australian icon to the test kitchen, where I put it against 70 other coffee makers on the market. In another life, I was a barista, so I have high standards. They’ve been more than met by The Barista Pro. Here’s why.
Specifications
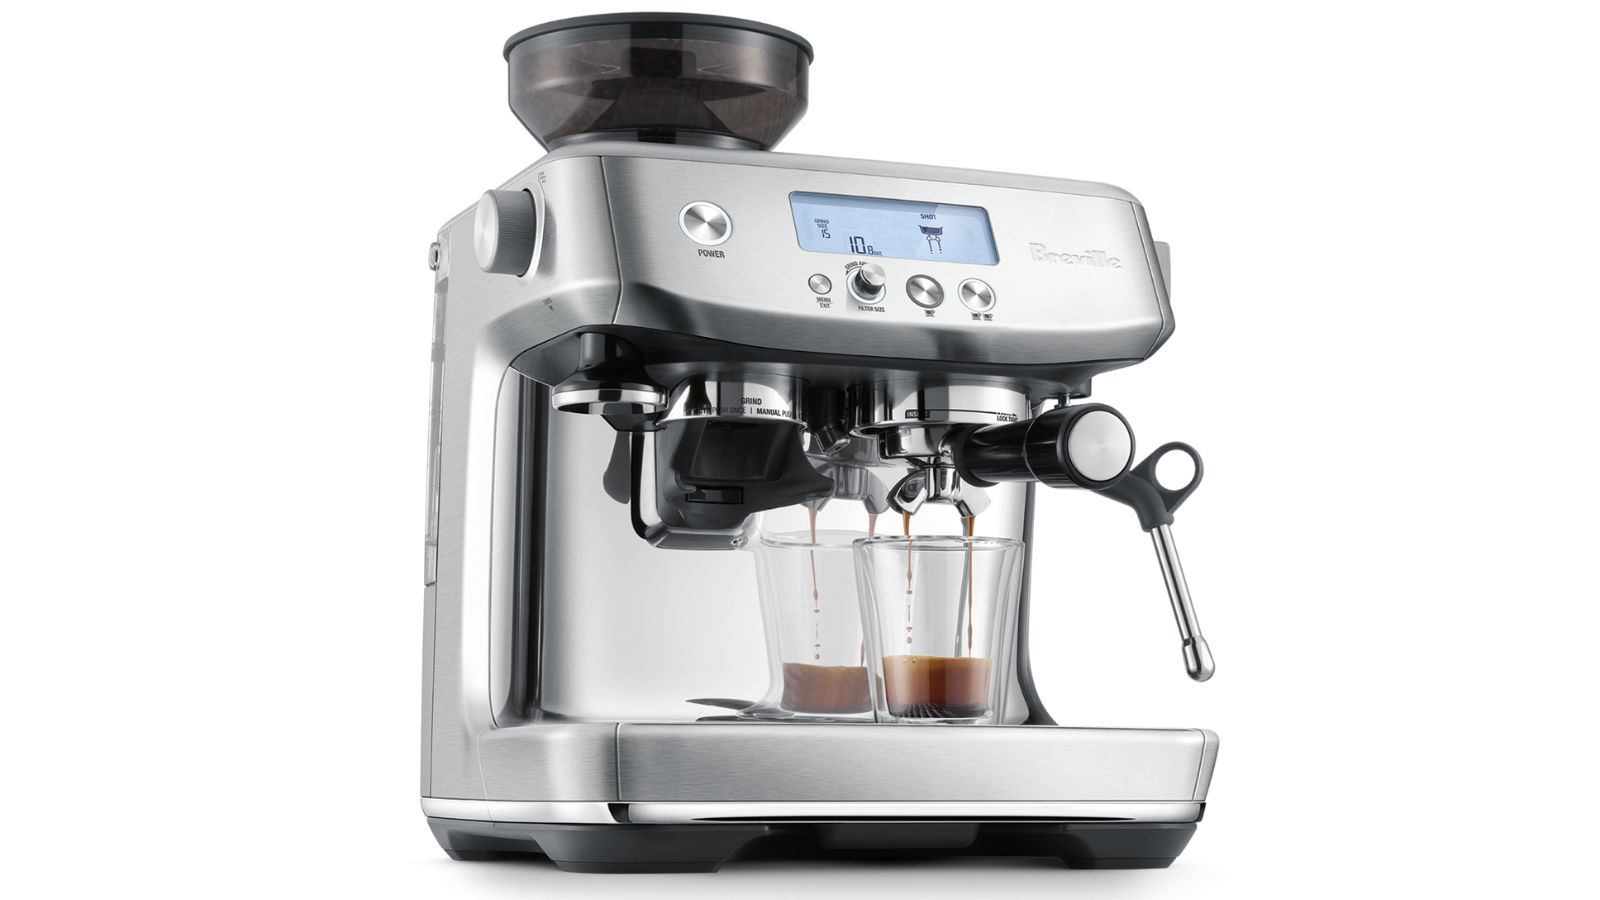
| Dimensions | 13.9 x 13.5 x 16 inches |
| Portafilter | 54 mm |
| Milk jug | 480 ml |
| Pump | 15 bar Italian |
| Set up time | 3 seconds |
| Power | 1680 watts |
| Grind settings | 30 |
| Water capacity | 67 oz |
| Bean hopper | 0.5 lbs |
Unboxing
In spite of the premium box and immaculate espresso machine, I was disappointed. Breville has a tendency to use copious quantities of polystyrene and plastic. It keeps the products in top condition, but I would like to see them using more recyclable materials in the future.
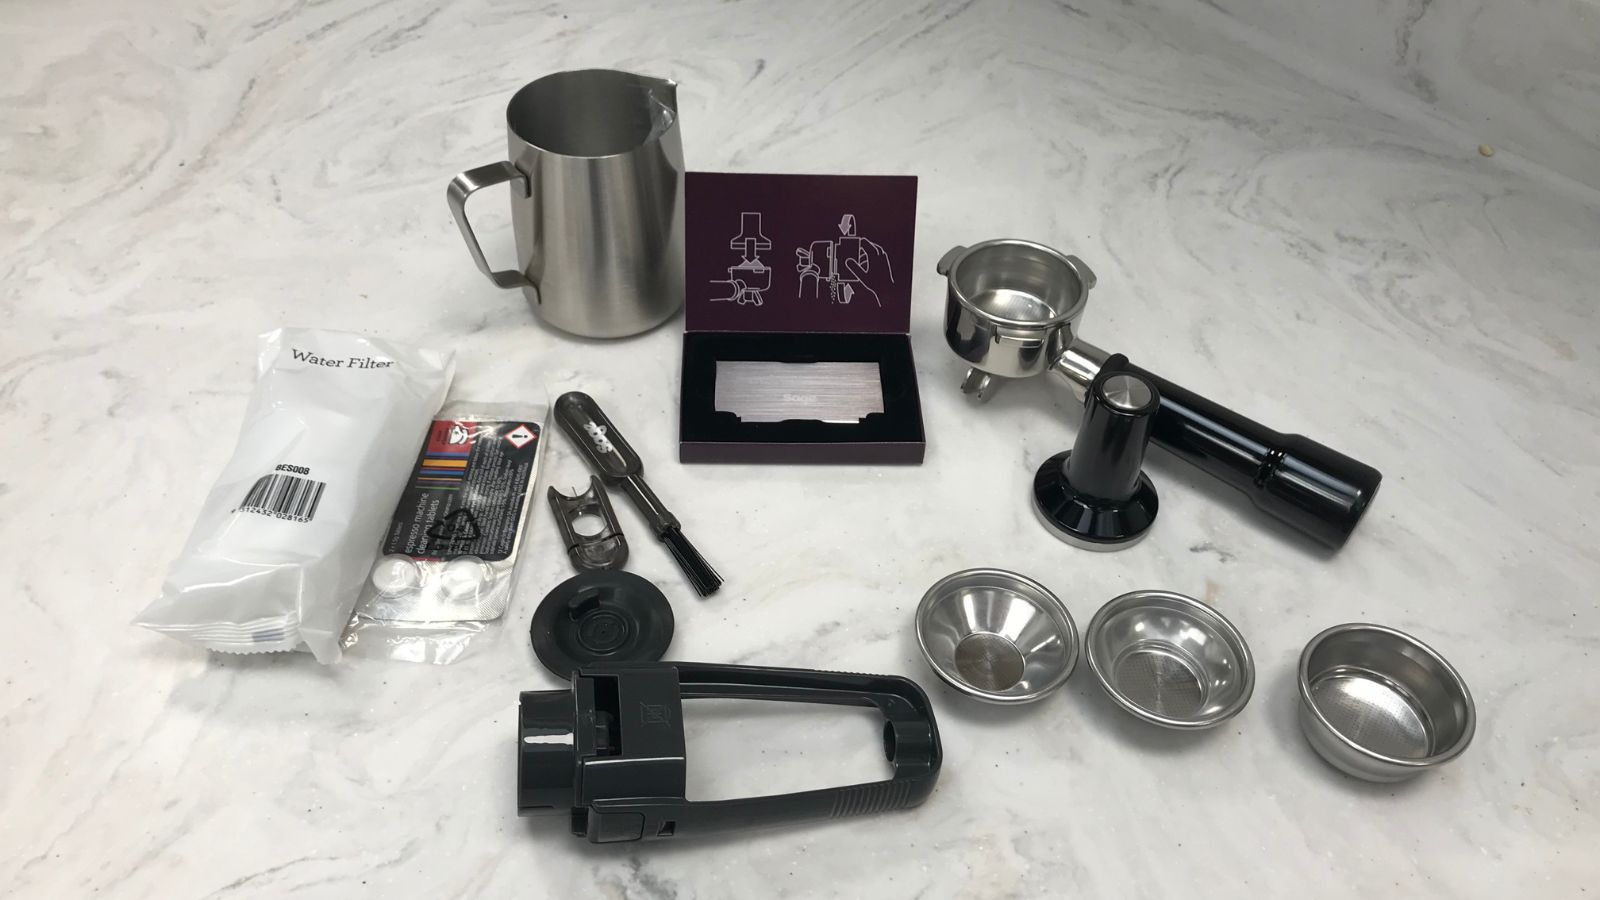
Once I unpackaged the Barista Pro, I noticed just how many extras they give you. It’s a long list: a stainless steel milk jug ($25.95), ‘The Razor’ trimming tool ($29.98), tamper ($22.70), portafilter ($45), four portafilter baskets ($31.80), a cleaning tool ($5), and a cleaning disk ($5). Buying all of these separately totals $164.43. Sourcing these would be exhausting and expensive, so it's a subtle but brilliant perk.
On the countertop, the Barista Pro looks great. It’s the perfect balance of science and style. It looks technical, without being overwhelming. You’ll have to keep it on show, because it’s big and heavy, but at least it looks good. If you want to make it into art, they have a range of striking color and design options too.
There are only a few things to do before you unleash your inner barista. First, put your water filter into the reservoir. It clicks in, so you’ll know if you’ve done it properly. Next, fill the water reservoir. It’ll be at the back of your machine and easily lifts out using the foldable handle. Handles on water filters are an underestimated feature that makes all the difference.
Design expertise in your inbox – from inspiring decorating ideas and beautiful celebrity homes to practical gardening advice and shopping round-ups.
Once the reservoir is filled and your espresso machine is plugged in, you’re ready to go. I’ve used espresso machines that needed 30 minutes to warm up. The Barista Pro took three seconds. I thought that was a typo when I read it, but it’s true. So, in three seconds, The Barista Pro will be ready and waiting for you, rather than the other way around.
What is it like to use?
If I timed myself, I would have gone from cardboard box to cup of coffee in under five minutes. This was quick to set up. I ran one cup of coffee through first to clear out any dust and detritus from the factory and then I got brewing. Unlike some other machines, set up and grinding is all one process. You can grind your beans right in the portafilter and start grinding right away.
Test 1: Grinding
I started using the double shot, single wall filter. You’d use a single wall for freshly ground beans: a double wall filter increases the pressure, so is useful for a cheaper grinder or for pre-ground coffee. I started using the default grind setting, 15, but there are thirty different, easily adjustable options. All you have to do is twist the dial on the side.
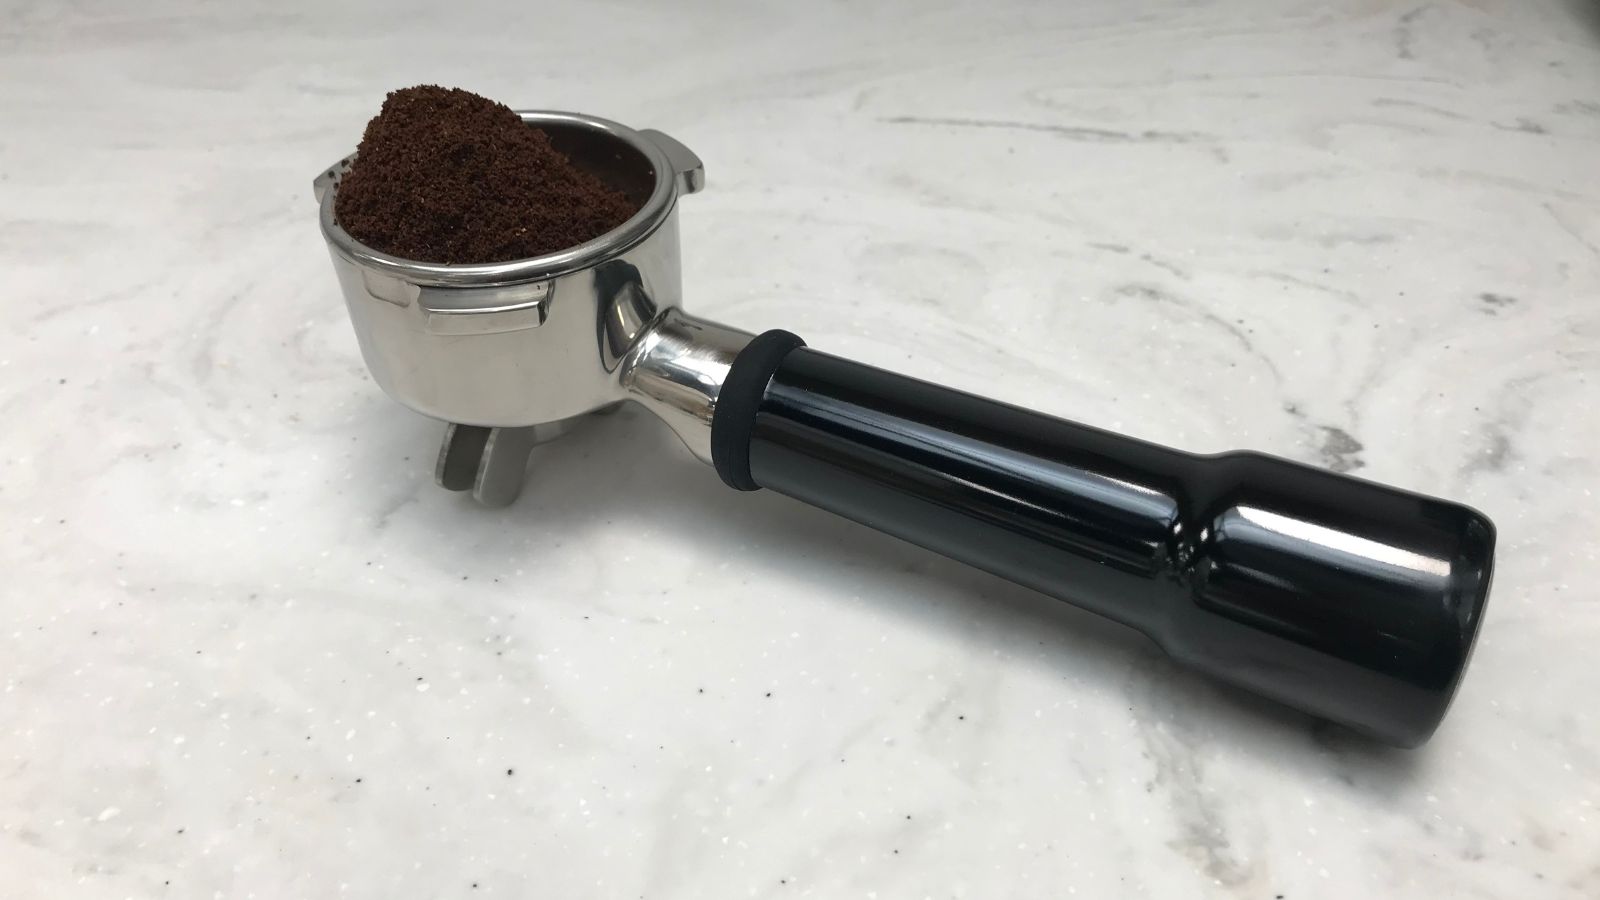
To start, I pushed the portafilter into the cradle to activate the grinding. It’s a lot quieter than most grinders that I’ve tested, but that doesn’t mean that it’s any worse. In fact, I weighed my portafilter every time that I used The Barista and it consistently gave me eighteen grams of coffee. Even specialist grinders struggle to do that. It didn’t create any static either.
Next, I used the tamp to compress the grounds. Make sure you apply a firm and consistent pressure to the tamp, because this will affect how the water runs through your grounds. You want the curve of the tamp to align with the edges of your portafilter, that way you’ll know that you’ve not overfilled or underfilled the portafilter. Once tamped, I used the razor tool to get a really smooth, ground-free surface. I didn’t really need to, since the Barista Pro was very neat at grinding, but I wanted to test it out.
Test 2: Espresso
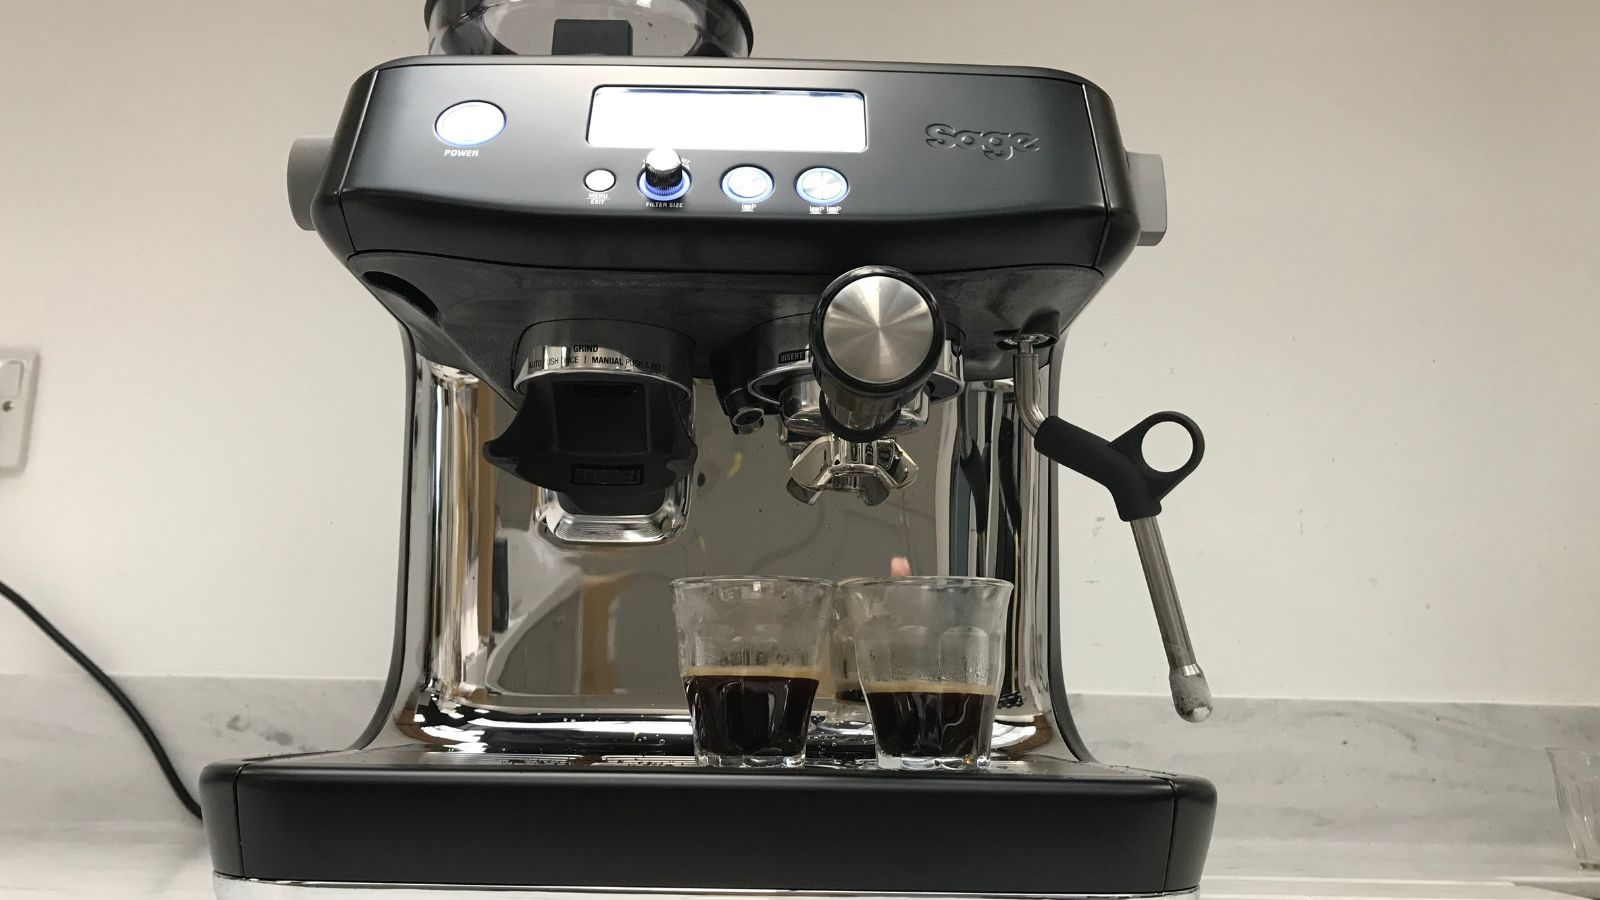
Slotting the portafilter into the machine was easy. You align it with the arrows and twist. I gave it a really firm twist because I didn’t want my portafilter to fly off. You might want to place a hand on top of the machine so that it doesn’t move as you clamp the portafilter in. Once this is in place, put your coffee cup under the brew head and press the button for a single or a double shot. In fifteen seconds, I had a beautiful espresso. The crema was thick, the espresso didn’t look over or under extracted. It was just right, Goldilocks style.
Test 3: Americano
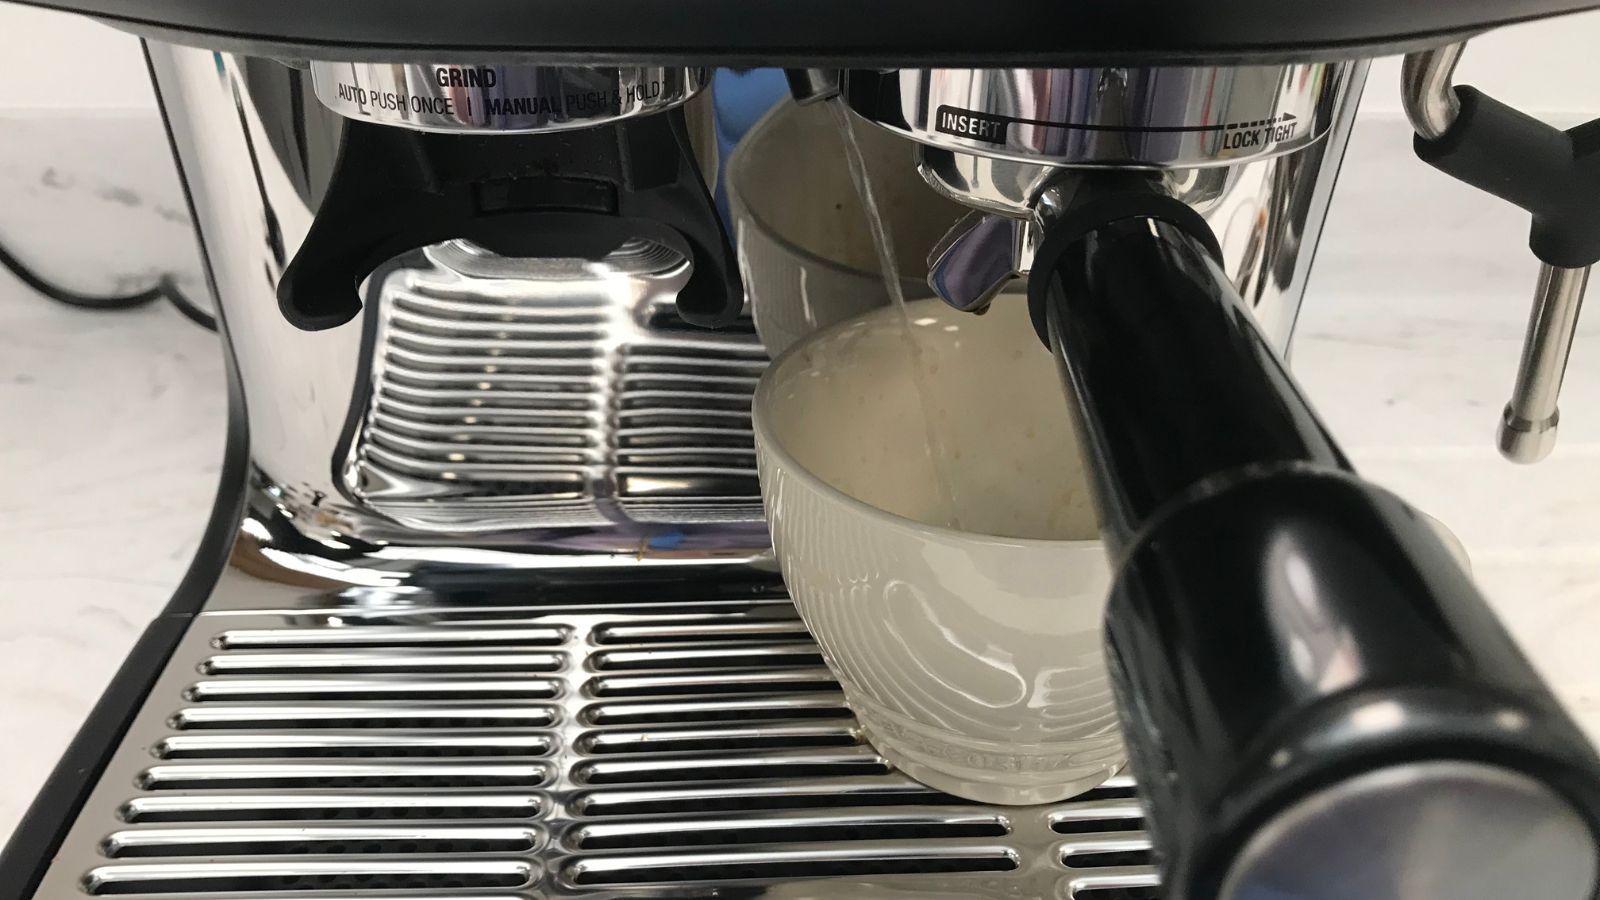
To make an Americano, I added water to my espresso. There’s a button you press and a jet of water will begin to flow. You don’t need to move your cup at all. The jet of water could do with a little more tension, as it splashed my espresso up the sides of the cup. As it filled up, this was less of a problem. It was good to see that the water wasn’t boiling: lots of espresso machines use scalding hot water, which burns the coffee and makes it taste bitter.
Some machines would make you wait between brewing a shot and producing hot water. Going between espresso, water, and steam can lower the temperature of an espresso machine really quickly. I didn’t have to wait for The Barista Pro. I suspect this is because Breville doesn't use the same boiler system as other espresso machines. Instead, they have developed a ThermoJet system which takes seconds to heat up and is really quiet whilst it does.
Test 4: Cappuccino
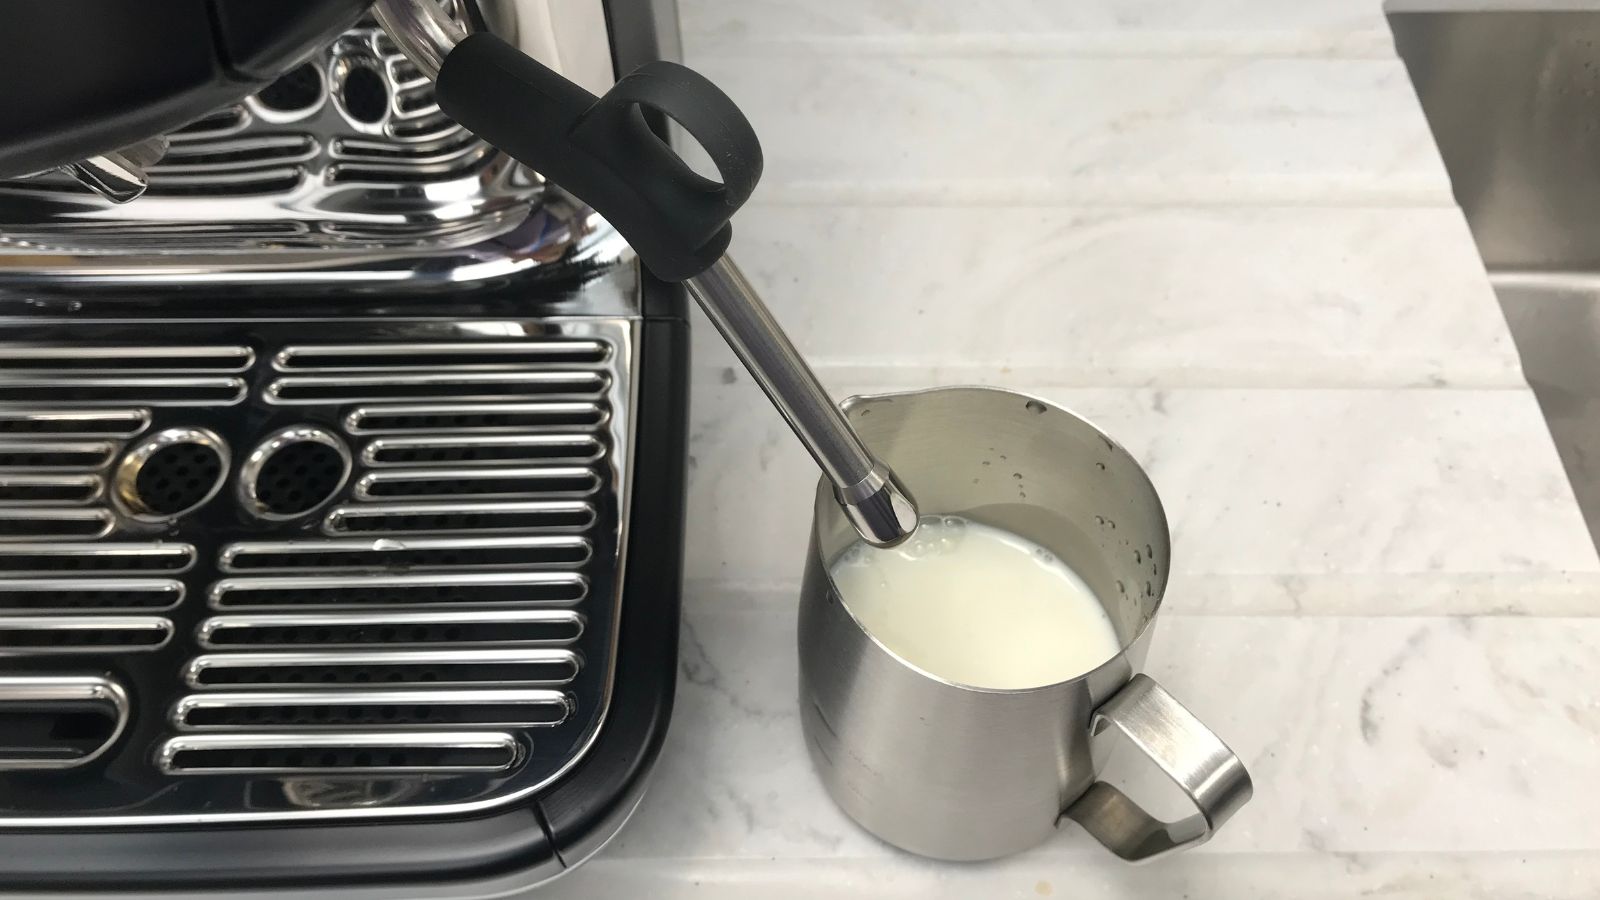
To make a cappuccino, you’ll need to start with an espresso. The key to a good cappuccino is tight, frothy milk, which the Barista Pro's steam wand is more than prepared for. It can move about 360 degrees, so can angle for any jug or cup you place under it. Hold it over the drip tray first, as it will flush out some water. Then, it will steam. I frothed some lovely, silky, glossy milk. When I tried oat milk, I had really great results too. If you’re using non-dairy milks, opt for the higher-protein barista versions so that it doesn’t separate or curdle in your coffee.
It’s easy once you know how to froth milk with a steamer, but The Barista Pro requires some semi-pro frothing skills from you. If you want to froth milk perfectly, it’ll need some practice and expert tips. Getting warm milk is easy: submerge the head of the steam wand in the milk, froth and feel the side of your milk jug until it’s getting too hot to touch, then stop.
To get some texture and froth, here’s a quick guide. Fill your jug with milk, enough for at least one cup. Angle the jug at around the 3 o’clock position and put the steam wand head below the surface of the milk. Start the steamer and keep the wand under the surface. It’ll be creating a whirlpool. Then, slowly lower the jug until a little bit of the tip is above the surface of the milk. This will make a clicking sound, which is air being drawn into the milk. You’ll need to keep lowering the jug, as the froth will make the milk levels rise. Keep the palm of one of your hands on the jug. When it starts feeling too hot to hold, pull your hand away. If you carry on, you could burn the milk and your mouth.
Anything other features?
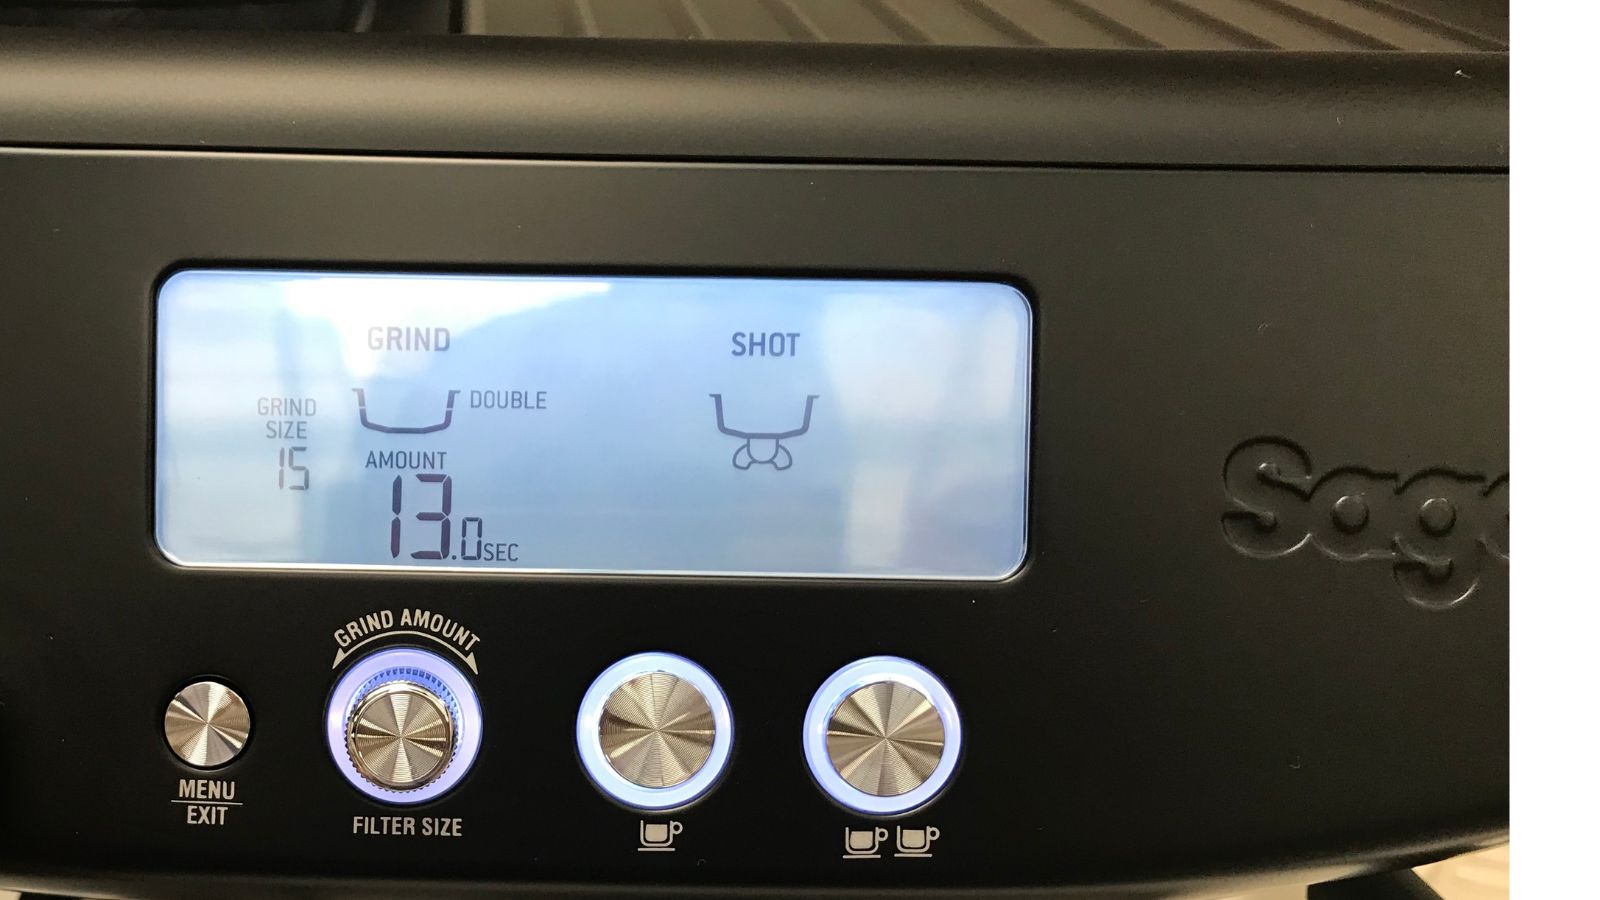
As I was testing these coffees, I experimented with grind size and brew time. It’s really easy to adjust different settings on this coffee maker. One of the aspects I really liked was the ‘pre-infuse’ setting, which does the job that blooming might do with a French press. It lets the CO2 out of your coffee, helping it to taste a little sweeter and less acidic. You can taste the difference and it doesn’t take long.
Cleaning
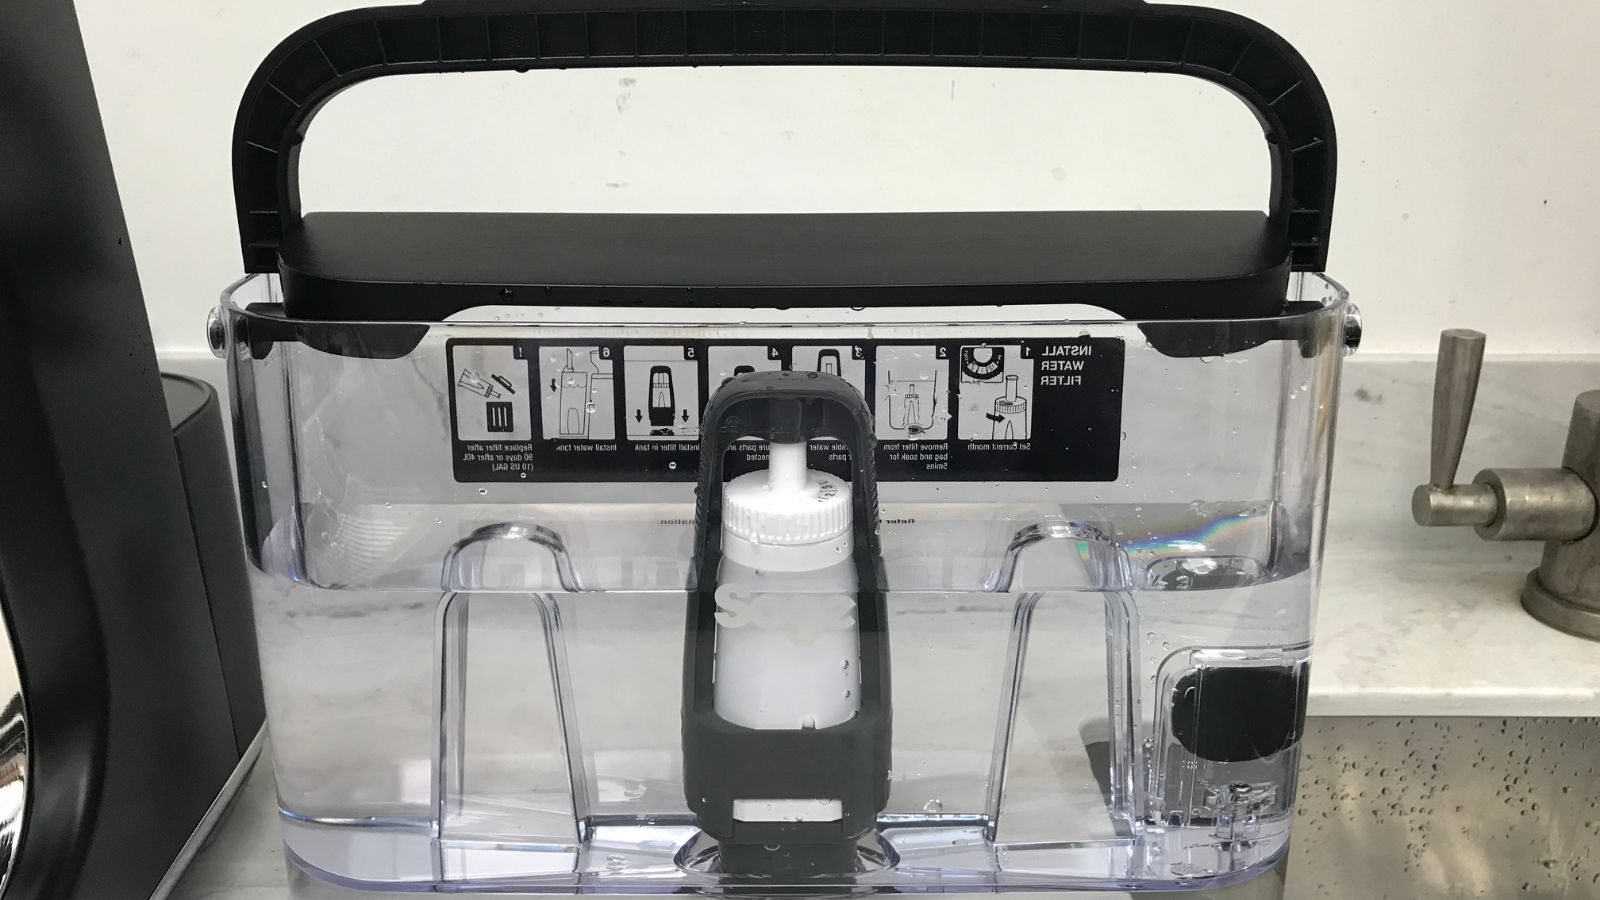
As far as espresso machines go, this is easy. If you keep it generally clean, you have a much better chance of your espresso machine lasting for a long time. General cleaning entails: using filtered water and cleaning the reservoir; rinsing and cleaning the drip tray in warm soapy water; and cleaning the portafilter and portafilter holders.
Every clean, take your portafilter basket out of the portafilter. Then, once a week, soak the baskets and portafilter holder in vinegar or a cleaning fluid. This deep clean will remove any stray coffee. I’d also recommend flushing the machine through to get any coffee grounds out of the system – press on the single or double cup and water will drain out into the drip tray. Espresso machines are always on display, so it’s good practice to give them a wipe with a microfiber cloth too.
Storage and Maintenance
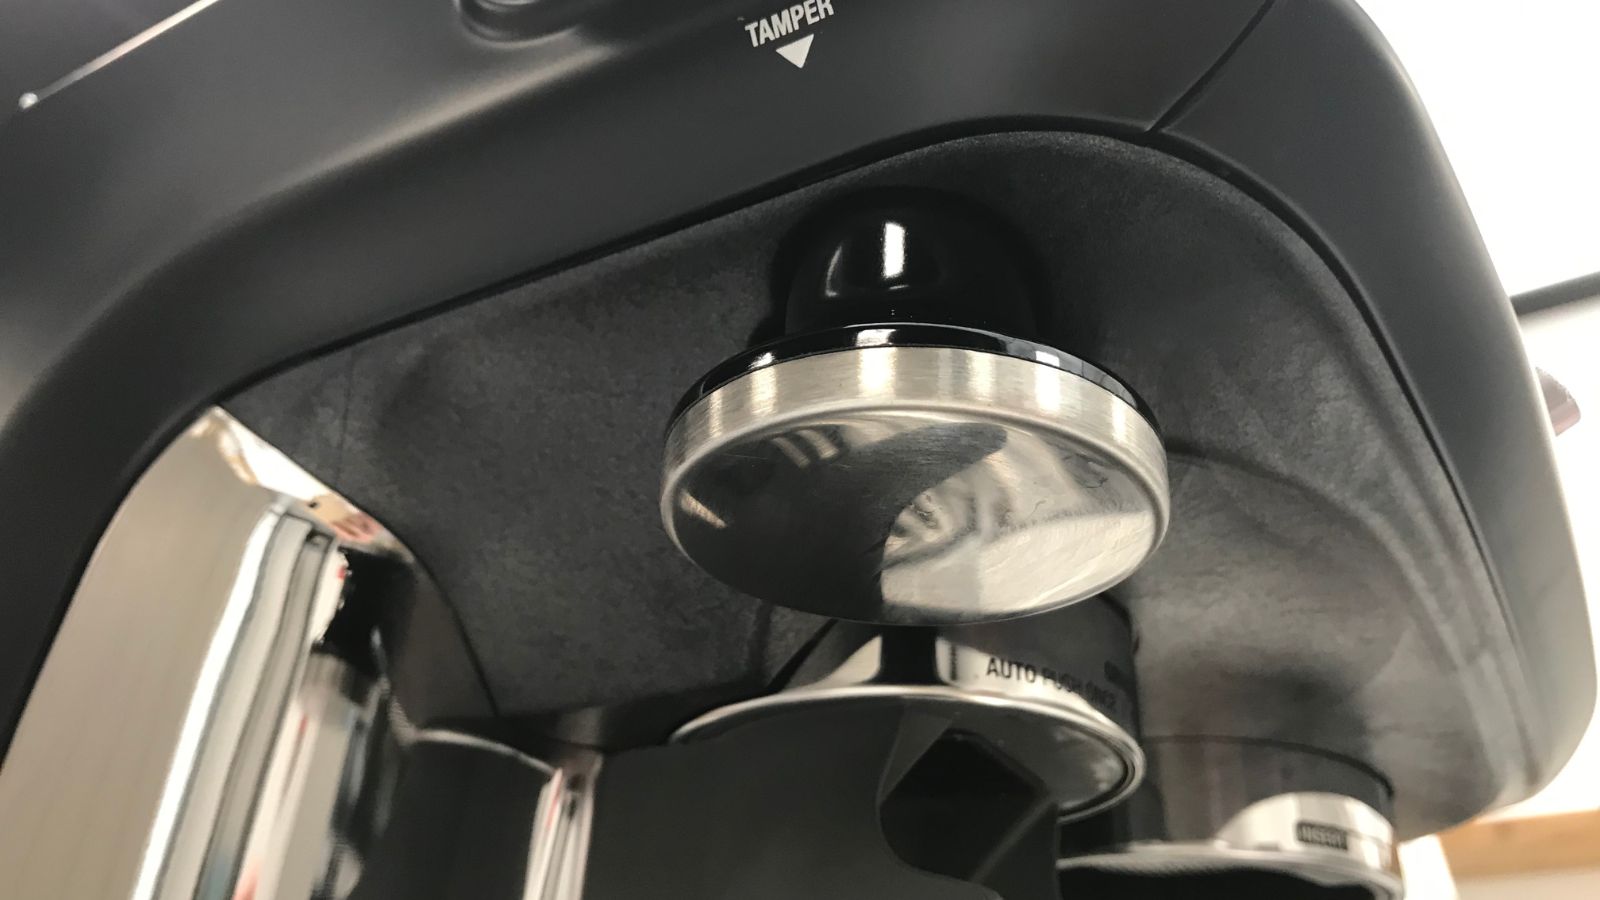
The machine will alert you when it needs maintenance. Breville supplies you with a water filter that will last three months – it has a timer to let you know when it’ll need replacing. Minerals can significantly reduce the life of your espresso machine, so make sure you use it. It’s also good to use the brush provided to do a clean of the grinder and beans hopper. Whilst this is airtight, storing your beans in sunlight for a prolonged time will cause them to degrade, so I would recommend only filling the hopper with the beans that you know you’ll use. Once a week, give the hopper and grinder an empty and a clean.
When not in use, Breville has all sorts of tips for storage. There’s a small area for the tamp to slot in so that you never lose it. The milk wand easily tucks away, so that it’s not sticking out. These considerate touches are definitely needed. This is a big machine, which would be difficult to move and store. If you’re willing to make space for it, you won’t regret it.
How does it rate online?
Unsurprisingly, this is a favorite amongst coffee enthusiasts. I read reviews from baristas, coffee novices, Italians, and everyone in between. Everyone said that they were glad they bought their machine and felt that it was excellent value. Lots of customers enjoyed how quickly The Barista Pro can get up to temperature and those who used the low-pressure pre-infusion raved about it.
The things that people said Breville could improve on were almost negligible. For example, one of the most popular suggestions was to add a warmer tray. These don't always look great and you can use hot water to warm your cup up. A couple of people mentioned the grinder’s noise, but I logged it at 70 dBA, which is much quieter than some of our favorite grinders (they could be as loud as 100 dBA). The 30 grinder settings are unusually specific for an integrated model and I measured each grind at a consistent weight, which specialized grinders struggled with.
I was surprised that nobody mentioned struggling to froth milk. Either I underestimated everyone’s milk frothing, or people were too scared to say it, but I think it could benefit from some automated frothing settings.
How does it compare?
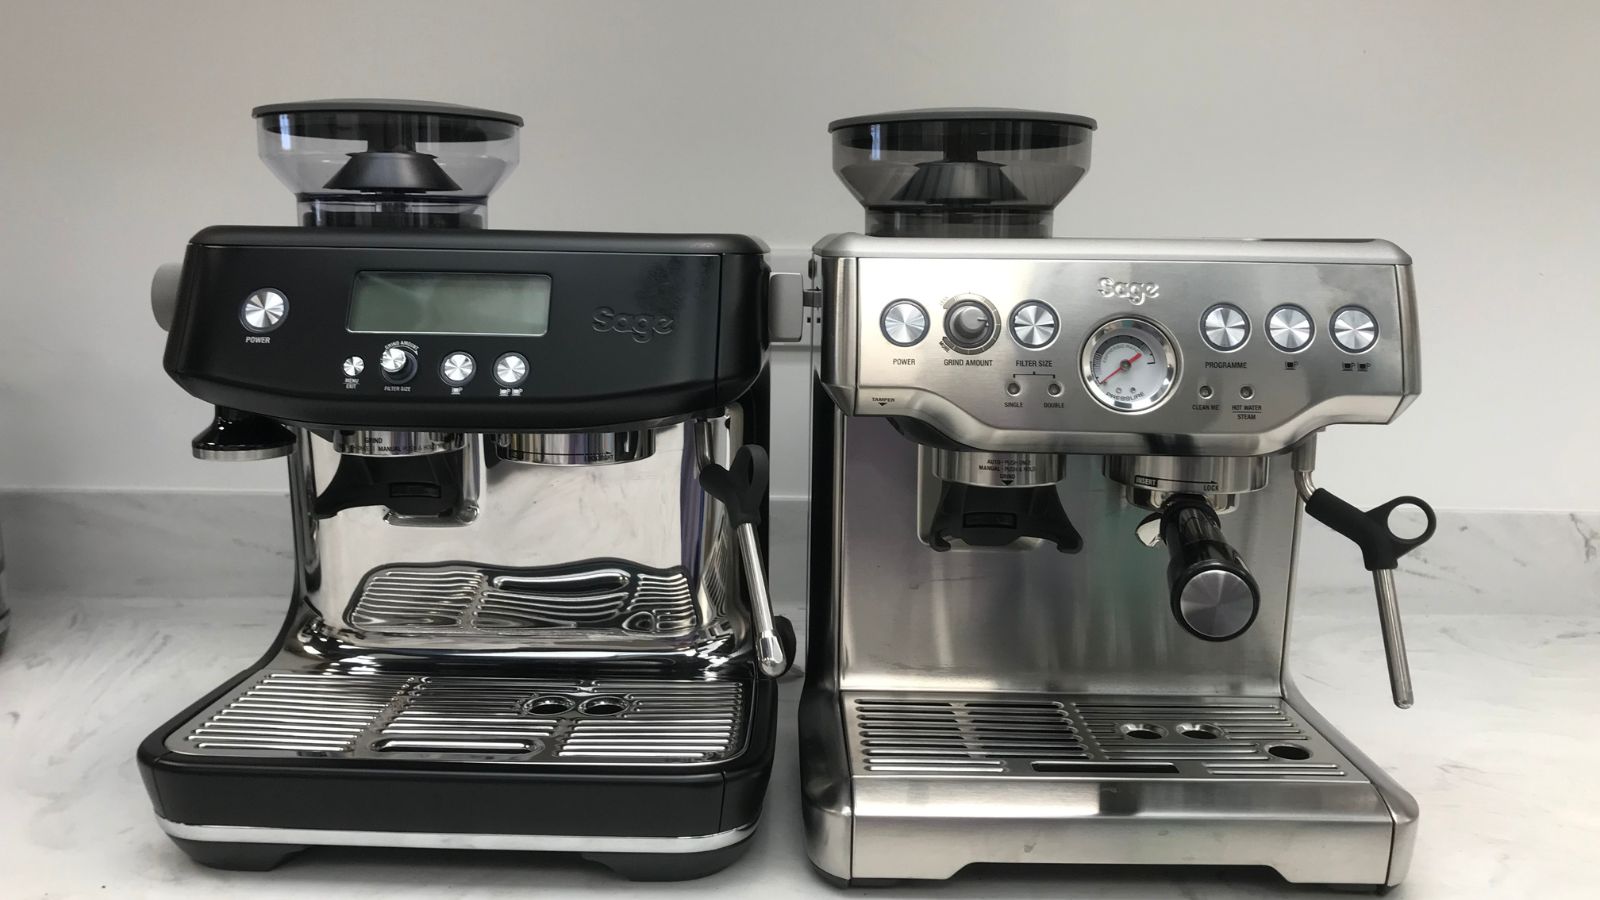
If you’re choosing between two, you’re probably stuck between Breville’s Barista Pro, this one, and the Barista Express. The Express is an older model, but it has been updated over the years. The main differences are in the technology: the Express uses the ThermoCoil, rather than the ThermoJet which the Barista uses. This means that the Express needs 30, rather than 3, seconds to heat up. Another update is the steam wand. The Barista Pro uses a four hole steam wand, which is more useful for microfoam. The Barista Express uses one hole, which is good for most milks. Unless you’re very technical, you wouldn’t notice a difference.
When it comes to programming, the Barista Pro has an LCD for programmable settings, making it easier to get technical. Although, the Pro lacks the pressure gauge feature that the Express has. With nearly double the grind settings, it’s no surprise that the Barista Pro is more expensive. However, if you care about specialized coffee, want to make precise adjustments, and want a quick machine, every penny is well spent on the Barista Pro.
If you're looking for an upgrade, it's worth considering De'Longhi's La Specialista Maestro. This is more expensive, but it has an auto-tamper, auto-dosing, and it has pre-sets to help beginners make coffee (and even cold brew). It's both easier to use and more technically advanced, so I prefer it. The only thing that I don't like is the price tag.
Who would it suit?
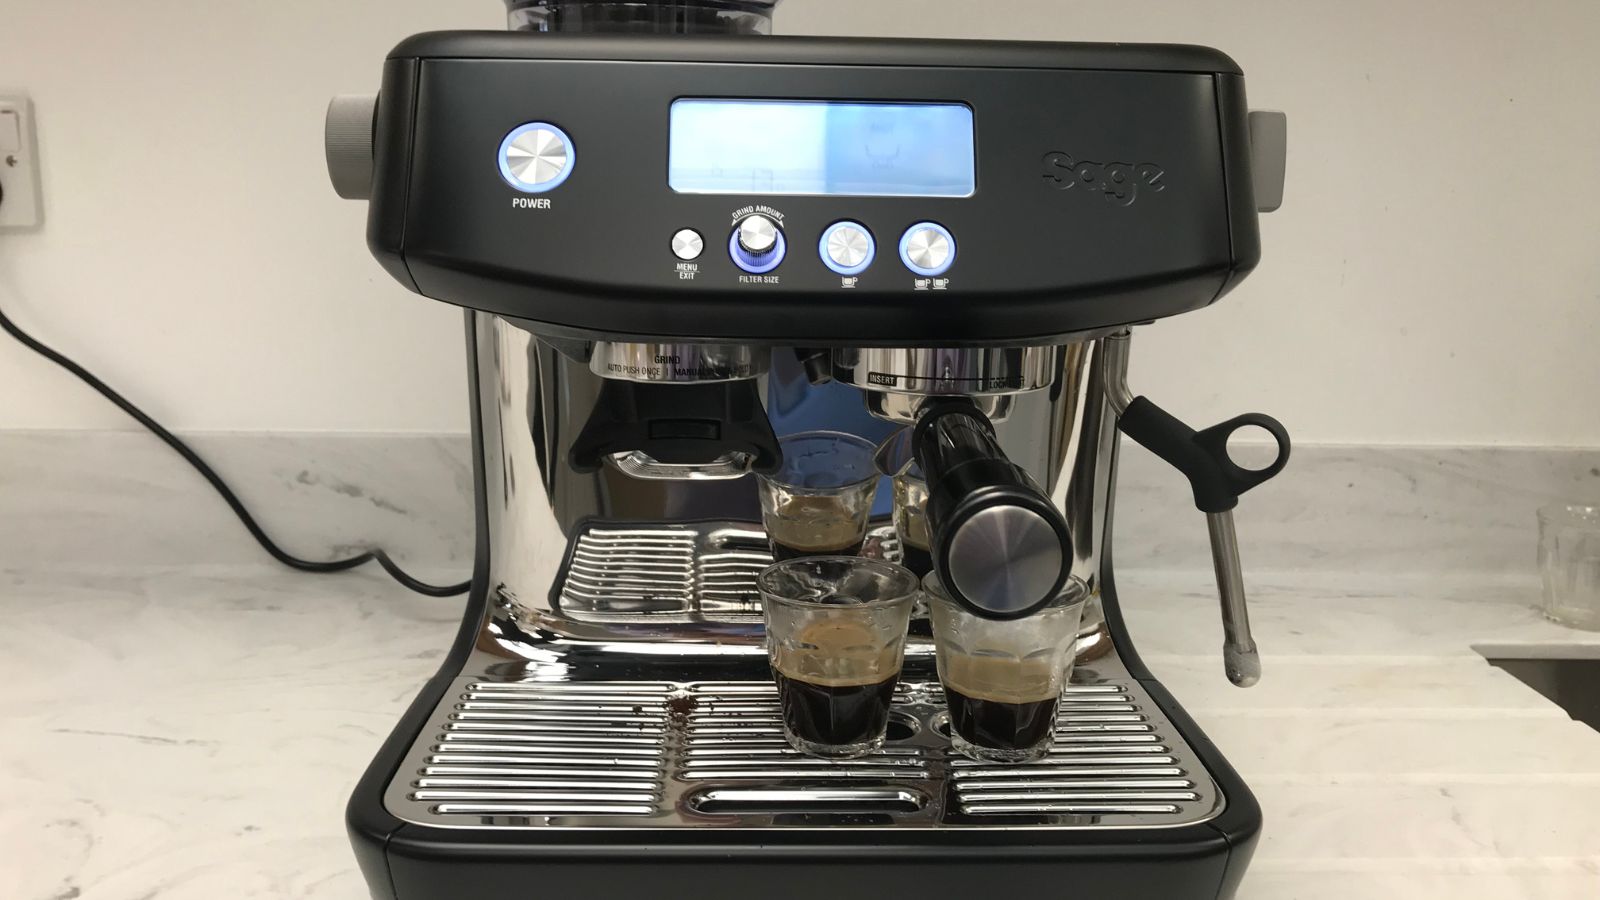
This would be my go-to coffee machine suggestion for someone who prioritizes quality coffee. If you want to grind, tamp, and lock your coffee into place, this is perfect. You’ll want to feel confident frothing your own milk, or ready to learn, because it takes some practice, but there’s a lot of joy to be had in the process. It's a little more expensive than other models and it will need more room on your countertop, but it's worth it.
If you’re looking for something a little more hands-off, you’re better off getting an automatic coffee maker. Also, if you own a grinder, this has an integrated grinder, so you’ll be doubling up on big appliances. The Breville Bambino Plus offers the same quality coffee, without the bulk of a grinder.
Should you buy it?
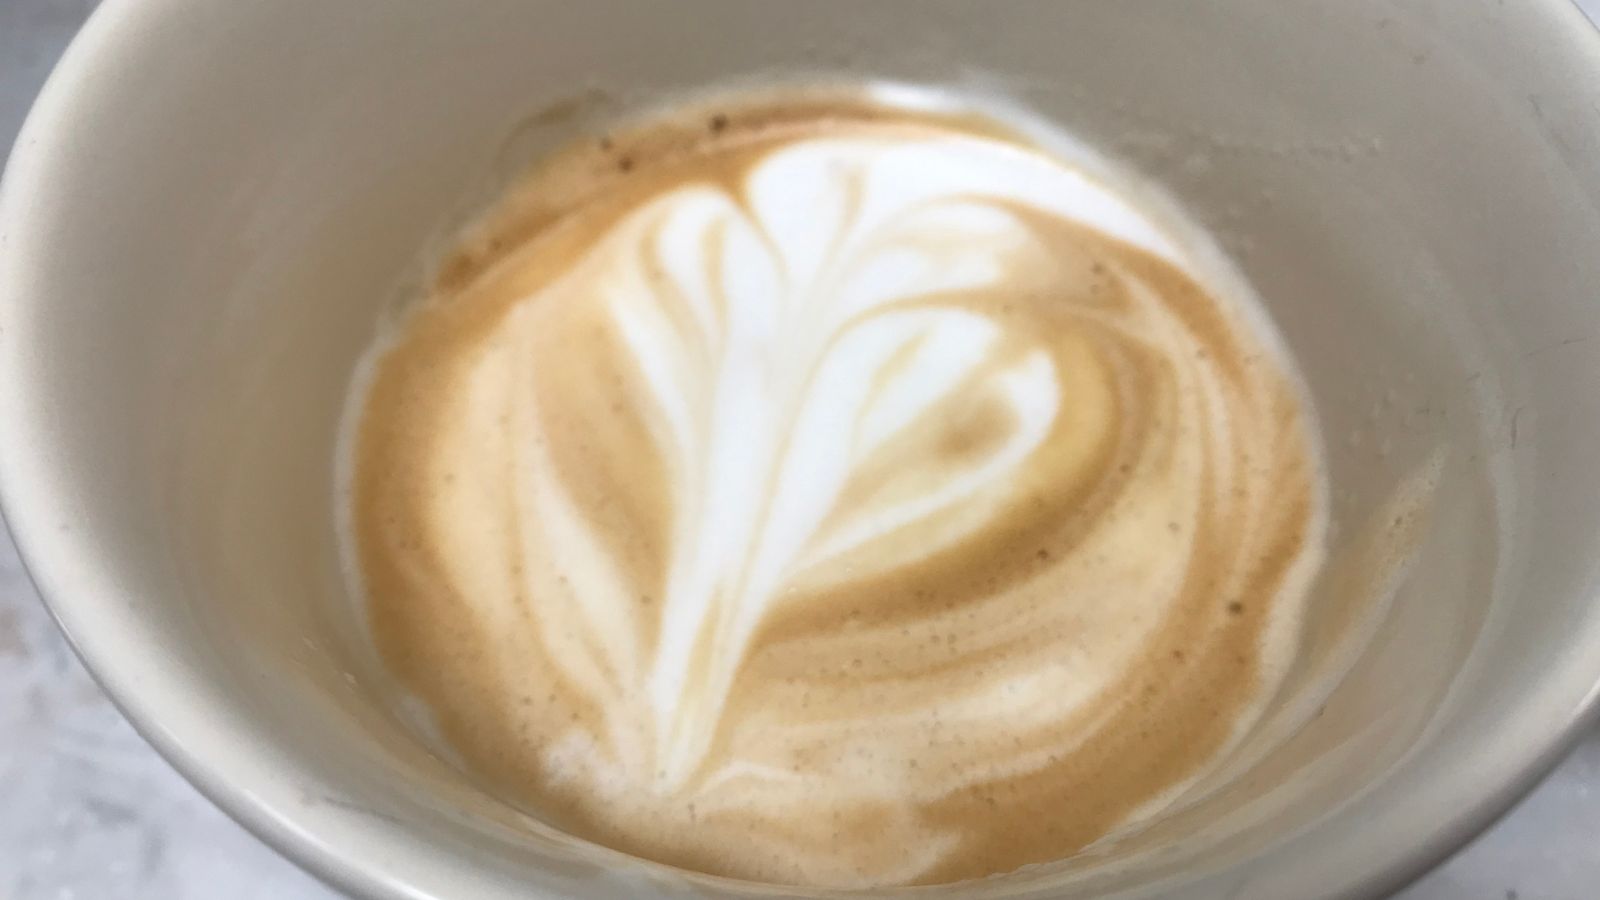
I can’t say no to the Barista Pro. I would buy it every time. It’s not as expensive as lots of Italian brands, but it performs like them. It looks good and is easy to use. The only reason I wouldn’t get the Pro is if I already had a grinder, or didn’t have the space. Even then, I think I’d make room for it.
How we test espresso machines
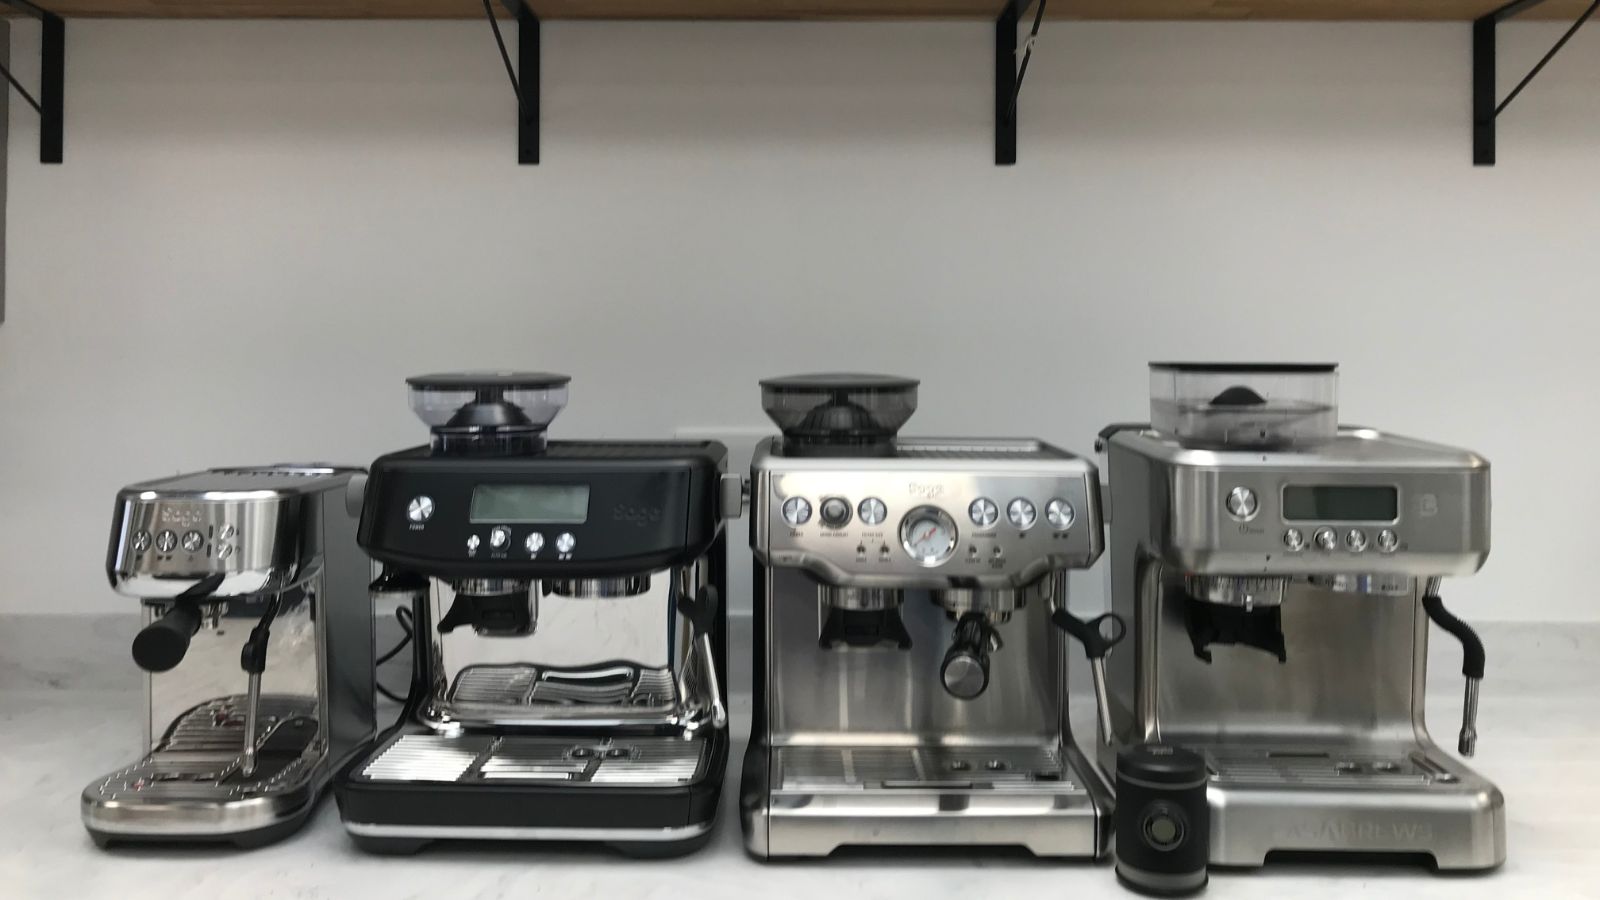
Before we recommend an espresso machine, we take it to our test kitchen. Here, we use it to its full capabilities, so that we get a sense of who it would suit and how well it performs.
If an espresso machine has an integrated grinder, we test that first. Then, the marker of any good machine, we make an espresso. Once we have made those two, we make an Americano by adding hot water to an espresso and a cappuccino by adding frothy milk to an espresso. This means that we get to test the steam wand and hot water dispenser, if the machine has them.
We also unbox, clean, and store every machine. That way, we get a holistic experience with the machine. We base our feedback on a range of criteria: the coffee needs to taste good, the machine should be ergonomic and easy to use, and we love innovation.
Our team of experts are all well-versed in appliances and testing. In particular, our barista, Laura, tested this espresso machine. She has used a range of espresso machines, from commercial and pricy, to compact and affordable, so is ready to deliver a good analysis of every appliance.

Laura is our eCommerce editor. As a fully qualified barista, she's our expert in all things coffee and has tested over thirty of the best coffee makers on the market. She has also interviewed Q-Graders and world-leading experts in the coffee industry, so has an intimate knowledge of all things coffee. Before joining Homes & Gardens, she studied English at Oxford University. Whilst studying, she trained as a master perfumer and worked in the luxury fragrance industry for five years. Her collection of home fragrance is extensive and she's met and interviewed five of the world's finest perfumers (also known as 'noses'). As a result of this expansive fragrance knowledge, she always puts quality and style over quantity and fads. Laura looks for products which have been designed simply and with thoughtful finishes.