
Design expertise in your inbox – from inspiring decorating ideas and beautiful celebrity homes to practical gardening advice and shopping round-ups.
You are now subscribed
Your newsletter sign-up was successful
Want to add more newsletters?

Twice a week
Homes&Gardens
The ultimate interior design resource from the world's leading experts - discover inspiring decorating ideas, color scheming know-how, garden inspiration and shopping expertise.

Once a week
In The Loop from Next In Design
Members of the Next in Design Circle will receive In the Loop, our weekly email filled with trade news, names to know and spotlight moments. Together we’re building a brighter design future.

Twice a week
Cucina
Whether you’re passionate about hosting exquisite dinners, experimenting with culinary trends, or perfecting your kitchen's design with timeless elegance and innovative functionality, this newsletter is here to inspire
You're likely using your vacuum cleaner weekly, or even daily – but are you getting the most out of it?
As detailed by our appliance experts, purchasing an effective vacuum is only the very beginning of using it to clean your floors. You'll be able to get the most out of it by keeping a few key tasks in mind.
Here, we've compiled all our expert-approved advice on maximizing the performance of all the best vacuums, including cleaning, maintenance, and storage.
Getting to know your vacuum cleaner
So, you've taken the plunge on a purchase – but what do all those parts and attachments actually do?
- Crevice tool: The crevice tool is invaluable for focused cleaning and anywhere that the usual brushroll can't reach, getting into tight spots like corners, baseboard edges, gaps between carpeting or wooden panels, under appliances, and between stairs. It's also effective for small spot suction, like cleaning crumbs from the car seat, or getting debris stuck under the oven.
- Dust brush: Soft brushes help dislodge dust particles from windowsills, lampshades, picture frames, or any surface above the floor where dust can sit. They're great for more gentle cleaning, like cleaning TV screens or clearing the dust on delicate items.
- Upholstery tool: Around four to six inches wide, this tool is designed to suck up any hairs and debris when you clean upholstery, and they'll often have strips specifically to draw out lint. They're also great for vacuuming carpets, to make carpets fluffy again, and vacuuming mattresses and cushions.
- Extension wand: Extension wands are fantastic at reaching higher-up places, with many versions offering an extra 18 inches – perfect for reaching things like fan blades, door frames, and air vents. You can often attach a separate attachment to the end, making it the ideal long-reach dusting companion for high-up shelves.
- Mattress tool: Similar to the upholstery tool, mattress attachments can suck up lint, dirt, and debris from mattresses thanks to their flat, wide shape. Perfect for cleaning your mattress for a well-needed refresh, or spring cleaning a bed.
- Pet hair tool: Designed for hands-on pet grooming, these attachments can often come with a variety of combs to brush loose pet hair into the vacuum cleaner. This avoids the hair falling onto carpets and furniture, but of course, make sure to be gentle with your furry friends. The best vacuum attachments for pet hair can solve the never-ending fur problem on every surface.
- Radiator brush: This brush is thin enough to fit between the radiator fins, making light work of a task that would otherwise require a lot more time.
How to keep your vacuum clean
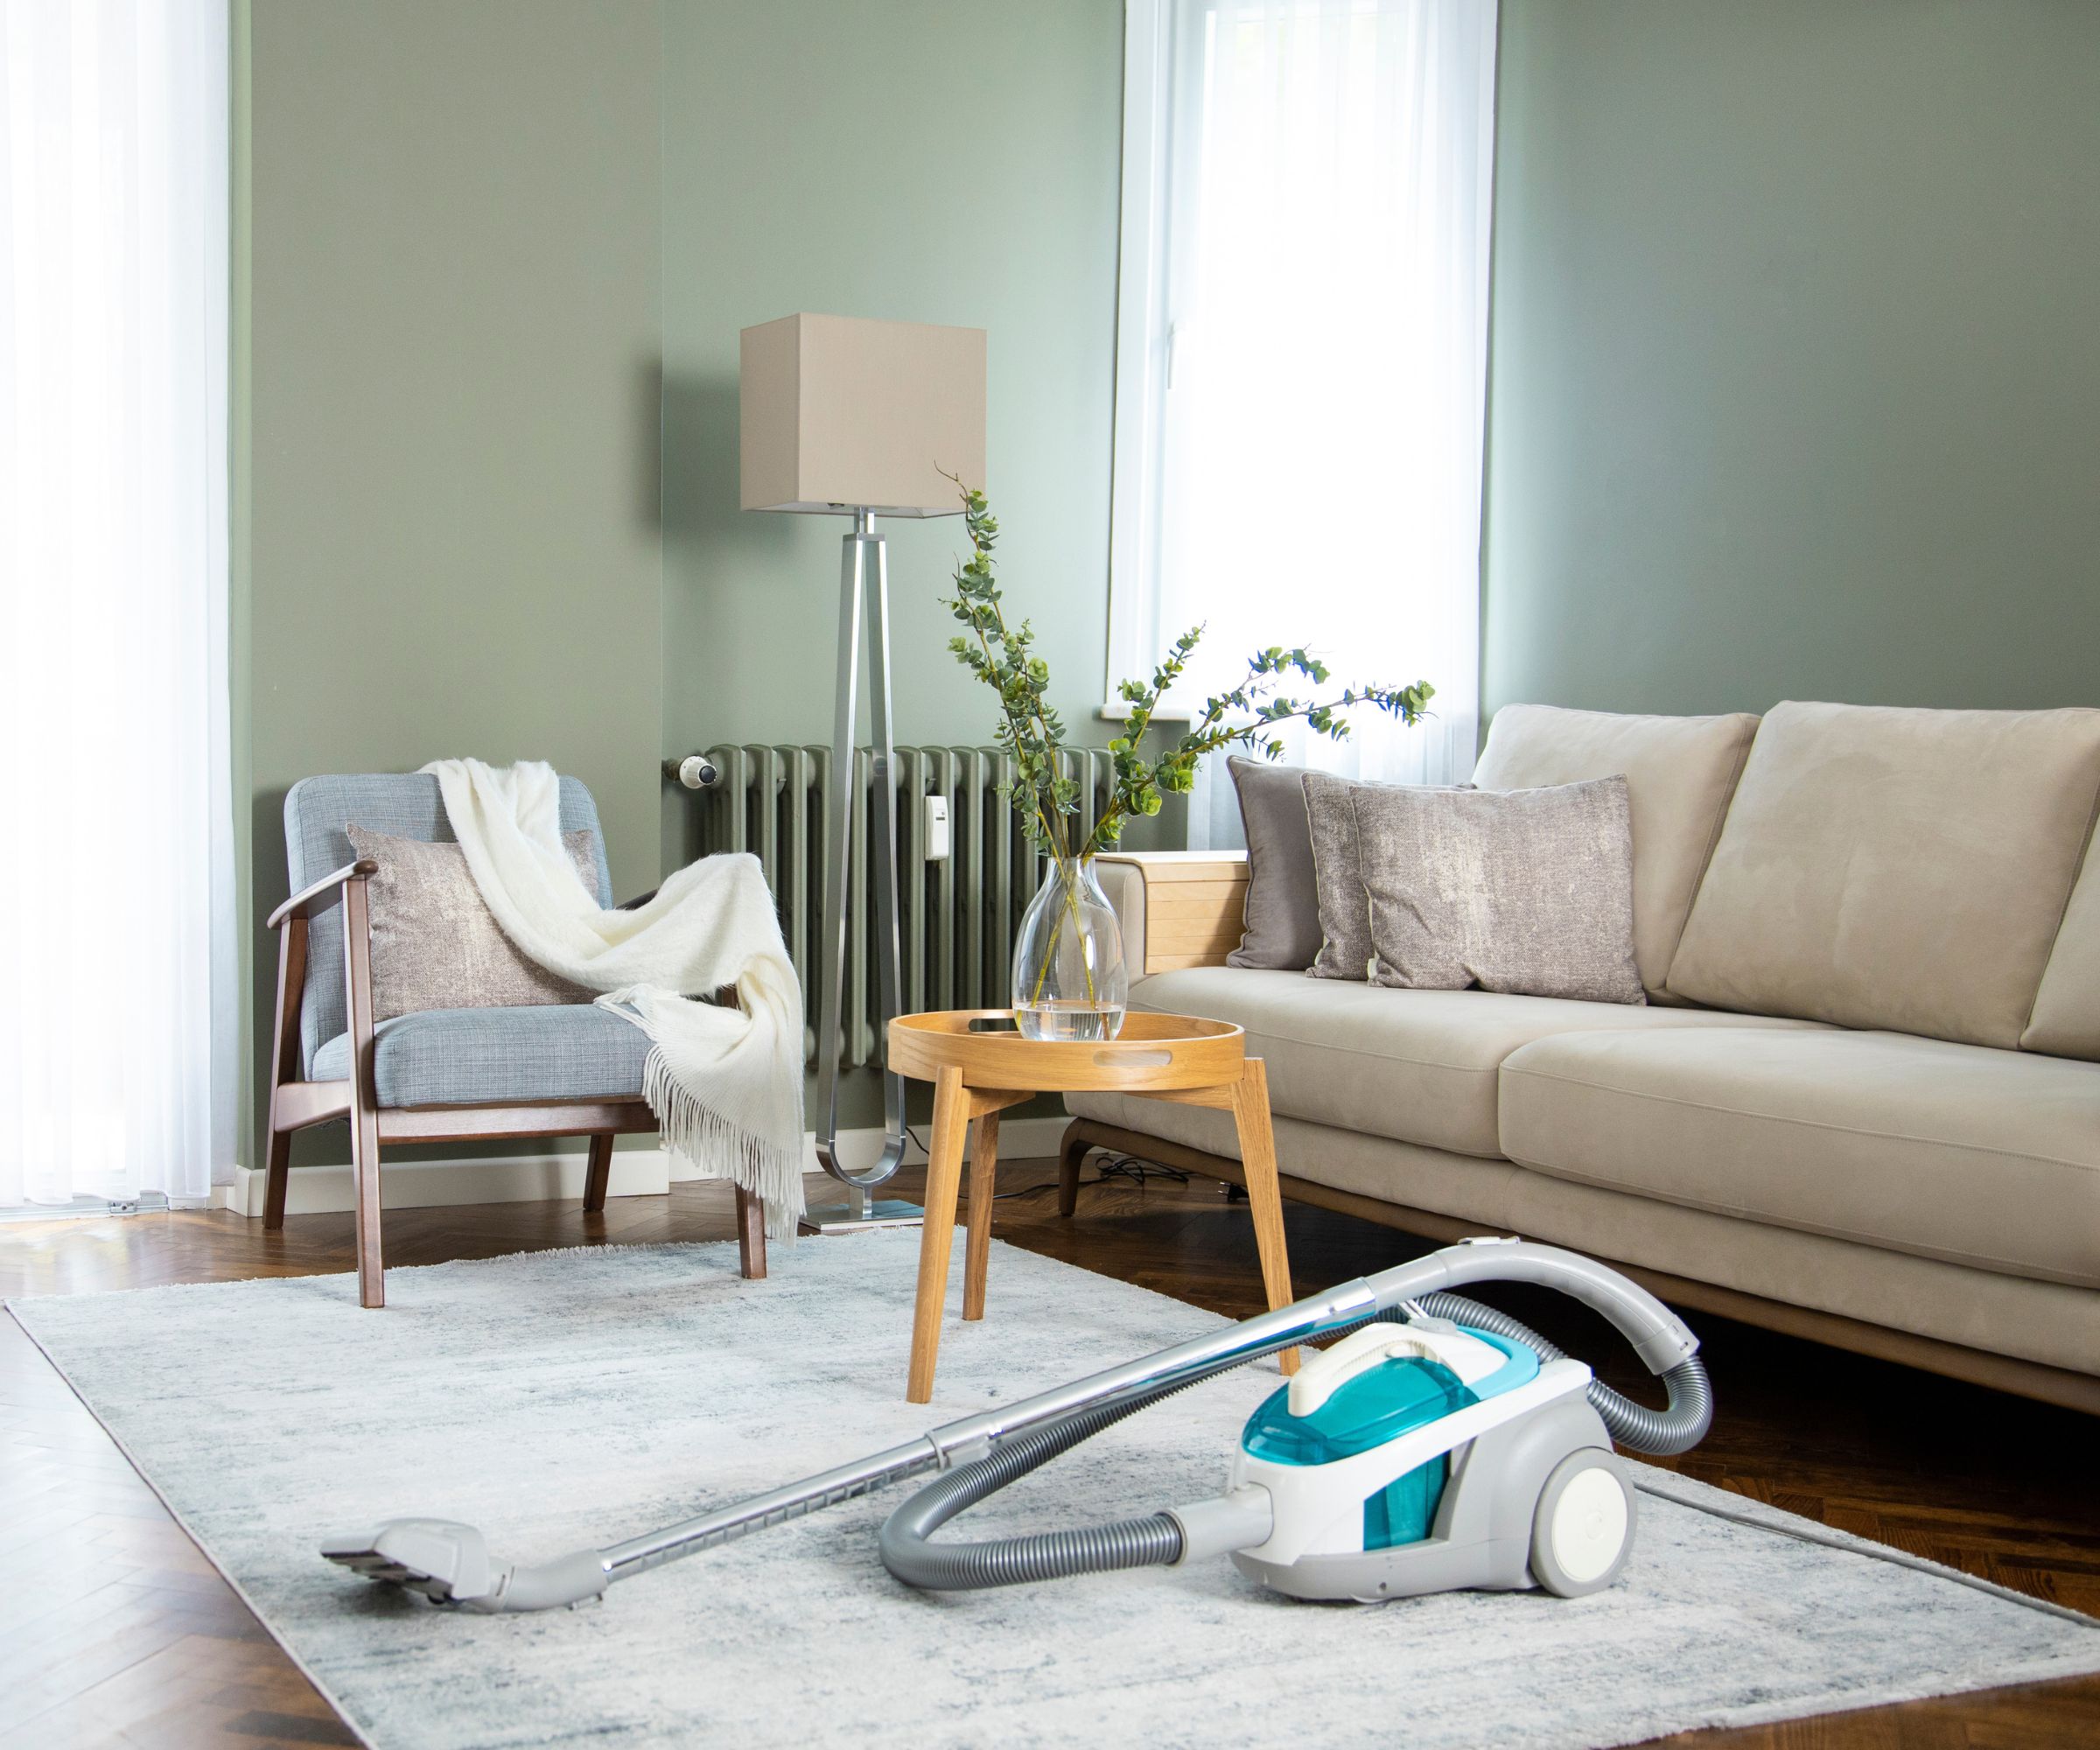
Keeping your vacuum clean is crucial to prolonging it's life and getting the best suction performance.
It can be easy to overlook the fact that the cleaning supplies themselves require upkeep; however, cleaning your vacuum is essential to maintain its longevity, performance and prevent dirt and dust from spreading.
Not only will this improve the suction power of your vacuum, but it will also ensure it lasts longer and even contribute to a healthier home microbiome, too.
While we always recommend checking your vacuum's user manual for specific cleaning instructions, as models can vary, these are the general principles you need to know about to get the job done.
Design expertise in your inbox – from inspiring decorating ideas and beautiful celebrity homes to practical gardening advice and shopping round-ups.
1. Unplug the vacuum
It may seem obvious to begin with unplugging your vacuum, but is highly important when it comes to your safety. Then, systemically disassemble the necessary parts, such as the dustbin, filters, and brushes, to ensure a thorough clean. Looking at your user manual can help you here, and it should be available online.
Simply search for your vacuum make, model, and 'user manual' and it should pop up.
2. Empty the canister or replace the bag
For bagless vacuums, empty the dustbin or canister regularly to prevent it from getting too full and causing a loss of suction power.
This will also help to stop your vacuum cleaner from smelling, and should be done either after every use or when it gets about halfway full, as it's generally best to avoid overfilling your vacuum, depending on the size of the canister.
As Scott Schrader, cleaning expert at CottageCare, says, 'This helps keep the vacuum’s ability to suck at its highest efficiency.’
For bagless models, emptying outside and away from vents can help prevent allergens from being released back into your home.
Replace the bag fully at least every three months, and always take note of any warning lights that indicate the bag is full.
3. Sanitize the compartment where dirt collects
As Muffetta Krueger, cleaning expert and founder of Muffetta's Housekeeping, says, 'This will prevent unpleasant odors and bacterial growth.'
To do this, turn off the power and remove the dustbin from the vacuum, removing the filter to be cleaned later. Use a dry microfiber cloth to wipe down the inside of the canister. We recommend these HOMEXCEL Microfiber Cloths, available Amazon as they are hardwearing, easy to wash and dry, and reusable.
Then, soak the canister in warm, soapy water and rinse thoroughly to get rid of the soapy film. Hashi Mohamed, president of Ivy Cleans reminds us, 'Before reinstalling the canister, make sure it is completely dry to avoid trapping moisture, which can lead to mold growth and decreased suction power.'
You can also gently wash the vacuum bag with soapy water, then rinse it and let it air dry. Some vacuum bags are also machine washable, so check the instructions.
4. Clean the filters
Filters play a vital role in trapping and reducing common household allergens and maintaining good air quality indoors, and should be cleaned every two to four weeks.
Remove dust before washing a filter by taking it out, wrapping it in a trash bag, and tapping it on a hard surface outdoors. This is particularly important after you've vacuumed a pest problem.
Callum Stokes, from House Vacuum Cleaner says, 'Clean the vacuum's filters (HEPA, foam, or felt filters) according to the manufacturer's instructions. Each type will have different requirements to avoid damage.
'Wash washable filters with cold water, and air-dry fully before returning to the unit,' which will usually take at least 24 hours. 'Replace non-washable filters as advised,' adds Callum.
Importantly, if the manufacturer hasn't recommended soap or cleaning solutions, don't use them.
5. Clean the head
While our information mainly pertains to cleaning the best Dyson vacuum heads, as our home tech editor and resident vacuum tester, Dan Fauzi, took one apart and gave it a deep clean, these tips can be used for any model.
- Remove the head from the wand or vacuum. For more access, you can take upright vacuum heads apart using a screwdriver, but be careful about removing what you can't reassemble. Check your user manual's guidance.
- Remove the brush roll using the release mechanism. Different heads do this differently; it may be a latch to pull up, or a thin slot to turn with a coin.
- Wash the roller with warm water and mild detergent. Andy Shu, founder of Zapfixers, advises, 'Avoid soaking it, and ensure it’s completely dry before reassembling.' For any areas that are accessible within the vacuum cleaner head, avoid using anything damp. A dry, lint-free cloth or soft brush will remove any stuck-on dirt and grime.
- Remove hair using scissors or a blade, as Lina DaSilva, founder at Toronto Shine Cleaning, recommends. This is important as hair can impede rotation and generally reduce the effectiveness of your vacuum, and is particularly important for the best vacuums for pet hair. Some better brushes will be removable, making it easier to get the scissors in to snip at the hair. If it is not, use a Retractable Box Cutter available at Amazon, to carefully slide under the hair and slice it away. Remember to always cut away from you to decrease the likelihood of an accident. If you have pets, this should be done once a week.
- Clean the underside of the vacuum head. Vacuum pro Dan recommends an old toothbrush or crevice brush, such as the OXO Good Grips Deep Clean Brush Set available at Amazon.
- Wipe the exterior with a dry cloth and reassemble when completely dry.
6. Brush out the hoses and pipes
Blockages are the leading cause of your vacuum losing suction power, which is why you should regularly check the vacuum's hose, attachments, and pathways for clogs. Proper maintenance can greatly increase how long a vacuum lasts – make sure you're clued up on all the things you should never vacuum.
Henrique Conceicao, manager at Total Clean advises, 'Your best bet for clearing out any hair and debris in these places is a straightened coat hanger or a brush with a long and flexible handle. These tools are great for clearing out any obstructions and keeping your vacuum’s suction power in its best form.'
We recommend this Holikme Dryer Vent Cleaner Kit available at Amazon.
Angela Rubin, a cleaning expert at Hellamaid also recommends, 'Follow the vacuum's user manual to clean the internal air pathway, which may involve removing panels or accessing the internal components. Ensure it's free from obstructions and dust.'
Additionally, don't forget about the wheels. 'Casters and wheels are another area that collect high amounts of debris and hair,' says Henrique. 'Your best bet is to again use a pair of scissors [such as the Westcott Multipurpose Scissors available at Walmart] to remove the unwanted obstructions.'
7. Wipe the exterior
To finish, Muffetta suggests, 'Use a damp cloth to clean the vacuum's exterior, including the handle, body, and button. This prevents the transfer of dirt from the vacuum to your hands.'
'Disinfect high-touch areas like the handle and power buttons,' adds Angela Rubin. 'A simple solution of water and mild dish soap [such as the Seventh Generation Dish Soap Liquid available at Walmart] or a disinfectant wipe works well for this purpose.'
Why is my vacuum cleaner smelly?
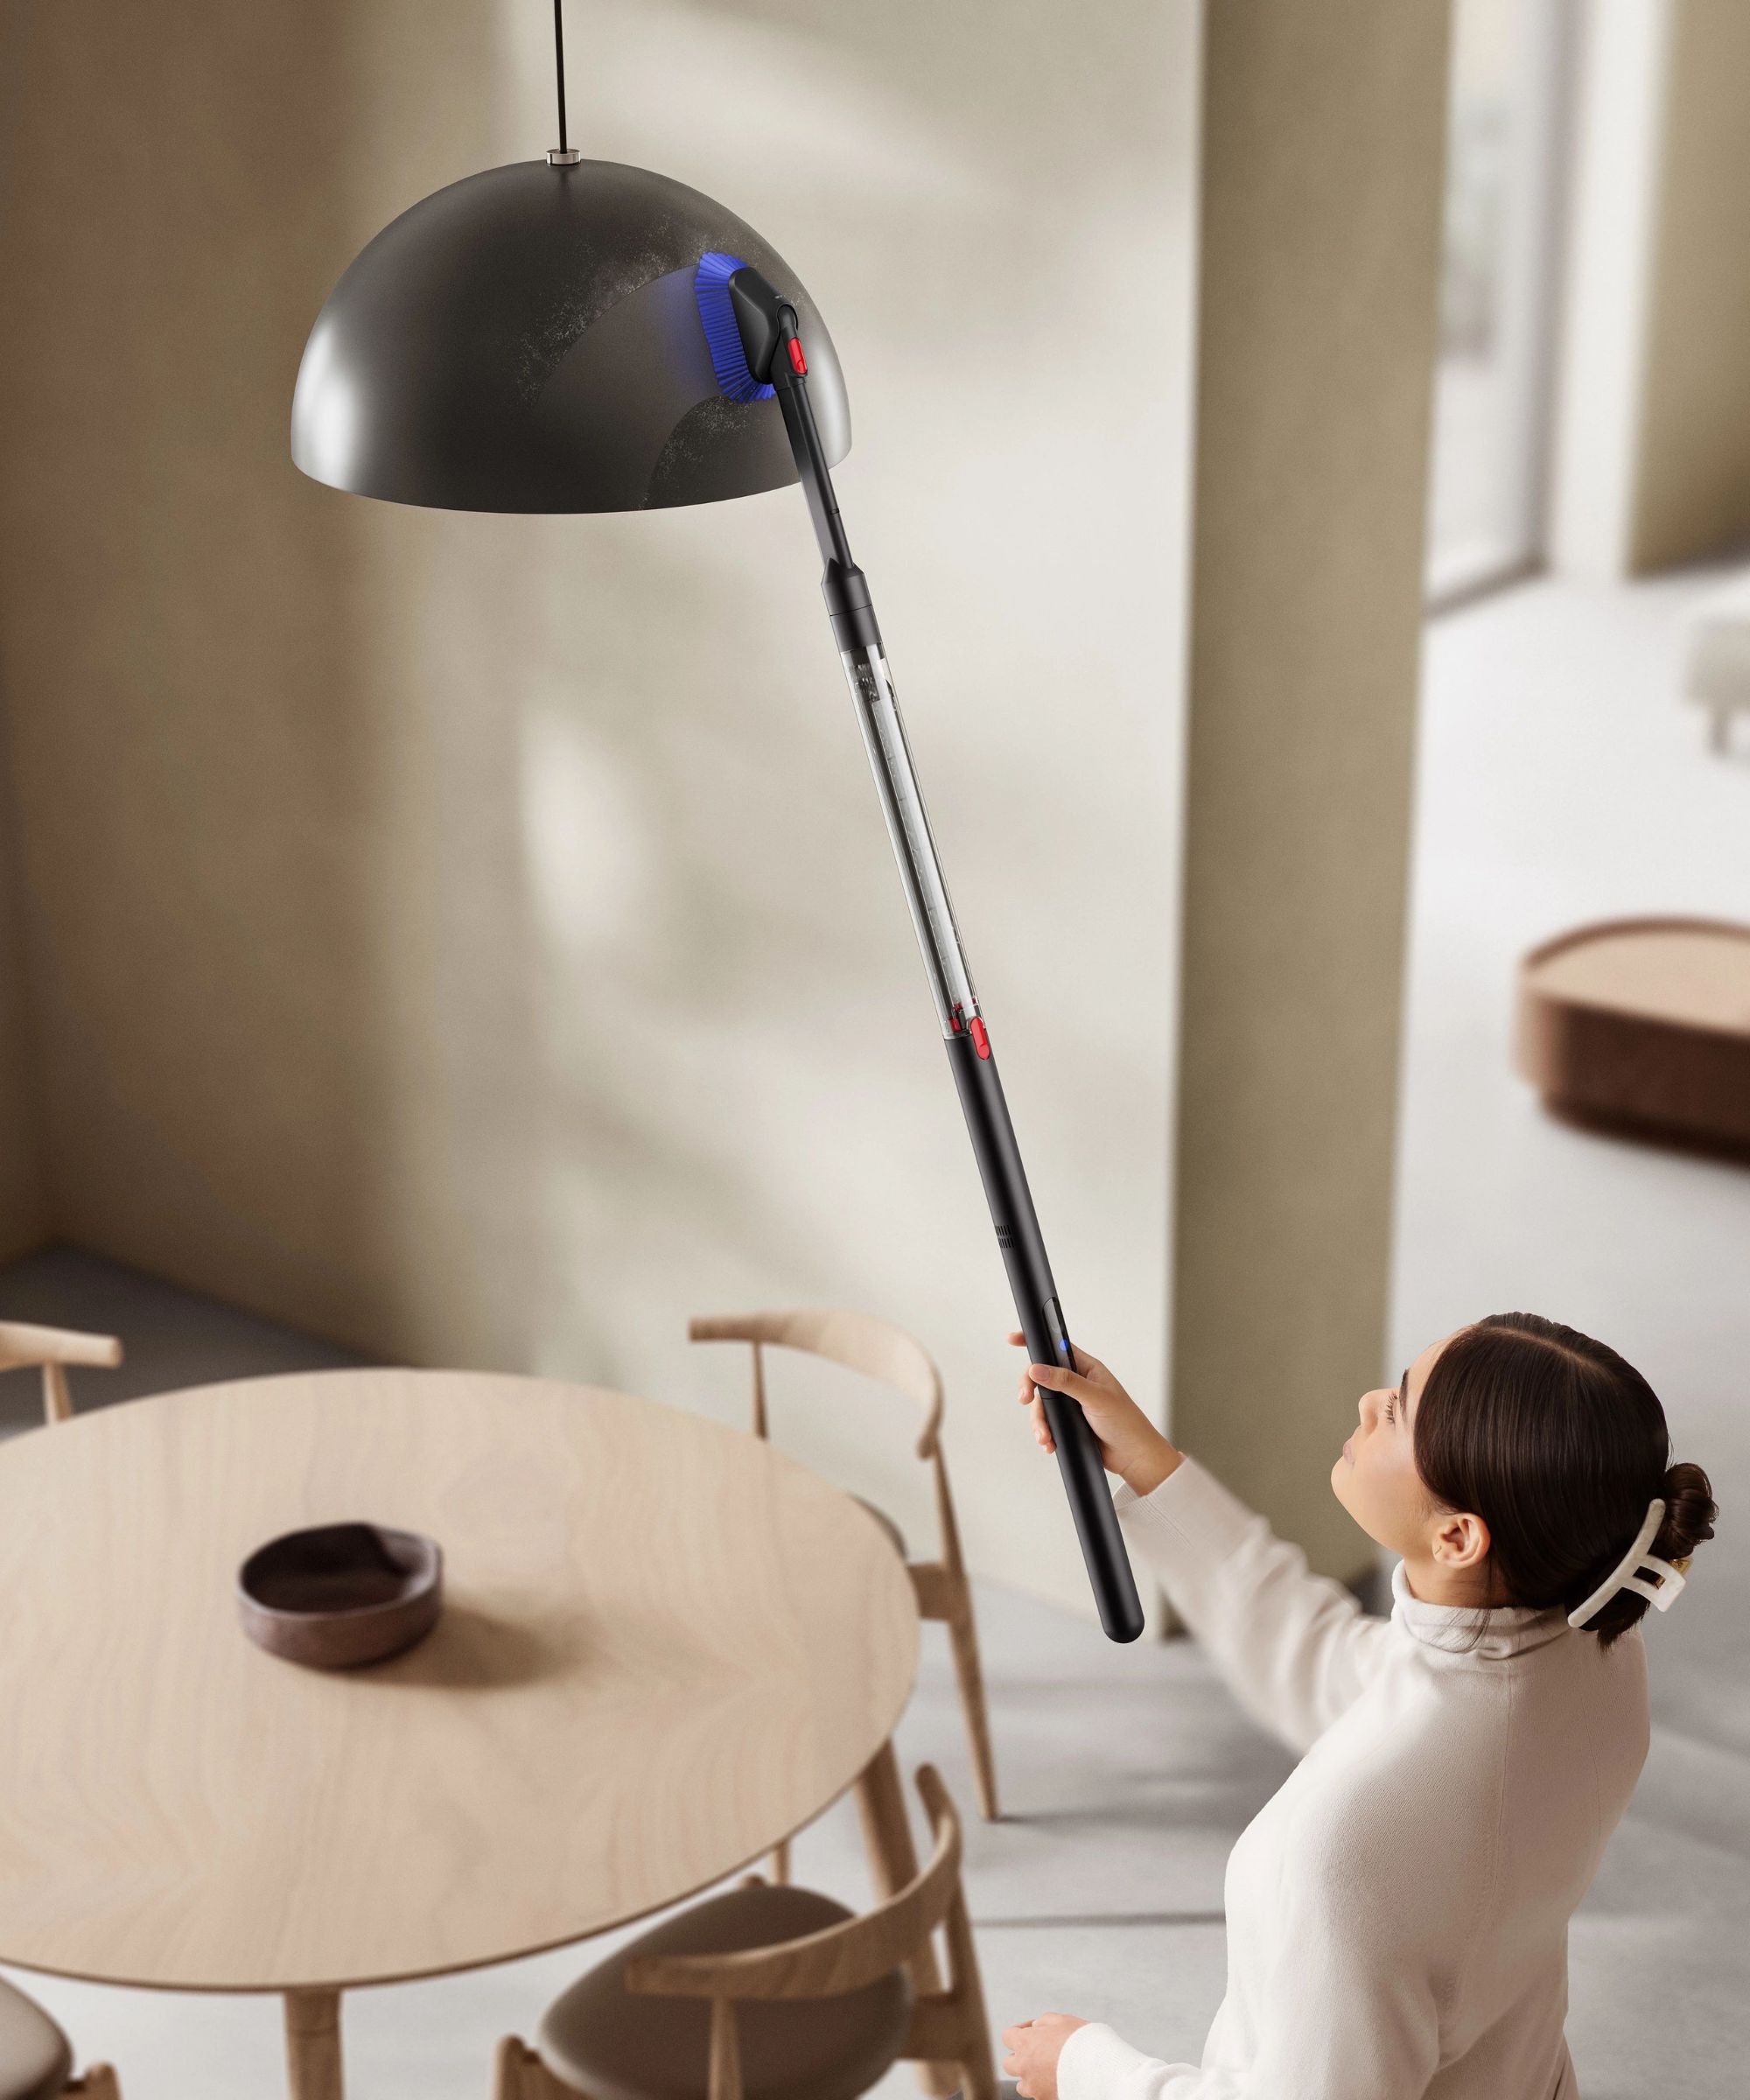
Bad odors in your vacuum can stem from a number of common pitfalls
As they're responsible for so much of our home cleaning, it makes sense that vacuum cleaners smell foul from time to time. Fortunately, it isn't too difficult to resolve the problem, and many of these issues will be negated if you make tackling your vacuum cleaner a regular part of your achievable cleaning routine.
1. Your vacuum's dustbin, bag or canister needs emptying
You'd be surprised at how many people overfill their vacuums. But, keeping messes in your vacuum will inevitably release them back into your home over time, as appliance expert Andy affirms, 'Accumulated dirt, dust, and debris can start to smell if not emptied regularly.'
2. Your vacuum needs cleaning
Logan Taylor, professional cleaner and founder of Dazzle Cleaning Company, advises, 'One of the most common reasons is the lack of regular cleaning and maintenance. Over time, dirt, dust, and debris can build up in your vacuum filters and other components, leading to unpleasant odors.'
3. Your filters are clogged, dirty, or overused
David Buckler, president and general manager of MaidPro Calgary, explains, 'Modern vacuums tend to have several different filters, and they will eventually get plugged up and a little smelly.'
4. Moisture buildup
Another common denominator to bad odors emanating from your vacuum is a buildup of moisture, says Rocky Vuong, founder and owner of Calibre Cleaning. 'Trapped moisture can create a breeding ground for mold and mildew, adding another layer of stink,' he warns. To prevent this, you should always avoid vacuuming damp materials. Unless yours is a wet-dry vacuum, it likely won't be able to handle the moisture.
5. Pet hair and dander
Our precious pets have natural odors, and these don't go away once their hair and dander are vacuumed up. As Andy Shu puts it, 'Pet hair and dander can start to smell over time, especially if it's mixed with dirt and moisture.'
6. Electrical issues
'If you have tried all of the above and still have a smell, you may be nearing the end of your vacuum life,' says David from MaidPro. 'Electric motors will wear out, and you’ll start to smell a sharp burnt electrical odor as the motor itself nears the end of its life.'
A burning smell doesn't necessarily mean your vacuum is on the way out, but it most likely will cost you. 'Typically a vacuum motor costs $100+ for just the parts, so unless it’s under warranty still or a really expensive vac system, you’re generally better off to replace the whole thing,' adds David.
Vacuuming by different surface type

Different surfaces will require different care and potentially, different floorheads
How to vacuum carpet
Vacuuming your carpets is a crucial task for keeping a home clean, and doing it regularly means it takes less time each time, too.
Doing so will also extend the lifespan of your carpet, as Karina Toner, cleaning expert and operations manager at Spekless, says, 'Dirt particles can wear down carpet fibers over time. Vacuuming prevents buildup, helping your carpet maintain its appearance and texture.'
When dealing with carpets, especially high-pile carpets, it's best to move slowly to give the brushroll enough time to agitate all the trapped debris and vacuum in multiple directions to ensure you lift dirt embedded in fibers. It's helpful to start at one end of the room to avoid missing any spots, and use attachments for edges and corners, as these are areas that often trap dust and dirt.
Karina also reminds us not to forget to adjust the vacuum height. 'Match the height to your carpet type for optimal suction, and empty the vacuum bag or bin regularly, as a full bag reduces efficiency,' she says.
You can also, if you would like, freshen up carpets with powders before vacuuming. While not every carpet deodorizer is safe for the vacuum, as some can clog the vacuum's parts like the filter and motor, you can deodorize floors using baking soda, such as the ARM & HAMMER Pure Baking Soda available at Walmart. This is a safe substance for your home, pets and vacuum cleaner, that will leave your home feeling fresher.
And, if you're wondering how often you should vacuum carpet, Karina advises that moderate-traffic areas should be tackled one to two times a week, while high-traffic areas, such as entryway ideas and living room ideas, should be vacuumed daily, or at least three to four times a week to keep dirt and debris under control.
Then, for low-traffic or rarely-used areas, once every one to two weeks is sufficient.
How to vacuum furniture
Keeping furniture clean can be a laborious task, but it is vital to reducing allergies and keeping it in top condition. And, while you can use any vacuum to clean furniture, there are a few things you should consider before cleaning upholstery, whether you're cleaning a fabric couch, cleaning a velvet couch, or tackling any other upholstered surfaces. Here's how to get the job done properly, without damage:
- Check for loose threads and snags to avoid causing irreversible damage.
- Choose an upholstery attachment or soft brush. Scott Johnston, carpet and upholstery cleaning expert at Carpet Care of the Carolinas, advises, 'If the attachment has a brush, do not rub with force when going over upholstery, as you do not want to damage your textiles.' Instead, you should allow a built-in beater brush to do most of the work when stirring up embedded dust, he suggests. While you can use a regular vacuum on a couch, we always recommend that it's best to use a dedicated attachment for the job.
- Use a low suction setting, starting with the lowest setting and adjusting as needed if you need a more powerful pull.
- Test in an inconspicuous area to make sure you won't damage your furniture in an obvious spot.
- Vacuum in a pattern, starting at the top of your furniture and working from the high back to the arms if required, to the cushion pad, and then to the base. 'Always keep the attachment moving,’ says Scott. ‘If you hold it in place, the beater bar could damage your textiles.’ This also allows any dislodged dust or dirt to fall down without muddying your work and ensures you pass over every area without missing a spot.
- Use alternate tools for stubborn pet hair, as this has an unfortunate habit of working its way between the fibers of upholstered furniture, making it trickier to get out with a regular vacuum. We recommend the BISSELL Pet Hair Eraser available at Amazon for this.
You might not know it, but you should actually be vacuuming your upholstered furniture almost as often as your flooring. This way, your upholstery will stay clean, and dust and debris will not accumulate if you vacuum frequently, Jenna Shaughnessy, cleaning expert and lifestyle blogger at Jenna Kate at Home, says.
‘Vacuuming your upholstery regularly, around once a week if you have pets or every other week otherwise, is essential to keeping it spick and span and free of allergens and dust,' she explains.
Like carpets, you can also use baking soda to deodorize your upholstered furniture, sprinkling over a light layer, and letting it sit for 30 minutes before vacuuming it up.
How to store your vacuum cleaner
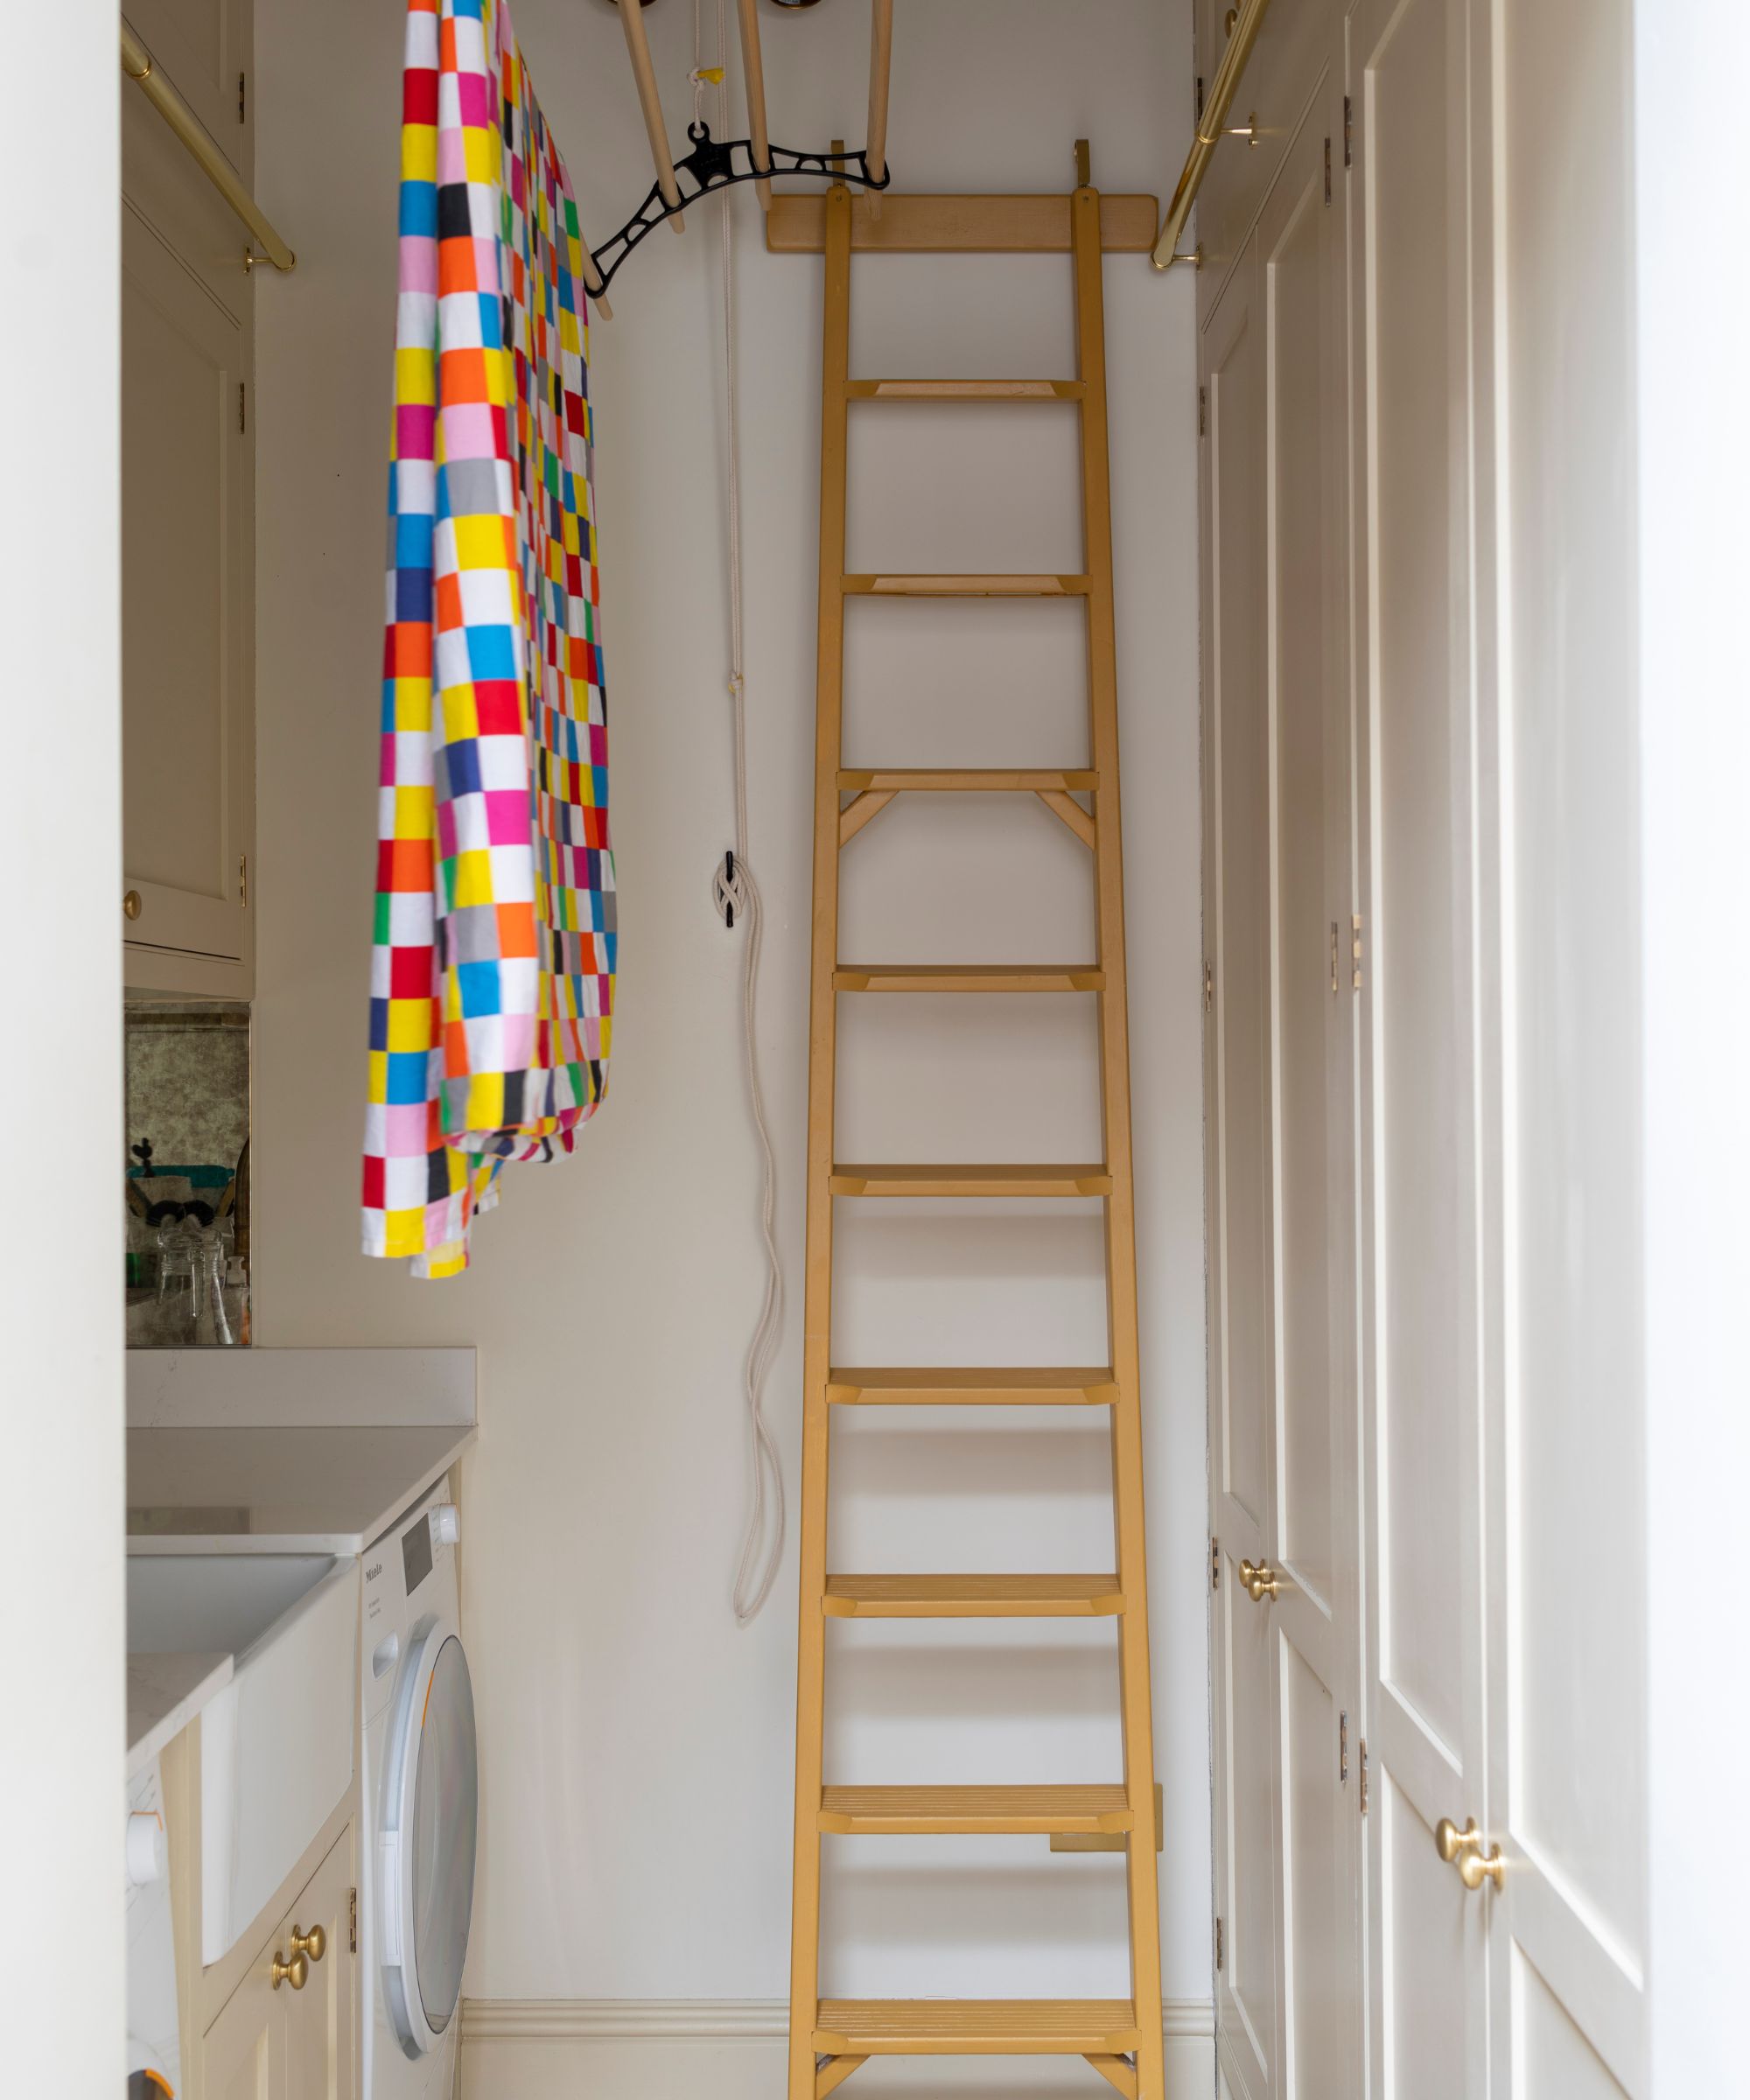
Where and how you store your vacuum will depend on the model
Finding the sweet spot between concealing your vacuum cleaner and having it readily available in an accessible spot takes a bit of fine-tuning, as well as a familiarity with your home's storage options.
If you're lucky enough to have an under-stairs closet or utility room, this is generally the best bet, but there are plenty of alternatives if you don't. There are just a few things to note before finding the ideal new spot in your home for your vacuum to live when not in use, but the most important is that you consider the safety of you and your machine.
Petya Holevich, cleaning expert at Fantastic Services, advises, 'The best place to store a vacuum cleaner is in a cool, dry, and clean space, away from direct sunlight and humidity. Sunlight can cause the vacuum cleaner's plastic parts to fade and become brittle, while humidity and moisture can cause rust and damage to the appliance.
'Make sure also that the power cord is securely and neatly wrapped to prevent it from tangling and getting damaged. Always wrap the cord separately and store it next to the vacuum cleaner and avoid wrapping it around the appliance, as this may cause damage to both the appliance and the cord itself.'
Here's our expert advice for each model:
- Cordless stick vacuums: Pop these in a closet, on a shelf, under your bed, or hang them on a hook to maximize space. 'Just be sure not to cram them in tightly,' says Tina Priestly, professional organizer and owner of Ready, Set, Refresh. Many cordless sticks also come with a dedicated wall mount that charges the vacuum when it's docked. If yours didn't come with one, you can find plenty of wall mount options for different vacuum cleaners at Amazon. Vacuum brands like Dyson and Shark have their own mounts for specific vacuums, but other manufacturers have jumped on the opportunity to provide compatible ones at a typically lower price, so it's worth a browse on Amazon for universal vacuum mounts to see if there's one that will fit your model at a budget that suits you.
- Upright vacuums: The obvious choice for these is under the stairs. You can also, as Tina recommends, 'Install custom-built cabinets or create a small closet with a door to hide the vacuum away,' if you don't already have a space to accommodate it. As with cordless vacs, you can still hang an upright vacuum from a wall, it'll just require a sturdier mount. 'This not only saves floor space but also protects the vacuum from being knocked over or damaged,' says cleaning expert Karina.
- Canister vacuums: According to Joseph Passalacqua, CEO of Maid Sailors, 'Canister vacuums, with their detachable hose and nozzle, can be stored in a dedicated cabinet or on a garage shelf where they are easily accessible but out of sight.' Canister vacuums are shaped more awkwardly, so hanging them in closets like a cordless or upright vacuum won't work. Their long hoses and separate canister and floor head parts are best kept on a strong shelf, or tucked underneath a bed or furniture, as mentioned above.
Vacuum maintenance essentials
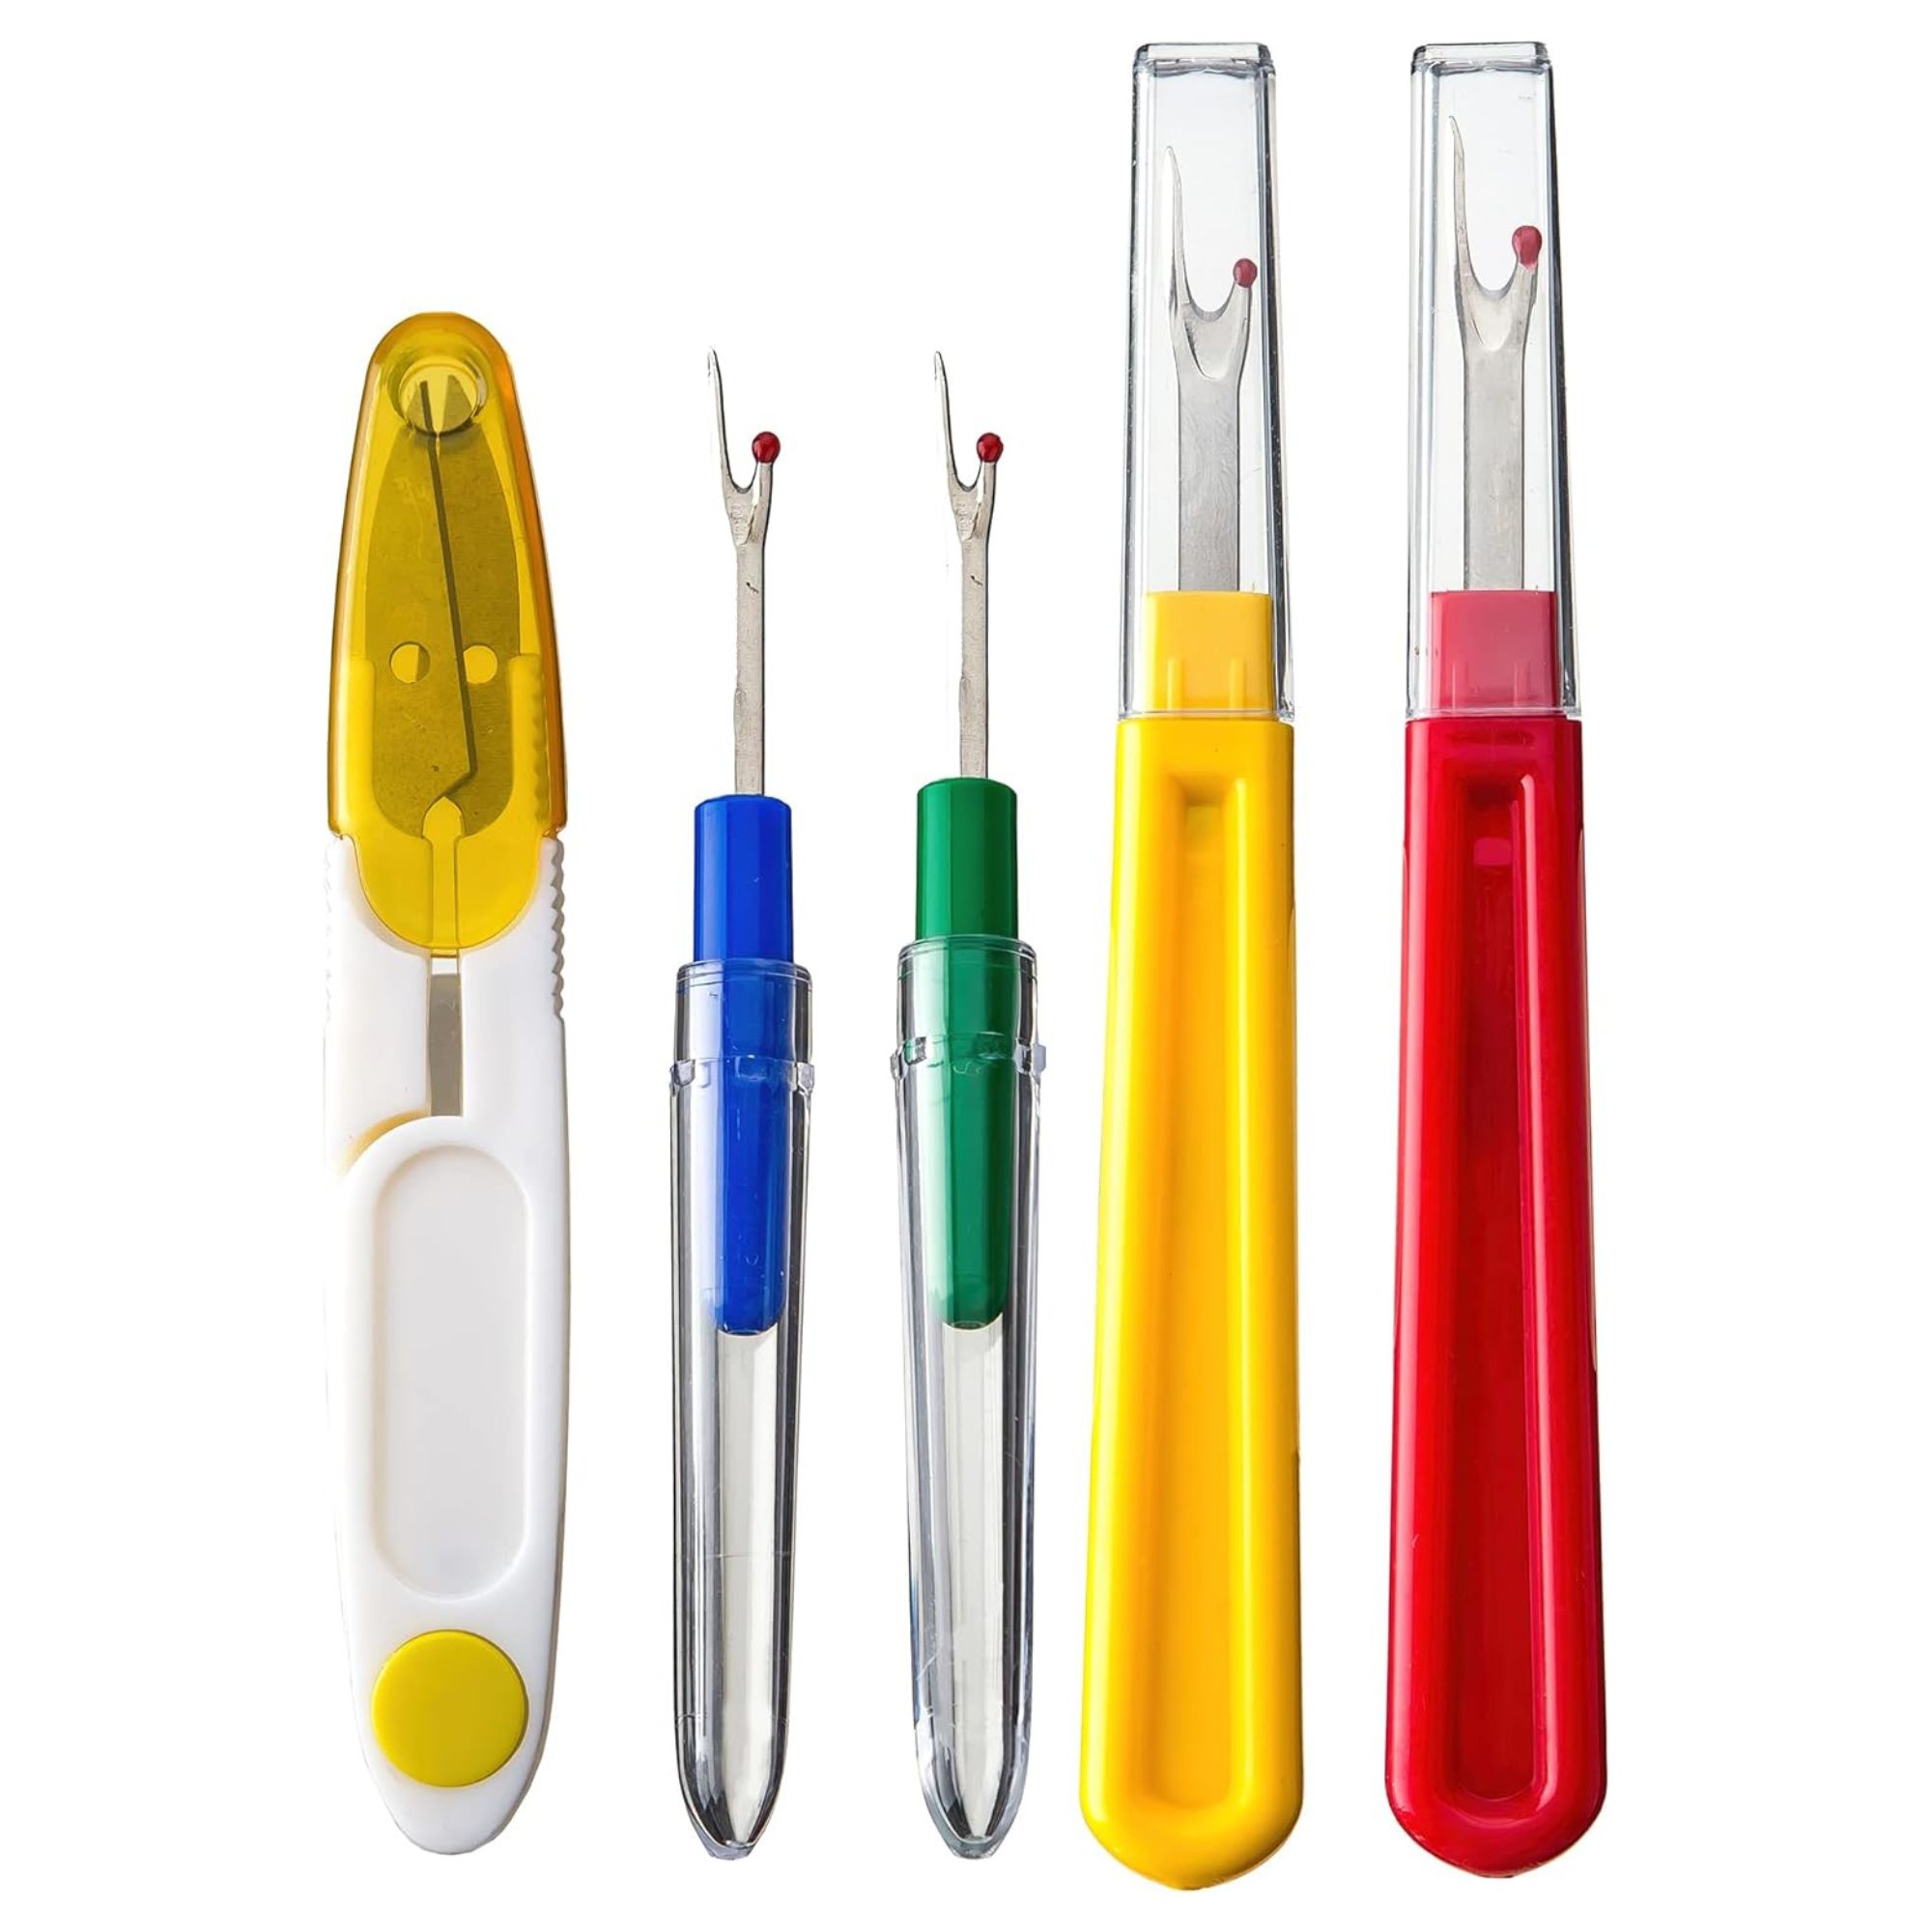
Instead of scissors, using precise thread rippers will make sure you're cutting out tangled pet hair without damaging your brushroll's bristles.
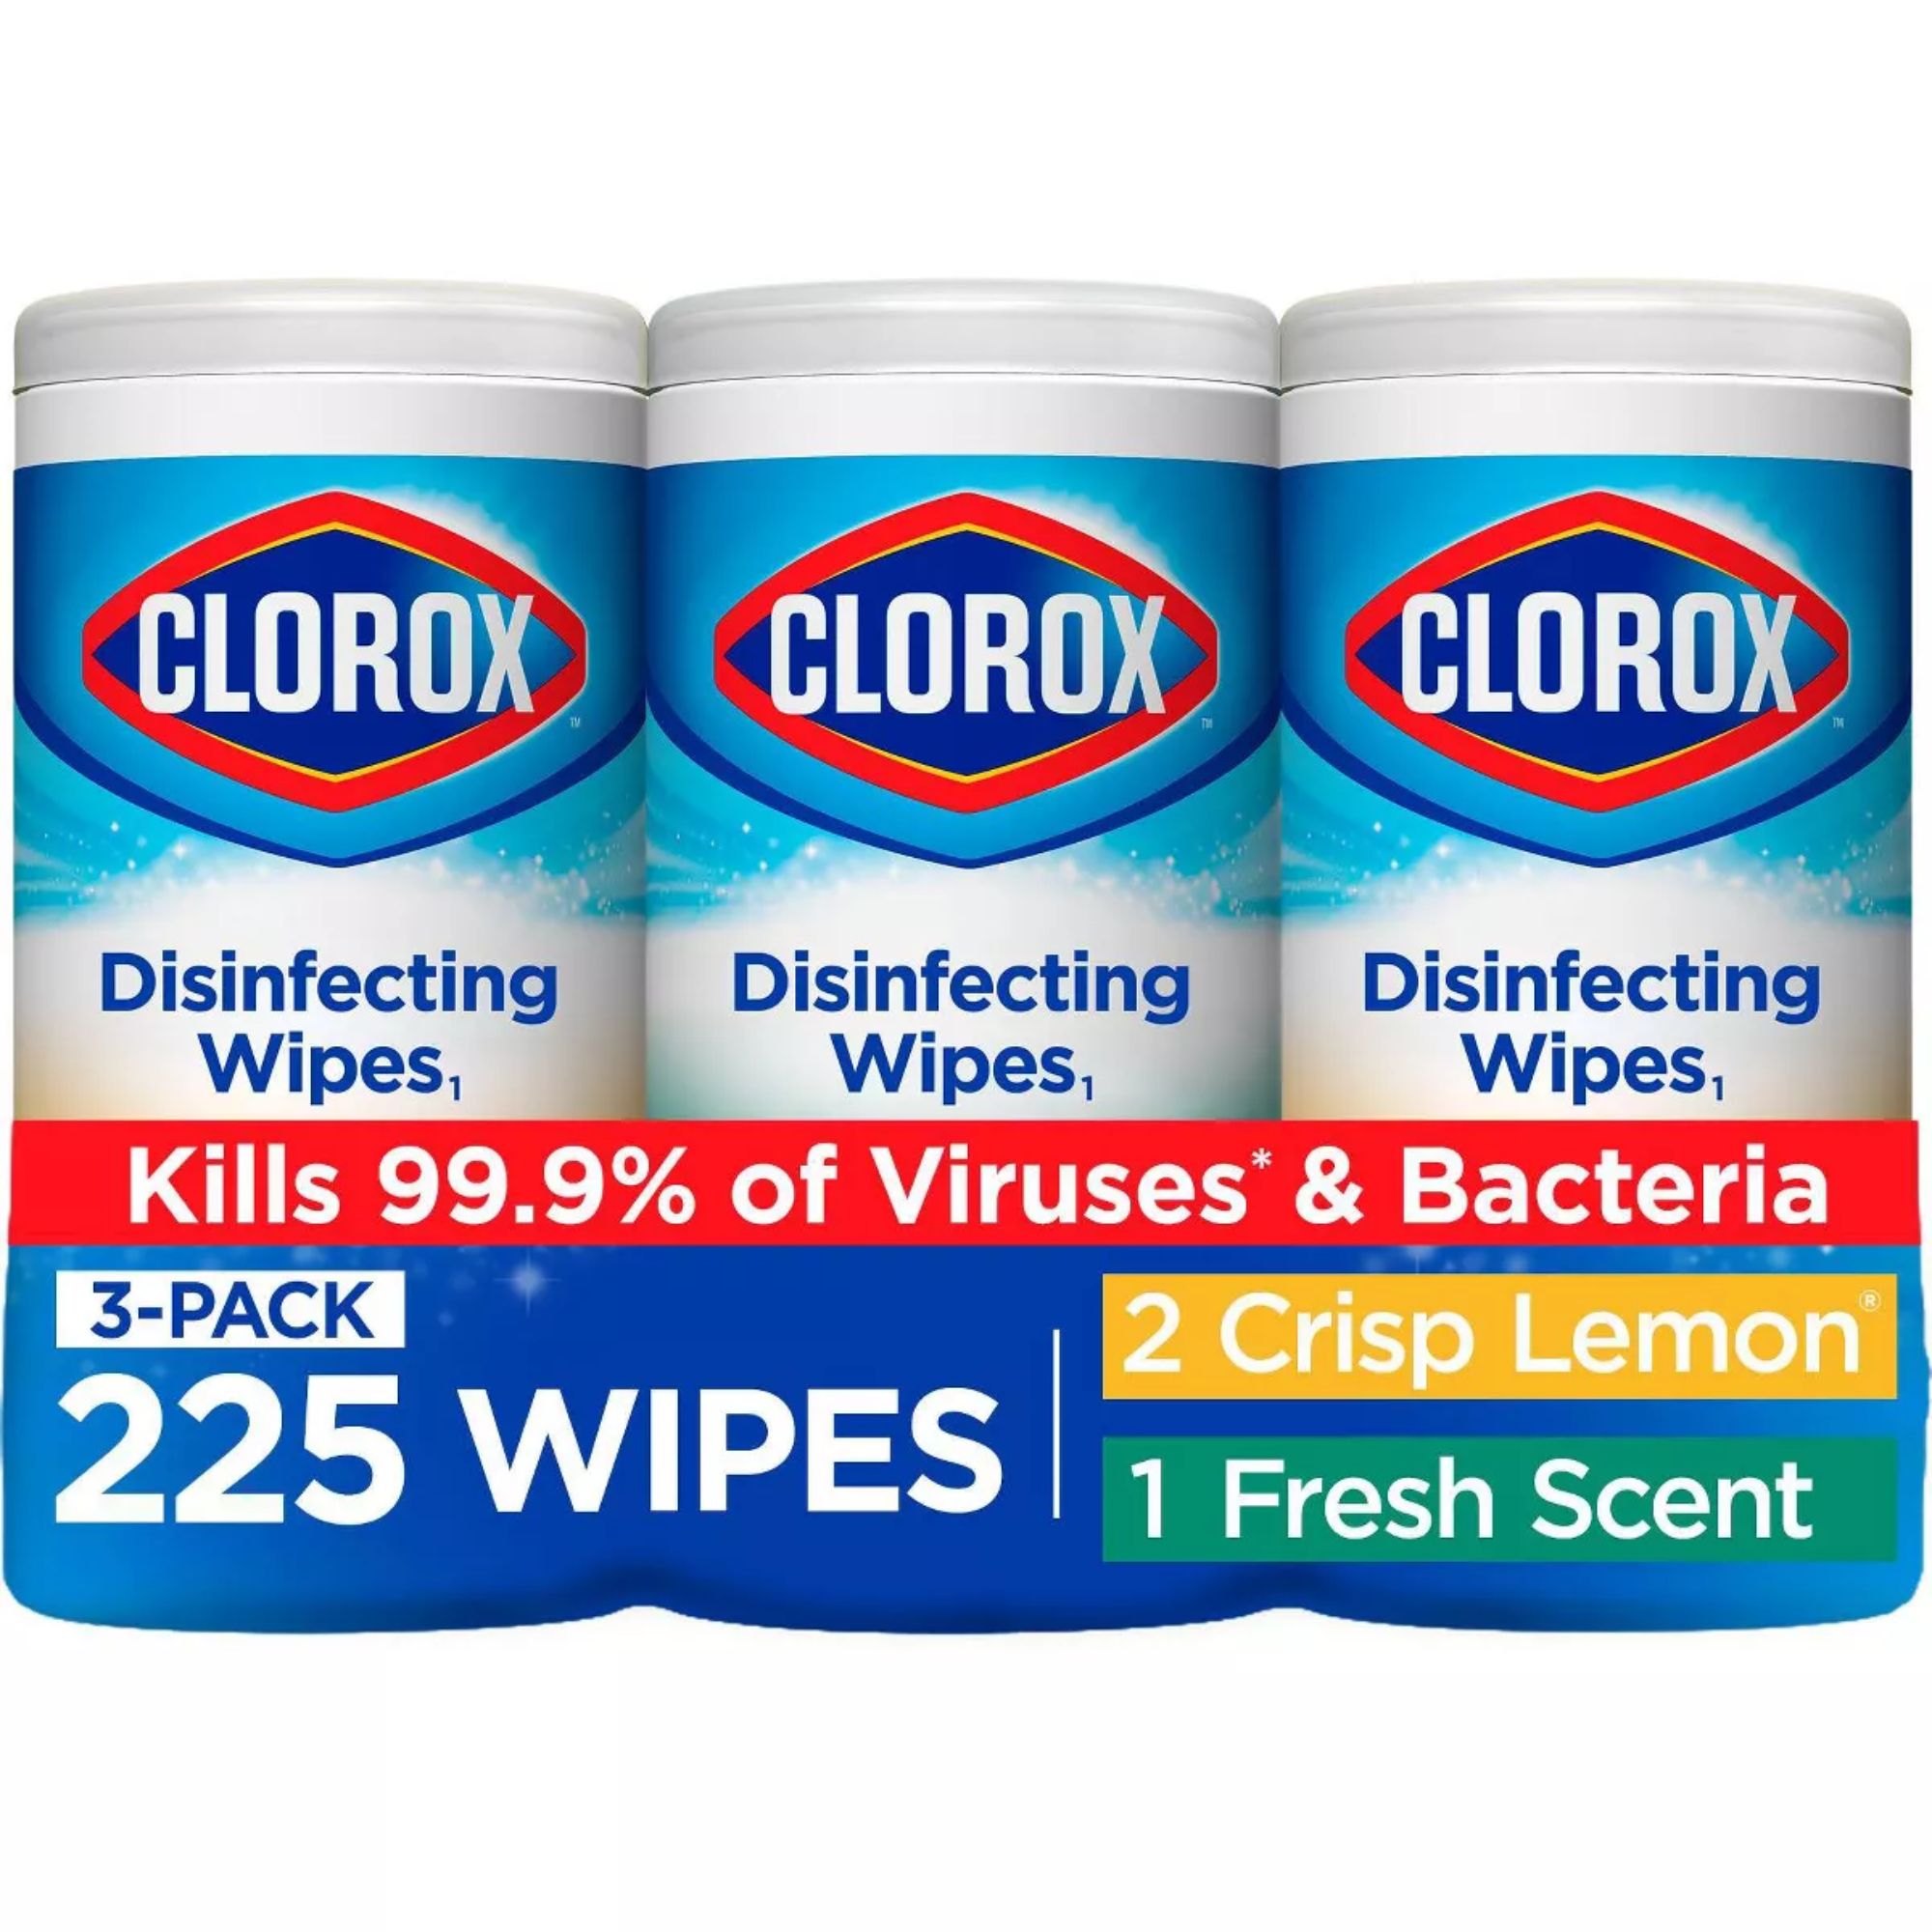
One of the easiest ways to give the exterior of your vacuum a quick refresh is with a disinfecting wipe. Bulk buy this pack of 225 and you won't find yourself caught short.
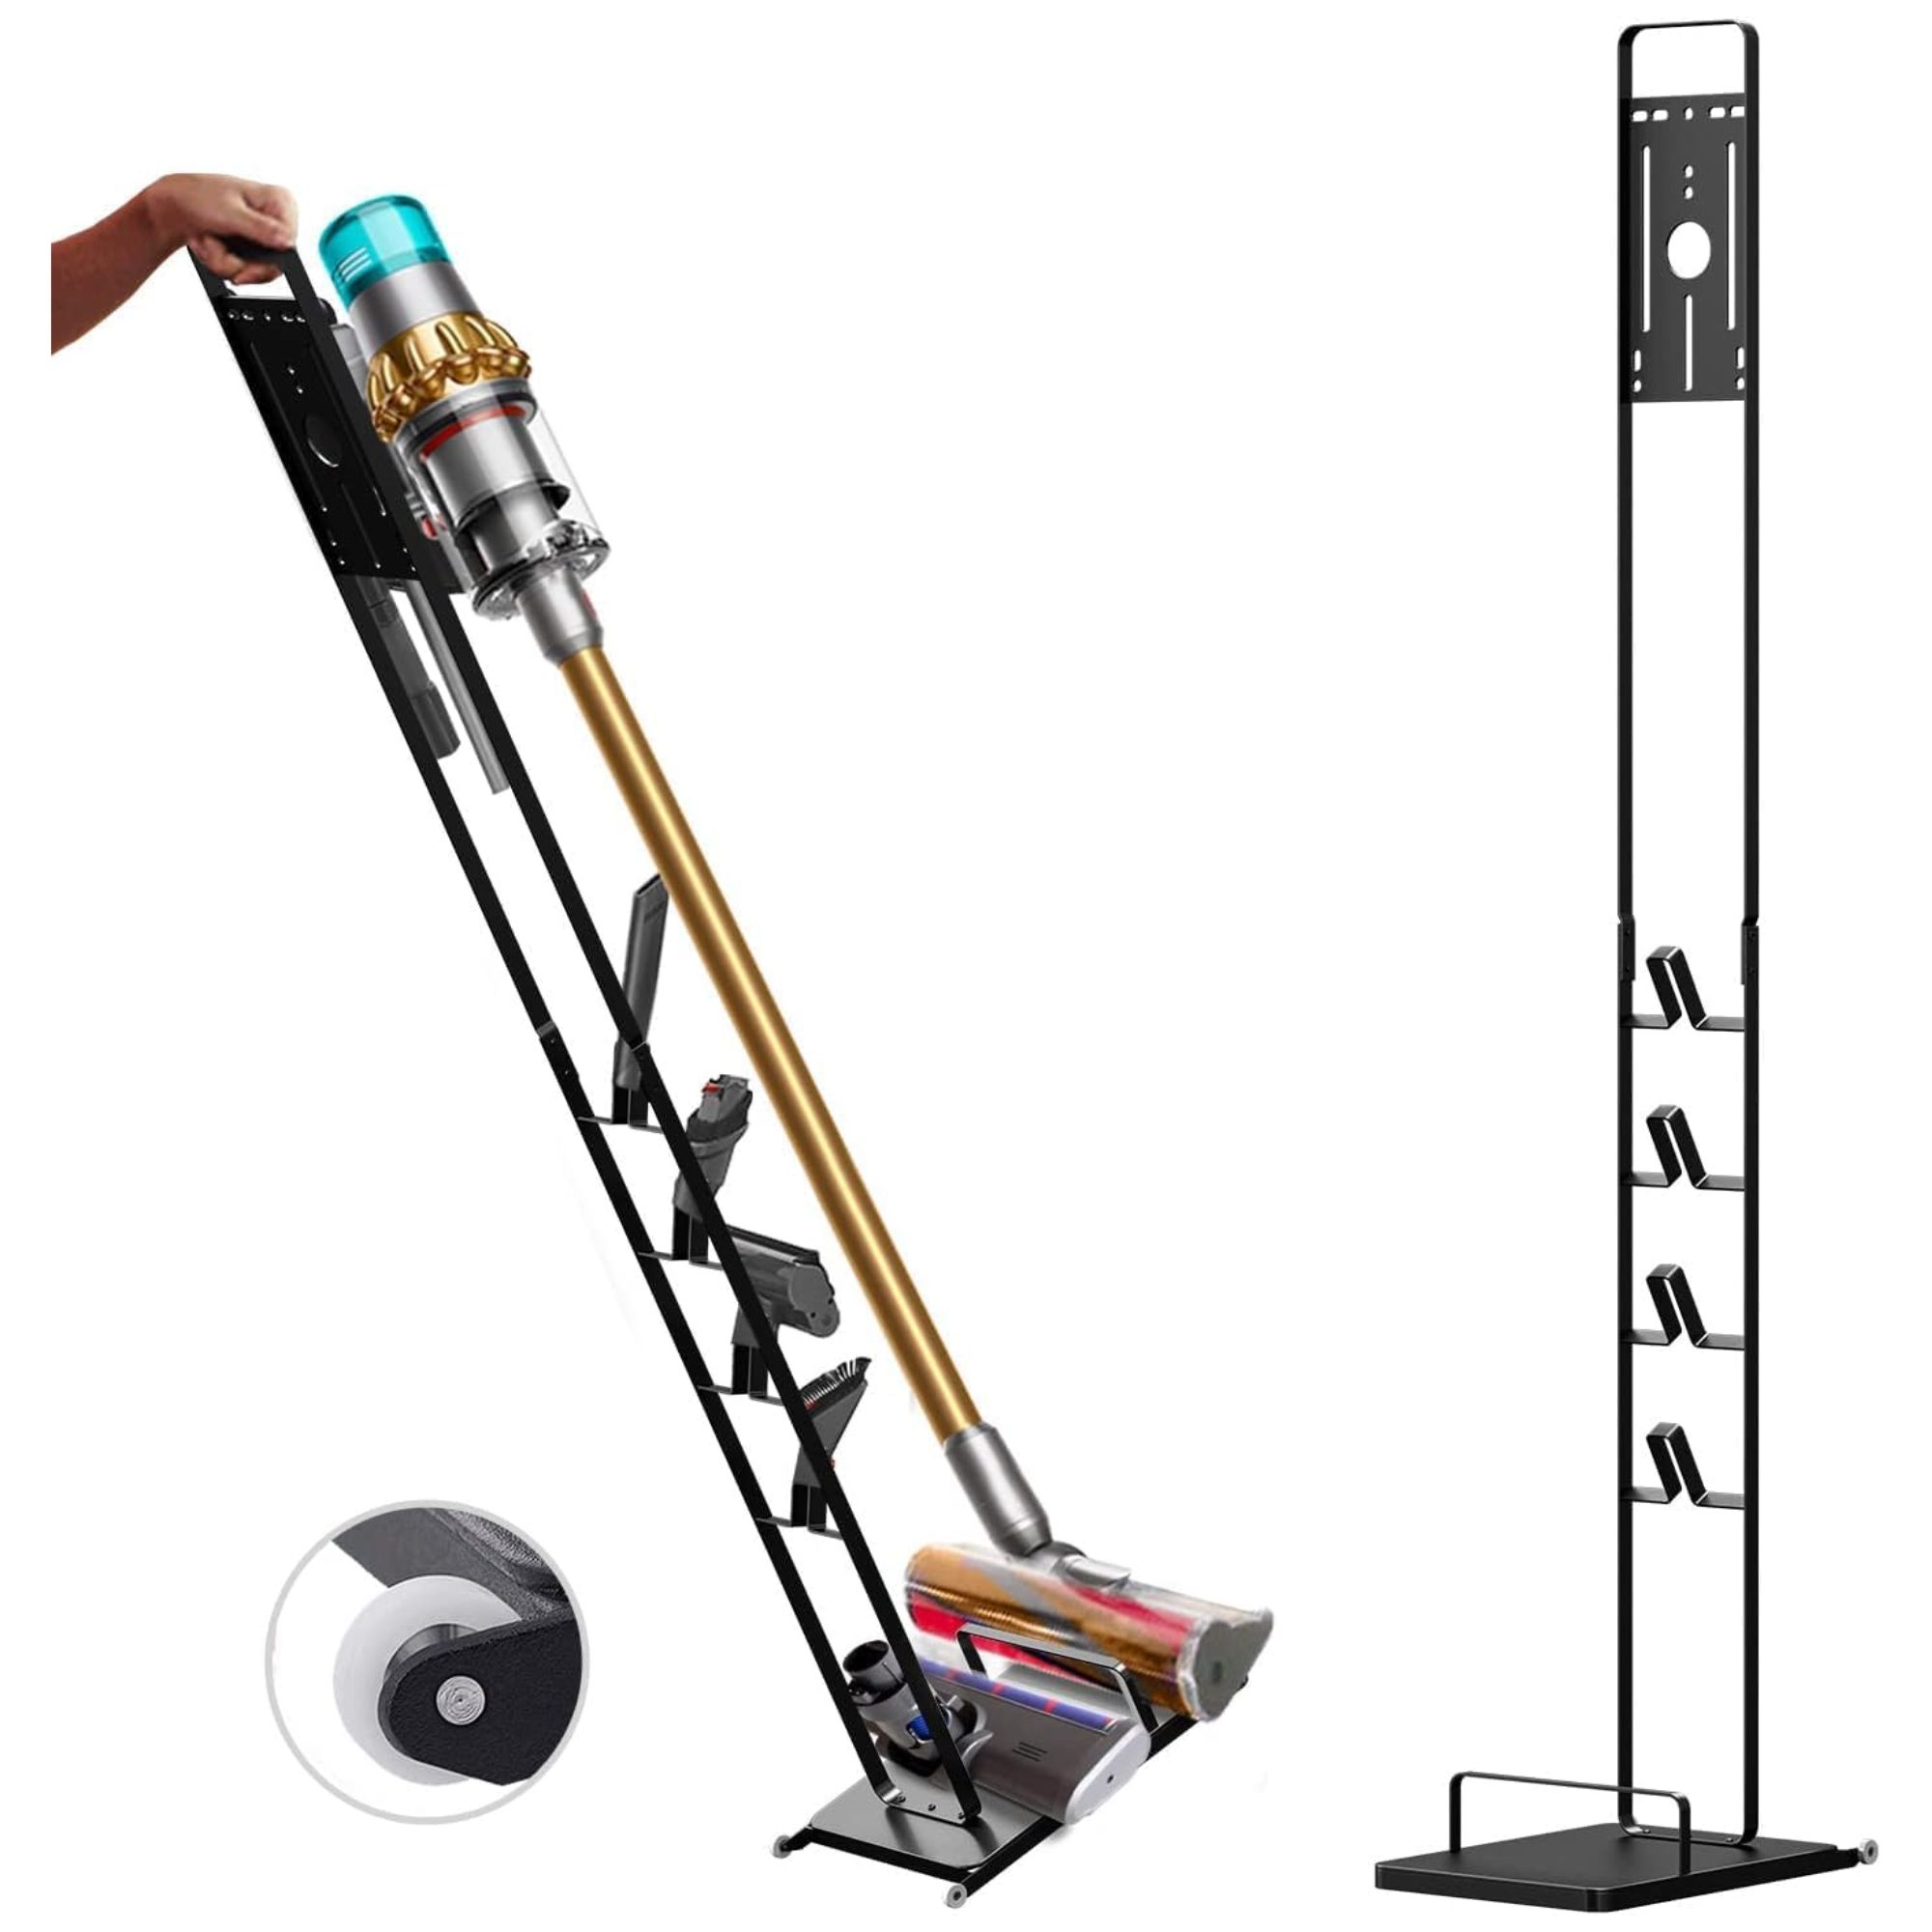
This vacuum stand is easy to assemble with no drilling required, and saves space in your home by holding your vacuum and up to eight accessories.
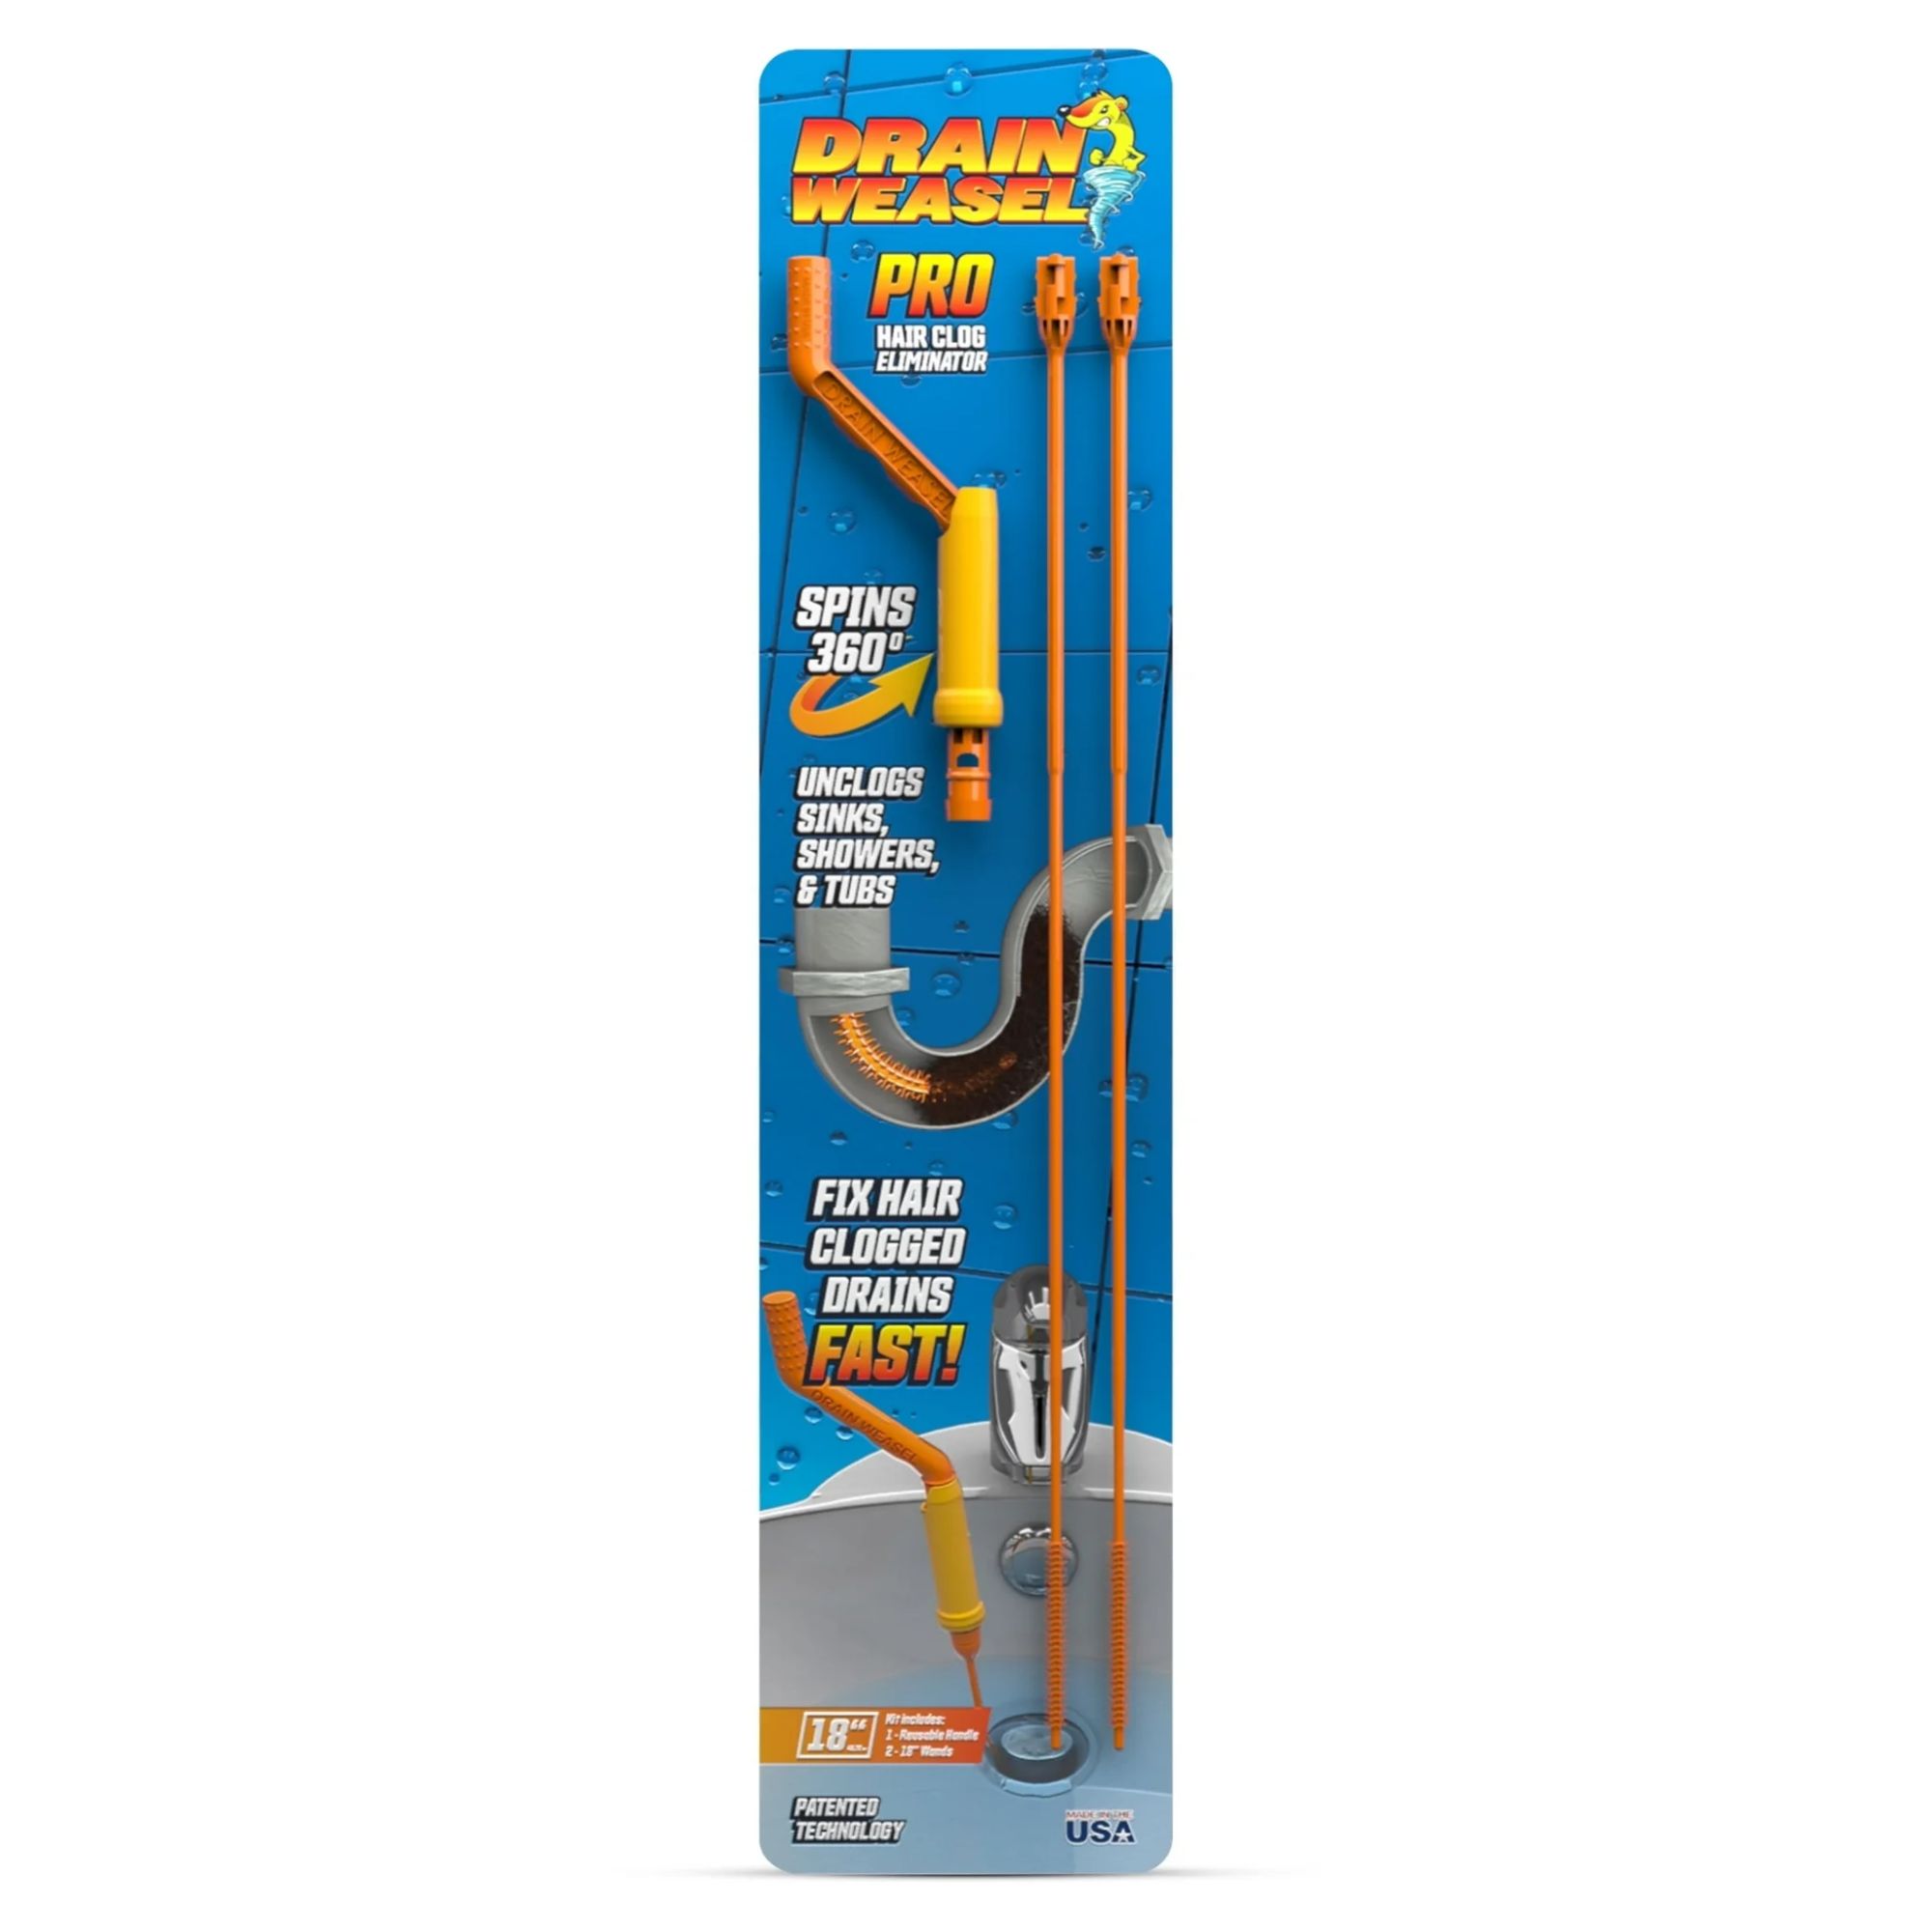
Surprisingly, a drain snake like this is actually a really brilliant way to clear clogs in your vacuum cleaner. This one features tiny hooks with a patented design, to grip on to hairs and pull them straight out.
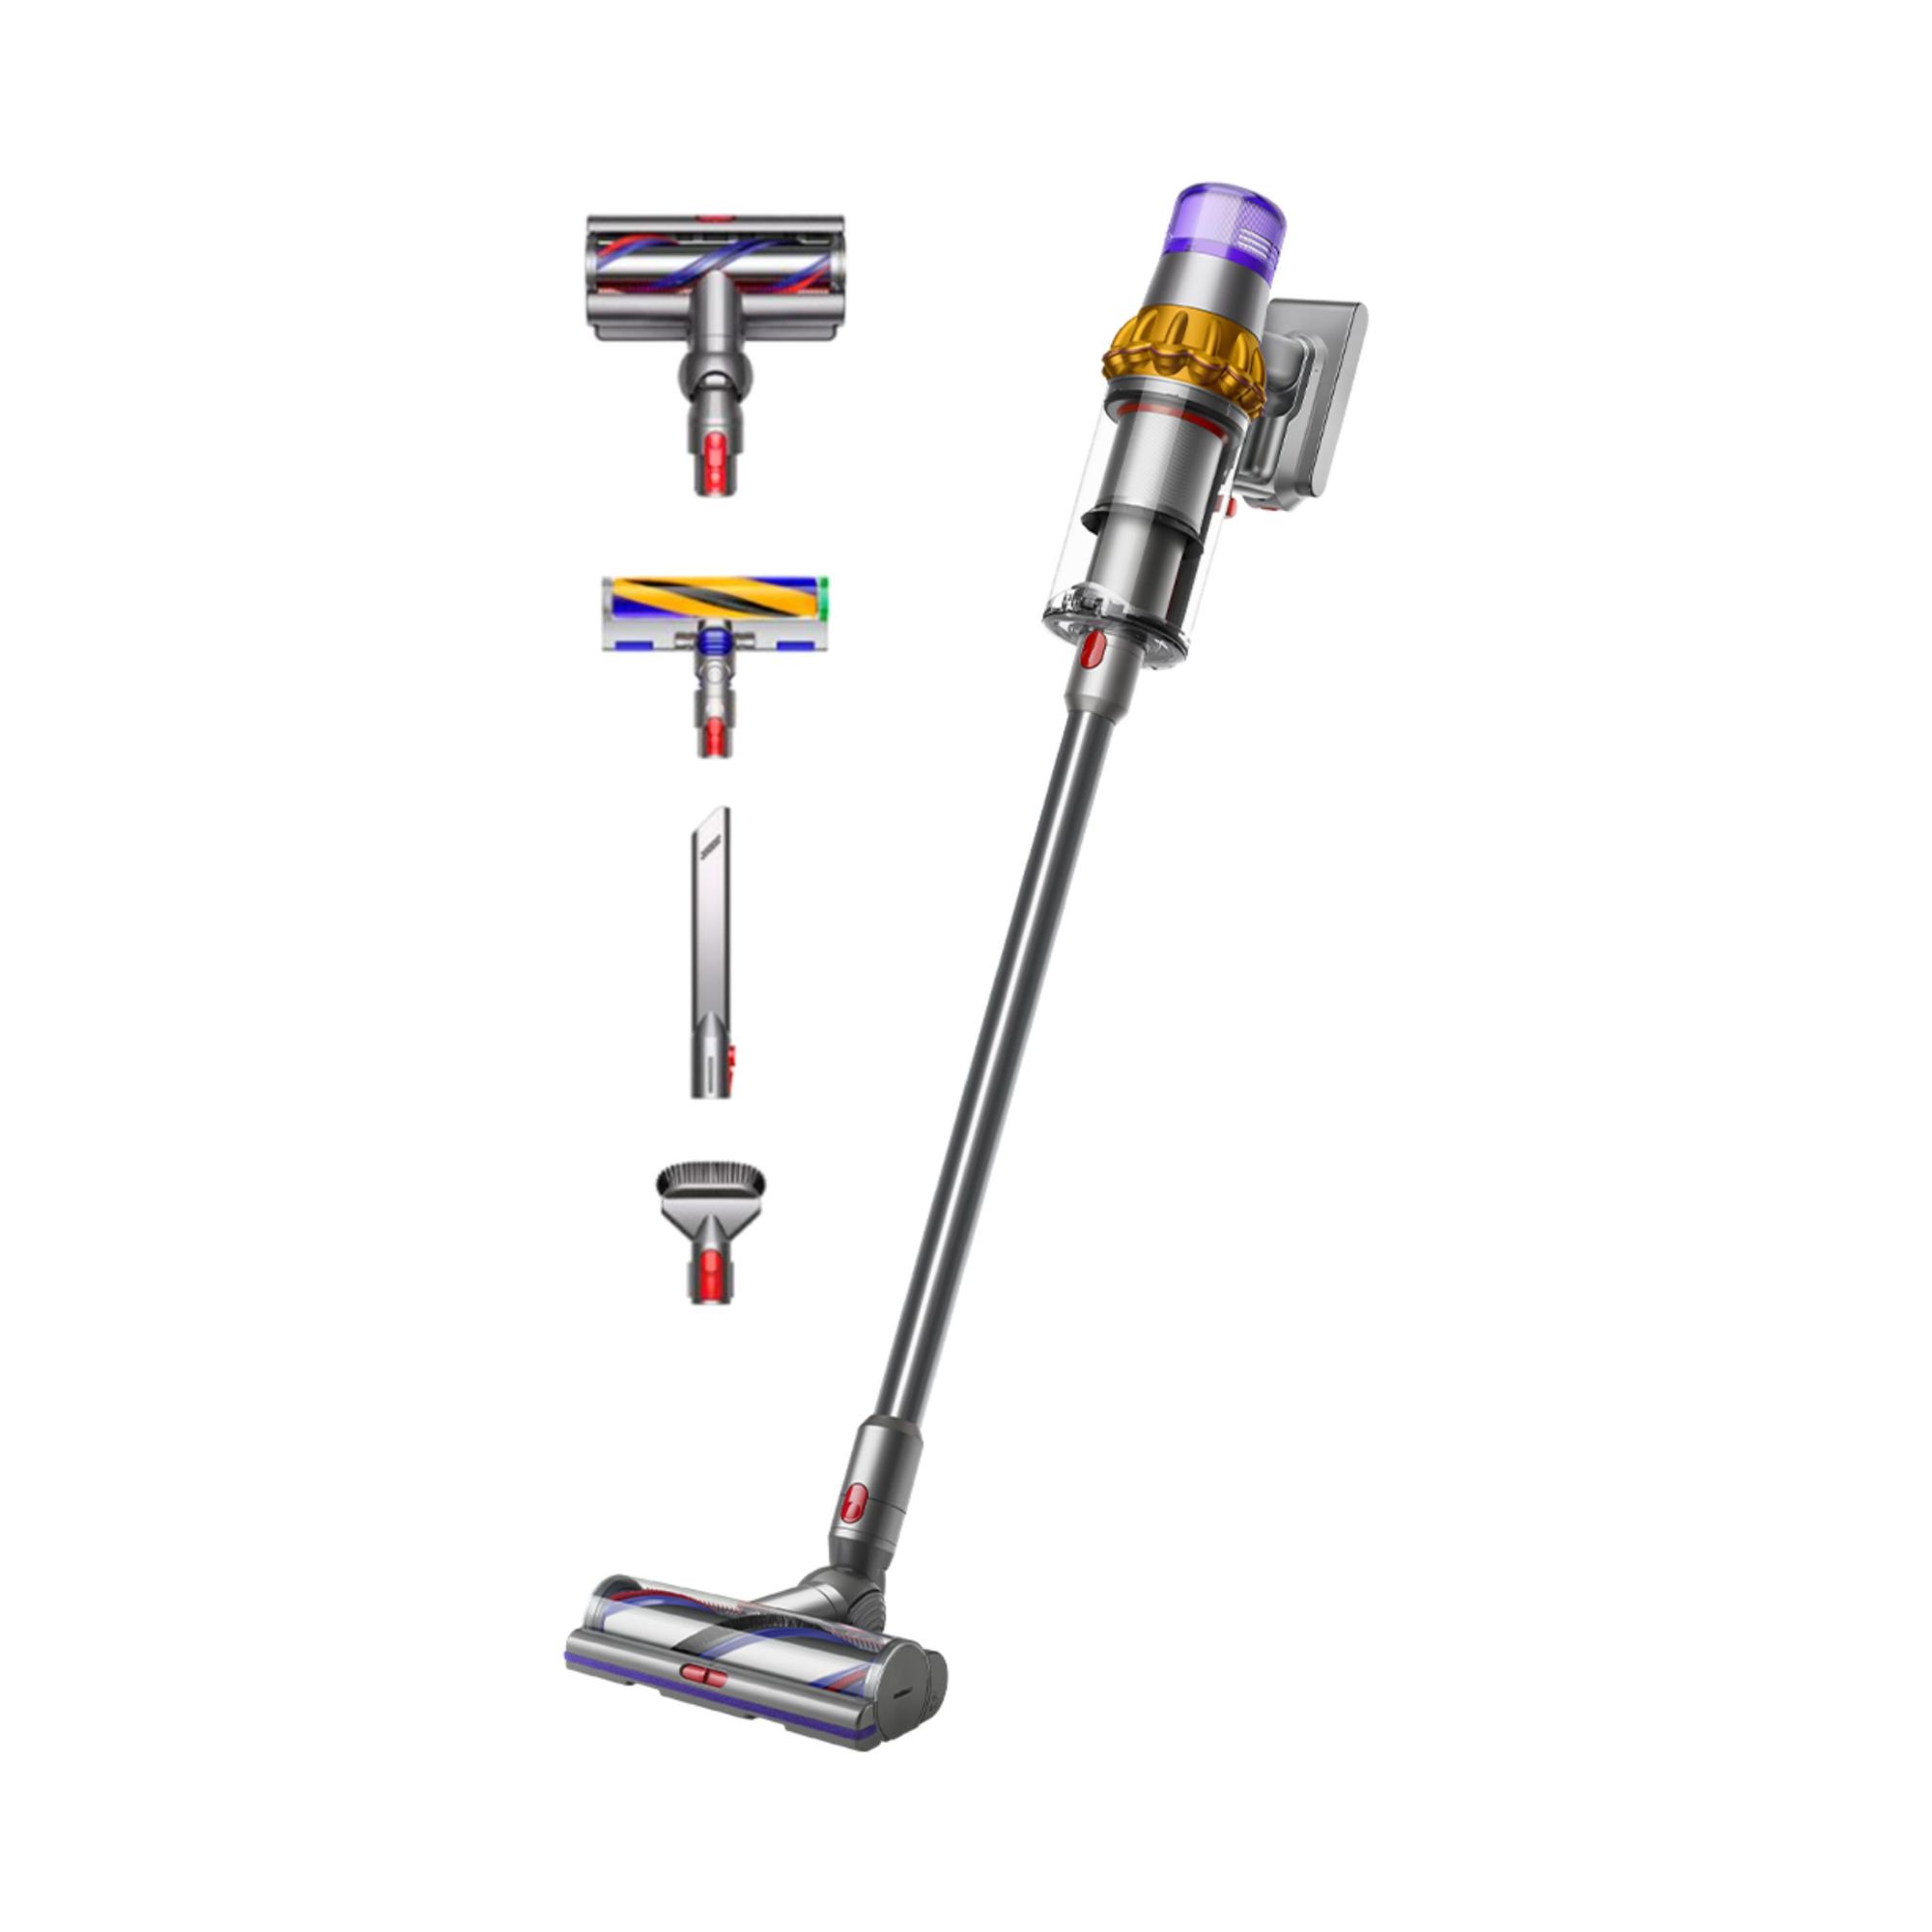
If the advice in this guide has made you realize you need to upgrade your vacuum cleaner, this is our top pick, 'with market-leading cleaning power packaged into a lightweight, cordless stick,' according to our home tech editor Dan.
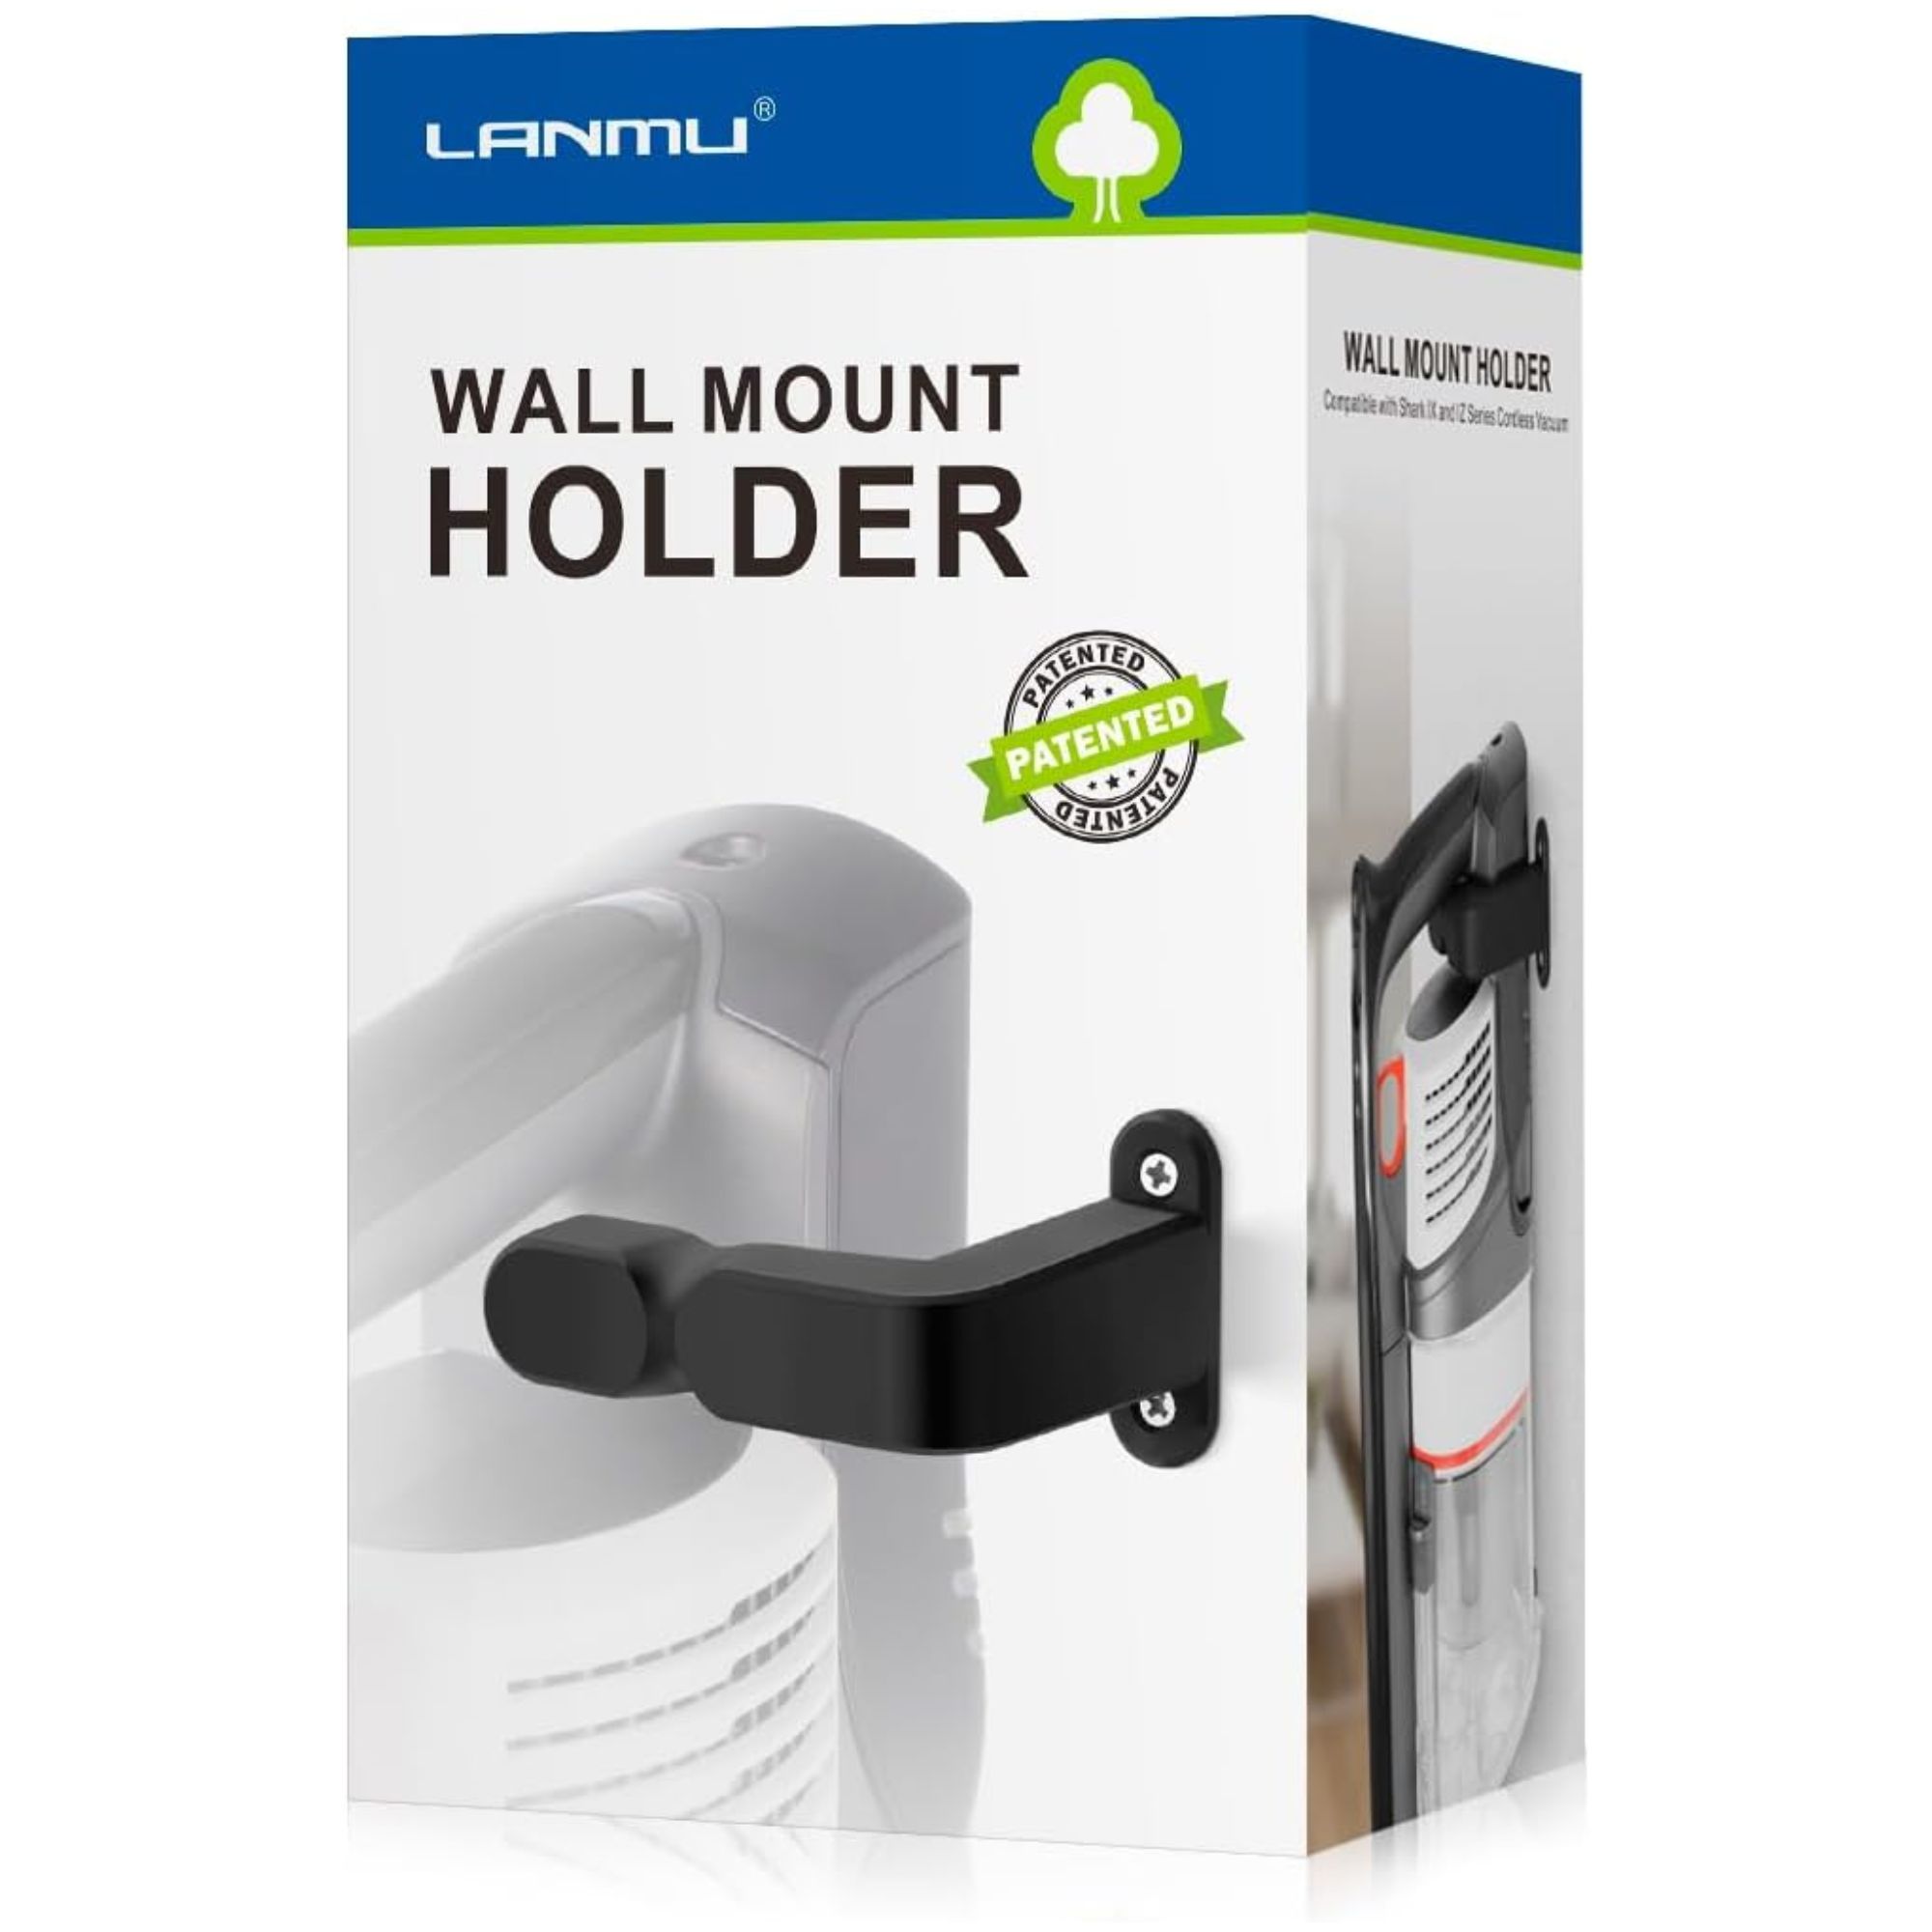
This vacuum wall mount holder is compatible with a wide range of most cordless stick vacuum cleaners, including models from Shark, Bissell and more, and protects both your walls and vacuum.
FAQs
How often should you clean a vacuum?
As for how often to clean your vacuum, it largely depends on your usage.
In general, pros recommend cleaning yours every three to six months, but keep in mind that this should be done more often if you have pets, live in a particularly dusty environment, or you're prone to allergies.
Why is my vacuum losing suction power?
If you're vacuum is losing suction power, there are a number of things which could be causing the issue. Luckily, most are fixable:
- The dust container is full: Always begin troubleshooting a loss of suction power with this simple step.
- Clogged parts: It's likely there's something stuck in the suction hose, so inspect this for any items that may be preventing proper airflow. You may have to disassemble your vacuum and pull it out by hand. An easy test is dropping a quarter through the hose whilst you're holding it upright. If it drops out of the other end, it's unlikely to be an issue here. If it doesn't come out, you've located the clog.
- Your filters need checking: Check your filters for clogs, and clean and replace them regularly as needed.
- Air leaks: Conversely, vacuums can also suffer from too much air. Leaky hoses can be taped or replaced. Leaky cases can also be taped, or epoxy can be used to seal them. Duck Brand Duct Tape available at Amazon is a cheap fix.
- Worn our or damaged parts: A vacuum cleaner is made of many parts, including a hose, gasket, seals, belts, fan blades, and rotating brushes. All of them can become worn out or damaged over time.
Importantly, vacuums will generally gradually lose suction power over time due to general wear and tear on the motor.
Meet our experts

Dan is the home tech editor and resident vacuum expert here at Homes & Gardens, covering all things cleaning, smart home, sound, and air treatment across the Solved section, and testing vacuum models from every brand in their home, our dedicated test centre, and at busy pet centres.

Muffetta has over 15 years of operational management experience in the cleaning industry.

Scott Johnston grew up in and around the carpet care business. Scott went on his first cleaning trip with his uncle Jim Bynum, one of the original owners of Carpet Care of the Carolinas, when Scott was only six years old. Now as its second-generation owner and operator, Scott has been at Carpet Care of the Carolinas for over 20 years.

Scott is a cleaning expert at CottageCare, which is a leading home cleaning company with over 41 locations nationwide. He's a big believer in using eco-friendly cleaning solutions like baking soda to freshen up surfaces when vacuuming, which is something he does in his own home.

Jenna Shaughnessy is the founder of the e-design business and lifestyle blog, Jenna Kate at Home. Her goal is to help her clients and readers achieve a healthy, beautiful home no matter the budget.

Andy is the founder and lead technician at ZapFixers, which is a family-owned appliance and electronics repair company based in Florida.

With numerous contributions in Homes & Gardens, Real Homes, The Spruce, and many more, Karina has extensive knowledge of both commercial and residential cleaning, with significant expertise on vacuum use and maintenance tips.
If you have noticed the signs you need to replace a vacuum and are in the market for a new model, you can check out our guide on how to choose a vacuum cleaner.

Ottilie joined Homes & Gardens in 2024 as the News Writer on Solved, after finishing a Master's in Magazine Journalism at City, University of London. Now, as the Sleep Editor, she spends her days hunting deals and producing content on all things sleep – from mattresses and sheets to protectors and pillows, all of which she tests in her own home. She also has particular expertise in home fragrance, covering everything from candles to reed diffusers.
Previously, she has written for Livingetc and Motorsport Magazine, and also has a Master's degree in English Literature and History of Art from the University of Edinburgh, where she developed a love for inspiring interiors and architecture.
- Dan FauziHome Tech Editor
