Robot vacuums are the ultimate 'hands-free' appliance, doing the bulk of your floor care for you while you go about your life, especially when their docks empty and clean the robots for you.
But you still need to look after them. A dirty robot will lose suction power and spread germs across your home, not to mention the inevitable wear and tear on the precious materials.
Even the best robot vacuums require regular maintenance. Read on for how to clean your robot vacuum in six steps.
How to clean a robot vacuum cleaner
We spoke to Elizabeth Shields, operations manager of Super Cleaning Service, on the ins and outs of cleaning a robot vacuum to help keep your cleaning supplies clean and increase the lifespan of your automated appliance.
She begins, 'Each brand has its own way of designing and building its vacuums, and that can affect how you clean and maintain them. For example, iRobot and eufy are easy to use and clean with removable brushes, filters, and dustbins,' she explains.
Punteha van Terheyden, Head of Solved at Homes & Gardens has tested and reviewed several eufy robots, with two still operating daily in her home months later. She says, 'The eufy app, in fact, alerts you when a particular area of a robot or dock needs cleaning, and provides you with pictures and animations showing you the process, making it very easy to complete the cleaning.'
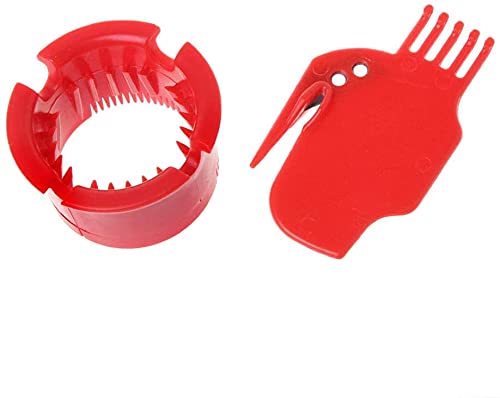
Other brands might not make it as easy to access the different parts, or know what to do, but will make up for it by using designs that are easy to take apart and reassemble or by including special cleaning tools or colorful markers on elements that can be removed.
Design expertise in your inbox – from inspiring decorating ideas and beautiful celebrity homes to practical gardening advice and shopping round-ups.
Elizabeth warns against doing this infrequently, 'If you let dirt and grime build up in your robot vacuum, it can cause problems down the line. So, try to clean it after every few uses to keep it working at its best.'
Many of the best robot vacuums have great apps that will prompt you when cleaning or maintenance is needed.
To deep clean a robot vacuum, you will usually need:
- A trash bag, such as these extra strong bags from Walmart
- A clean, dry microfiber cloth, also at Walmart
- A small pair of scissors. Nail scissors, from Walmart, are usually small enough for the job
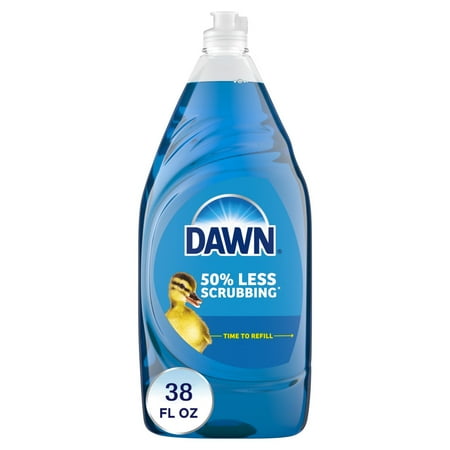
- Warm water with a few drops of dish soap, such as Dawn, from Walmart
- A screwdriver set, from Walmart, to remove and reassemble parts easily
1. Power off
Turning the power off prevents any nasty shocks.
Before you start disassembling or trying our cleaning tips, 'power down your robot and unplug it from the charging dock,' says Elizabeth. This simple precaution will help to avoid electrical hazards and accidents.
2. Empty dustbin

It's smart to empty the dustbin as often as you can, to prevent dirt and grime buildup.
We all do this as part of our regular maintenance anyway, but it's important to make sure the vacuum's dustbin is fully empty before cleaning the rest of the robot. Neglecting to do so is one of the most common vacuum cleaner mistakes.
Elizabeth explains, 'You’ll usually find this compartment at the back or underneath your vacuum. When you’re done vacuuming, make it a habit to remove the dustbin and empty the contents into a trash bin.' Being able to skip this step is one of the top reasons why you need a self-emptying vacuum, such as the eufy Omni Pro S1, which we reviewed and awarded 5/5 stars.
Elizabeth continues, 'If you notice that there’s some residue sticking around in there, rinse it with some mild detergent and water. Just make sure it’s dry before you put it back in place.'
Many of today's robot vacuums, like Yeedi S14 Plus, empty themselves into the charging station. These will most likely be empty when you come to clean them, so you might just need a rinse like mentioned above. Remember to empty the station, too, giving the interior a similar dusting with a dry cloth to keep it in good working order.
3. Disassemble and clean parts

Find your robot's user manual to learn how to correctly take it apart.
To deep clean your robot vacuum, it is best to take it apart, removing the rollers, brushes, and filters according to the manufacturer's instructions (you can often find these manuals online at iRobot, Shark, eufy, Dyson, Roborock, and Proscenic if you have lost the copy that came with your appliance).
Elizabeth advises, 'Then, take your time to inspect them carefully.' This is where you'll find trapped debris and tangled hair. Remove the clogs as carefully as you can using a brush or scissors if needed, trim away hair from the brushes, and be careful not to clip the brushes themselves.
If your robot vacuum doubles up as a mop, now's a good time to clean those parts too. Mopping pads can be washed with mild soap and water, or can be thrown in when doing laundry. As with washing microfiber cloths, avoid using fabric softener when washing these pads to ensure they remain absorbent for fresher floors.
Cleaning filters is usually straightforward, but it will depend on their material. Our guide on cleaning vacuum filters breaks down each type to ensure you don't damage this vital component.
4. Check the wheels and sensors

Dirt, hair and grime can easily get caked onto the wheels and sensors.
While you have your robot vacuum upside down, check that the wheels and sensors are not clogged with hair or grease. Before tipping it over, lay down a towel underneath if yours has a mop function to catch any residual water.
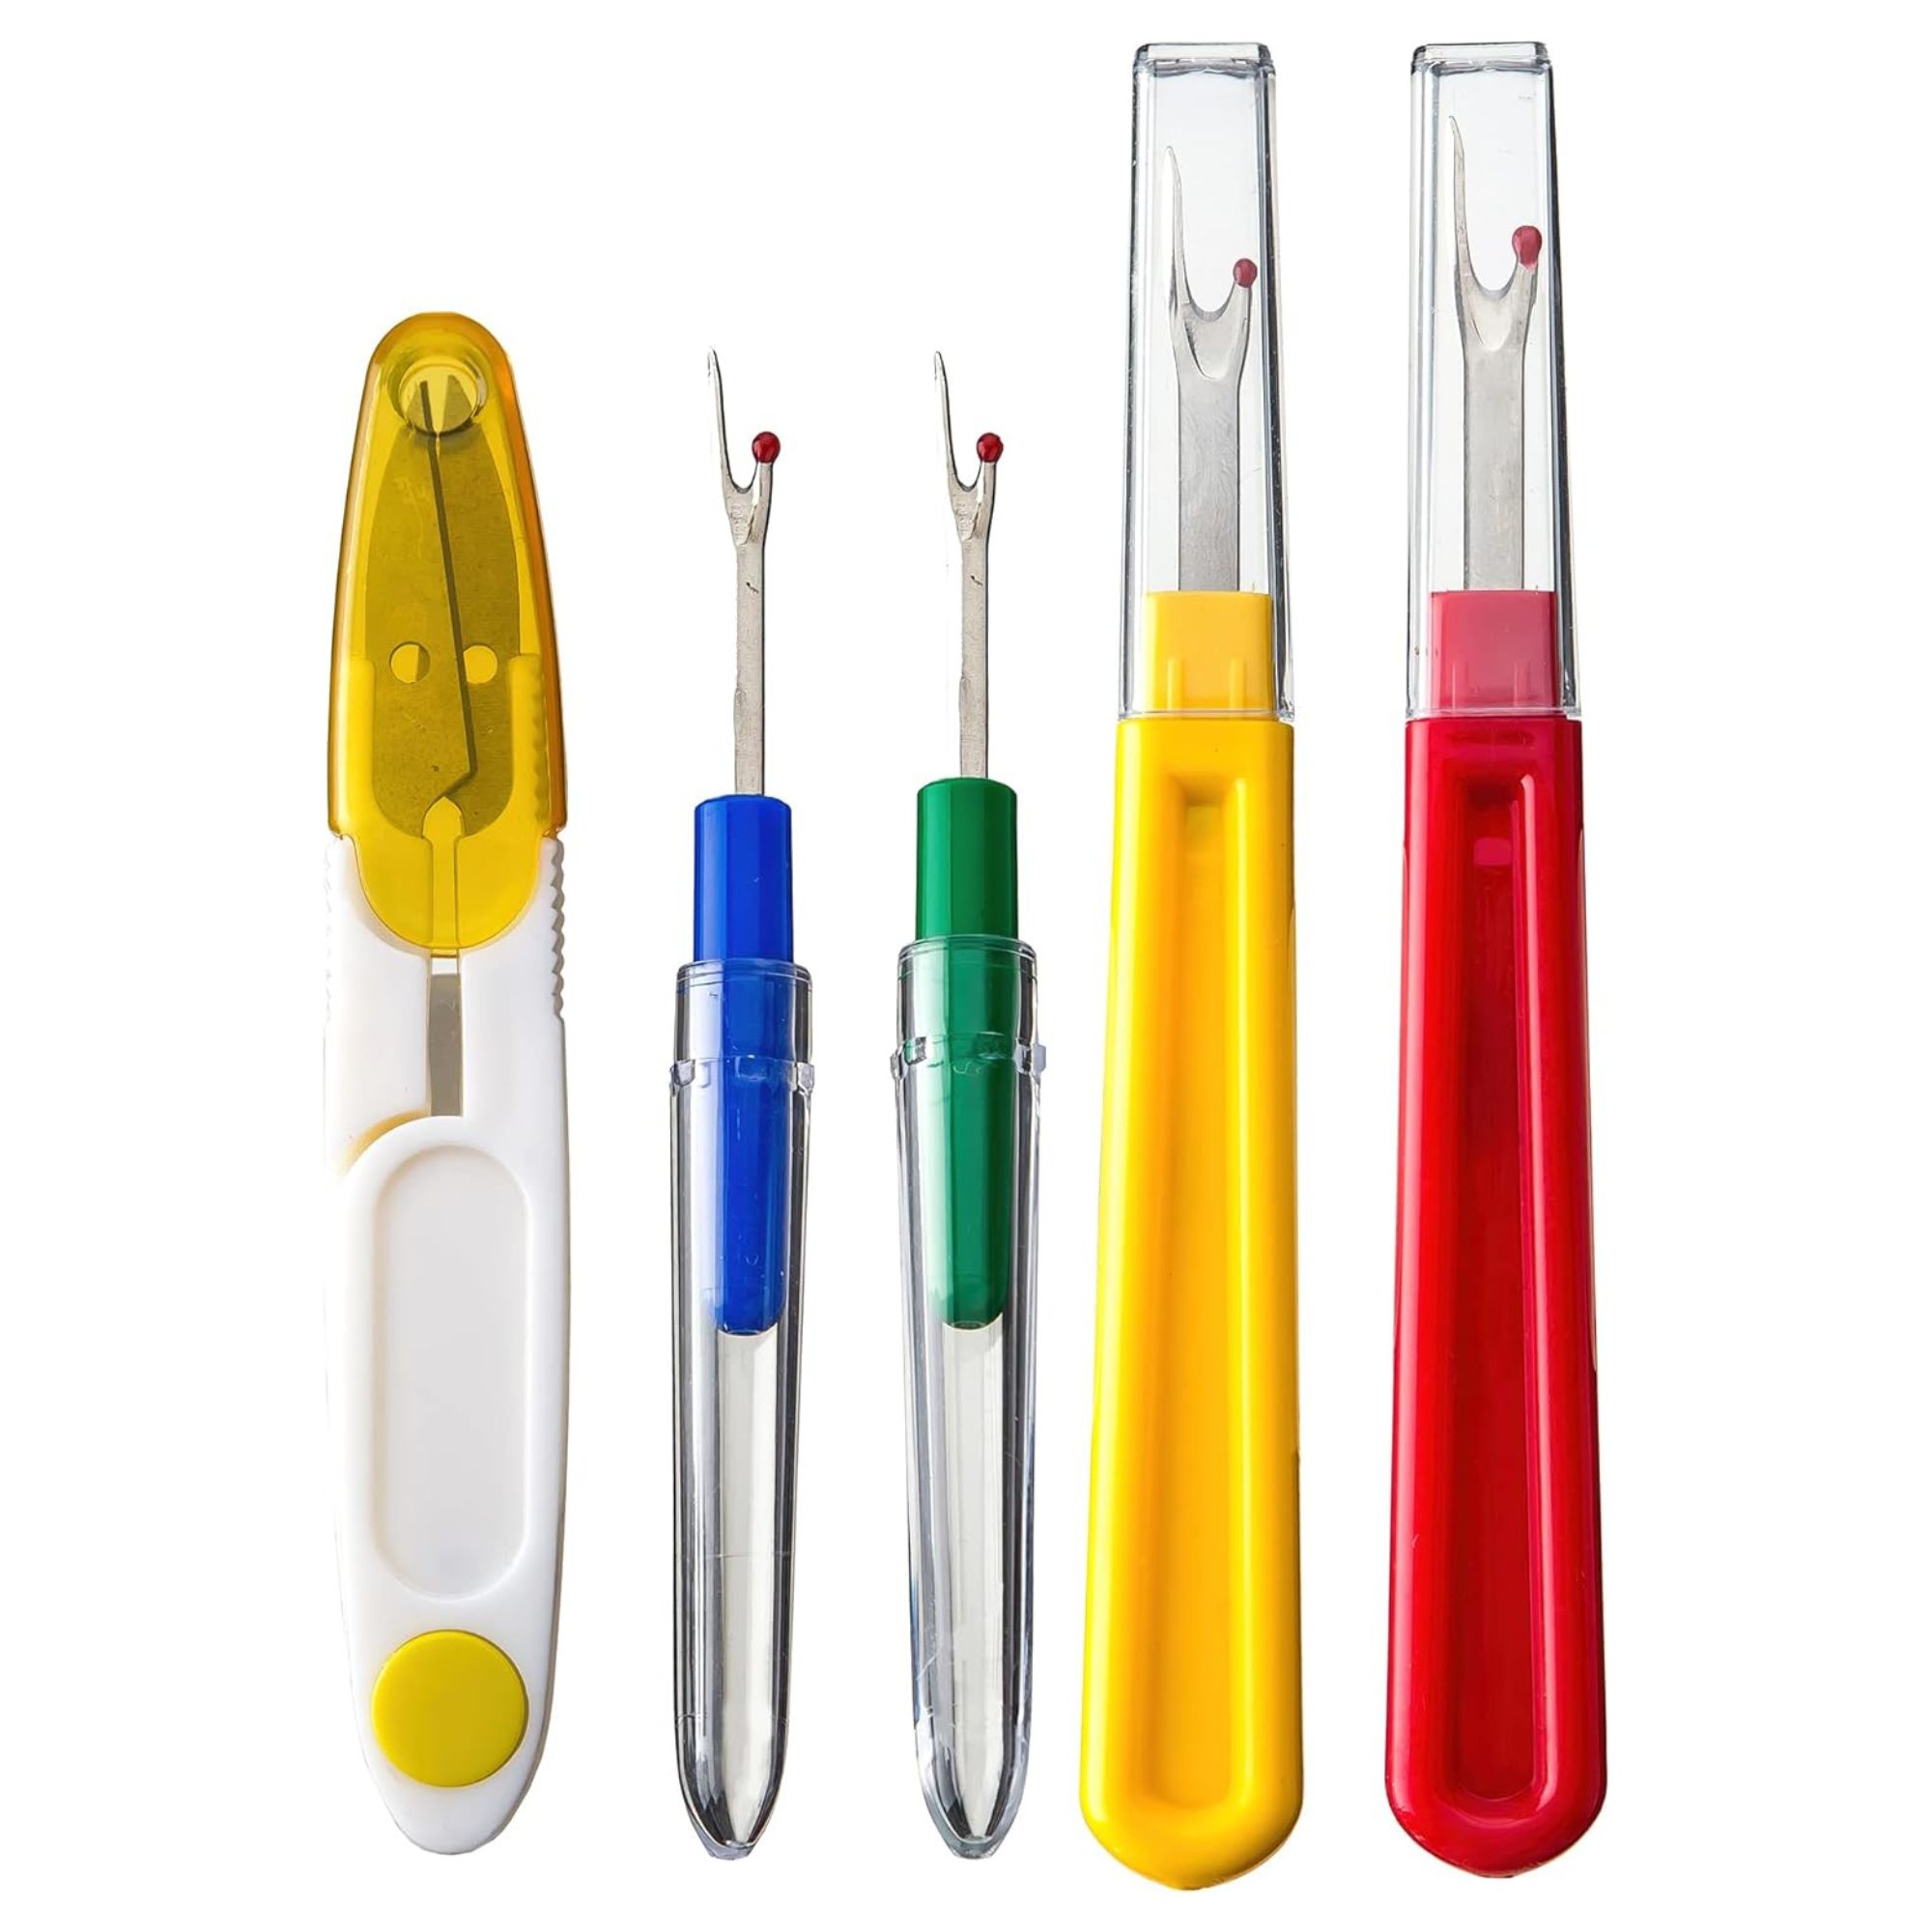
The wheels can easily get hair and threads wrapped around the axles, limiting their movement and forcing your vacuum cleaner to work harder, increasing wear and tear. You should be able to pull this away with your fingers, but you may need to cut through with a small pair of scissors or a seam ripper, which is the perfect hair wrap fix.
The sensors can be wiped over with a soft cloth to remove any film that could be hindering your vacuum's cleaning efficiency. Buff it dry to ensure watermarks don't lead to uneven cleaning, avoiding a common counter-productive cleaning practice.
5. Wipe exterior

Show off the robot's futuristic design by giving the exterior a quick wipe.
Before you can reassemble, wipe down the exterior of your robot vacuum with a clean cloth dampened with warm soapy water and wrung out, suggests Elizabeth.
She explains, 'This will get rid of any dirt or residue that might be clinging on. Never use any harsh chemicals or scratchy materials that could damage the finish.'
Don't forget to remove dust from the charging station, too, for a clean home.
Then, to finish, Elizabeth says, 'Put everything back together, ensuring any washed components are fully dry, and reinstall any accessories or attachments that you removed while cleaning.'
With everything physically reset, check your vacuum's control app for any firmware updates for a thoroughly refreshed cleaning tool.
Now you've covered your robot's cleaning needs, learn how to clean your vacuum to update your other equipment.

Chiana has been at Homes & Gardens for two years and is our resident 'queen' of non-toxic living. She spends most of her time producing content for the Solved section of the website, helping readers get the most out of their homes through clever decluttering, cleaning, and tidying tips. She was named one of Fixr's top home improvement journalists in 2024.
- Dan FauziHome Tech Editor

