How to hang floating shelves – 5 simple steps from expert contractors
Keep the illusion alive by hanging floating shelves the right way

Design expertise in your inbox – from inspiring decorating ideas and beautiful celebrity homes to practical gardening advice and shopping round-ups.
You are now subscribed
Your newsletter sign-up was successful
Want to add more newsletters?

Twice a week
Homes&Gardens
The ultimate interior design resource from the world's leading experts - discover inspiring decorating ideas, color scheming know-how, garden inspiration and shopping expertise.

Once a week
In The Loop from Next In Design
Members of the Next in Design Circle will receive In the Loop, our weekly email filled with trade news, names to know and spotlight moments. Together we’re building a brighter design future.

Twice a week
Cucina
Whether you’re passionate about hosting exquisite dinners, experimenting with culinary trends, or perfecting your kitchen's design with timeless elegance and innovative functionality, this newsletter is here to inspire
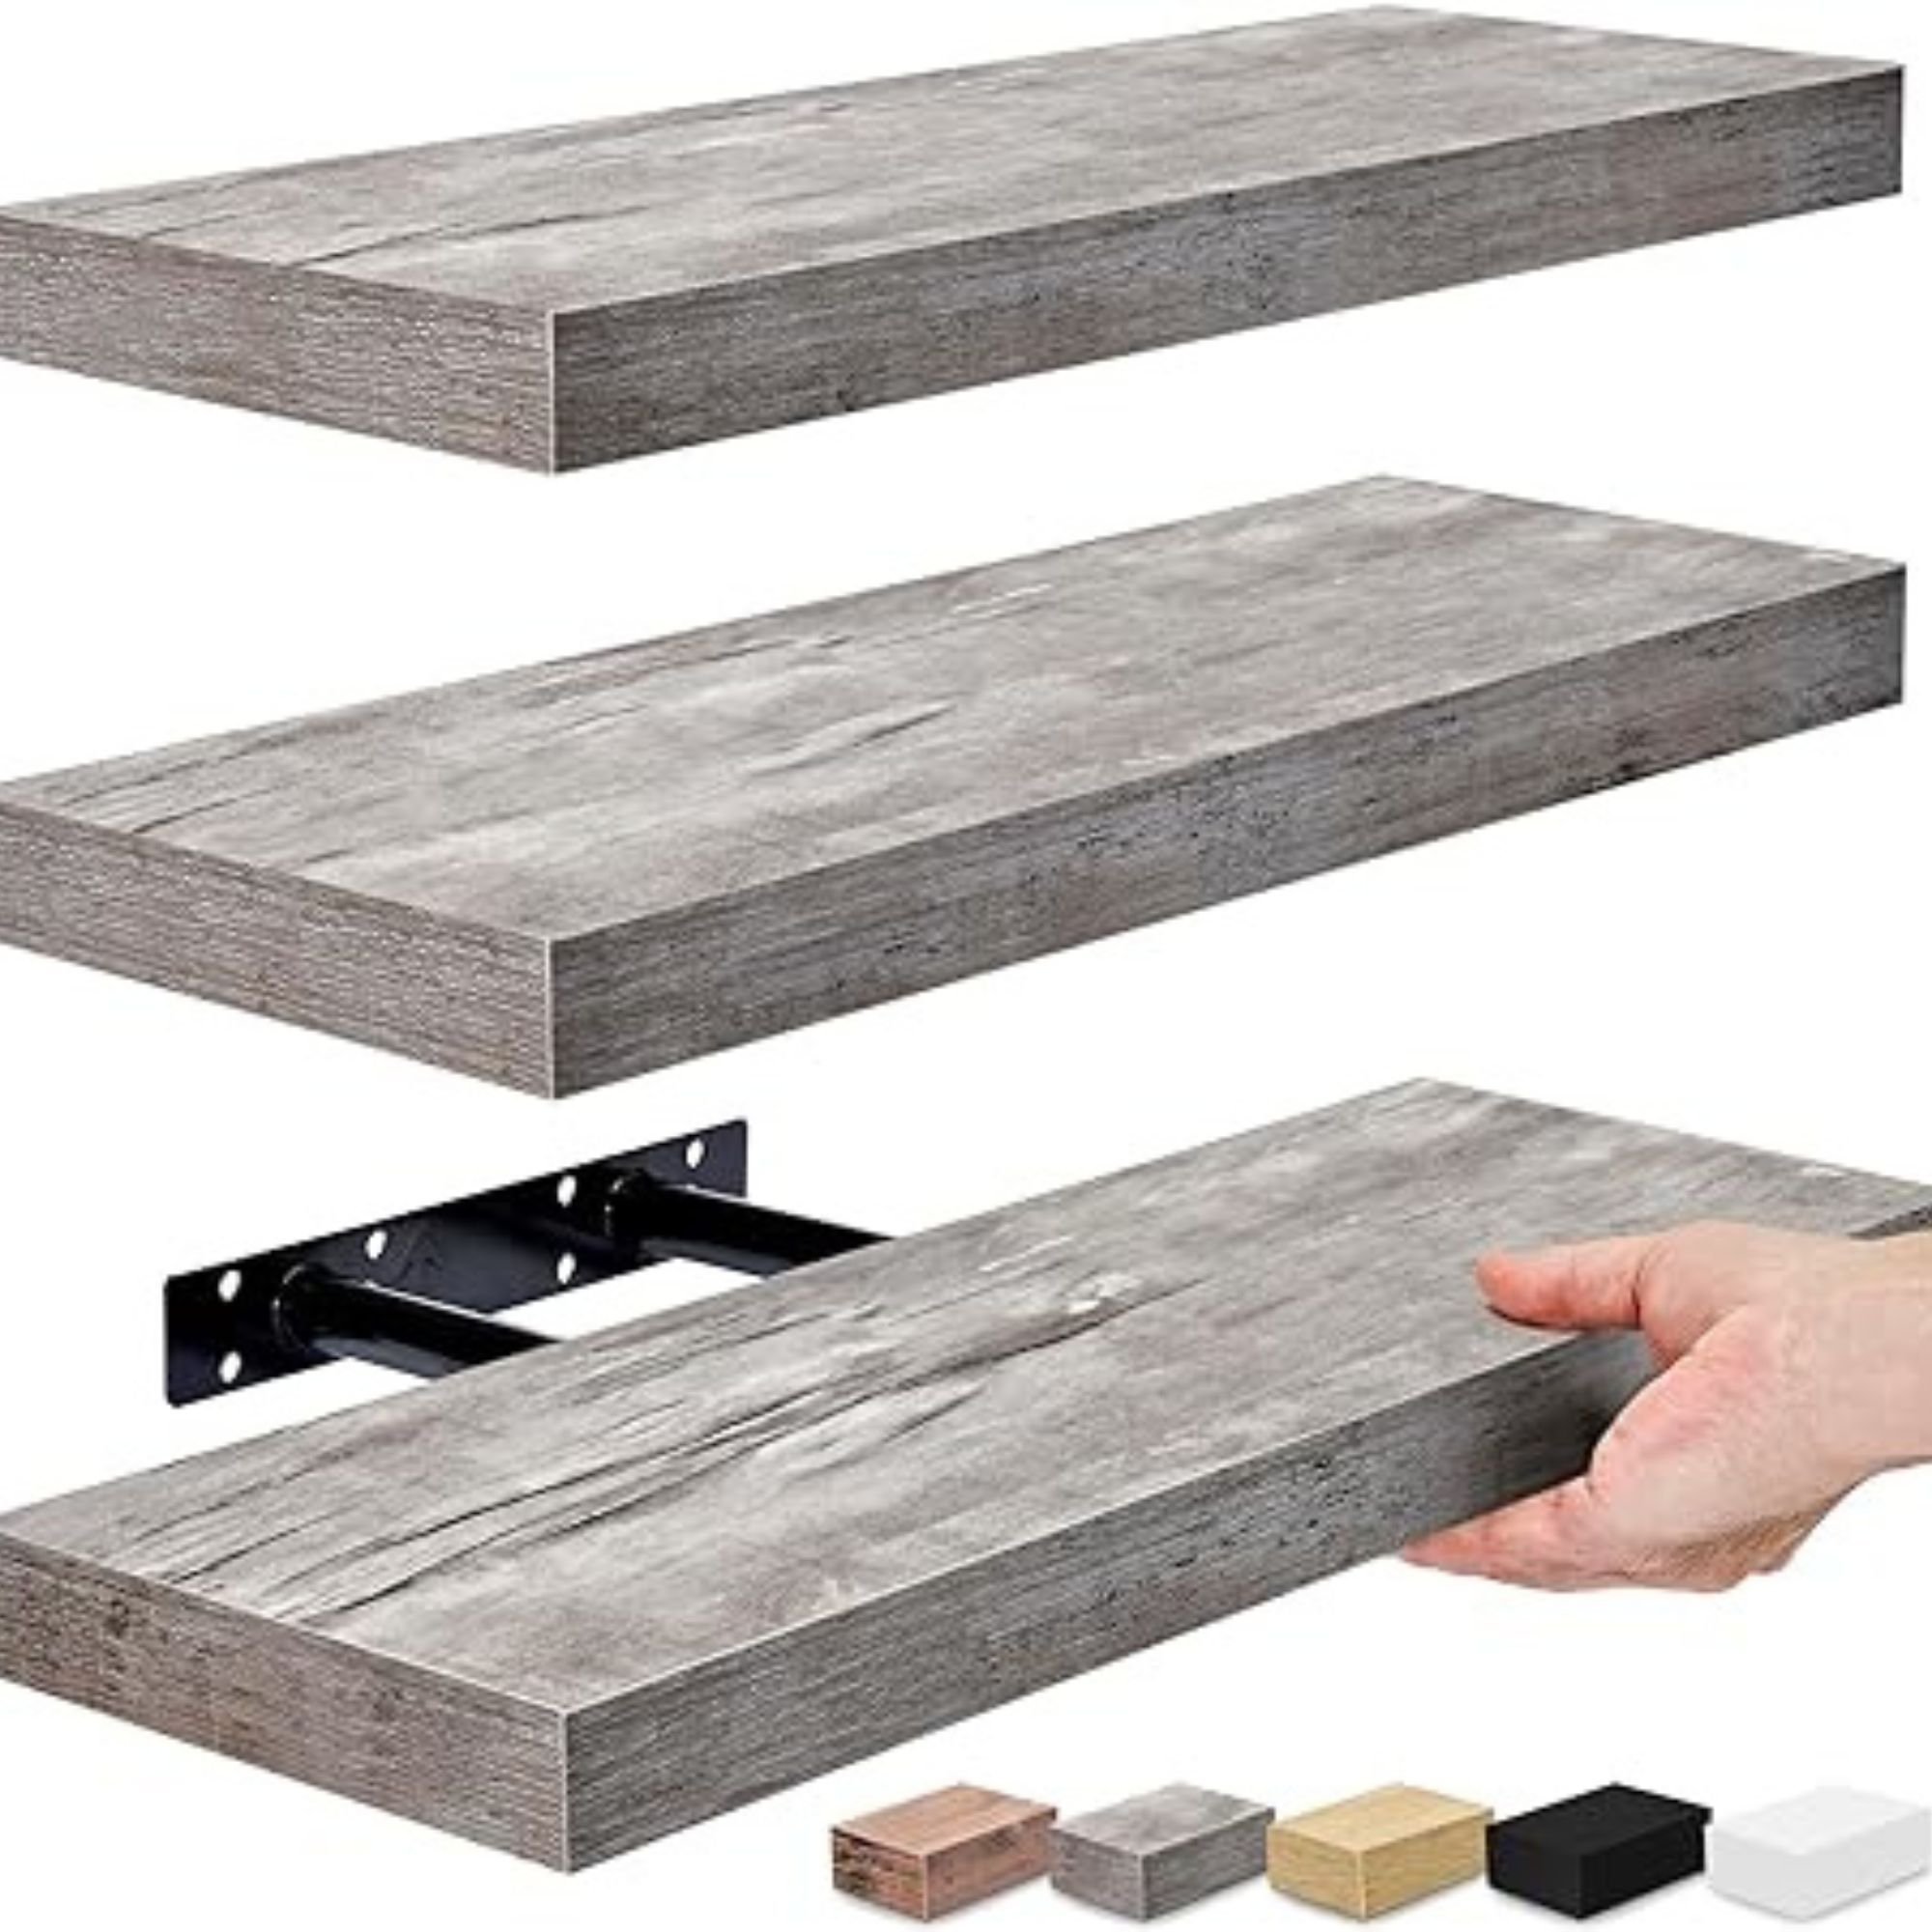
Floating shelves may seem simple. You just need a bracket to slide the shelf onto and a few screws to secure them, right?
However, if you have ever tried to hang floating shelves as a DIY project, you’ll know it isn’t always that simple to line up screw holes perfectly, ensure they are sturdy when you put things on them, and keep them all level as you work.
Here, professional contractors have shared their step-by-step process for how to hang floating shelves so they don’t later collapse.
How to hang floating shelves
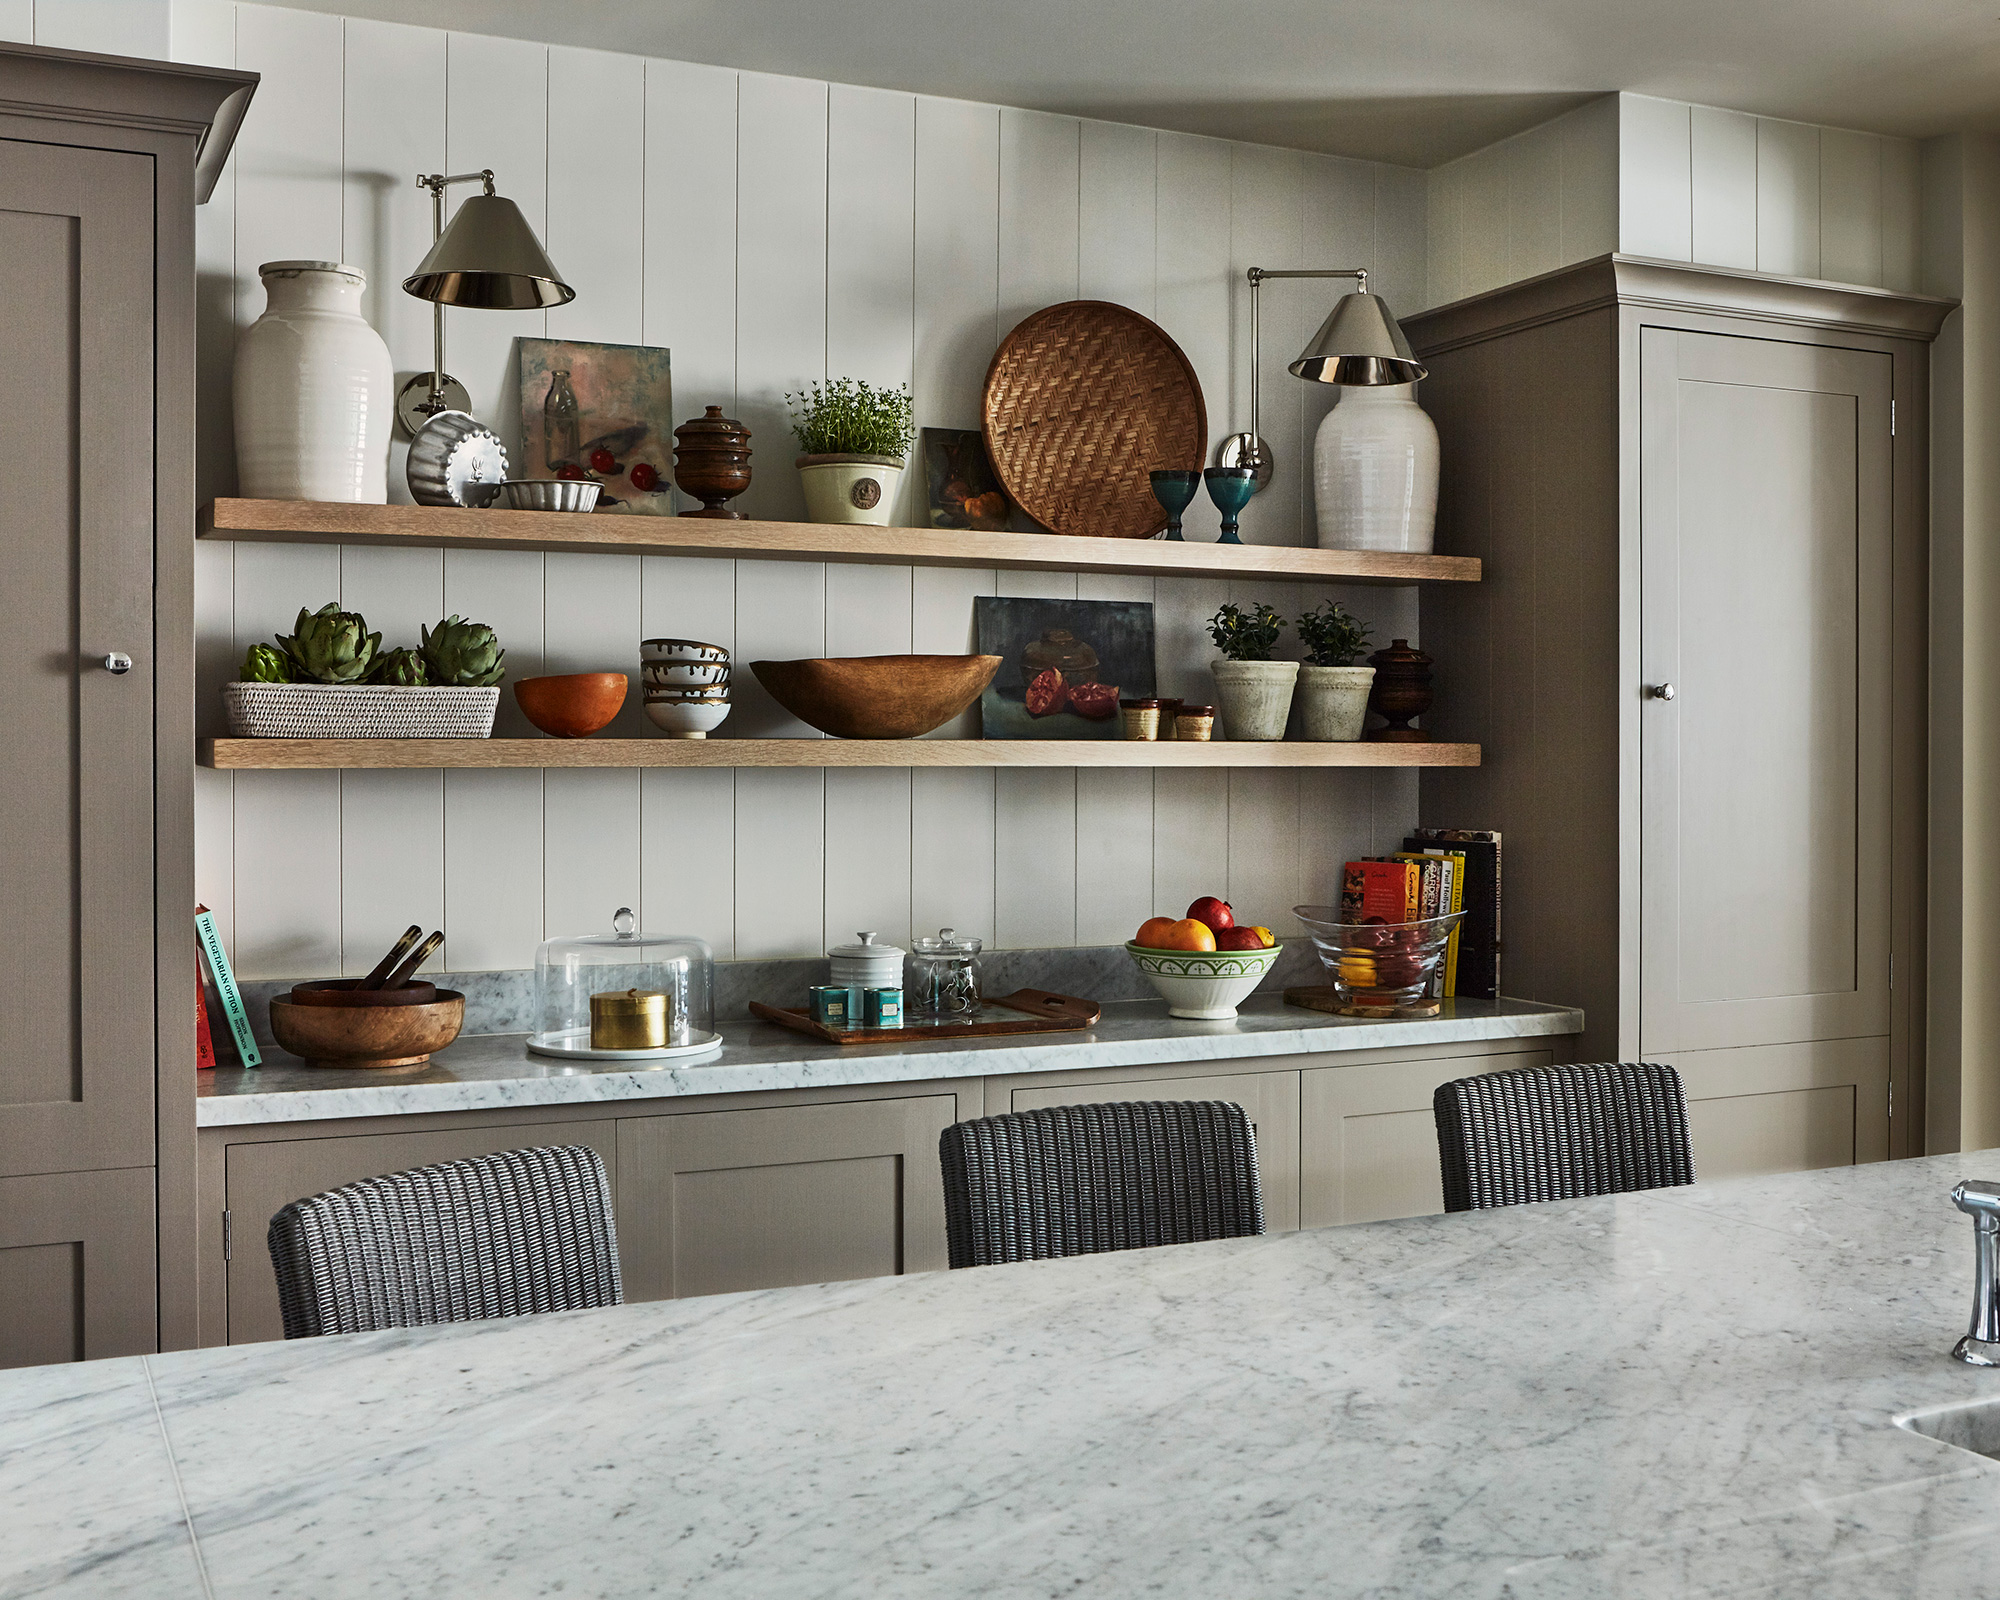
Whether you are using floating shelves for your living room shelving displays, or open kitchen shelving for dinnerware, they need to be secure and sturdy so that they don't fall away from the wall and take your precious belongings with them.
To start, you will need to gather the essential DIY tools for the job:
- A stud finder, available at Walmart
- A drill and drill bits to match your screws
- A level, also at Walmart
- A pencil
- Safety glasses
- The floating shelf kit
- Wall anchors
- Screws
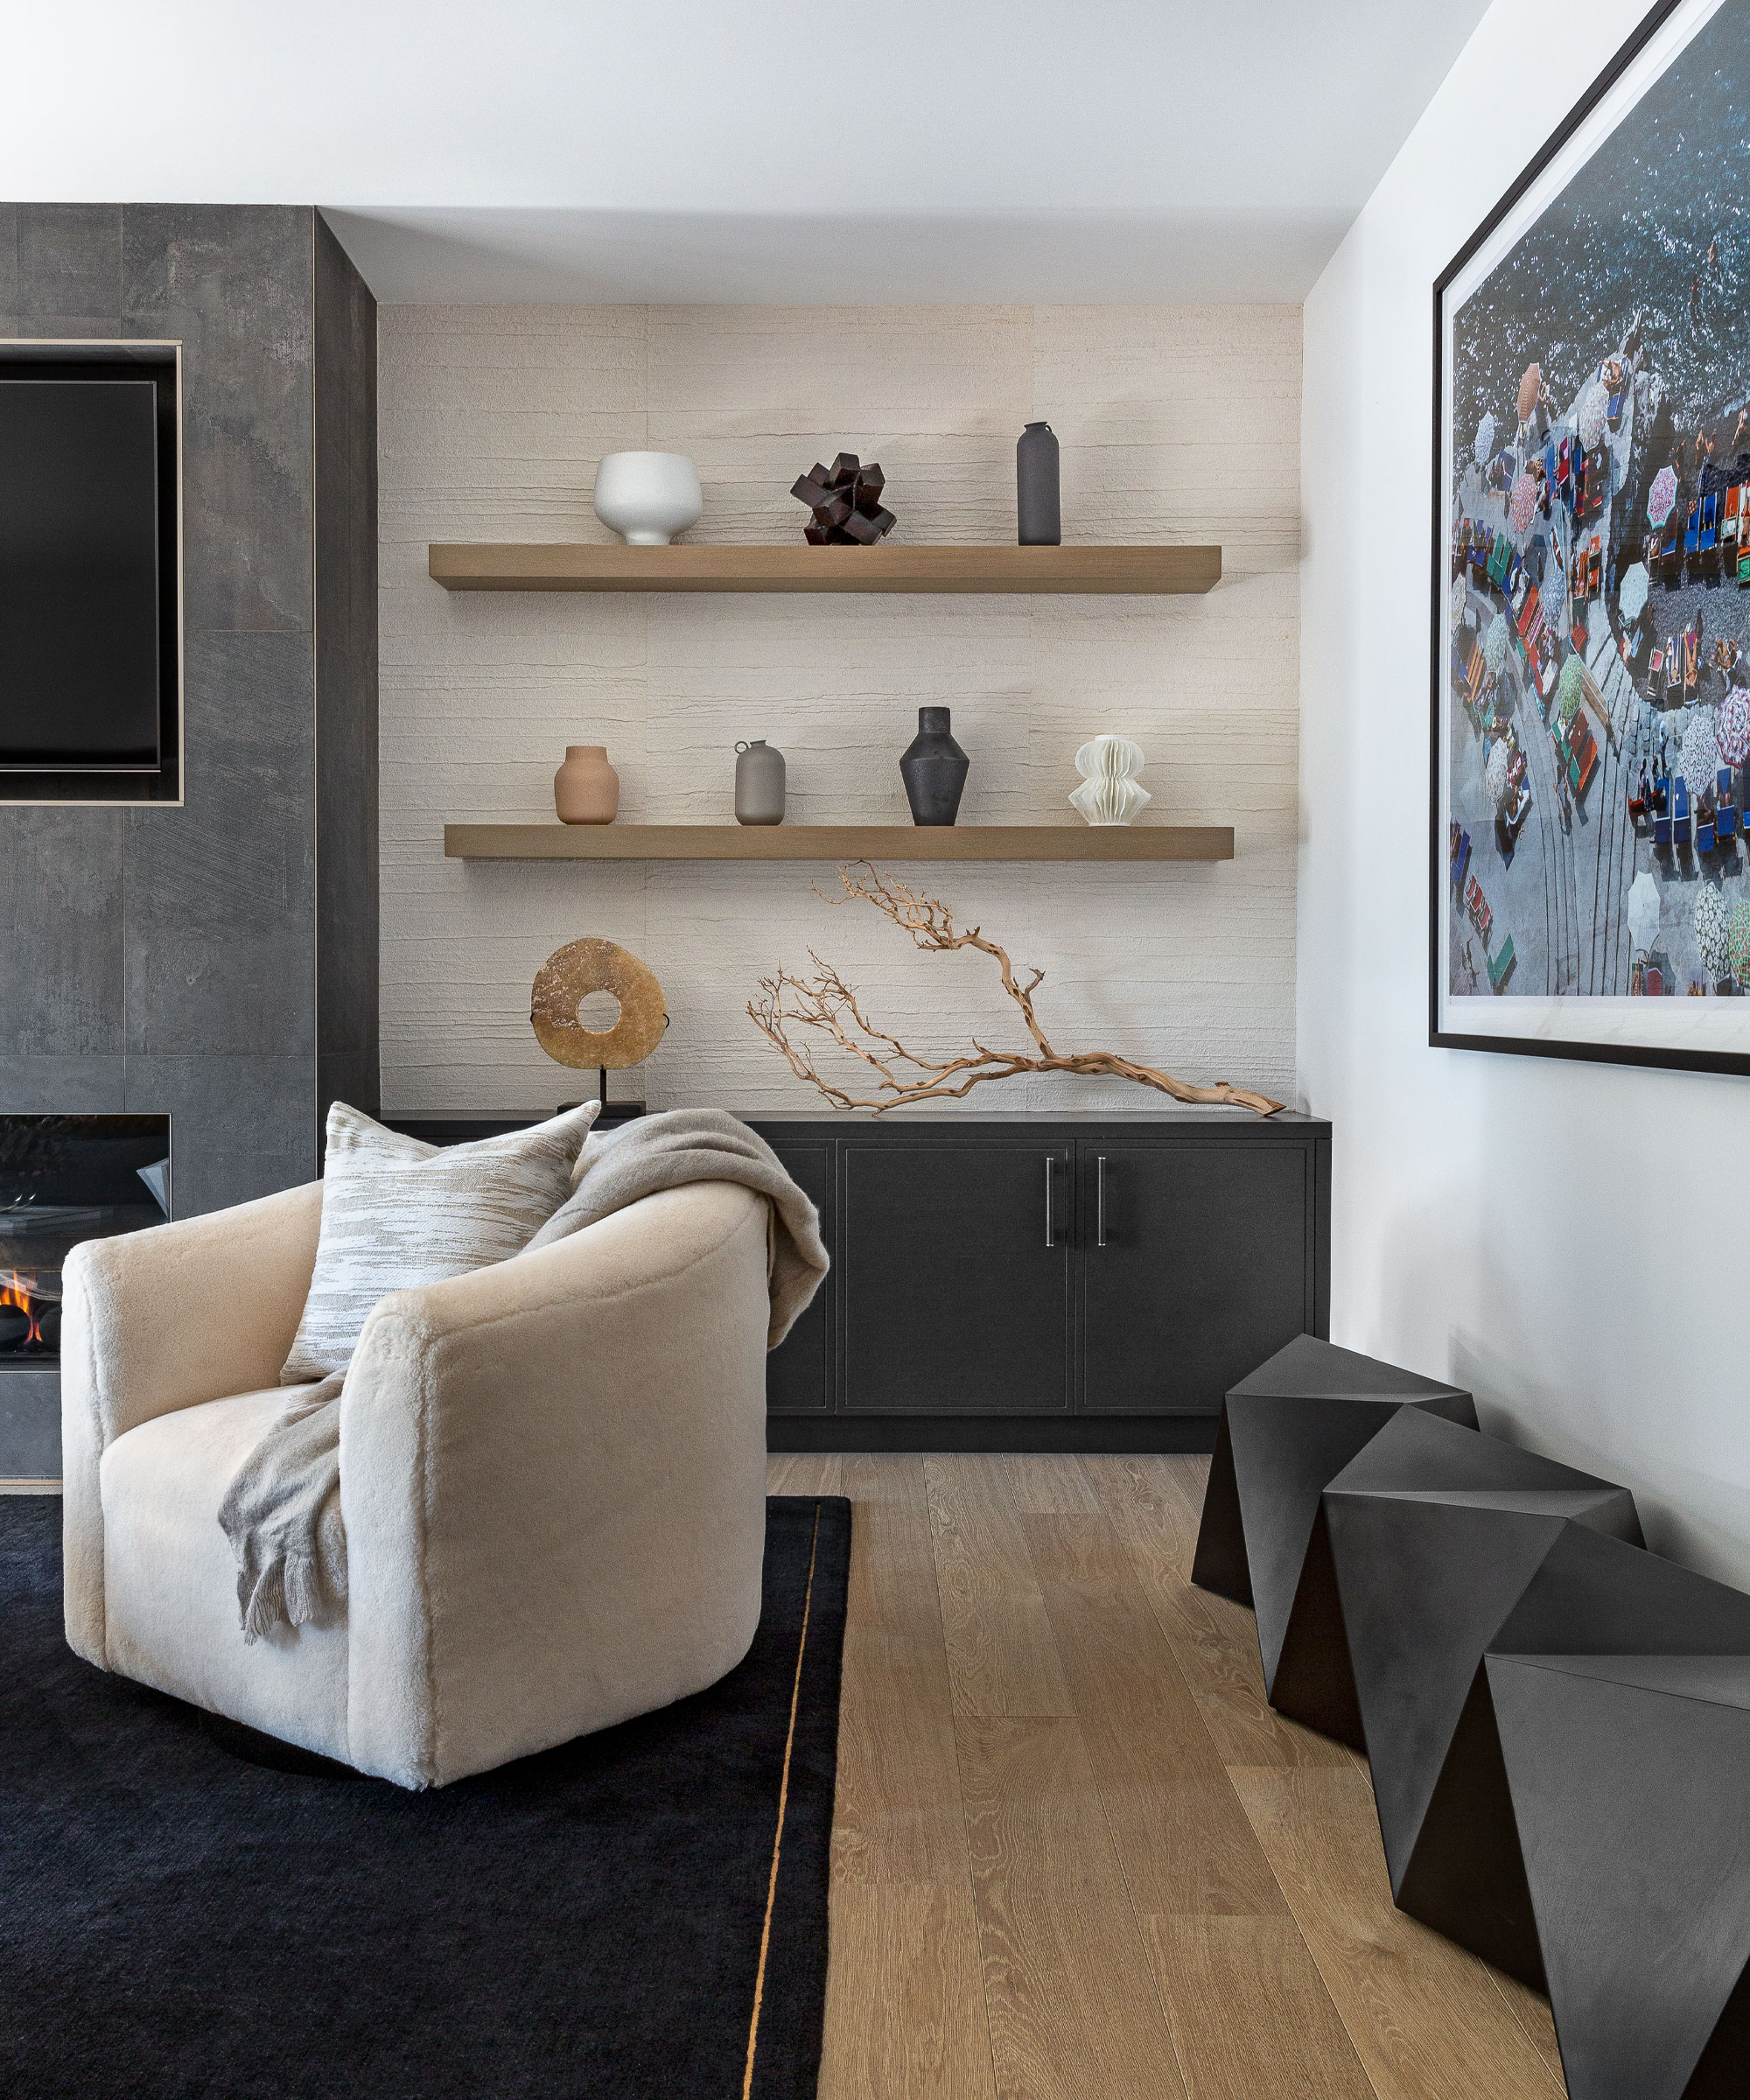
1. Mark where you want the shelf
Before you start drilling, you need to locate the right spot for your shelving – whether you are mounting them on an open wall, or installing shelves in an alcove, begins Josh Rudin, contractor and owner of ASAP Restoration:
‘Decide how high you want it to be and laterally where it should be located on the wall, and use your level to make sure that the shelf is not crooked. Mark the corners of where you want the shelf to be on the wall and remove the shelf again.
Design expertise in your inbox – from inspiring decorating ideas and beautiful celebrity homes to practical gardening advice and shopping round-ups.
‘Make sure that your shelf location is straddling at least two studs for your brackets to be placed into,’ Josh recommends. ‘If the location you have chosen for the shelf doesn’t evenly bridge two stud locations, then you should move the shelf until it does, or until it is as even as can be.’ This will help the shelf stay in place and do not bend when it comes to decorating shelves later.
2. Measure the interior bracket
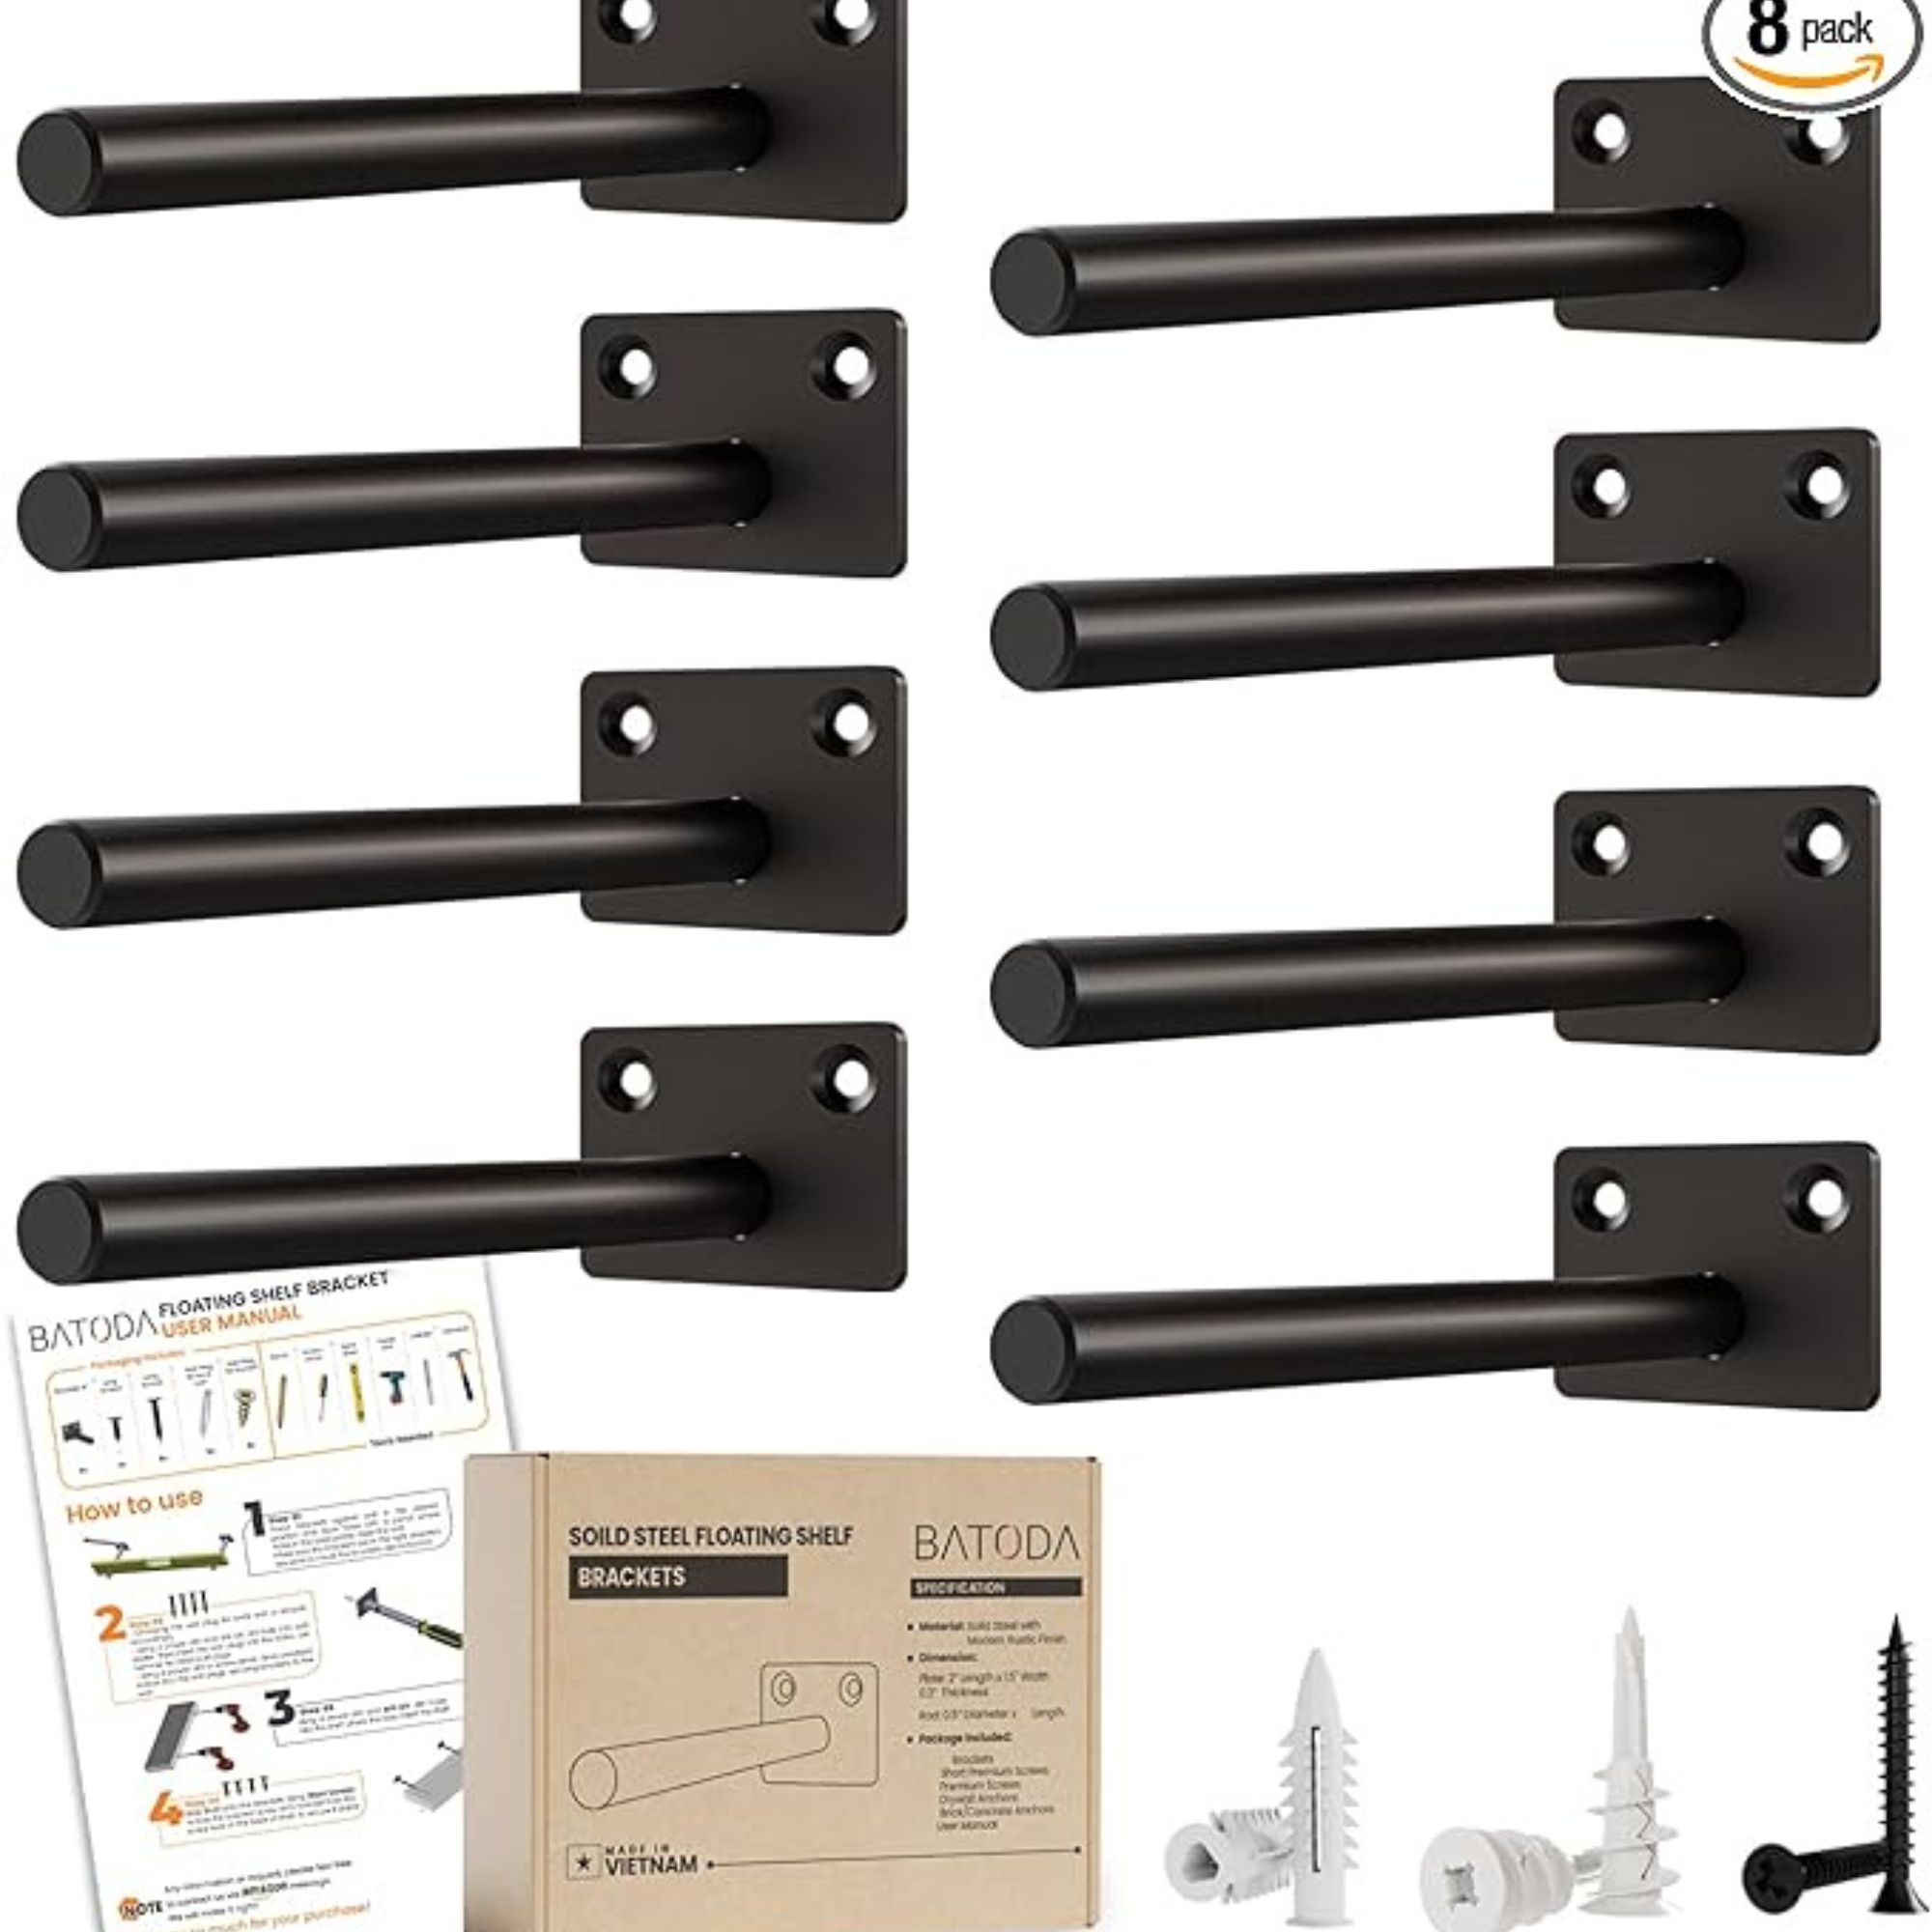
With the general outline of your shelf in place, you can now work out where to drill your holes. To do this, hold the bracket up so that it is inside of the shelving line and the screw holes are in line with your wall studs, says Jacob Rhodes, owner and chief engineer at TrueTac. ‘Use the level to ensure it's straight, then mark the screw holes.’
3. Drill the holes and add wall anchors
With the marks clearly on the wall, you can start drilling. How you drill into your wall will depend on the material you are drilling into, however, warns David Feiger, owner of NookWoodworking.
‘Usually, walls are one of the following:
'Drywall and studs: Around 90% of people have drywall walls. These walls are made up of a layer of gypsum board that is sandwiched between two layers of paper. The studs are the vertical wooden beams that run from floor to ceiling and provide support for your home's structure (and what you'll want to utilize when hanging your shelves).
'Concrete: It's usually used in basements or garages because it's more durable than drywall. Very difficult to drill through for a non-professional but can be possible.
'Brick: Brick walls are more common in older homes and apartments. Usually, when this is the case, there's actually a wood brick built into the wall called a nog or pallet to allow the wall to support shelves or other things that need to be hung.’
With the type of wall established and the right screws and drill bit selected, start by drilling small pilot holes and working up drill bits to the correct size for your anchors and screws, advises Jacob Rhodes, chief engineer
‘Pre-drill for precision. Use the wood bit to create pilot holes in drywall (prevents cracking). Swap to the masonry bit for brick or concrete and then anchor up (if needed). For drywall and heavier shelves, tap the appropriate anchors into the pre-drilled holes.’
4. Mount the brackets and hang the shelf
With the anchors in place, you can mount the bracket with the assigned screws, continues Andriy Boyko, professional handyman at A.O. Handy Inc. ‘If your shelf is particularly large it can help to do this with two people for precision and safety, he advises.
Once in place, double-check it is level and does not wobble before moving on to hanging the shelf. Slide the shelf onto the bracket and add the final securing screws to the pre-drilled pilot holes, usually on the base. ‘Some brackets come with covers to hide the screws after installation for a truly seamless look. You can add these now too to help style a shelf, Andriy adds.
5. Inspect and adjust
Finally, with the shelf in place, it is time to inspect your work and make any final adjustments to ensure the shelf's sturdiness, concludes David Feiger, handyman.
‘Ensure it is level and stable. If the shelf is not level consider placing a wooden wedge aka shims, like these from Amazon behind the bracket and checking with your leveler to achieve a totally level position.
‘If the shelf isn't stable then it will move vertically while on the brackets. To solve this issue, wrap standard electrical tape around the rods to fill out the space and stabilize the shelf.’
FAQs
Are floating shelves better than brackets?
Floating shelves can look a lot better than bracted shelves when installed correctly, offering a seamless final look, however, they are not always as sturdy as bracketed shelves. What you are using your shelves for will determine which mounting approach you go for.
Can you put heavy things on floating shelves?
When decorating floating shelves, it is a good idea to avoid overloading them with lots of very heavy items. While floating shelves that have been installed correctly using wall anchors to the studs will be sturdy, anything too heavy could cause them to sag or pull away from the bracket, possibly leading to damage.
When hanging floating shelves, it helps to double-check everything as you move through each step of the process, adds Andriy Boyko, professional handyman. ‘Always measure twice and drill once,’ he warns. ‘Recheck your markings and measurements before you commit to anything destructive to avoid mistakes and make it easier to finish your home DIY projects.’

Chiana is Homes & Gardens’ kitchen appliances editor. With a lifelong passion for cooking and baking, she grew up experimenting in the kitchen every weekend with her baking-extraordinaire Mom, and has developed a great understanding of how tools and appliances can make or break your ideal relaxing kitchen routine.
