How to clean a stand mixer – 5 simple steps to streak-free shine
Wondering how to clean a stand mixer? We've condensed the process into 5 simple steps. Here is everything you need to know...


While they can make baking quick and easy, knowing how to clean a stand mixer is a must before you buy. For making speedy cupcakes or kneading a loaf of bread, muscle-free, the best stand mixer will make all of your culinary creations that little bit easier.
Many stand mixers come with removable attachments that can go through the dishwasher, but if you're making a multi-layered cake that requires you to make a sponge cake and frosting one after the other, knowing how to clean a stand mixer by hand will make sure you can get back to baking in a jiffy.
Well, with reviewing stand mixers comes a whole lot of cleaning, so we have all the experience needed to teach you exactly how to clean a stand mixer bowl and attachments. Here is our five-step guide.
How to clean a stand mixer
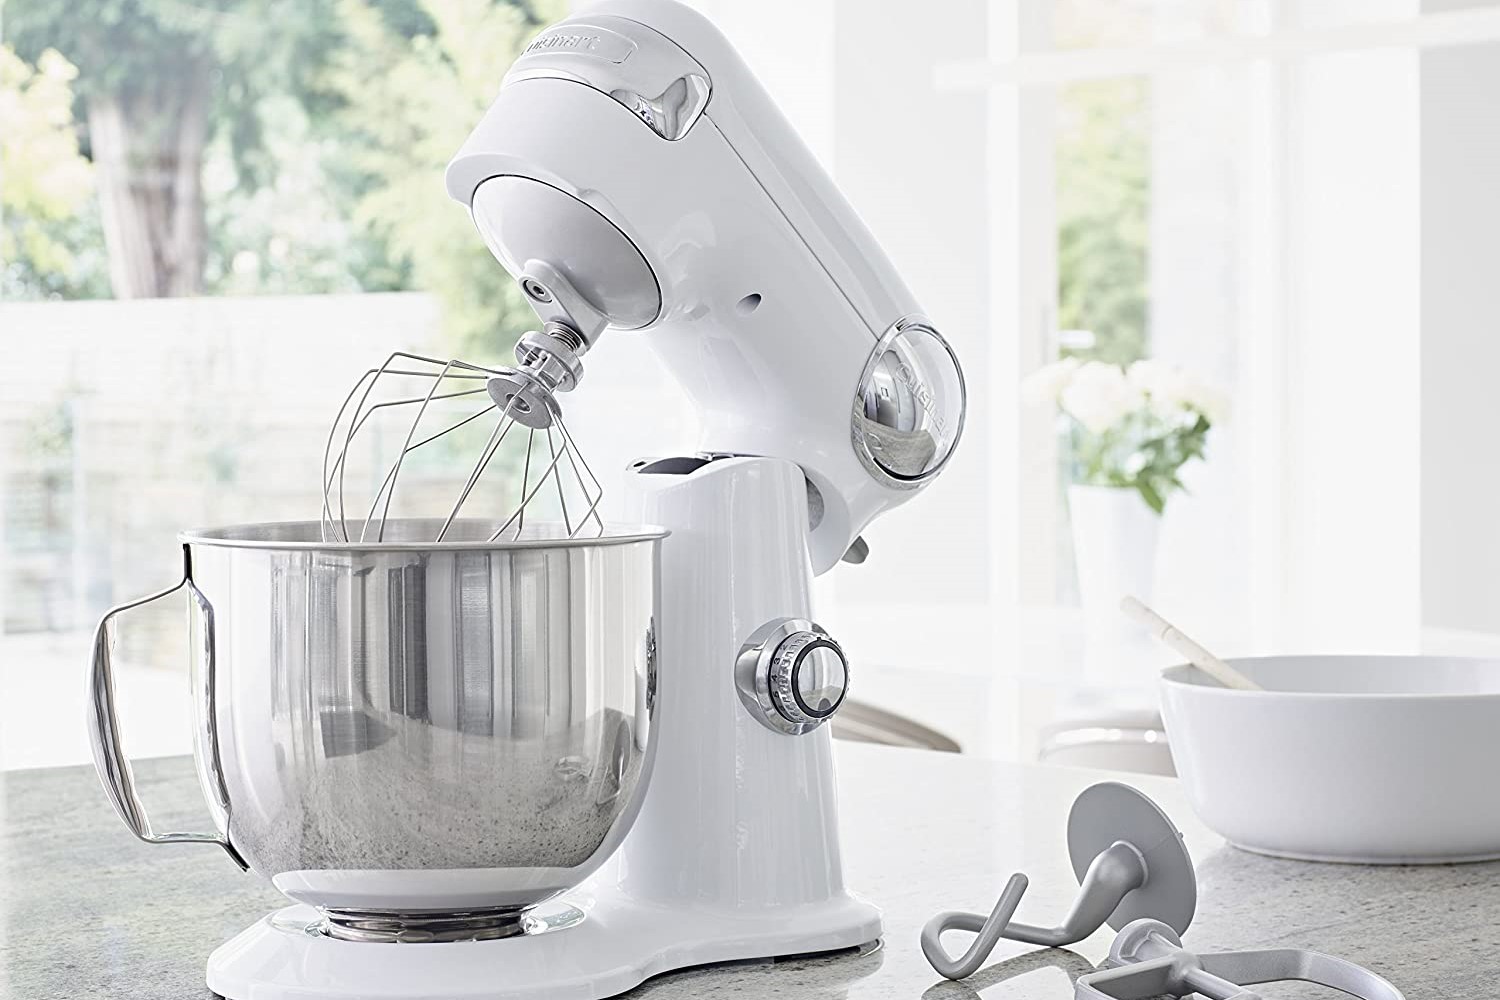
Before you add this to your kitchen cleaning checklist, check if your stand mixer can go through the dishwasher. Most stand mixer bowls, from the KitchenAid Artisan to the Cuisinart Precision, can go through a dishwasher cycle on the top shelf. When it comes to whisks and dough hooks though, it is unusual to find a mixer with 100% dishwasher-safe attachments.
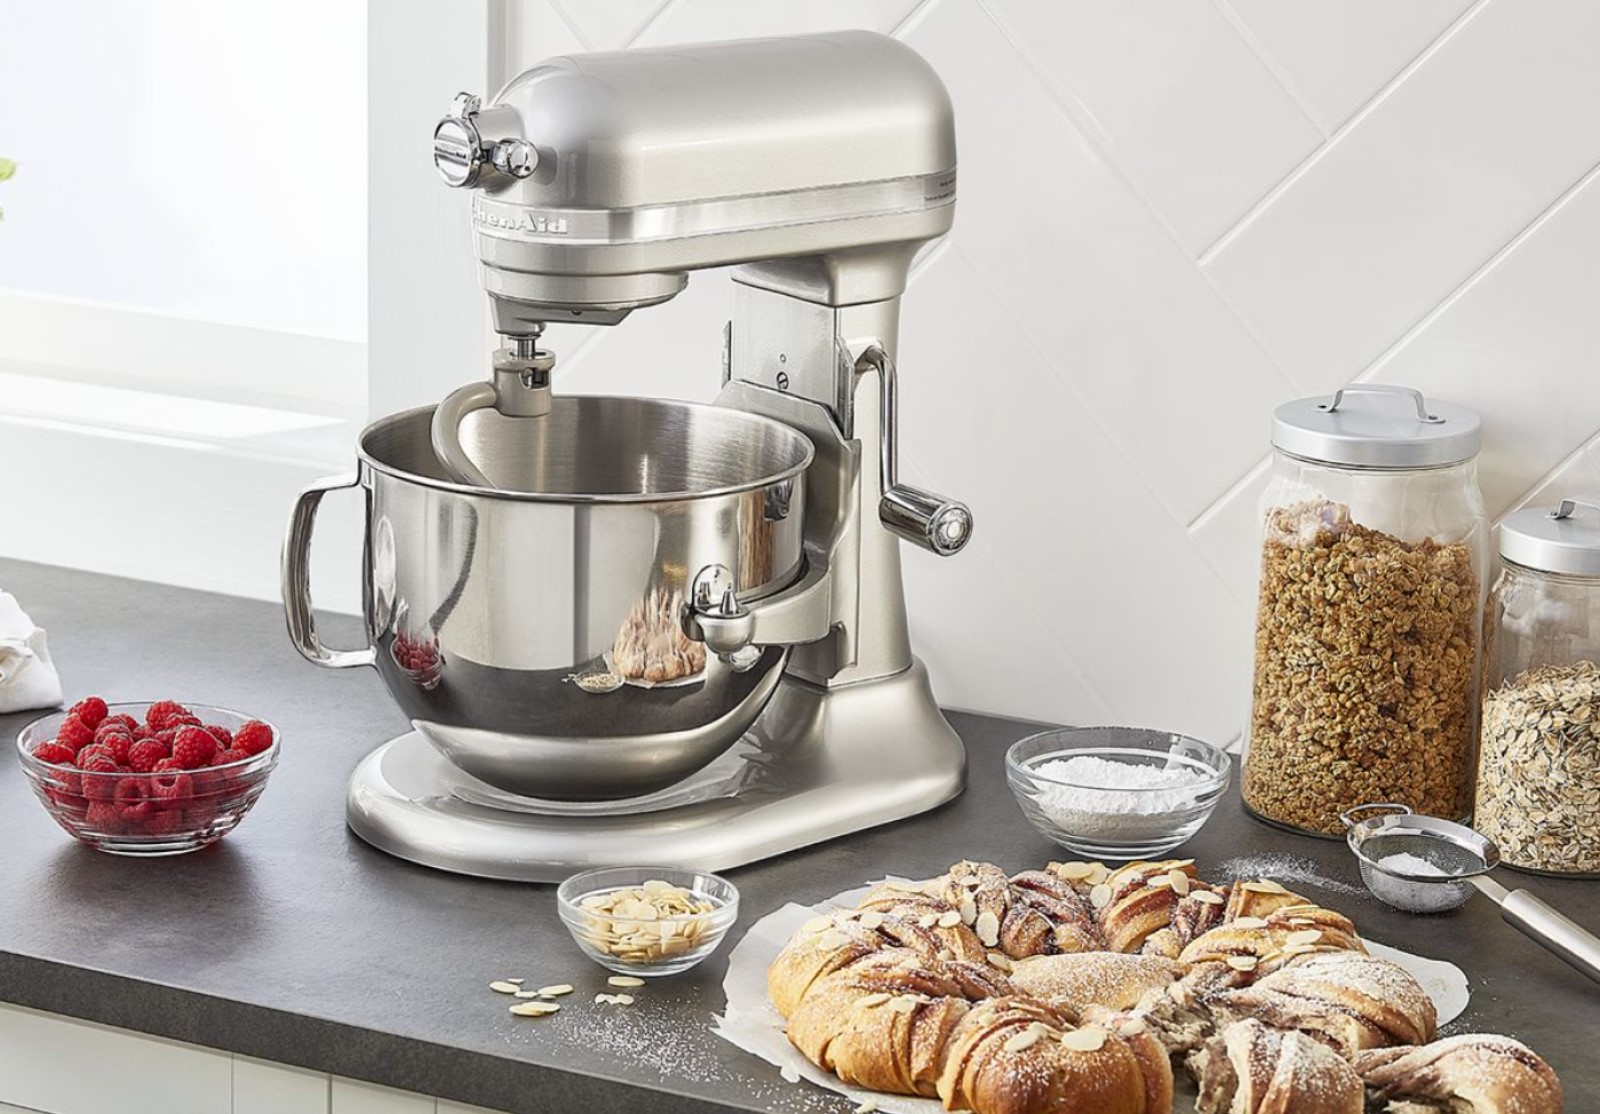
Not all KitchenAid whisks can go through the wash, even though the dough hook and flat beater usually can, so in this guide we will walk you through how to clean your stand mixer bowl and attachments, as well as the exterior of the stand mixer machine,
1. Prepare your mixer
The most important part of knowing how to clean a stand mixer is to never have it plugged in while you clean it. This can be dangerous, and it will also prevent you from reaching all areas of the mixer.
Remove the bowl and attachments and begin by placing them in a basin of warm and soapy water.
Design expertise in your inbox – from inspiring decorating ideas and beautiful celebrity homes to practical gardening advice and shopping round-ups.
2. Get cleaning the appliance
The attachments can be cleaned by hand in warm soapy water. While it's relatively easy to clean a dough hook or flat beater, cleaning a wire whisk is a little more tricky. This requires you to get in between all the wires of the whisk, so we suggest using something with bristles to take away any surface-level cake batter.
Rinsing the attachments as soon as you finish using them will make it a lot easier to clean them once you're finished with the stand mixer, because it won't allow any leftover mix to dry down onto the attachments.
3. Clean the mixing bowl
The mixing bowl needs to be cleaned inside and out. If you display your stand mixer on your kitchen counters the bowl needs to be free of watermarks and splatters.
Use soapy water and a lightly abrasive sponge to remove spills and splatters, and then buff away watermarks using a dry microfiber cloth until it's completely dry.

4. Turn to the stand mixer itself
The main body of your mixture will likely have a glossy exterior that you love to display on your kitchen countertops, so you should make sure it's dazzling after each use.
To do this, wipe the mixer with a damp microfiber cloth to take away any spills and debris. Then pay attention to the tilt-head (or if you're using the KitchenAid Pro Line Stand Mixer, a bowl-lift) and get into any hidden spots. Finishing touches include the dial and tilt lever.

5. Re-assemble the stand mixer
Now all your parts are clean and dry, assemble your mixer back together and store all your attachments, ready for your next use.
How to clean a hand mixer
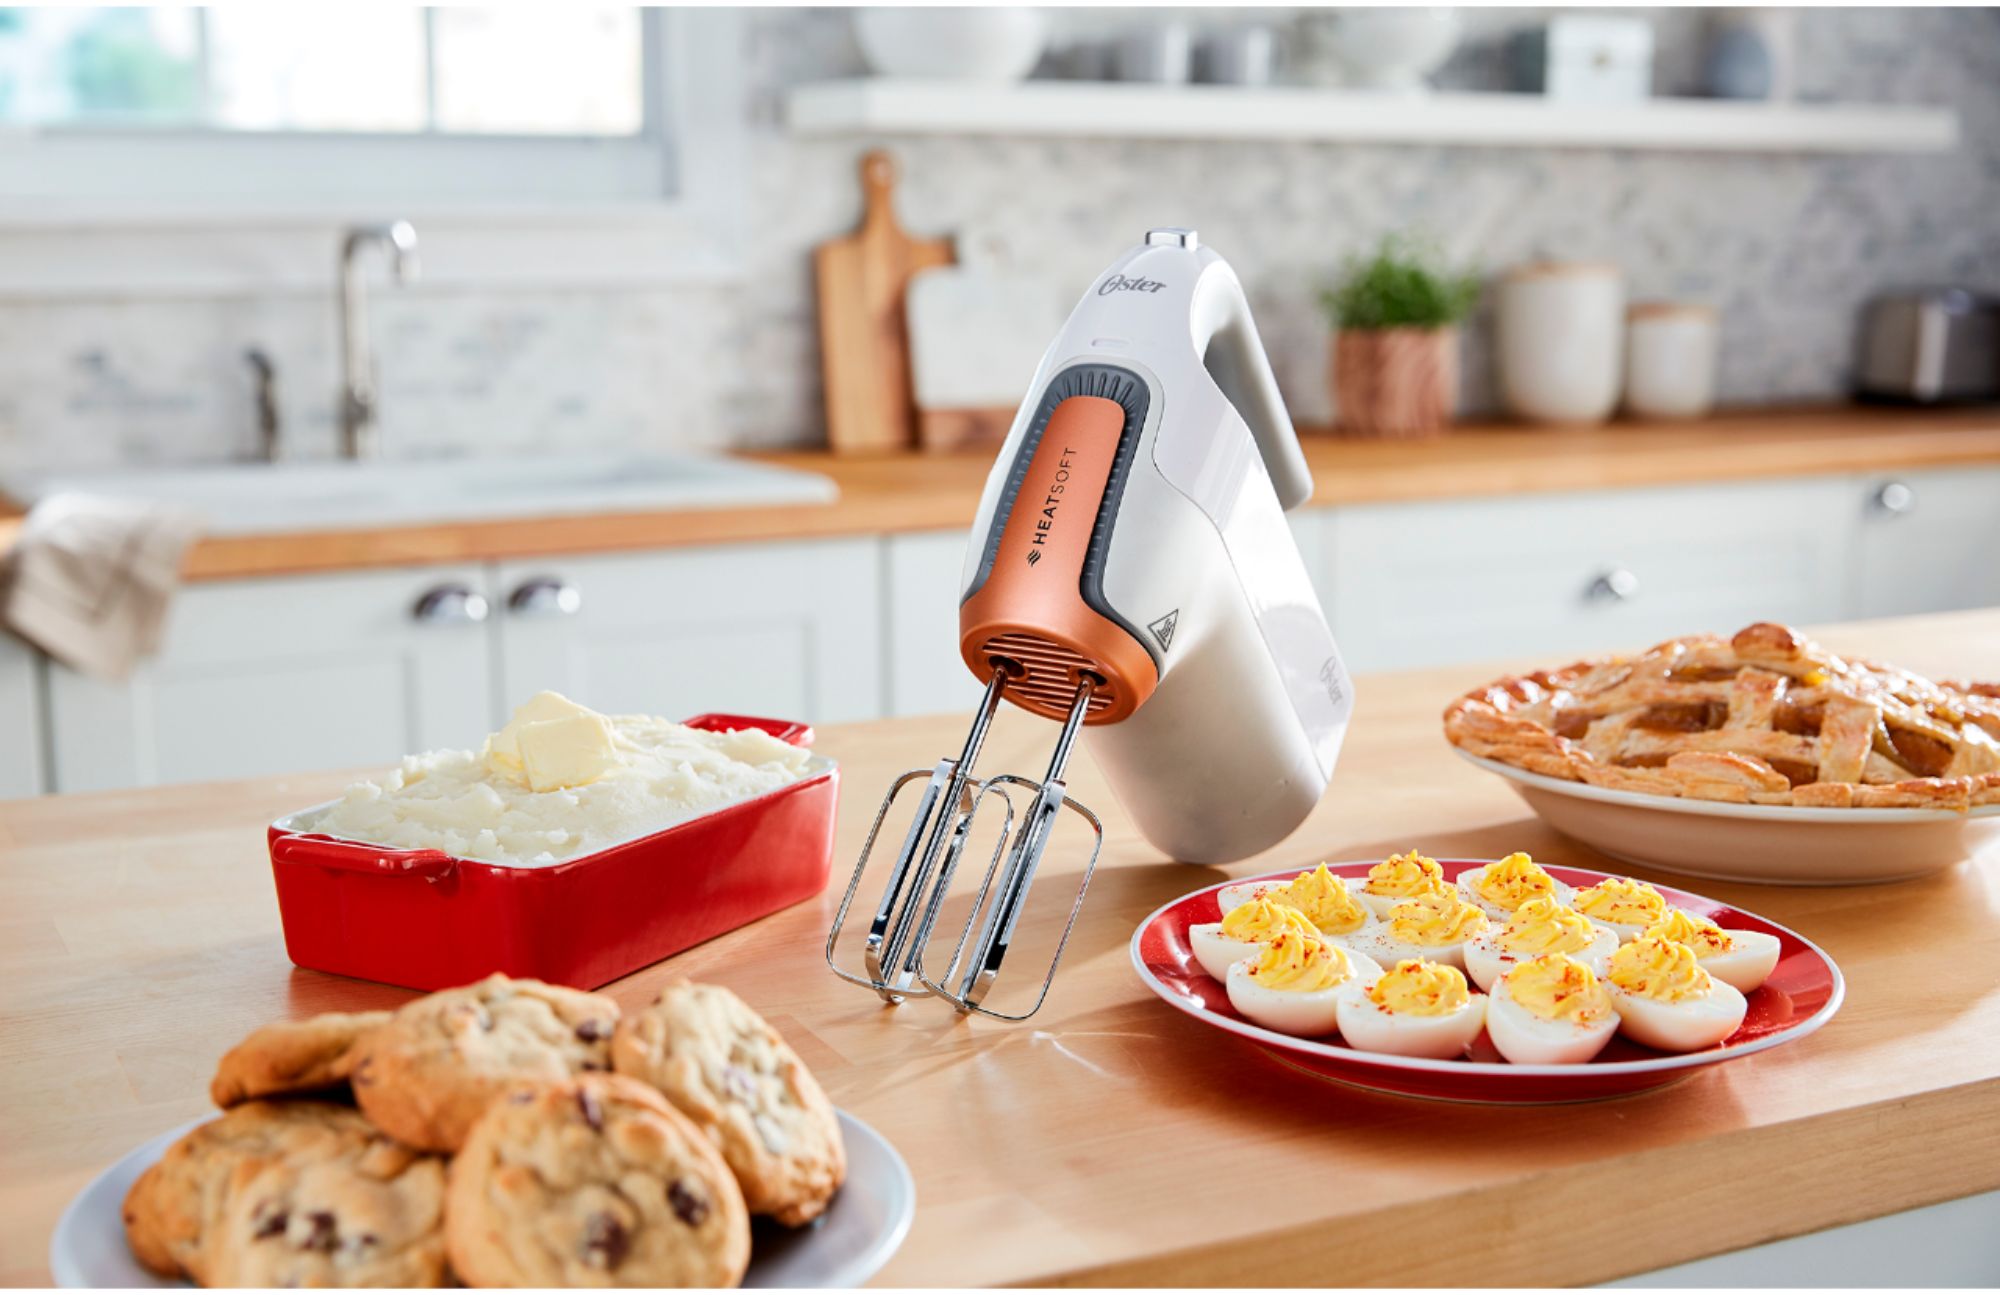
The best hand mixers will often prove easier to clean than stand mixers. The removable attachments can typically be placed in the dishwasher, and then it's a case of simply wiping the exterior clean.
When cleaning your hand mixer the same guidance applies. Make sure it's unplugged and then wipe the exterior clean. The good news is that most hand mixers come with cases or boxes to keep all your attachments neat and tidy, too.
How often to clean a stand mixer
If your stand mixer has gone a few weeks (or even months) without use, make sure you wipe out the interior of your bowl and give your attachments a quick clean before baking. The last thing you want is for your cake to end up with dust in it, and if you're making meringues or macaroons, any potential contaminants of an otherwise clean bowl can stop your mix from rising or forming stiff peaks.
How do you clean a stainless steel mixer?
The answer to how to clean stainless steel appliances, including steel mixers, is that you can do it with store-bought products, or with what you already have at home.
‘There are lots of specialist stainless steel cleaners for stand mixers which are great for making your gadgets streak-free again,’ says Lucy Searle, global editor-in-chief of Homes & Gardens. ‘Personally, I’m a fan of homemade cleaning solutions and repurposing products that are used elsewhere in the home. A combination of baking soda and water is a solution that we often recommend. Also, baby oil is a product we often use when photographing kitchens for Homes & Gardens, as it really brings out the shine.’

Millie Fender is Head of Reviews on the Homes and Gardens Ecommerce team. She specializes in cooking appliances, such as the best kettles, and also reviews outdoor grills and pizza ovens. Millie loves to bake, so she will take any excuse to review stand mixers and other baking essentials. When she's not putting products through their paces in our dedicated testing kitchen, Millie's reviews are conducted at home, meaning she uses these products in her own day-to-day life.