How to grow thyme
Follow this guide on how to grow thyme, and enjoy this delicious, low-maintenance herb all year round

Design expertise in your inbox – from inspiring decorating ideas and beautiful celebrity homes to practical gardening advice and shopping round-ups.
You are now subscribed
Your newsletter sign-up was successful
Want to add more newsletters?

Twice a week
Homes&Gardens
The ultimate interior design resource from the world's leading experts - discover inspiring decorating ideas, color scheming know-how, garden inspiration and shopping expertise.

Once a week
In The Loop from Next In Design
Members of the Next in Design Circle will receive In the Loop, our weekly email filled with trade news, names to know and spotlight moments. Together we’re building a brighter design future.

Twice a week
Cucina
Whether you’re passionate about hosting exquisite dinners, experimenting with culinary trends, or perfecting your kitchen's design with timeless elegance and innovative functionality, this newsletter is here to inspire
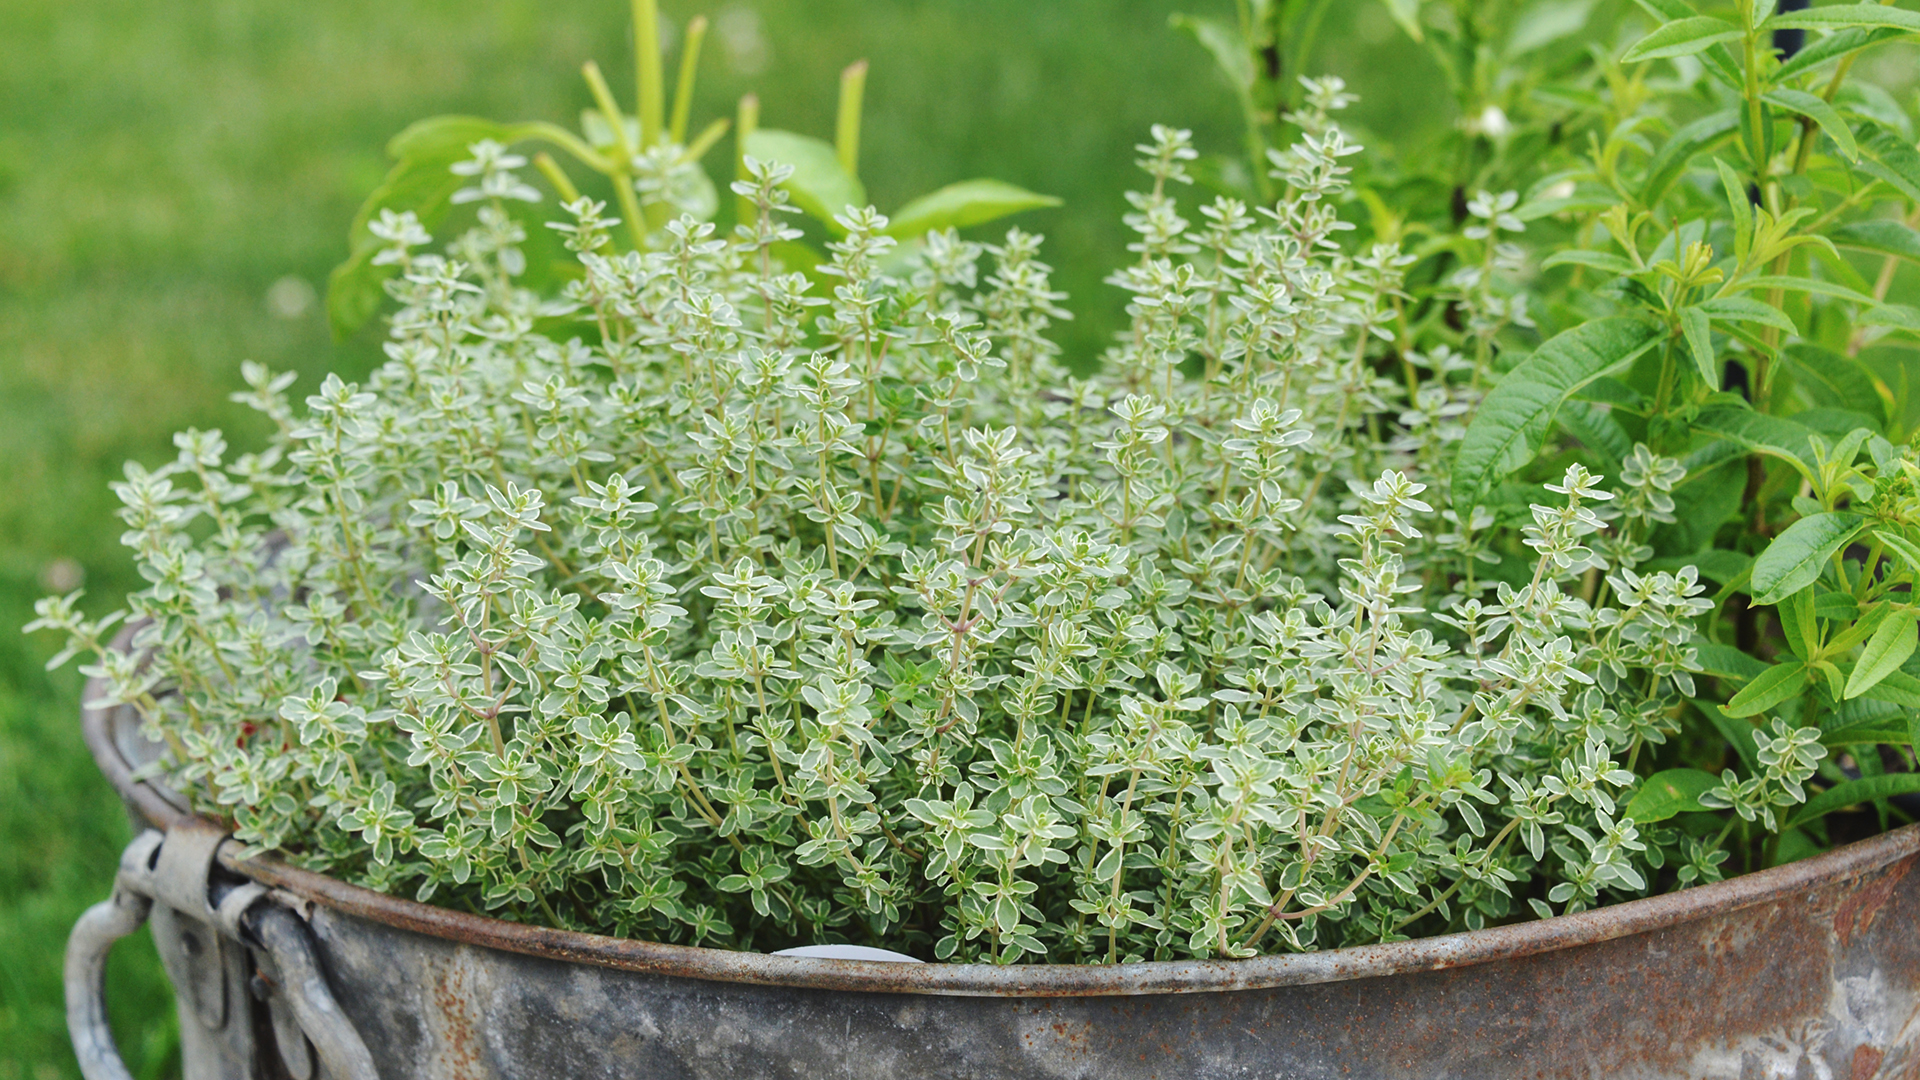
Learn how to grow thyme at home, and you will always have a supply of this versatile herb, which has a uniquely earthy flavor that complements so many different foods.
See: Herb garden ideas – for wonderful ways to cultivate herbs
'Thyme is one of the most useful and cheerful plants to have in a garden,' says Judith Hann, in her book Herbs: Delicious Recipes and Growing Tips to Transform Your Food. 'I plant thyme alongside other plants which flower at the same time in early summer, just for its looks alone.'
Though grown around the world, thyme is native to the Mediterranean, and so prefers full sun and well-drained, low-fertile soil. It's an evergreen perennial plant, so while not in active growth over colder months, can be harvested for cooking even in the depths of winter.
'It can be difficult to decide which thyme plants to grow for using in the kitchen because there is so much choice from hundreds of different species. But I have ended up with several which are attractive and good in food,' adds Hann.
'My most-used species are common thyme, which has an excellent flavour, and lemon thyme, which is added to many of my recipes from chicken and fish to summery sorbets. I also like the spicy orange thyme, French thyme and some variegated thymes.'
There are a number of ways to propagate this delicious herb – this article explains how to grow thyme from seed, cuttings, dividing, layering, or mound layering. Experiment to see what works best for you.
Design expertise in your inbox – from inspiring decorating ideas and beautiful celebrity homes to practical gardening advice and shopping round-ups.
How to grow thyme from seed
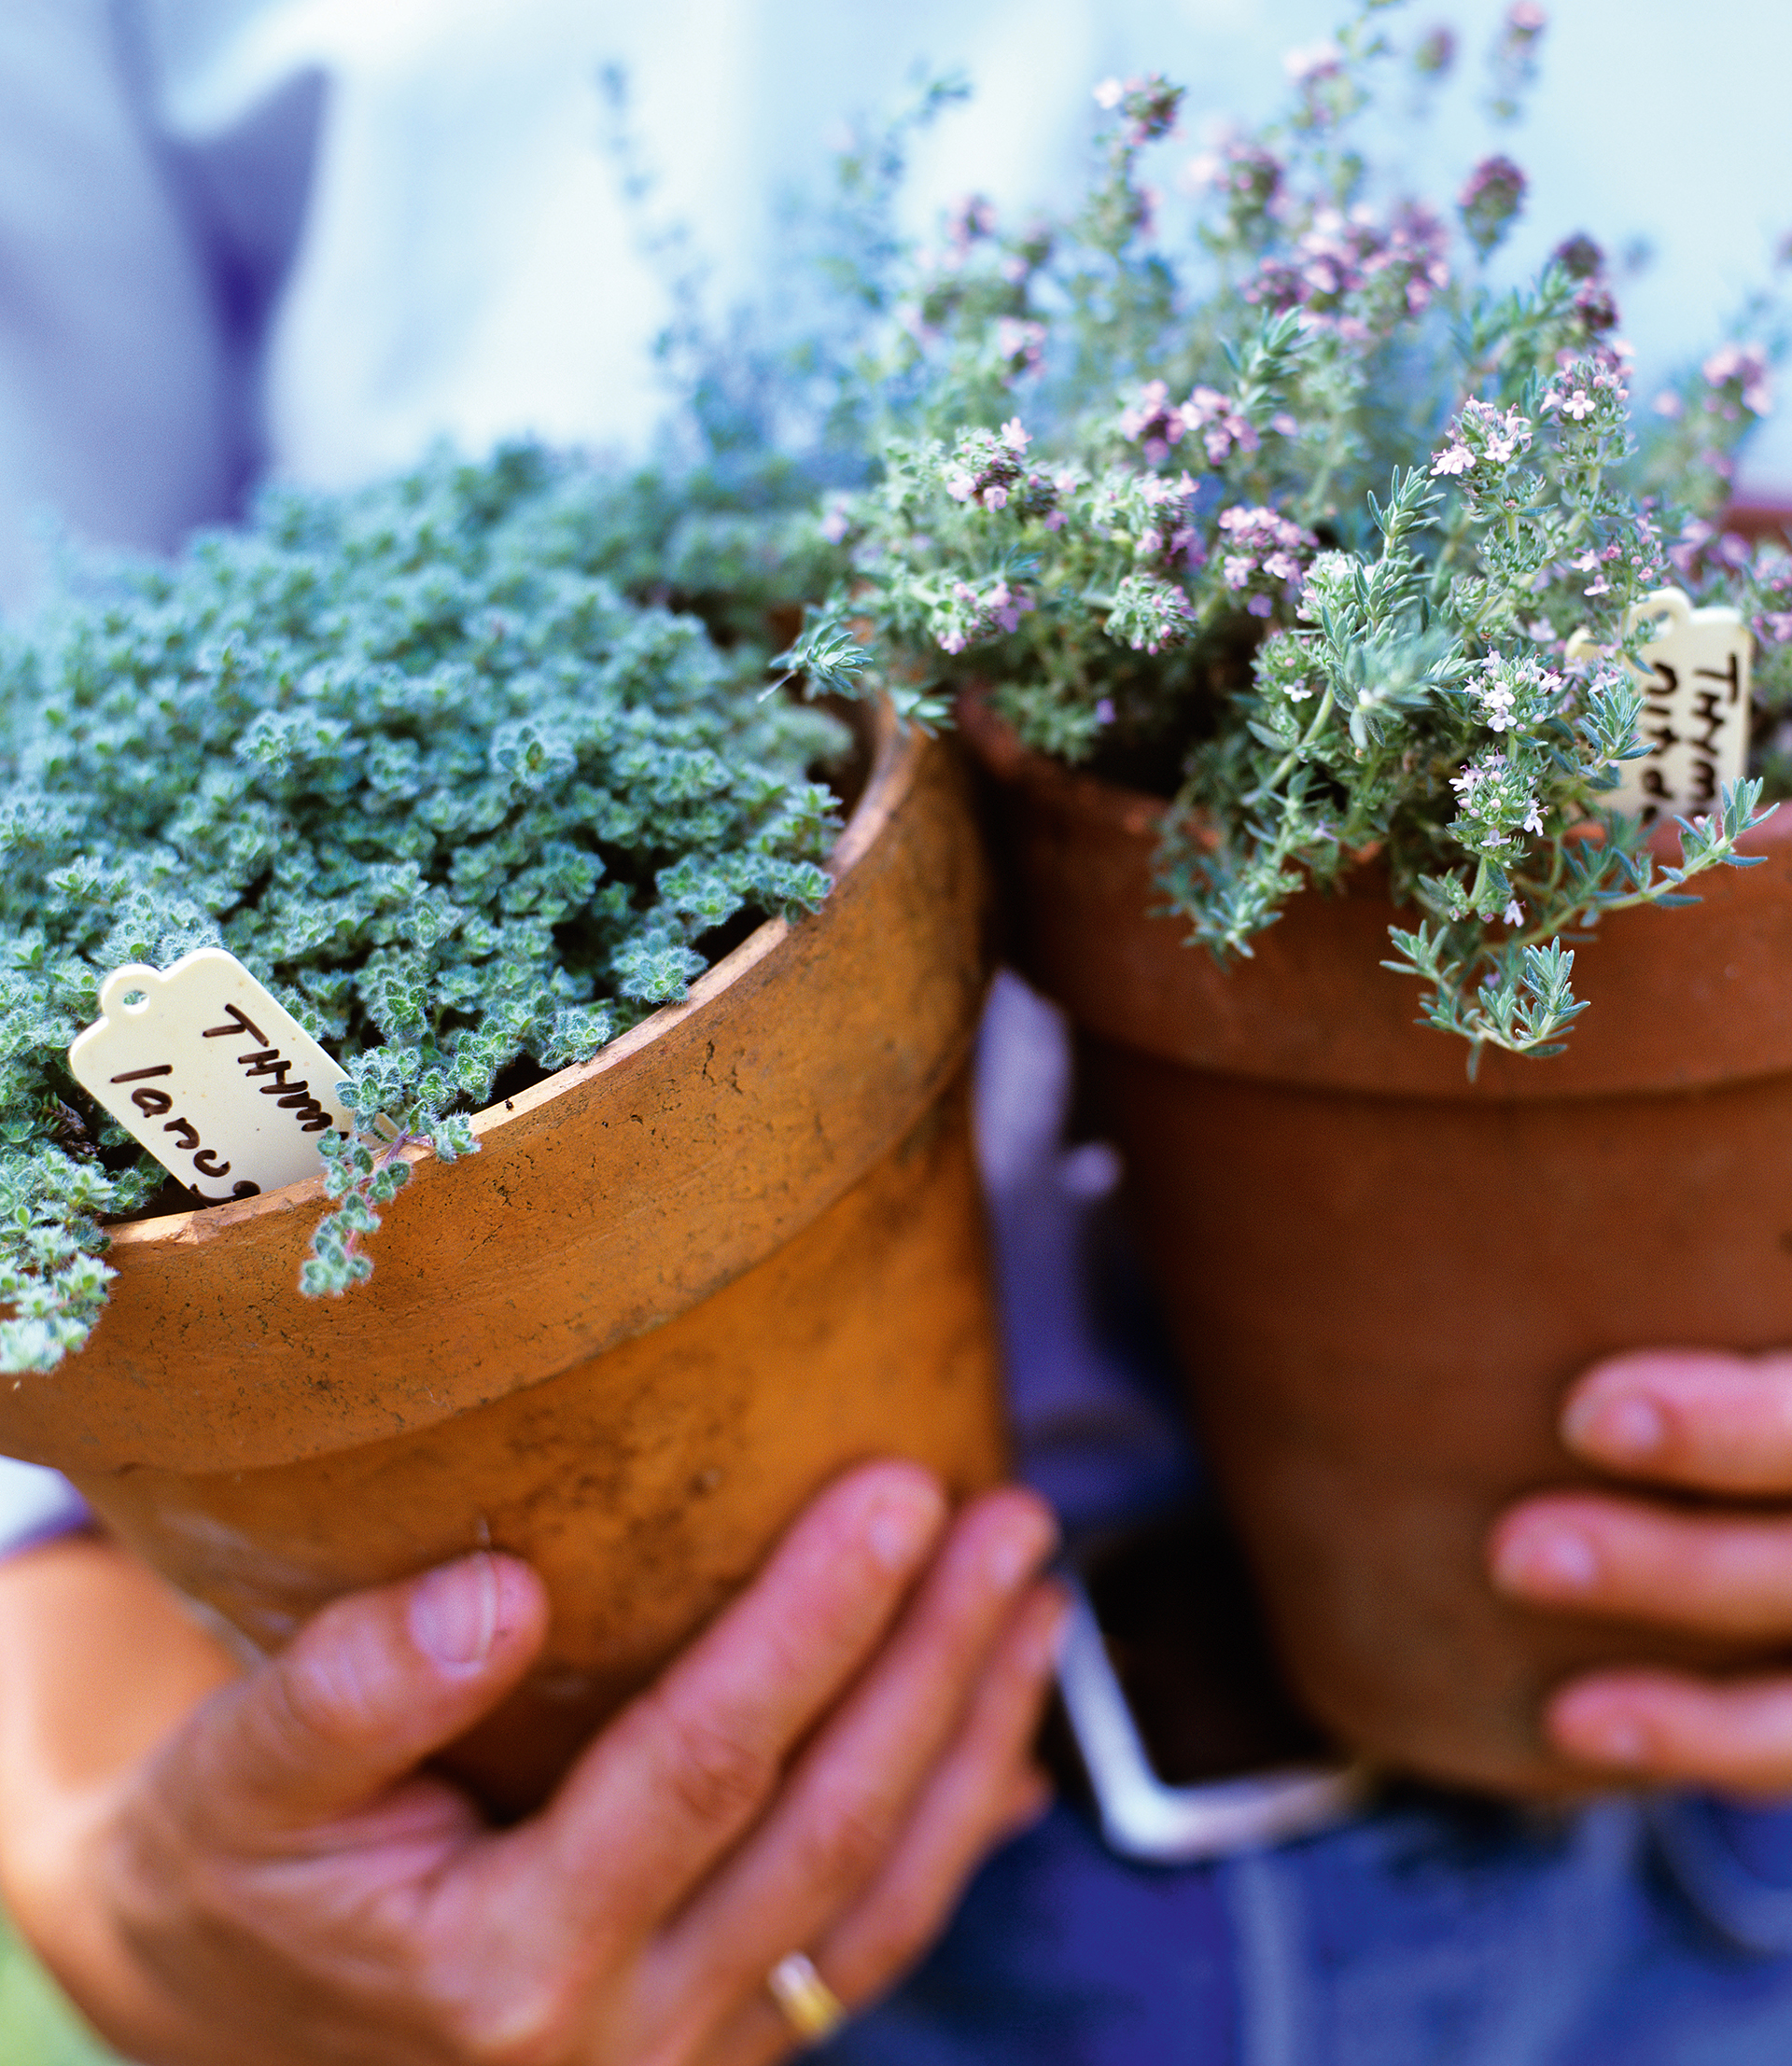
'Thyme does well grown from seed,' says gardening expert Leigh Clapp. 'Start sowing in spring under cover, and then plant up when the soil warms up.'
- To grow thyme from seed, prepare a seed tray using free-draining potting mix, and dampen – but don't over-wet – the soil. Either liberally use a mister spray or place the seed tray in water for 10 minutes, and it will soak up the water through the drainage holes at the bottom.
- Thyme seeds are very small, so try to scatter them finely across the growing medium. When sowing fine seed, a good tip is to use the crease of your palm's heart line to funnel them.
- Cover the seed with a very fine layer of potting mix, or even none at all.
- Place the tray in a propagator, or cover with a polythene bag. This will help to retain the moisture in the soil.
- As soon as the first seeds begin to germinate, remove the cover and ensure the soil stays lightly moist while the seedlings grow.
- Once the seedlings are large enough to handle, transfer to 3 inch pots.
- When the seedlings are 2-3 inches tall, harden them off and plant into their final positions.
- When planted in the ground, established thyme plants won't require watering or feeding.
See: How to grow rosemary
How to grow thyme from cuttings
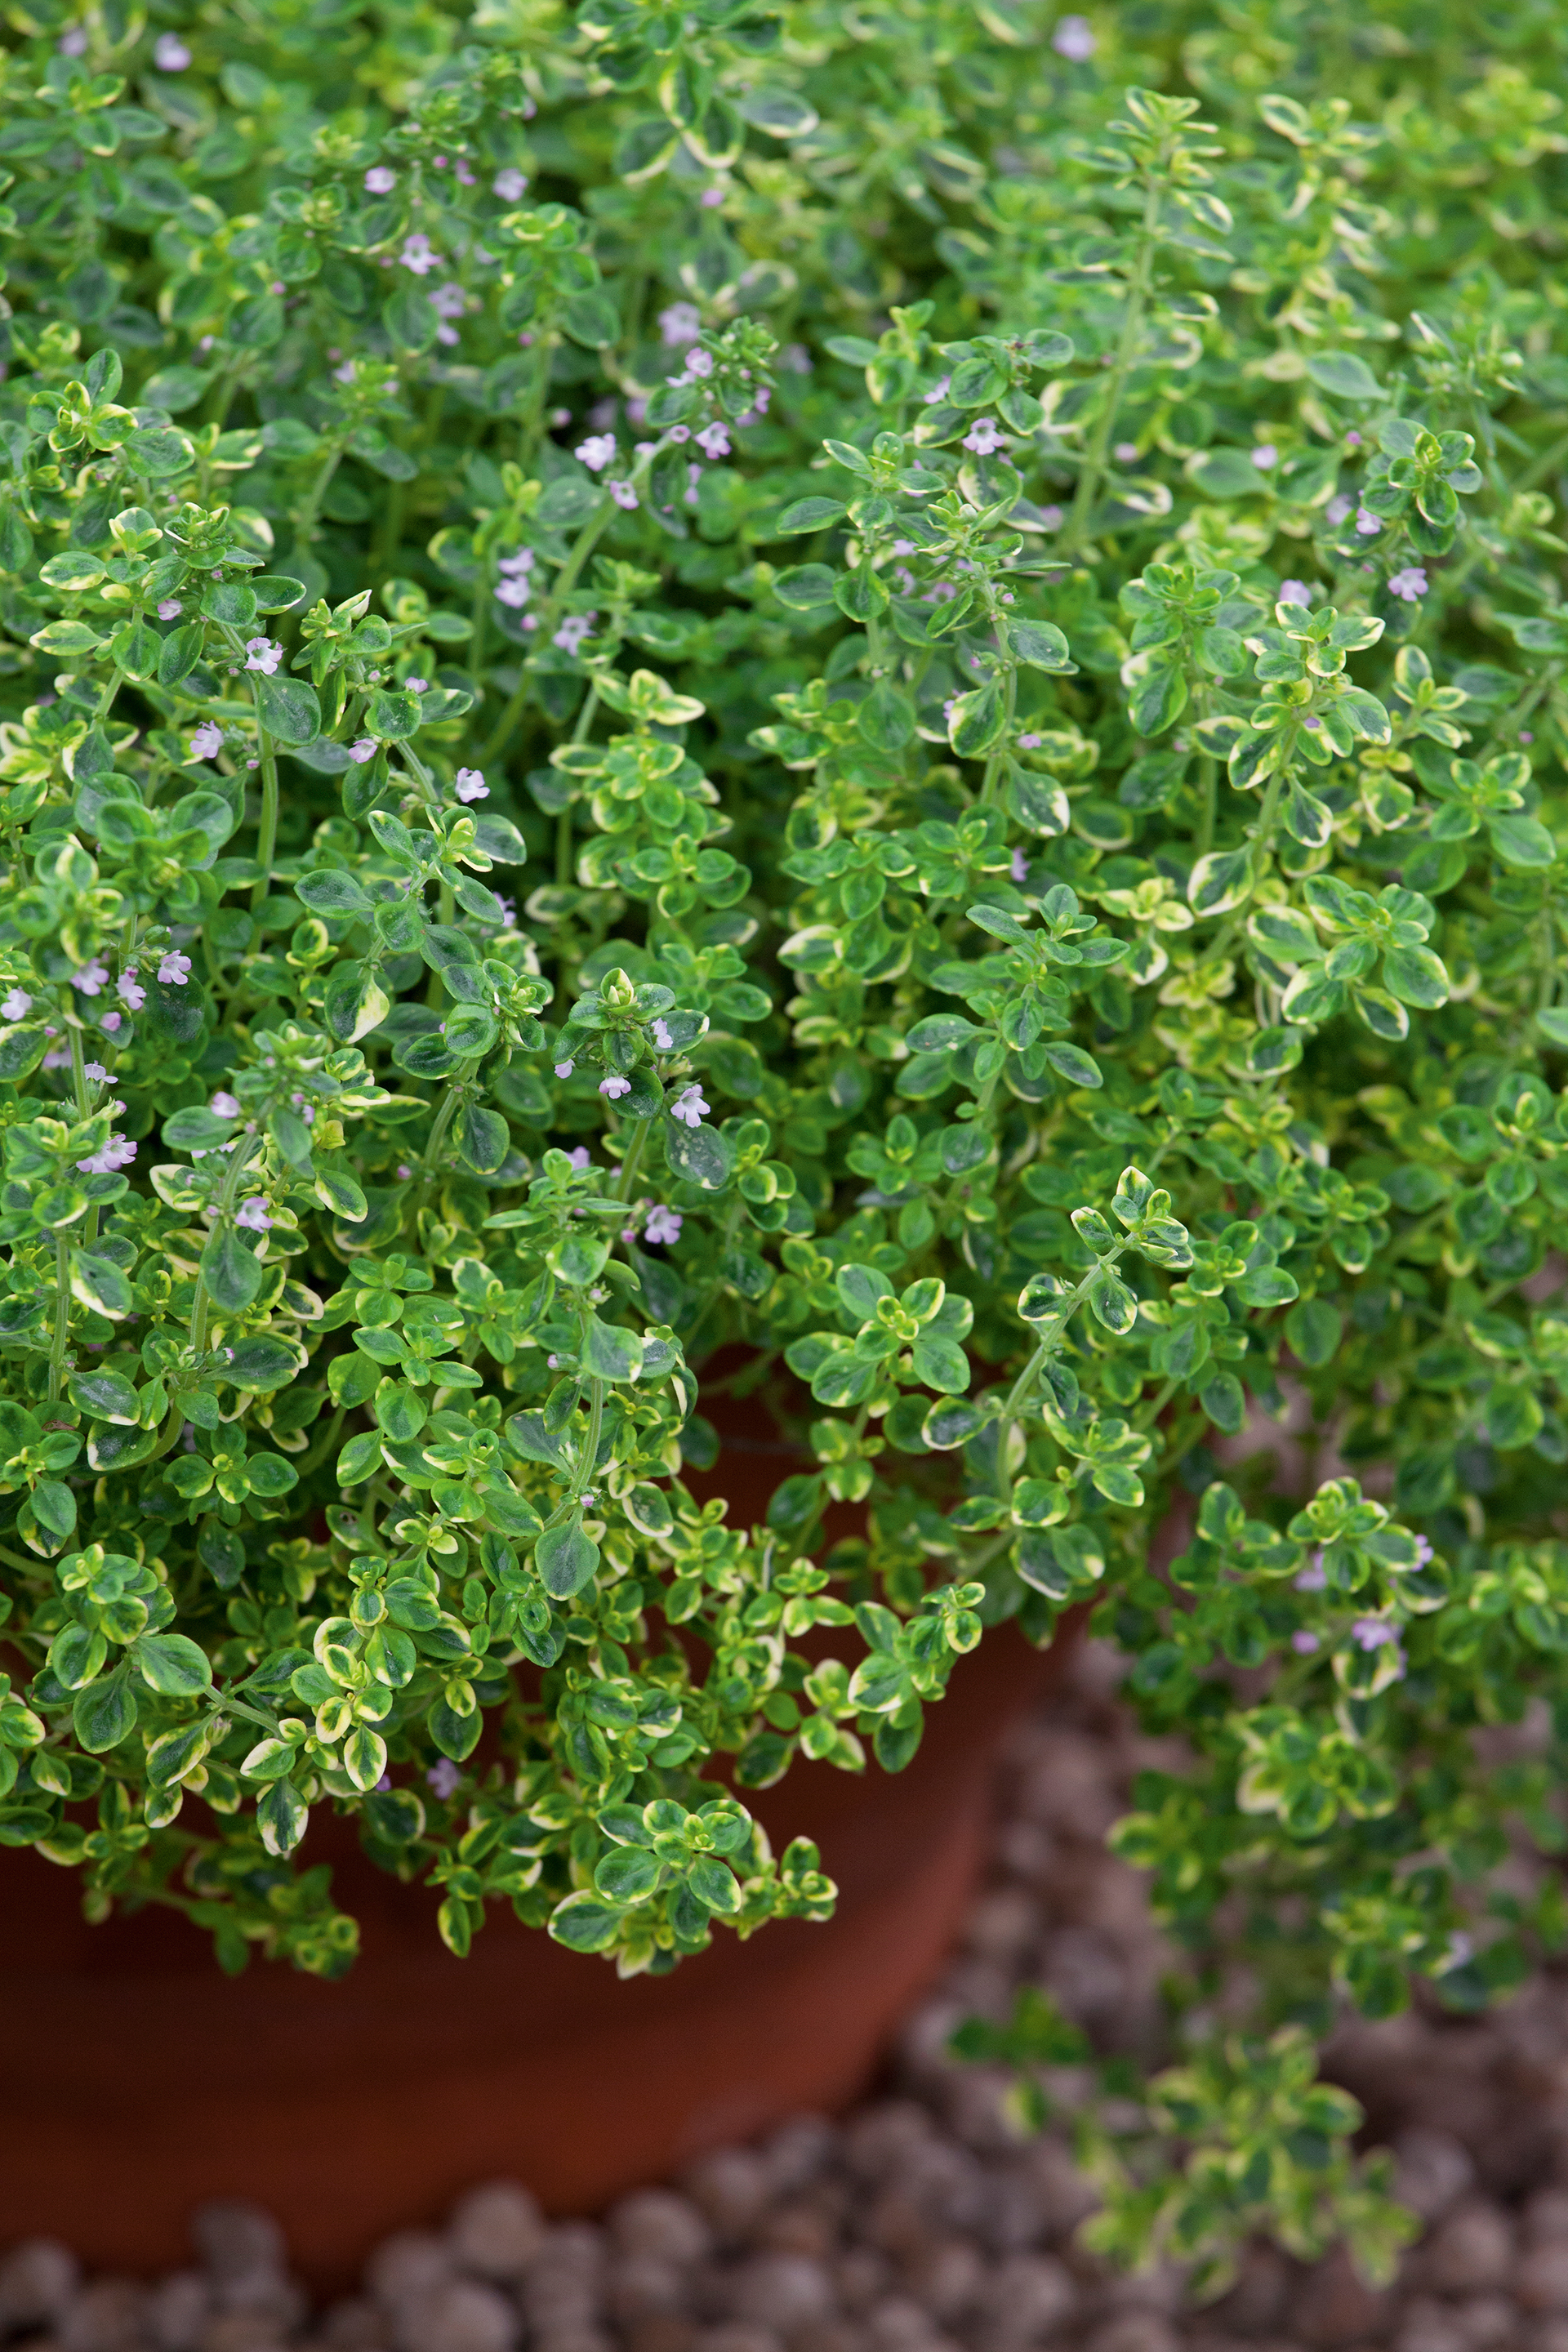
Not all species of thyme can be grown easily from seed, so for quicker results propagate plants from softwood cuttings.
- Softwood cuttings are best taken in late spring or early summer, before the plant has flowered.
- Using sharp, clean secateurs, take cuttings of around 2-3 inches in length. These must be healthy, flowerless stems. Cut just below a branching point, or node.
- Strip off the leaves from the bottom half, and push this part of the stem into a pot or tray filled with gritty potting mix. 'I put the cuttings in a mixture of compost and grit, perlite or sand,' says Hann.
- Moisten the potting mix and put the pot or tray into a propagator, cold frame or on a windowsill. Keep an eye on them and ensure the mix doesn't dry out.
- After around four weeks, your cuttings should have rooted. To test them, give them a very gentle tug – if you feel any resistance, then they have taken root.
- Pot on into individual containers, then when large enough plant into their final positions.
See: How to grow basil
Dividing thyme
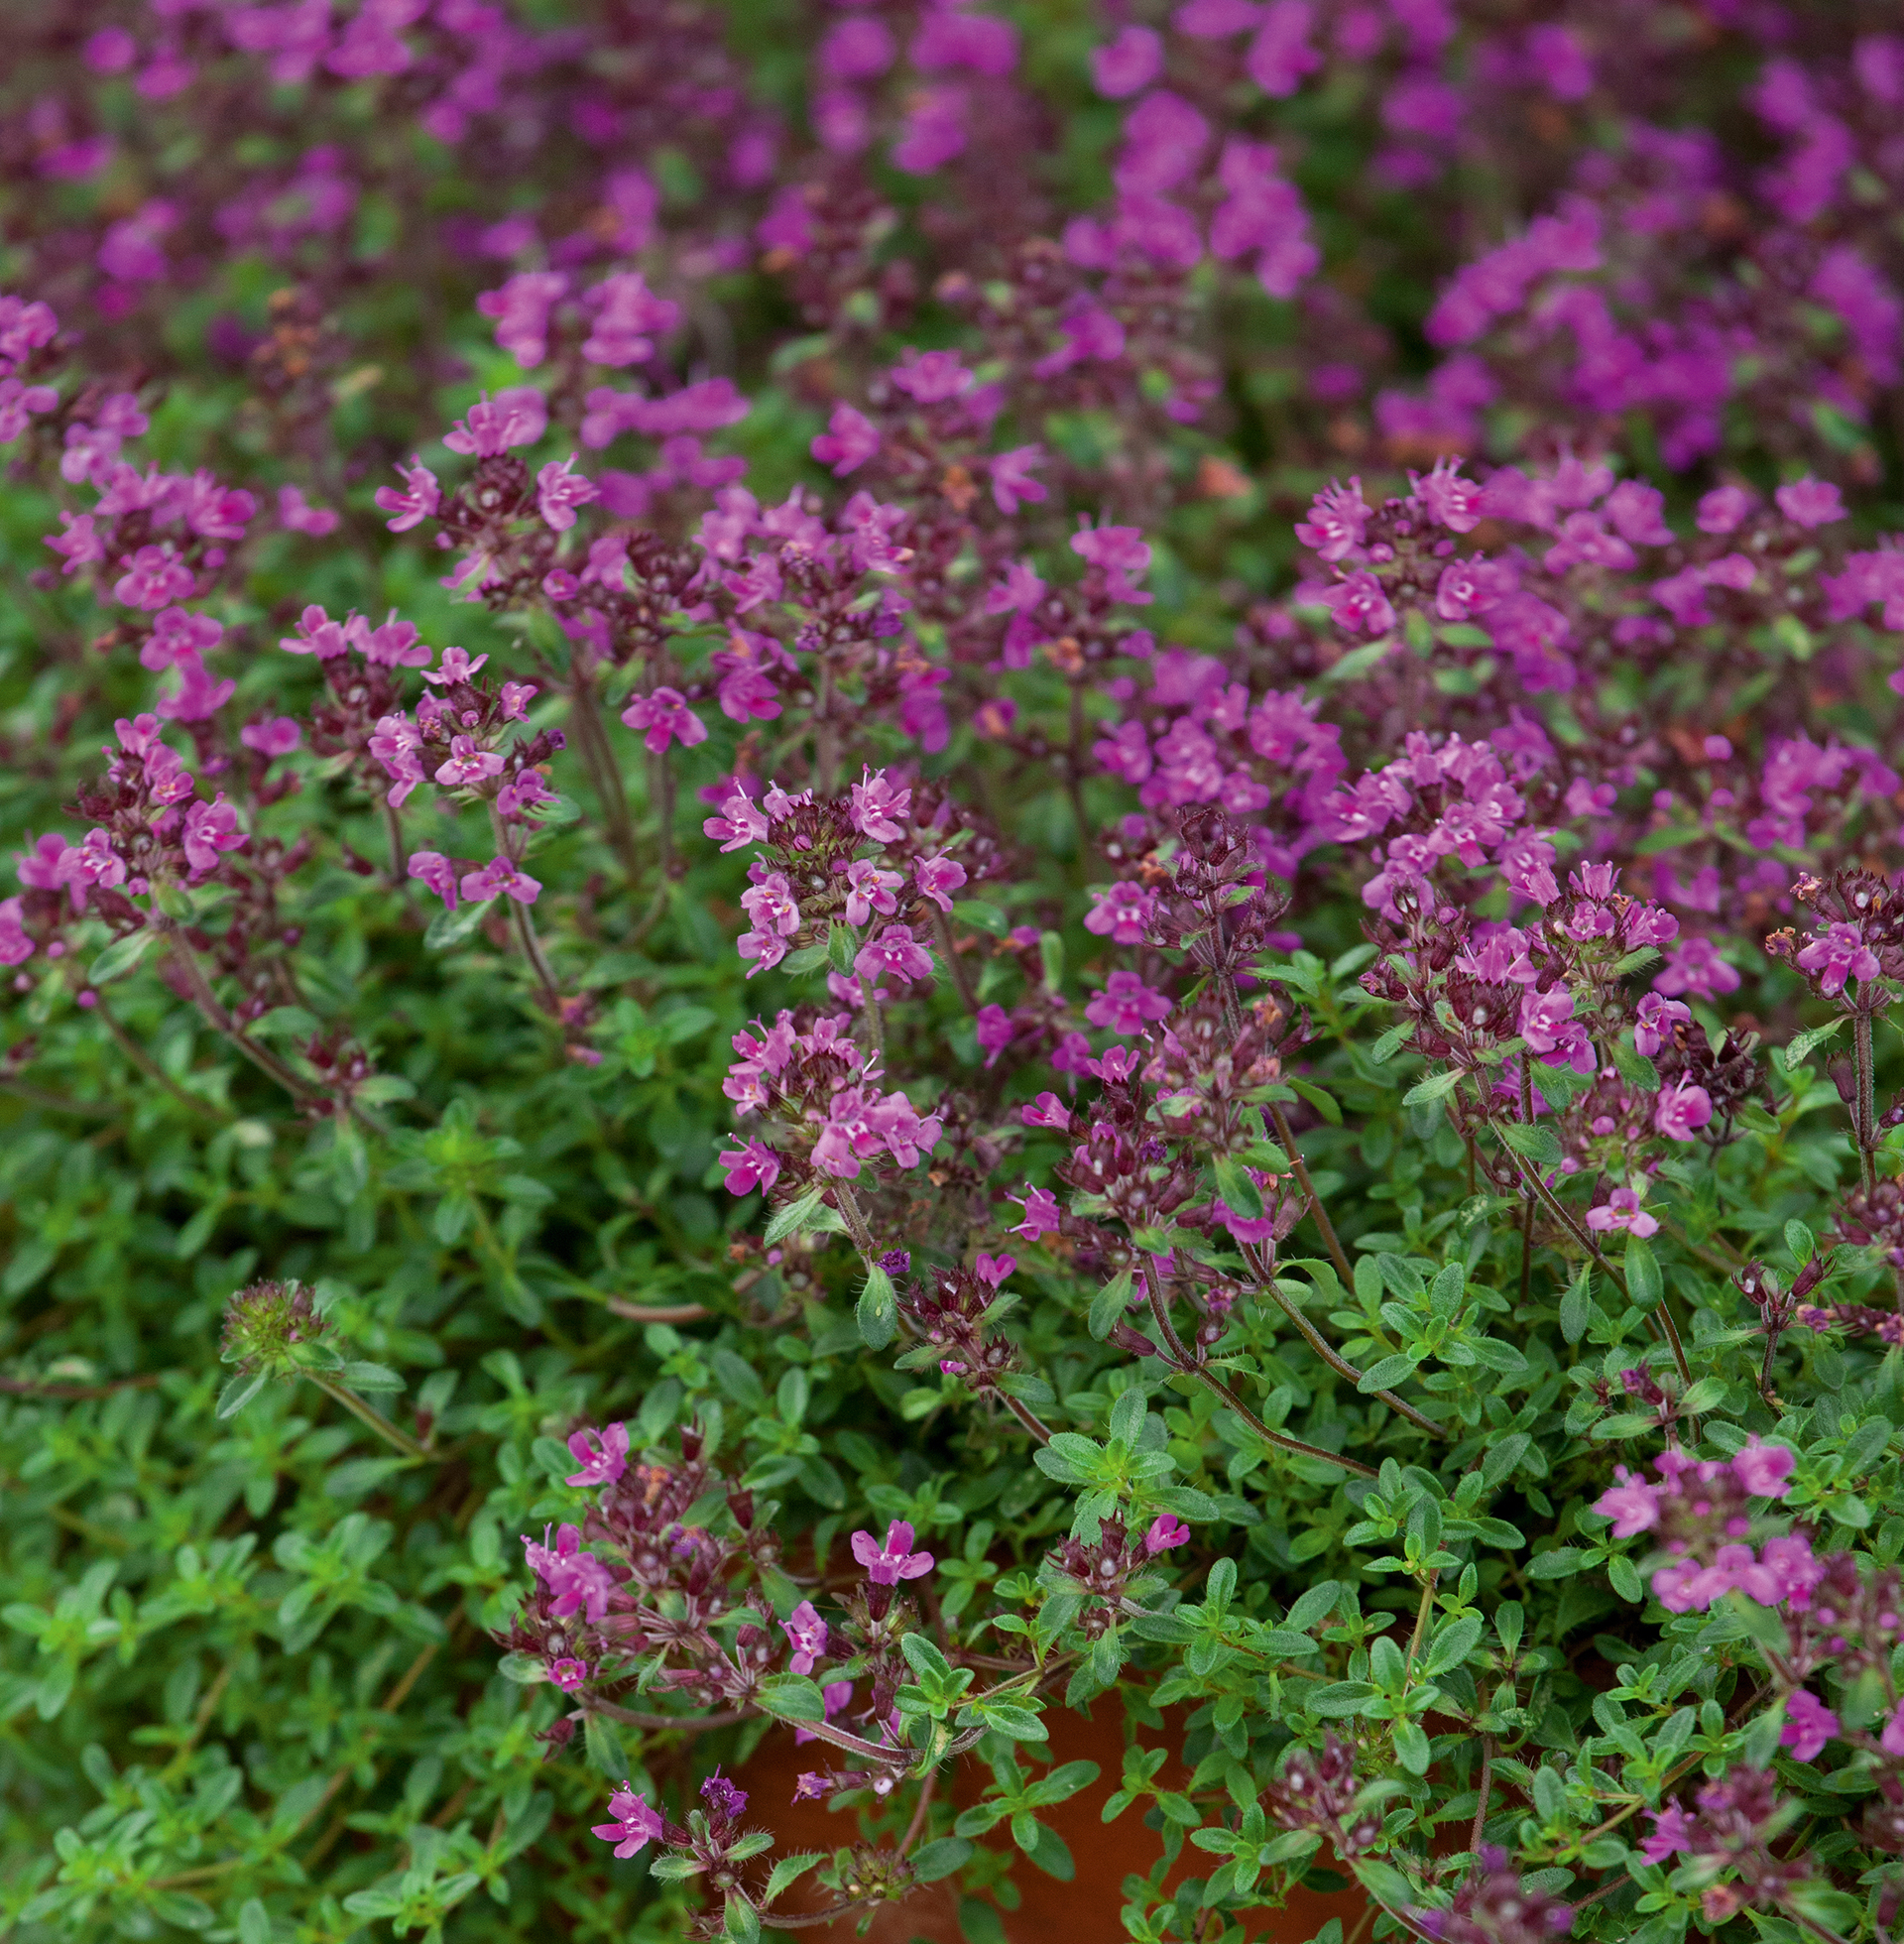
You can propagate thyme through division in the spring or fall. 'I do find my creeping thymes are easier to divide and often produce several new plants from one clump, to grow in gravel or in cracks in the paths,' says Hann.
- To divide thyme plants, dig up the entire root ball.
- Cut the clump into 2-4 sections, depending on the size of the plant. Gently tease the sections apart with your hands.
- Replant the sections where you want your new plants to go, and water regularly for a few weeks until established.
Mound layering thyme
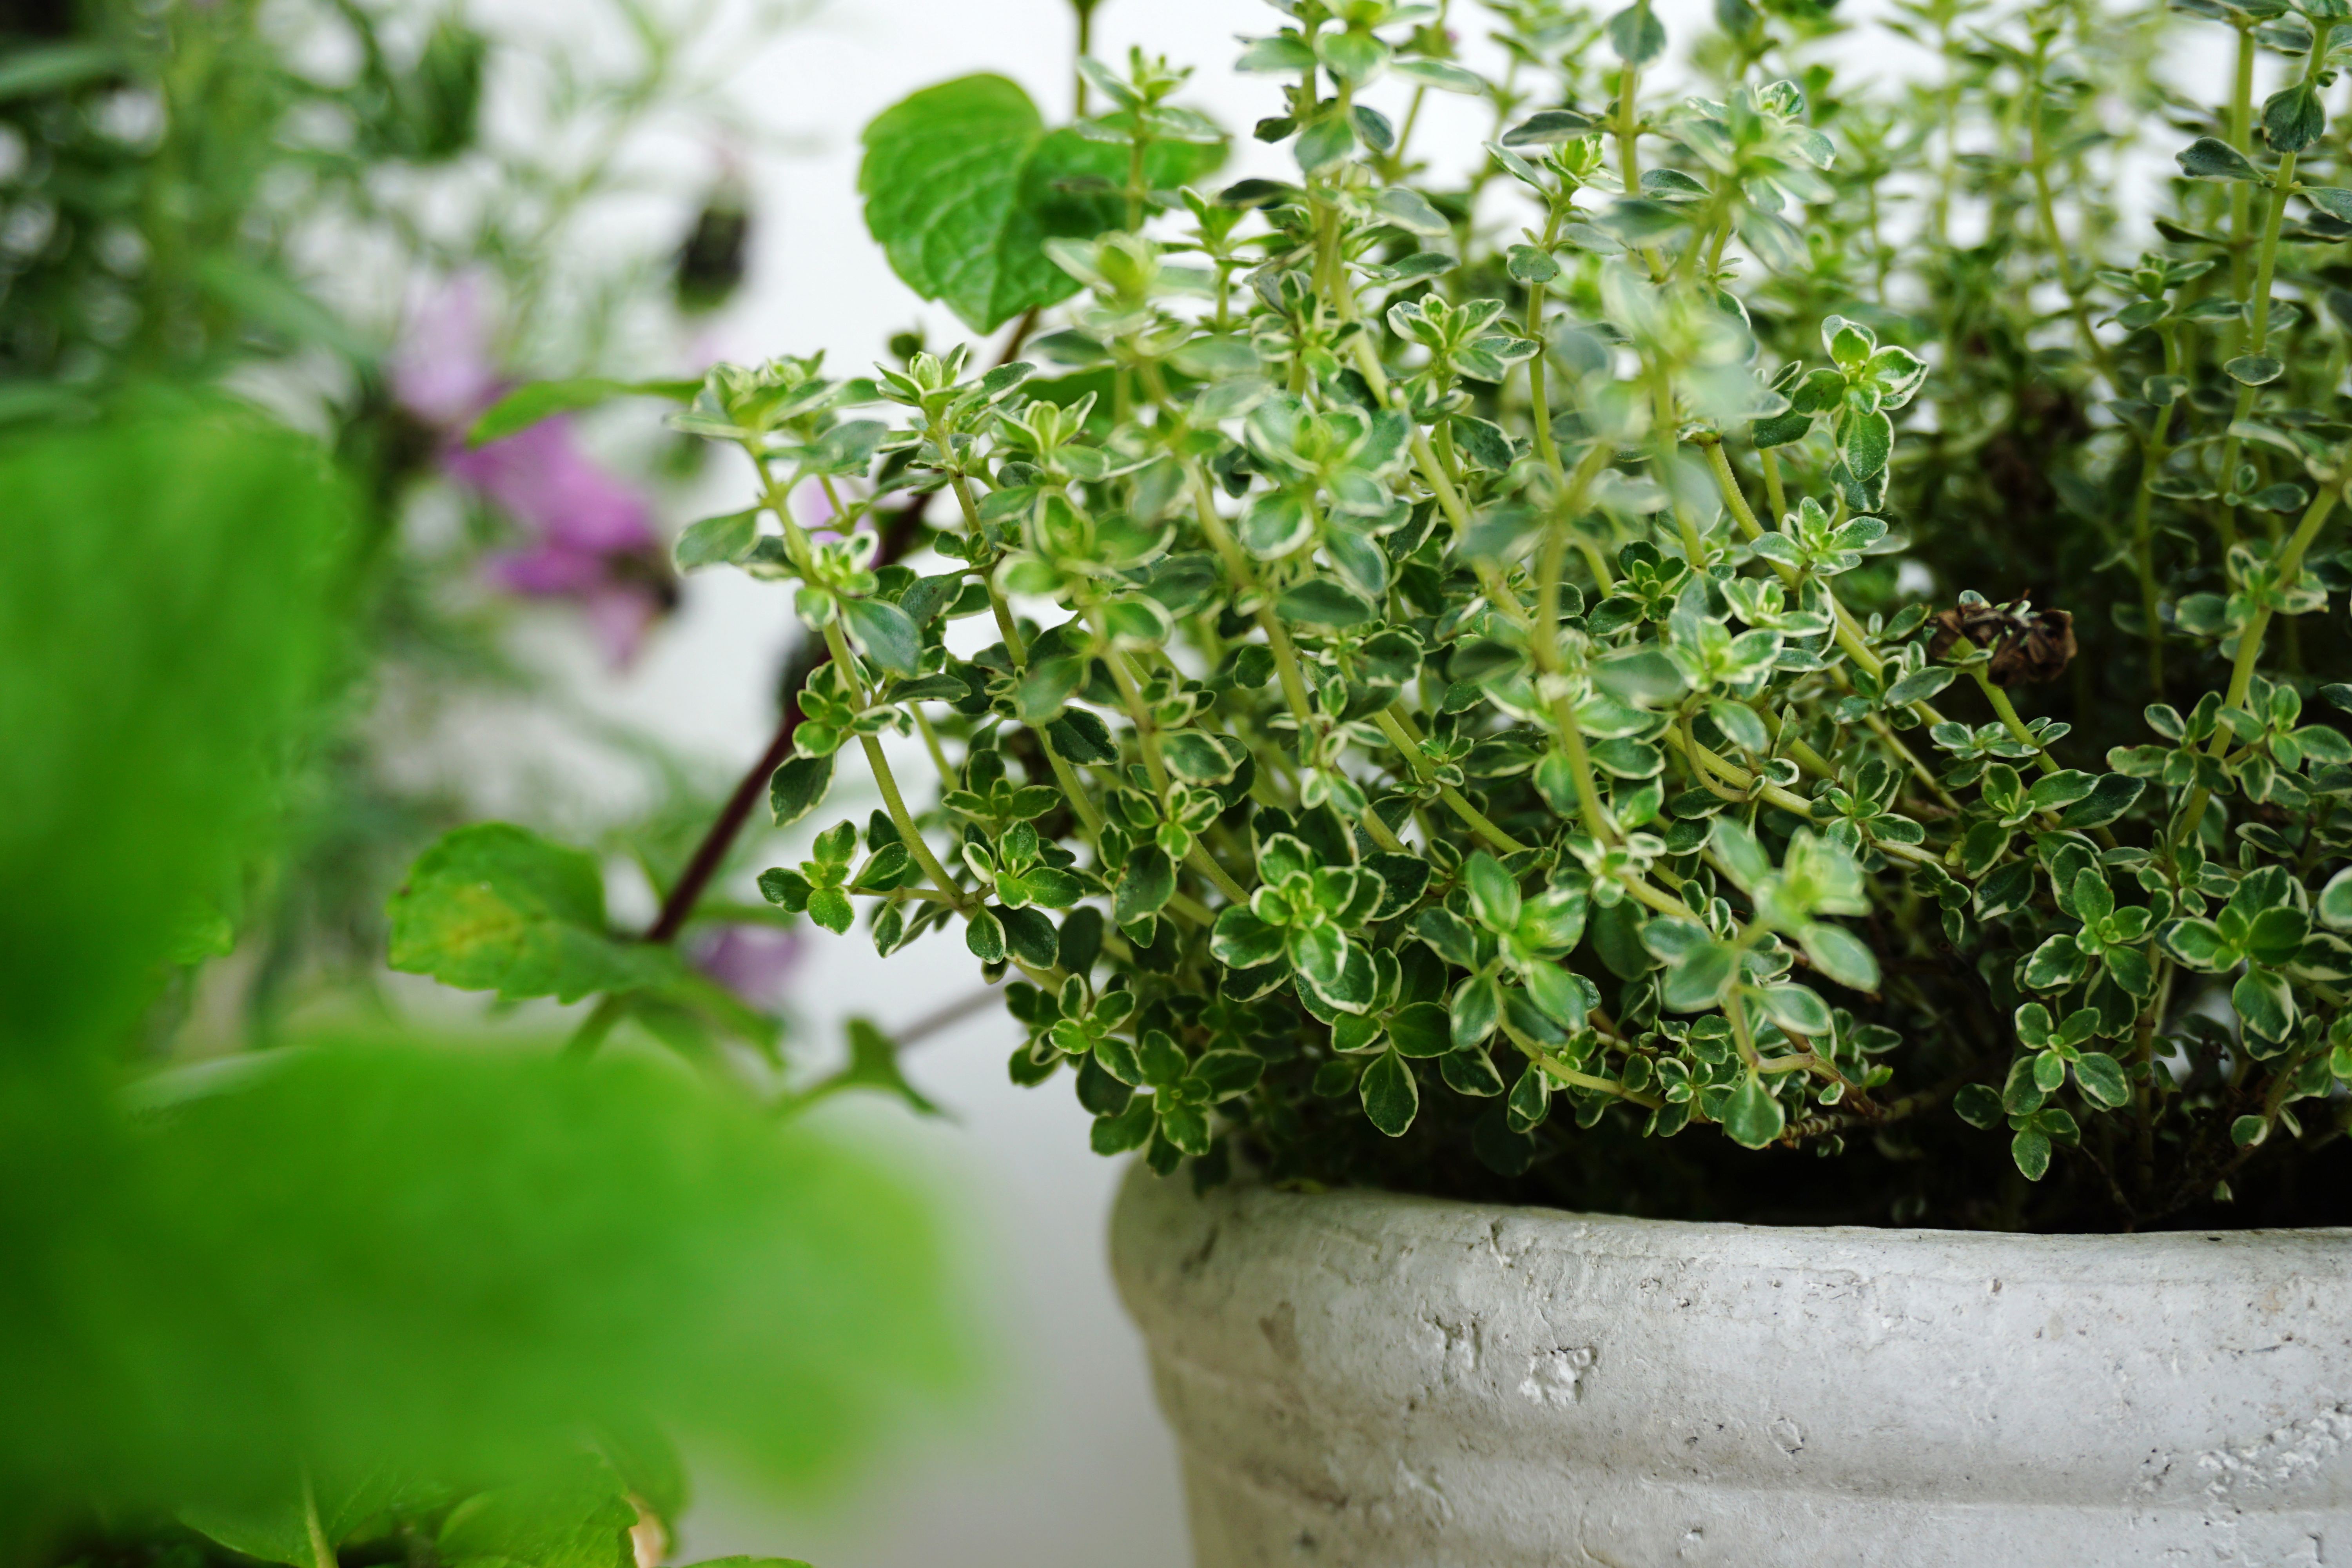
Thyme is prone to becoming woody after a few years, and then is usually replaced with a younger plant. However, before disposing of thyme, you can use the old plant to propagate several new ones through the mound layering technique.
- Mound layering is best carried out in the spring.
- Simply, take a 1:1 mix of compost and sand, and use it to cover, or 'mound', the existing thyme plant. You want to see the tips of the shoots still coming through the top of the compost mix.
- Water the mound, and keep it moist. Add more compost mix if the rain washes it away.
- Come mid to late summer, the individual stems – or layers – should have grown roots. At this stage, you can remove them from the parent plant and pot them on or plant out.
See: How to grow cilantro
Layering thyme
Layering thyme uses the same principles as mound layering, except the parent plant is not sacrificed. It involves bending existing stems down into the ground, which enables them to become their own new plants.
- You can layer thyme from spring until fall.
- Choose a healthy, young stem from the outer part of the plant. Strip off the leaves, leaving just a few at the end.
- Bend the stem to see where it touches the ground – this needs to have a node or leaf branching point. In this spot dig a shallow trench. Using a sharp knife, make a small cut on the stem on the node, and apply hormone rooting powder.
- Using a piece of wire, peg the wounded section of stem into the trench and cover with the soil.
- Tie the tip of the stem (with the top leaves still intact) to a small cane, to allow it to grow upwards.
- Within about a year, this stem will have its own established root system and can be removed from the parent plant and planted into its own spot.
How to grow thyme in pots
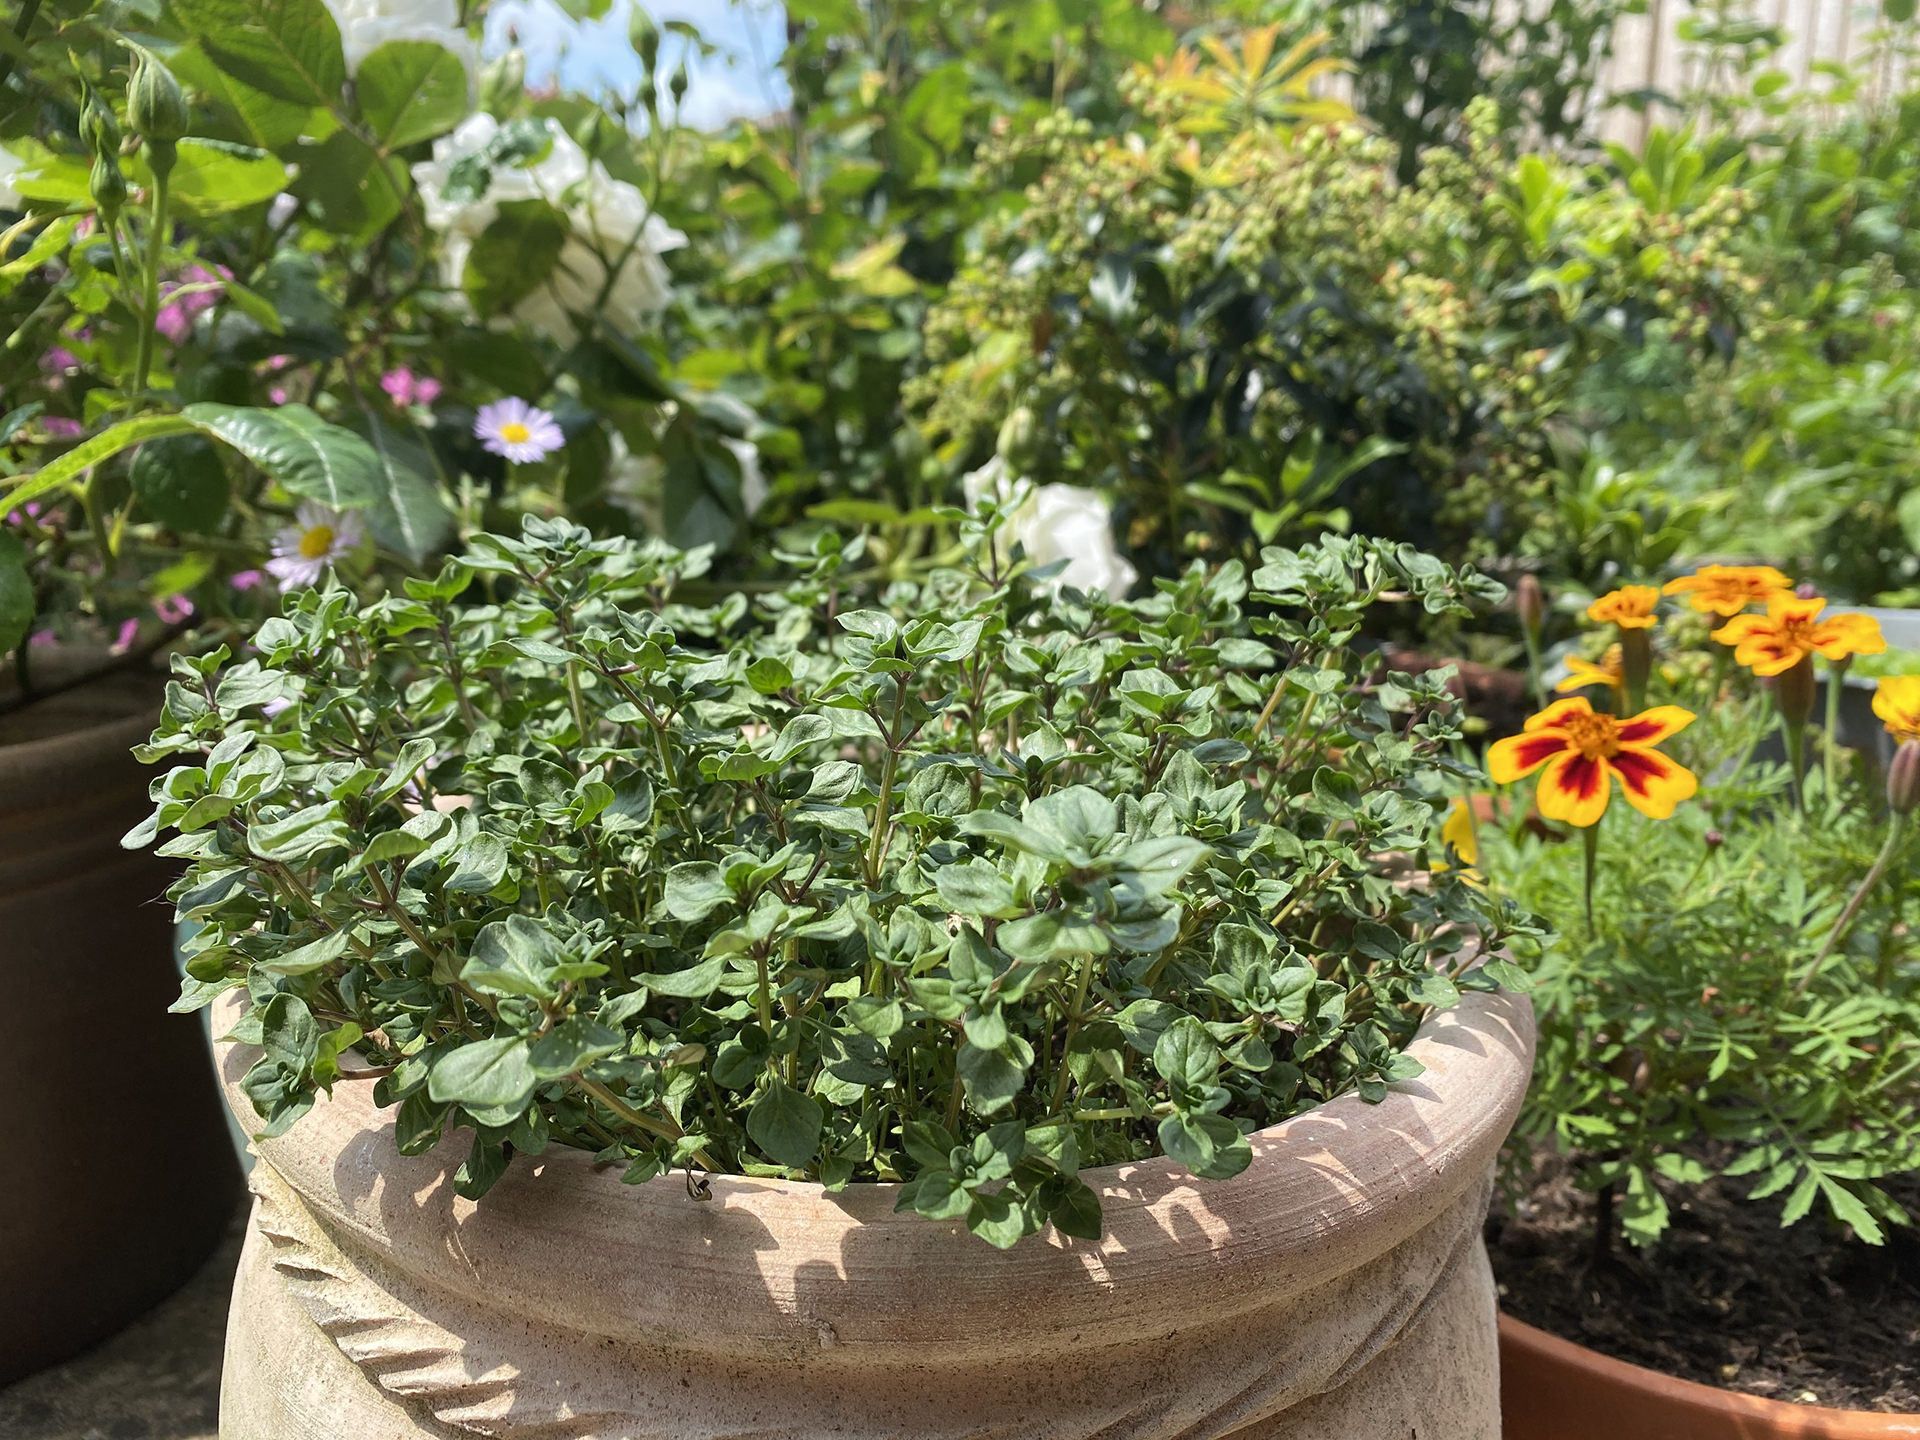
Learning how to grow thyme in pots requires few considerations besides drainage. You can even use pots to grow thyme indoors, but will need to position it on the brightest windowsill in your home.
- Choose a pot around 6 inches in diameter, with a drainage hole.
- Place a piece of broken pottery at the bottom of your container over the drainage hole – this will help to keep the soil it free draining. Ideally use pot feet.
- Use a potting mix that is gritty, adding plenty of sand or perlite.
- Water well to establish the plant, and use liquid fertilizer occasionally in the spring.
- Thyme requires little watering once established as it is a drought-tolerant herb.
See: Herb planter ideas – clever ways to display herbs
How do you care for a thyme plant?
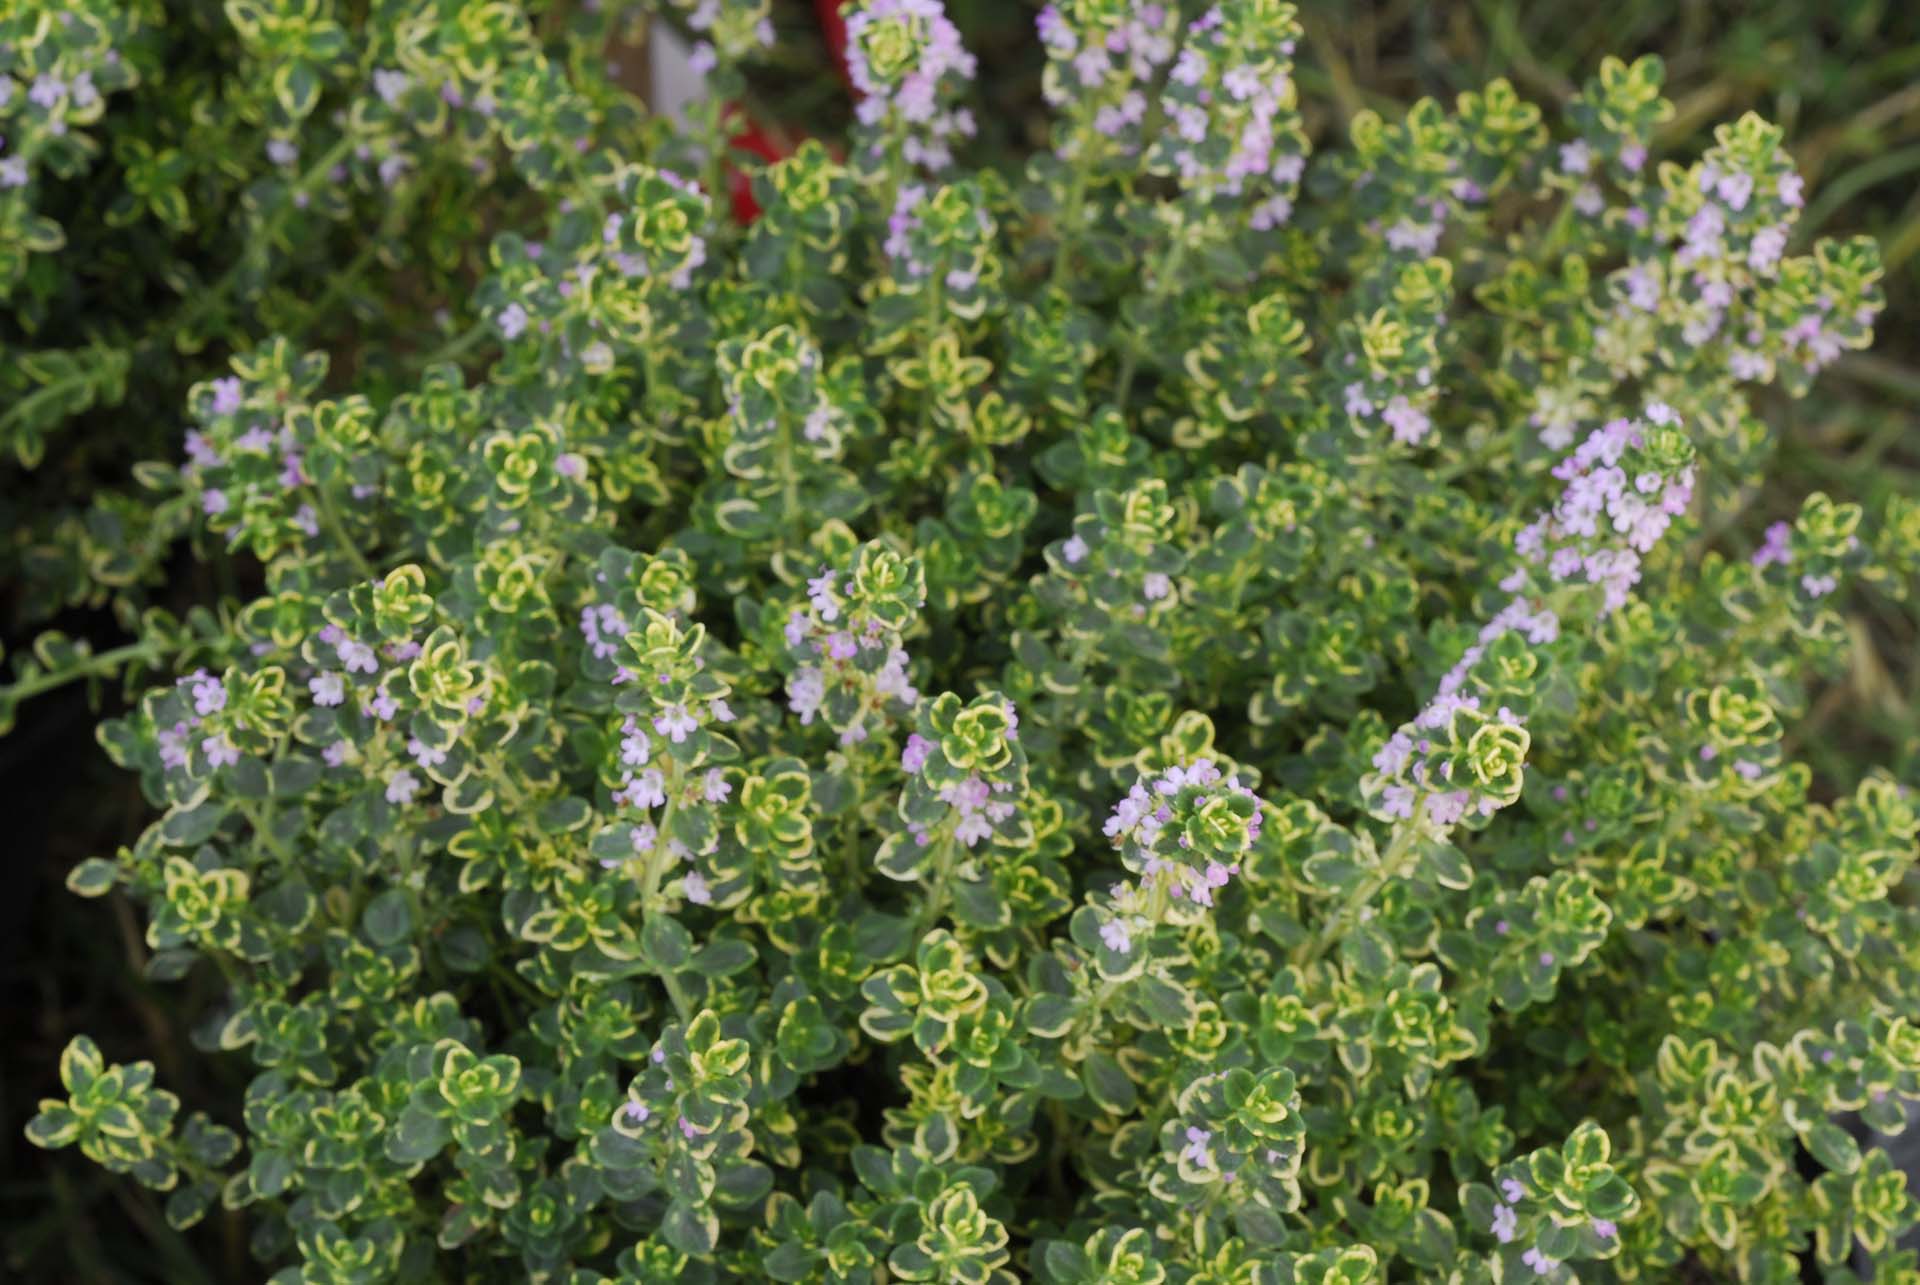
Caring for a thyme plant is very easy, as it requires minimal watering or fertilizing. If grown in the ground, you can avoid fertilizing altogether, although the occasional spring feed can be beneficial to potted plants.
'The more you pick herbs the bushier and healthier they will grow, but don’t remove more than half the plant at any one time,' says Clapp. 'Trim thyme lightly after flowering.'
'The main problem with thyme is that it can die during a cold, wet winter,' says Hann. To prevent this, protect the plants with fleece during the coldest months, or in particularly cold climates, bring potted plants indoors.
'Thyme can also get leggy and ugly. The best way to avoid this is to cut plants back hard after flowering. But if there is still a problem, thyme can be dug out and replanted in a deeper hole.'
Issues to look for
Thyme is rarely susceptible to pests or problems. However, there are a few potential issues to be on the look out for.
- Rosemary beetle is a possibility – if present, you need to remove them by hand before they strip the plant.
- Gray mold can occur if the plant gets too wet too frequently – remove any affected stems.
- Mealy bugs can also be present, and require the use of natural or biological controls.
How to harvest thyme
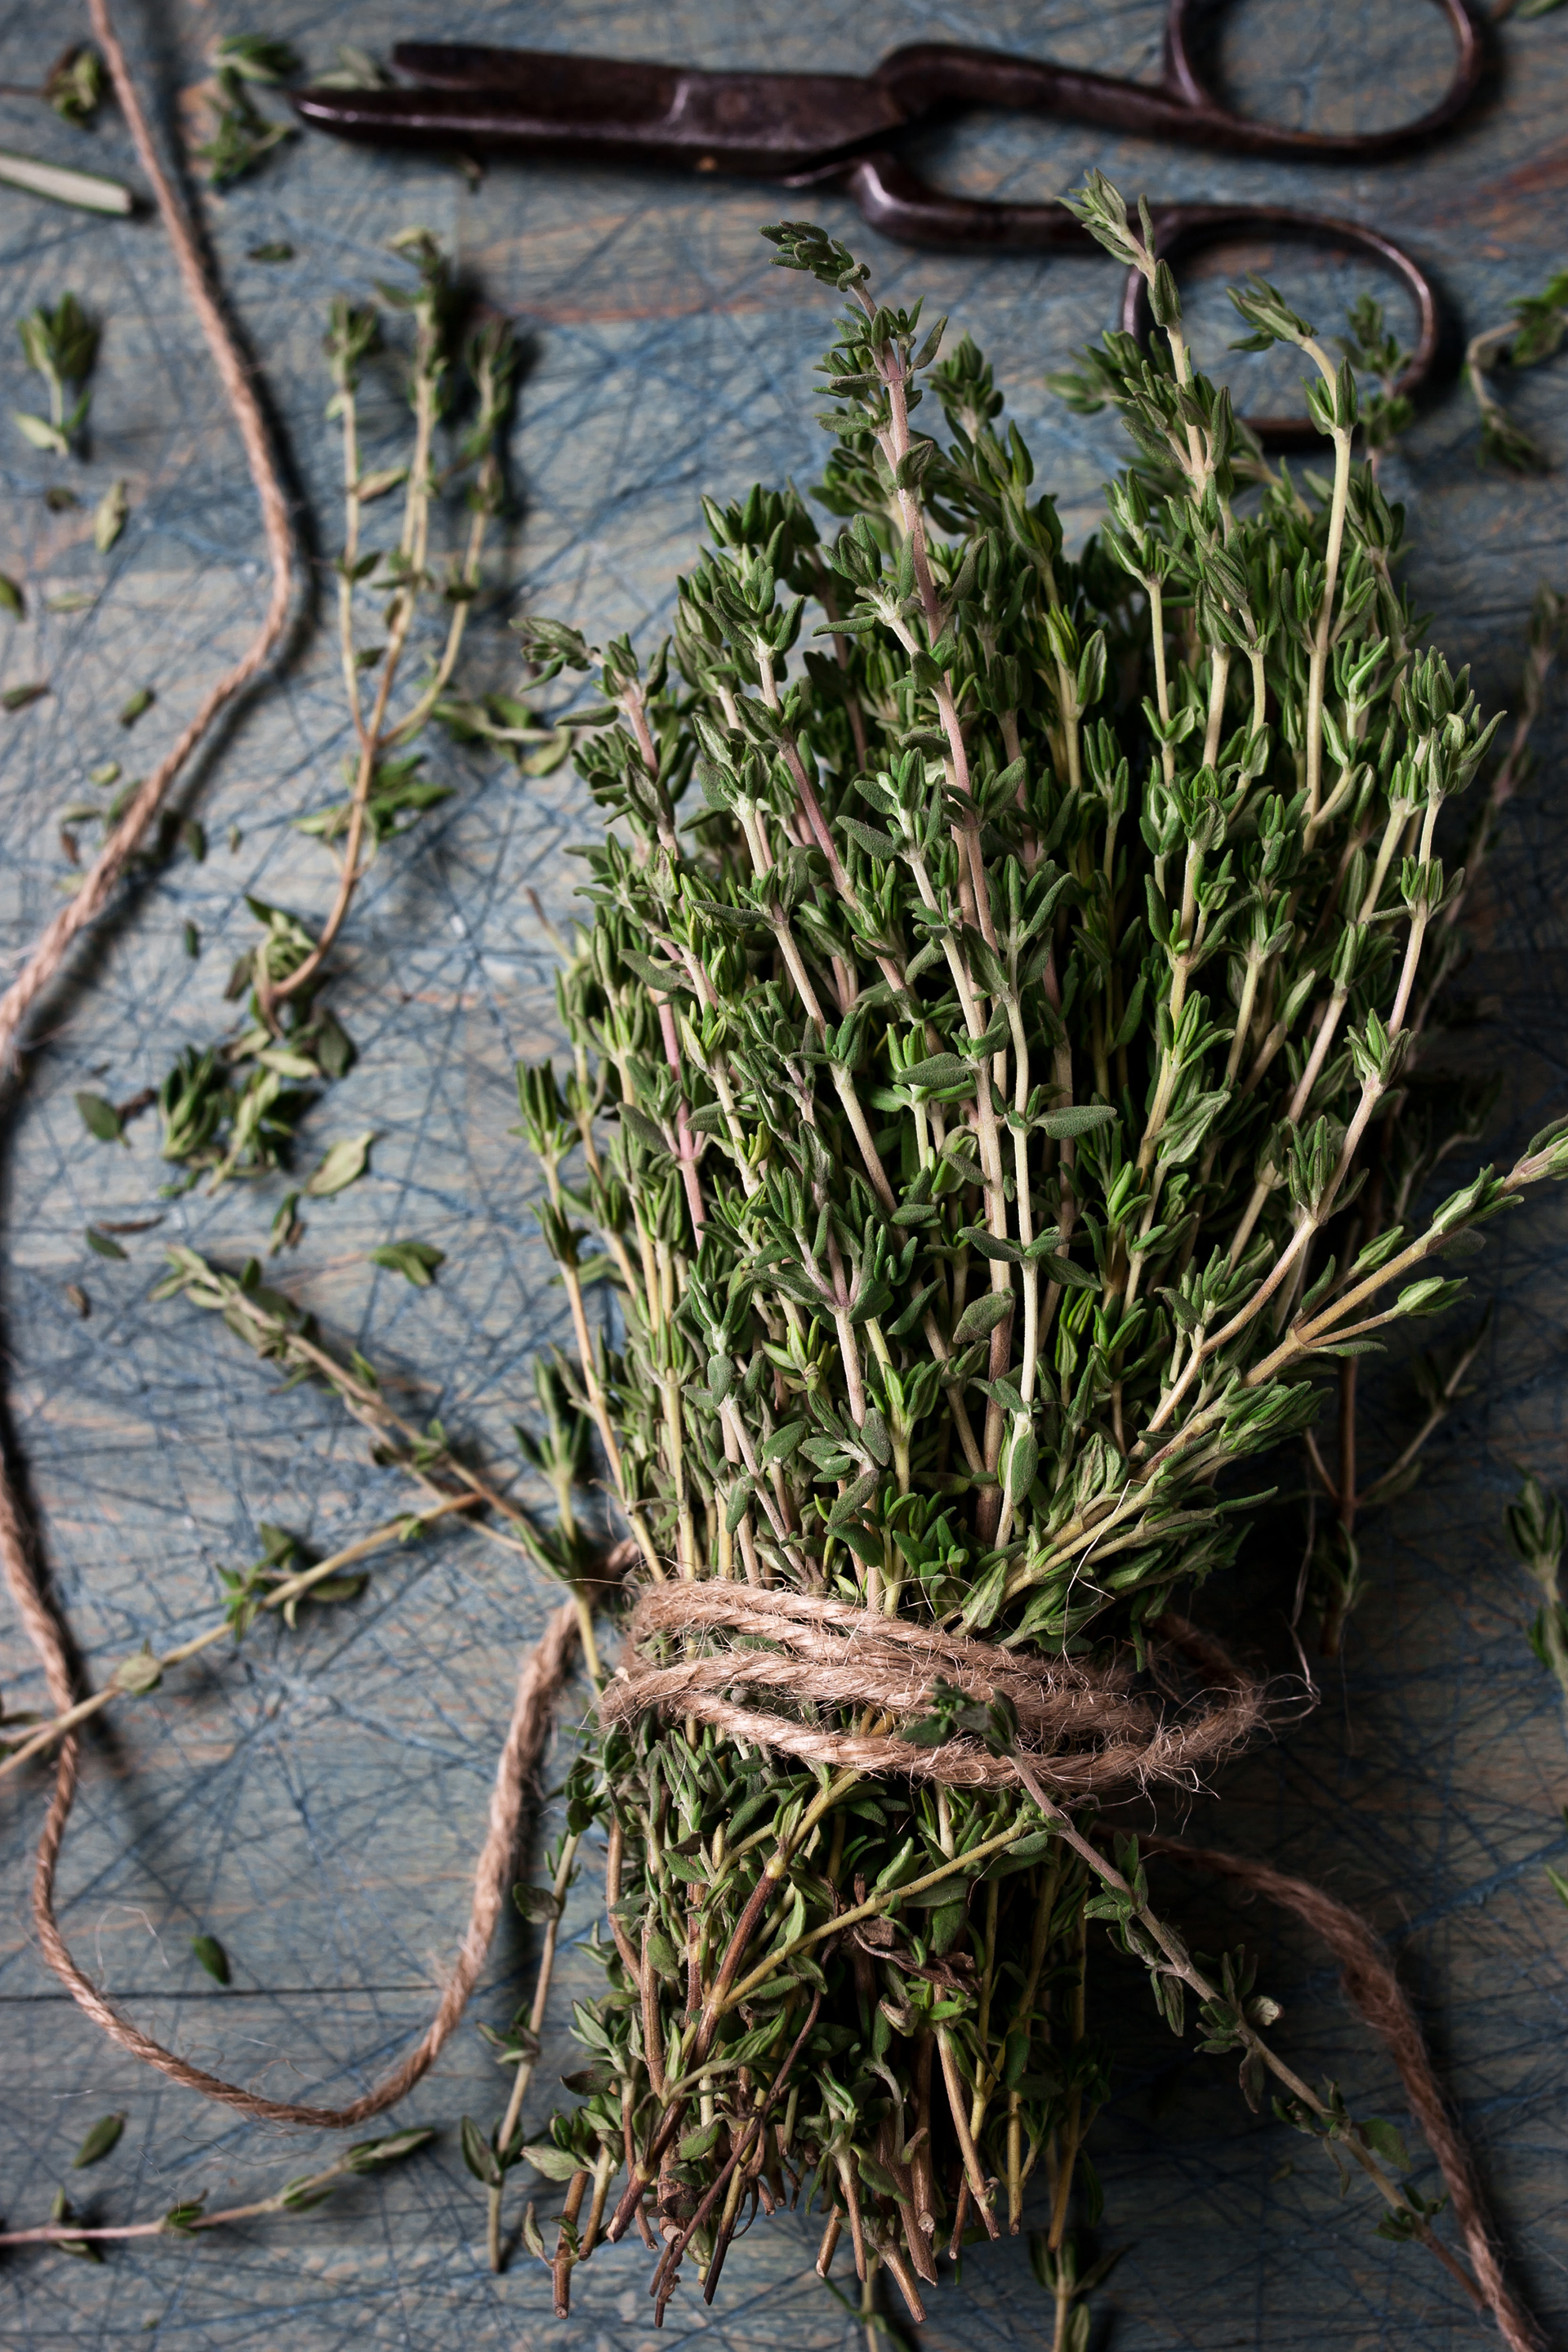
To harvest thyme, simply snip off healthy stems. This can be done year round, but particularly in early summer before flowering.
In cooking, you can use just the leaves – which can be stripped off by running your fingers down the stem – or you can use the whole stem with leaves still intact.
Thyme's flowers are also edible, and can be used as a garnish.
'As thyme is a hard herb, it should be added at the start of the cooking process to allow the depth of flavour to develop,' says Hann.
Dried thyme is also very useful in the kitchen, and is a great addition to sauces or in a bouquet garni.
'Pick in the morning, lie them out in a dry, well-ventilated place for a few days, then put into bunches and hang to completely dry out before storing in glass jars,' explains Clapp.
Is thyme easy to grow?
Thyme is one of the easiest herbs to grow. It's low maintenance, can be propagated in a number of ways, and suffers from few problems.
If anything, being over-attentive can be an issue, as thyme doesn't require much in the way of watering or fertilizing. It's the ultimate lazy plant.
Where does thyme grow best?
Thyme grows best in a sunny spot in free-draining soil. This can be either in the ground or in a container.
Ideally thyme needs sunlight for most of the day, so avoid planting it in shade. It tolerates most soil types, though won't thrive in boggy or heavy clay soil.

Melanie has worked in homes and gardens media for two decades. Having previously served as Editor on Period Living magazine, and worked on Homes & Gardens, Gardening Etc, Real Homes, and Homebuilding & Renovating, she is now focusing on her passion for gardening as a Senior Editor at Gardening Know How. As a keen home grower, Melanie has experimented with pretty much every type of vegetable at some point – with mixed results. Often it is the simplest things that elude you, which may explain why she just can't seem to master zucchinis.