


How To Winterize Your House Inside and Out – Experts Reveal the Simple Jobs That Can Save You $100s On Repair Bills
Don't take the risk – protect your home now

Knowing how to winterize a house inside and out is essential for keeping your home warm and dry throughout the winter period – it will also save you from potentially expensive and destructive problems further down the line.
Experts agree that prevention is key. Simple steps such as sealing windows, insulating exposed pipes, clearing gutters, and checking your heating system can make a major difference to how efficiently your home runs through the coldest months.
With just a few strategic and simple winterizing tasks, you can protect your property, prevent mold, lower your energy bills, and stay cozy all winter – no matter what the weather brings.

Winterizing a House Checklist
Although the NOAA has predicted a milder winter for most of the southern and central parts of the US for late 2025 and early 2026, it is still important to plan ahead and stock up on snow essentials in the face of winter storm warnings, just in case.
With that in mind, there are some general tasks you should complete as the temperature starts to dip in your region:
- Check the roof: ‘Good roof maintenance is vital to avoid water damage to a building’s fabric. Slipped slats or tiles, failing leadwork, and roof valleys blocked by debris will all wreak havoc if neglected,’ says Roger Hunt, author of the Old House Handbook. ‘Roofs should be repaired promptly by an experienced roofer. Never use quick fixes, such as spray foams or liquid waterproofing; they may trap moisture, hinder repairs, and are likely to prevent the future reuse of materials,’ he adds. It is also important that you remove any moss and leaves from the roof as this will hold water, leading to dampness and rot.
- Clean your gutters: Cleaning gutters is far from the easiest chore, but it is essential to winterize a home, says Matt Schmitz, home expert and managing editor at HomeServe USA. 'Obstructions in your gutters can trap moisture and snow; the resulting cycle of repeated freezing and melting can cause a large mass of ice to accumulate, damaging shingles, gutters, and siding.' Over time, this can result in roof leaks. It can be made easier with a floor-level gutter cleaning tool from Walmart, negating the need for ladders and helping you to avoid common winter home maintenance mistakes.
- Assess the chimney: The chimney is a vulnerable part of the house, exposed to high winds, frost, and snow, which is why inspecting and cleaning it is an essential November home maintenance job. Repair minor cracks with a patching cement from Lowe's. For more severe damage, it is time to call the pros for lasting repairs before you light your fireplace. If you are not planning on using your fireplace over winter, consider installing a removable chimney draft excluder from Amazon to block downdrafts and make your heating more efficient. Always remove it before using the fireplace.
- Check exterior walls: Douglas Kent, technical and research director at the Society for the Protection of Ancient Buildings, explains, 'Freeze-thaw cycles affecting wet masonry or unfired earth in cold weather can cause cracking, spalling, and structural instability. Exposed parts are particularly susceptible, including parapets, copings, cornices, and chimneys.' Look for signs of cracking, rot, or efflorescence (a sign of damp), and call a repair expert as needed to protect against further damage.
- Draftproof windows & doors: 'A task homeowners can do in the fall to prepare for the winter weather is inspecting and draft-proofing their windows and doors,' says David Flax, president of Window Genie, a Neighborly company. ‘For windows, a layer of thermal insulating film from Walmart can add an extra layer of protection against cold air transfer,’ he says. For doors, use weather stripping (also from Walmart) to seal gaps in the frame, and hang thermal insulating curtains from Wayfair to create a cozy entry shield.
- Insulate: Knowing where to insulate your home can help keep your home warm all winter. Attic insulation and basement insulation, in particular, are fantastic for limiting energy loss to keep a home warm all day for less. There are, however, several areas of your home you should never insulate to avoid trapped moisture and mold problems.
- Check ventilation: ‘It is important to stay on top of our home ventilation systems in winter as we look to turn on the heating and close our windows, so as to reduce humidity in a house, improve air quality indoors, and prevent mold in our homes. Ben Leo, HVAC specialist and founder of HomeCaprice, recommends cleaning vents, adding 'consider investing in an air purifier, especially if you have pets or allergy concerns, and a dehumidifier such as the Insignia 25-pint Energy Star Dehumidifier from Best Buy to keep your warm indoor air dry.’
- Service heating: There are several home heating types your home can have, and each of them will need a professional service before you turn it on again, especially if you have not been using it over spring and summer. Austin Fain, CEO of Perfect Steel Solutions, urges, 'Schedule a professional HVAC technician to inspect and service your furnace or heating system and replace air filters with high-efficiency filters ready for constant use.'
Winterizing HVAC & Plumbing

Preparing your HVAC system will ensure you stay warm this winter, and it is ready to go to keep you cool next summer.
Servicing your HVAC system can help you avoid emergency call-outs in the middle of winter, Matt suggests. Even if you are not using your AC in winter, a few winterizing tasks now will ensure it is ready for use when the temperatures rise again next year.
Matt begins, ‘For your outdoor AC unit, trim back shrubbery around the unit, and clear any natural debris (leaves, acorns, mulch) that has found its way onto, into, around, and under your unit.
‘If you decide to cover the unit for the winter to keep debris out while not in use, be sure to get a proper cover, preferably one that is breathable and covers only the top of the unit, stretching down the sides no more than a few inches to prevent trapping snow or providing an enticing spot for critters to hole up for the season.’ This heavy-duty cover from Amazon is available in three sizes and leaves the sides exposed to prevent trapped moisture.
Matt also recommends scheduling an annual HVAC tune-up with a trusted local technician to confidently prepare your household for the cold if you are unsure of what to do yourself. 'You should also ensure you’re changing your furnace filter quarterly,' he adds. 'It is the single most vital routine maintenance task you can do for your HVAC system’s health.'
It's also worth preparing for heating your home when the power goes out, to be safe. A quality propane heater, available from ACE Hardware, can be a great backup up just remember to ventilate your home correctly to stay safe. Alternatively, use a backup generator, such as the Generac GP Series 6500 W Gas Portable Generator, from ACE Hardware, can power space heaters.

Winterizing the plumbing can protect your home from frozen pipes, preventing leaks and costly water damage.
Preventing frozen pipes in winter should also be a top priority in winter if you want to avoid huge bills and frustrating repair work. When water freezes, it expands, which can potentially lead to burst pipes and flooding.
Josh Mitchell, plumbing technician and owner of Plumbing Lab, advises paying special attention to exposed interior pipes in your kitchen and bathroom, particularly those mounted or running along exterior walls, as temperatures there will be cooler. 'Keeping cabinet doors open allows warm air from your home to circulate the pipes, reducing the amount of freezing,' he suggests.
To insulate exposed pipes inside your home, we recommend using insulation tape, such as the bestselling Redford Supply Co. 2 Inch Pipe Insulation Tape available at Amazon. This offers maximum pipe freeze protection, helping to prevent costly plumbing repairs. Alternatively, if you live in a very cold area, upgrade to a heat tape, such as this self-regulating tape, also from Amazon, which heats your pipes to prevent freezing.
Knowing when to drip a faucet is also useful when winterizing a house, as it can keep water moving, preventing freezing.
It is also important to protect your washing machine, especially if it is in a cold part of your house, such as a basement or garage. If pipes freeze before you can insulate them, you can gently thaw your machine by filling the drum with warm (not boiling) water and allowing it to sit for a few hours. Alternatively, gently heat the water lines with a hairdryer on the low setting.
Importantly, also, you should never pour boiling water down your drains in winter, as doing so can cause cracks, breakages, and irreparable damage.
Winterizing a Garage

Winterizing a garage protects everything inside, too.
- Insulate the garage door: Home improvement expert Tommy Mello of A1 Garage suggests you start winterizing your garage by insulating your garage door to keep the heat of your home in and the cold of the outside out. ‘I always recommend the Reach Barrier Garage Door Insulation Kit from Amazon for my customers,’ says Tommy. ‘These kits are easy to install and can make a big difference in maintaining a stable temperature inside your garage. Each kit usually includes foam panels that fit between the door’s panels and everything you need to insulate a standard garage door.’
- Seal gaps: Next, inspect your garage for any cracks or gaps, particularly around windows, doors, and the foundation. Even small gaps can allow cold air to seep in, making it harder to keep your garage warm. Use weatherstripping for doors and windows, such as Frost King Weatherseal Foam, also from Amazon, which is rated 4.4/5 by customers for its durability and ease of application.
- Install a heater: A heater will keep the space comfortable, especially if you use your garage as a workshop or storage area for sensitive items, and it can help protect pipes from freezing. The DR-988 5600W Portable Industrial Heater from Dr. Infrared is a portable electric heater that is powerful enough to heat a large garage and is easy to use with built-in safety features.
- Declutter: Winter is also a great time to declutter your garage and organize a garage with too much stuff. Move items off the floor and into cabinets or shelves to protect them from any potential moisture, cold damage, and pests like mice, which like to nest low to the ground in garages.
- Ventilate: While sealing your garage is essential, Garage Living co-founder, Aaron Cash, reminds us that you also need to ensure proper ventilation to prevent moisture buildup, which can lead to mold and mildew. If your garage doesn’t already have a ventilation system, consider installing the iLiving Garage Exhaust Fan available at Amazon, rated 4.7/5 by customers, to keep the air circulating and moisture levels in check, ensuring your garage is well-ventilated.
Winterizing a Driveway

Even small fractures in driveways can result in large cracks by the end of winter.
- Clean: home improvement expert Tommy Mello suggests you start by thoroughly cleaning your driveway – an outdoor cleaning task to have on your radar from fall. This will remove dirt and debris that can trap moisture and lead to cracks. ‘Deep cleaning calls for the Sun Joe SPX3000 Pressure Washer from Amazon,’ says Tommy. ‘It's cost-effective and perfect for cleaning outdoors.’
- Seal cracks: Repairing cracks in driveways is a must, as even the smallest fracture can turn into a chasm should water get in and freeze in winter. For small to medium cracks, use a latex-based crack filler such as Bluestar Flexible Asphalt Crack Filler from Walmart. It’s easy to use and especially formulated for extreme climates.
- Seal the surface: A good-quality driveway sealant can add a protective layer against water, oil, and salt, which can eat away at the surface. According to John Mazzuca, home builder and mason at Gambrick Construction, you should use coal tar-based sealers such as Liquid Rubber Driveway Restore Sealer from Lowe's, rated 4.6/5 stars by shoppers for asphalt driveways. ‘These give far more protection from the elements and last much longer than acrylic-based ones, protecting your driveway for longer,’ says John.
- Stock up on de-icing products: Even though salt is normally used for melting snow and ice, it is terribly corrosive to concrete and asphalt driveways. Instead, use deicers based on calcium magnesium acetate or potassium chloride, both of which are a bit less toxic to plants and less corrosive than regular salt. The Safe Paw Ice Melter from Amazon, rated 4.5/5 by consumers, is a safe, salt-free solution. It helps to have a good snow shovel, from ACE Hardware, on hand to clear away snow and ice from your drive and car as needed, too.
- Consider a heated driveway: For a long-term solution for ice and snow, consider having a heated driveway installed. According to expert contractor Luke Beerman says 'The cost can vary depending on what you choose and what you’ve got to work with. On average, you’re looking at about $12 to $25 per square foot for an electric system and $15 to $30 for a hydronic one. This includes materials and labor.'
Winterizing Balconies
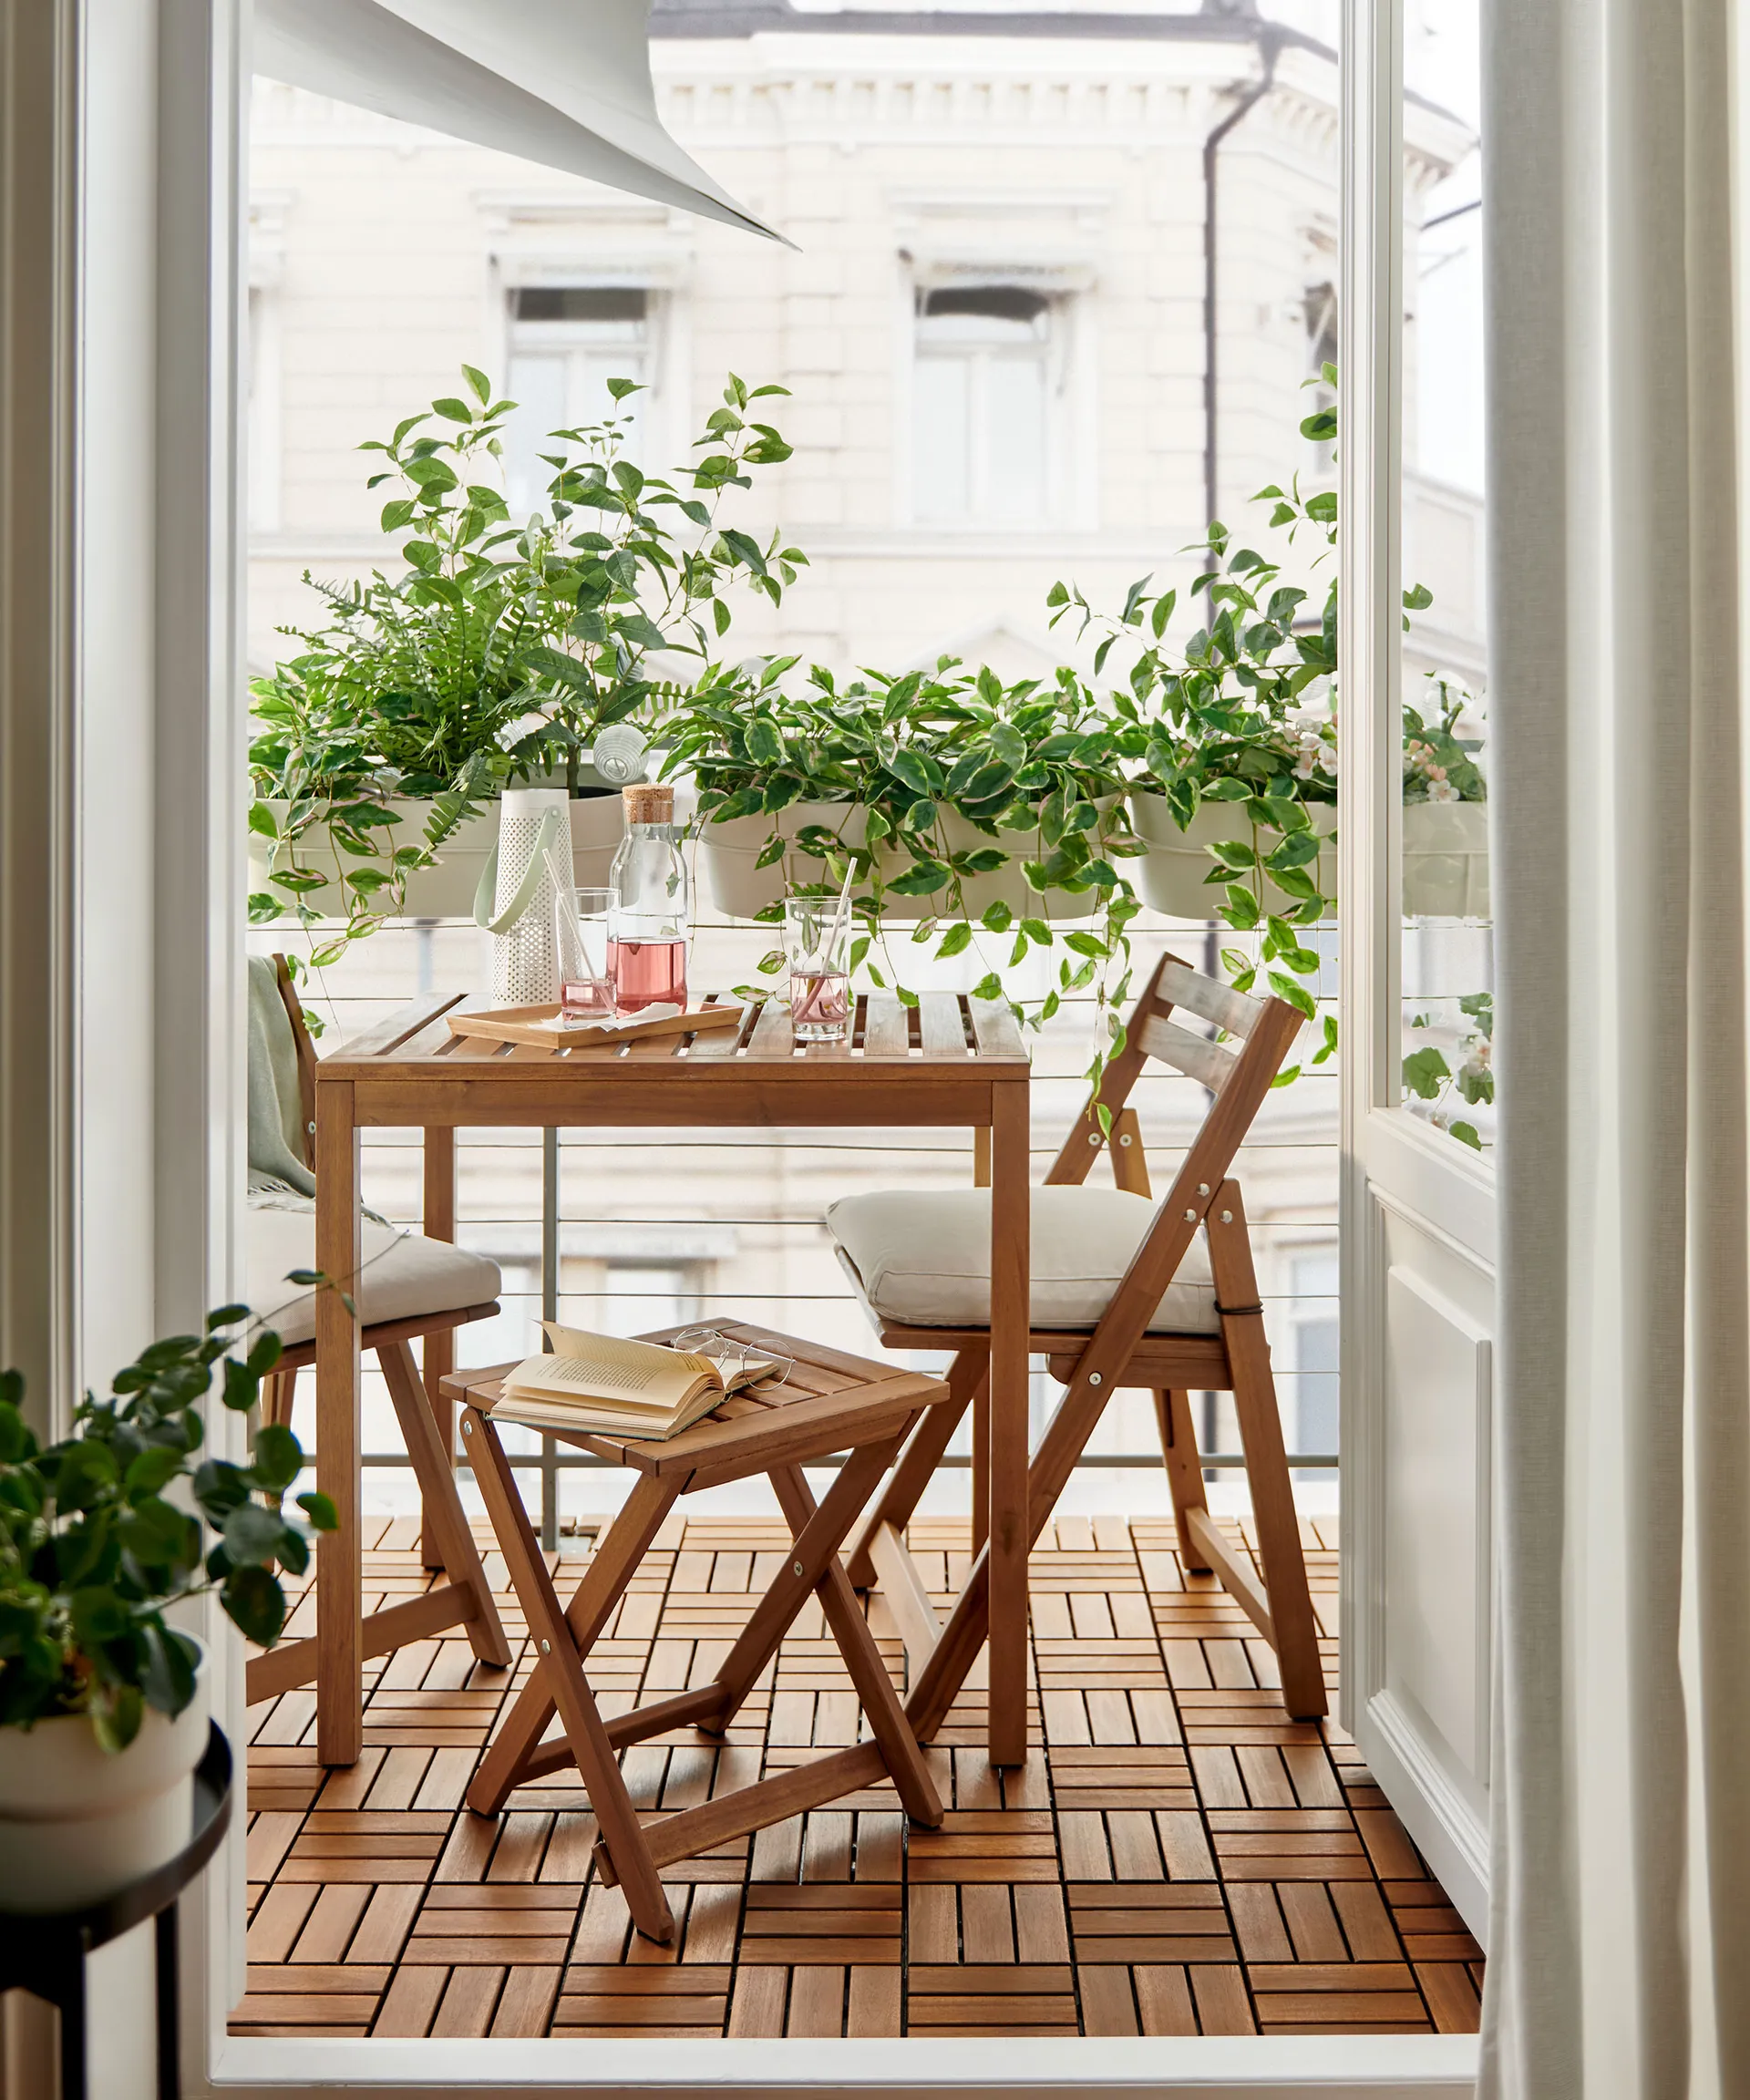
Winterizing a balcony means it will be ready to go more quickly when spring arrives again.
- Protect outdoor furniture: Jon Christensen, CEO of home improvement hub Bidmii, says, 'Clean your outdoor furniture to remove any dirt or debris that could lead to mold or mildew. Once it's dry, cover each piece with a durable, waterproof cover that fits securely. I recommend the Duck Covers Ultimate Patio Furniture Covers from Amazon. They're made of heavy-duty material that resists tearing and have secure tie-downs to keep the covers in place during windy conditions.'
- Stash small items: Windy winter weather can easily knock over lightweight items, such as planters or decorations. Keep these inside, along with any tender plants to bring indoors in November to protect them from frosts. Similarly, if you have hanging plants, lights, or decorations, make sure they’re securely fastened or remove them altogether.
- Remove fabric items: Move pillows and blankets indoors for longer-term storage, protecting them from water damage and mold. Vacuum storage bags from Walmart are ideal for this, limiting their footprint in your storage ideas. Even the best outdoor rugs are susceptible to mold and mildew in damp conditions, so roll those up and stash them in a cabinet, too.
- Reseal grout on tiled balconies: The grout between tiles on your balcony can crack and wear down over time. Before winter hits, reseal the grout to prevent water from seeping in, freezing, and expanding, which can lead to costly cracks and structural damage. The Miracle Sealant from Lowe's is top-rated and resists water absorption, salt intrusion, and freeze/thaw damage.
How to Winterize a Vacant House

Empty homes need just as much protection to prevent damage.
Whether you have a second home or are going away on a longer winter vacation, it pays to winterize a vacant home correctly to avoid coming back to flooding or pests.
As the house is empty, you have a few more options besides the general home winterizing advice:
- Turn off the water at the mains: As the home will be empty, you can turn off your water at the mains and drain your home's plumbing system, rather than bother with insulating pipes. This is more useful if the home will be empty for several weeks, but it is more effective against potential leaks.
- Adjust your thermostat: Just because no one is home, doesn't mean you should turn off the heating. Setting the ideal temperature for a thermostat when on winter vacation will help to stave off mold and protect pipes. A smart thermostat with an app (such as the ecobee Enhanced Smart Thermostat from Best Buy) can help you monitor this from anywhere in the world.
- Set up security: With longer, darker nights upon us, it is wise to invest in some quality home security tips for empty properties, especially around the holiday season when thieves become more opportunistic. The eufy indoor wired security camera with spotlight from Best Buy is a great choice, offering pan and zoom functions for enhanced monitoring, while outdoor motion-sensor floodlights from Walmart can help to deter thieves from getting too close.
- Switch to smart monitors: Setting up a smart home can help when you are out of the house as well as inside. Smart leak detectors, from Best Buy, for instance, can alert you to damaged pipes, while smart fire alarms, from Amazon, can give you ample time to call help, even when you are away from your home.
Winterizing an Outdoor Kitchen

Shut down your outdoor kitchen as you return to indoor hosting for the holidays.
Joe Raboine, VP of design at Belgard, explains that winterizing is essential for protecting your outdoor kitchen ideas from the elements. 'By doing this prep work, you will ensure your outdoor kitchen is ready to go as soon as the weather gets warmer,' Joe says.
The key steps, he adds, include draining water lines, cleaning appliances, shutting off the gas, and covering both materials and appliances to shield them from harsh winter conditions.
Start winterizing your outdoor kitchen in the late fall, before the first freeze, to prevent any issues with pipes freezing or appliances malfunctioning in the winter.
- Clean: Start by deep cleaning your outdoor kitchen, removing any traces of leftover food, scrubbing down all surfaces, and ensuring appliances are spotless. This helps prevent rust, mold, and other damage during the colder months. Polish counters, clean refrigerators, and vacuum out any pesky bugs, so it's worth getting your hands on a quality, cordless handheld vacuum cleaner.
- Drain water lines: Save yourself the hassle of winterizing your outdoor kitchen pipes by cutting off the water supply at the mains and draining the water lines.
- Shut off gas and power: Grills, stoves, and other gas-powered equipment are vulnerable to cold temperatures, and leaving gas lines active could result in a serious safety hazard. Begin by turning off the main gas supply to all outdoor appliances to avoid any risk of gas leaks or damage over the winter months. Propane tanks should always be disconnected and stored in a well-ventilated, dry area for winter. While outdoor storage is generally safe, make sure the tanks are kept out of direct contact with snow and ice to prevent rust and pressure fluctuations. At the very least, invest in a quality gas tank cover from Walmart.
- Cover and protect appliances: To safeguard your outdoor kitchen appliances, covering them is a must. Protective covers can shield grills, sinks, and cabinets from snow, ice, and debris. It will also help prevent them from rusting. Leave refrigerators unplugged and slightly open to prevent moisture build-up and musty smells.
- Seal surfaces: To protect your outdoor kitchen countertops and cabinets, be sure to cover them or apply a high-quality sealant before the cold weather arrives. For stone countertops or concrete surfaces, a weatherproof sealant will protect against moisture, which can seep into tiny cracks and freeze, causing the material to expand and break. Ghostshield countertop sealant from Home Depot works well on concrete surfaces, while this Stain Proof Dense Stone Impregnating Sealer from Amazon is ideal for natural stone worktops.
Wooden surfaces, meanwhile, should be covered to prevent moisture from soaking in and freezing, which can lead to swelling and cracks.
Winterizing Essentials

This lightweight extending cleaning tool allows you to safely clean your gutters from the ground, so you do not risk a slip or fall in winter. It connects to a regular hose for quick cleaning.

Store smaller outdoor items and tools away in a weathertight tote to protect them from snow, ice, and pests over winter. This box is available in 12 sizes and two colors to suit any yard.

As we shut our windows up for winter, an air purifier becomes essential for keeping the air clean and fresh, tackling dust and odors. This large room air purifier cleans rooms up to 1,000 sq ft in one hour.

Maintaining a safe indoor humidity of between 40-60% protects your home from mold. A dehumidifier can also make it easier to dry laundry inside, and can prevent musty odors.

Insulating foam expands on application to fill gaps up to one inch in size, preventing air transfer for a warmer home.

This self-adhesive weather stripping adheres to the edges of windows and doors to form a tighter seal in the frame, preventing drafts and pests in winter.
FAQs
How much does it cost to winterize a house?
How much it costs to winterize a house depends largely on how large your home is, how old it is, and any extras you need to work on, such as outdoor kitchens or driveways.
On average, however, for homes that require a little work to fix cracks or seal drafts, you can expect to spend around $1,000 on necessary repairs or insulation, especially if they are carried out by a professional. This increases with the degree of work required.
Newer houses, those comfortable with DIY or those that have recently had work done, may not need to spend any money, on the other hand.
How long does it take to winterize a house?
How long it takes to winterize a house will depend on the size of your home and the tasks you need to complete. For smaller spaces without garages or driveways, it can take as little as a few hours. For larger homes or those that need work on the roof, it can take a full weekend.
Hiring a professional contractor can cut this time down while ensuring a quality job .
With your home shored up against the cold and wet weather, take some time to get your home emergency ready to protect you, your family, and your property from the worst-case winter scenario.
