The best way to paint edges without tape – for quick cutting in
Professional painters have perfected this simple technique, and it makes cutting in a breeze


Design expertise in your inbox – from inspiring decorating ideas and beautiful celebrity homes to practical gardening advice and shopping round-ups.
You are now subscribed
Your newsletter sign-up was successful
Want to add more newsletters?

Twice a week
Homes&Gardens
The ultimate interior design resource from the world's leading experts - discover inspiring decorating ideas, color scheming know-how, garden inspiration and shopping expertise.

Once a week
In The Loop from Next In Design
Members of the Next in Design Circle will receive In the Loop, our weekly email filled with trade news, names to know and spotlight moments. Together we’re building a brighter design future.

Twice a week
Cucina
Whether you’re passionate about hosting exquisite dinners, experimenting with culinary trends, or perfecting your kitchen's design with timeless elegance and innovative functionality, this newsletter is here to inspire
Cutting in and painting edges is a time-consuming process when you have to tape it all up, paint, and remove it all without making a mess afterward.
If you are looking to save some time when painting a wall, you can skip taping so long as you use the correct painting technique and a delicate hand to carefully edge around ceilings, walls, and baseboards.
Here, we have shared the best way to paint edges without tape, including the best brushes for the job, to ensure you get a perfect line without any spills.
The best way to paint edges without tape
While painter's tape is a good tool for beginner home renovators looking to update their space themselves for the first time, professional painters rely more on the process of cutting in to make filling in the rest of the wall simpler.
When skipping out on taping your walls and baseboards before painting, just make sure to still prepare walls for painting and cleaning before painting, as well as laying out drop cloths to ensure a proper paint finish and prevent any mess.

1. Use the right tools
Professional painter Alec Willard of Purdy Professional Paint Tools believes that learning to paint edges without tape is one of the best interior painting tips to have in your arsenal if you are looking to paint efficiently and save time and effort but he warns that the right tools are essential:
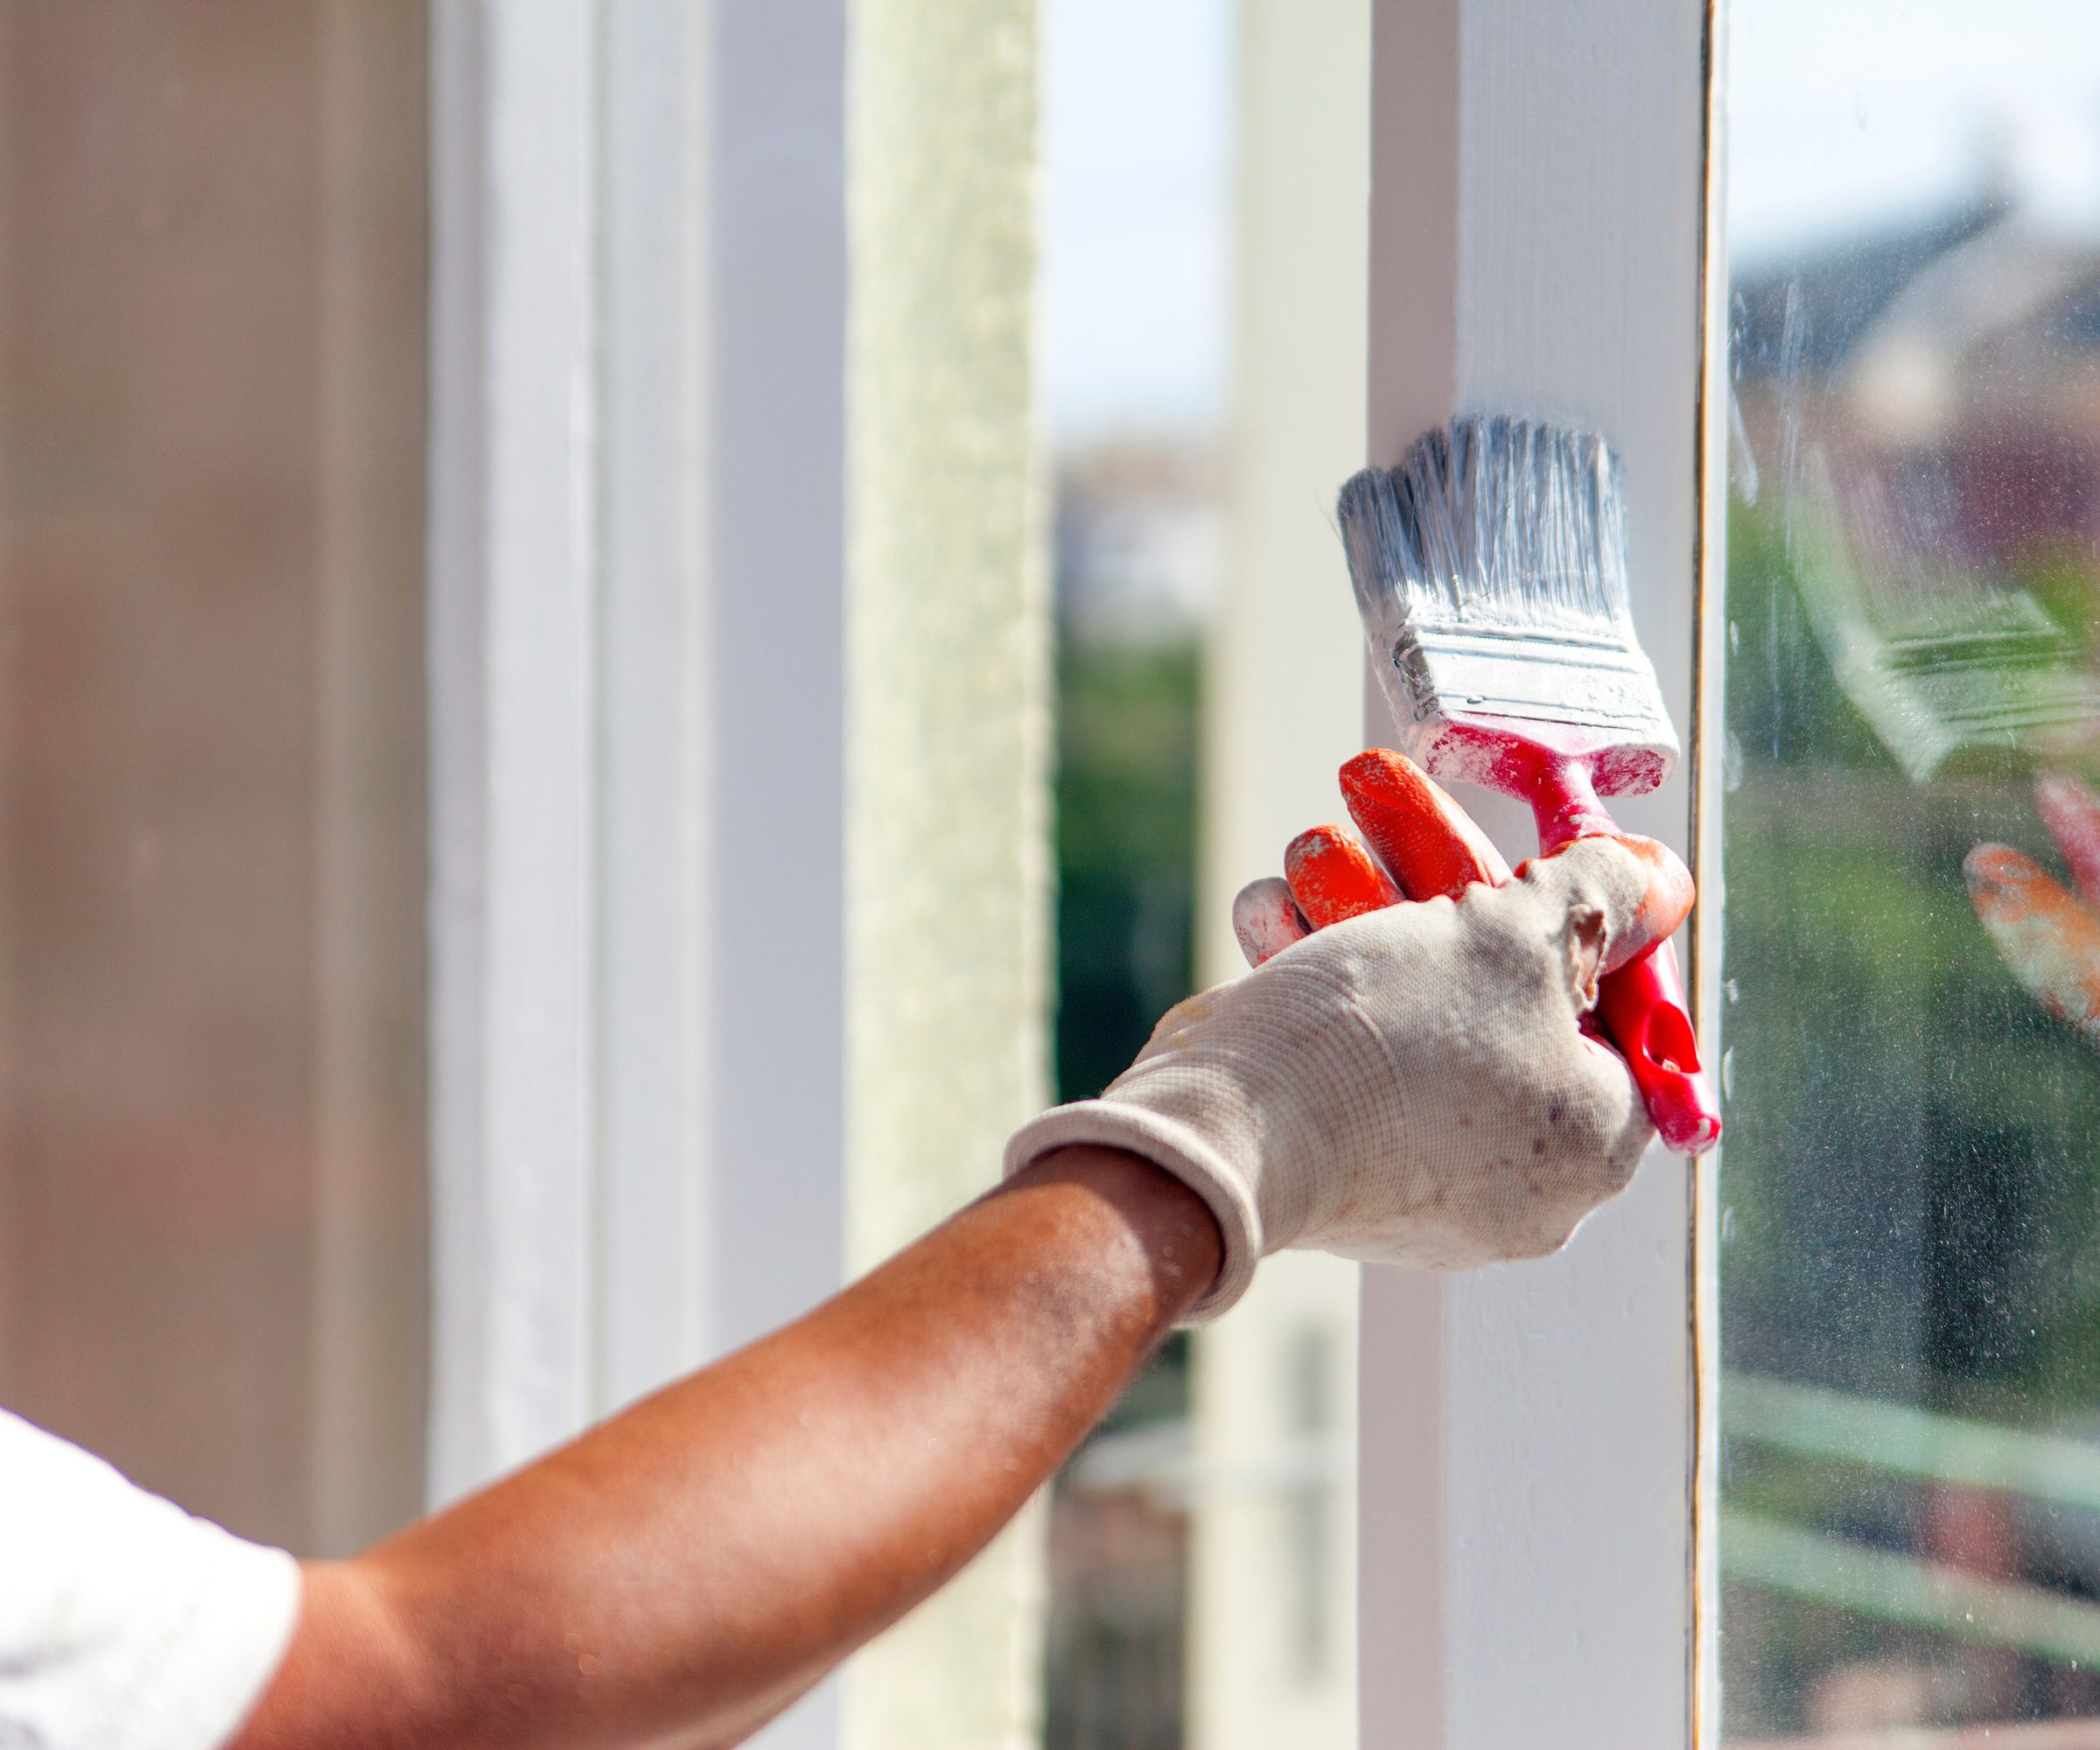
'I prefer to use a stiff brush when cutting in without tape,' he shares. 'After pushing the corner bristles up against the seam, glide your brush using consistent pressure and speed to create a sharp line.'
Design expertise in your inbox – from inspiring decorating ideas and beautiful celebrity homes to practical gardening advice and shopping round-ups.
Alternatively, you could consider using a paint edger tool for cutting in (a personal favorite of mine) to help get a nice even border around a wall without fretting about keeping the paint line level.
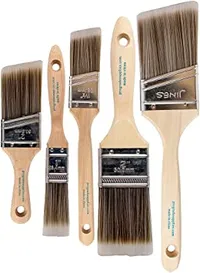
Prograde Paint Brushes | $11.99 at Amazon
These pro paint brushes are highly rated on Amazon and are angled for smooth paint applications on a variety of projects such as painting trims.
2. Work one wall at a time
When cutting in without tape, it is best to take your time and avoid trying to rush the lines. Given that you have already saved time by avoiding putting tape down, there is little reason to continue to rush.
'I always start at the door and cut in one wall at a time,' Nick Slavik, professional painter, and Purdy partner shares. 'Start at the lower left, then up, over top, down, and back along the baseboard before applying paint to the rest of the wall.
'I always redo this process for the second coat of paint too, ensuring I take the time to cut in again for a crisp finish.'

Nick Slavik has been a craftsman for more than 29 years. His company has been awarded more than 15 national awards for craftsmanship over the last five years, and he is the host of Ask a Painter Live – a weekly live social media show where he speaks to current industry topics and answers questions live from the internet. He has also created a rigorous apprenticeship program where he finds, trains, inspires and mentors young people in his craft.
3. Don't use too much paint
The most common wall painting mistake at-home DIYers make is applying too much paint to the paintbrush before cutting in. While it may make some sense to load the brush up to prevent having to move the brush away from the wall for more, excess paint can easily spill over the sides of the bristles and leak all over the untaped surface you were wanting to keep clear.
Try to avoid overloading the brush by wiping off any excess before touching it to the wall.
4. Go back and repair any patches with a small brush
If you do slip while painting edges without tape, then it is relatively simple to go back in and make any corrections with a small brush, some sandpaper, and more paint, shares Tracey Amadio, home improvement expert and founder of home improvement blog, Porch Daydreamer.
'For any blaring mistakes, sand down the area lightly before cleaning away any sanding dust and touching up paint on walls,' she says. 'It is best to do this after the paint has dried so that any dust doesn't fall and stick onto wet paint that you do want to keep on the wall.'

Tracey Amadio is a painting and decorating expert and founder of Porch Daydreamer, a home improvement blog dedicated to helping others perfect their painting skills and DIY around the home.
FAQs
Why do painters not use tape?
Despite the name painter's tape, many professionals opt to skip taping up walls and trims when they become well-practiced in painting straight lines without slips or spills. This is because it saves them time and prevents any tape waste when painting large areas. Having honed their skills for several years, the tape is often an unnecessary inconvenience when painting a normal wall.
What can I use if I don't have painter's tape?
If you do not have painter's tape, then you could consider cutting in walls without any tape at all. Alternatively, consider using masking tape, but only on surfaces you know will not be damaged by such a strong adhesive such as wallpapered surfaces or painted surfaces.
Following these quick tips for painting a room without tape is a great way to level up your home renovation game.
Just make sure to check whether you should paint trim or walls first to prevent causing yourself issues further down the line and making messes that are a little harder to clean up.

Chiana is Homes & Gardens’ kitchen appliances editor. With a lifelong passion for cooking and baking, she grew up experimenting in the kitchen every weekend with her baking-extraordinaire Mom, and has developed a great understanding of how tools and appliances can make or break your ideal relaxing kitchen routine.
