How to fix peeling paint in 4 steps – and reasons why your paint is crumbling
These simple steps will have your paintwork looking new again


Design expertise in your inbox – from inspiring decorating ideas and beautiful celebrity homes to practical gardening advice and shopping round-ups.
You are now subscribed
Your newsletter sign-up was successful
Want to add more newsletters?

Twice a week
Homes&Gardens
The ultimate interior design resource from the world's leading experts - discover inspiring decorating ideas, color scheming know-how, garden inspiration and shopping expertise.

Once a week
In The Loop from Next In Design
Members of the Next in Design Circle will receive In the Loop, our weekly email filled with trade news, names to know and spotlight moments. Together we’re building a brighter design future.

Twice a week
Cucina
Whether you’re passionate about hosting exquisite dinners, experimenting with culinary trends, or perfecting your kitchen's design with timeless elegance and innovative functionality, this newsletter is here to inspire
If you have noticed some peeling paint in a corner of your home, you may be wondering why it's happening and how to fix it.
Whether you have recently finished painting a room, or the paint has been around for a while, peeling paint can be a nightmare. Luckily, professional painters have explained that fixing peeling paint is simple with the right tools.
Here, they share their advice on how to repair the area and reveal what may be causing these unsightly paint patches.
How to fix peeling paint
Peeling paint is not only an eyesore but it also puts your home in danger, warns Matthew Stone, professional painter and decorator and founder of Hometown Painting Oklahoma.
‘Because the paint is no longer in contact with the wall, it is no longer protecting the surface it was applied to,’ he explains. ‘This allows the surface to get damaged, exposes it more freely to moisture, and will complicate future painting and decorating projects too.’

Matt Stone is a second-generation professional painter and co-founder of Hometown painting Oklahoma. An expert in his field, Matt is adept at painting over water stains and marks.
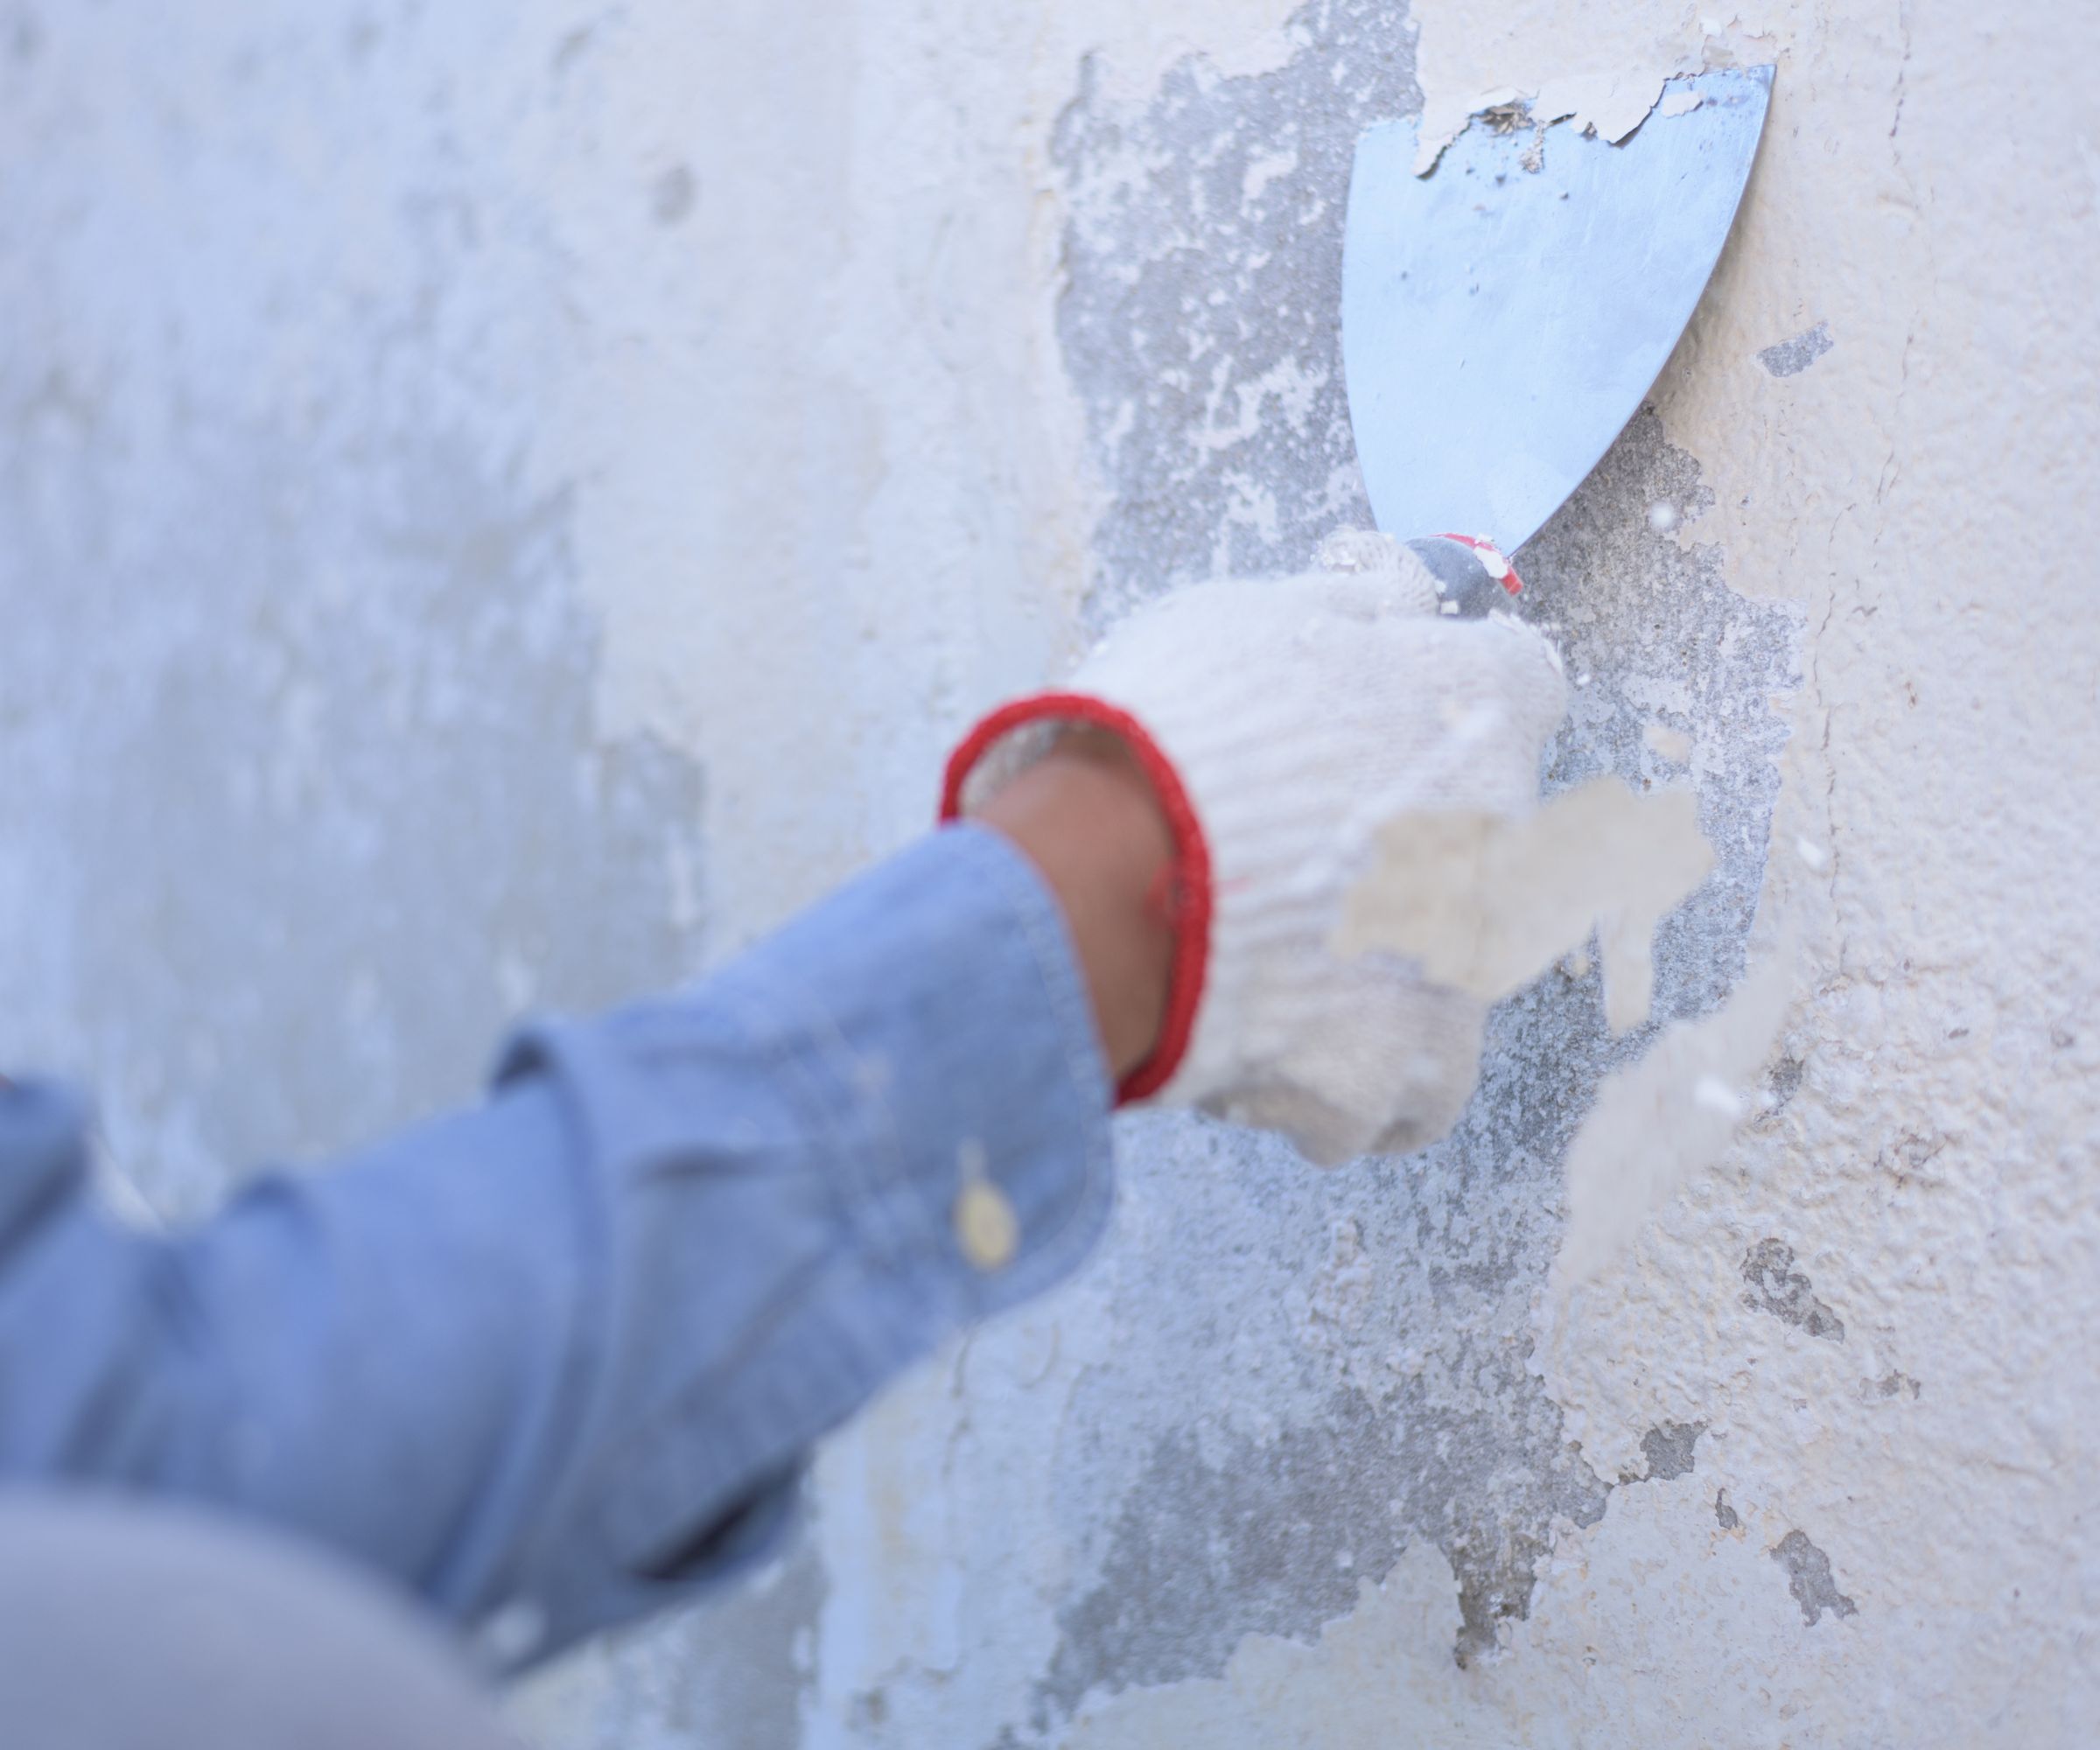
1. Remove loose paint with a scraper

The first step is to remove any of the loose sections of paint to get a smooth surface for reapplication, says Andre Kazimierski, professional painter and decorator and founder of Improovy. 'I like to use a scraper tool to remove the paint that's coming up.'
Paint Scraper | $7.87 at Amazon
This smaller paint scraper is perfect for lighter DIY tasks such as removing sections of peeling paint, and it comes highly rated by users.

Andre Kazimierski founded Improovy in 2019 and has developed it into a leading home improvement service. It is his mission to make painting more efficient for all of his clients and uses generations of expertise to inform his work.
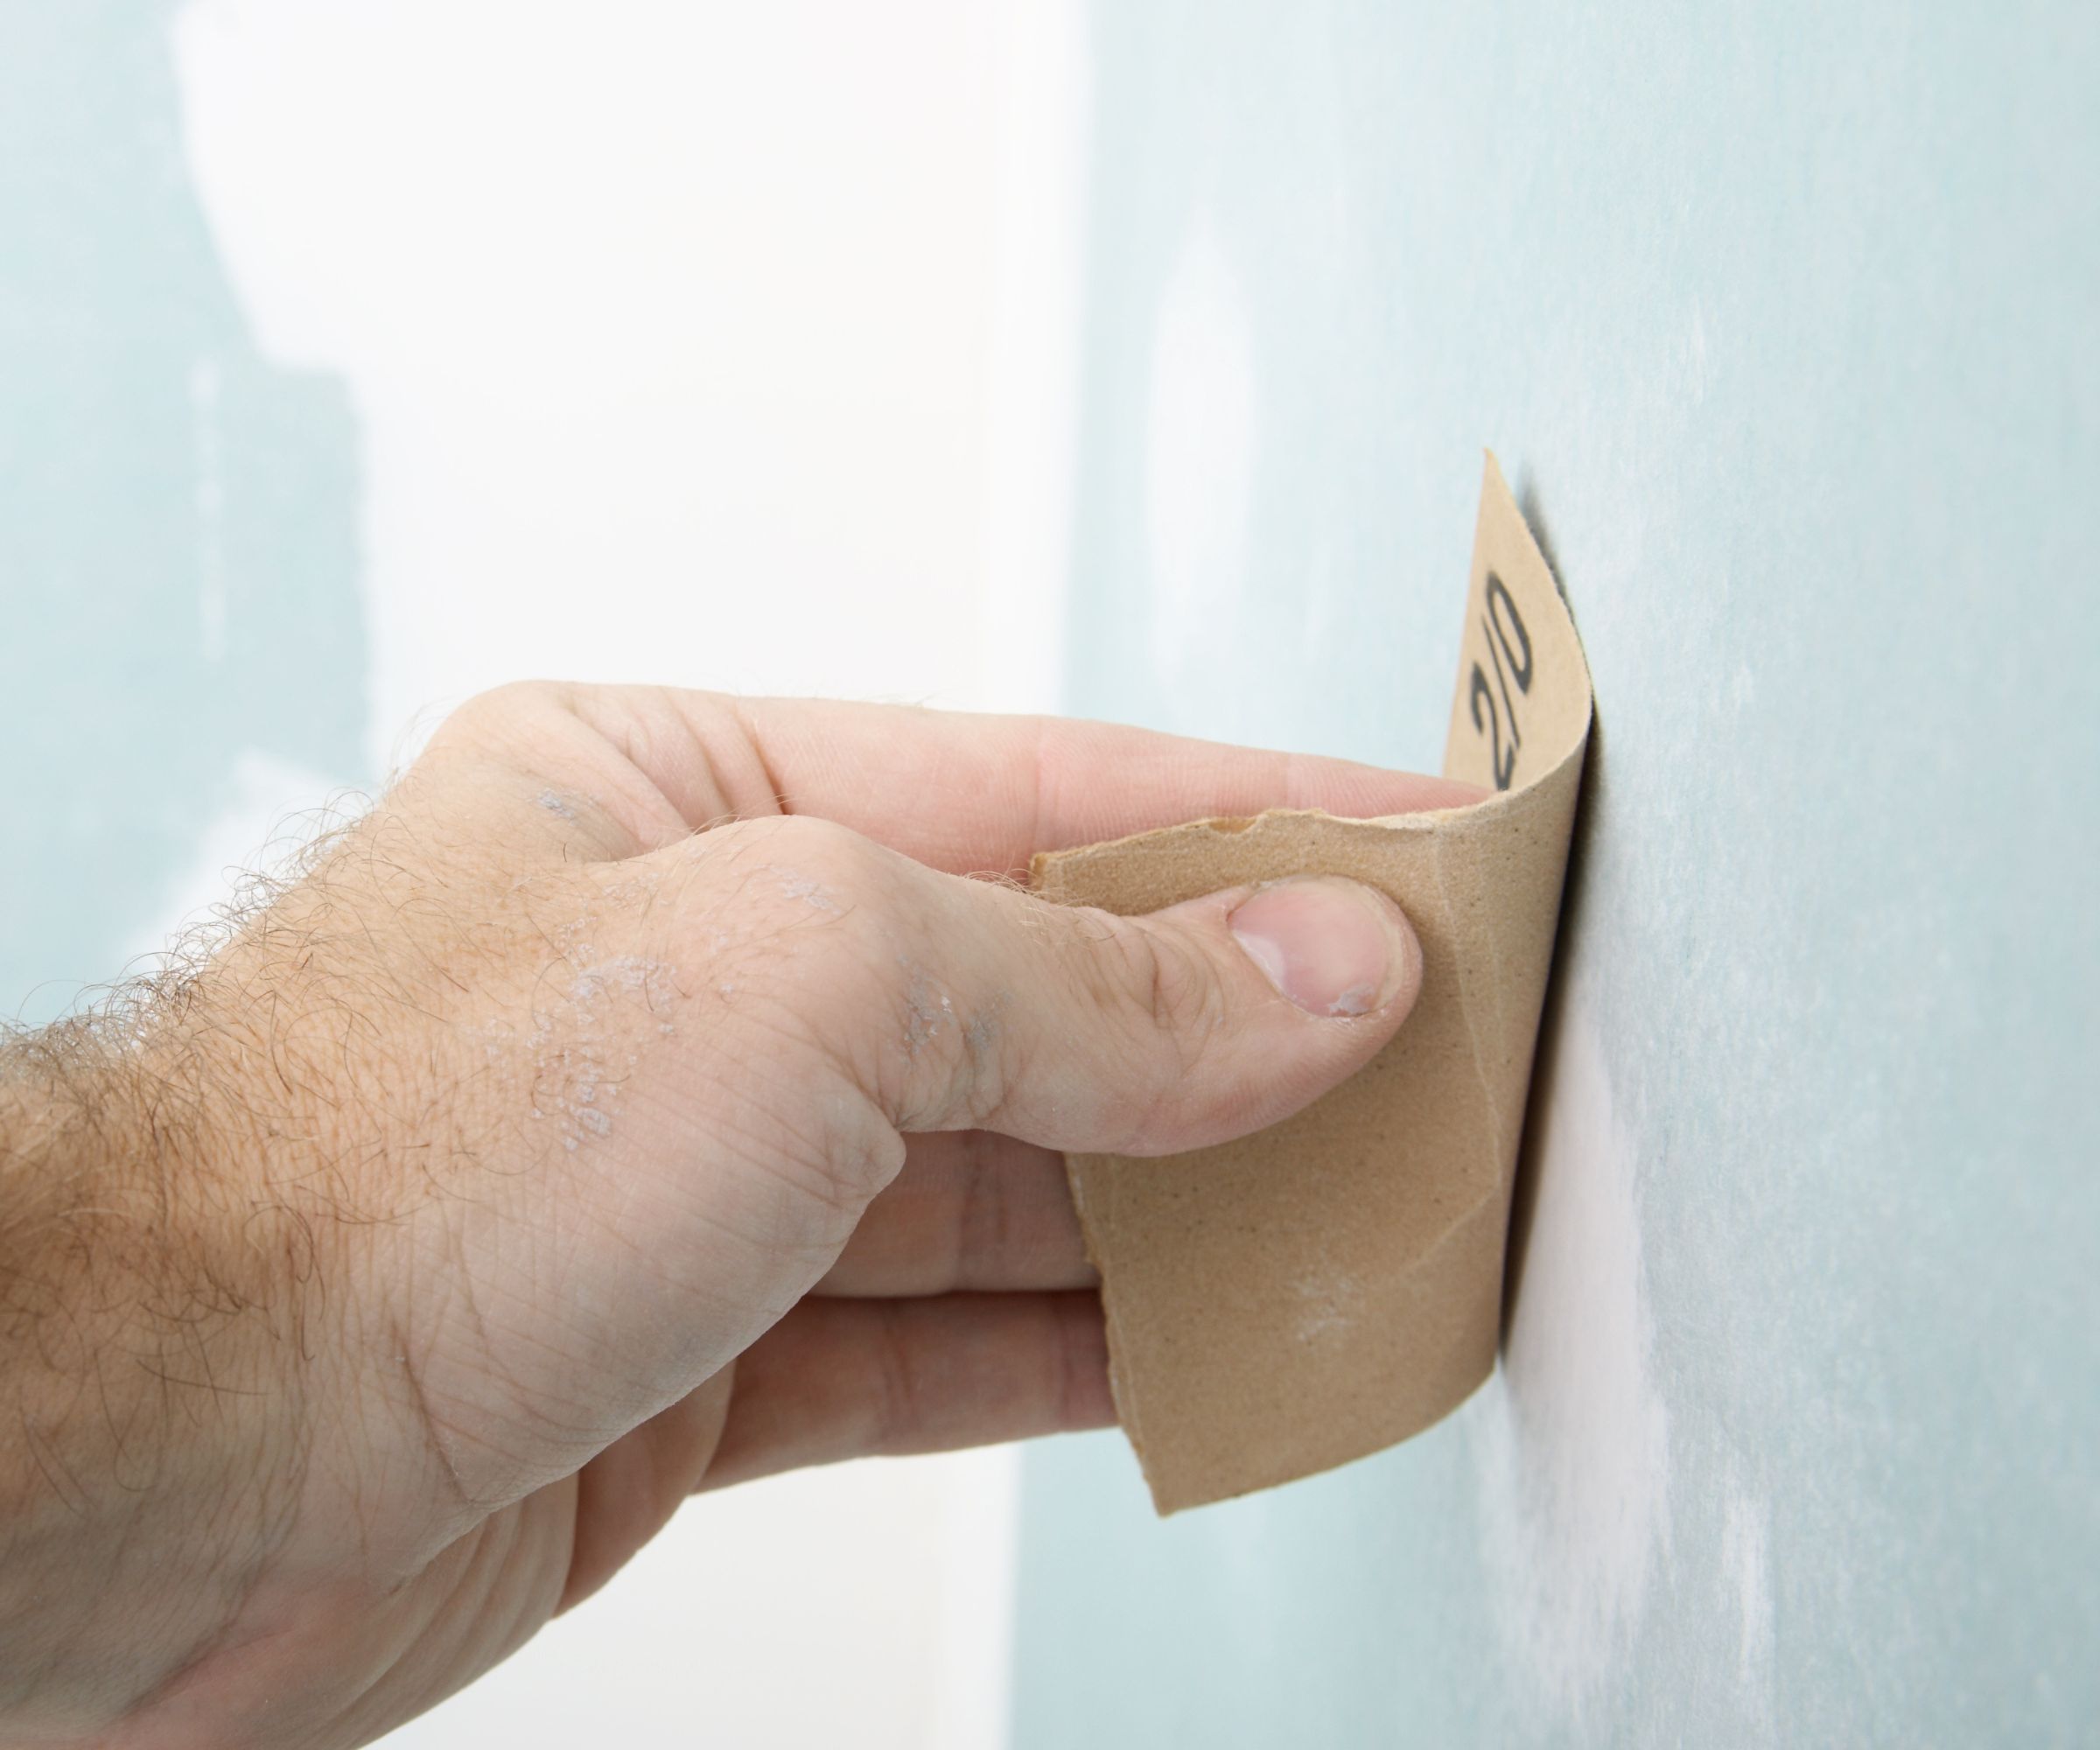
2. Sand down rough edges

After scraping away loose paint, professional painter Matthew Stone suggests using a fine-grit sander to help smooth down the surface and remove any remaining rough edges left behind by the peeled paint.
Design expertise in your inbox – from inspiring decorating ideas and beautiful celebrity homes to practical gardening advice and shopping round-ups.
You may also wish to prepare walls for painting by ‘cleaning it with some warm water and soap,’ adds Andre Mazimierski, a professional painter, allowing it to completely dry before applying any paint to remove dust, dirt, or particles.
3. Apply a quality primer
After you have cleaned the walls before painting, using a quality primer will help to block any staining if the peeling was caused by mold or moisture and get a smoother surface to apply fresh paint over.
A common wall painting mistake we often make is underestimating the power of a quality primer. ‘I always use an exterior grade primer when dealing with an area prone to peeling,’ shares Matthew Stone. A good option is Zinsser Peel Stop Primer from Amazon, which is suitable for indoor and outdoor use.
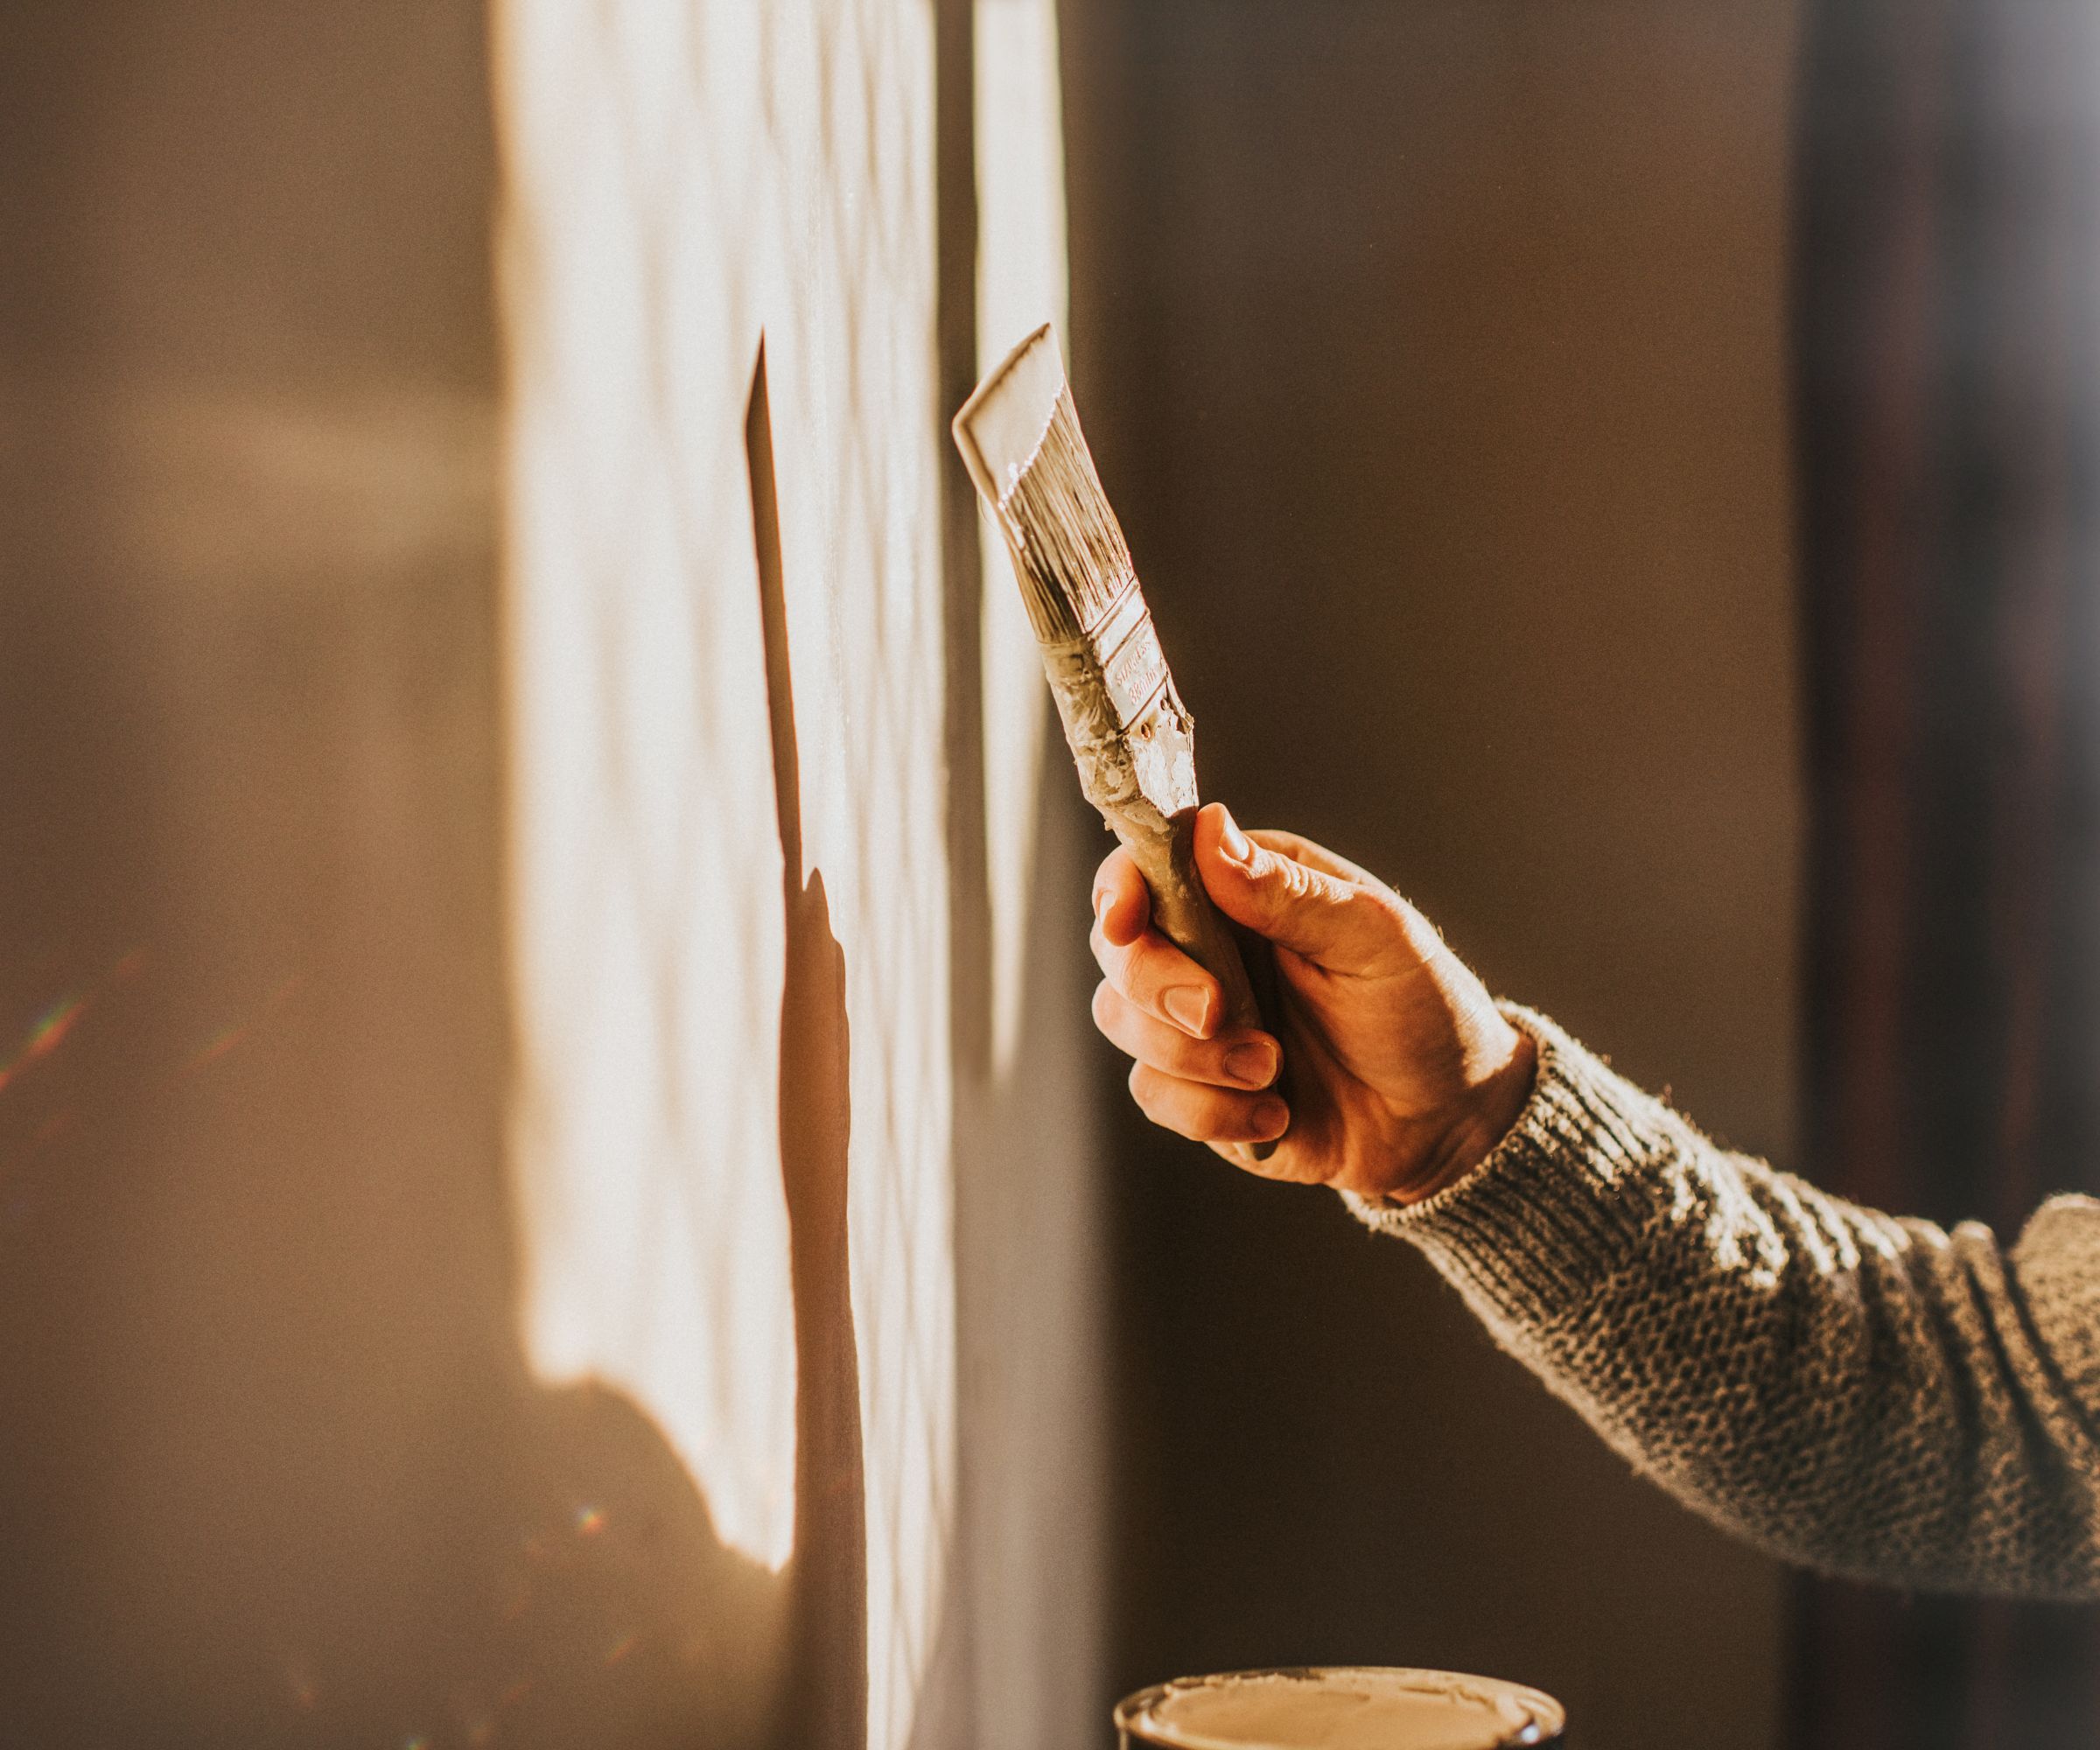
4. Repaint the area

The final step is to touch up paint on the walls using the same color, finish, and brand of paint that is already on the walls.
If you do not have the old tin of paint, or cannot remember what paint is on your walls, cut a small sample of paint from the wall before priming and take it to your local hardware store for color matching. Then, prep and prime the area ready for painting.
What causes peeling paint?
There are a range of reasons why your paint may be peeling, but the most common is that the paint did not adhere to the wall correctly in the first place, suggests Andre Kazimierski, a professional painter.
This happens when you paint a surface that's ‘dirty or wet, or even by painting surfaces when the temperature is too hot or cold,’ he says. You can avoid this by using the proper prep steps and picking out the right paint finishes and qualities for the area, for example using mold-preventing paint in moist areas like kitchens and bathrooms.
Excess moisture may also be to blame for peeling paint. A room that suffers from condensation on the walls or dampness will slowly deteriorate the paint. Make sure you are heating your home thoroughly, consider adding more insulation to your home, or invest in the best dehumidifier you can afford to help tackle moist air.
How to prevent peeling paint
To prevent paint from peeling in the first place, always use a good quality peel-stop primer before applying paint, and always do so on a day with warm weather to help paint dry properly and adhere to the wall. Preparing the surface well before painting is the best way to prevent a whole myriad of paint problems, says painter Andre Kazimierski.
From there, controlling cold air and moisture in your home will help to preserve your paint.
FAQs
Can you paint directly over peeling paint?
Painting directly over peeling paint is not a good idea if you want to prevent it from peeling again in the future. You may be able to repair a small patch of peeling paint by brushing away the peels and priming before repainting, but if you do not treat the cause of the peeling, the paint could come away again.
Will PVA stop paint peeling?
If you are in a pinch, then PVA can be used as a barrier between peeling paint and a new coat of paint if you do not have a primer. The PVA glue will bind the edges of the peeled paint and provide a tacky surface for the new paint to adhere to once you have removed any large flakes coming away from the wall or ceiling.
Peeling paint could be a sign of an underlying moisture problem in your home, so dealing with the root of the problem as well as repainting the area will ensure that your walls stay looking fresh for years to come – or at least until you decide to redecorate!

Chiana is Homes & Gardens’ kitchen appliances editor. With a lifelong passion for cooking and baking, she grew up experimenting in the kitchen every weekend with her baking-extraordinaire Mom, and has developed a great understanding of how tools and appliances can make or break your ideal relaxing kitchen routine.
