23 Expert-Approved Christmas Craft Ideas to Bring a Homespun Touch to Holiday Decor and Gifting
From wreaths and wrapping to tree ornaments, these DIY Christmas decor ideas are guaranteed to fill your home with festive magic


Design expertise in your inbox – from inspiring decorating ideas and beautiful celebrity homes to practical gardening advice and shopping round-ups.
You are now subscribed
Your newsletter sign-up was successful
Want to add more newsletters?

Twice a week
Homes&Gardens
The ultimate interior design resource from the world's leading experts - discover inspiring decorating ideas, color scheming know-how, garden inspiration and shopping expertise.

Once a week
In The Loop from Next In Design
Members of the Next in Design Circle will receive In the Loop, our weekly email filled with trade news, names to know and spotlight moments. Together we’re building a brighter design future.

Twice a week
Cucina
Whether you’re passionate about hosting exquisite dinners, experimenting with culinary trends, or perfecting your kitchen's design with timeless elegance and innovative functionality, this newsletter is here to inspire
Through early fall dinners, and Thanksgiving celebrations, Christmas glitters on the horizon; it's the final (and arguably the most magical) opportunity to gather, feast, and unwind. But with so much packed into the hosting season, some of that festive magic can pass you by – which is why, if you're thinking about Christmas decorating ideas, crafting is a wonderful place to start.
Yes, your favorite brands will always be there to provide some spectacular decor, but who says you can't create your own, too? DIY Christmas decor can help you channel the holiday spirit, providing an excuse to steal a few hours with loved ones and come away with an ornament or decoration that you can keep for years to come.
From wreaths and garlands to table centerpieces and even gift wrapping ideas, the possibilities are endless, whether you're an eager beginner or you're looking for your next big project. Plus, these DIY Christmas decor ideas are budget-friendly, too – and holiday cheer is guaranteed.
Make Your Own Wreaths and Garlands
There's nothing like a touch of foliage or florals to breathe some life into your home – especially during the wintry festive season. These beautiful craft ideas will help you accessorize your porch, mantel, or dining table with ease.
1. Make a Traditional Wreath
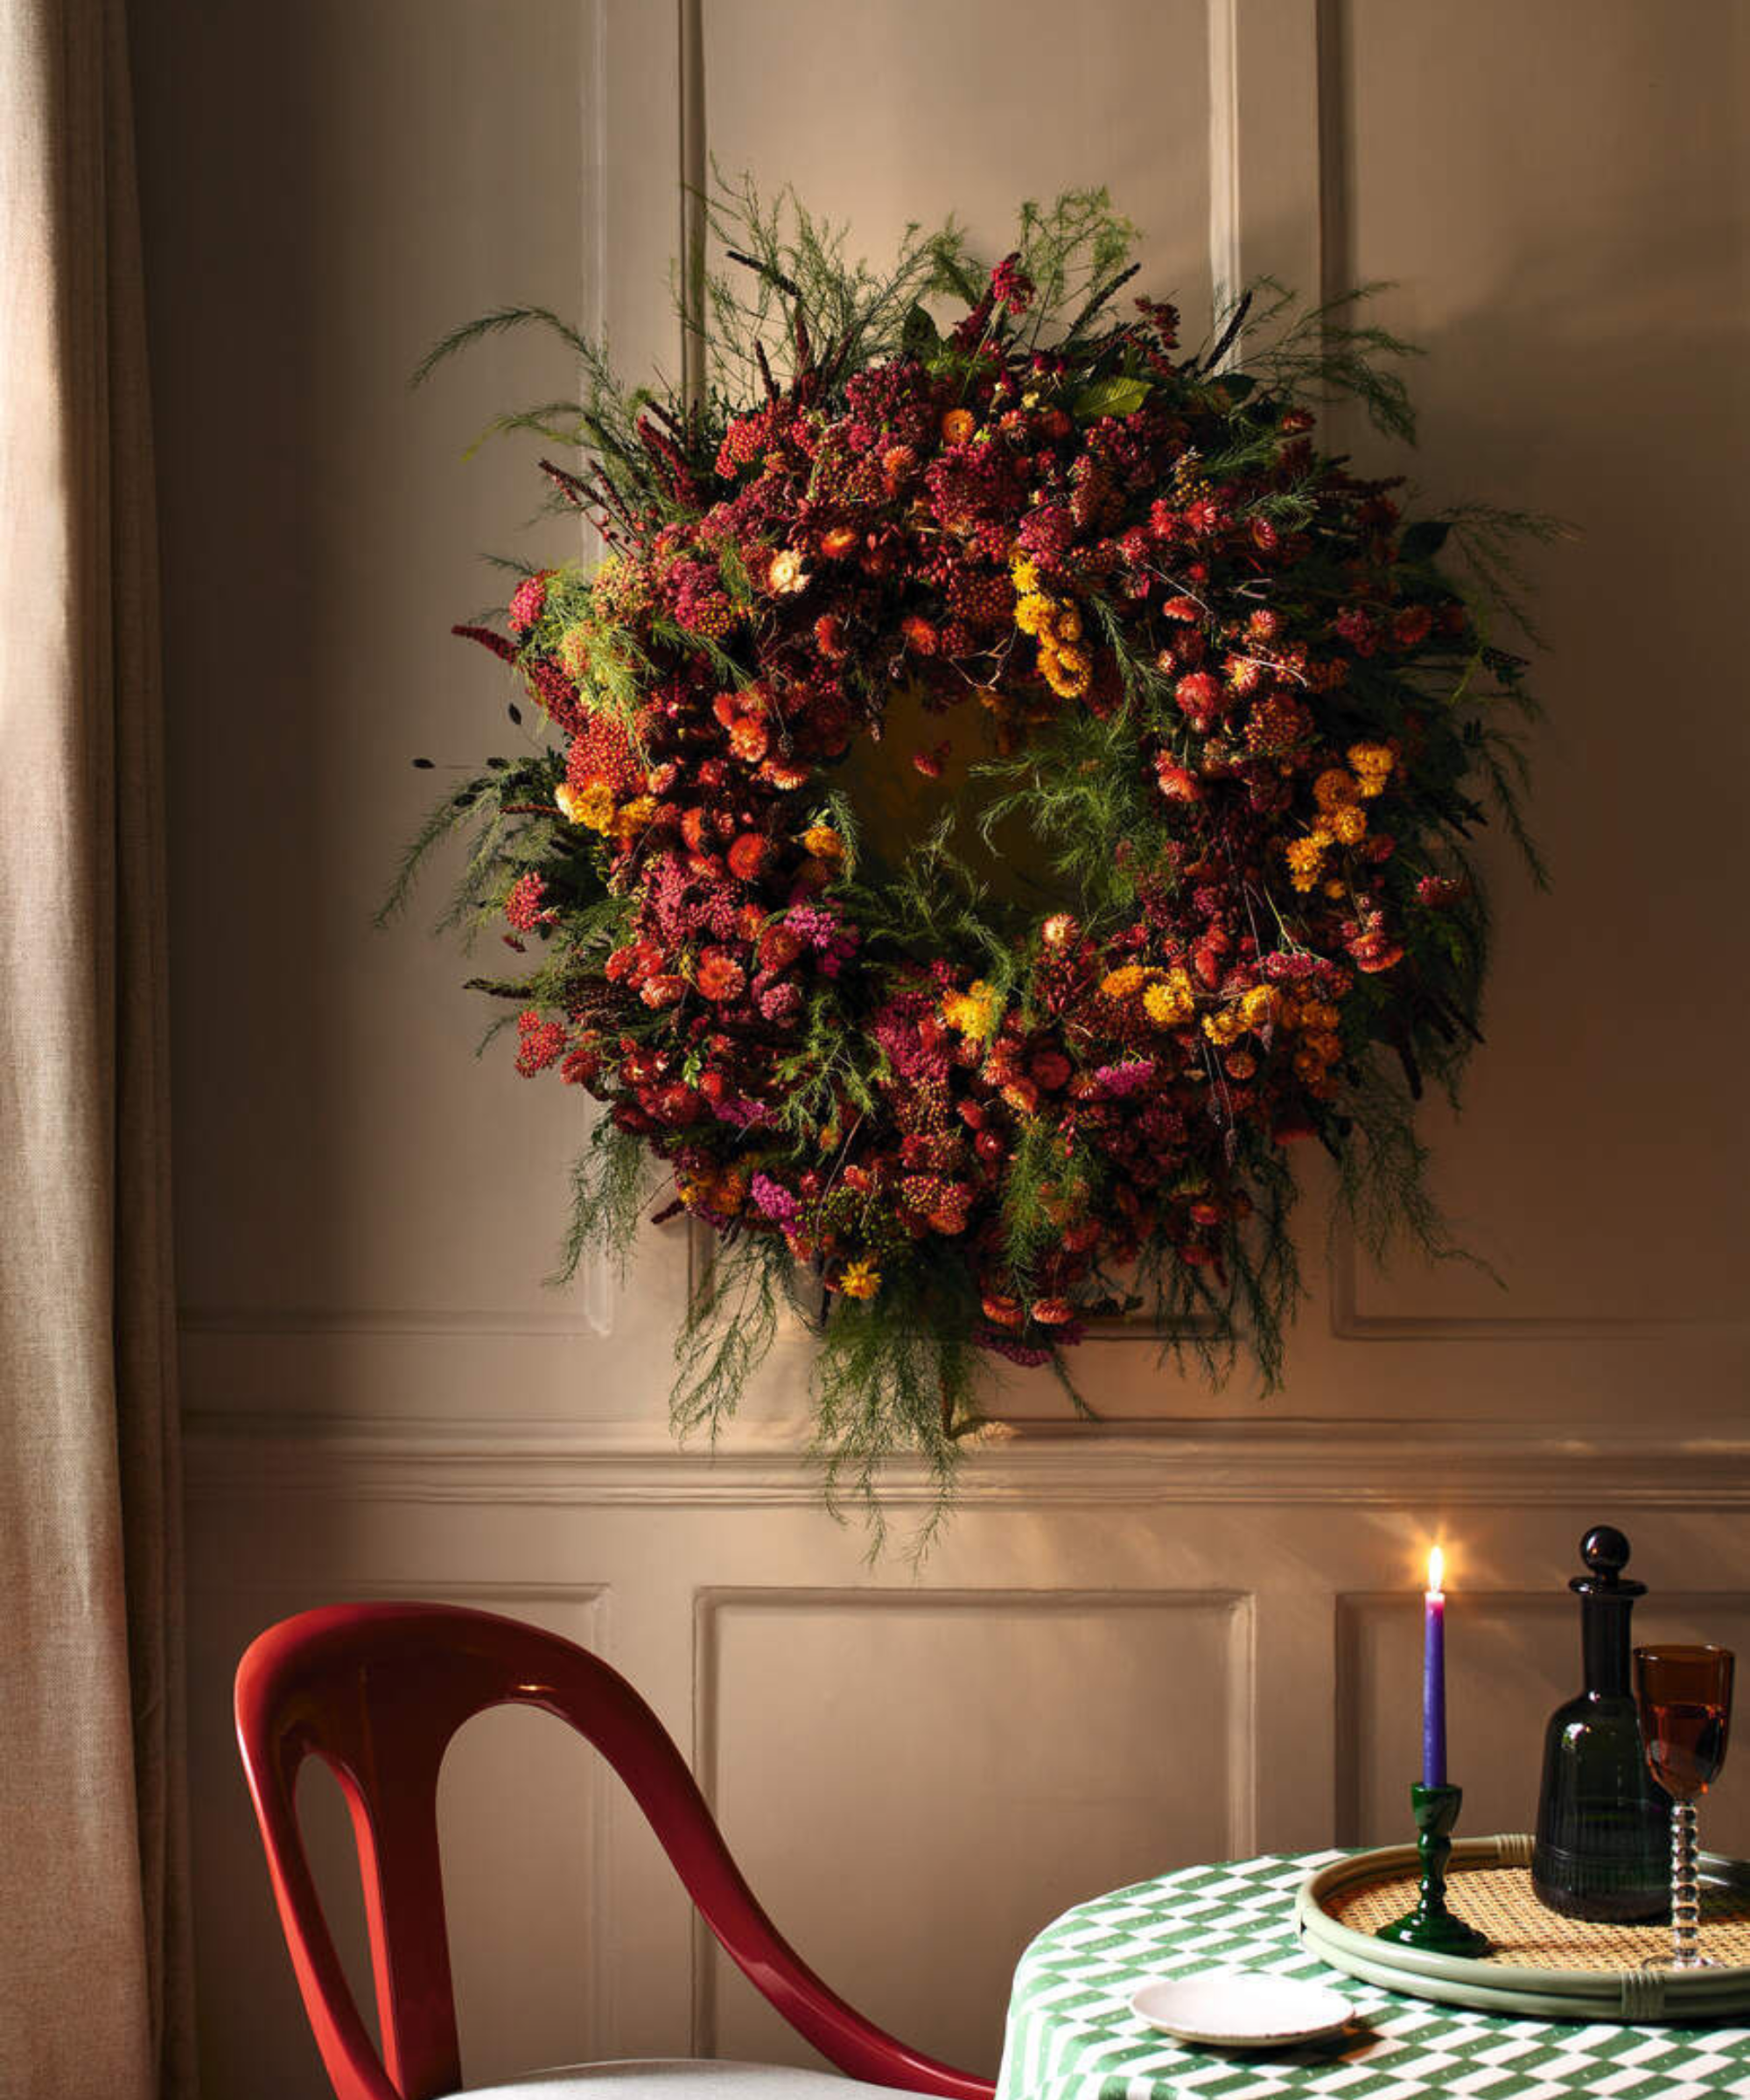
If you've been looking for outdoor Christmas decoration ideas, wreaths are a great place to start. To create your own, you'll need a sturdy wreath base, moss and some evergreen foliage, as well as some seasonal decorations, like pinecones, dried fruit, and flowers.
When it comes to the base, 'the two strongest options are a metal wreath ring or a natural material like willow rattan,' explains Rachel Bull, our Head of Gardens. 'If you want your wreath to be fully compostable after the holidays, go with the latter option.'
To create a traditional wreath, first cover the base in moss using jute twine, before adding your foliage – and it's best to use a few different types. 'Spruce, conifer, pine and berried ivy is a classic combination,' says Rachel. 'Different textures of the same color will also ensure your design remains tasteful and sophisticated.'
Design expertise in your inbox – from inspiring decorating ideas and beautiful celebrity homes to practical gardening advice and shopping round-ups.
Cut your greenery into 8-10 inch lengths, form it into compact bundles, and secure each one to your wreath base with more twine. 'The larger the lengths of foliage, the larger the wreath you will create,' says Rachel. 'To take your wreath from DIY to pro, as you work around it, use smaller bundles to cover the outside edge and the inside of your wreath base.'
Finally, layer your festive decor on top with floristry stub wire. 'Twist the wire around each decoration, leaving around 6 inches of wire as a stem,' Rachel explains. 'Poke each stem into the moss, folding any excess wire back in so it doesn’t protrude and scratch your door. Finish with a velvet ribbon for a nostalgic holiday look.
2. Try a Burlap Wreath
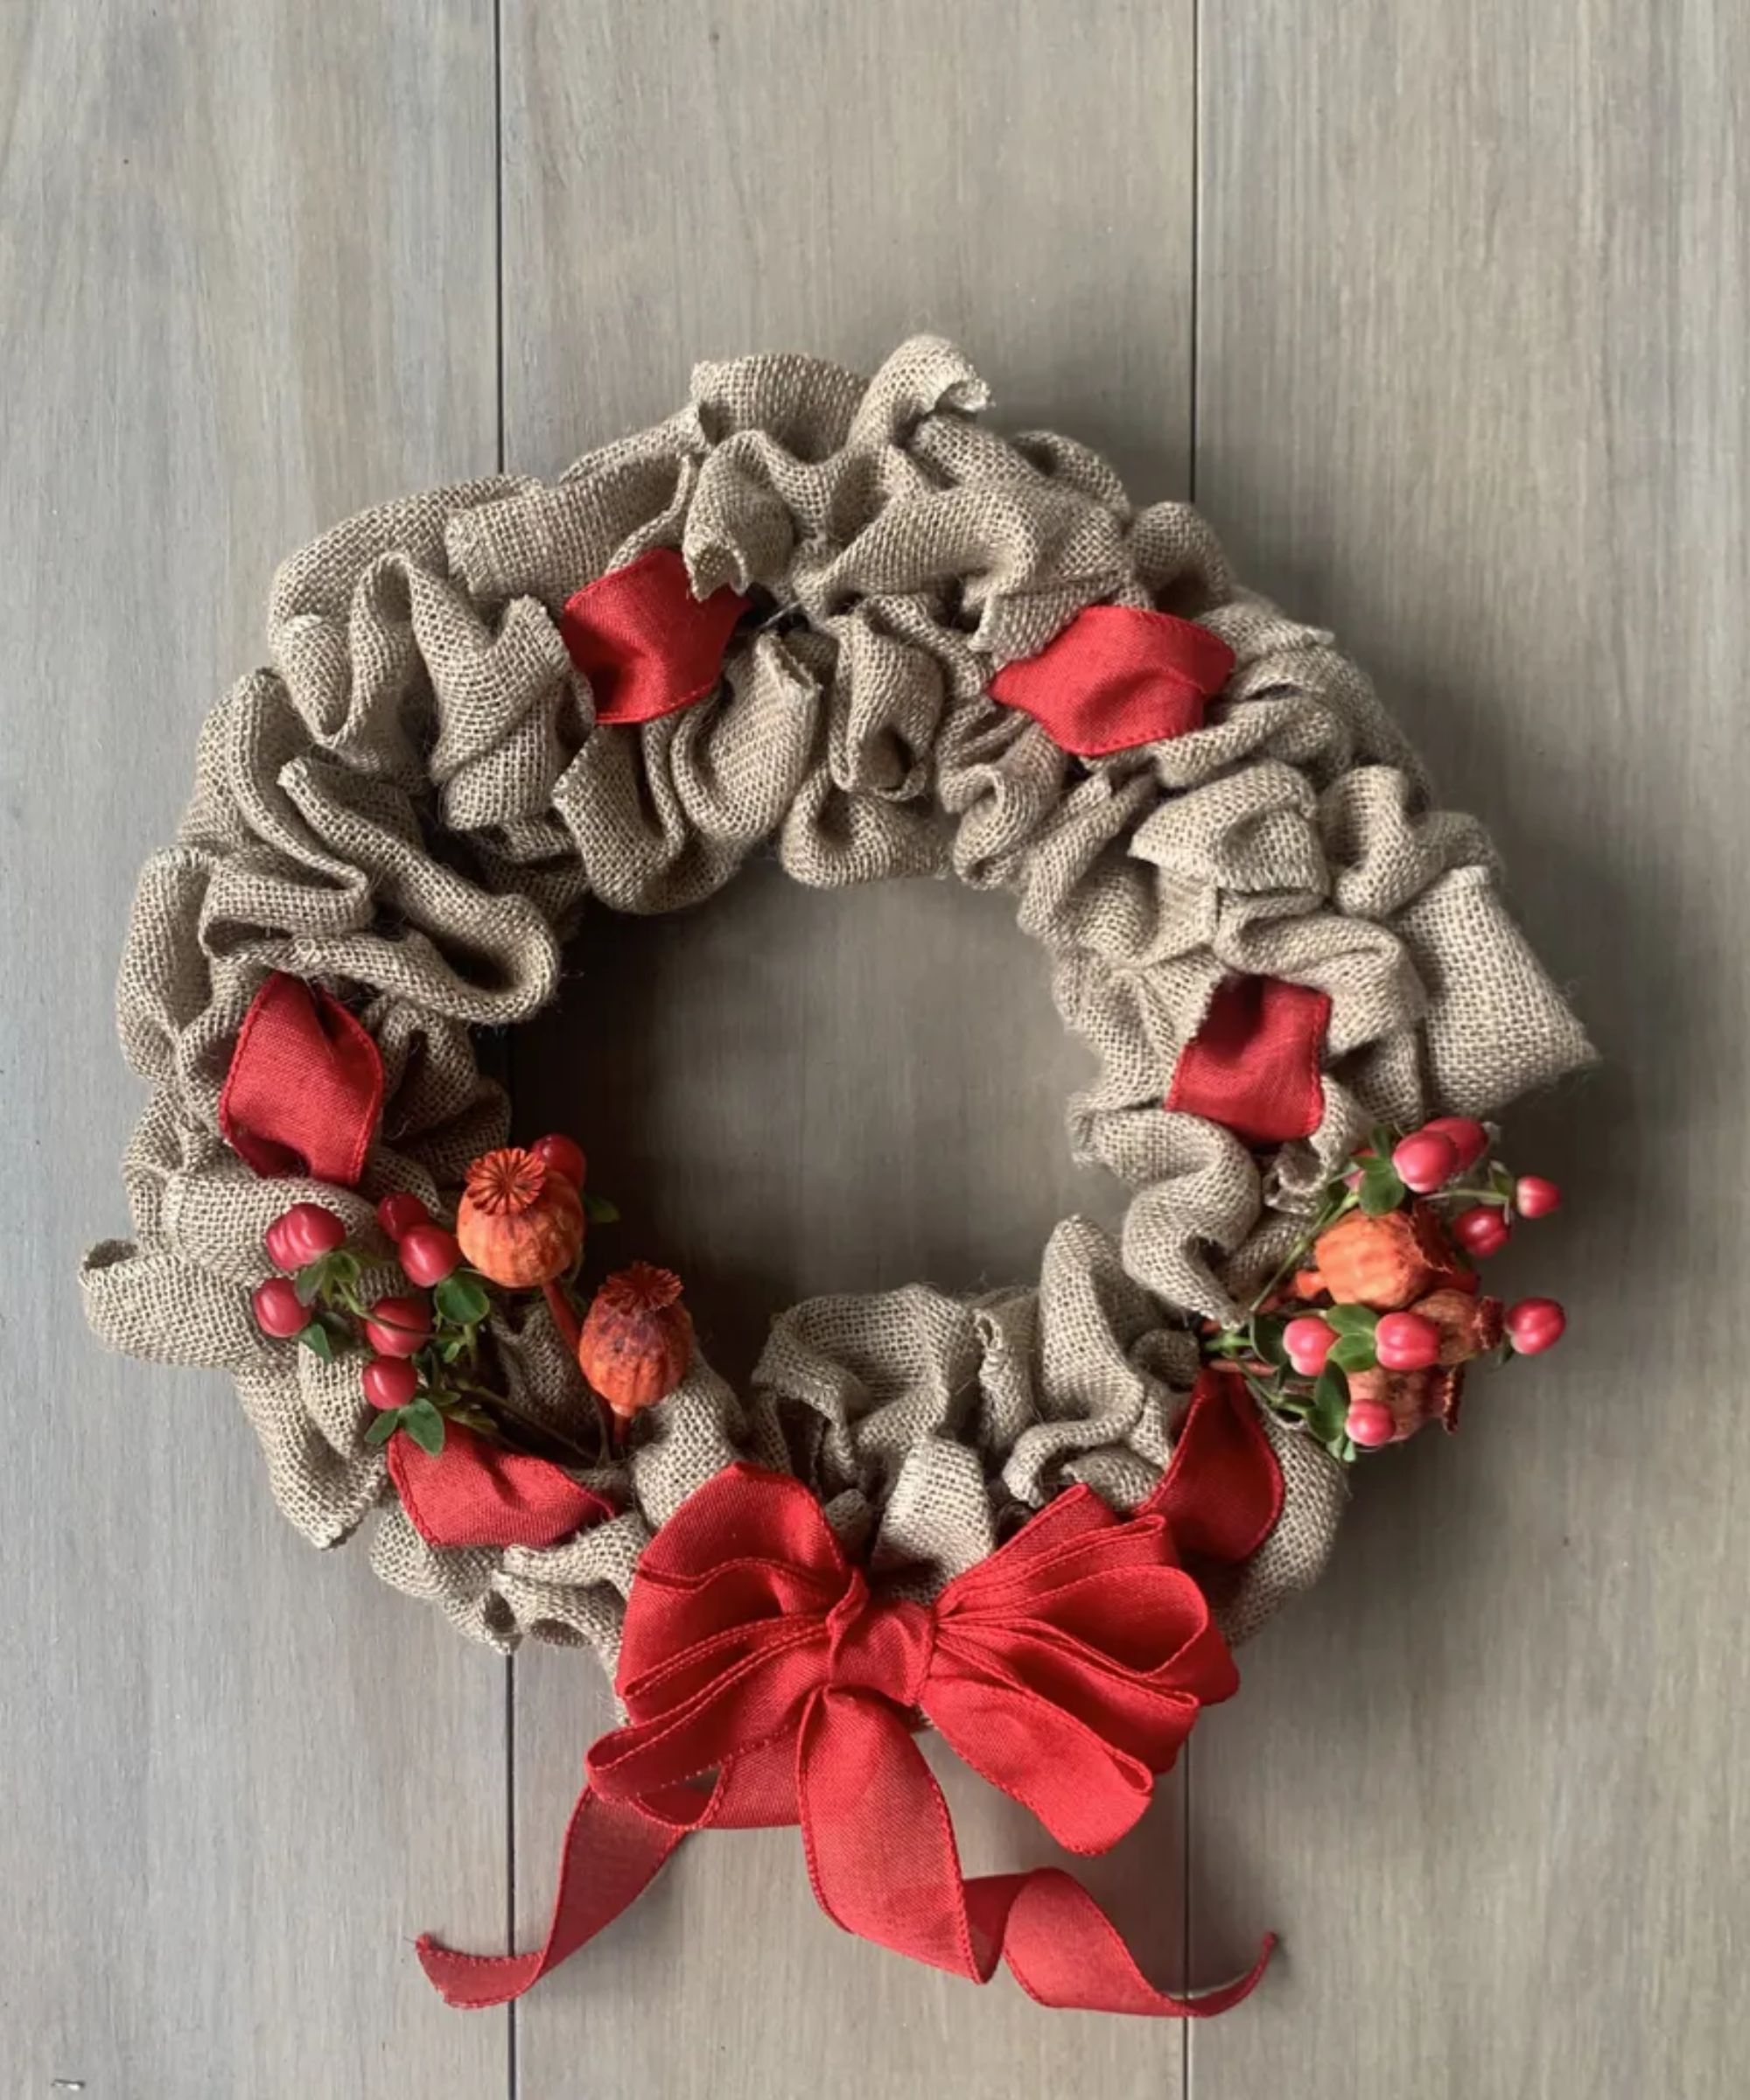
For a more rustic look, try your hand at a burlap wreath: gather the same floristry stub wire and metal wreath ring, but switch the moss and foliage out for a burlap roll.
'Unroll some of the burlap, pinch the ends together, and secure them to the underneath part of your wreath ring with some wire,' instructs former Style Editor, Sara Bird. 'Make sure the ring is front-facing, and push the burlap through the first wire gap so a loop appears on the inner part of the ring. Continue with the outer gaps on the ring.' Then, pinch and bunch the material together and secure it by flipping the wreath over and twisting the burlap three times.
'Flip the wreath back over to the front and repeat the process,' says Sara. 'Continue until the ring is completely covered by the burlap, then secure the ends with more wire. Decorate with a ribbon threaded through the wreath, plus seasonal foliage and a bow.'
3. Opt for a Star Anise Wreath
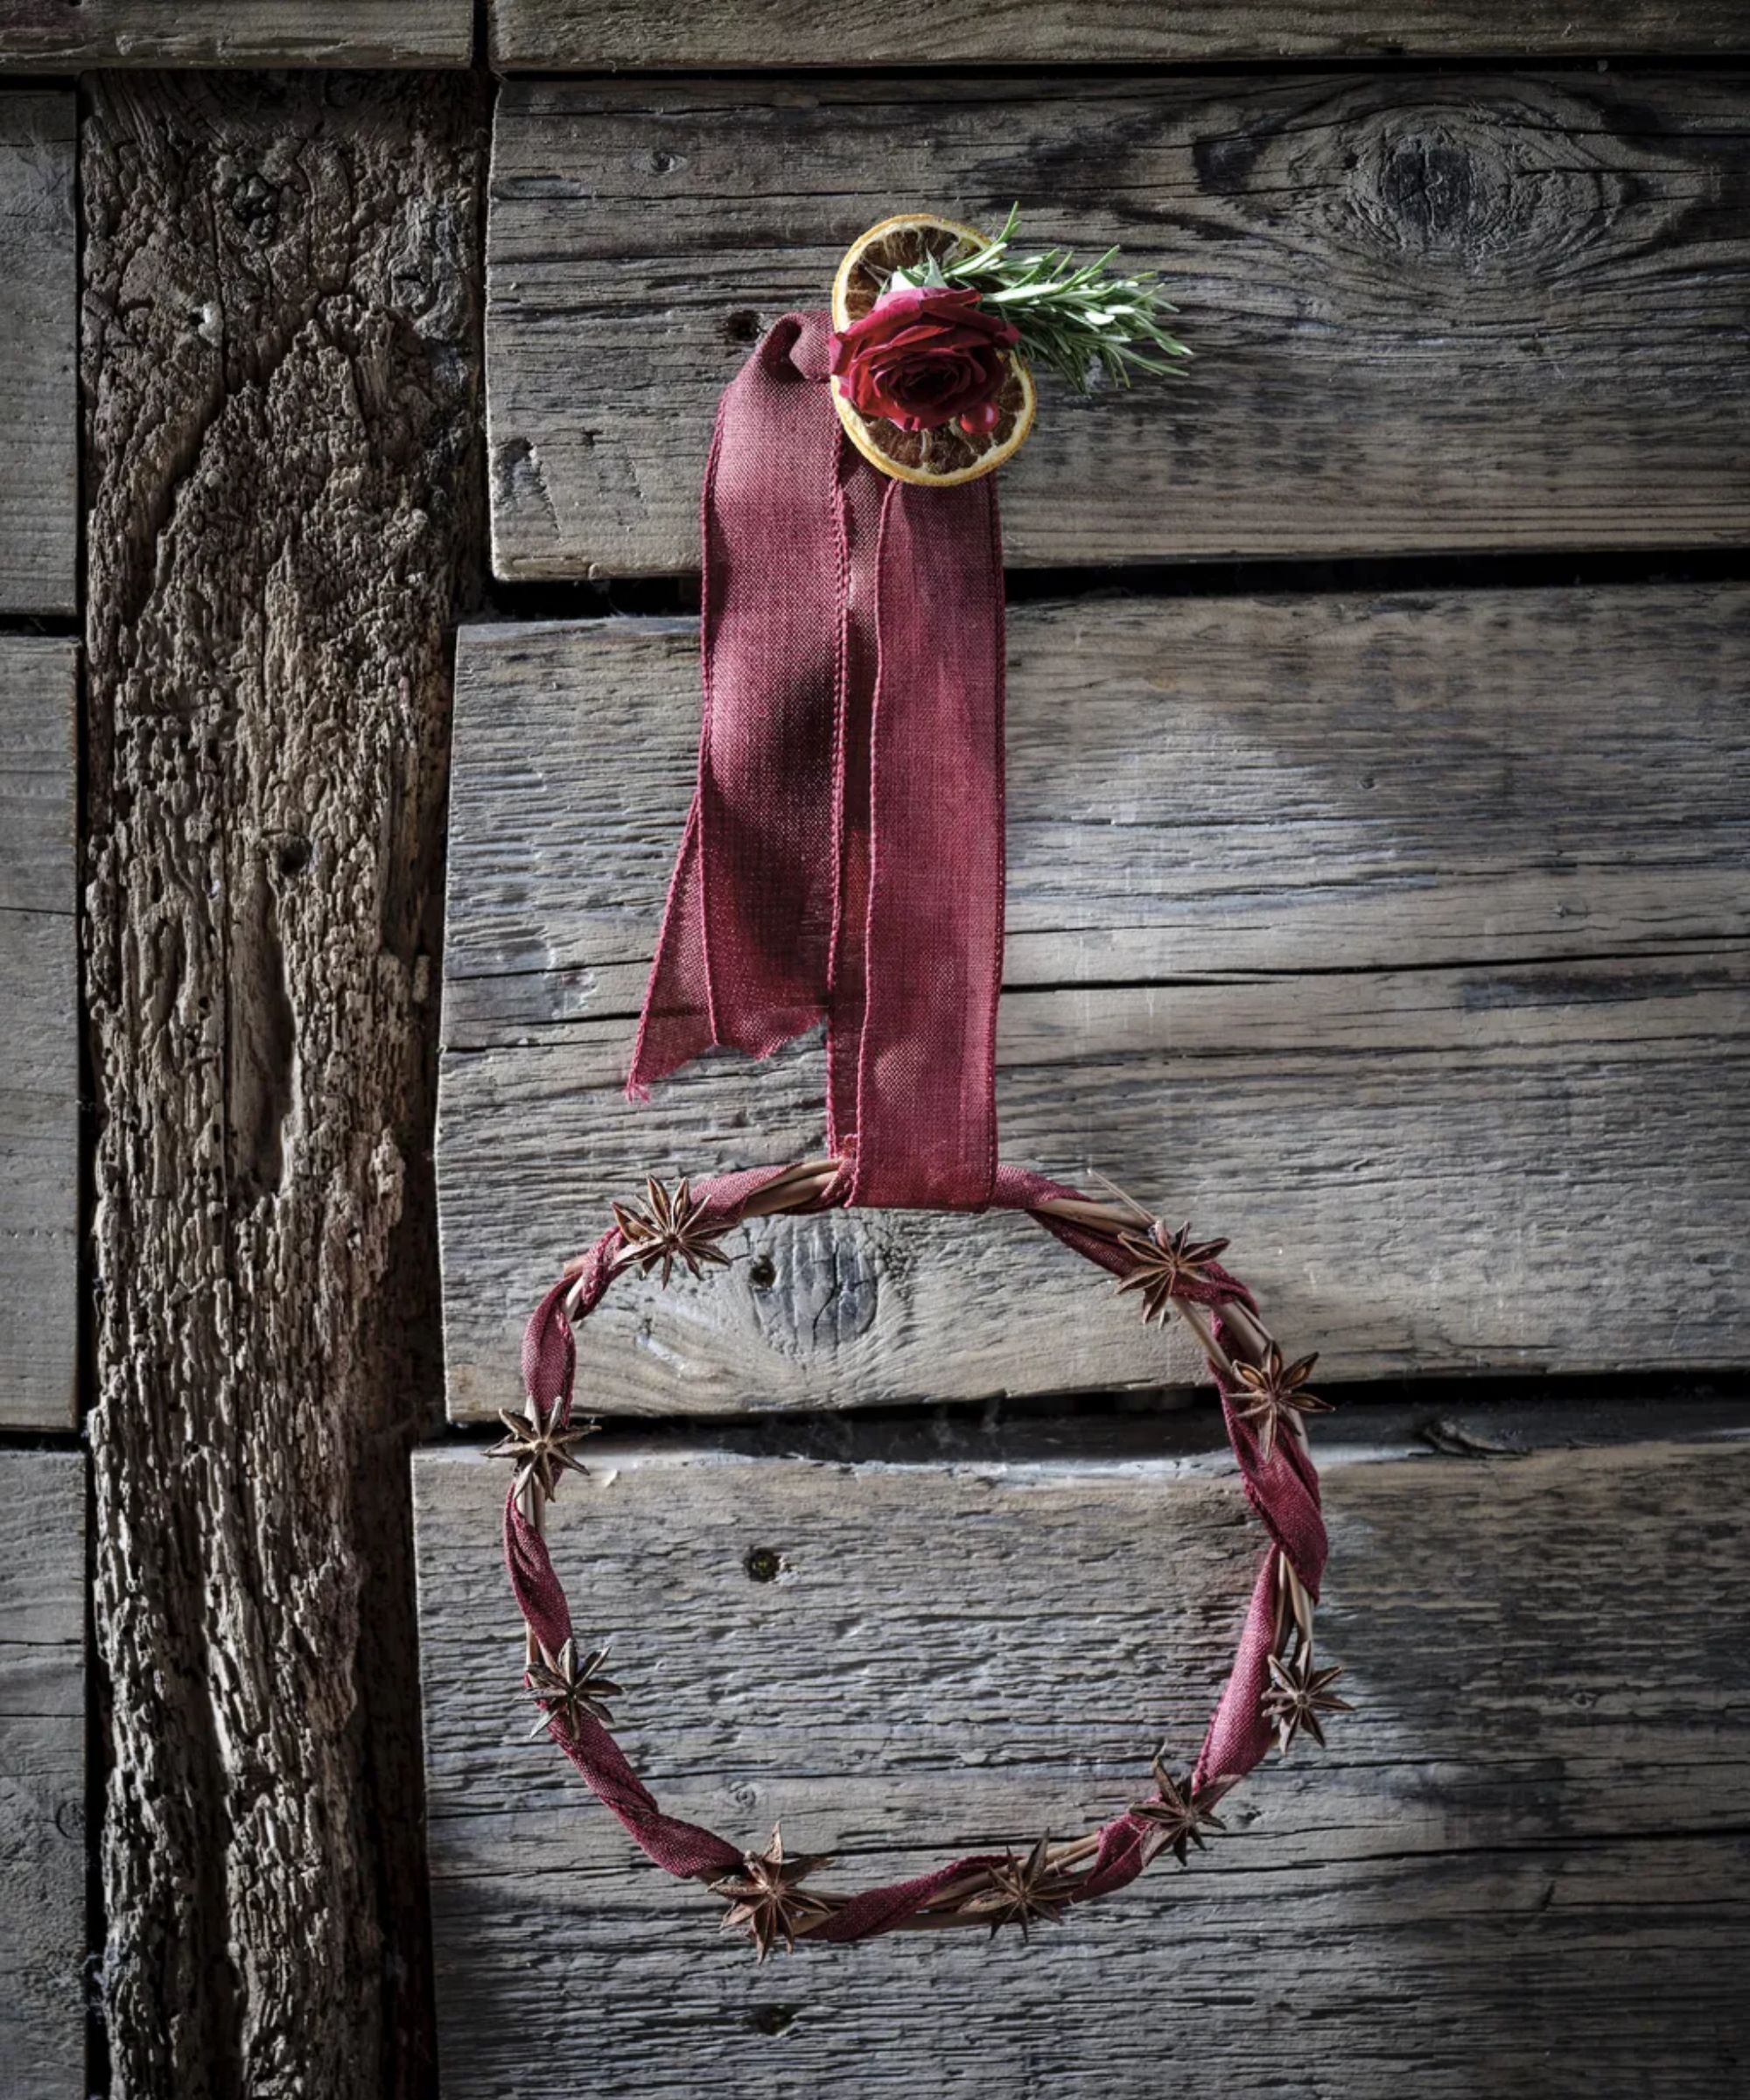
Combining a woodland-inspired look with delightful home fragrance, a star anise wreath is a fantastically simple DIY Christmas decor idea. Use a ready-made willow rattan base for convenience, or twist faux willow branches into a circular shape instead.
'Glue whole star anise cloves to the base individually, using strong craft glue,' Sara Bird advises. 'Continue adding and gluing the spices until happy with the amount. Top tip: an odd number usually looks more visually appealing than an even one.'
To bring some color into your wreath, weave a ribbon through the base, being careful not to disturb the position of the cloves. Then, simply hang it up using a shorter length of ribbon.
4. Build A Chicken Wire Arch
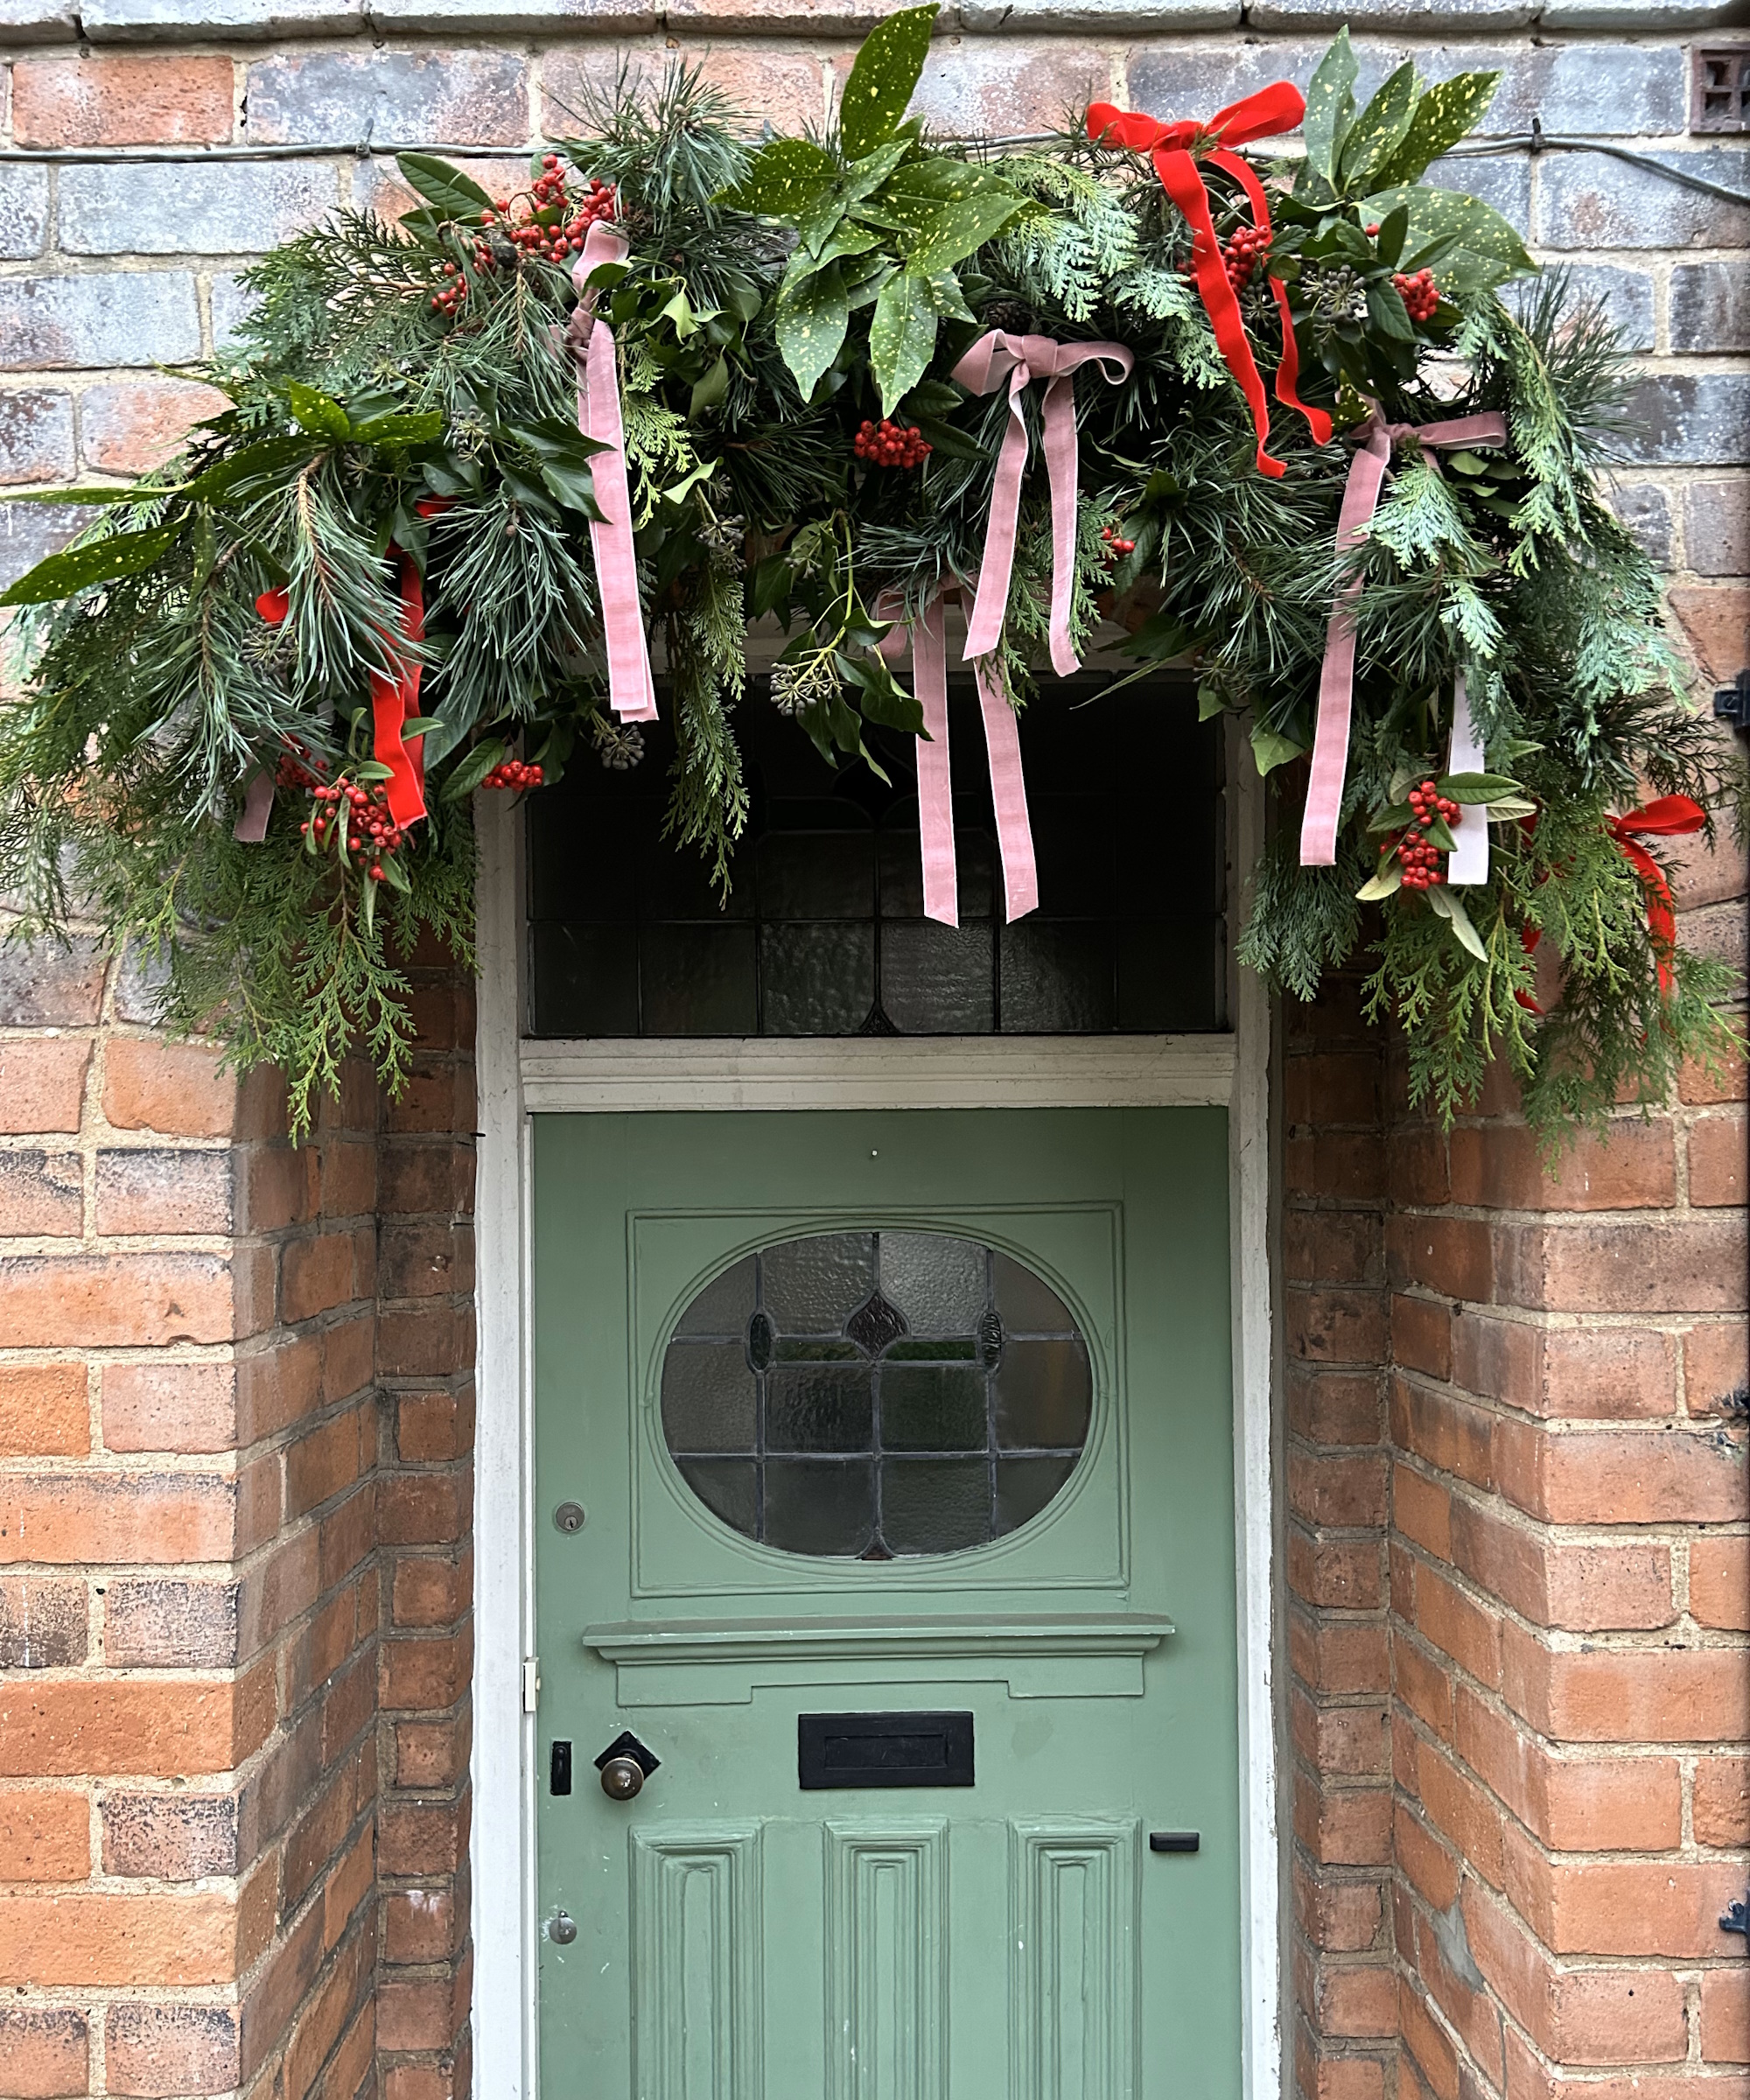
While wreaths are a classic decor detail, greenery arches will really make an impression – and your guests will hardly believe you've crafted them yourself. The secret? A roll of chicken wire, like this one from Walmart. 'In the professional floristry world, almost all the extravagant decorations are made with chicken wire,' explains Rachel.
To create your own arch, snip and shape the wire and bend it into a 3D cylinder. 'Twist the ends back onto each other to secure,' says Rachel. 'Look for existing hooks, nails, or frames on your wall or doorway to see if there is anything you can use as anchors,'
Rachel continues ' I would not be without a pack of these long green zip ties from Amazon – they're the best thing to keep your chicken wire base in place. Thread them through multiple holes in the chicken wire and around your hook or frame to secure in several places.'
And when it comes to decoration? 'Simply feed in a variety of elegant, freshly scented foliage branches into your chicken wire,' says Rachel. 'I forage a variety from my backyard: usually pine, conifer, berried ivy, Japanese laurel, and berried cotoneaster branches.'
Just like your Christmas wreath, you can accessorize the arch with long velvet ribbons – but since you've got a much greater surface area to play with, you can also add whimsical touches like candy canes and string lights.
5. Try This Easy Faux Garland Hack
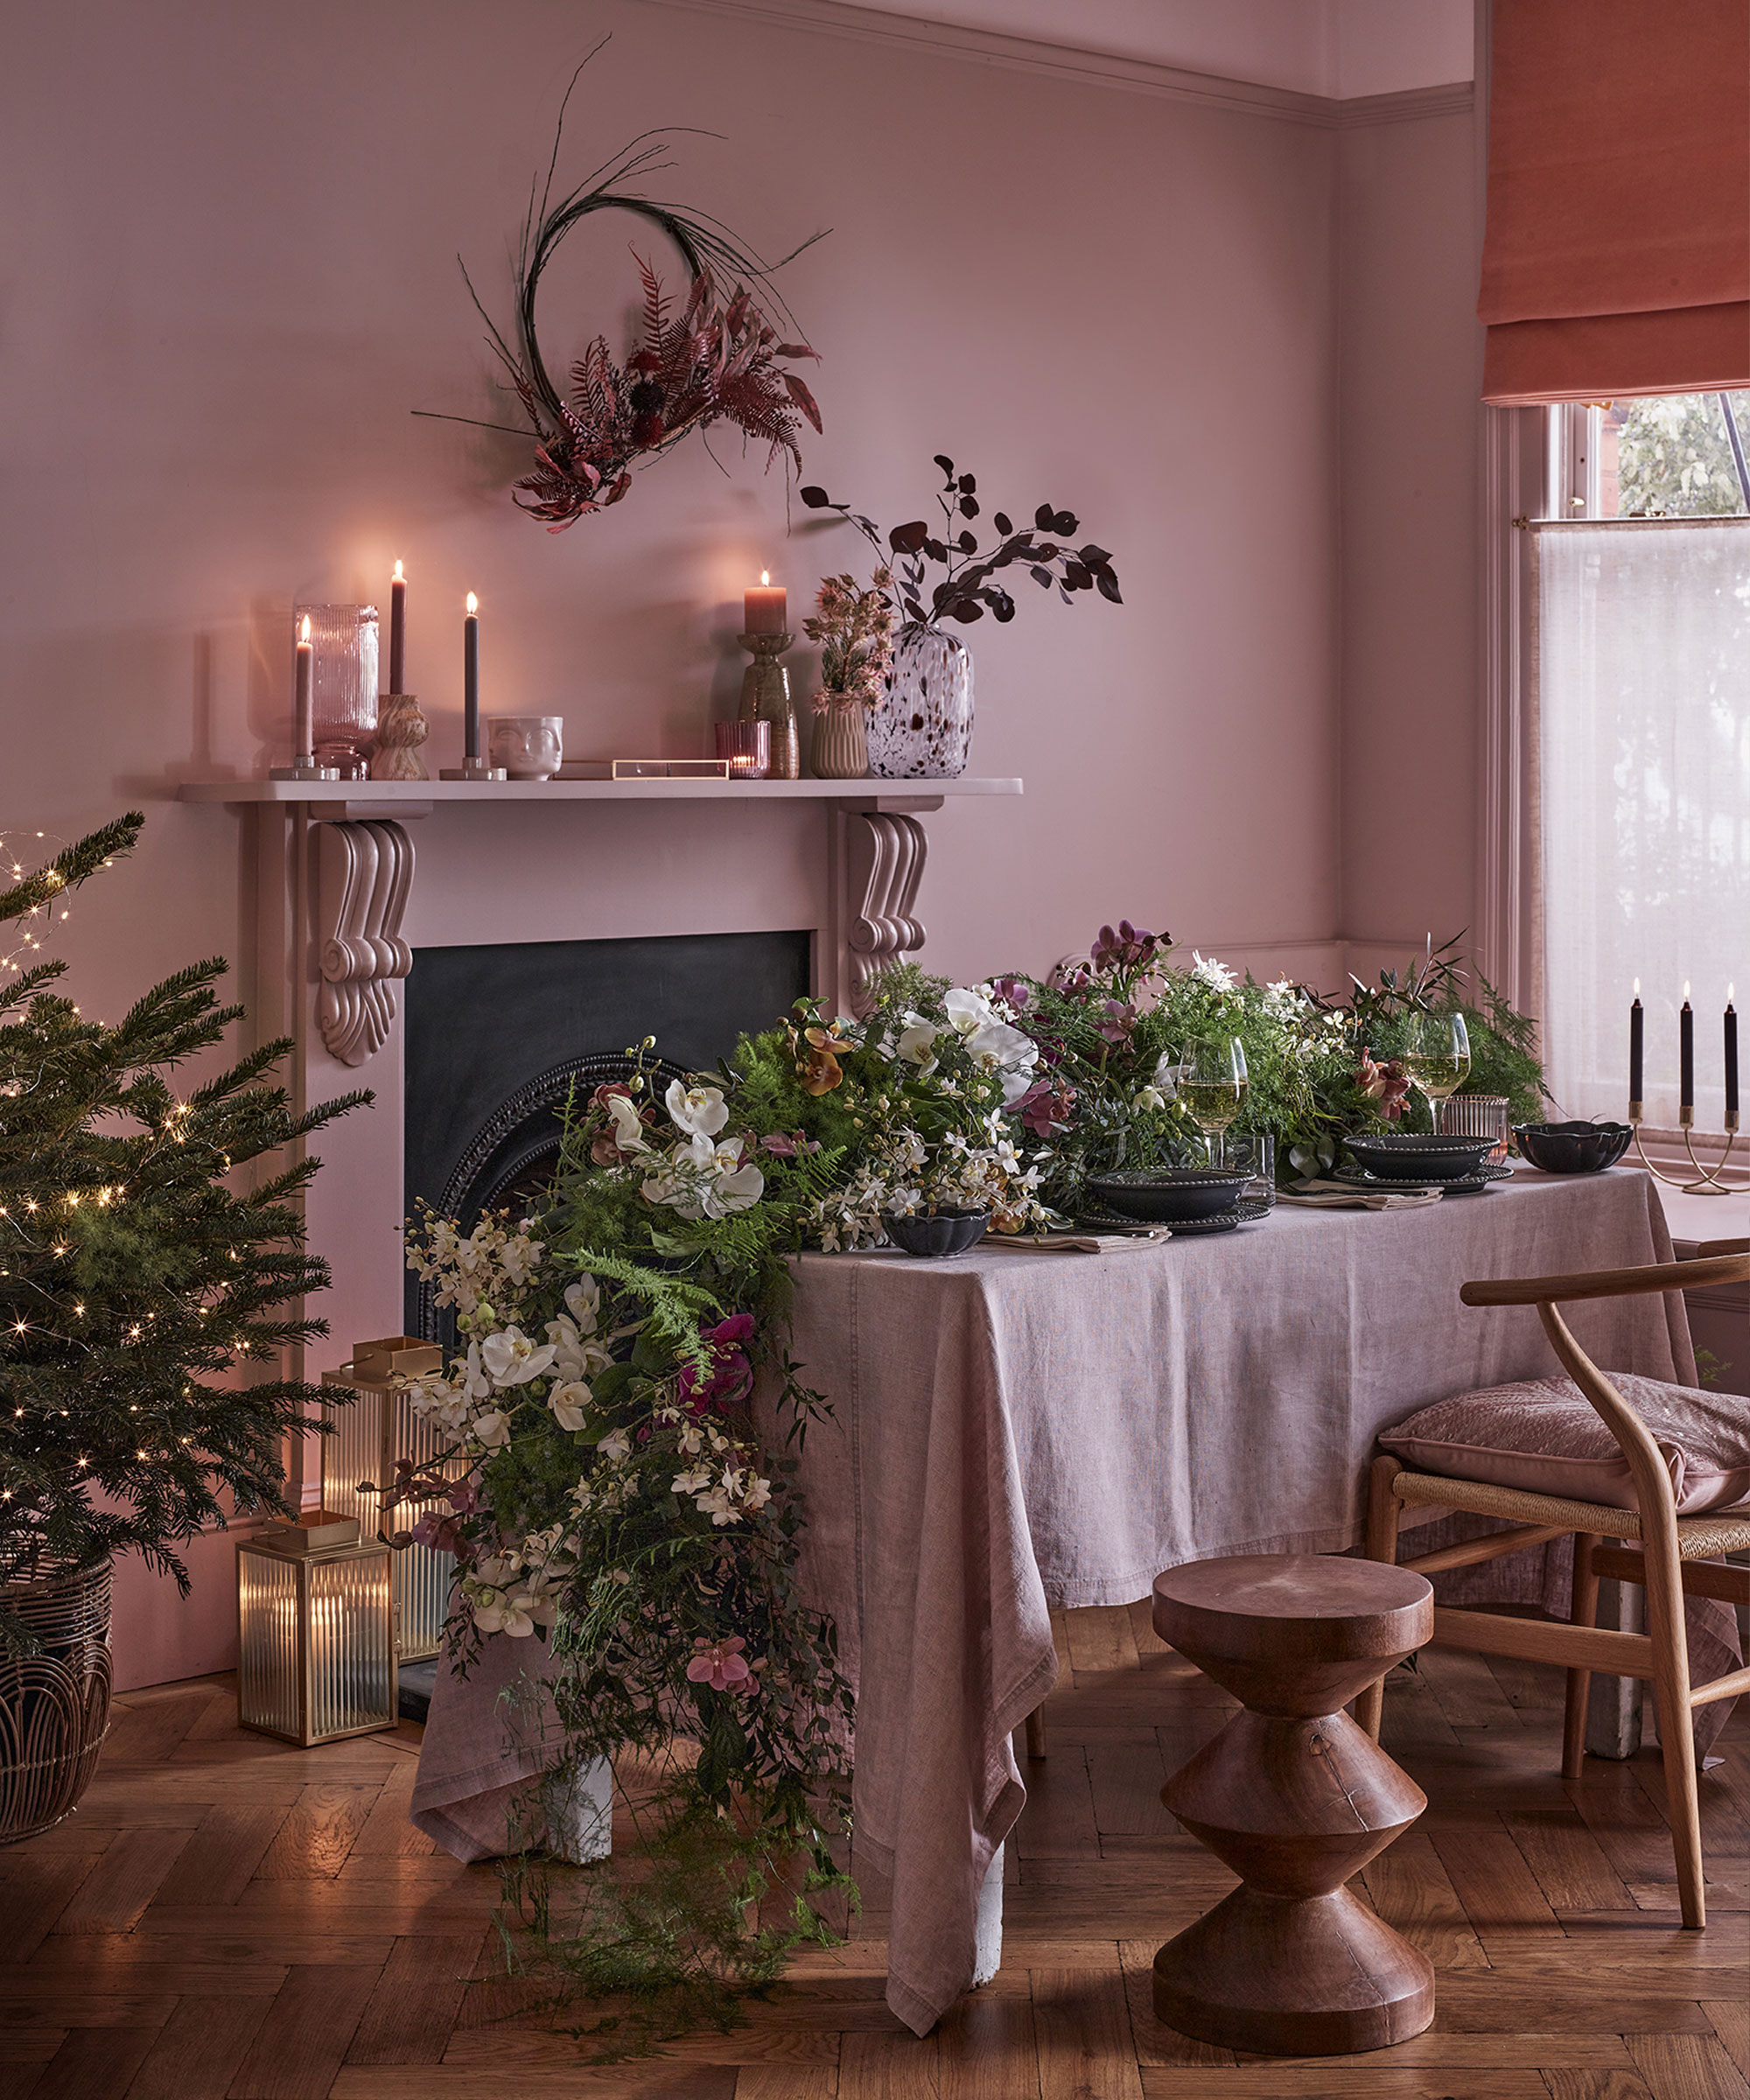
'A garland really is a staple when it comes to holiday decorating, and if you choose a faux garland, you can use it year after year,' says Sue Jones, co-founder of OKA. 'I think they look lovely wrapped around staircase banisters or draped over a mantelpiece.'
For the simplest garland hack, start with a basic one like this faux pine garland like this one from Wayfair and add your own decorations, as you would to your Christmas tree. Go for cinnamon sticks and pinecones for a natural look, or bright baubles and ornaments to create a more maximalist and fun aesthetic. Add some battery-powered string lights, too, like these fairy lights from Amazon. It's the easiest way take a basic garland from bland to beautiful and inject some of your personal style and festive spirit.
6. Create a Dried Orange Garland
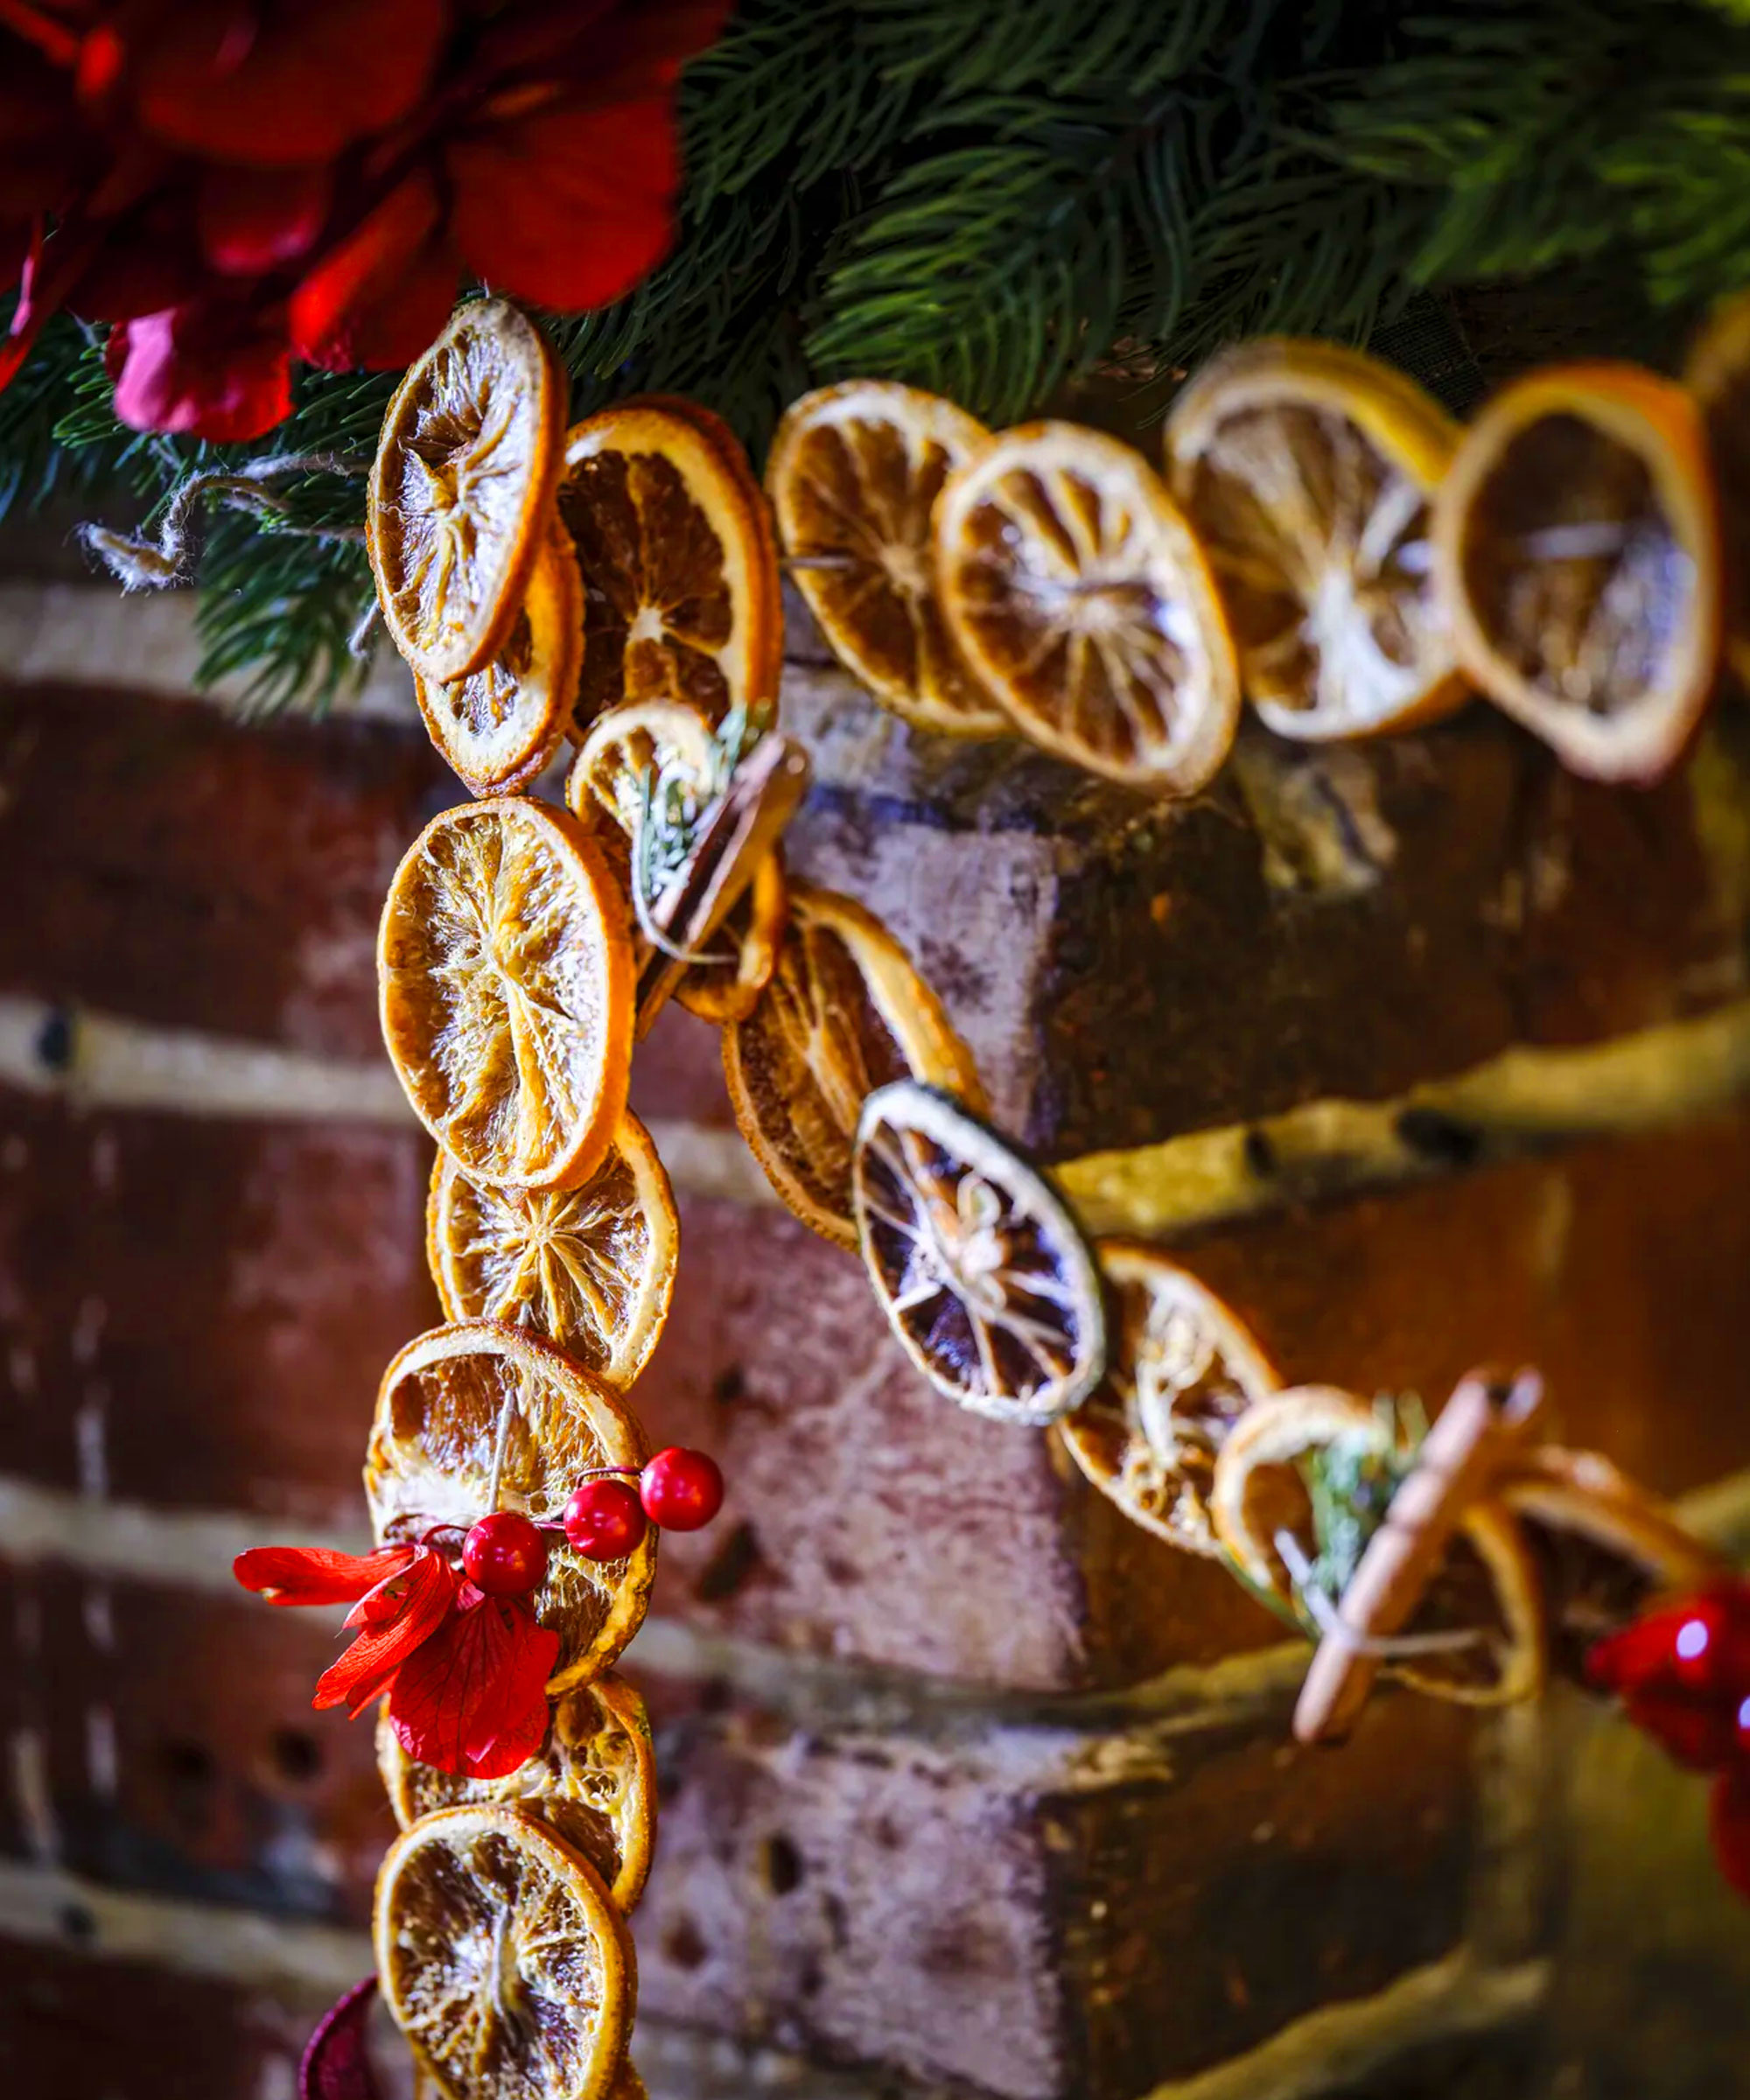
For a more pared-back look with a dash of DIY, you can create a dried orange garland from scratch. 'Not only is a citrus garland a nostalgic and charming addition to your home, but it makes for a hands-on holiday activity,' says interior designer Darla Bankston May. 'Plus, the citrus fills your space with a refreshing, natural aroma that enhances the festive atmosphere.'
While it certainly looks impressive, a citrus garland is surprisingly simple to make – and you can prepare the fruit in one of the best air fryers.
'Start by slicing your oranges into ½-inch thick rounds, then lay them out on parchment paper and place them into your air fryer basket or crisper tray,' instructs our Kitchen Appliances Editor, Lydia Hayman. 'Dry thoroughly with a paper towel before you heat them.'
Then, if your air fryer has a dehydrate function, simply follow the manufacturer’s instructions. If not, 'set your air fryer to the lowest heat setting (around 200°F, but ideally no hotter),' says Lydia. 'Check the progress after 15 minutes, just in case your air fryer is particularly strong (not every model is made equally!) After about 30 minutes, flip the slices, then cook for an additional 15 minutes, checking regularly to prevent over-browning.'
Once your slices are ready to go, you can thread them using festive ribbon or twine to create a beautiful garland.
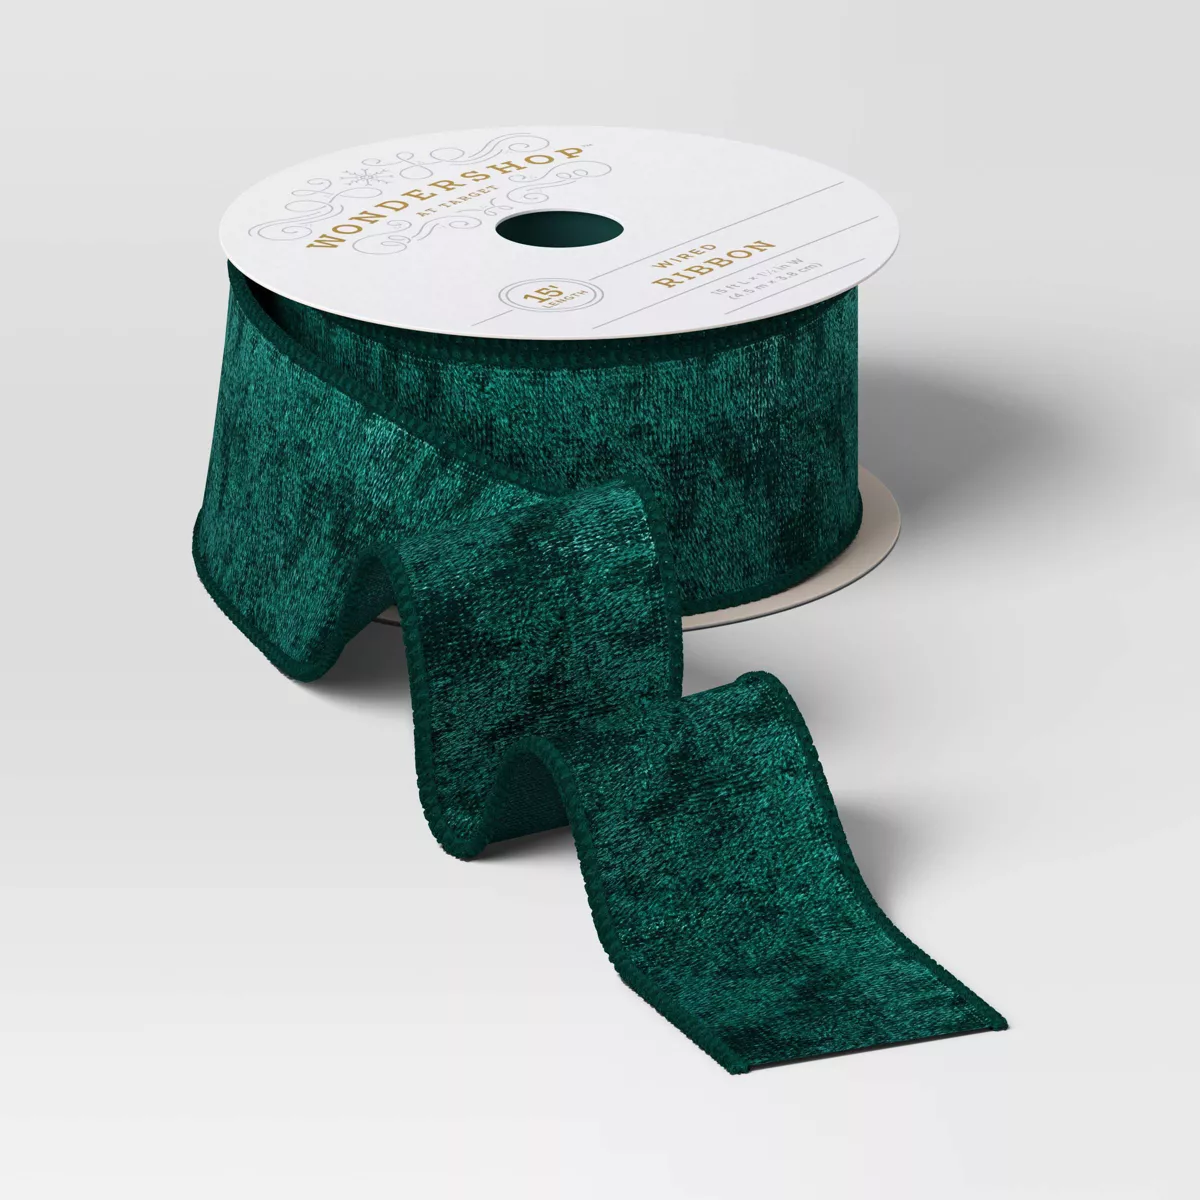
'If you want to lean into the Christmas bow decor trend, try making a velvet bow – you can either match it to the colors in your decorations, or select opposing hues from a color wheel,' says Rachel. 'Think sumptuous golds paired with deep blues or timeless reds and forest green shade like this one.'

Try weaving these garlands into your festive foliage or draping them across a tablecloth – they make a pretty addition to any space. You can even use them to decorate your Christmas tree.

It might be an investment, but a premium faux garland like this one will hold up for years to come. Decorating it with ribbons and lights, or let the lush greenery do the talking.
Design Your Centerpieces and Table Decor
7. Create A Rustic Centerpiece
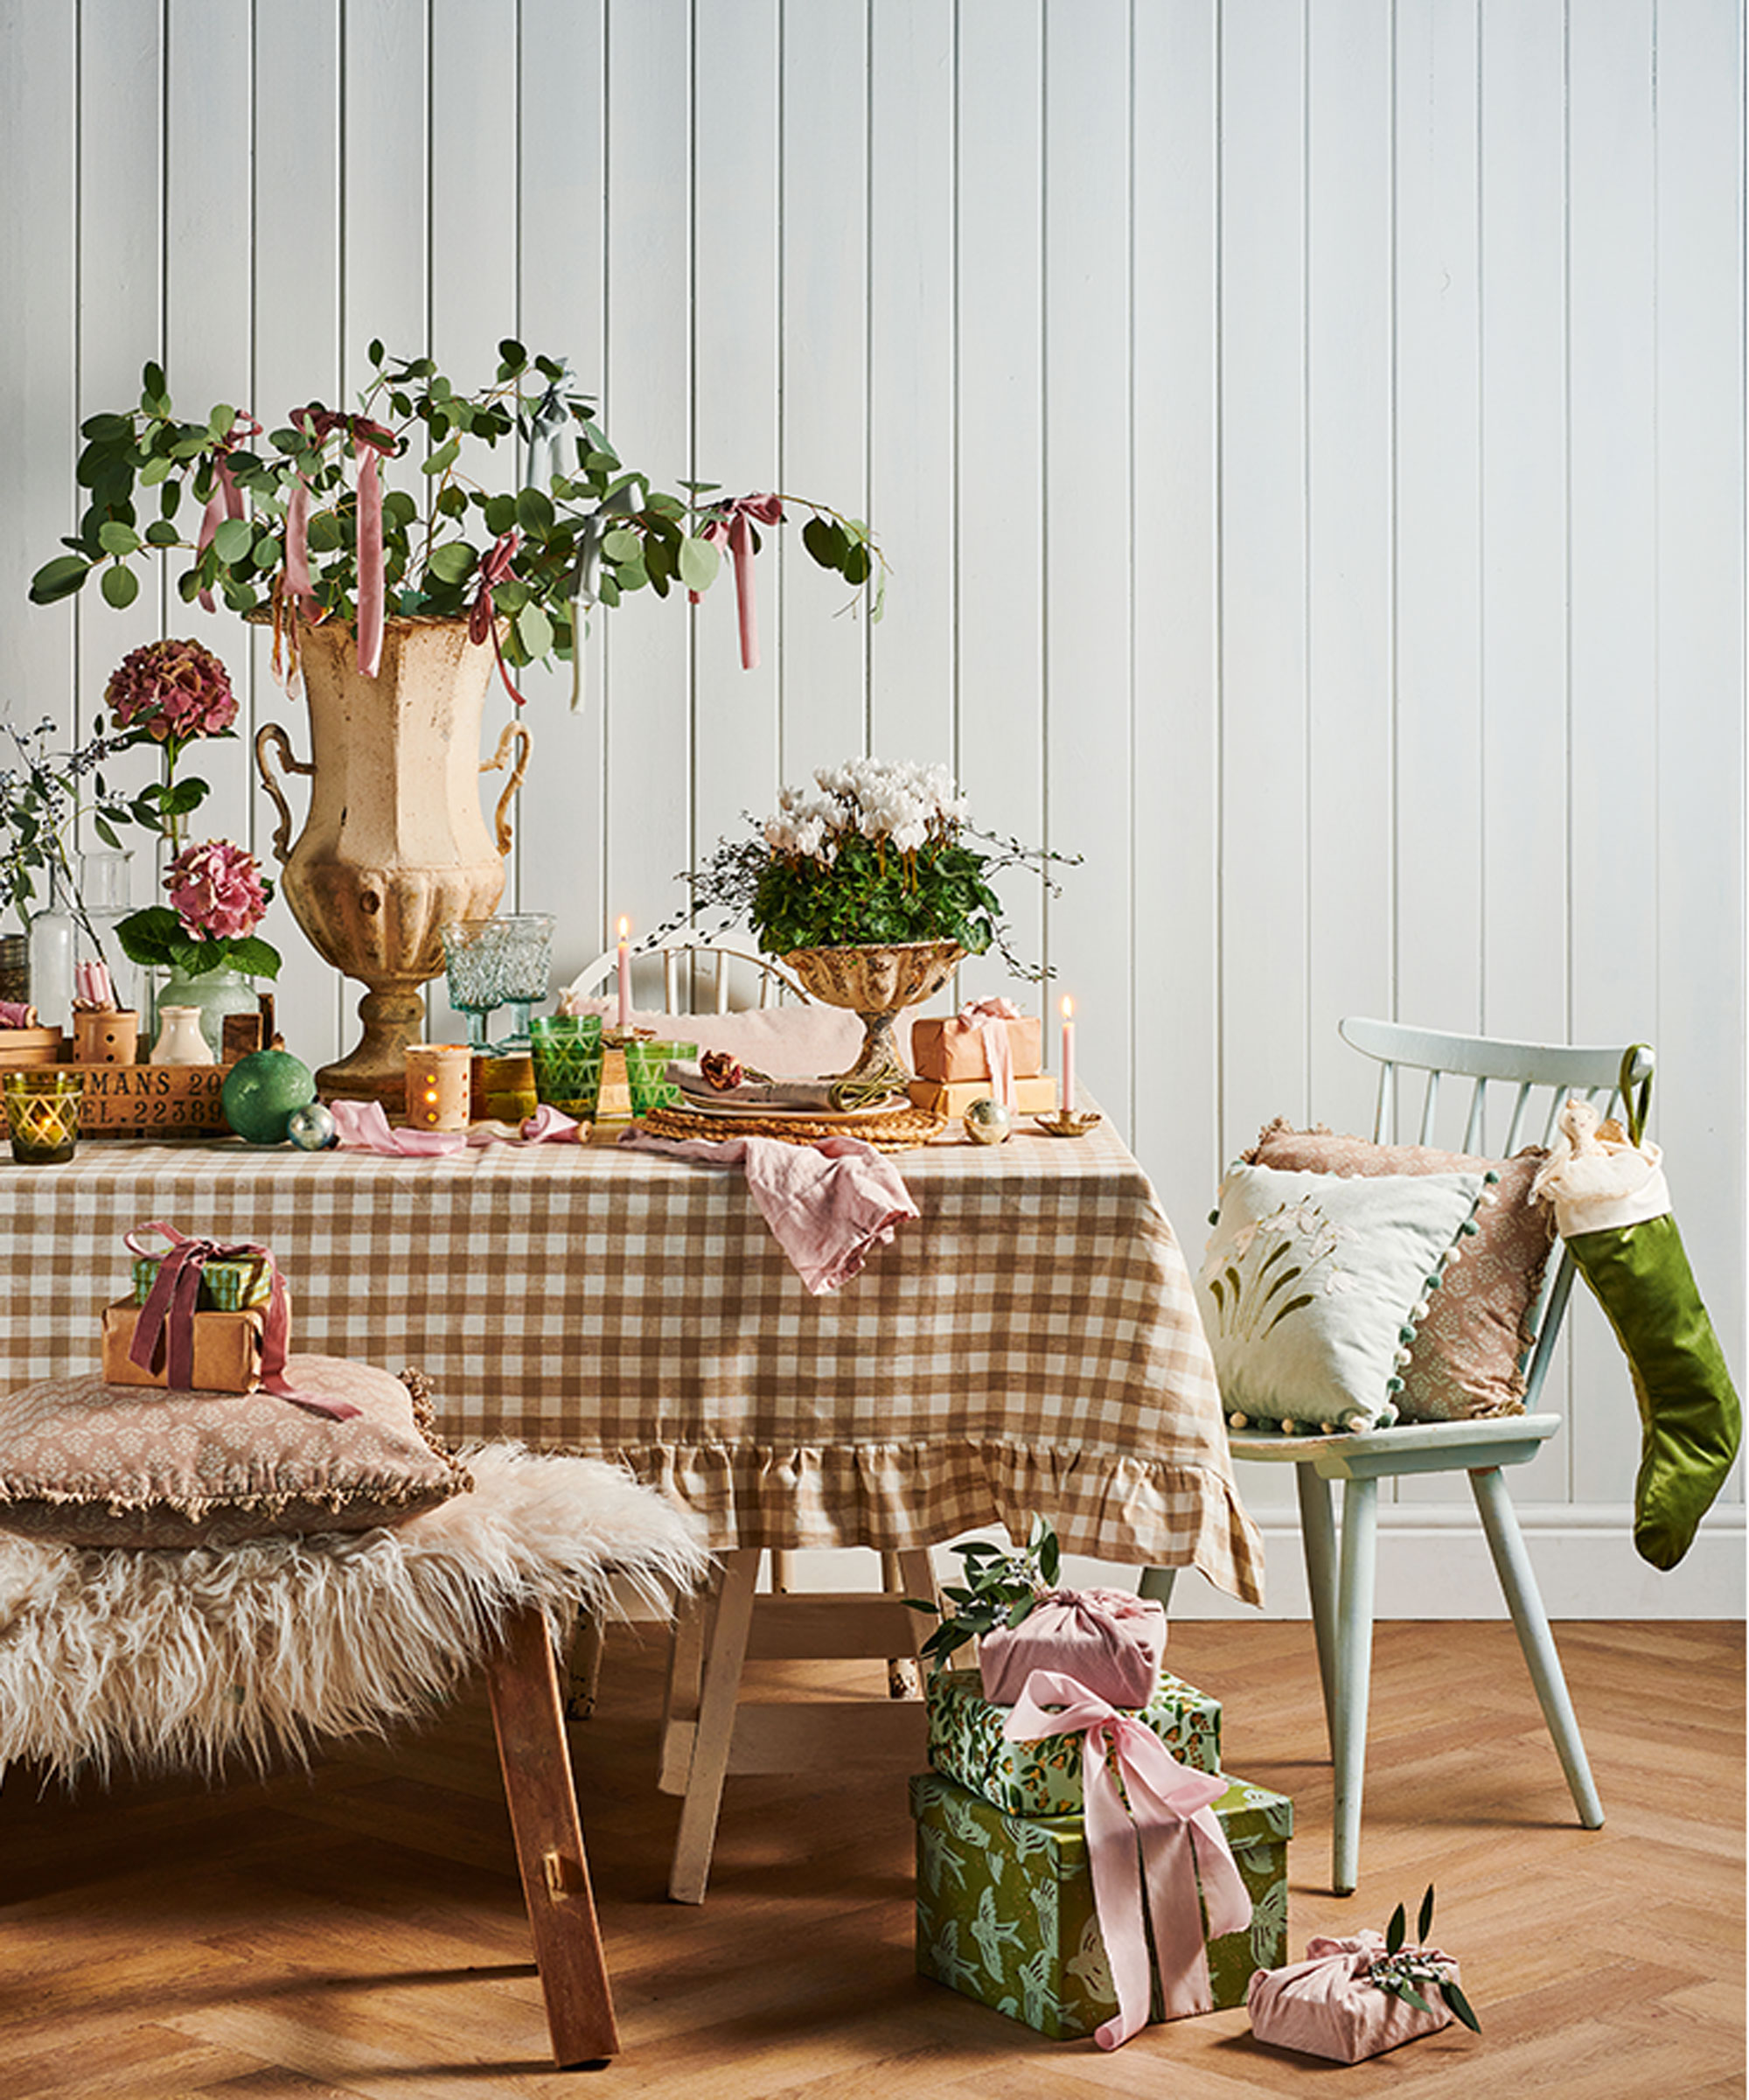
The crown jewel of your Christmas table: the centerpiece. While visions of pinecones, berries and pillar candles might spring to mind, there are plenty of ways to experiment with your centerpiece – and you don't need to rely on fresh blooms, either.
'Christmas table centerpieces don’t just mean foliage and flowers,’ says Homes & Garedens' Content Director, Lucy Searle. ‘Try candles in different colors, finishes, and shapes, then add festive ornaments, pine cones, and a few sprigs of holly. Arrange all your items on a tray or low-sided basket that can be easily lifted off the table when you need space for serving dishes.'
If you'd rather lean into a natural look, you can always channel a Scandi aesthetic and hang dainty glass ornaments from potted branches in the center of your table.
9. Fashion a Festive Floral Arrangement
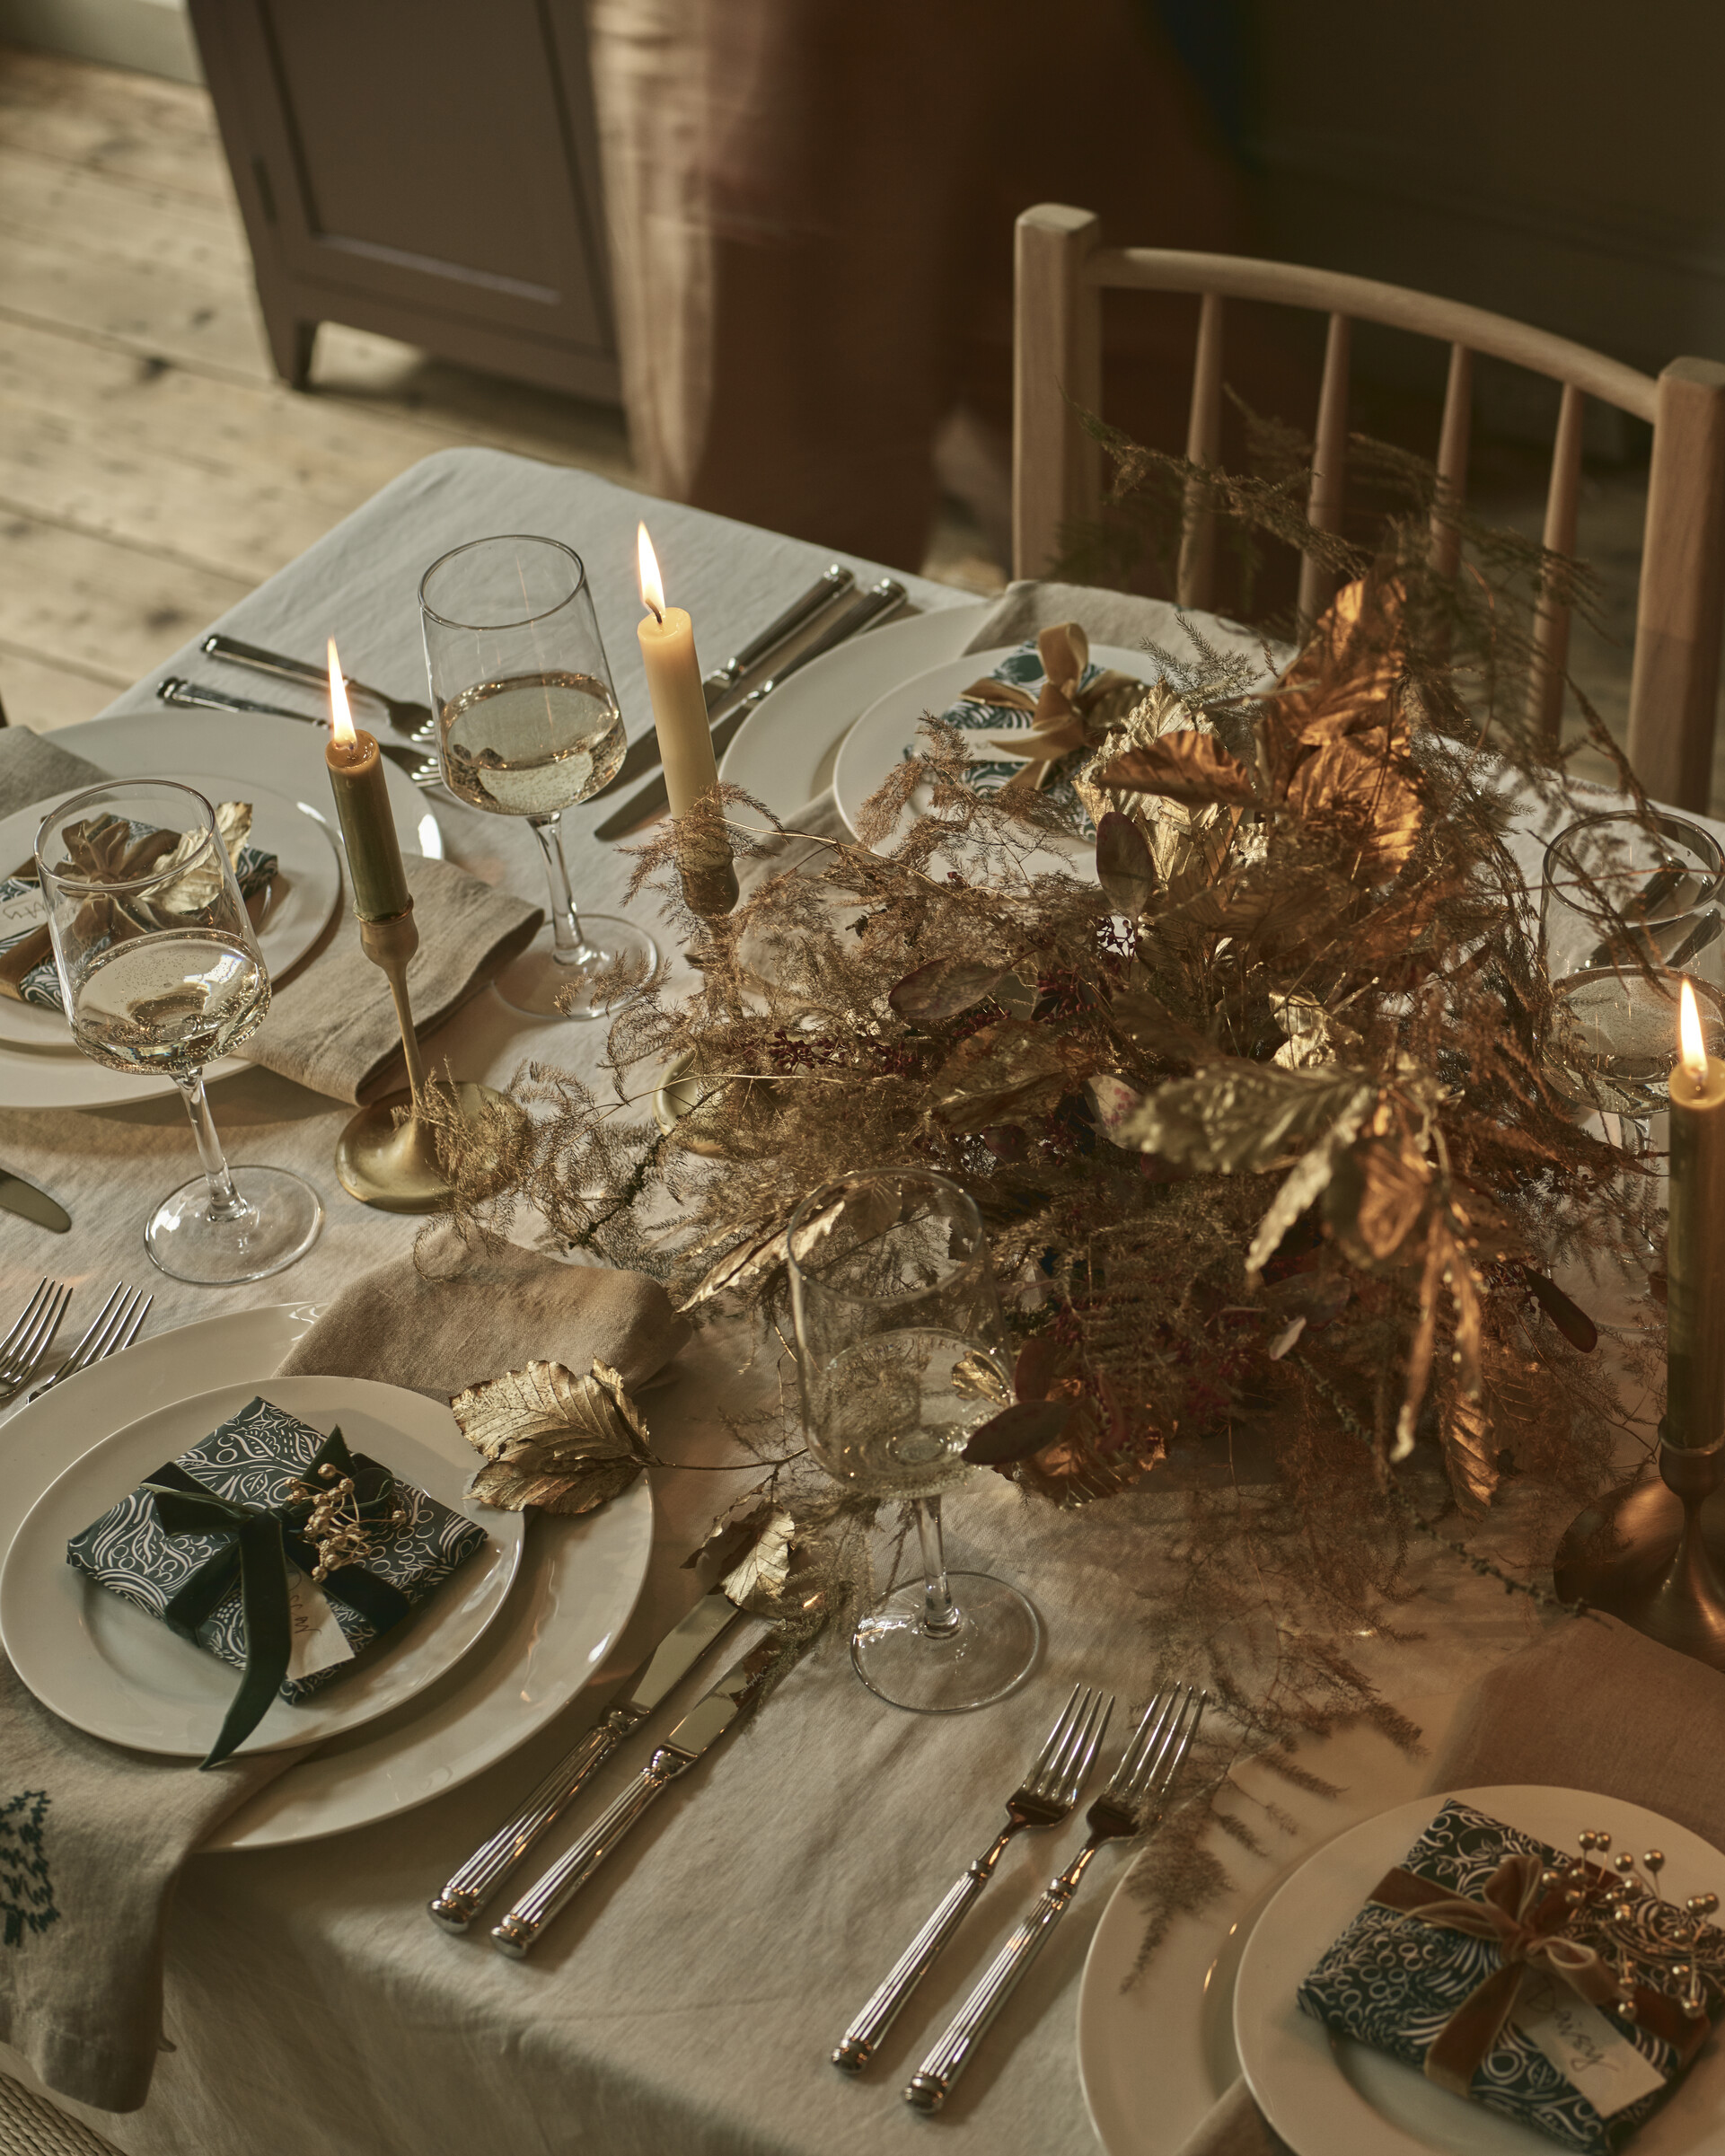
To create a traditional floral arrangement, place seasonal blooms in low troughs or dainty vases, using a flower frog (a floristry secret) to hold the stems in place.
‘I like simple pitchers or glass vases filled with foliage,’ says Chrissie Rucker, founder of The White Company. ‘Ranunculus, hyacinths, white roses, flowering eucalyptus, snowberries and fresh rosemary are all favourites.'
For a show-stopping arrangement, begin by layering a selection of medium-sized blooms around the rim of your vase or pitcher, angling the stems diagonally and rotating the vase as you work to ensure the look is symmetrical. Then, place your most eye-catching flowers in the center, before filling in any gaps using smaller blooms and sprigs of greenery. Finish with festive touches like mini pinecones or berries.
10. Make a Beeswax Candle
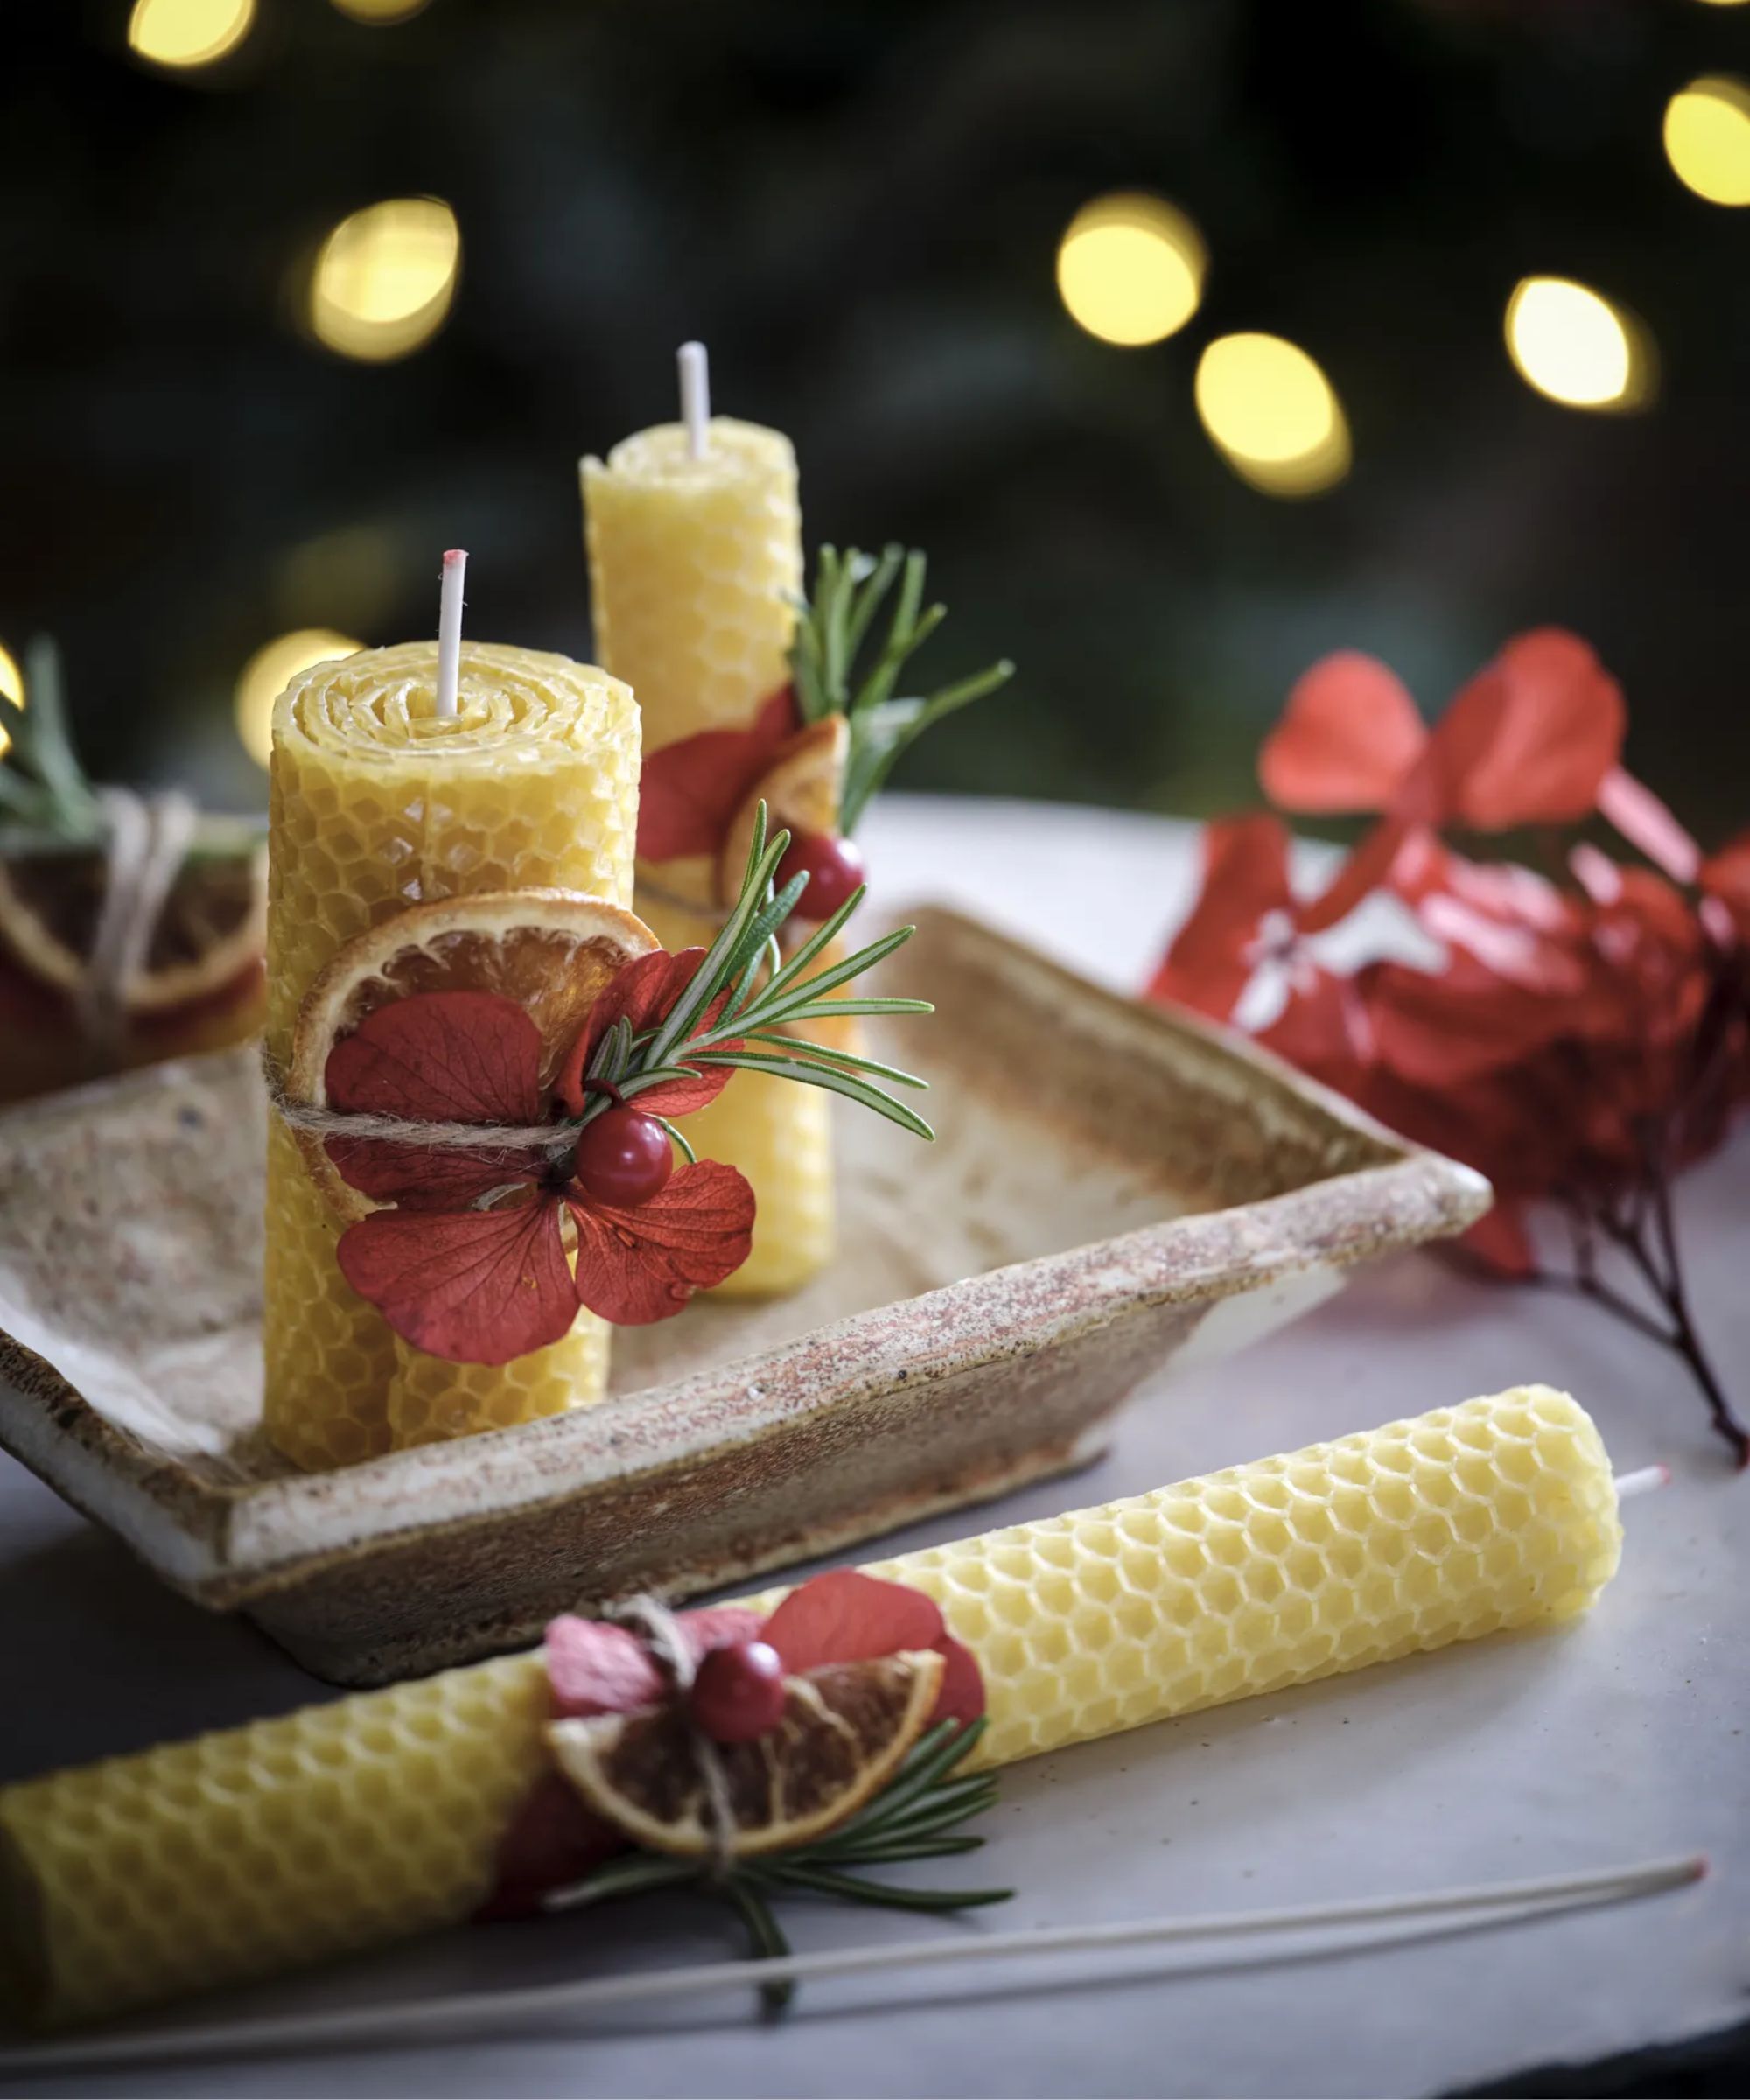
Investing in the best candles can be an expensive endeavor – so when it comes to Christmas table decor, you can always give homemade beeswax candles a try.
To start, you'll need beeswax sheets, like these from Amazon and a pack of candle wicks.
'Using scissors, cut your beeswax sheet to suit the length of the candle wick,' explains Sara Bird. 'Fold the sheet over the wick and begin to roll, tucking the sheet under as you go. Shape the wax around the wick to keep it neat and circular; when you get to the end of the sheet, make sure the ends are tucked in and sticking to the candle by squeezing the edges firmly in place.'
Once you've formed each candle, you can decorate them using sprigs of rosemary, clusters of winter berries, and a few dried orange slices as decoration. These are beautiful for gifting, just don't forget to remove them when the candles are lit.
When it comes to candle care, 'keep your beeswax candles in a cool spot or even the refrigerator for a few hours before lighting, to help them last,' adds Sara.
11. Make a Pomander Ball Display
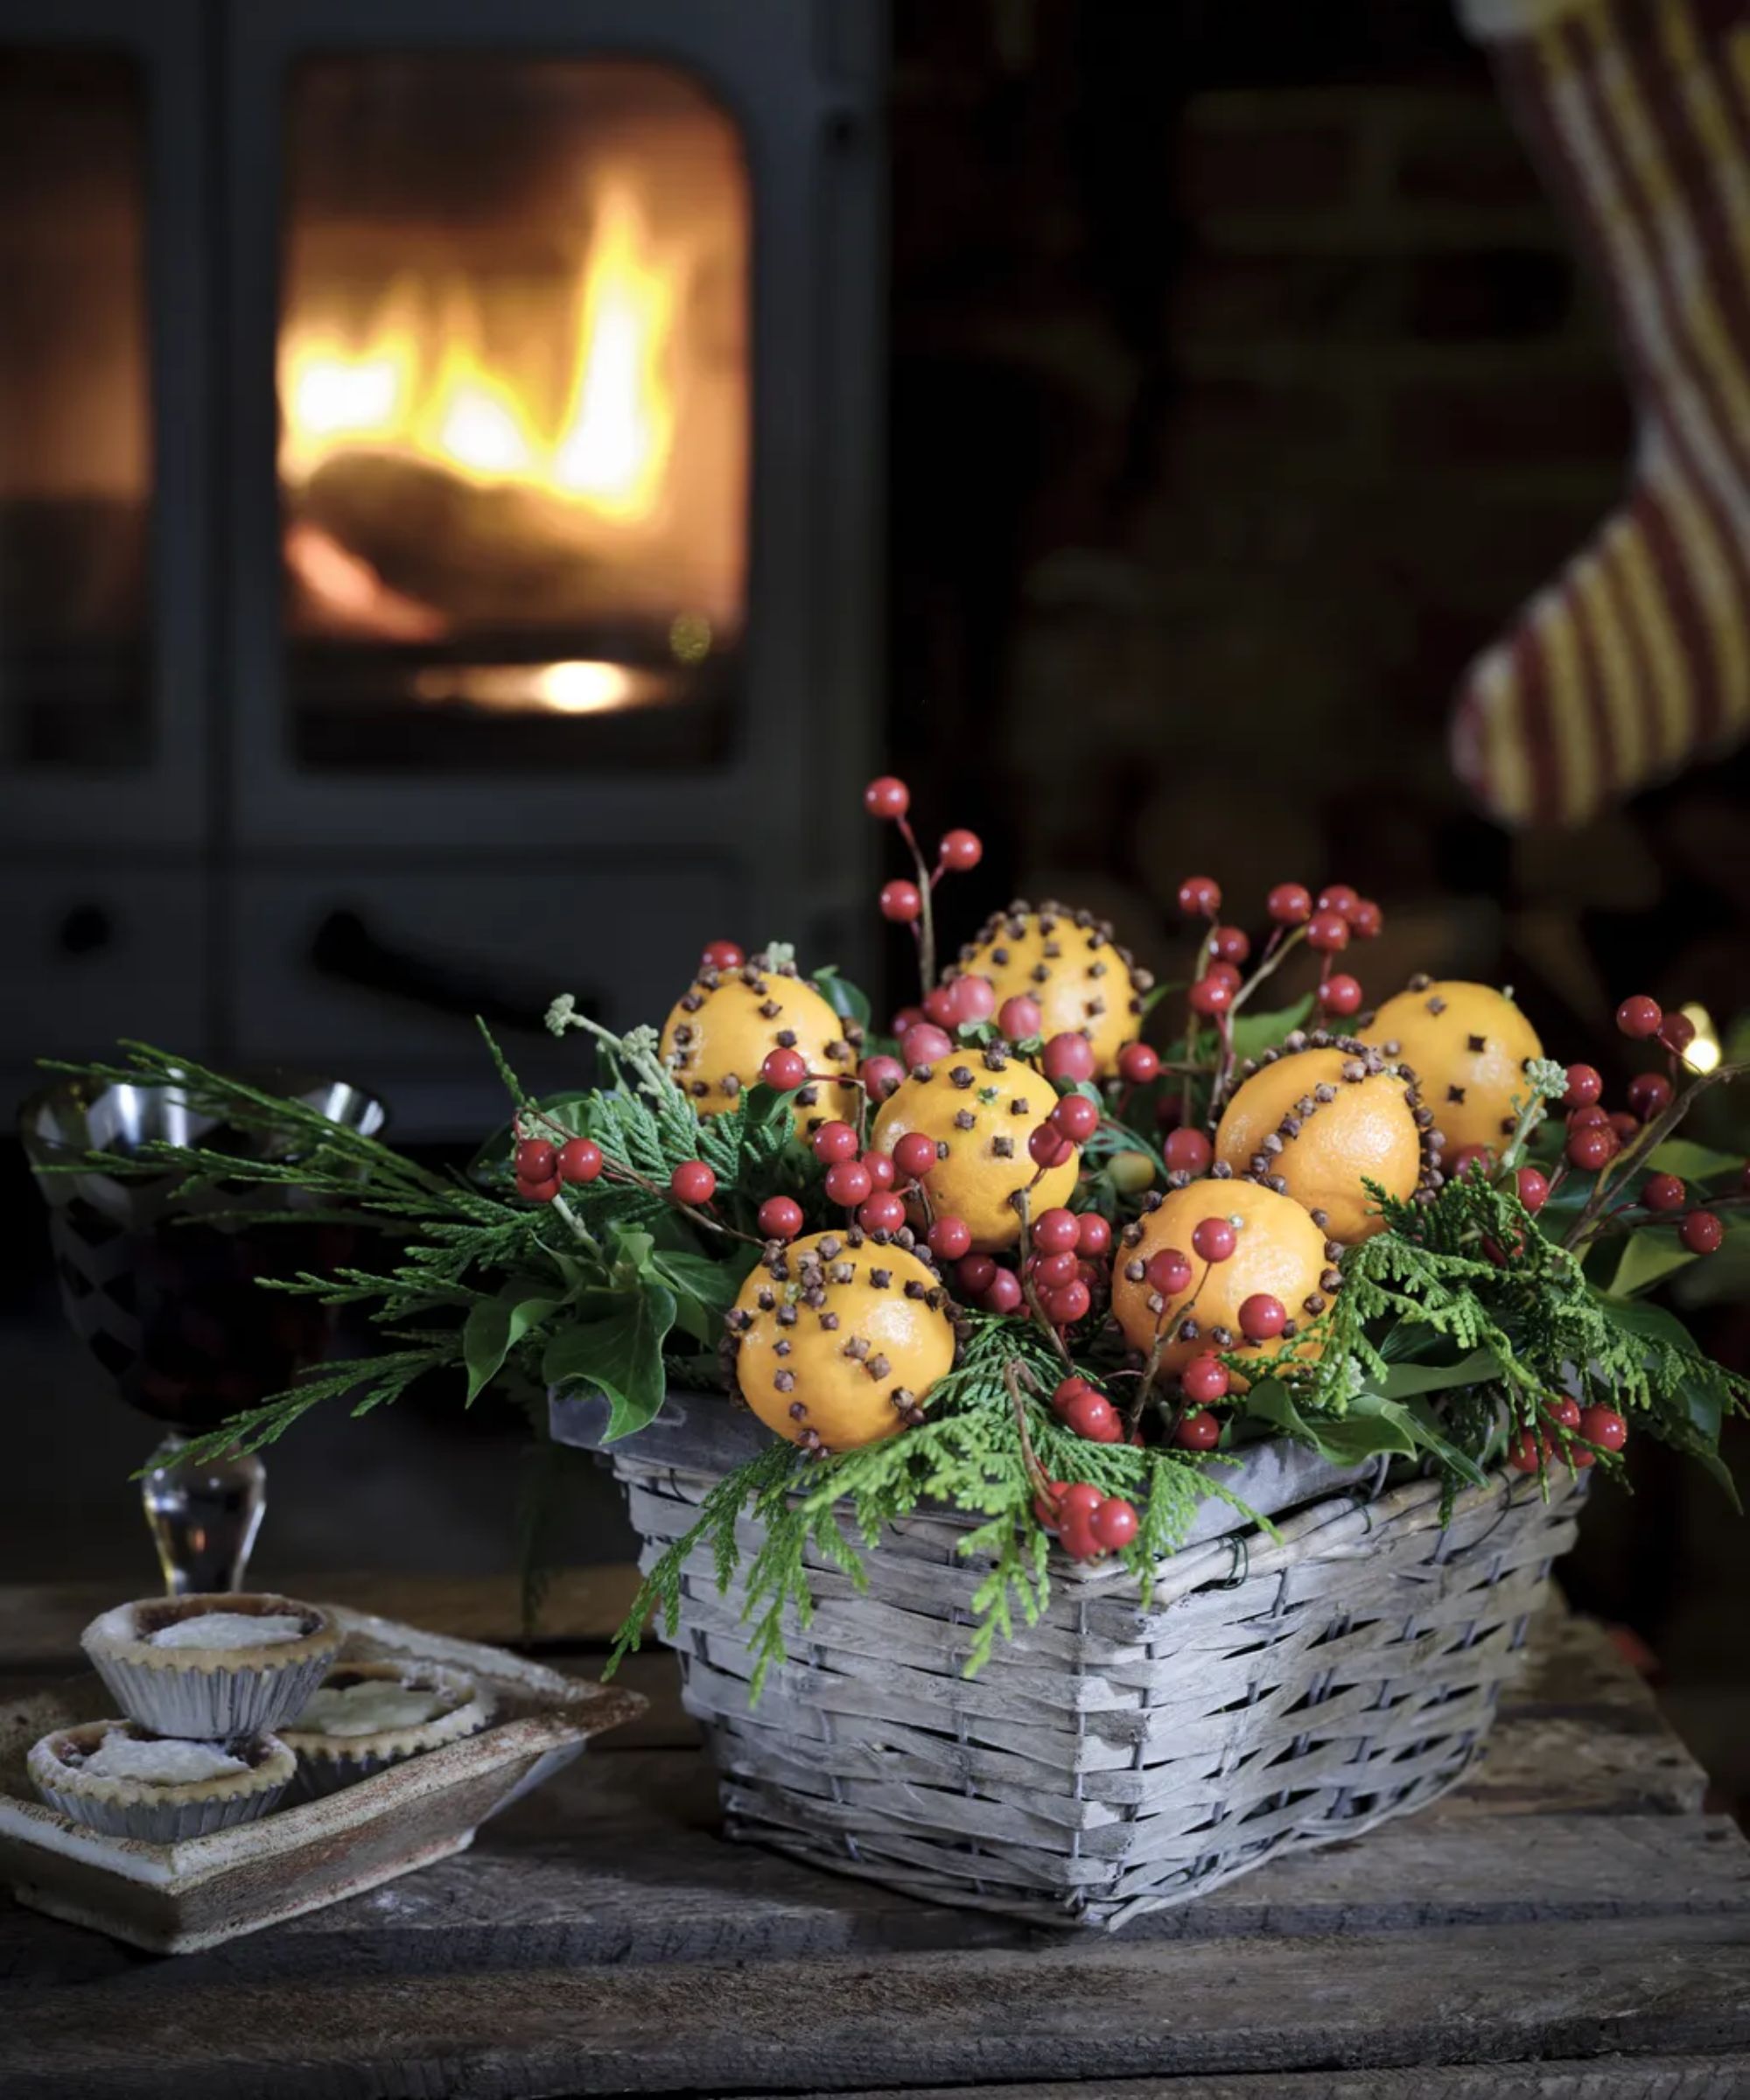
'Introducing color, fragrance and festive greenery into your home, orange pomander balls are perfect for Christmas,' says Sara.
Before you get started, you'll need a small crate, box or even a serving bowl for the base, alongside popsicle sticks, skewers, and either floristry stub wire or chicken wire – plus oranges and cloves, of course.
'First, create a grid in your arrangement vessel by interlinking strips of wire,' says Sara. 'Wedge, tie or secure the grid in place so that it is secure.'
To make the pomanders, simply push the cloves into the oranges. 'You can use a skewer to make an incision hole in each orange before pushing in the cloves – I like to arrange them in decorative patterns for an ornamental look,' says Sara. 'Finally, make an incision at the base of each orange and push the orange onto the popsicle stick.'
Returning to your box or bowl, layer up foliage and flowers within the wire grid, before adding your pomanders. Introduce a pop of color using berries or festive tree picks, if you like.
12. Make Your Own Mulling Spices

Mulled wine is a hearty festive favorite – and making your own spice blend couldn't be easier. Plus, not only does it guarantee a delicious tipple, but it also acts as a suitably seasonal potpourri.
The base of your spice blend will come from oranges and lemon rind, which you can dry out in the oven or air fryer at 175°F for 4-6 hours, until they are firm but not brown. Then, simply add the citrus to a mason jar with cinnamon sticks, star anise, whole cloves and cardamom seeds (alongside some grated nutmeg and a split vanilla pod).
The mixture is more than pretty enough to display in your home, but when you're ready to prepare your mulled wine, simply add the spices to a pan with a bottle of red wine. Simmer on a high heat, then cook on low for anywhere between twenty minutes and three hours before straining. The spices will infuse with the wine and create a delicious flavor.
13. Try Festive Napkin Folding
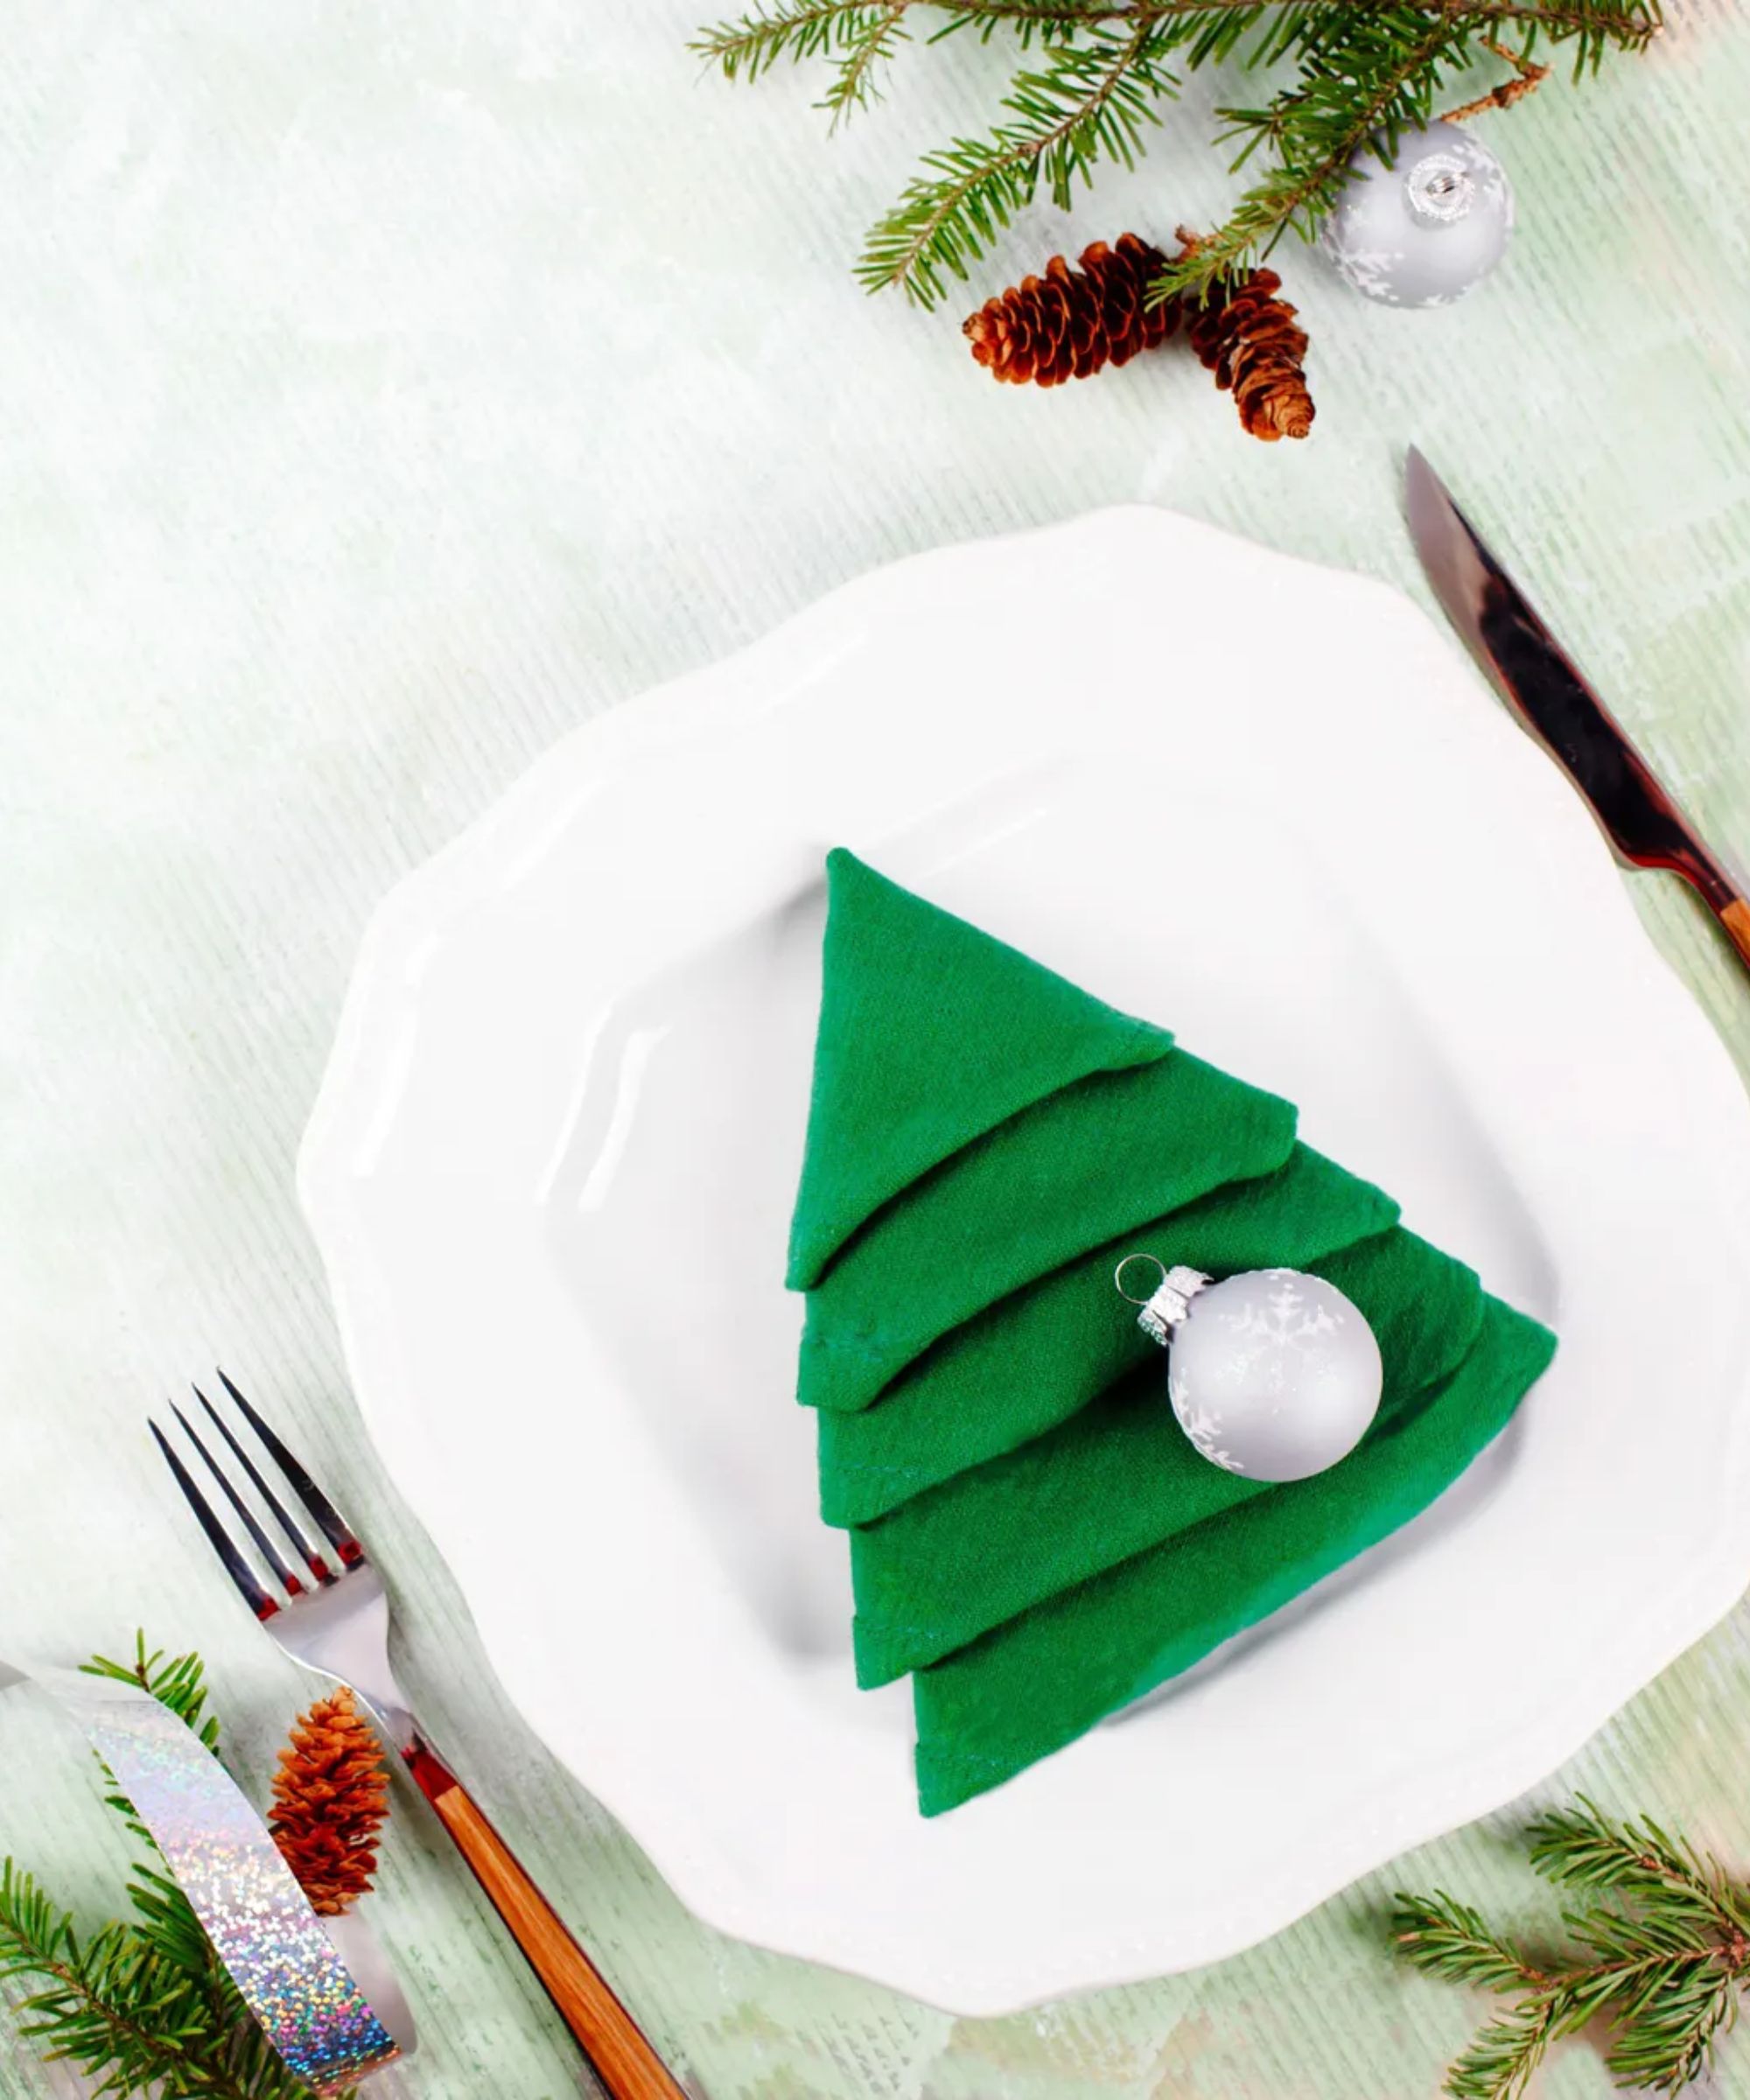
'Cloth napkins in green – or a festive red – and the right folding technique are all it takes to make a cute Christmas tree for every place setting,' says Contributing Editor Sarah Warwick. Here's her step-by-step guide:
- Make sure the napkins you select are square and big enough to work with: 16 by 16 inches or larger. Iron the napkin before you begin so you’re working with a smooth piece of fabric.
- Take hold of each corner of one side, and fold the napkin in half and in half again to make a smaller square shape. Turn it so the open corners face you in a diamond shape.
- Then, taking the top layer of fabric, turn the corner up so that it is just below the apex of the diamond. Repeat with the next corner, folding it so it sits below the first corner you turned up, and then do this with all the corners, staggering them at an even distance.
- Now, you'll need to carefully flip the napkin so that you can work on the other side. Take the bottom left corner of the napkin and fold it so that the top corner aligns with the slope of the opposite side of the shape. Repeat with the bottom right corner to leave a shape with a point at the top and bottom.
- Finally, flip the napkin back over so that the narrowest part of the tree shape is at the top. Working from the top of your napkin, turn the first flap upwards to align with the top of the tree.
- For the second flap, fold upwards, then tuck the point underneath the first fold. Repeat this folding and tucking with the next flaps, working downwards until the napkin is in a tree shape with a flat base.
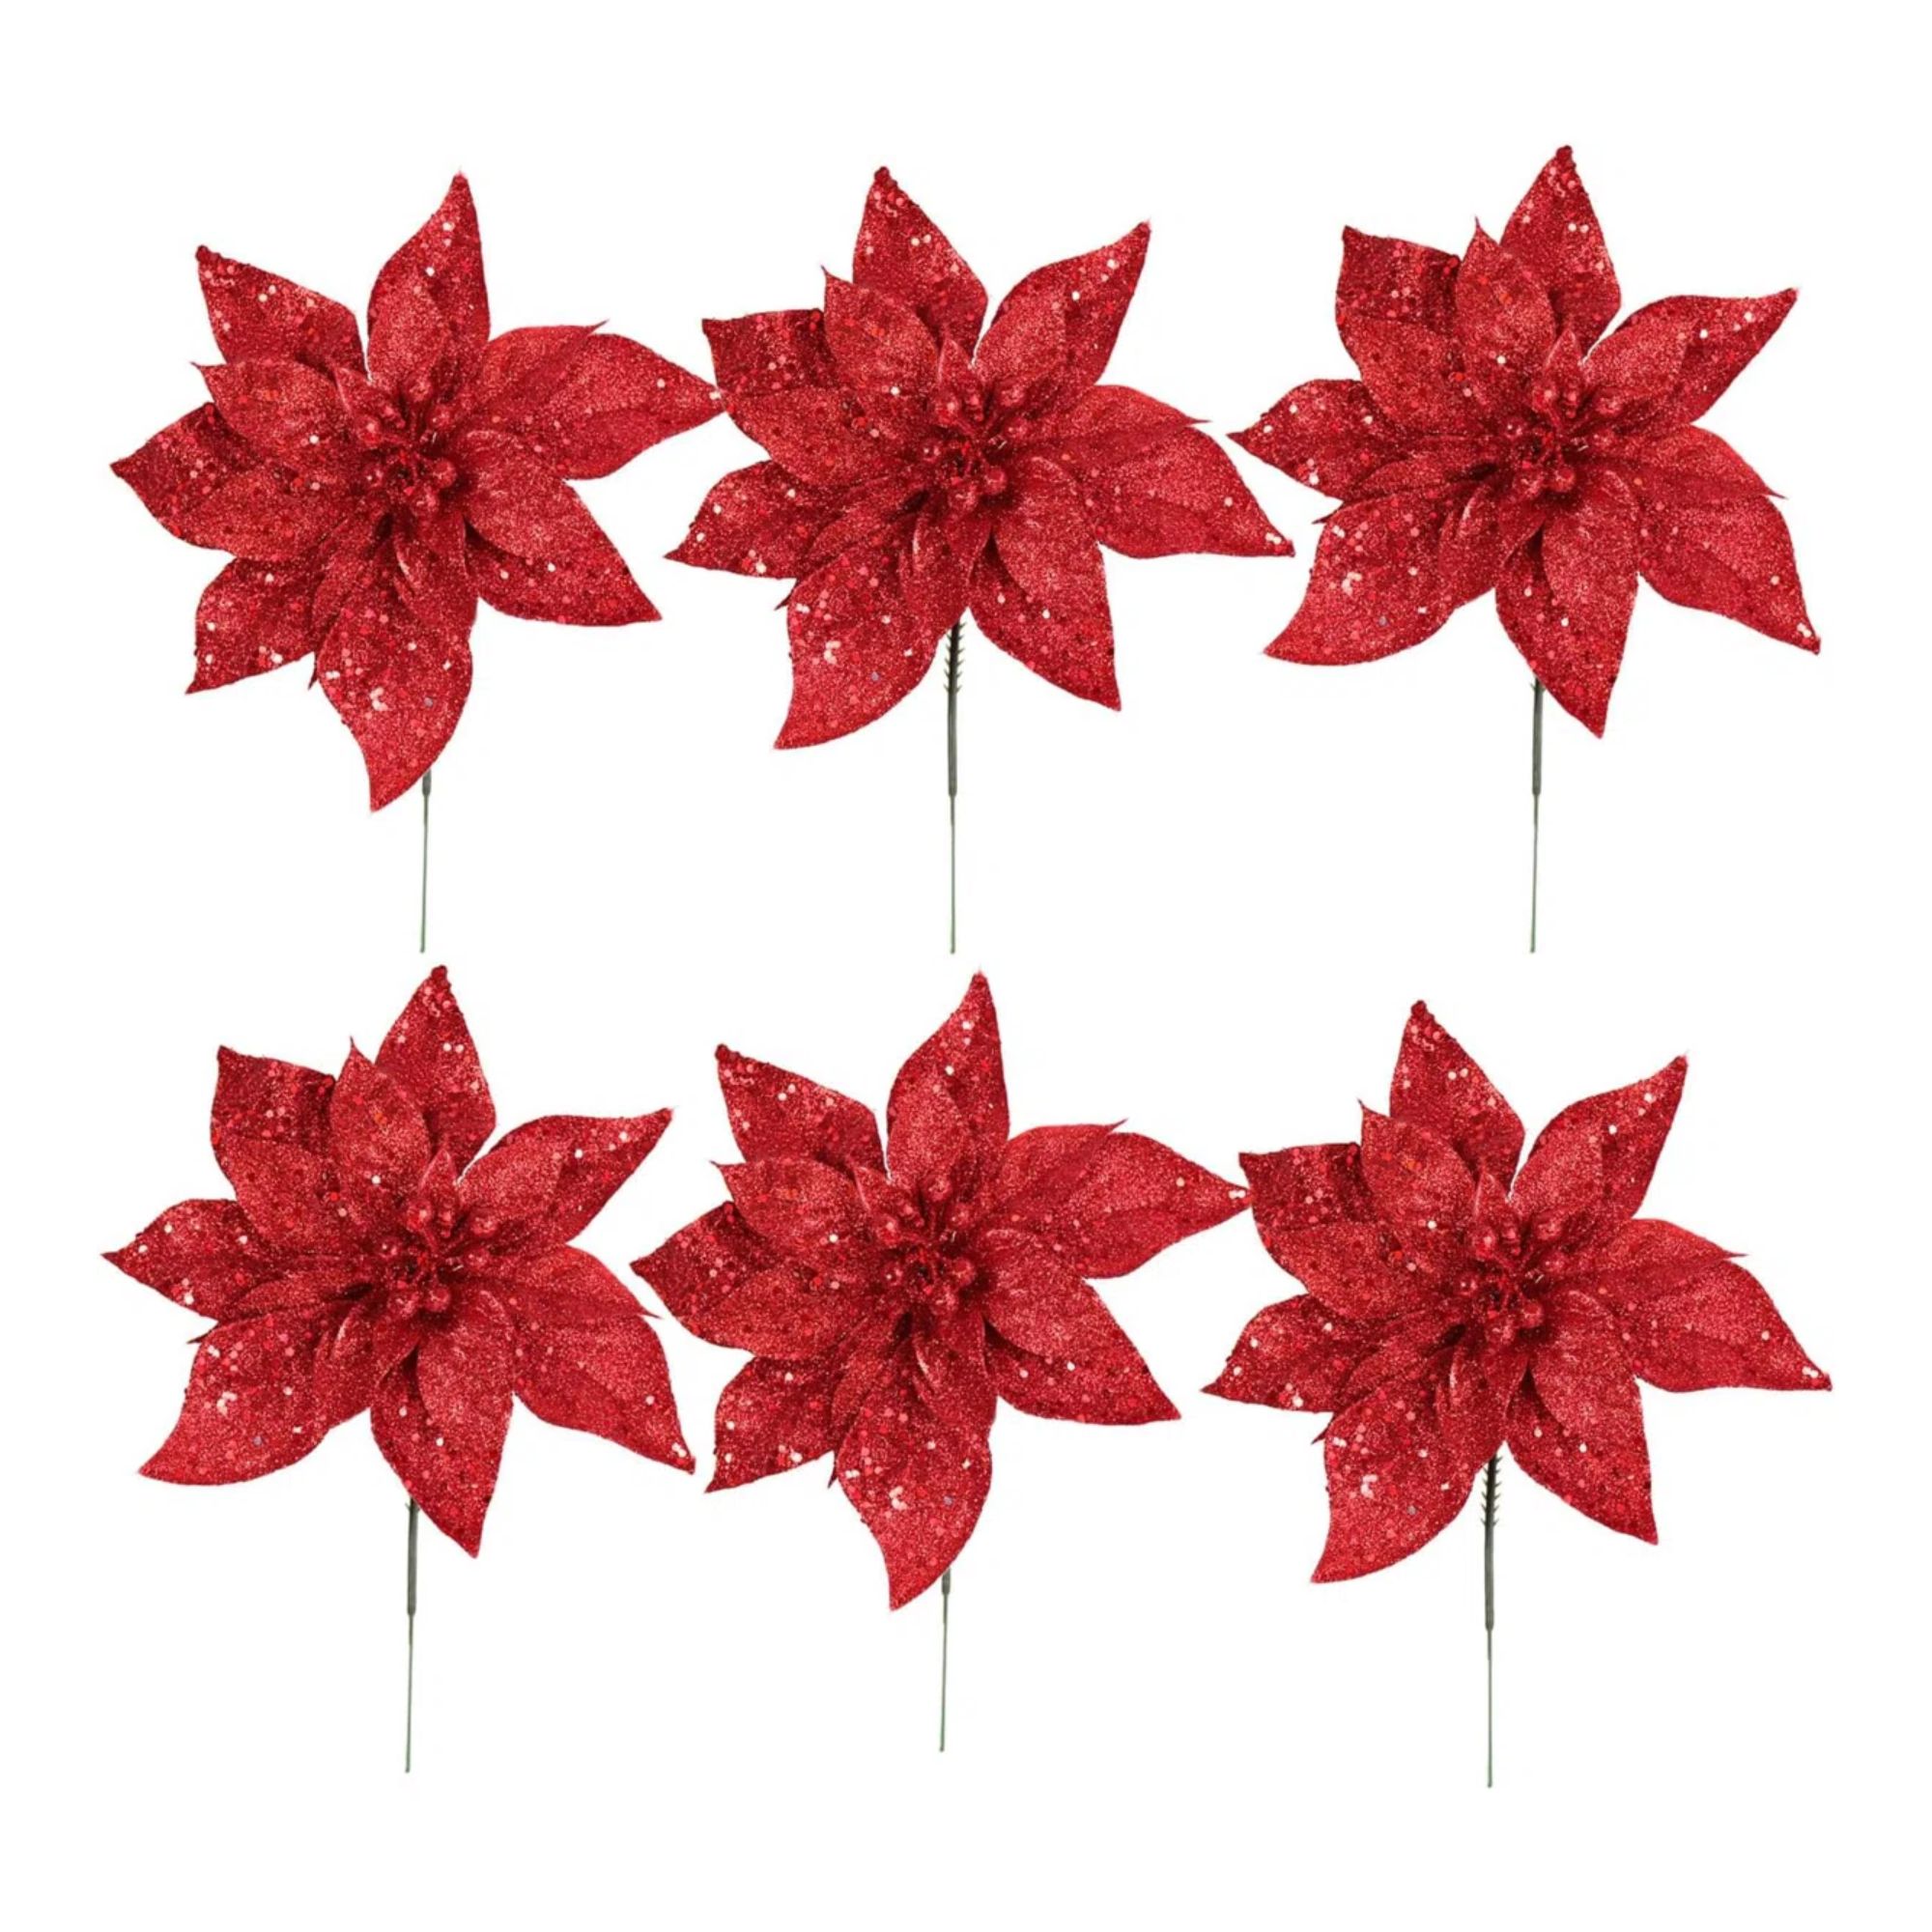
Add some sparkle to your homemade decorations with these elegant poinsettia picks. They're perfect for garlands, wreaths and even floral arrangements – and they pair wonderfully with natural touches like pinecones and berries.
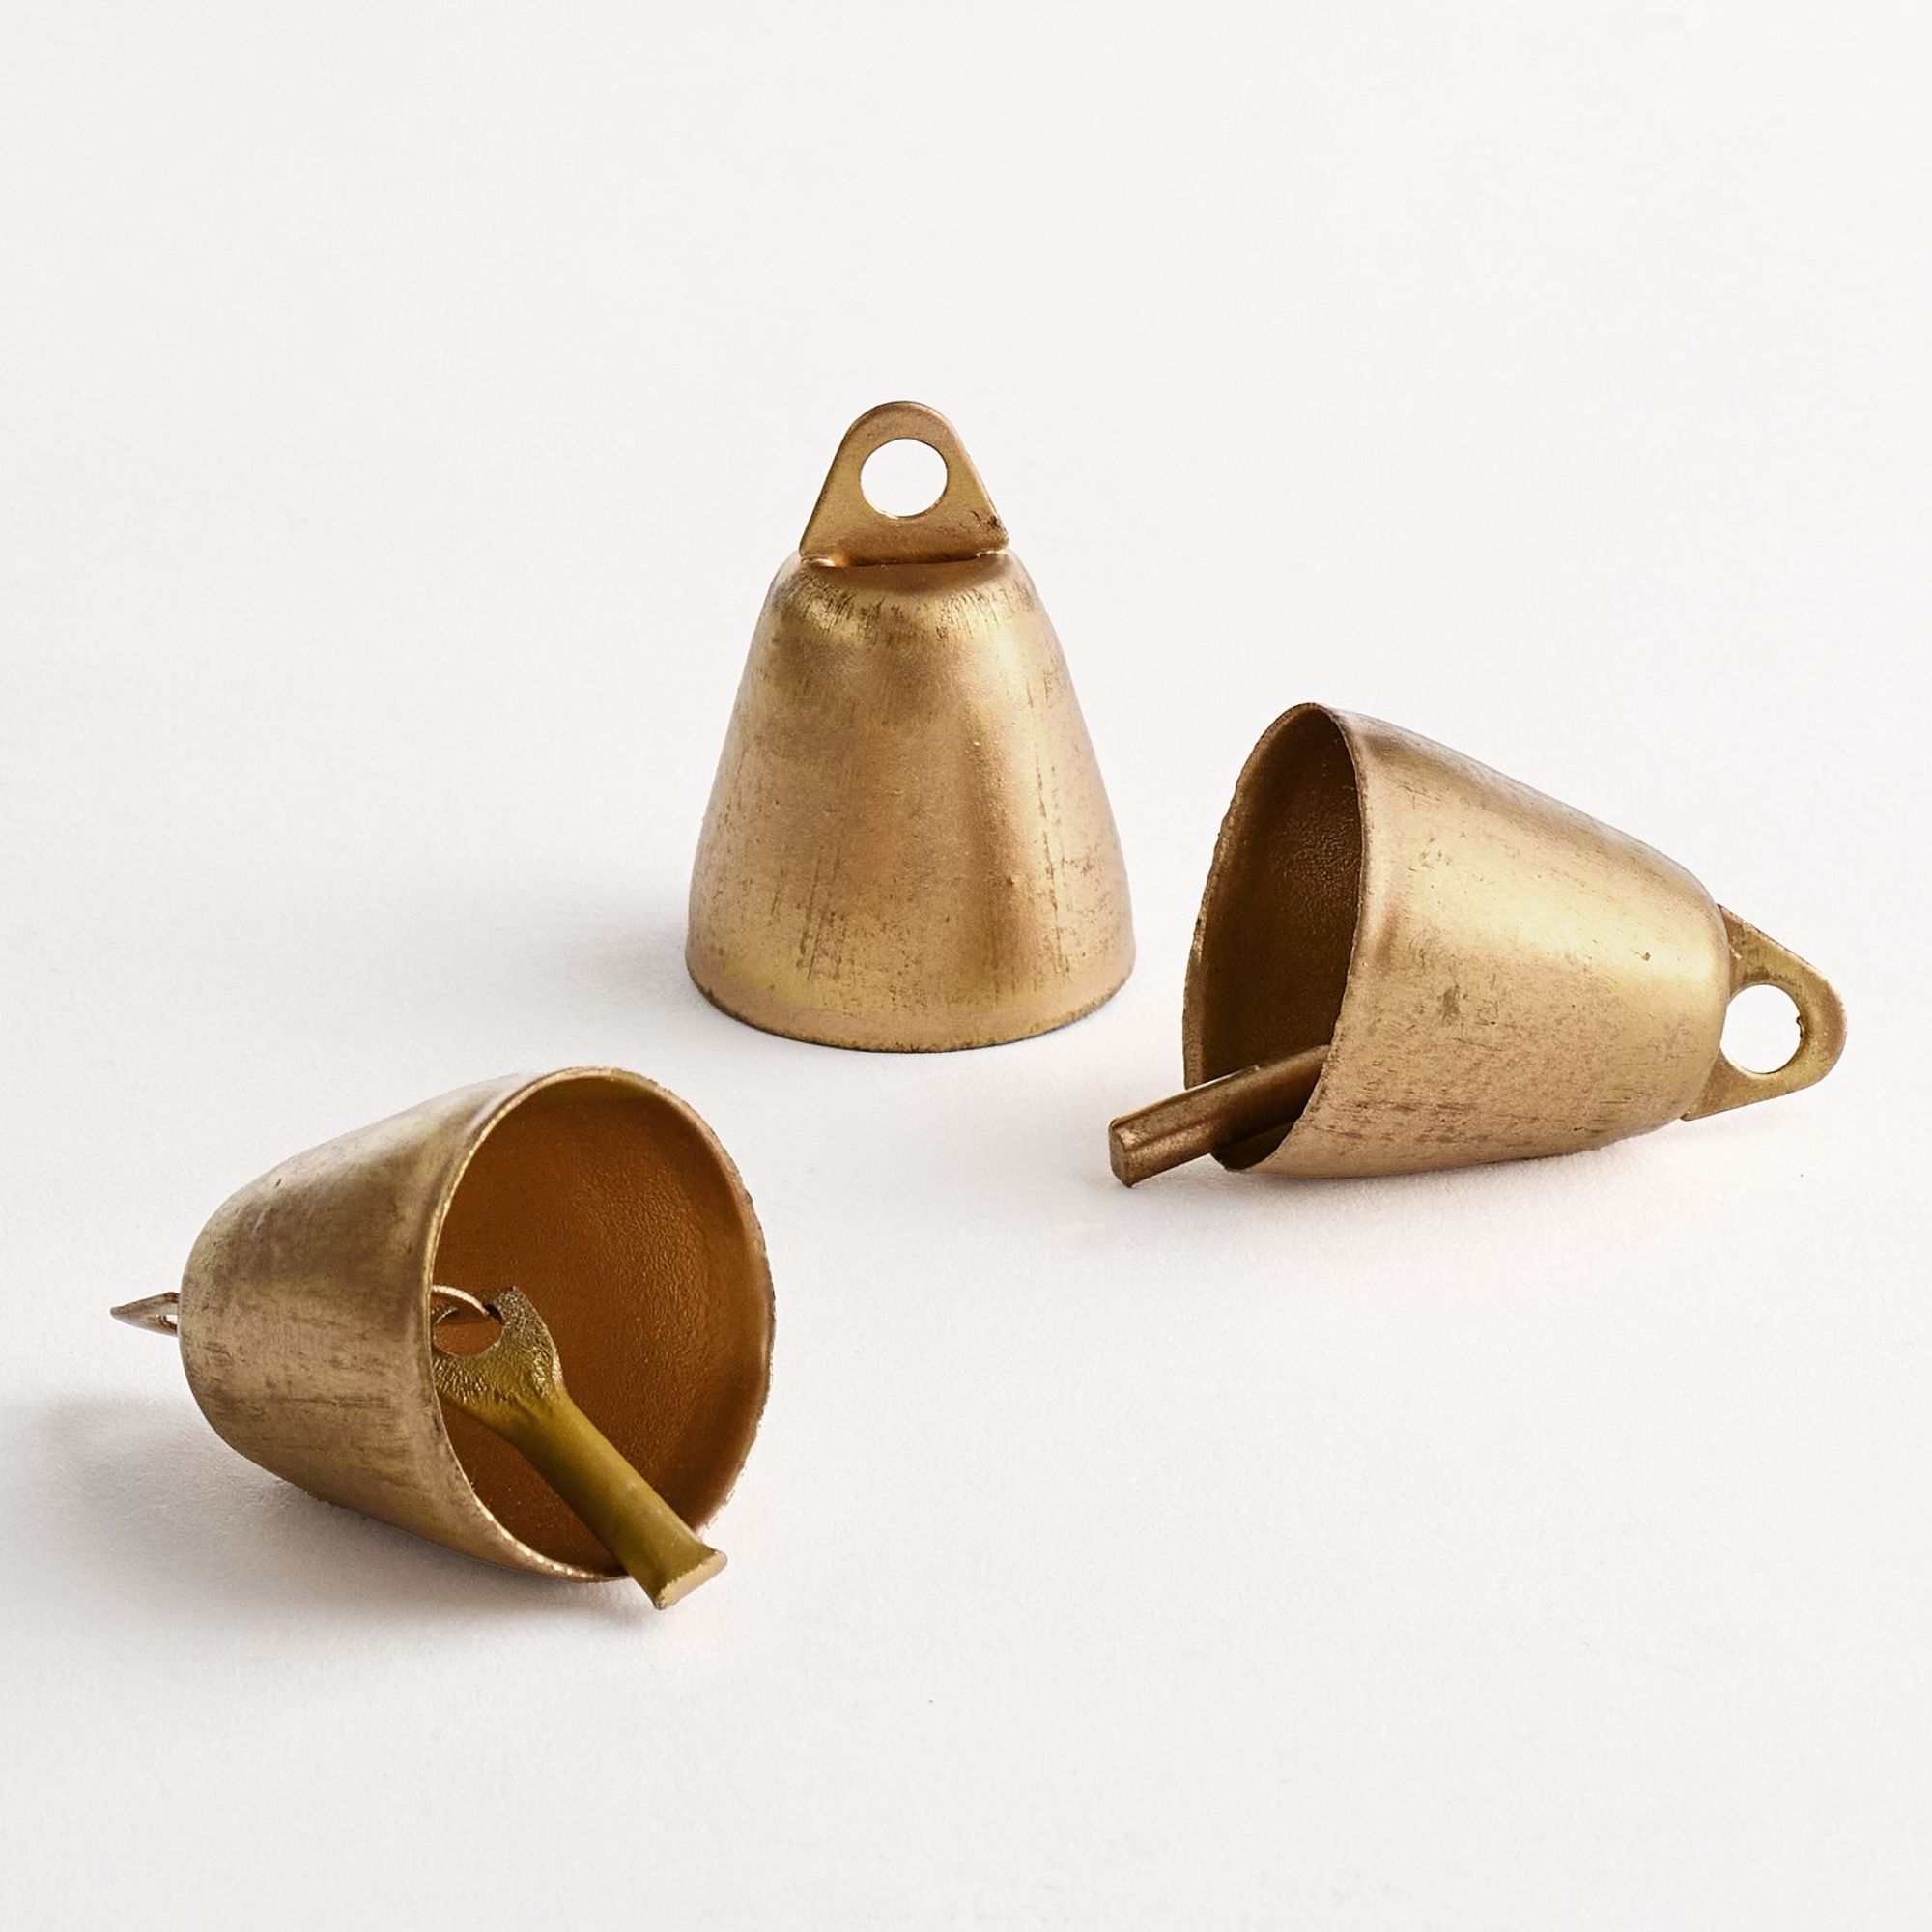
Whether arranged in a serving bowl as a centerpiece or tied onto a homemade garland, these vintage-inspired brass bells are sure to bring some festive magic into your home.

To achieve that classic festive look, weave in faux berry stems to your table centerpieces. A cheerful red shade is guaranteed to make a statement – but these Balsam Hill stems are also available in burgundy, navy and gold.
Craft Some DIY Decorations
Now for the smaller details: delicate additions to your tree, and gift wrap for all the treasures underneath it. There are so many ways to add a personal touch.
14. Get Creative With Customizable Ornaments
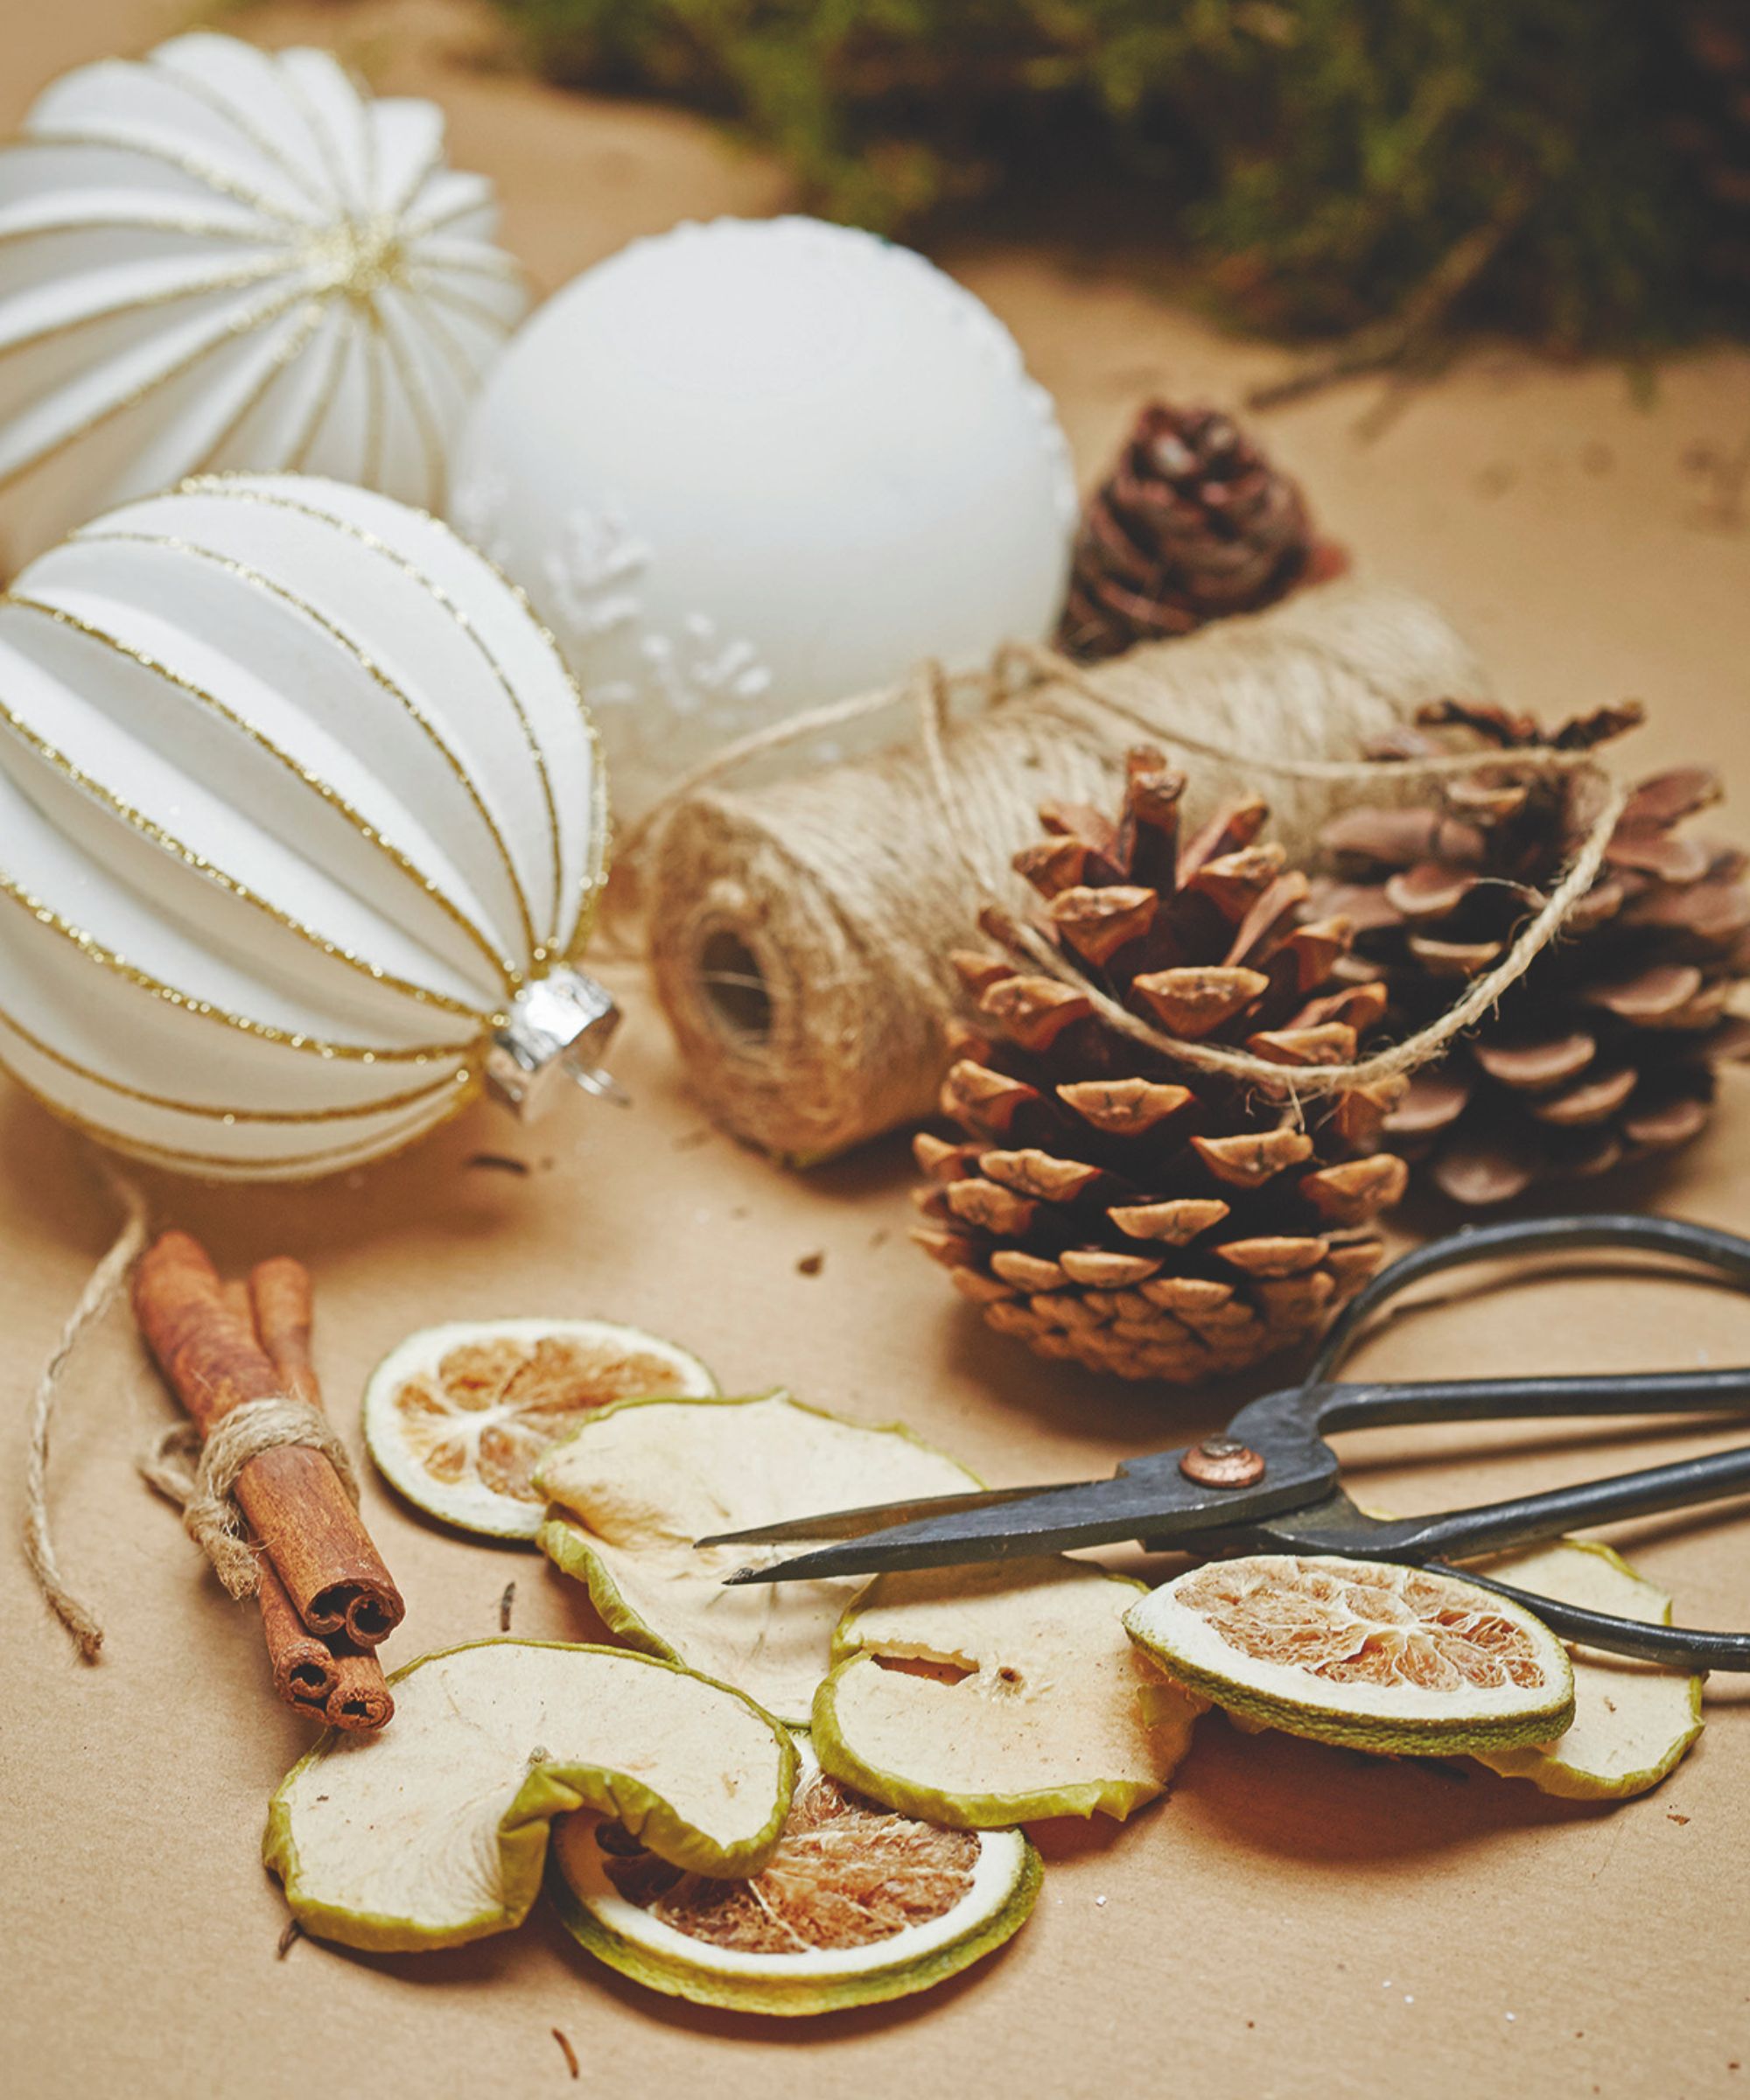
We might all have made Christmas ornaments as kids, but there's no reason why we can't revive the tradition – especially since nostalgia is one of the biggest holiday decor themes for Christmas this year.
The easiest way to start is by accessorizing plain plastic ornaments or glass baubles. You can cover them in patterned fabric, decorate them with acrylic paint, or even add a touch of glamor using gold leaf.
For a personal touch, choose fillable Christmas ornaments and pack them full of memories: think postage stamps, ticket stubs, and mini photographs. You can create a rustic look using flower petals and pine cones, or opt for some sparkle if you prefer. Channel Anthropologie's pearl holiday decor and add mini pearls and glitter beads, for example.
15. Create Unique Strawflower Ornaments
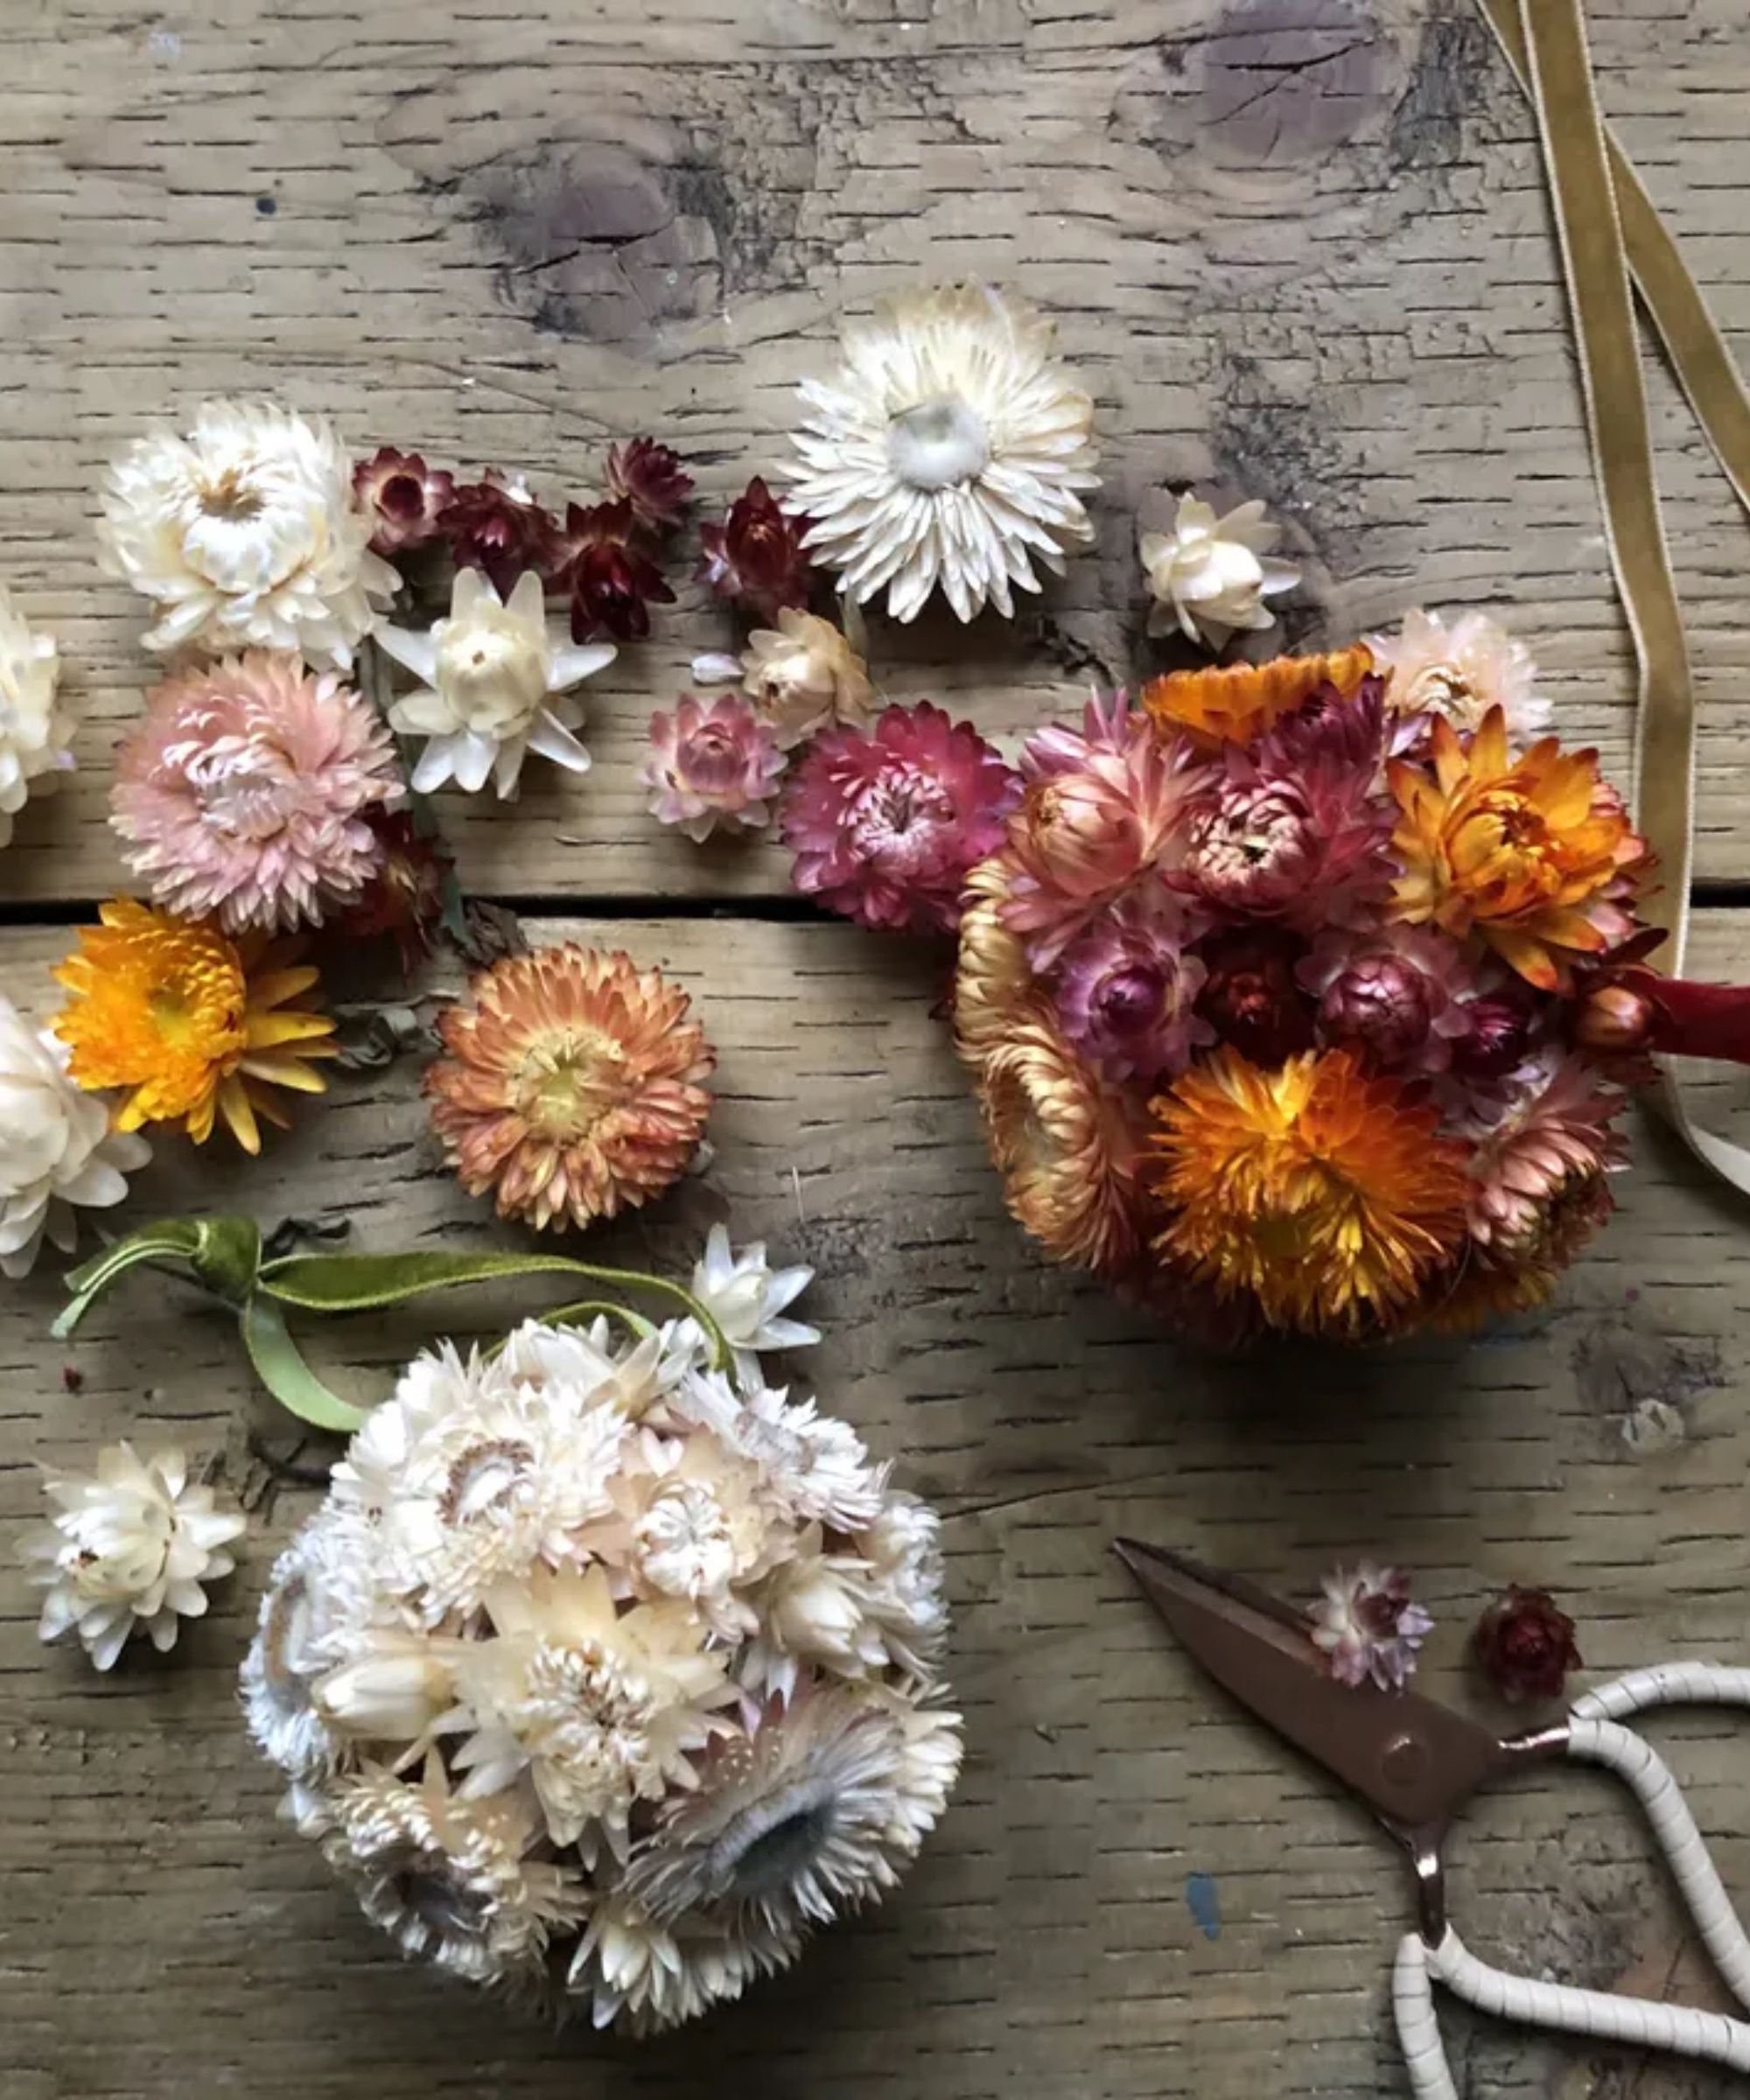
To bring a touch of nature into your home, Rachel Bull recommends attaching dried strawflowers to ornaments using a hot glue gun.
'While your glue gun is warming up, take your selection of strawflower heads and lay them out in front of you,' she advises. 'This way you can work on your color palettes for each individual ornament, and look at which shades go together.'
Carefully snip off the stems of each flower head to create a flat back, and then get to work: 'Place a ring of hot glue on the back of your first flower head, then gently press it onto the ornament and hold it in place for five seconds,' says Rachel. 'Start at the top and work your way around the ornament; once you have created a ring around the upper section, you can begin to move down.'
To create a truly eye-catching ornament, Rachel suggests positioning 'larger, more dominant flower heads next to smaller, delicate ones to add interest and variations in shape and texture.'
Once you reach the bottom, 'you might find it easier to hang your bauble from the neck of a bottle or a hook whilst you are making it,' she adds.
16. Get Nostalgic With Paper Snowflakes
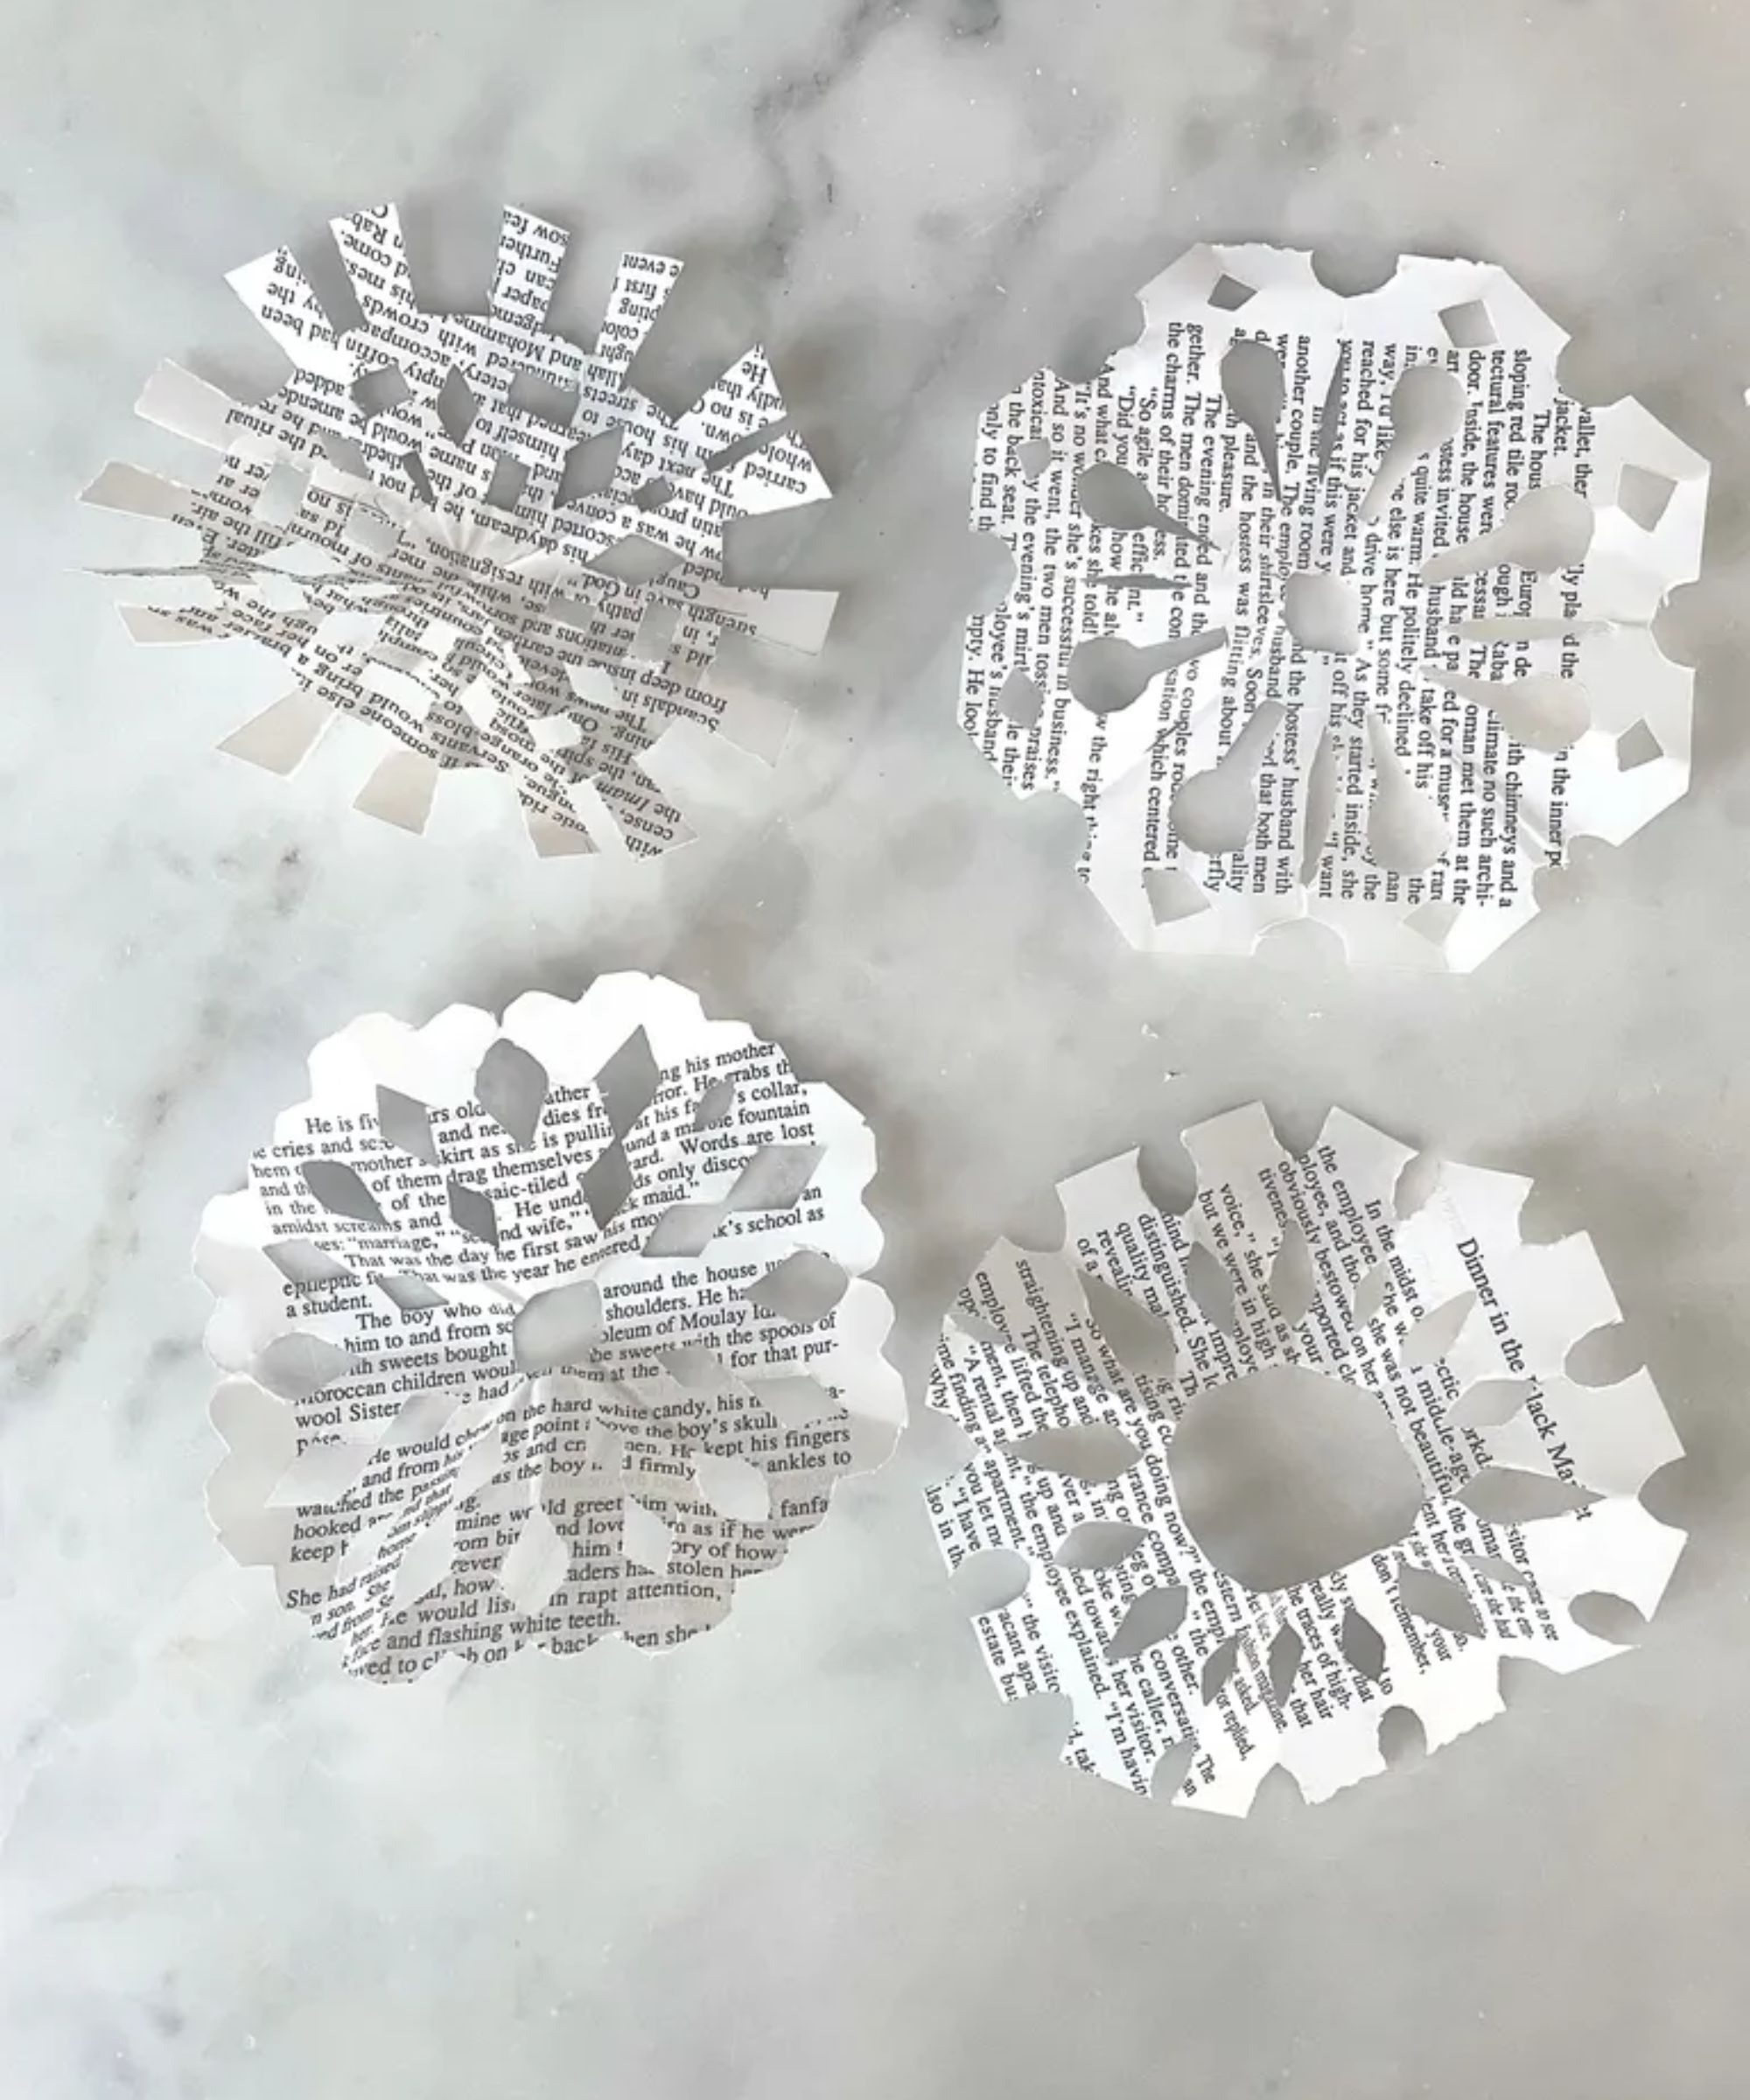
This is one of the simplest DIY decorations you can make – adorn your tree with paper snowflakes for a charming, artistic look.
Classic paper snowflakes can be elevated using old newspapers and construction paper, but you can always keep it simple with a crisp white base. Former Executive Editor, Kaitlin Madden explains how to make them:
- Begin with a square piece of paper and fold it diagonally into a triangle shape. 'Place the triangle on the table so that the point is facing towards you. Then, fold the outer corners of the triangle in towards the center, so that there is excess paper sticking out at the top.
- Trim the excess paper at the top of your triangle, then fold it in half again, so that the outer edges of the paper are inside the fold.
- Now for the fun part: your snowflake design. You can either create a freehand design with scissors, or draw a design onto your snowflake first. The more cuts you make, the more intricate your snowflake will be.
- A great way to start is to make cut-outs along all three edges of the triangle, taking care to leave some paper between each cut. If you want to make a hole at the center of the snowflake, snip off the tip of the triangle.
- Carefully unfold the paper to reveal your snowflake, before proudly displaying it in your home: you can hang it on your tree using a narrow section of ribbon, string it up into a garland or display in a window.
17. Design a Chalk Window Display

There's nothing more magical than catching a glimpse of a twinkling Christmas tree in a window – but to really channel the holiday spirit, go all-out with a hand-drawn window display.
'Window chalk is a playful and imaginative way to reimagine your windows for Christmas, and it is easy and cheap,' says our Digital Editor, Jennifer Ebert. 'In fact, liquid window chalk markers or pens are perfect for writing messages and creating beautiful art on any glass surface.'
Clean your windows so they are streak-free, and then start to brainstorm your design. 'You need to decide not only on your chosen illustrations but also which direction they will face. Most designs are meant to be read from the outside – by people walking past your home,' says Jen.
When it comes to tools, white chalk markers will create that snowy look, but red and green are ideal for adding a pop of festive color. 'You'll want to start slow,' advises Jen. 'When I tried this chalk window display hack, I started with a few snowflakes and baubles. It does take a bit of practice to perfect your design, especially if you don't consider yourself to be particularly artistic; but if you get it wrong, simply wipe clean and start again.'
Get Creative with Wrapping
18. Personalize Your Gift Wrap
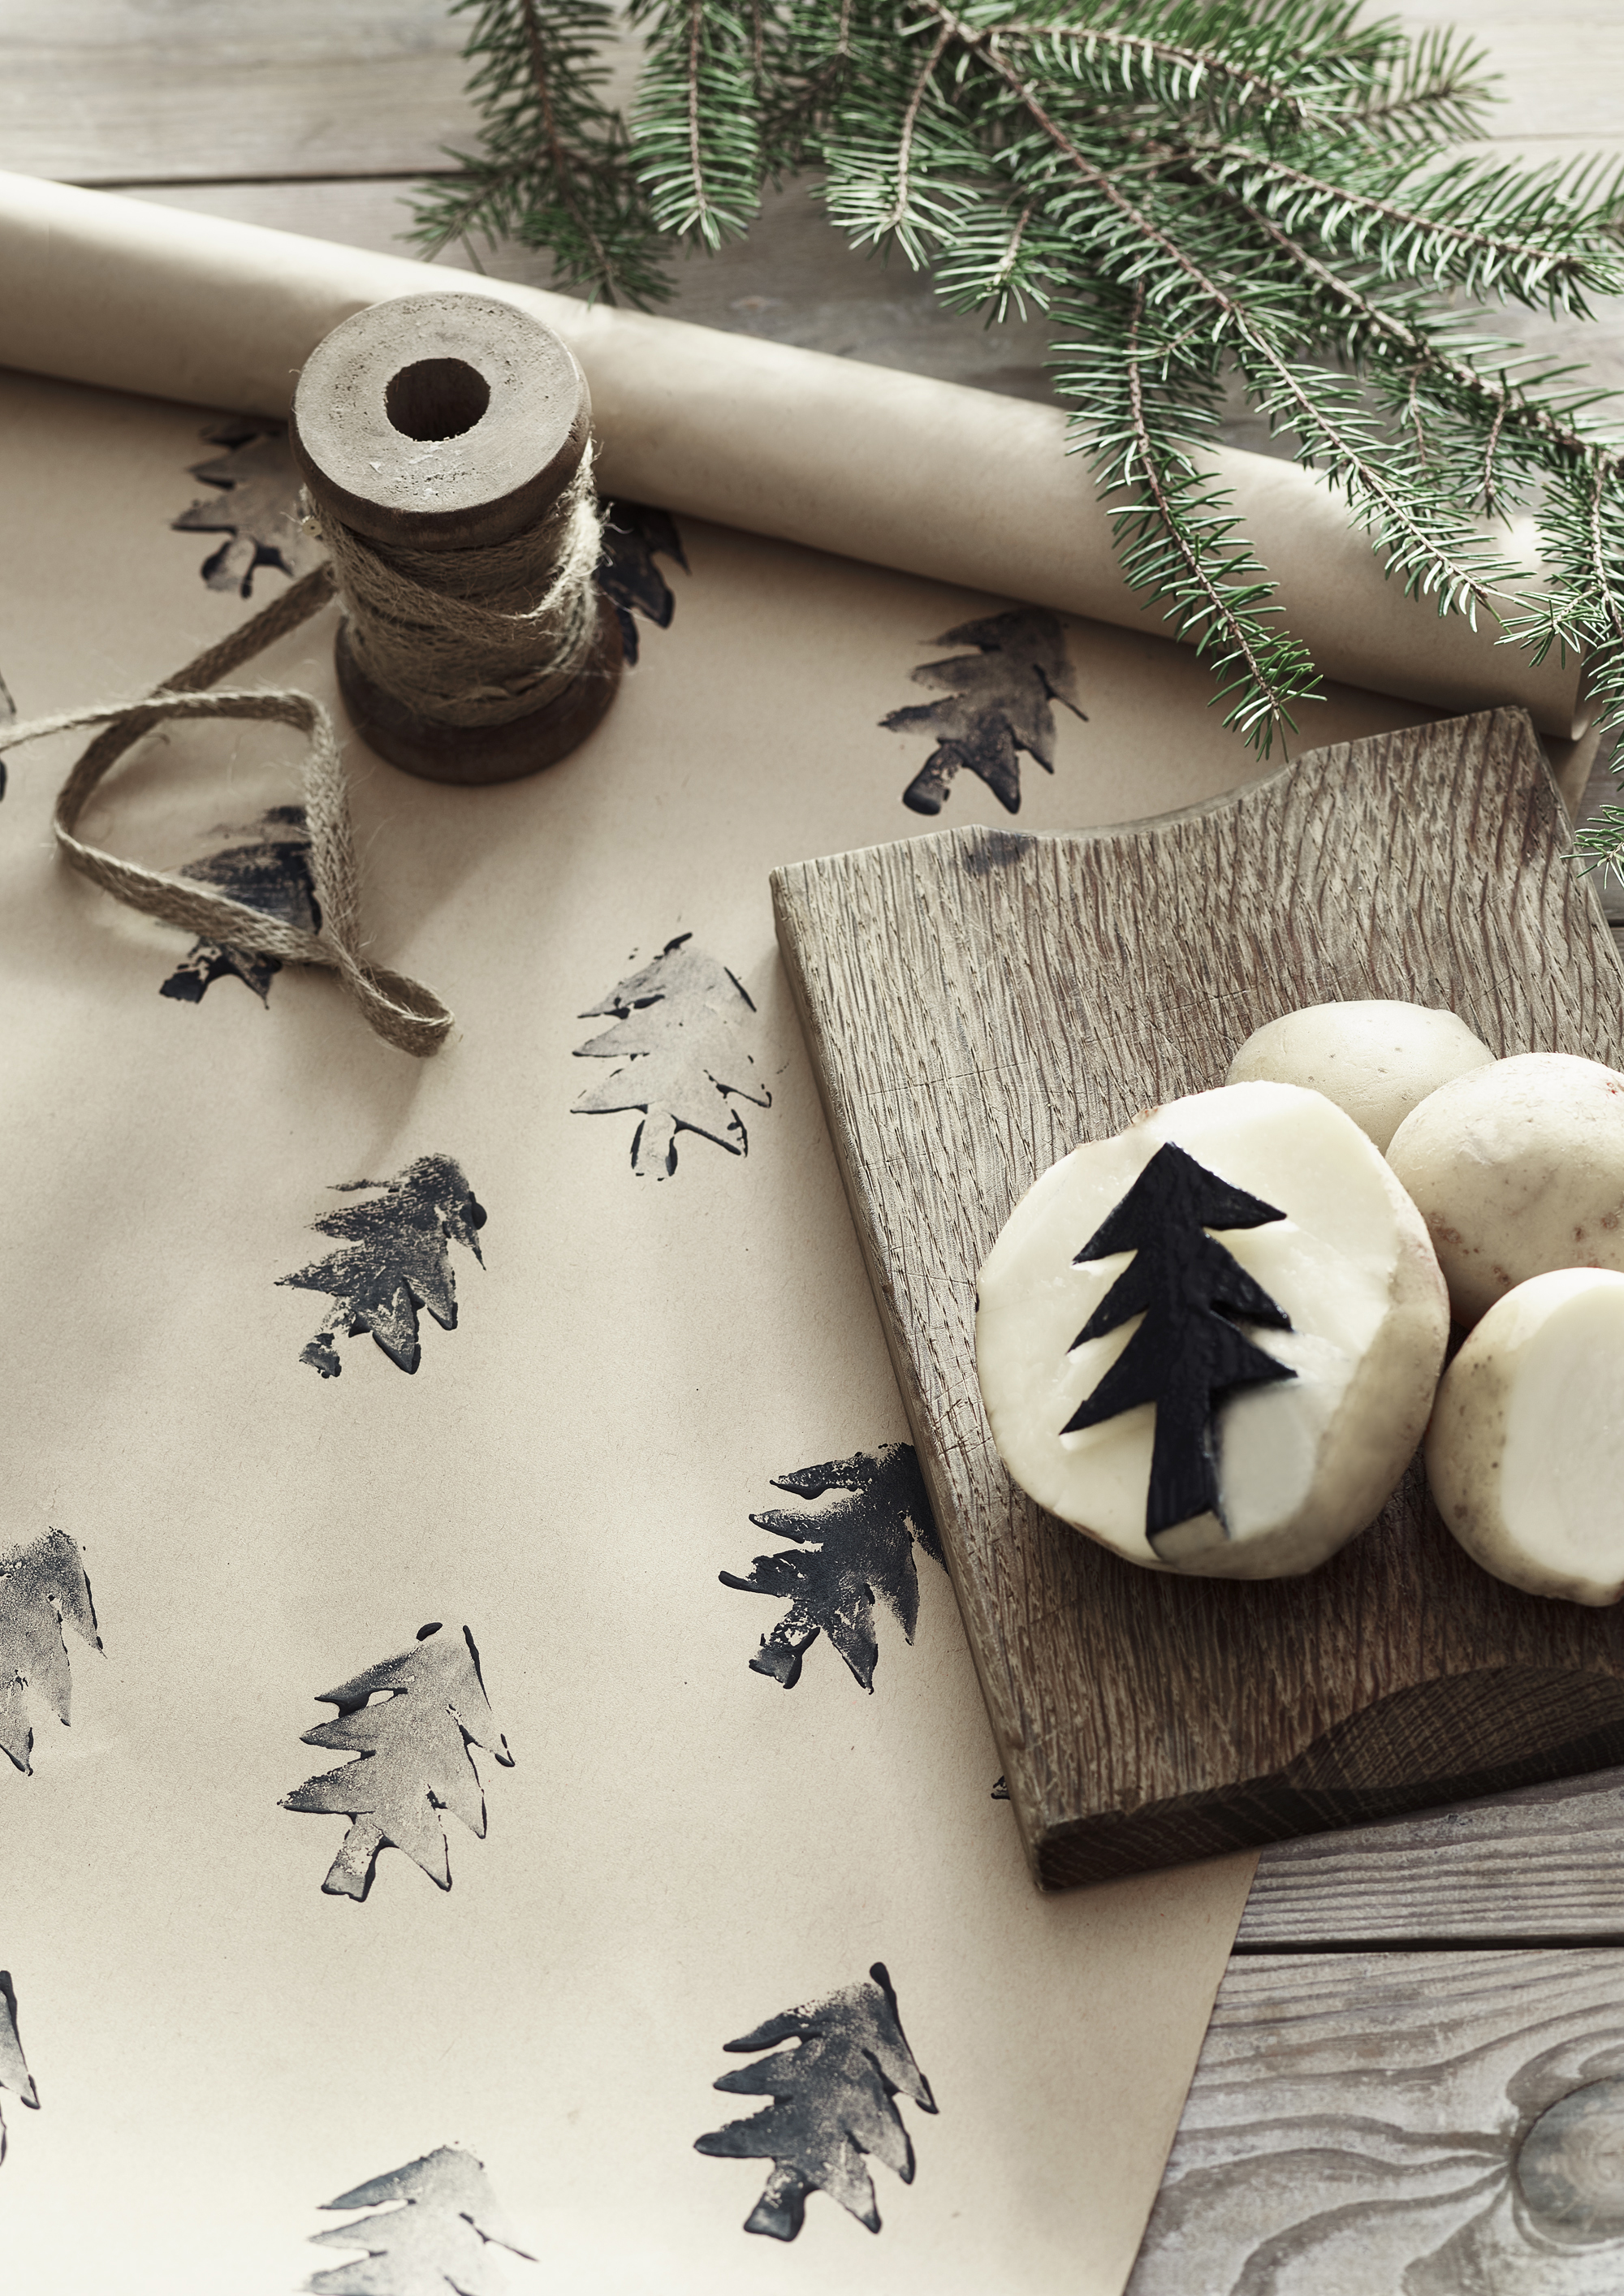
'There is nothing more heartfelt than a piece of hand-printed gift wrap: if you give someone a present wrapped in a piece of paper you’ve made, it’s already special before they’ve opened it,' reflects block printer and fabric designer Molly Mahon. 'It always feels good (and saves money) to make your own.'
While all Christmas crafts allow you to put your own spin on holiday decorations, gift wrap is perhaps the most customizable. Using plain kraft paper as a base, you can get nostalgic with hand-carved potato printing; make use of ready-made Christmas block printing kits; or forage for leaves you can paint and stencil to create nature-inspired designs.
Alternatively, for a more contemporary look, invest in a date stamp to create postcard-style wrapping, or use colored tape to mimic gift ribbons. 'You can wrap bands of washi tape around gifts, create unique designs or even tape on an initial to help friends and family identify their gifts,' suggests H&G contributor Pippa Blekinsop. Glitter washi tape is particularly fun and festive, but there are numerous designs to choose from.
19. Experiment With Furoshiki
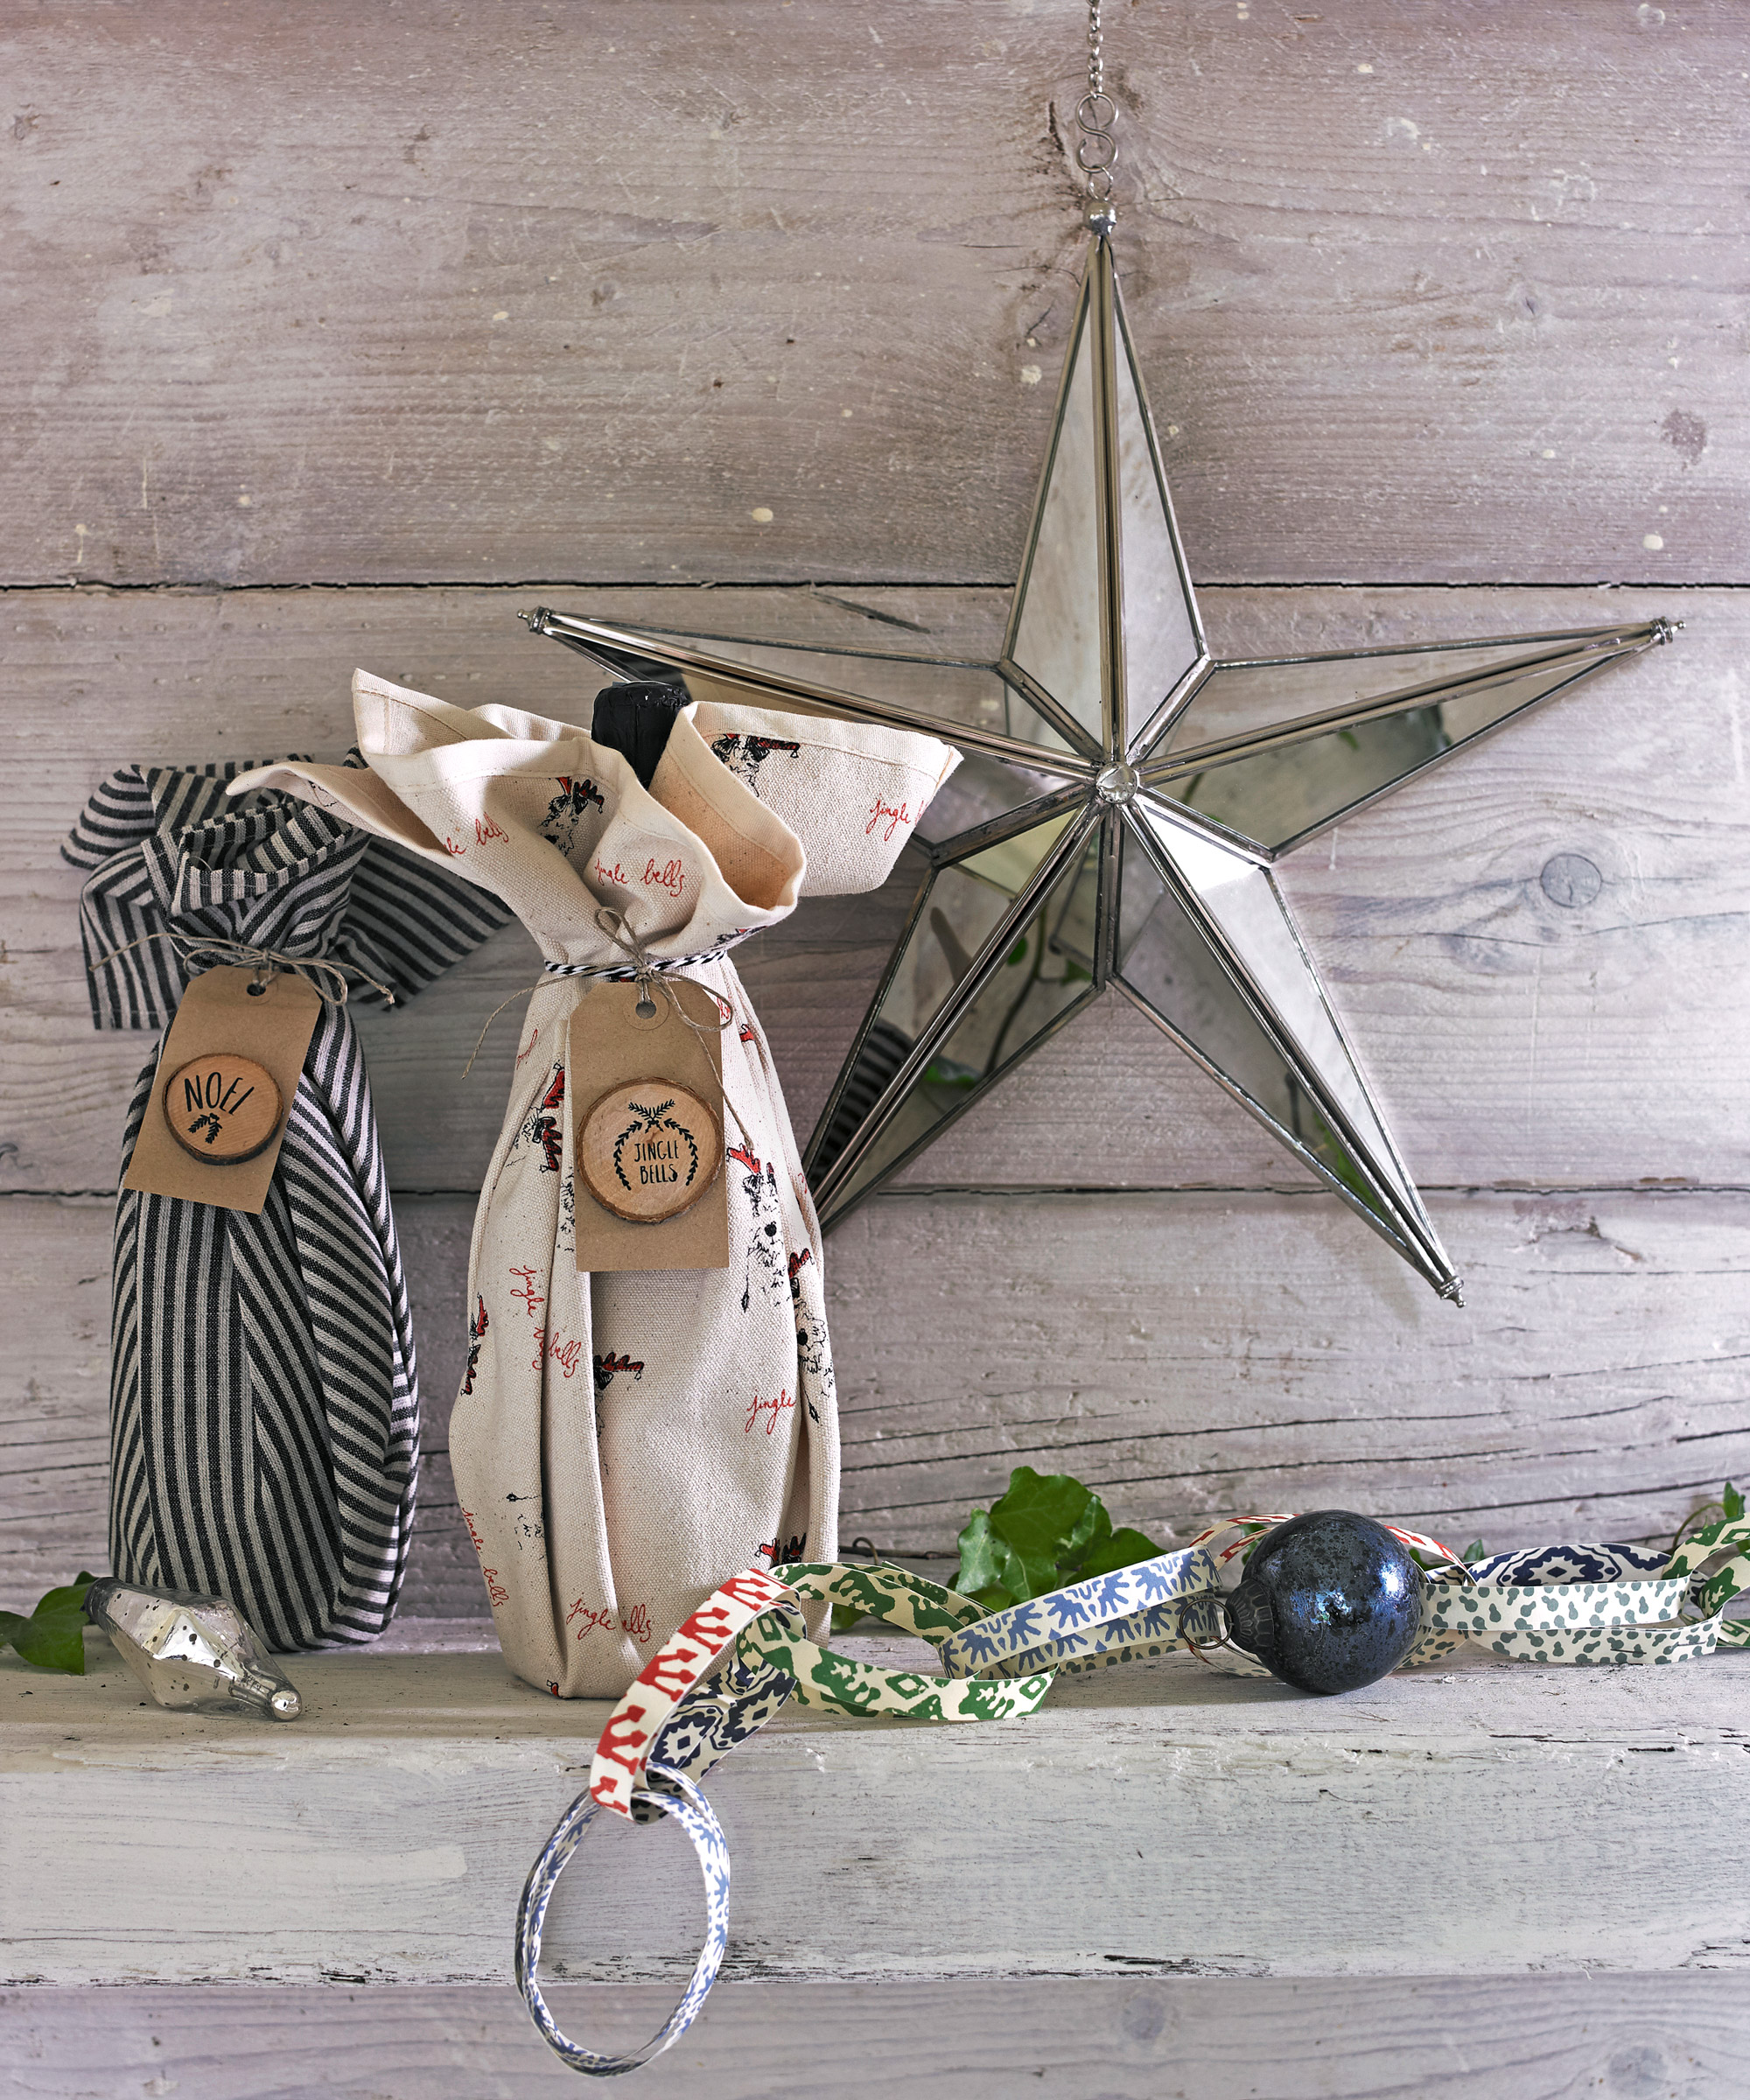
For gift wrap you can use year after year, try furoshiki: the Japanese art of wrapping with fabric.
To wrap a gift using the furoshiki method, you might want to invest in some reusable cloth gift wrapping, like this set from Etsy – but you can also hunt around for spare fabric, including old scarves or cushion covers.
When wrapping a gift, it's best to place it on a diagonal within a square-shaped piece of cloth. Then, simply fold each corner into the middle and tie them all into a knot. Tuck any excess fabric into the cloth folds for a neater look, and finish with gift toppers, ribbons, or sprigs of foliage.
20. Stencil on Fabric Gift Bags
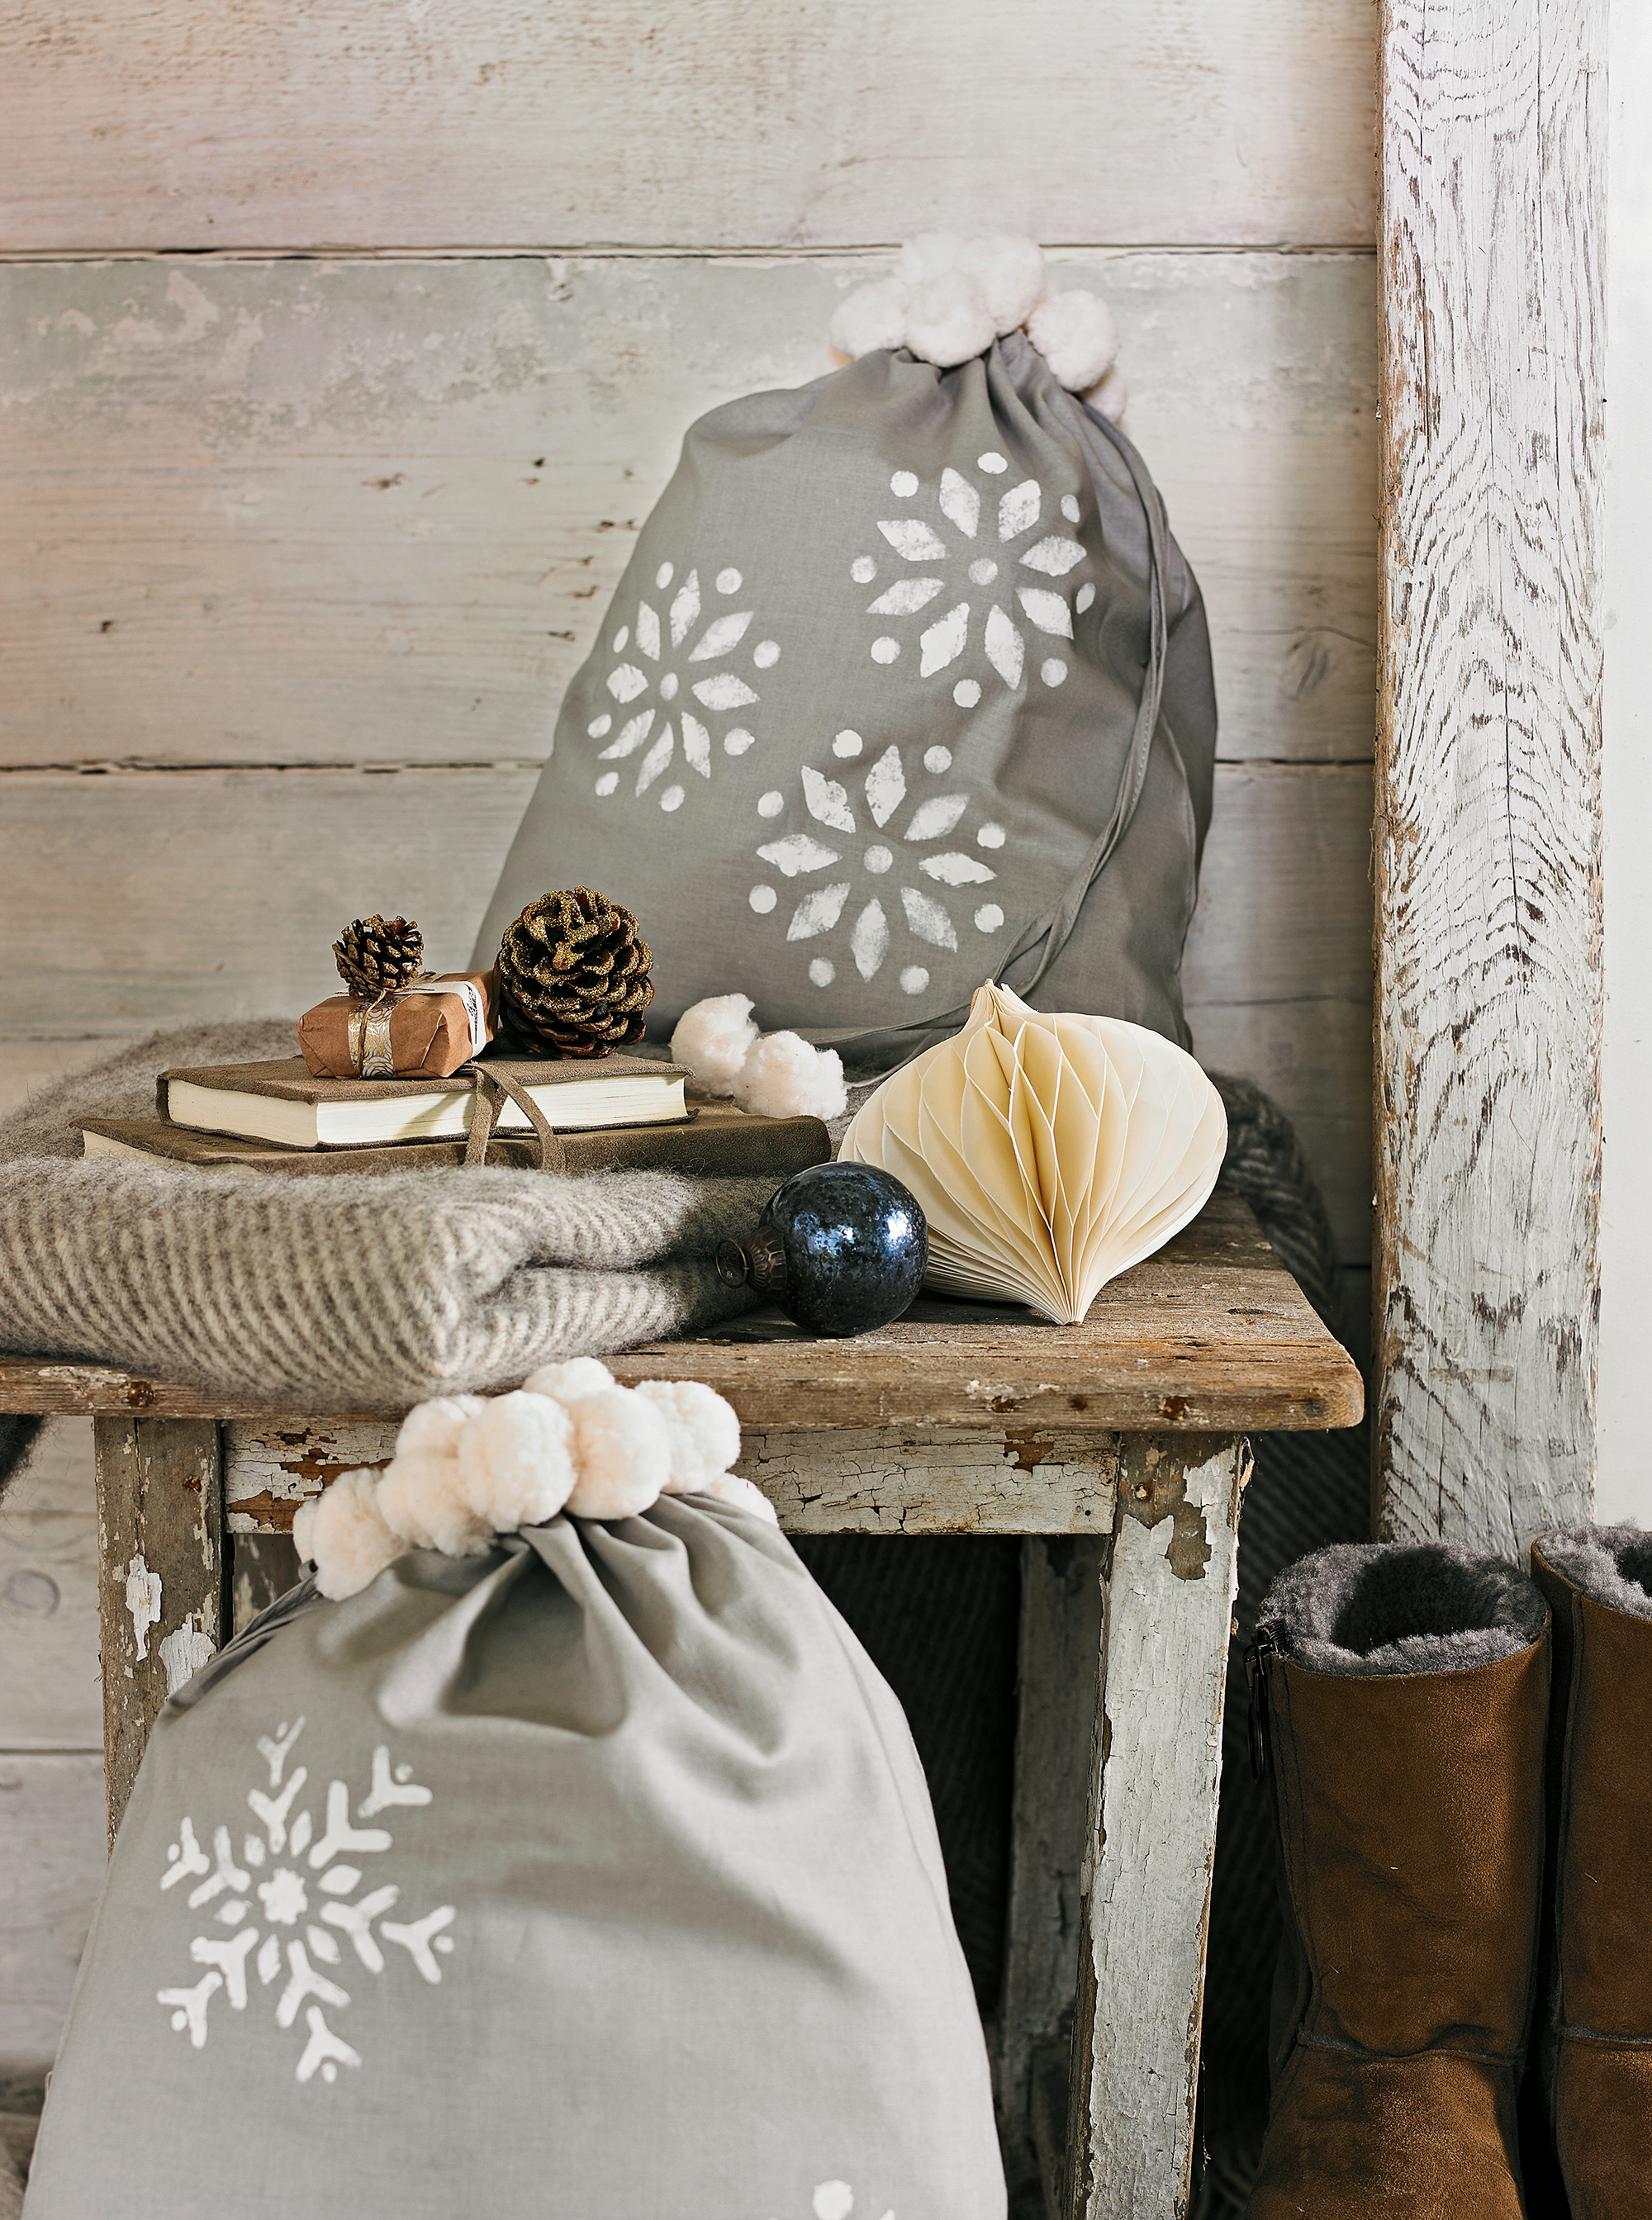
To really elevate your fabric gift wrap – or create a handmade alternative to a stocking – all you need is a few Christmas stencils, like these from Amazon.
'To begin, lay a cotton gift bag (Amazon) on a flat surface and place inside a piece of cardboard that is just a little smaller than the bag,' says Pippa. 'This will prevent paint from seeping through both layers of fabric.'
Once you've chosen your stencil, secure it onto the bag using masking tape, then 'pour a little paint into a shallow tray and load your stippler or stencil brush with a small amount,' says Pippa. 'Using a dabbing motion rather than a brush motion, dab over the stencil with paint until the whole design is covered. Reposition the stencil and repeat the process depending on the design you wish to create.'
When your design is complete, gently remove the cardboard insert and leave the bag to dry – you can add finishing touches like glitter and ribbons, if you like.
21. Decorate With Pom Poms
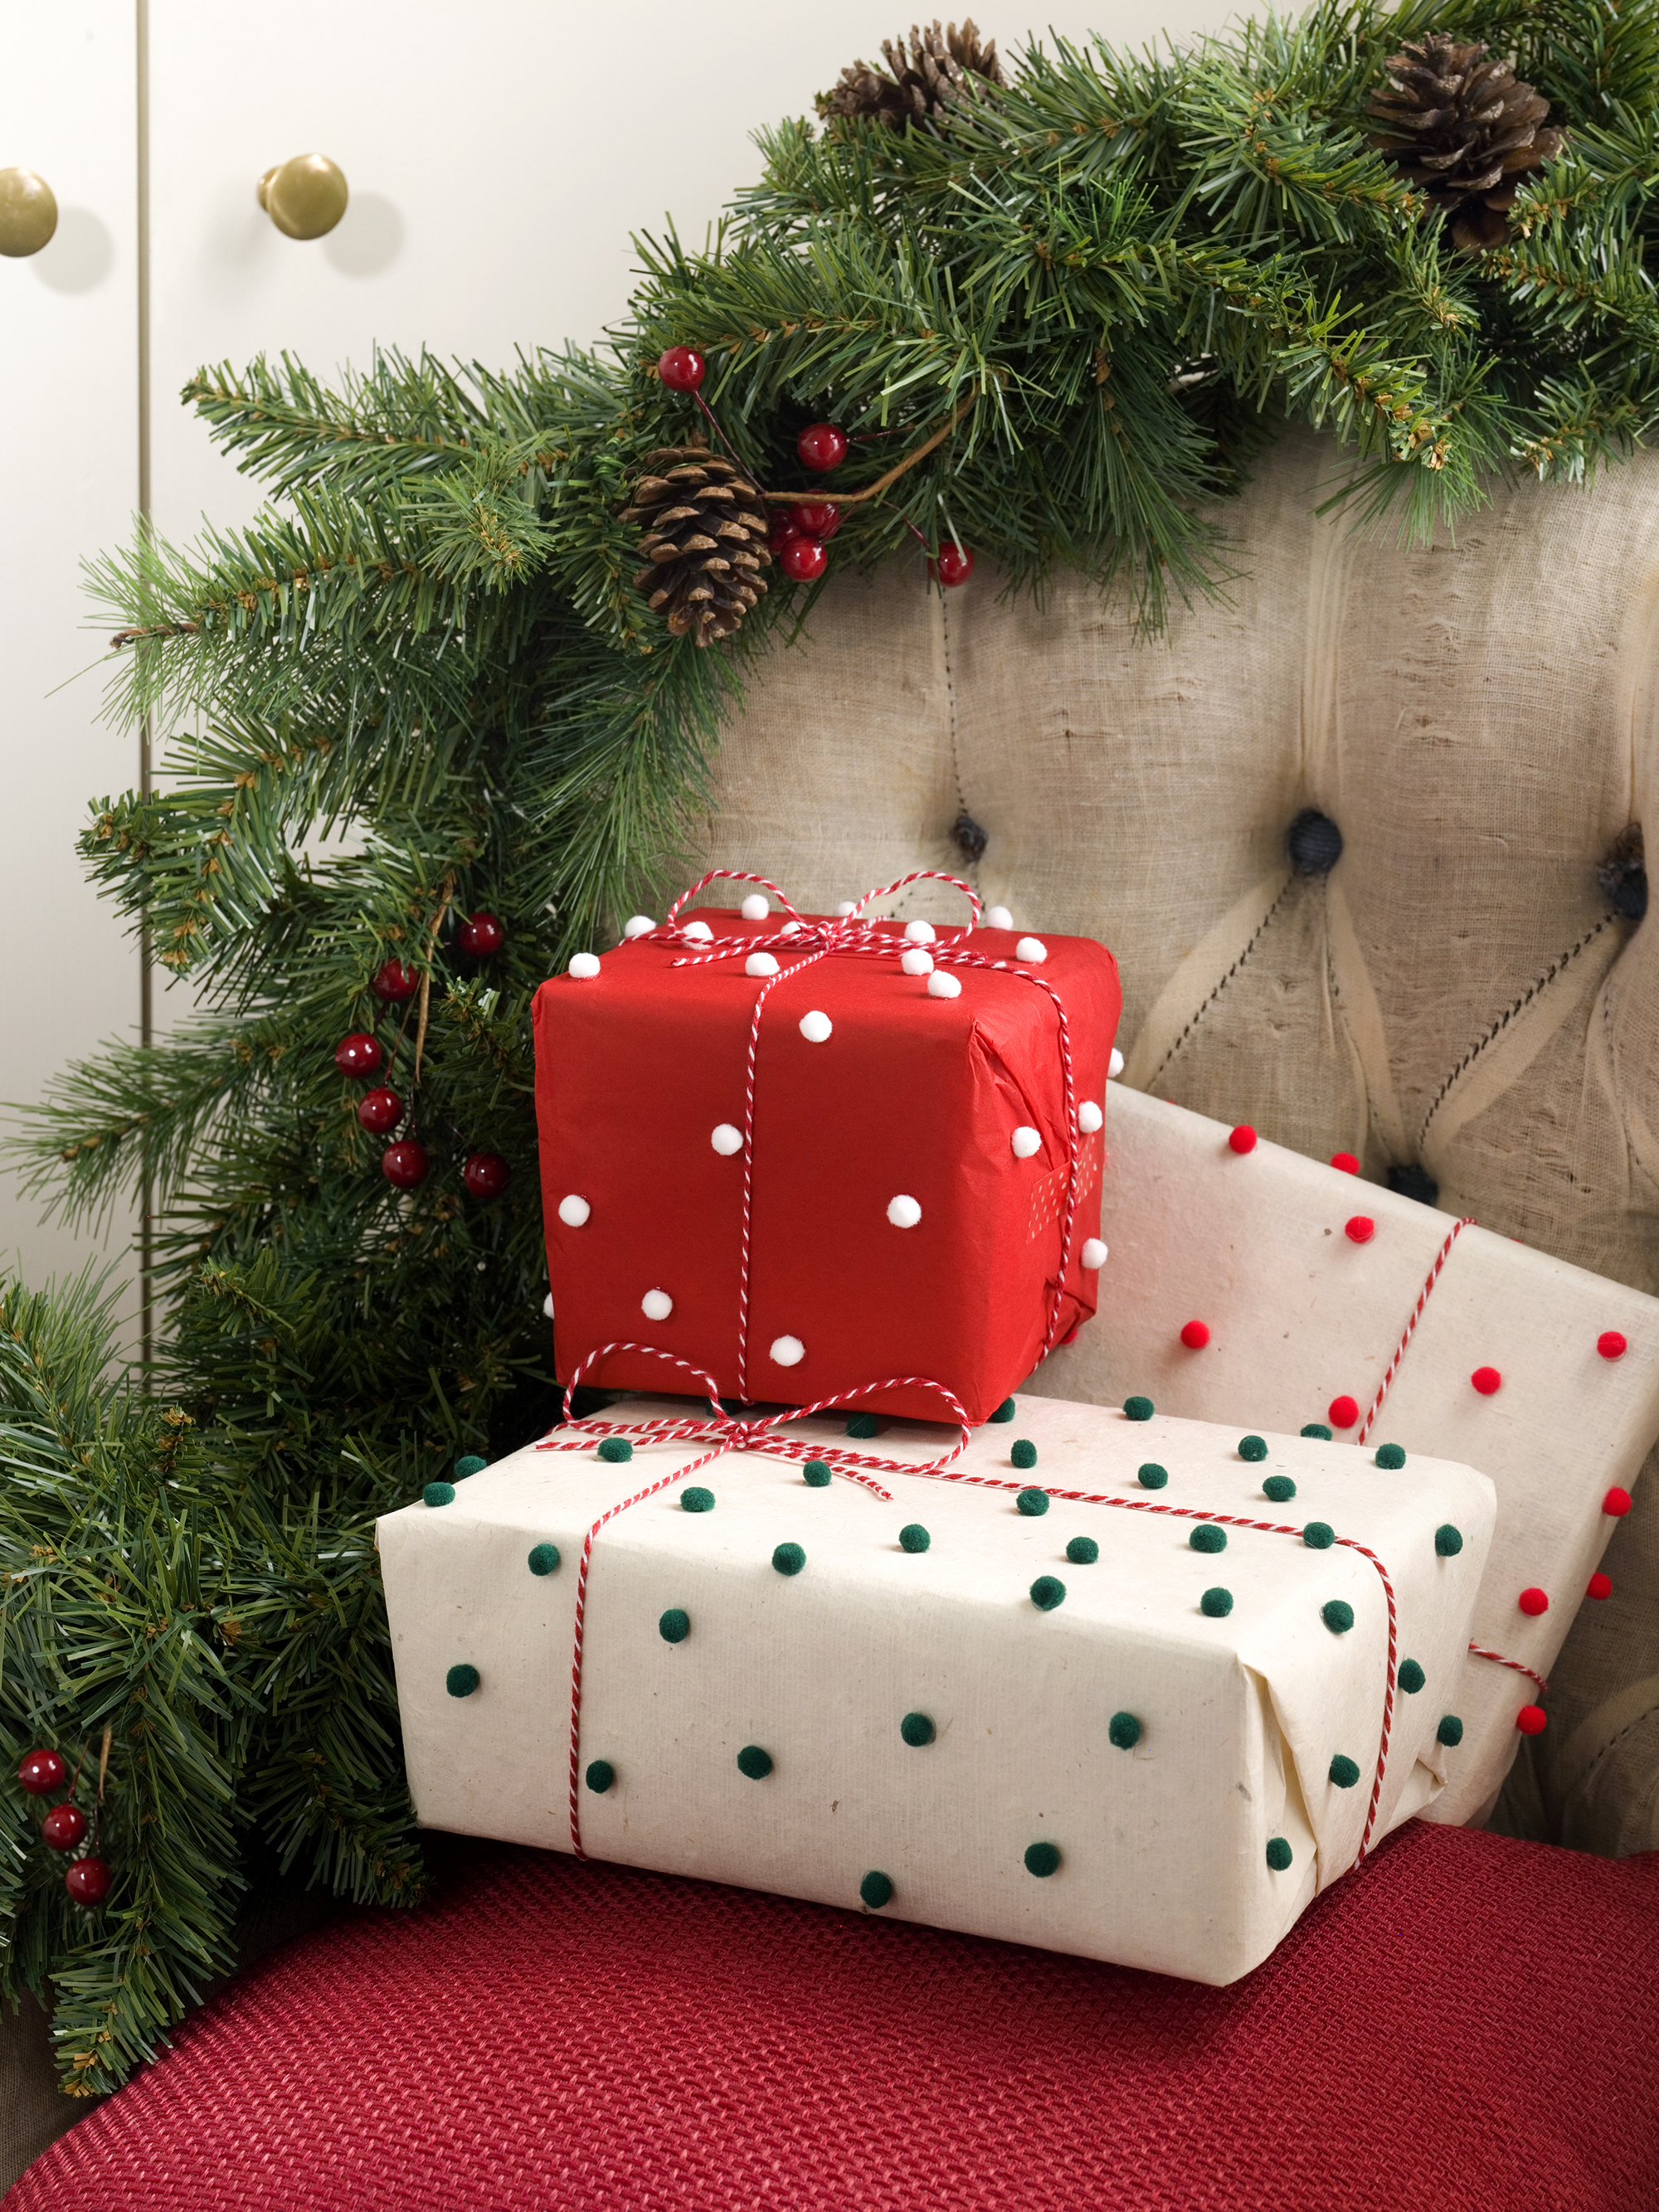
'Decorating plain gift paper with mini pom poms is a fun and simple Christmas craft idea, and it works really well with cards, too,' says Pippa. 'For example, you can paint a reindeer design and fix on red pom poms to create Rudolph's nose.'
You can use either Elmer's glue (available from Amazon) or a hot glue gun to fix pom poms to your preferred sheet of paper. 'Depending on the shape of the gift and how many pom poms you want to add, it may be easier to do this after the gift has been wrapped,' advises Pippa.
22. Elevate Brown Paper

Using brown paper as gift wrap will guarantee a charming, rustic look – but you can always add a few thoughtful touches.
'For a simple approach, add a sprig of Christmas foliage and finish with some twine,' suggests Pippa. 'Alternatively, you can go-all out with a beautiful handmade keepsake tag – this can be done at home using air-drying clay or polymer clay like Fimo (Amazon).'
23. Try Leaf Printing
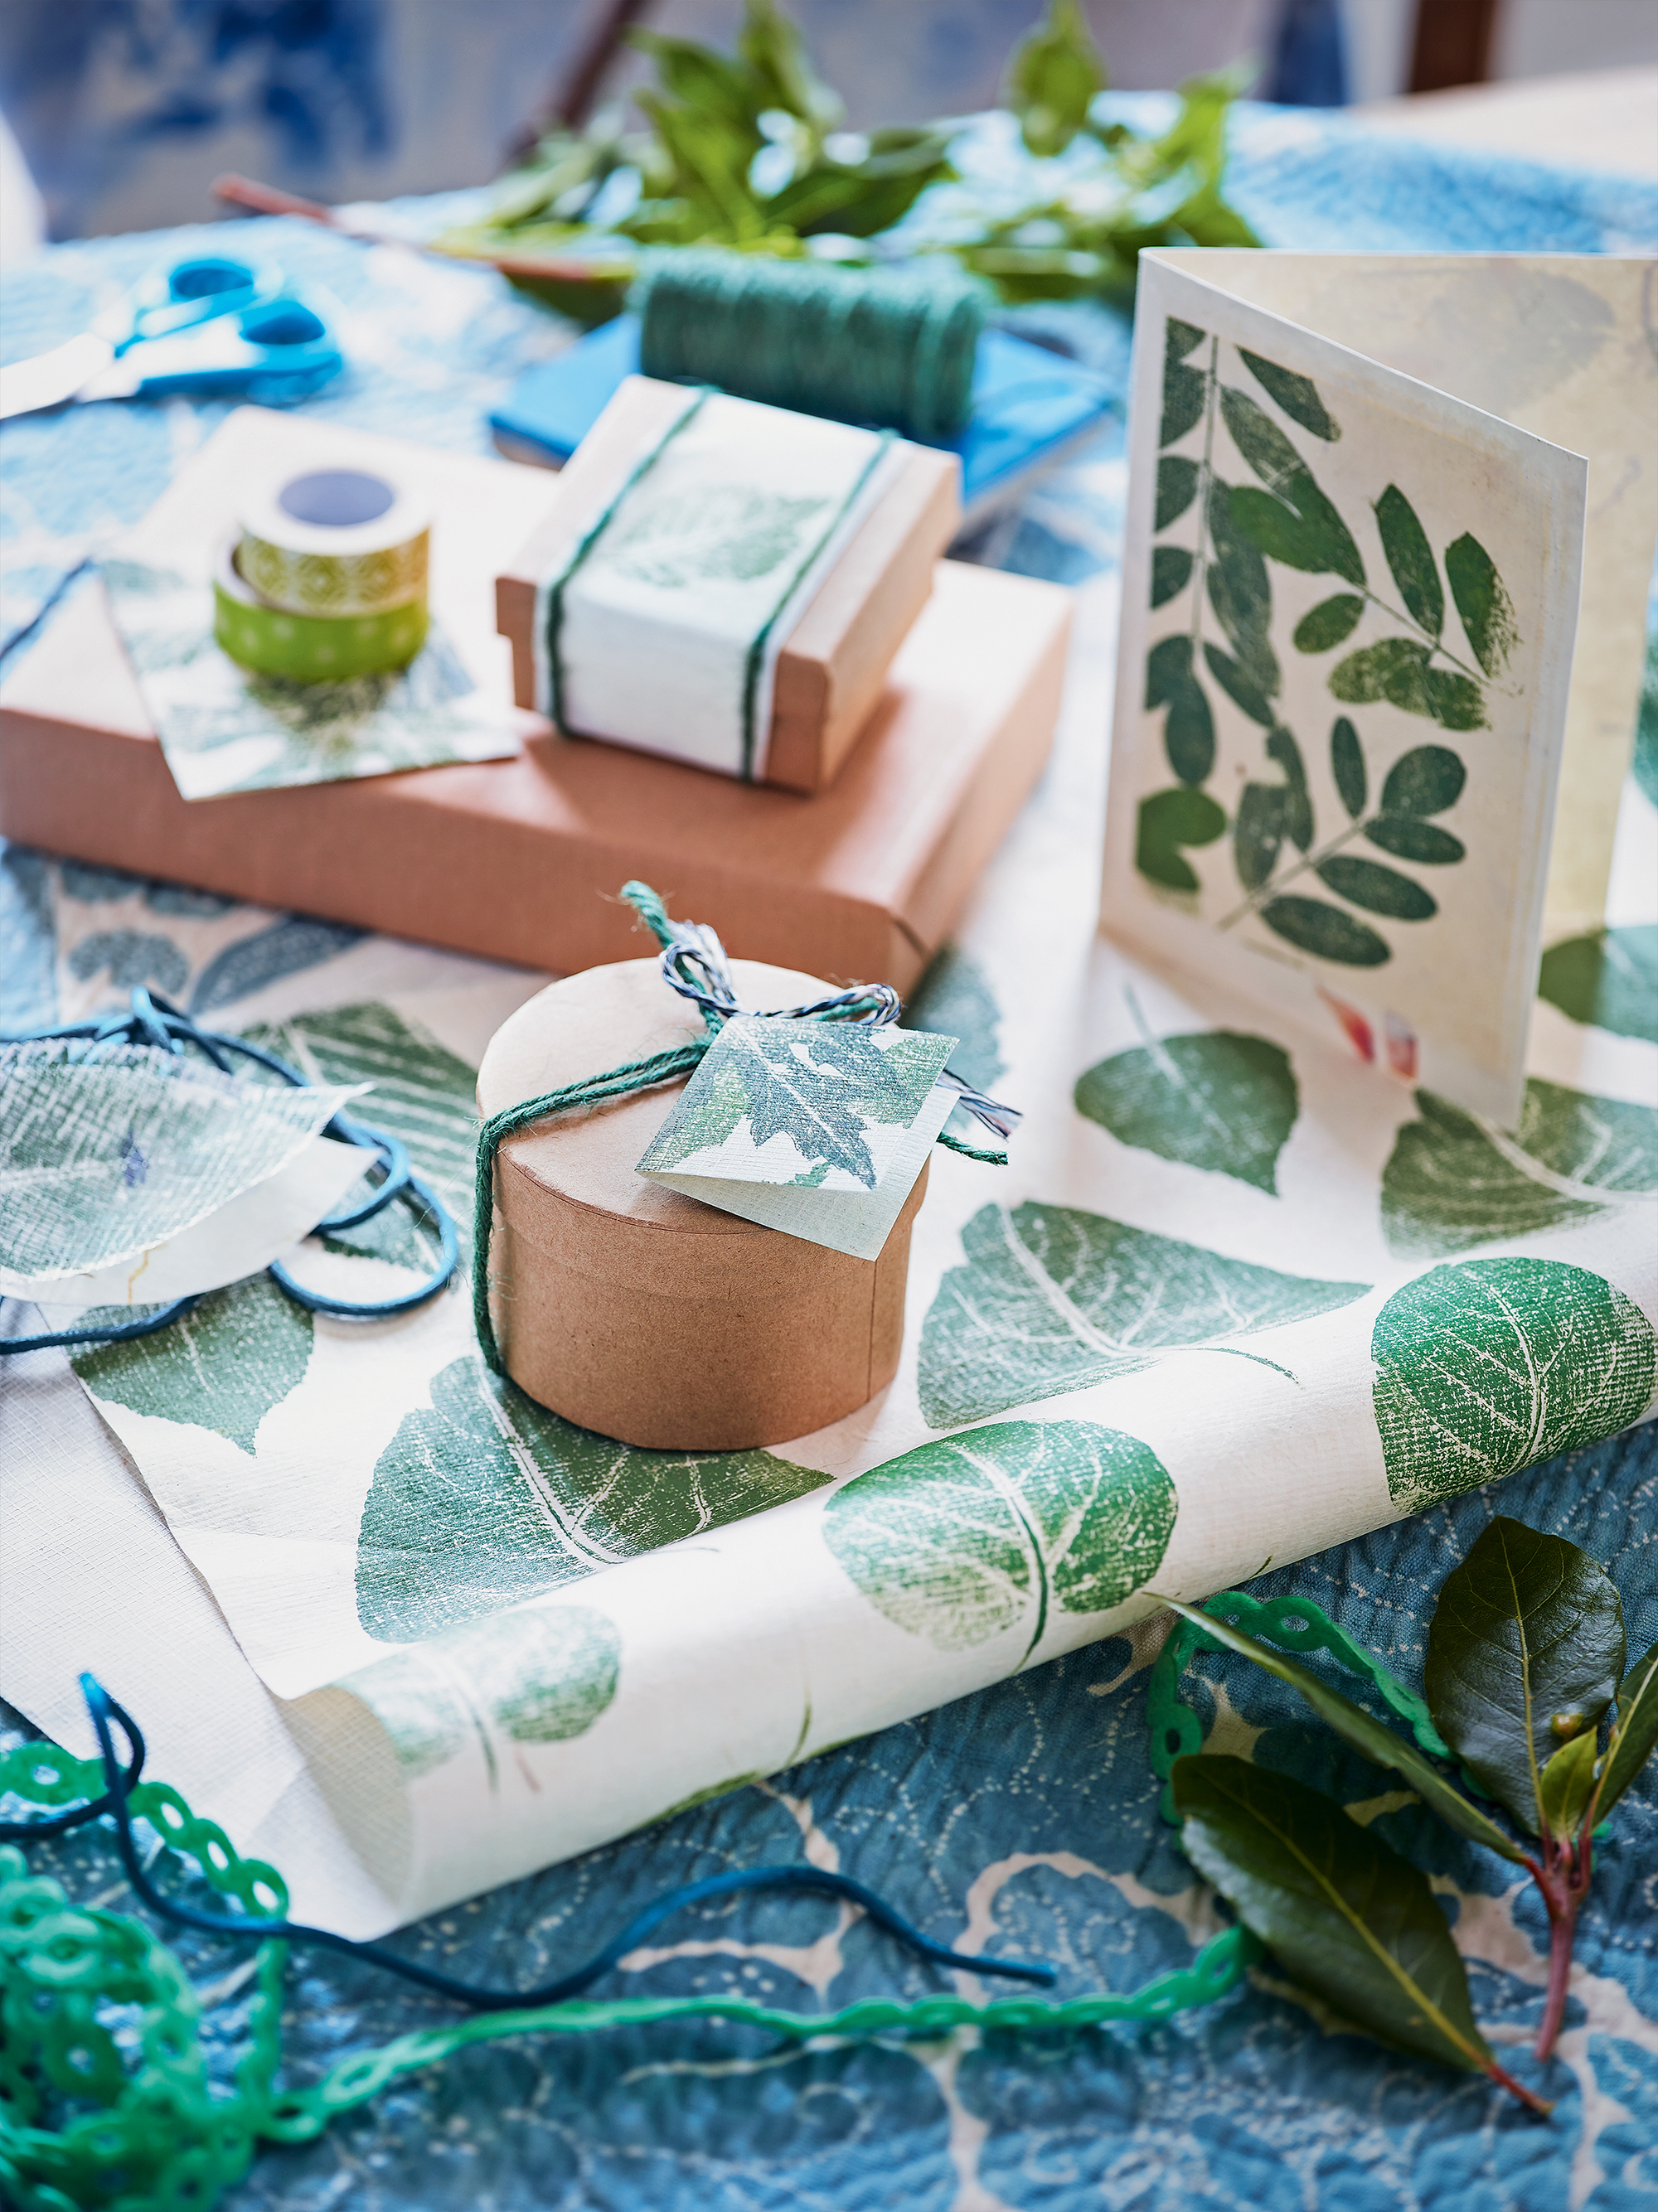
Introduce a botanical feel to your holiday cards and gift wrap using leaf stencils.
'The best part is foraging for your leaves first,' says Pippa. 'Try to find flat leaves with sculptural shapes.'
Then, making sure your leaves are clean and dry, 'lay them face-up on a scrap of paper,' she explains. 'Working quickly, use a stencil brush to apply the paint, stippling from the center out to the edges.'
To create your card or gift wrap, simply place each leaf face-down on the paper you've selected. 'Put a square of kitchen paper over the top and roll across the leaf using a wallpaper roller,' says Pippa. 'Remove the kitchen paper and leaf then repeat the process to complete your design.'
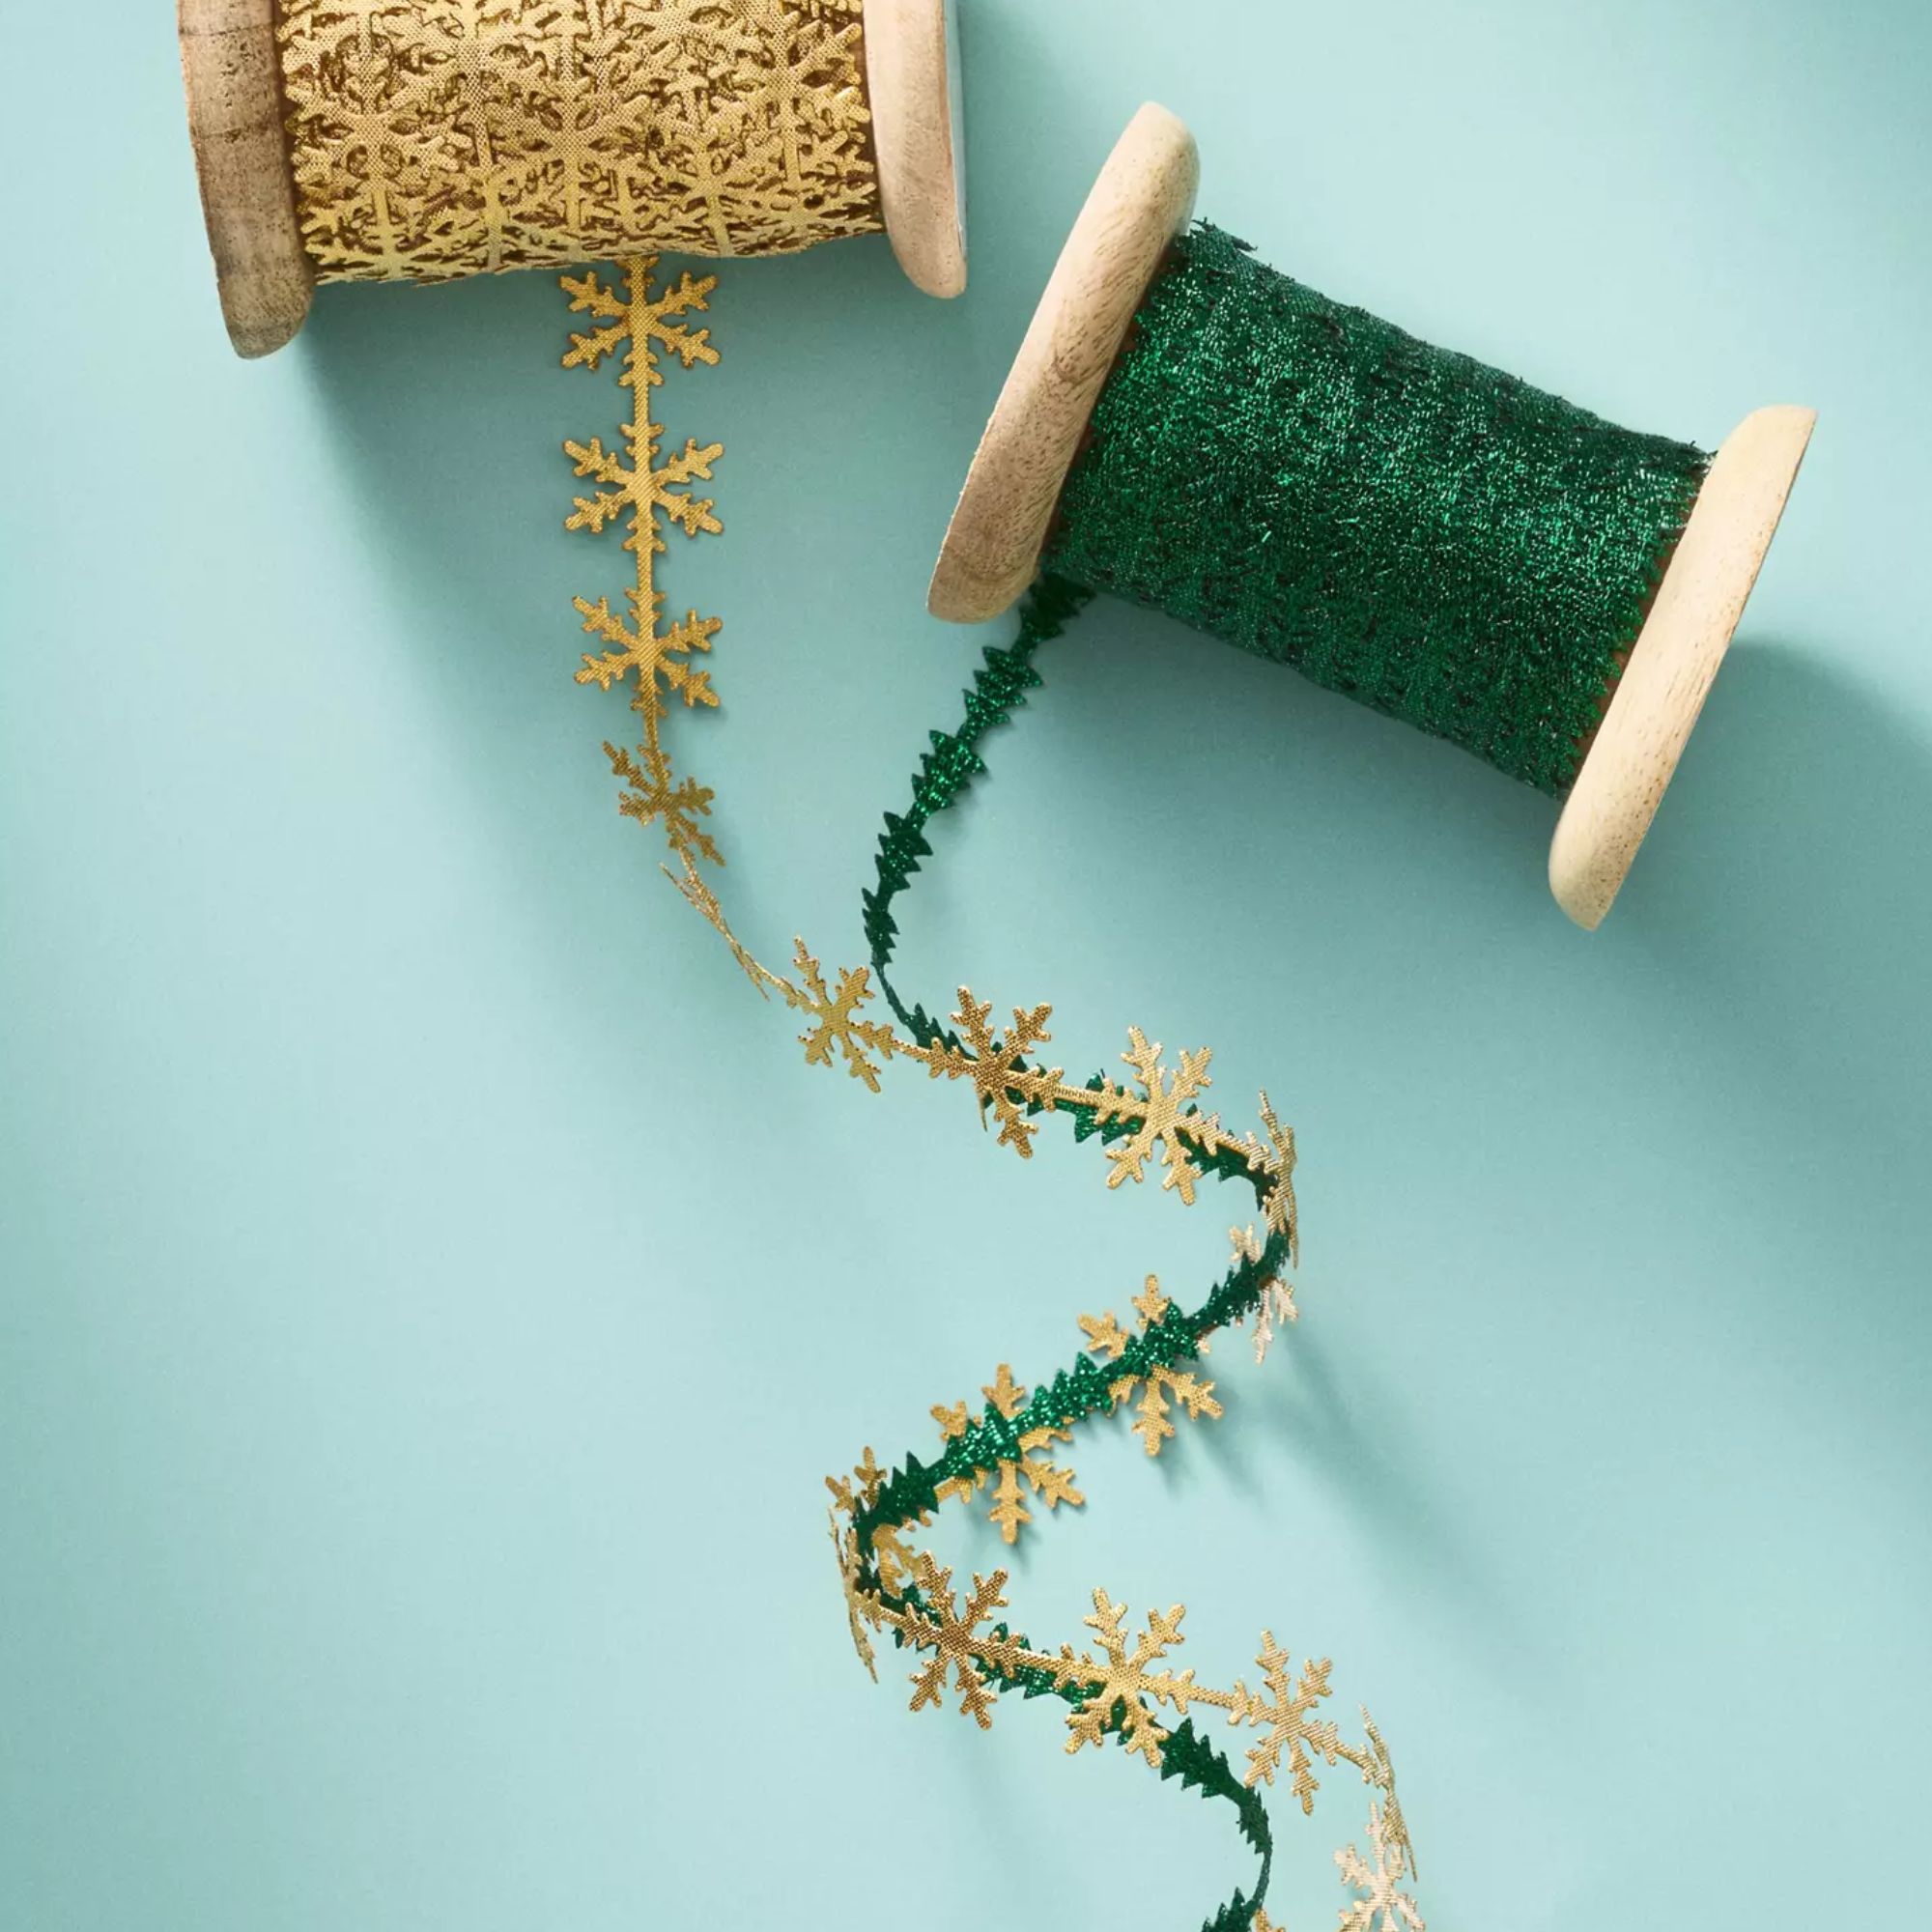
This metallic ribbon is sure to elevate your gift wrapping, but you can also use it to hang ornaments from your tree. (And if you're looking for even more sparkle, try Anthropologie's fuzzy gift ribbon.)
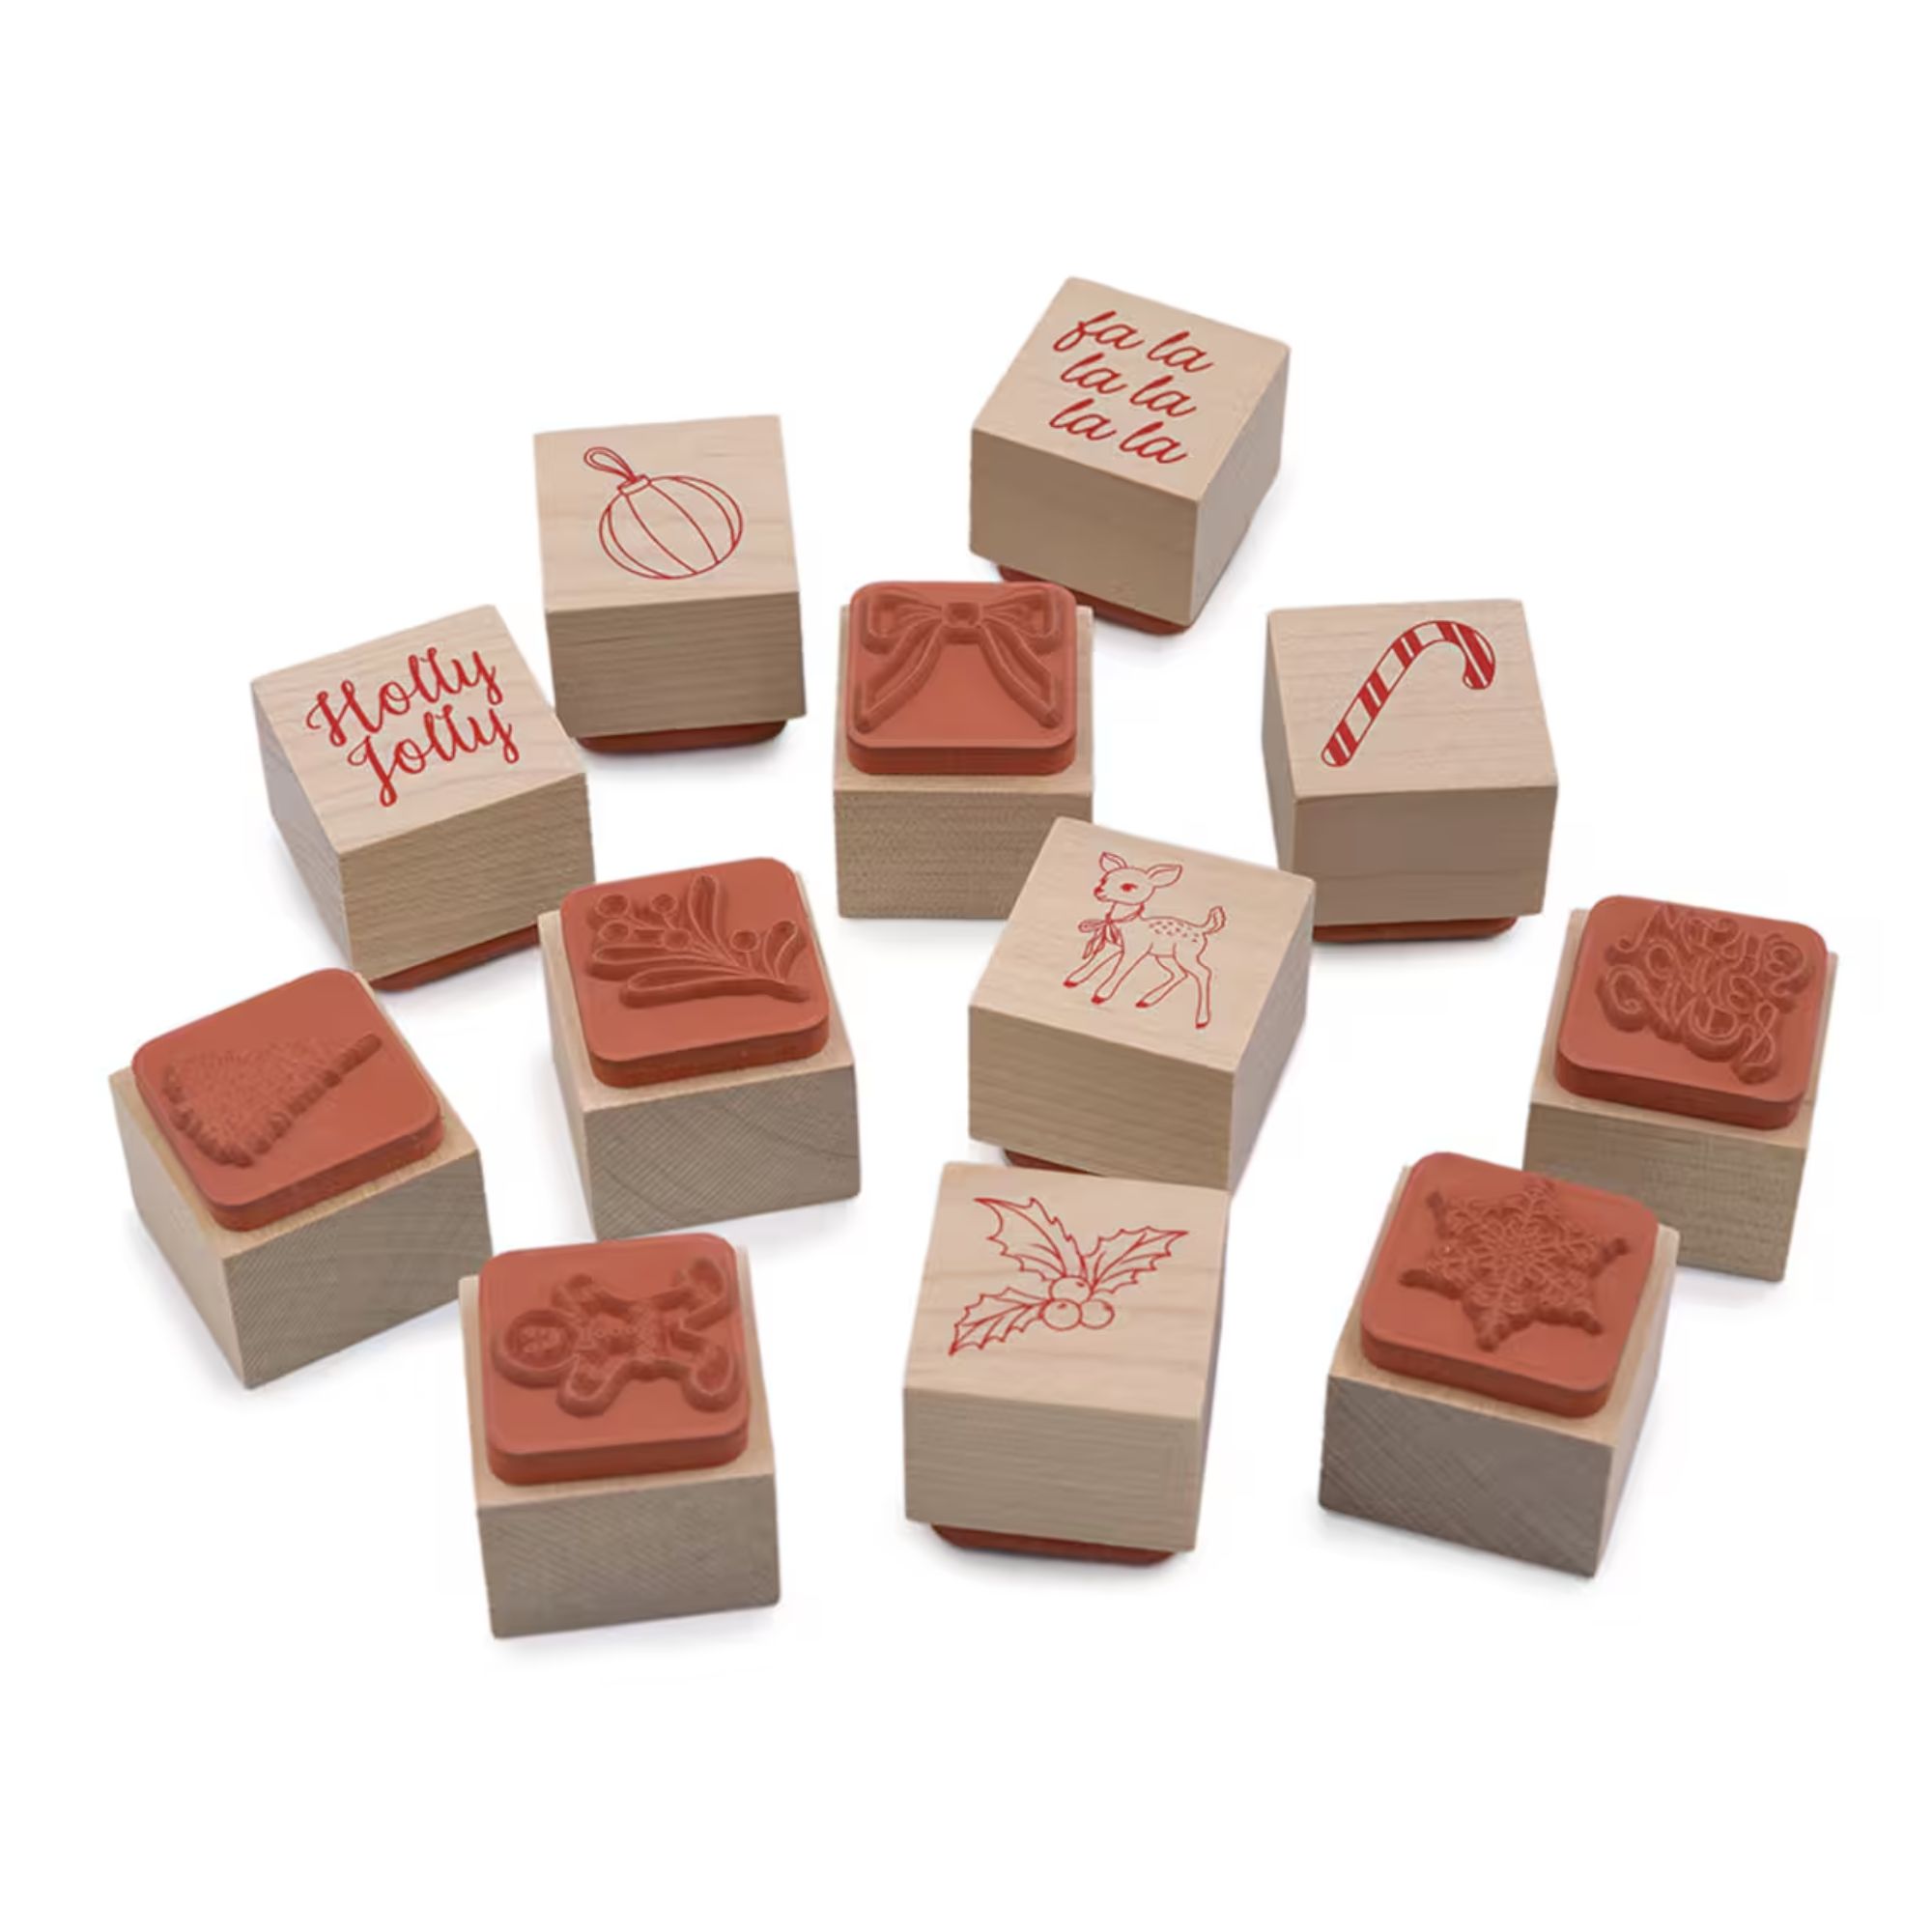
Use this charming stamp set to customize your gift wrap, greetings cards and even the place cards on your table. The assorted Christmas designs make it wonderfully easy to mix and match.
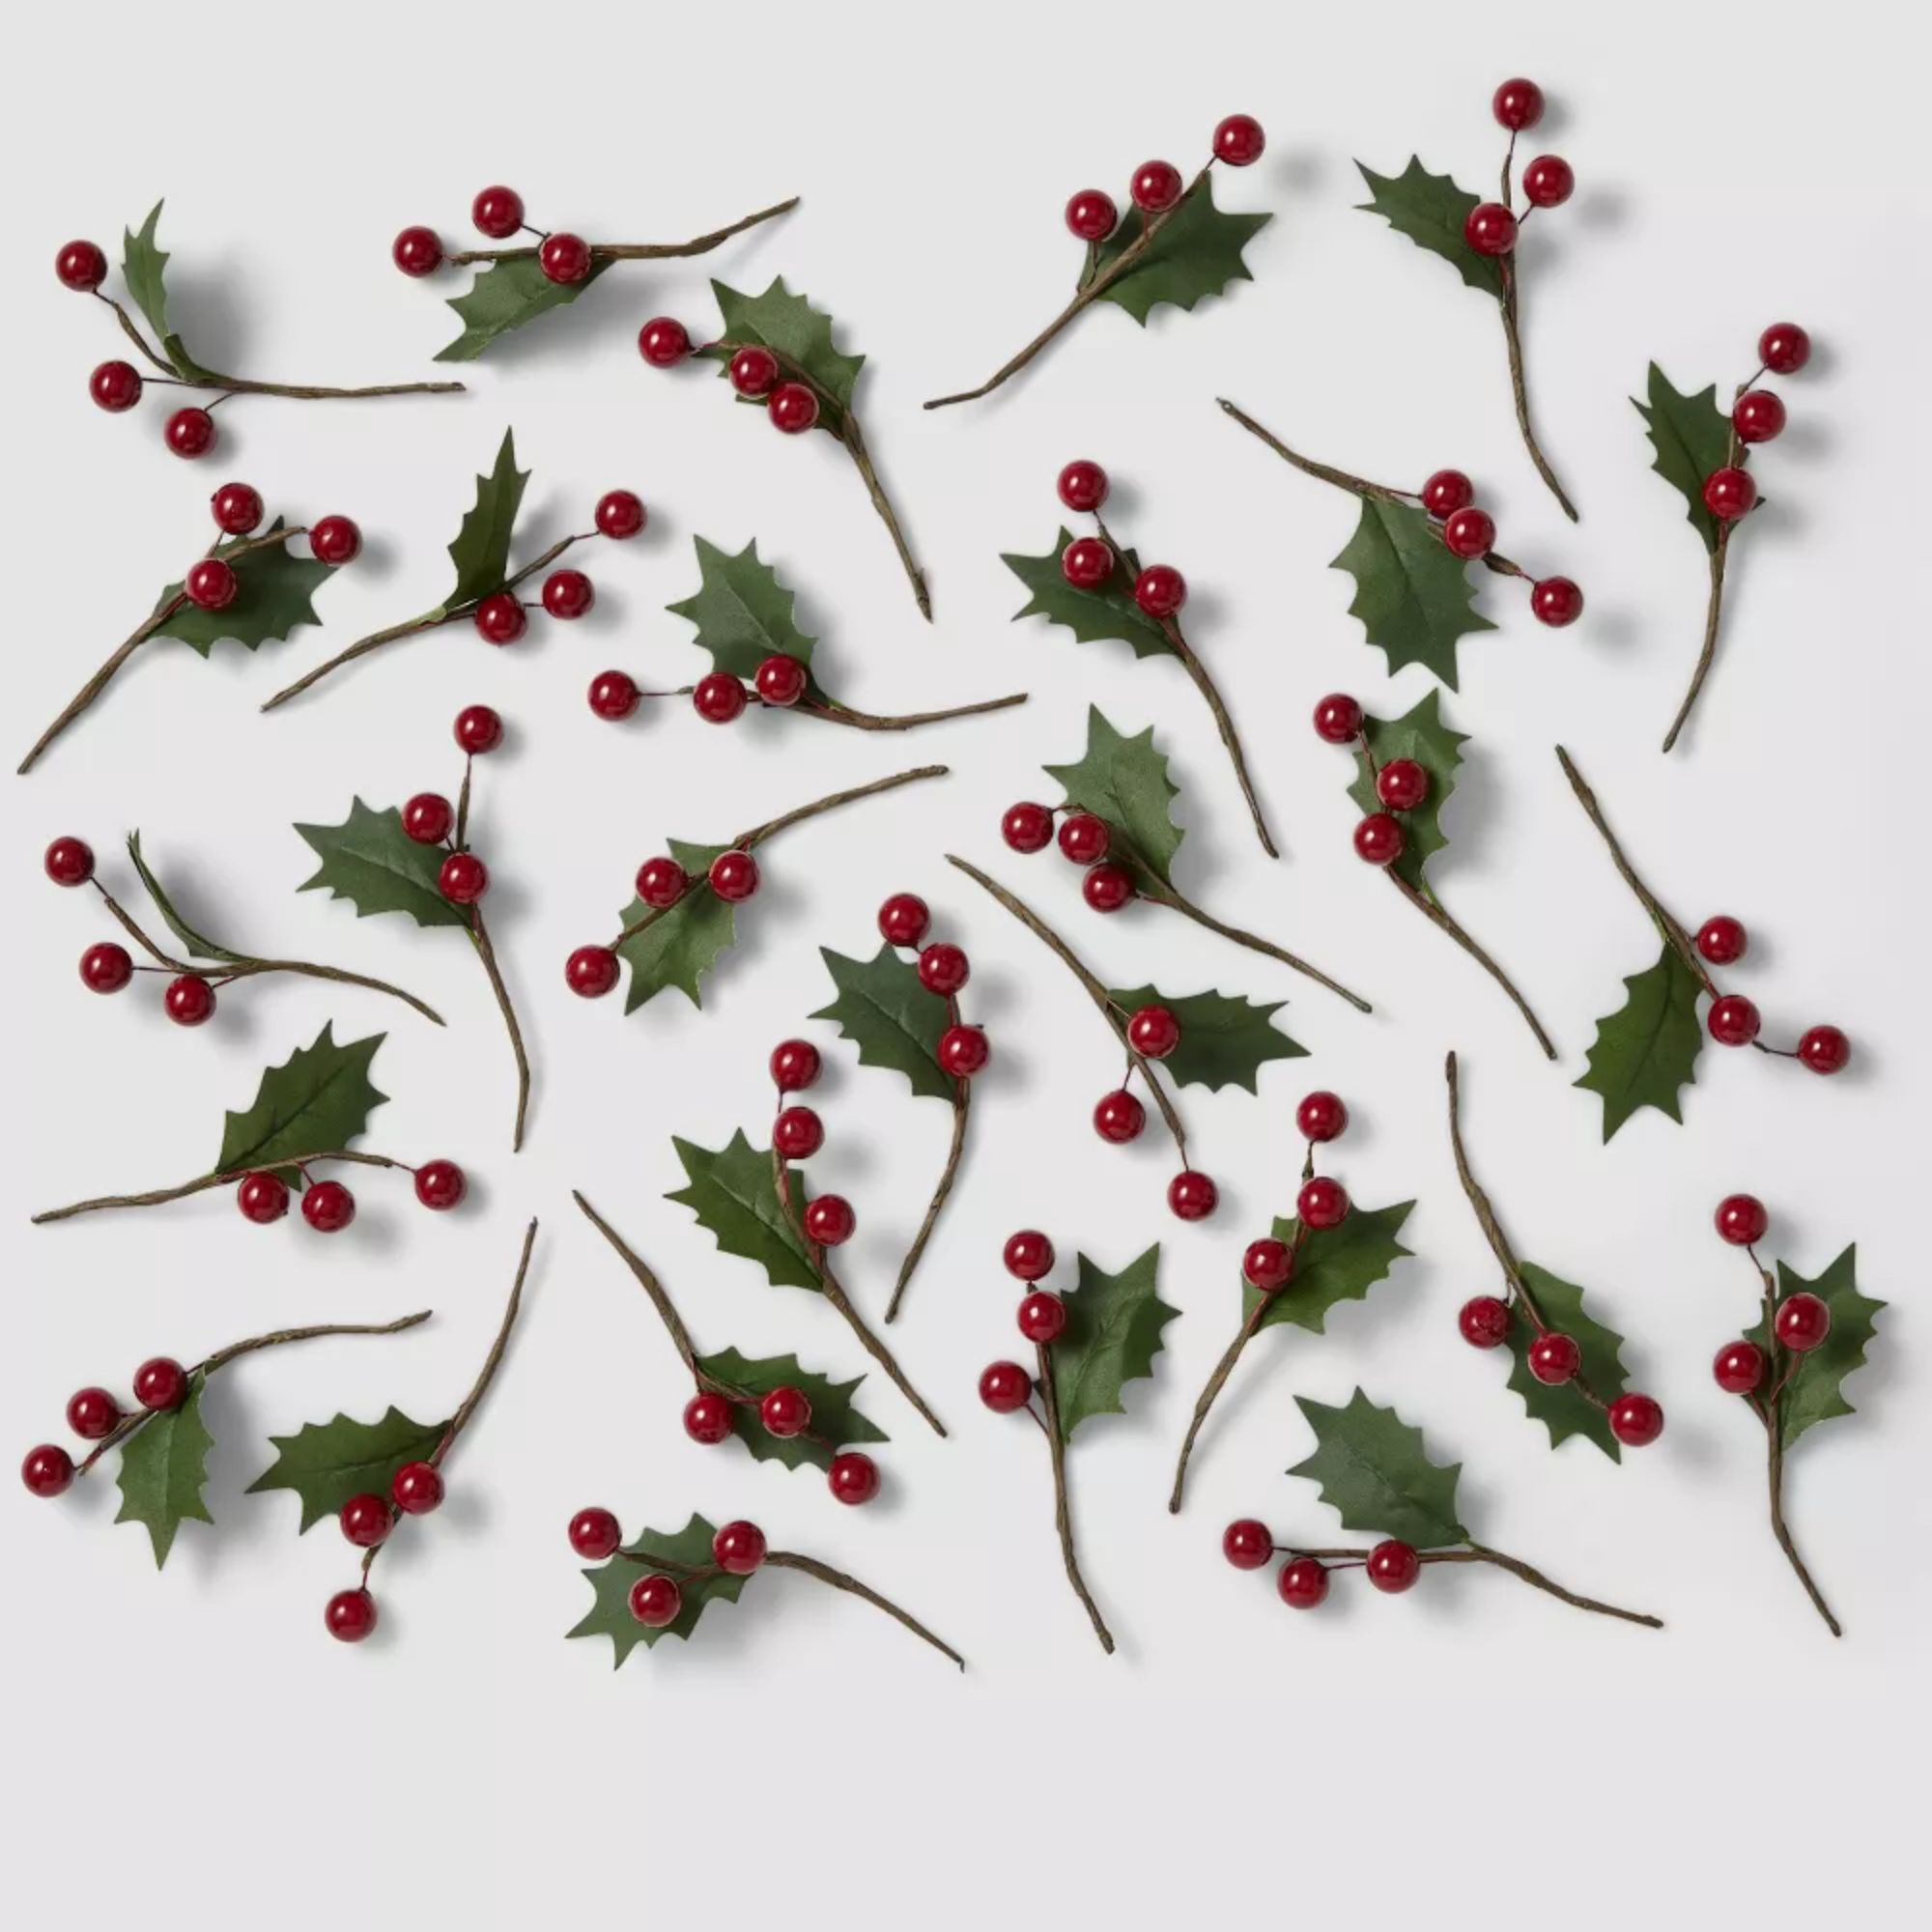
These faux berry sprigs are ideal for customizing your tree ornaments, or serving as a thoughtful finishing touch to your gift wrapping. You can even secure them using festive washi tape (also from Target).
Filling your home with DIY Christmas decorations is always a good idea, but there's no denying that crafting can feel a little chaotic at times. To curb the chaos, we asked experts how to store Christmas decorations properly – and which Christmas decor storage essentials you actually need.

Martha is a Content Editor on the Living team at Homes & Gardens. Her love for lifestyle journalism began when she interned at Time Out Dubai when she was 15 years old; she went on to study English and German at Oxford, before covering property and interior design at Country & Town House magazine. To Martha, living beautifully is all about good food and lots of colorful home decor.