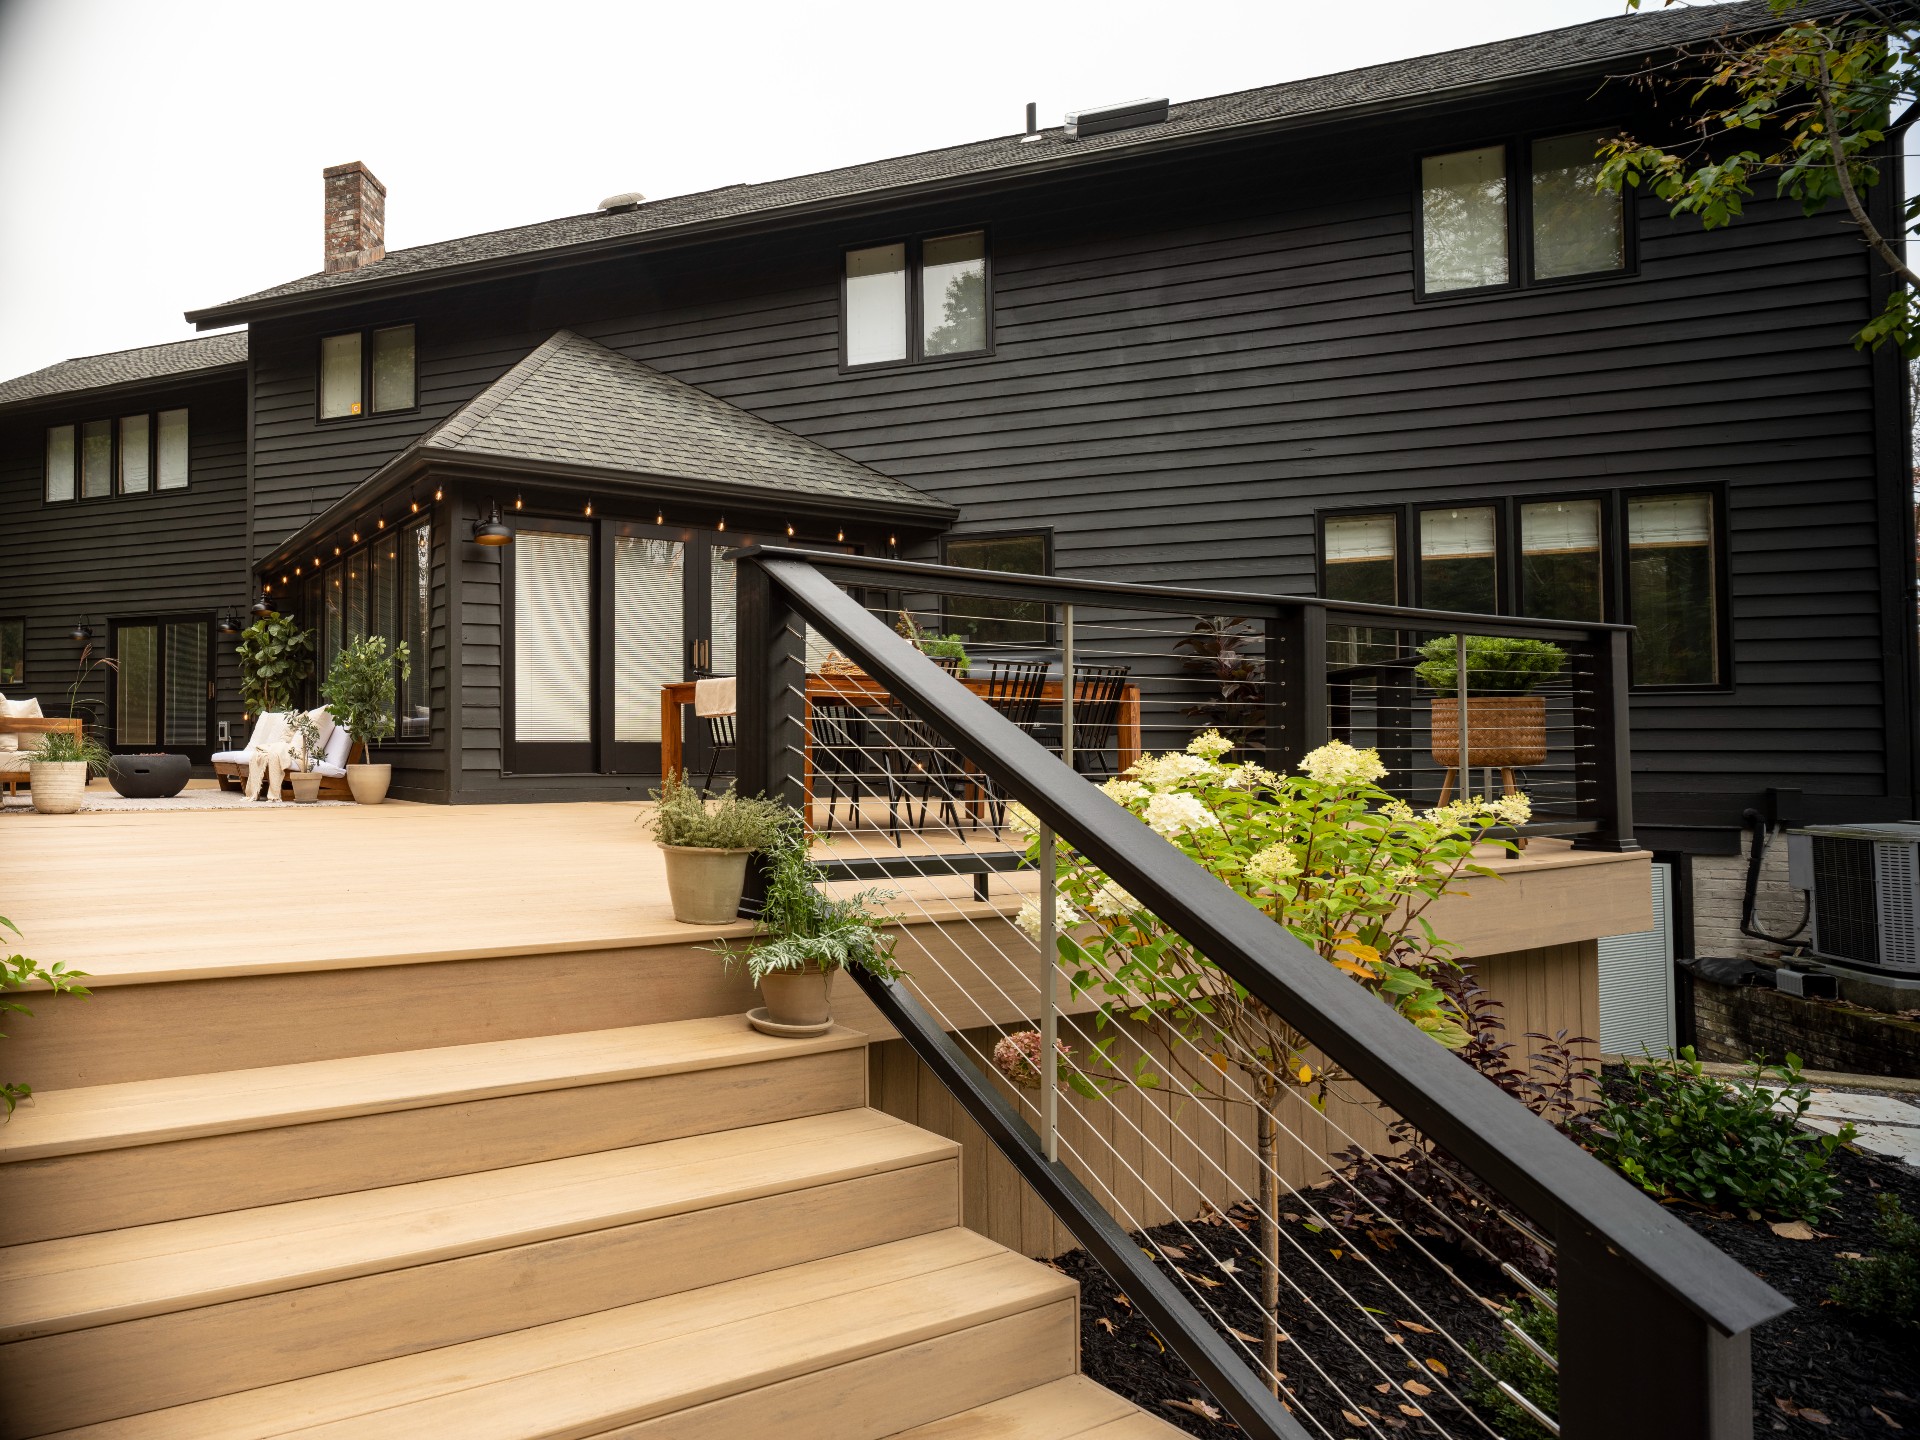
How to build deck stairs – expert advice and tips
Discover how to build deck stairs to connect your raised seating or entertaining area to the garden that surrounds it


If you want to know how to build deck stairs, it's likely that you've succumbed to the lure of this backyard feature. In the summer it seems that every outdoor space is punctuated by a well-placed, beautifully-designed deck. If you’ve decided to take on the task of building one yourself, you’ll know that it requires careful planning, a decent grasp of mathematics and confident DIY credentials.
Whilst there are many elements that go into building a deck, mastering how to build the deck stairs is possibly one of the most important. The stairs will be used by everyone accessing the garden below and they should complement the overall look of your deck.
We’ve asked the experts for their advice on how to build deck stairs, ensuring they meet basic safety standards and they look great too.
How to build deck stairs
Before we tell you how, these are the basics of what you will need to build decking steps. The easiest way to do so is with a kit, though you can of course start from scratch.
You will need:
- Timber: 2in x 6in and 2in x 12in
- Deck screws
- L-brackets
- Stair stringers
- Stair treads
- Chalk line
- Circular saw
- Drill
- Handsaw
- Spirit level
- Safety goggles
1. Calculate the deck stair measurements
‘Stairs require many calculations and an expert carpenter to fabricate them,’ explains Steve Vanadia, president of Vanco Construction.
The first thing you need to do is find where your stairs will end, or where the landing spot will be.
Design expertise in your inbox – from inspiring decorating ideas and beautiful celebrity homes to practical gardening advice and shopping round-ups.
Lay a board from the top of your deck to the ground so you can start to calculate how high your stairs will be.
‘In short you divide the height from the top to the bottom by seven – this will allow for a very comfortable riser,’ says Steve.
‘Once you have that, you step off the stringer with a rafter square and allow for a 11in tread between each step,’ adds Steve. Alternately, use an online tool, which can help you work out all these measurements.
2. Assemble deck stairs
Start assembling your deck staircase by screwing the stair stringers to the bottom of the deck frame. Use L-brackets and long deck screws to attach the stringers to your deck.
Then you will need to cut the risers to fit the stringer. Set a riser against the edges of the stringers facing out and mark out guidelines where the riser needs to be trimmed to fit.
Use a circular saw to trim the riser, cutting along the guidelines until you cut through the whole board. Repeat the process until all of the risers have been cut to size. Then attach the risers with 3in deck screws. Finally, trim the treads and drill them into the staircase.
3. Add a handrail
Once you have finished your stairs, you will want to consider adding a handrail. James Bruteon, CEO of sustainable building materials supplier, Envirobuild advises you to check city codes and safety regulations before you buy a pre-made handrail.
‘There are standards to do with balustrade height, railings and loading capacity, as these could become real hazards’ explains James.
If you plan to buy a pre-made handrail, remember that they can always be cut down to size or adapted to make them work.
What is the formula for deck stairs?
The formula for deck stairs will help you work out the best number of risers to get from top to bottom. The formula is discovered by: measuring your deck height in inches and dividing it by seven. If you get a whole number, add a riser; if you get a decimal number, round it down.
What is a deck stair stringer?
A deck stair stringer refers to the housing on either side of a flight of stairs, into which the treads and risers are fixed. You can buy pre-cut stringers at your local DIY store and measure their height and length.
If they are longer than you need, you can cut them to size. To cut a stringer to size, cut it from the bottom, it doesn’t matter if the bottom step is not as high as the others.
There are other parts of the staircase you will need to be aware of too. ‘Stair treads are the horizontal boards that you step on and the risers are the boards installed on the ends to cover the vertical spaces,’ confirms a spokesperson for online support service Decks.com.

Steph Hendries is a freelance journalist who has contributed to many different interiors websites including Homes & Gardens, Ideal Home and Livingetc. She has also worked on a range of social content for property brands such as Zoopla and Boomin. Steph writes for Homes & Gardens Solved section, concentrating on DIY, how to, cleaning and organizing content.