How to plant a hedge – and create a beautiful boundary
A step-by-step expert guide for creating a natural barrier with year-round interest, and why now is the ideal time to get planting
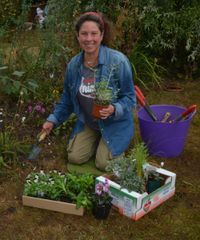
Hedges are one of the oldest forms of land management - it is thought that Neolithic tribes used hedges 6000 years ago to enclose land for cereal crops.
Hedges are relatively easy to plant and we still use them in many different ways today, to create a natural boundary, for privacy, to attract wildlife or to act as a windbreak to create shelter for our yard.
When we moved into our house the backyard was backed by a 30ft tall, 10ft deep dying hedge of leylandii conifers. It looked a mess, blocked out a lot of light and took up a lot of room. We hired a professional team to remove the trees and grub out the trunks, and replaced it with a selection of bare root trees - beech, hazel, guelder rose, hawthorn and wild rose.
They were tiny when we planted them but grew fast and now, eight years later, we have a hedge that produces flowers and creates an attractive green barrier in spring and summer, with masses of berries, hips and delicious hazelnuts in the fall, as well as jaunty yellow hazel catkins in late winter. In fact many of the berries and hips stay in place all winter, offering glowing pops of color when everything else is dull and brown.
Hedges can come in many forms and are an integral part of garden design. Here I take you through all the steps of planting a hedge in your yard.
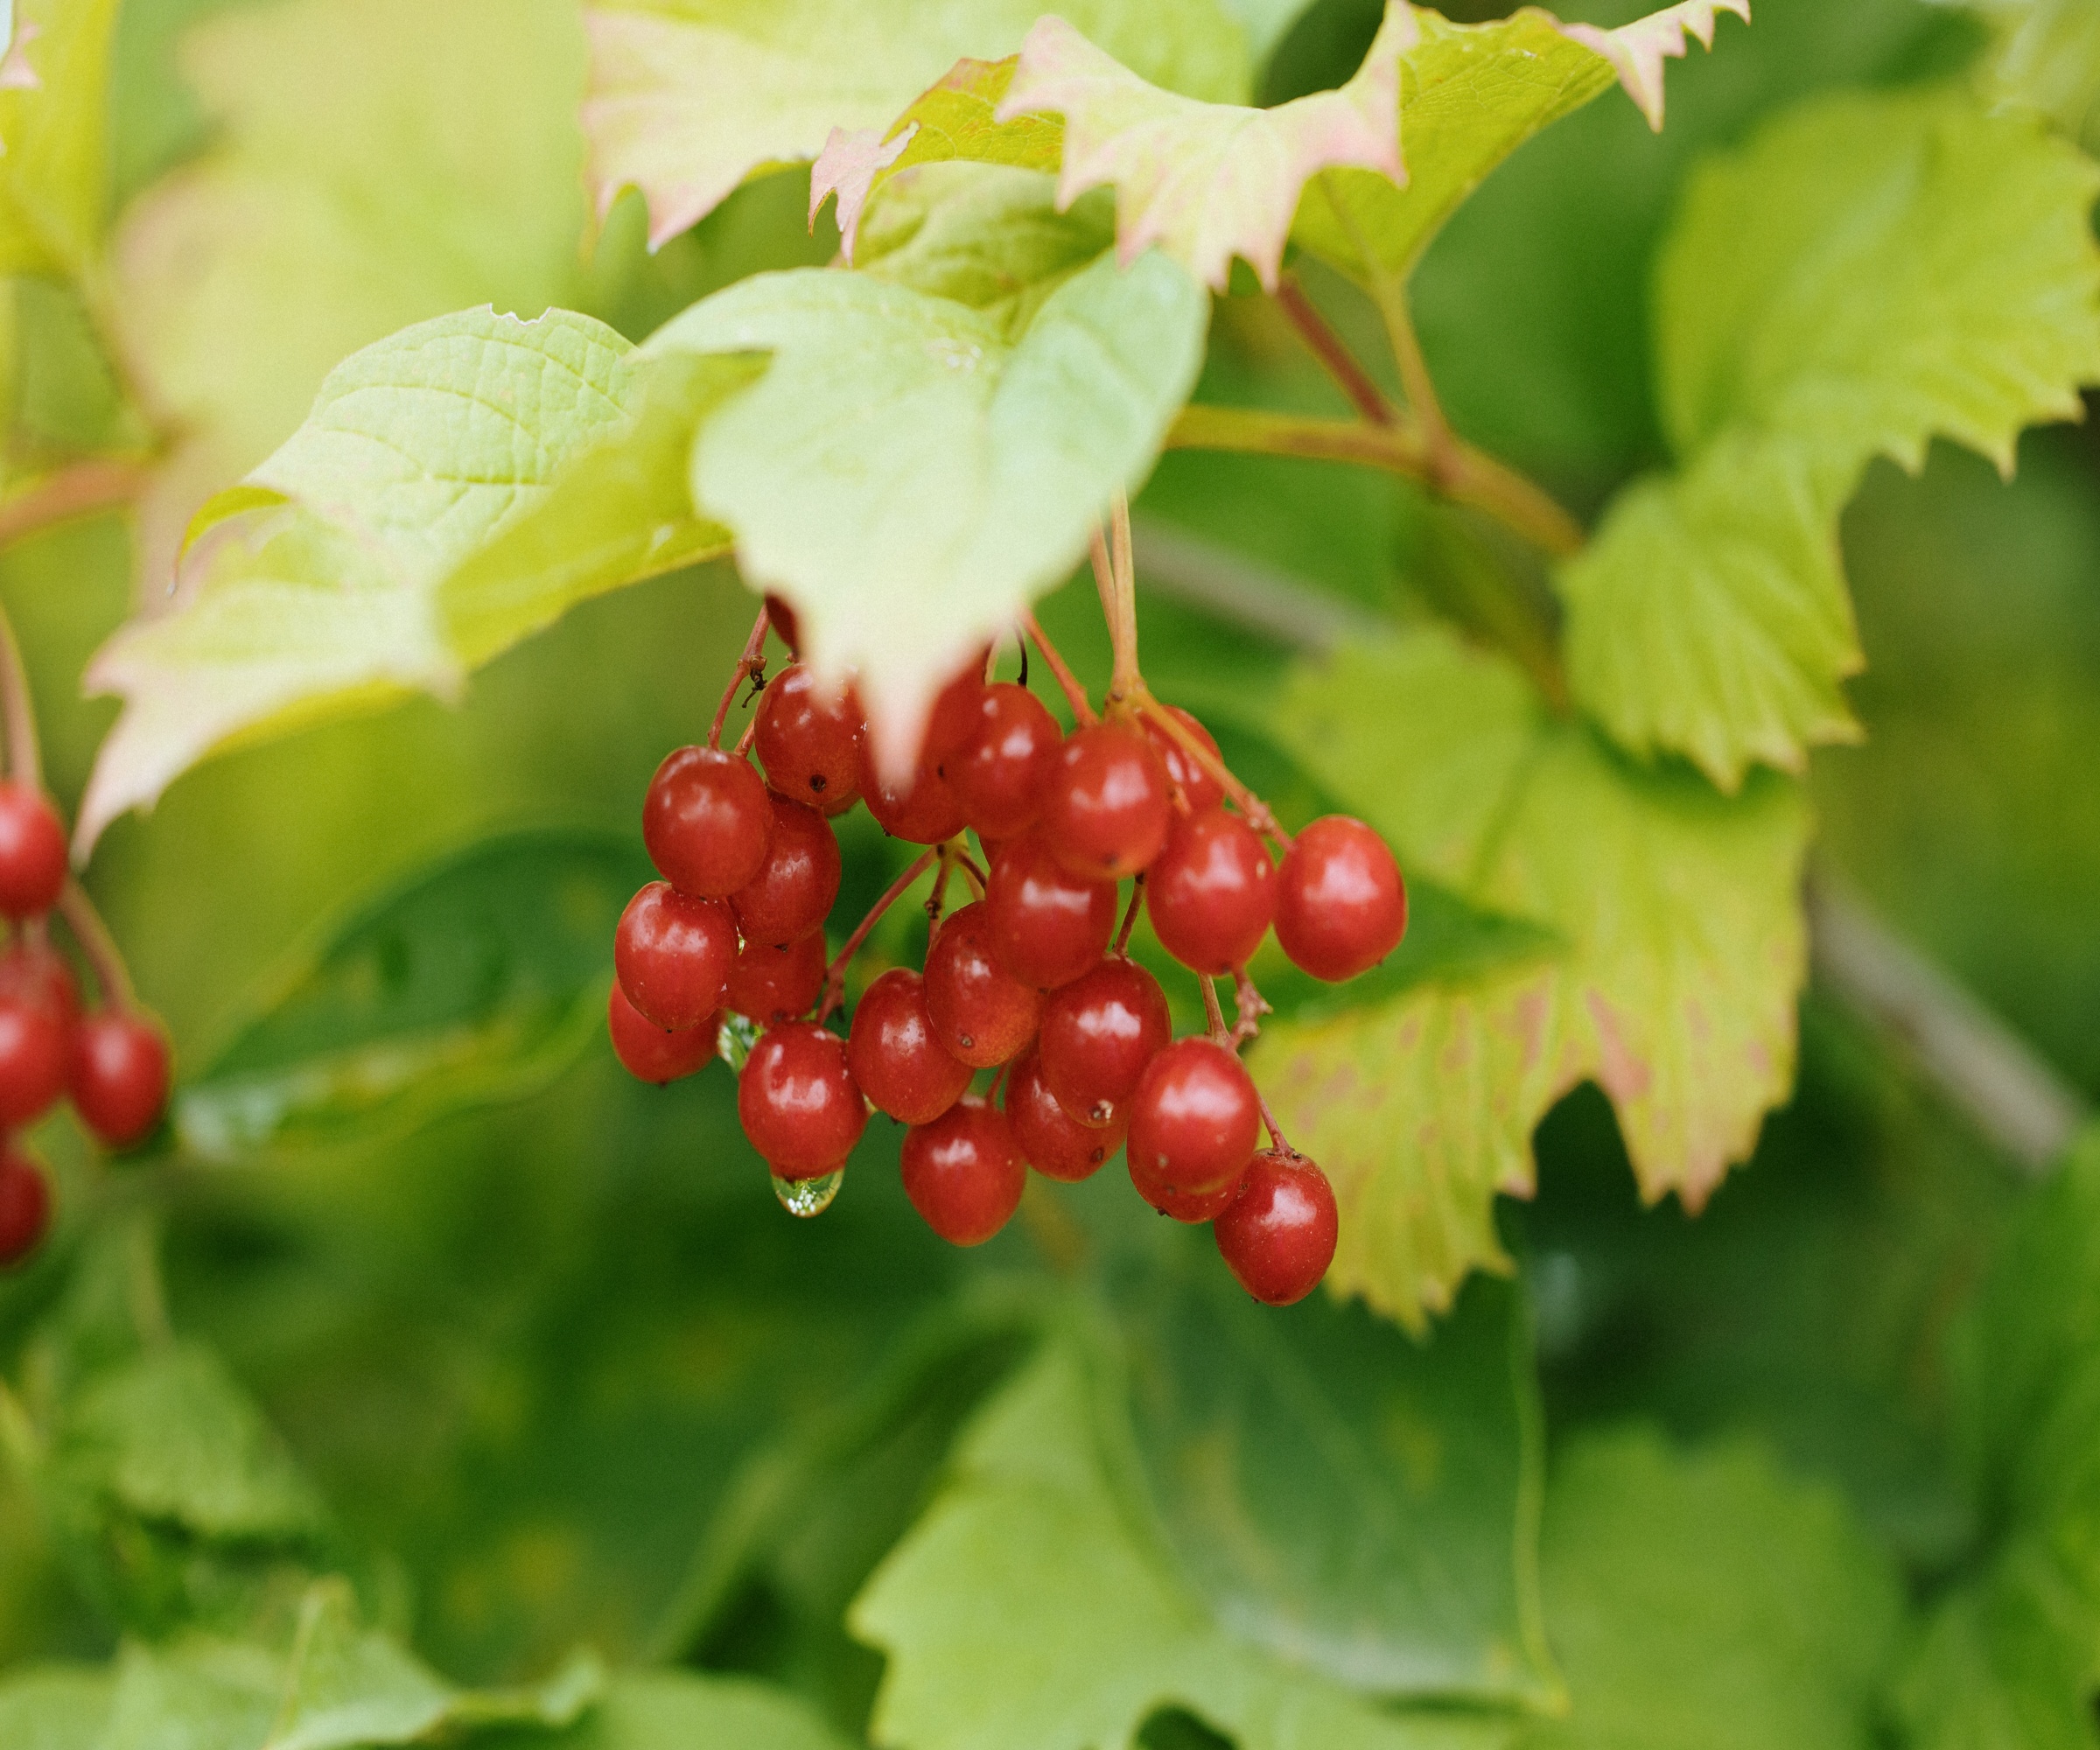
We included guelder rose shrubs in our hedge to privide white flowers in summer and red berries in fall and winter
What to consider before planting a hedge
We plant hedges for many reasons: to increase our security and privacy; to create a boundary more attractive than a fence; and to provide food and shelter for local birdlife, insects and wildlife.
Before you start planting your hedge you need to think carefully about how it will affect your yard.
Design expertise in your inbox – from inspiring decorating ideas and beautiful celebrity homes to practical gardening advice and shopping round-ups.
Consider the height and density of the trees and shrubs you use for hedging plants. Do you want evergreen or deciduous plants, or a mix of the two? Do you need it to be fast growing?Do you want fragrant hedge plants?
Consider where your hedge will go - if you are planting it on an exposed slope you will need more resistant trees than in a more sheltered area of garden. You should also measure the intended length and depth of your hedge and calculate how many trees you will need to buy.
With the answers to these key questions in mind, here is my step-by-step expert guide to planting a hedge in your yard.
Decide when to plant your hedge
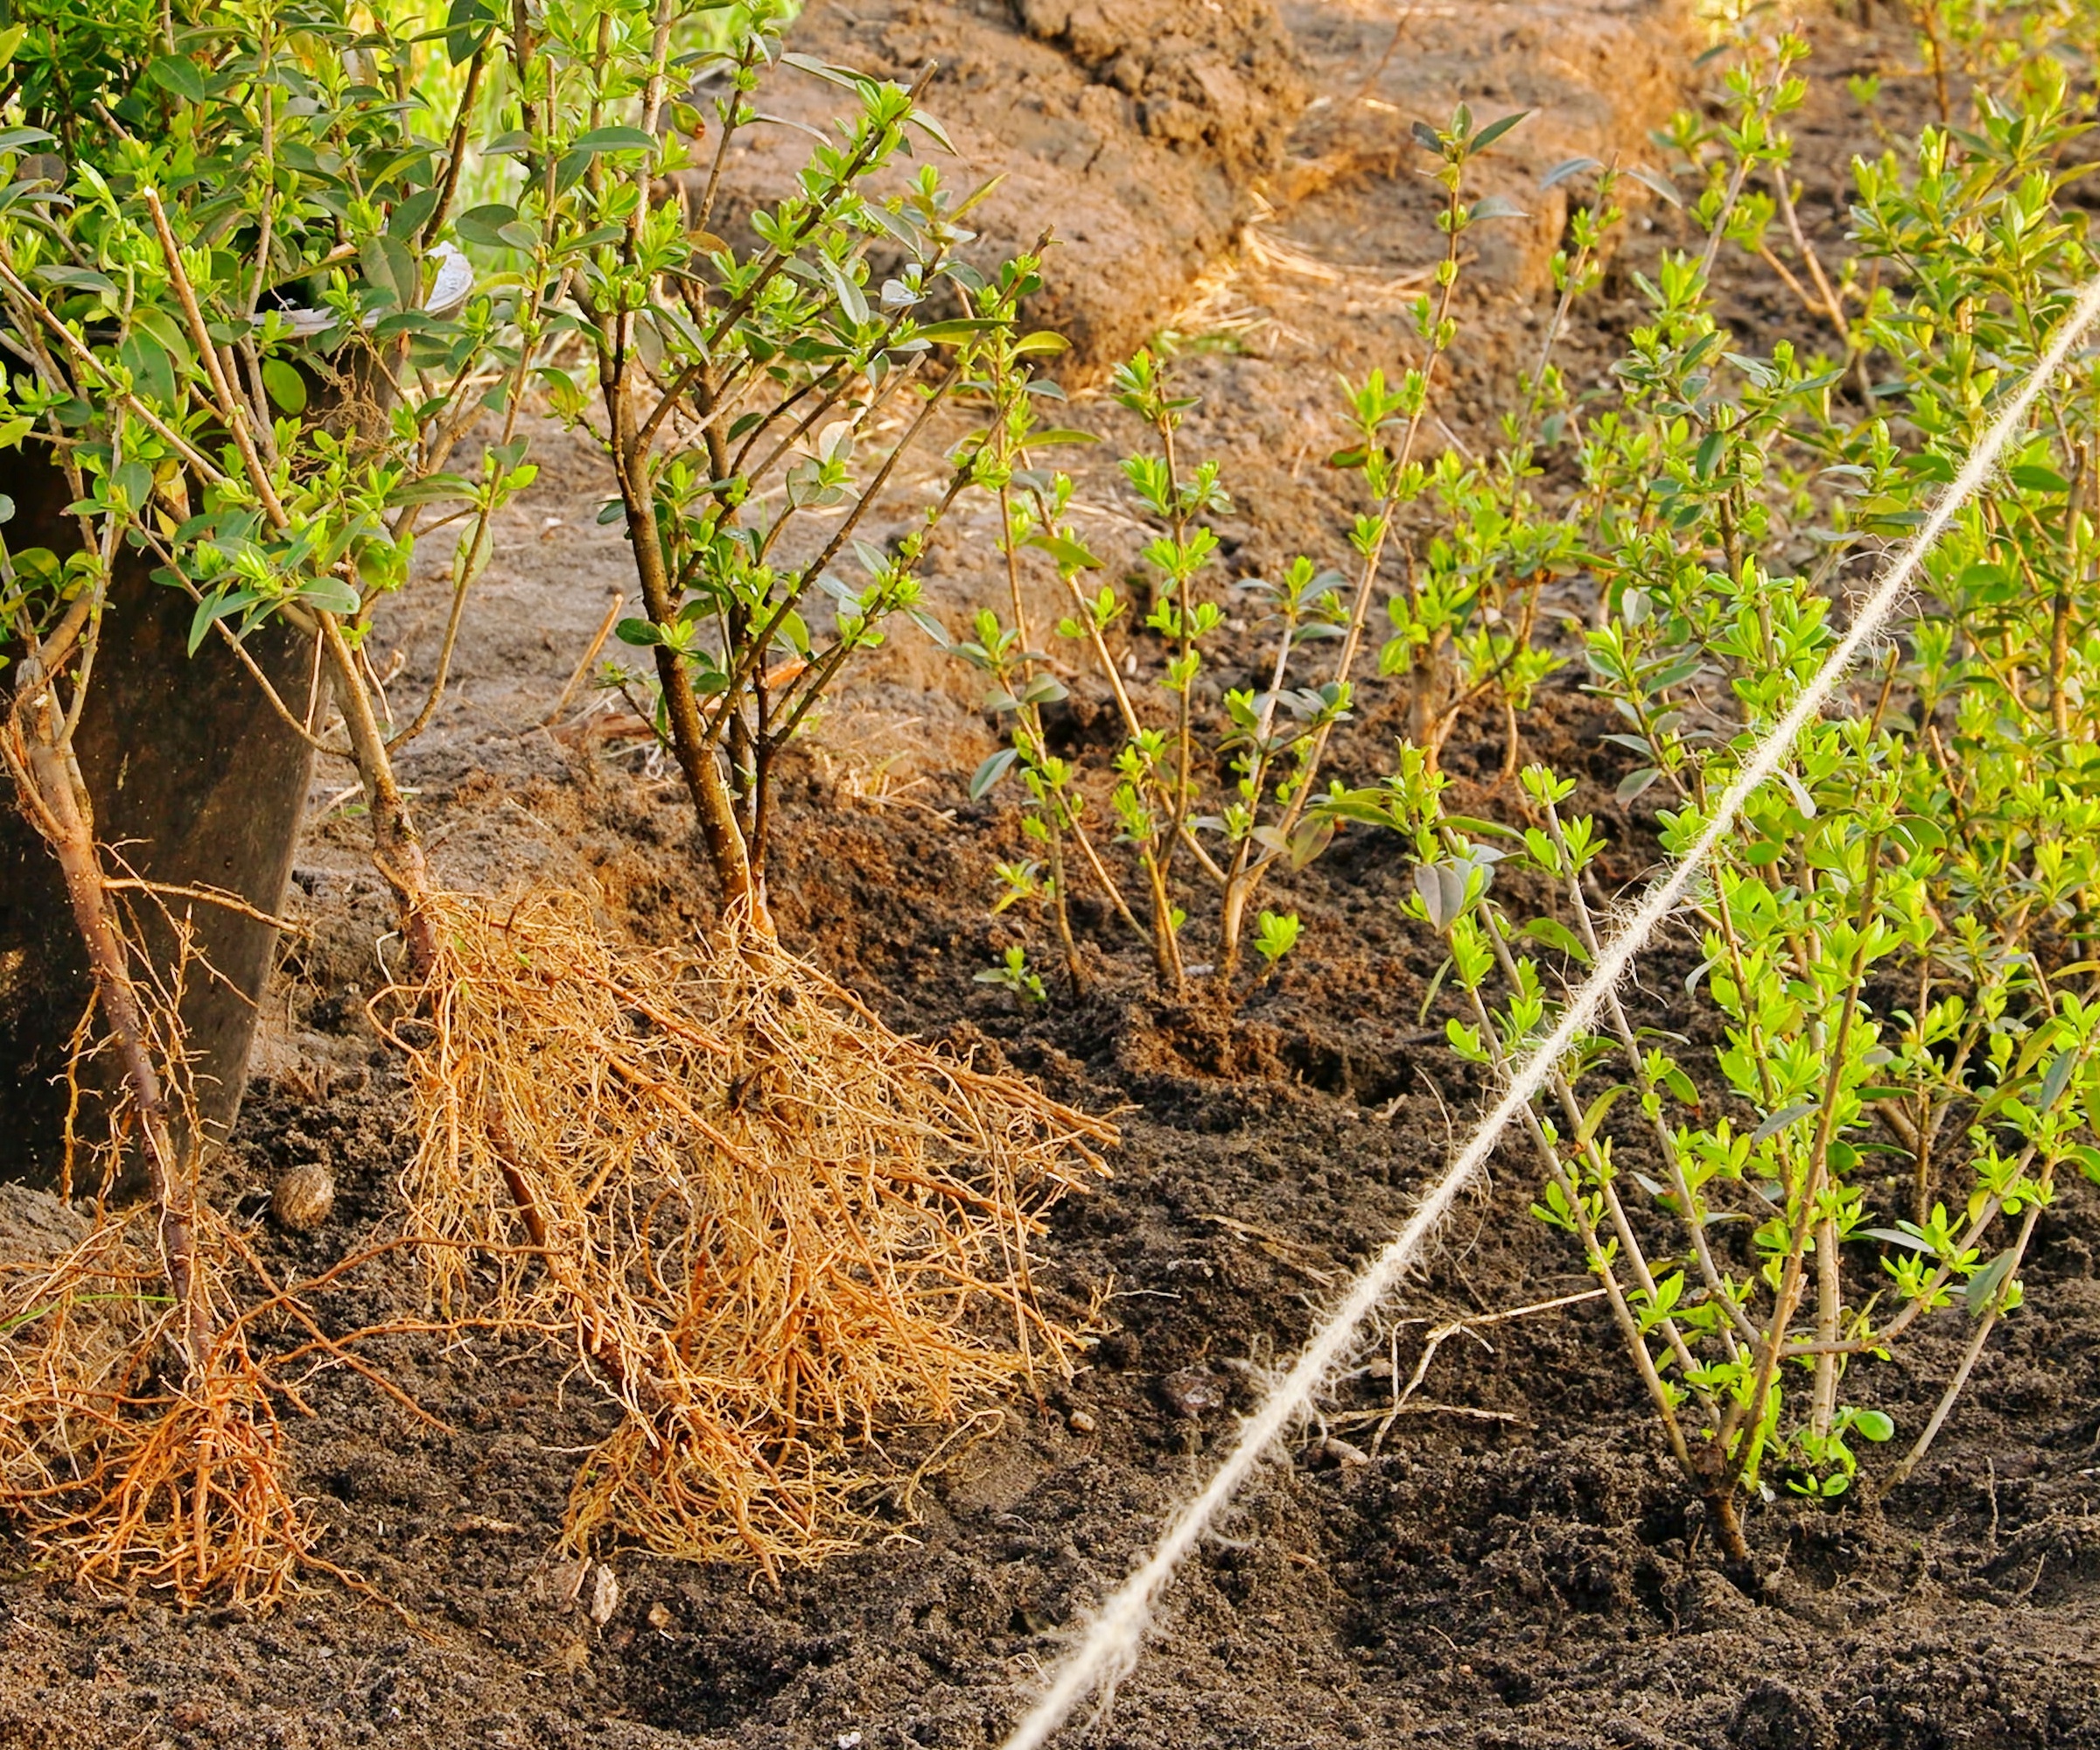
The best time to plant a hedge is spring or fall when the ground is workable
Spring, when the soil is damp and warming up, and fall when the summer sun has warmed the soil, are usually the best times for planting a hedge.
However, if you are using bare root plants then winter is the key time when they are dormant.
Summer is not a good time because the soil is more likely to be dry and you may have to spend a lot of time watering.
As soon as spring rolls around and the temperature rises they will soon start to grow. However, never plant when the soil is waterlogged or frozen. If your hedging arrives and you find the soil is unworkable, potted plants will be happy in their containers for a few weeks.
Bare root plants can be kept somewhere cool and shady with their roots damp and wrapped for a few days, but after that will need potting up or temporarily planted somewhere sheltered until their final growing spot is ready.
Gather the tools and equipment you need
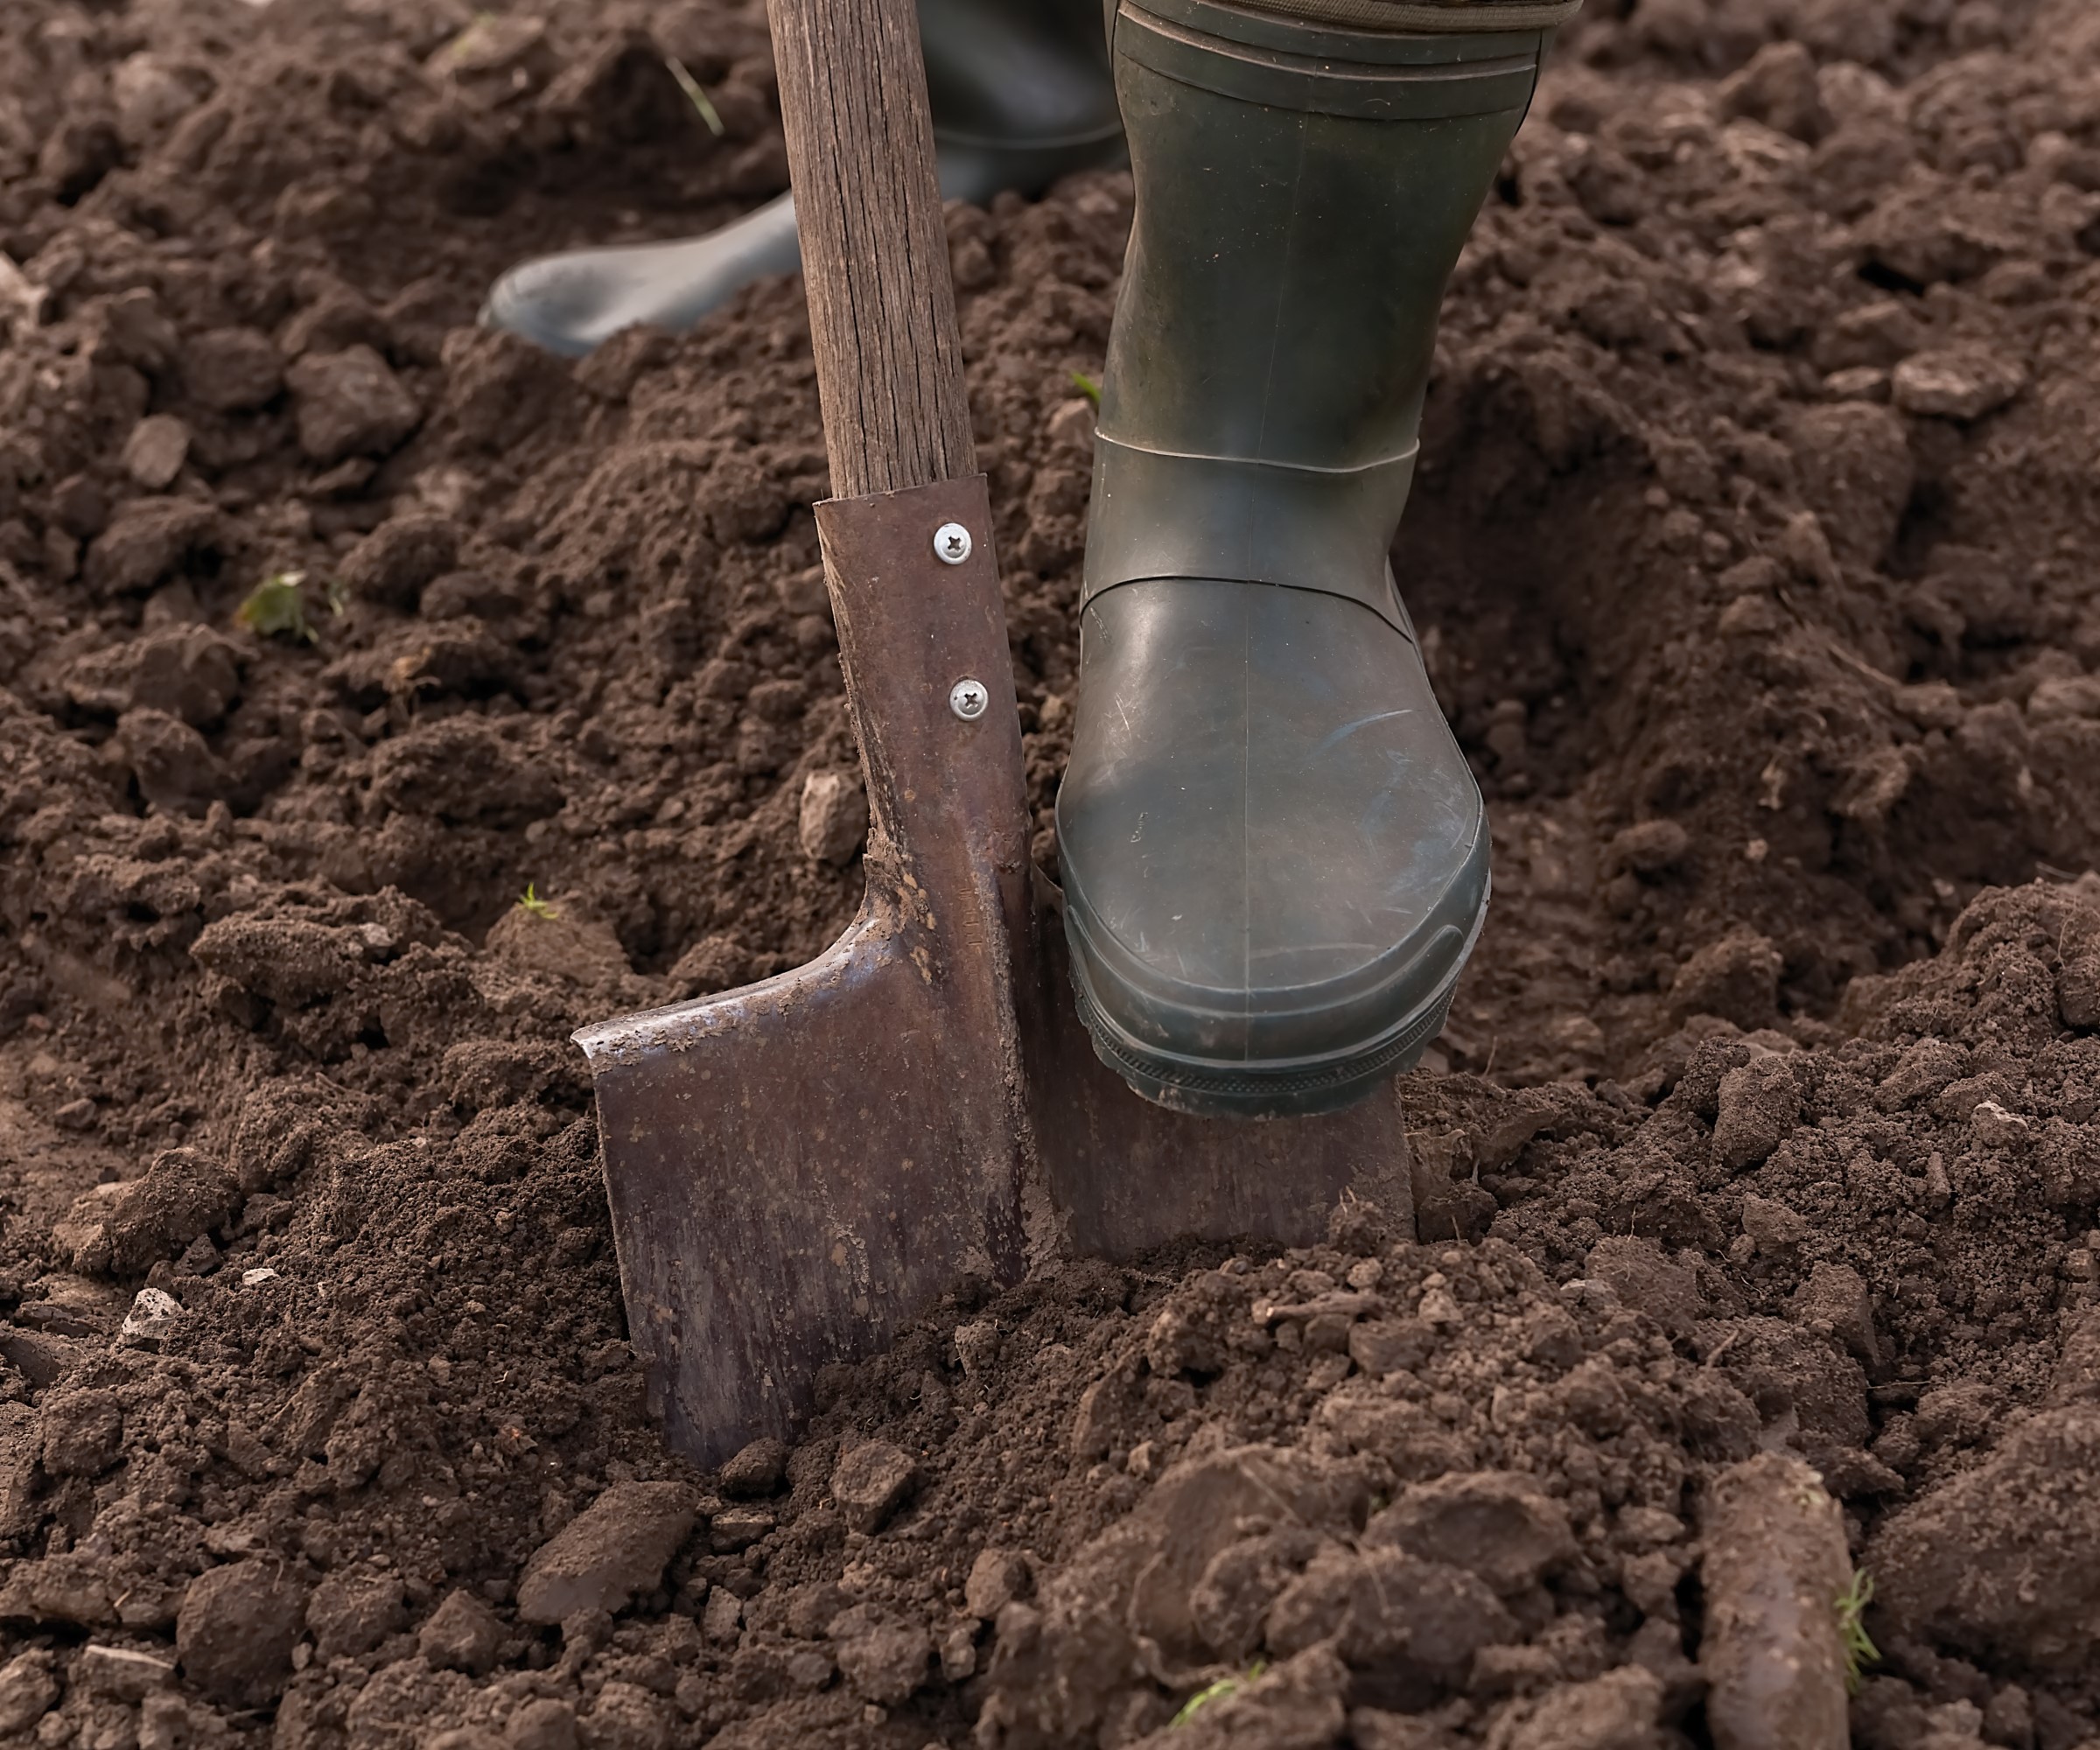
There are a few essential tools you need when planting a hedge, including a sturdy spade
Once you have settled on a spot for your hedge and chosen your plants you will need to have the right equipment. This may include:
- A sturdy spade like this one by Berry&Bird on Amazon
- Tape measure
- Mycorrhizal fungi, such as Trifecta Myco Supreme on Amazon
- Weed blocking fabric, like this Sunifier roll on Amazon
- General fertiliser
- Compost and/or manure
- Tree stakes
- Tree ties like this cuttable roll of Easyflex on Amazon
Plot the line of your hedge
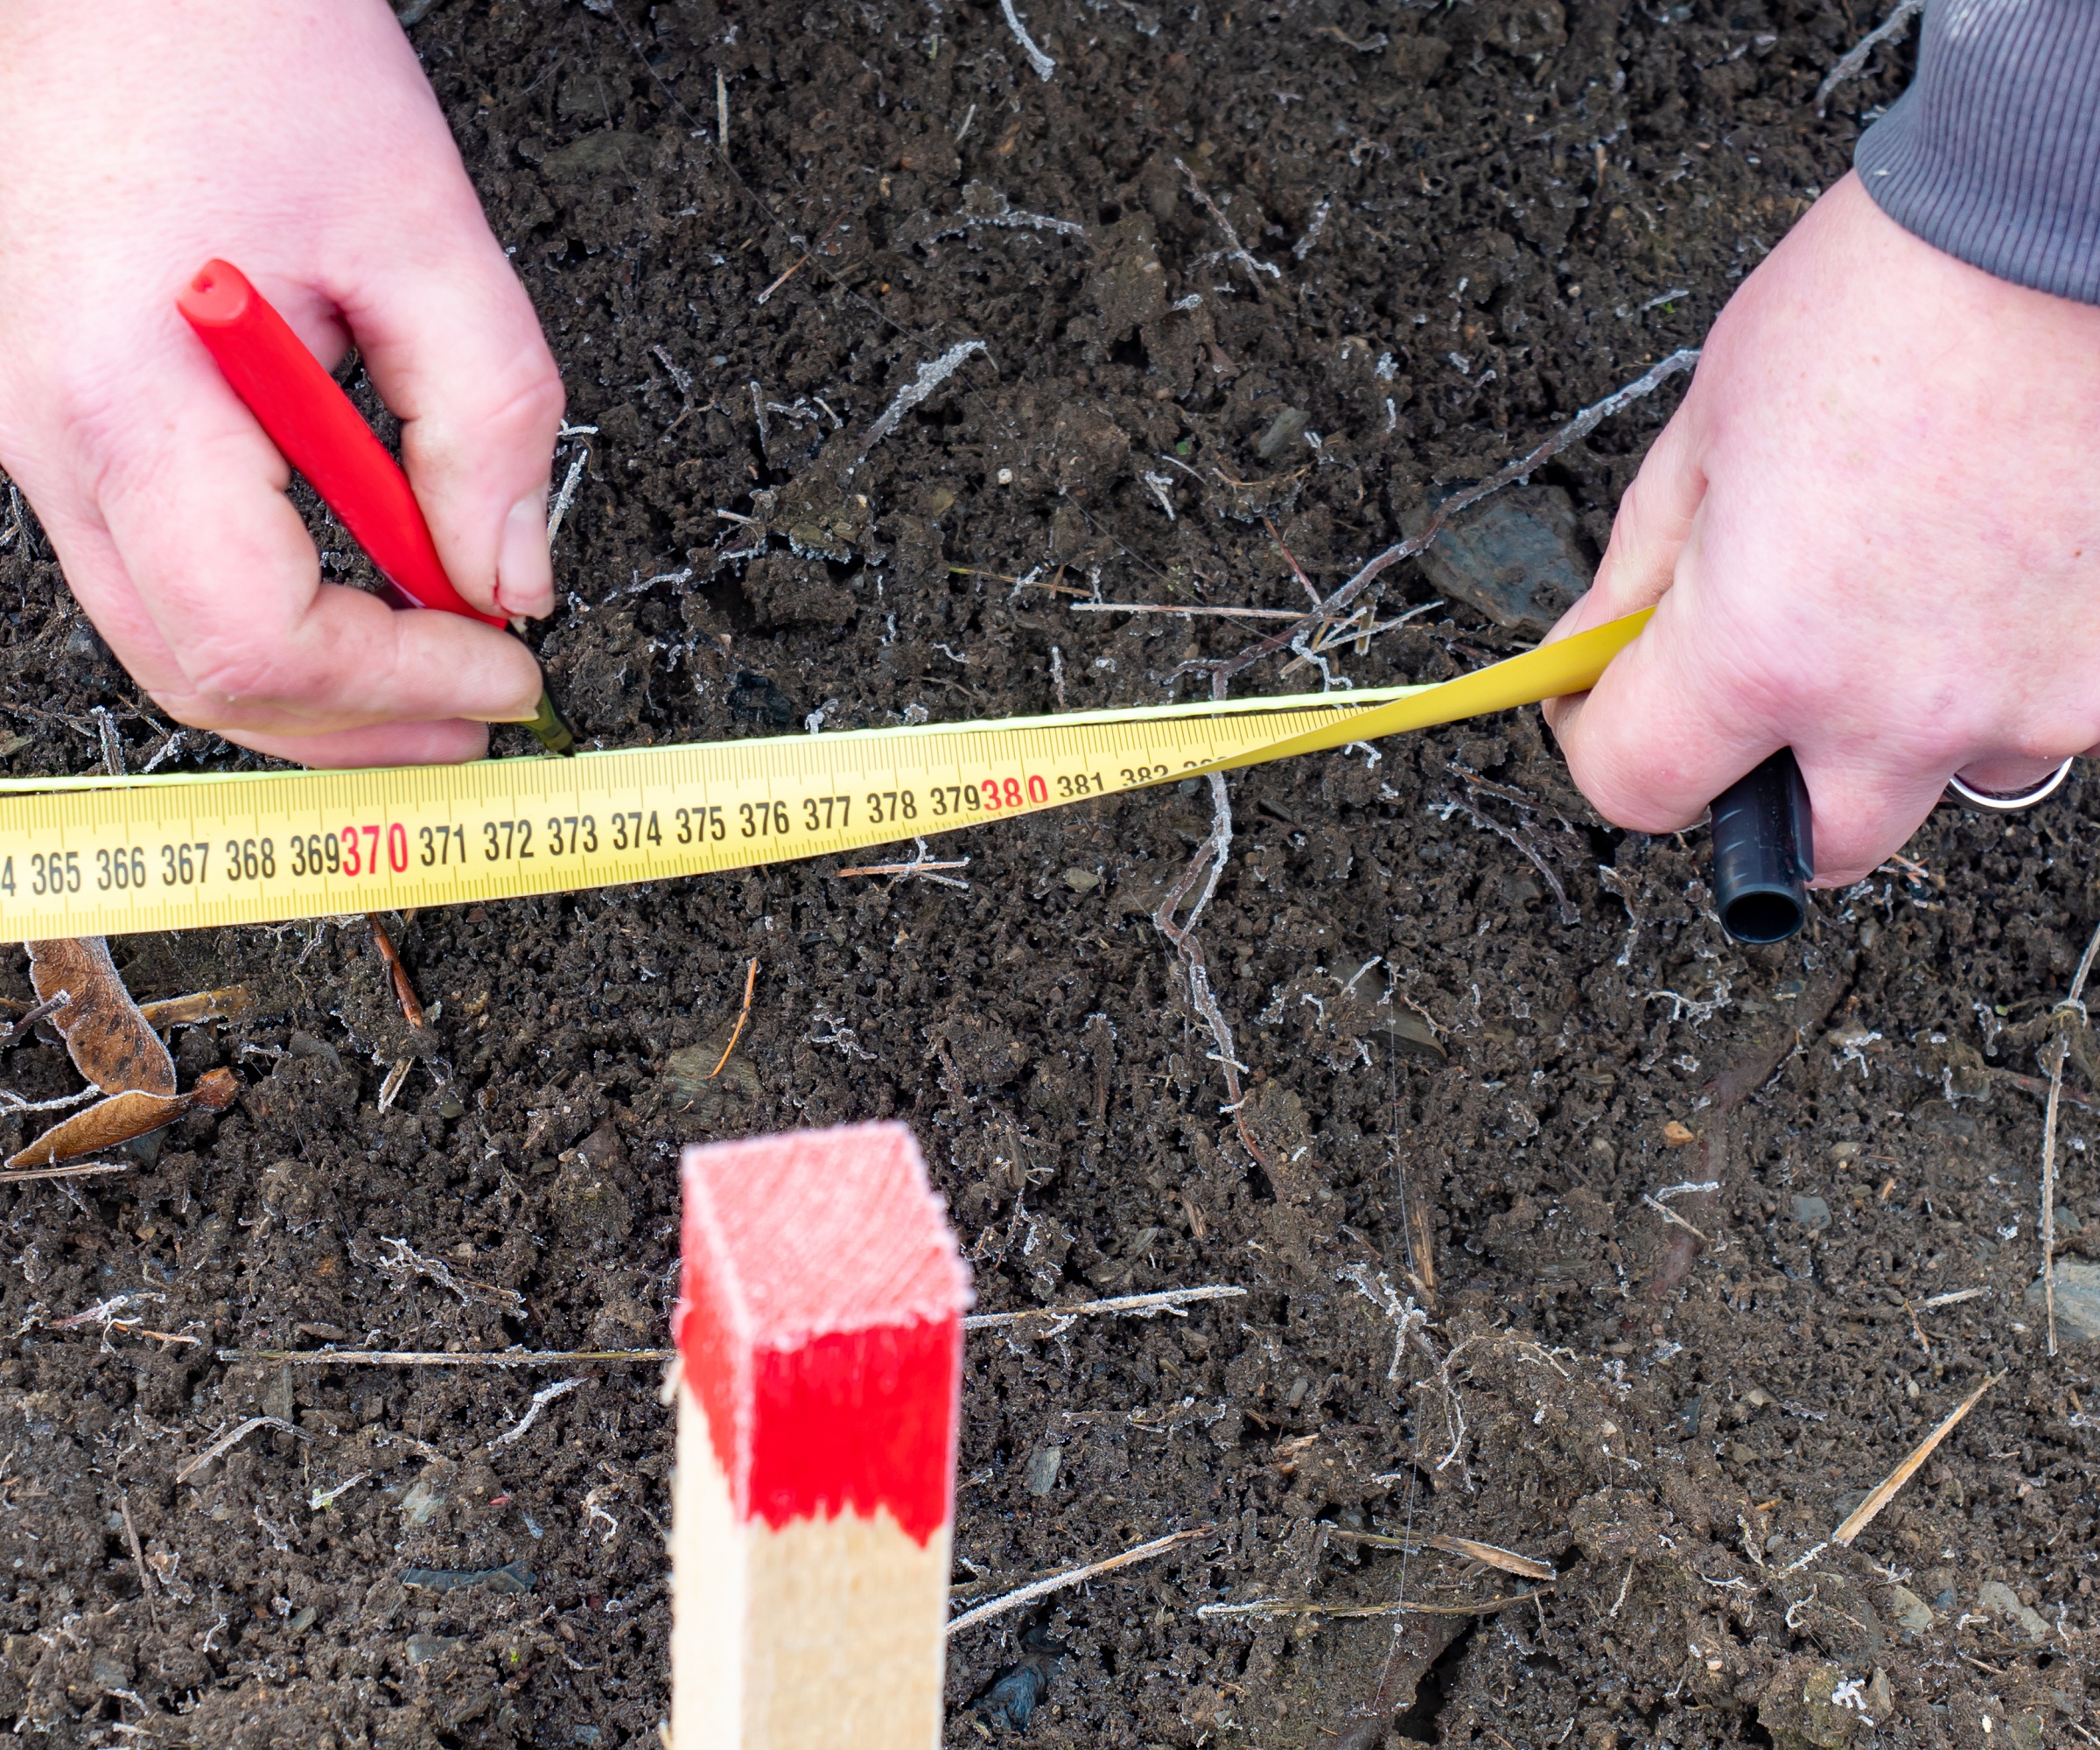
Measure the length and width of your hedge before buying plants
Measure and mark the length and depth of your proposed hedge, whether it is straight or curved.
Ideally make sure there is no essential access to utilities - water, gas, electricity - under the ground where your hedge will be.
Calculate the number of plants you need
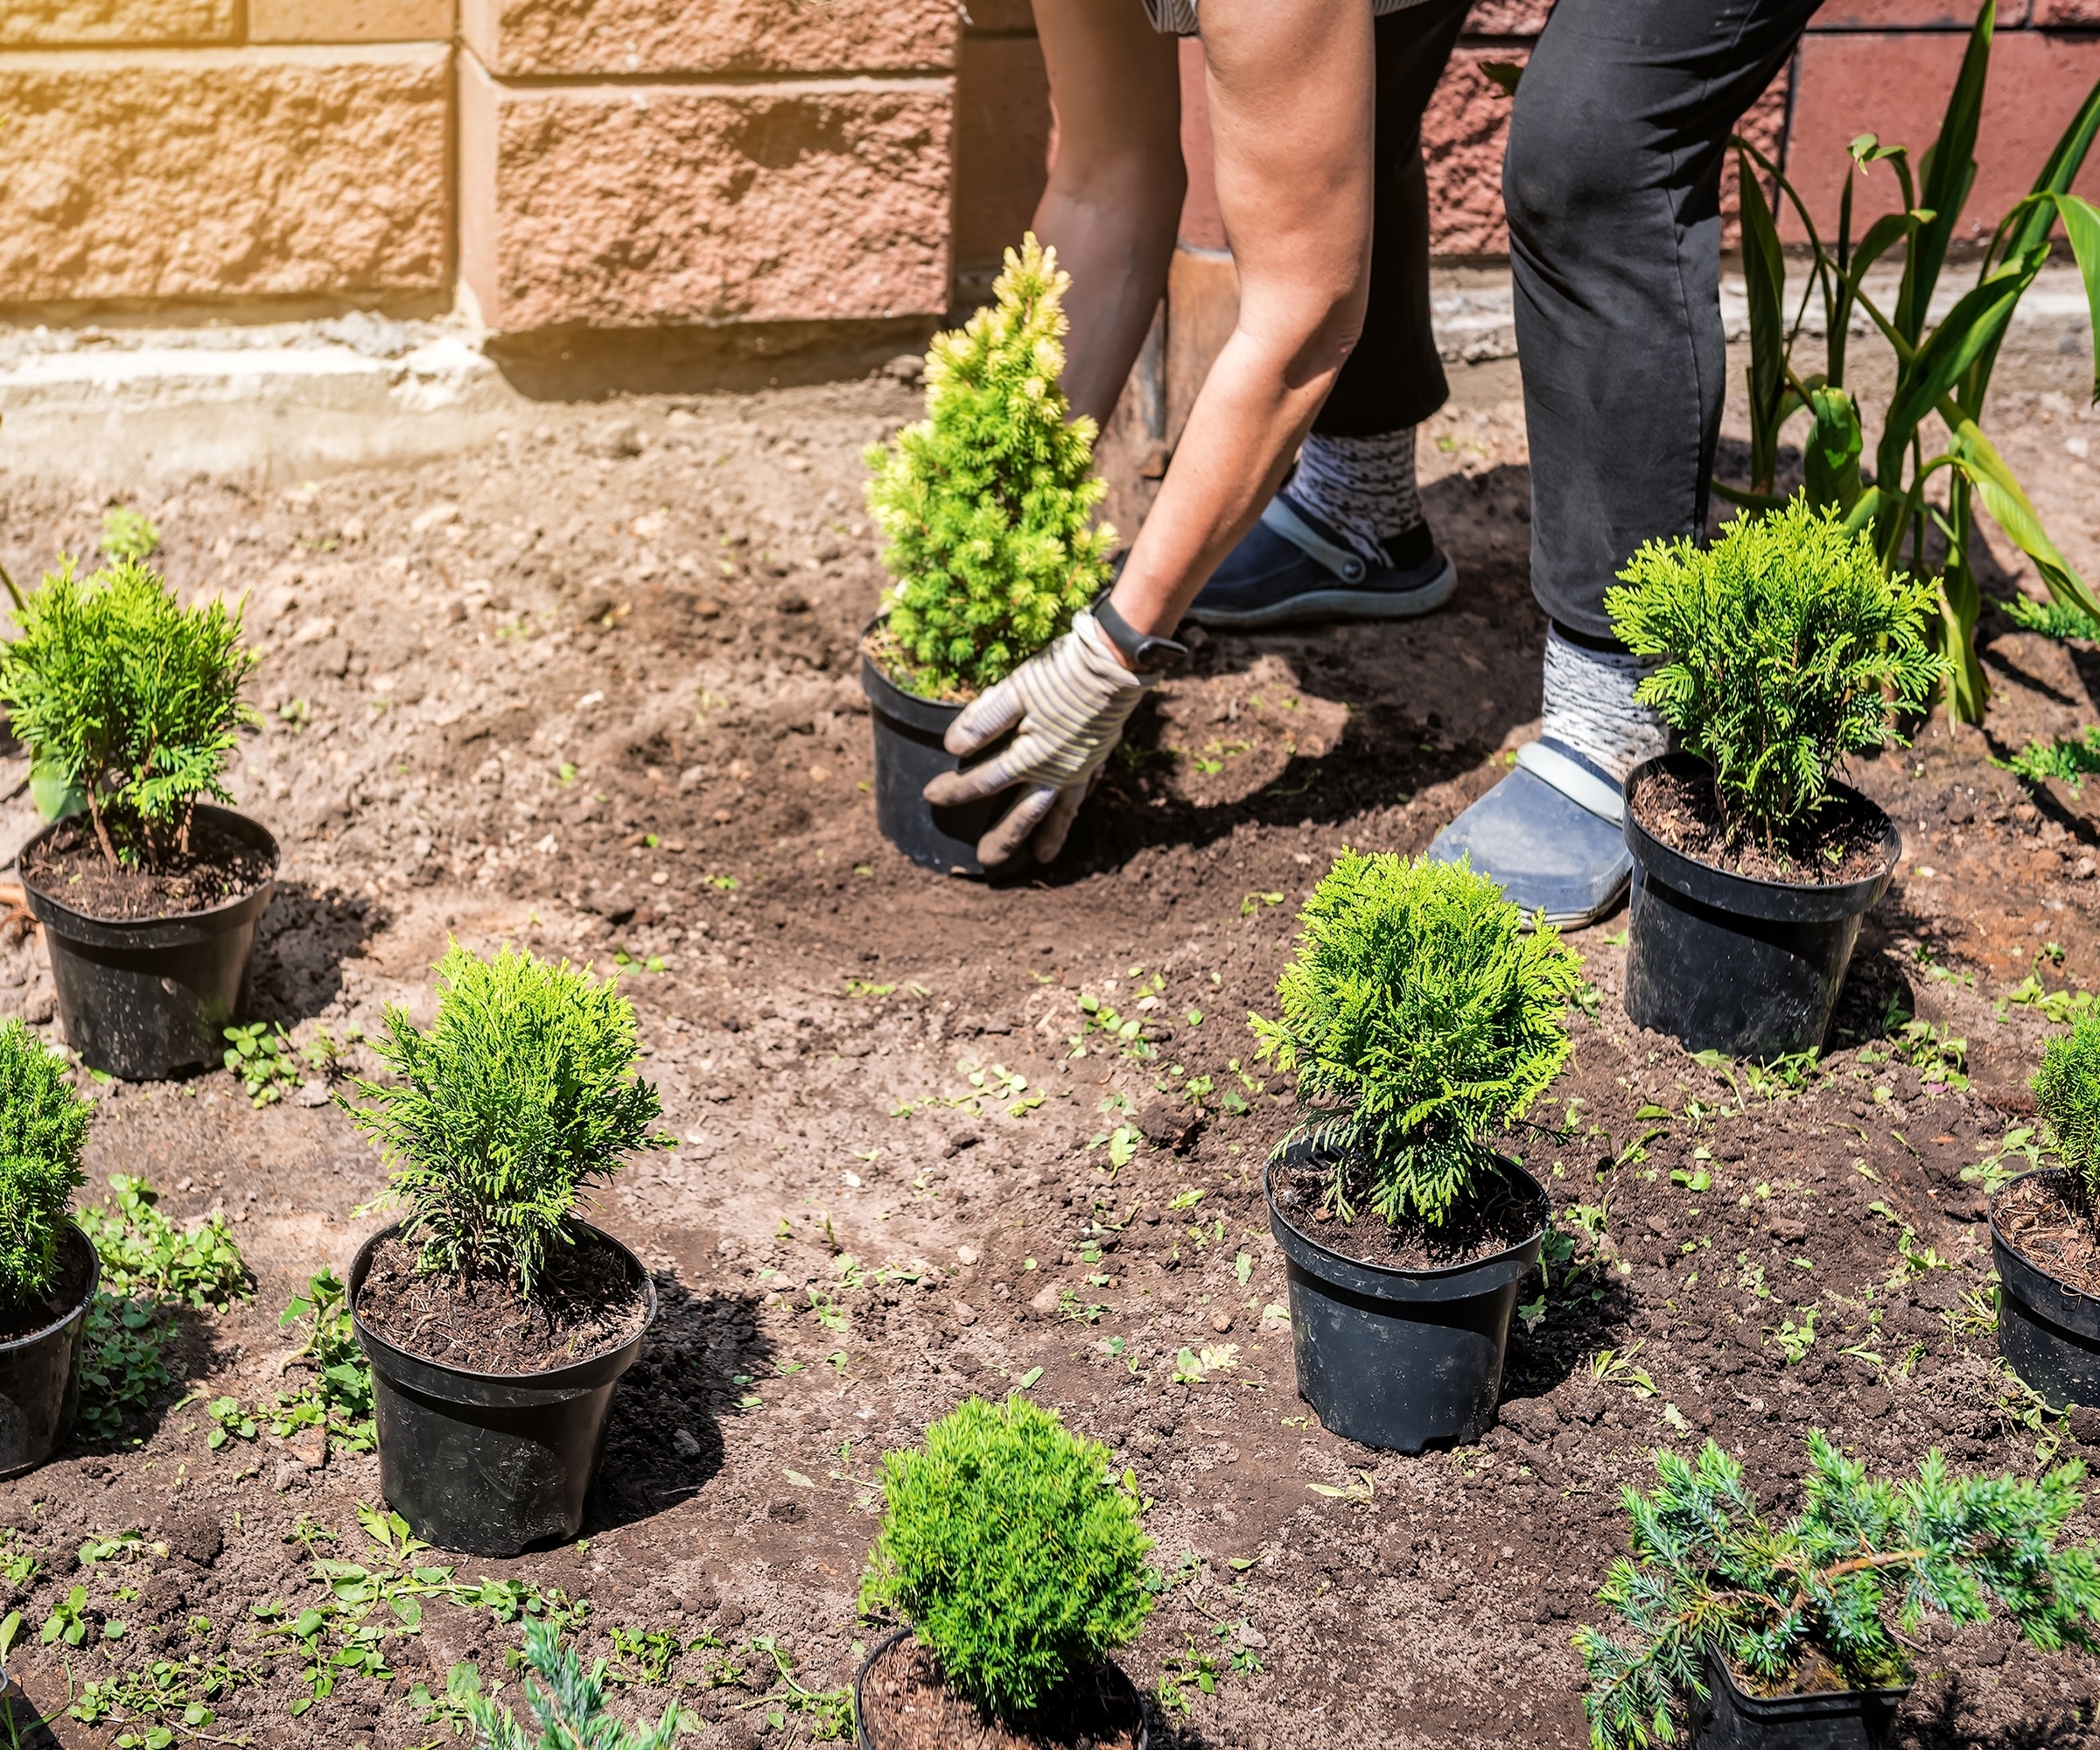
Work out how many shrubs you will need to create a healthy and dense hedge
Once you know how long and deep your hedge will be, calculate the number of trees and shrubs you need, as well as how you want to mix up different varieties.
Before buying, research how tall each plant can get and how wide its branches may spread.
Think about how wide you want your hedge to be. A good thickness is two lines of staggered plants, which creates excellent cover and gives the trees and shrubs room to grow as they should.
Take into account their flowering and berry-producing habits so they are scattered equally through the hedge and not all clustered in one spot leaving the rest of the hedge bare for months at a time.
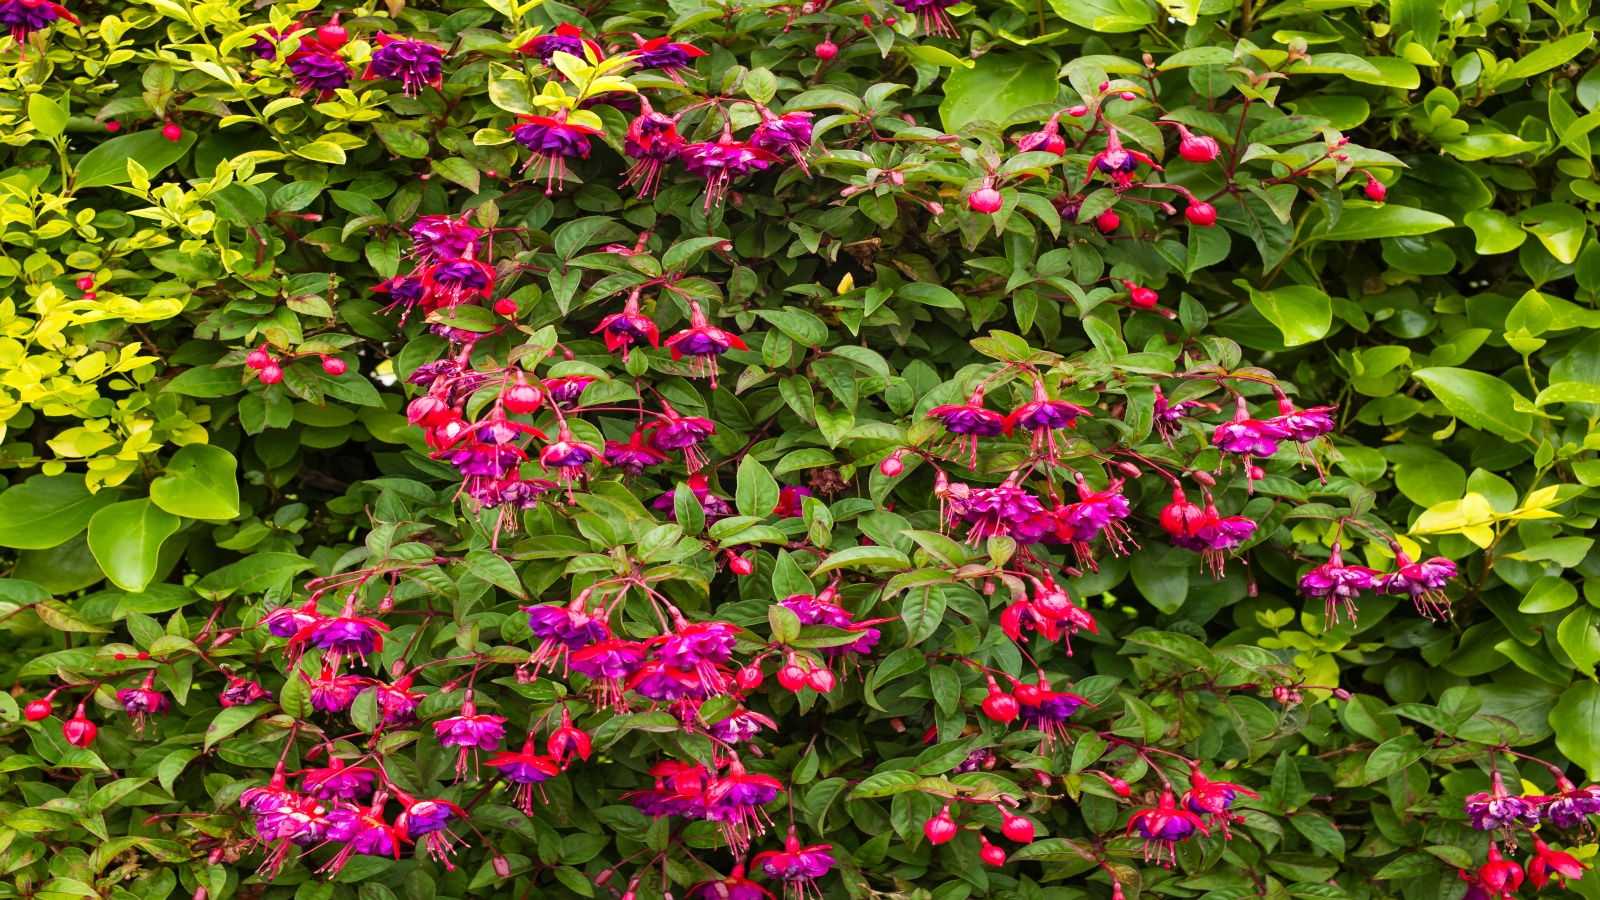
You may also wish to plant colorful shorter shrubs along the front, in which case consider varieties such as Photinia ‘Red Robin’, shrub roses, flowering hardy fuchsias and evergreen Coronilla glauca, which produces sweetly scented yellow flowers in late winter and spring.
Prepare the soil
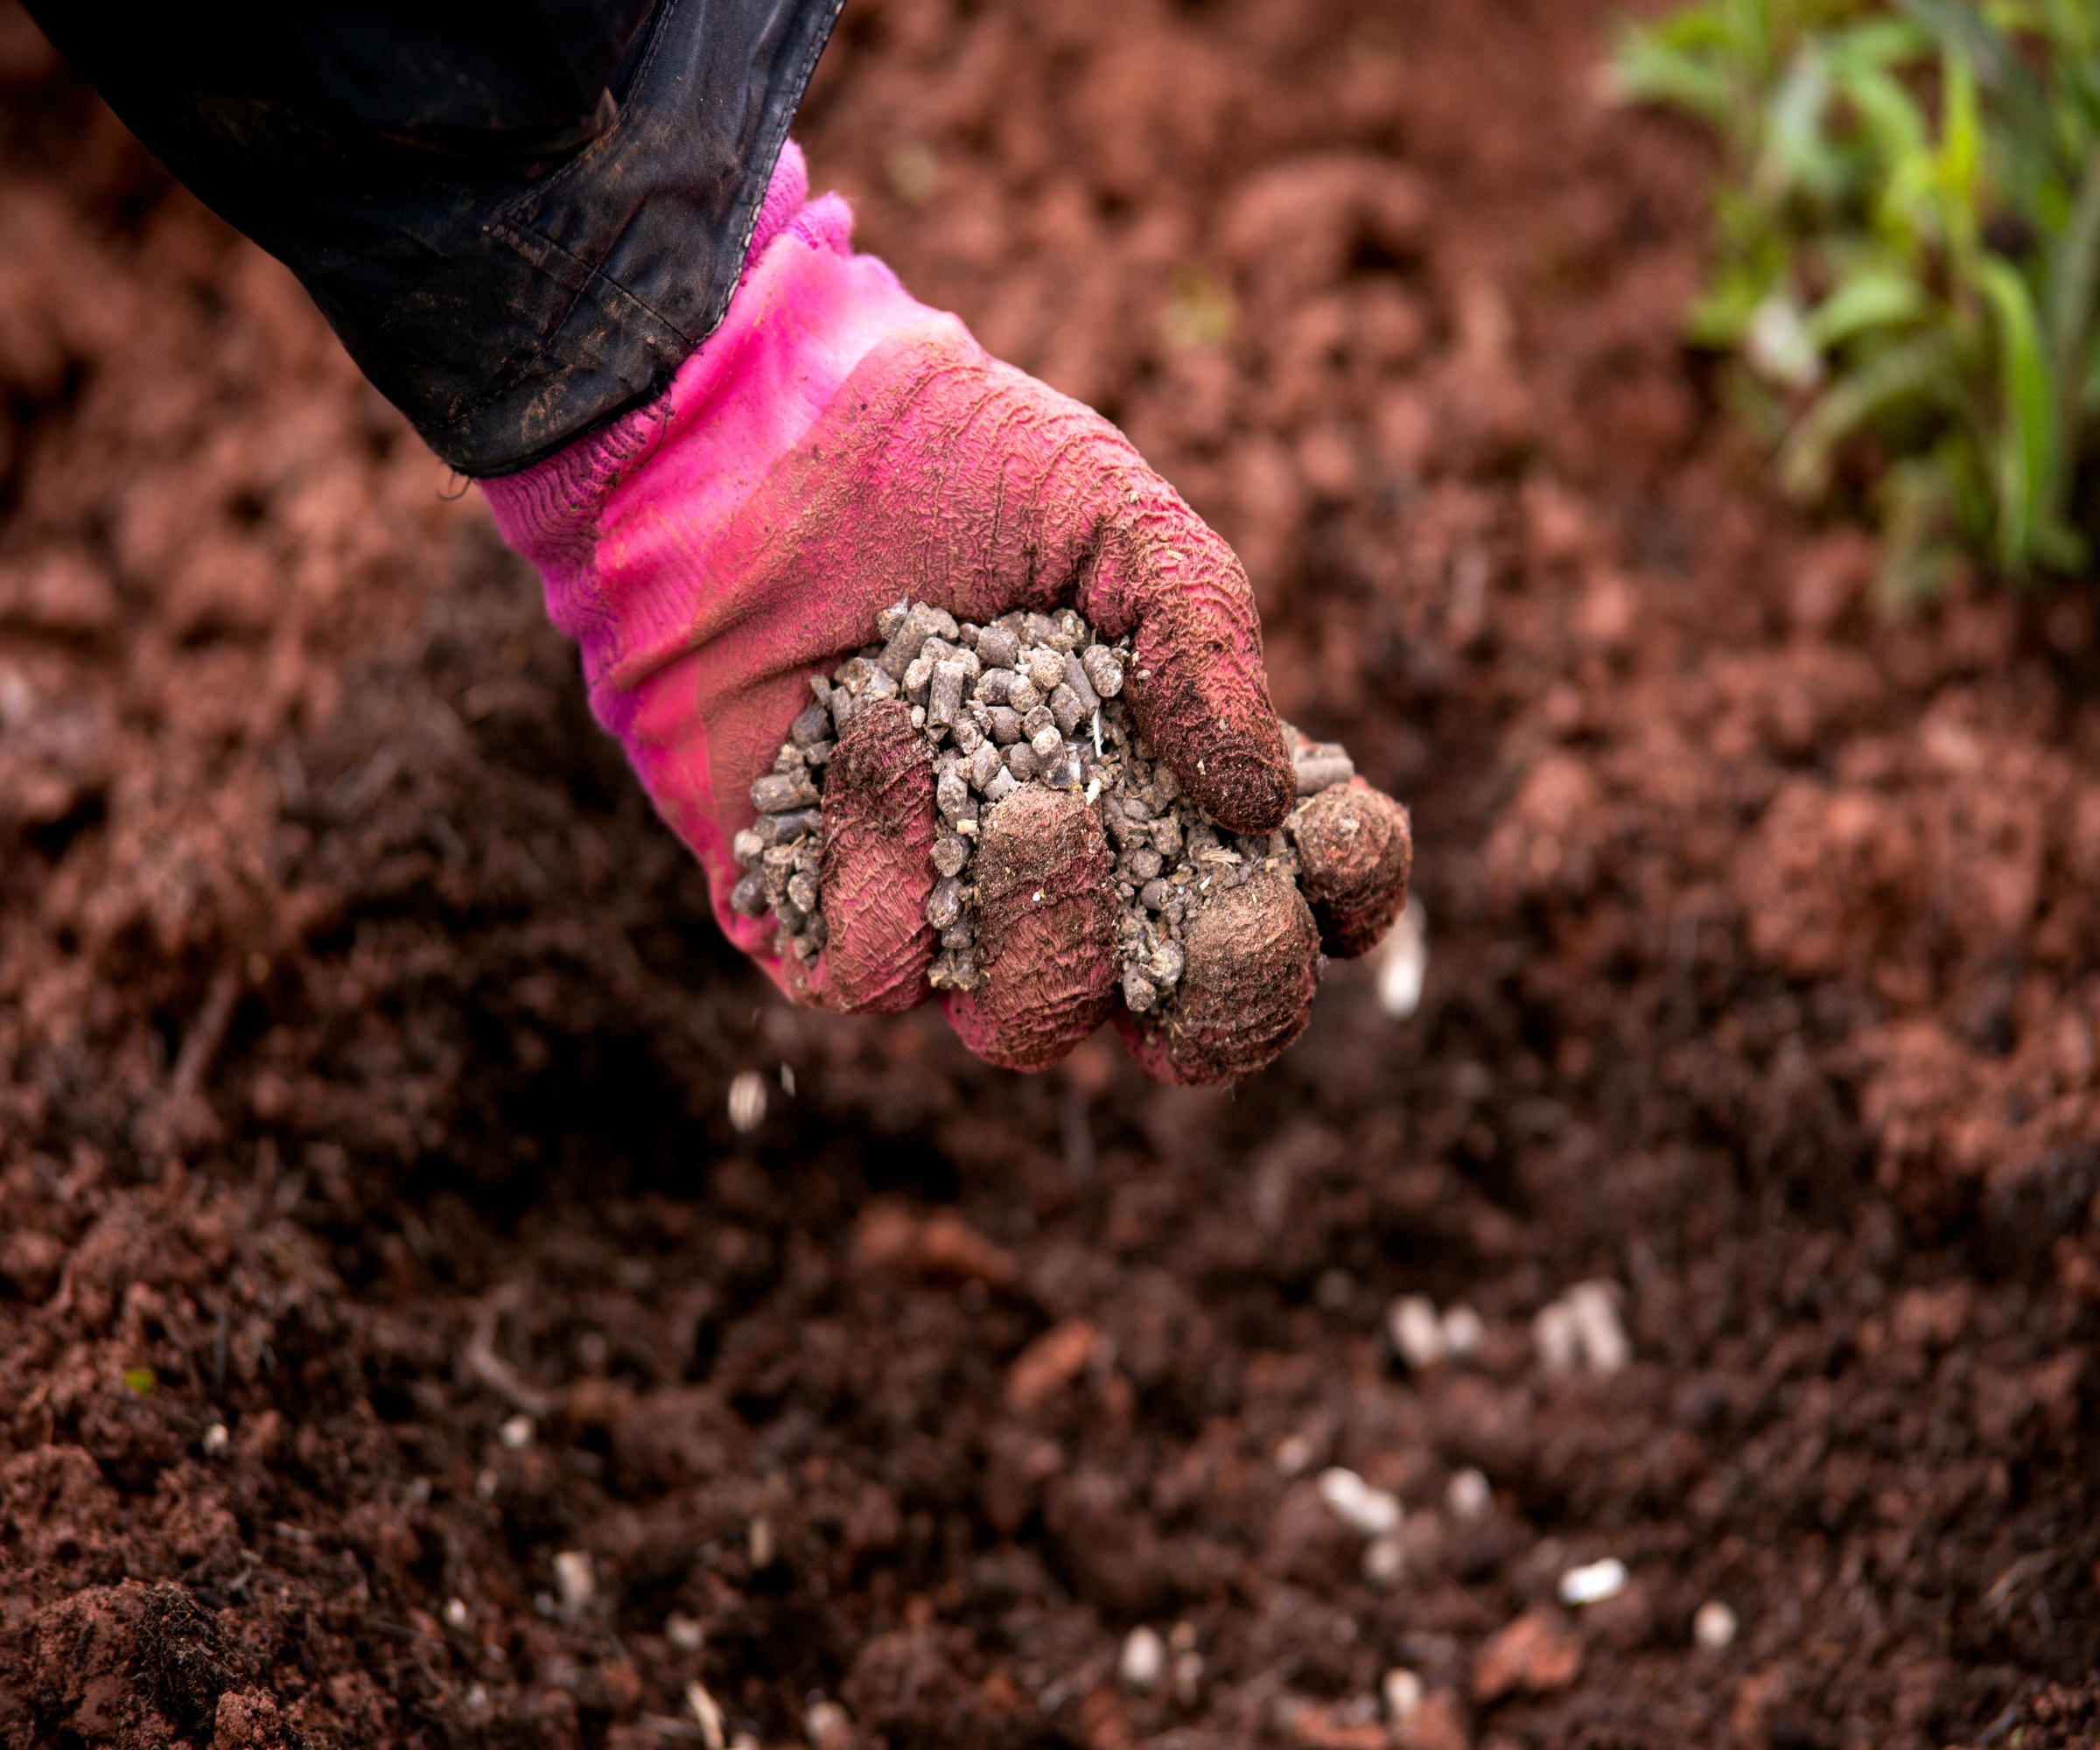
Chicken manure pellets are a quick and easy way of improving the soil before planting
Give your hedge its best chance to thrive by feeding and enriching your soil.
Whatever the soil type, a few weeks before planting, dig it over and weed it well, adding weeds to the compost heap - unless they are carrying ripe seeds in which case they should be added to the trash.
Once you have dug the soil and weeded, fork in a generous amount of well-rotted compost or manure, or some chicken manure fertilizer like this one by Coop Poop at Amazon.
These will all break down and improve the soil so that newly planted roots will be able to take up lots of fresh goodness, which will lead to strong growth.
Consider putting down weed fabric
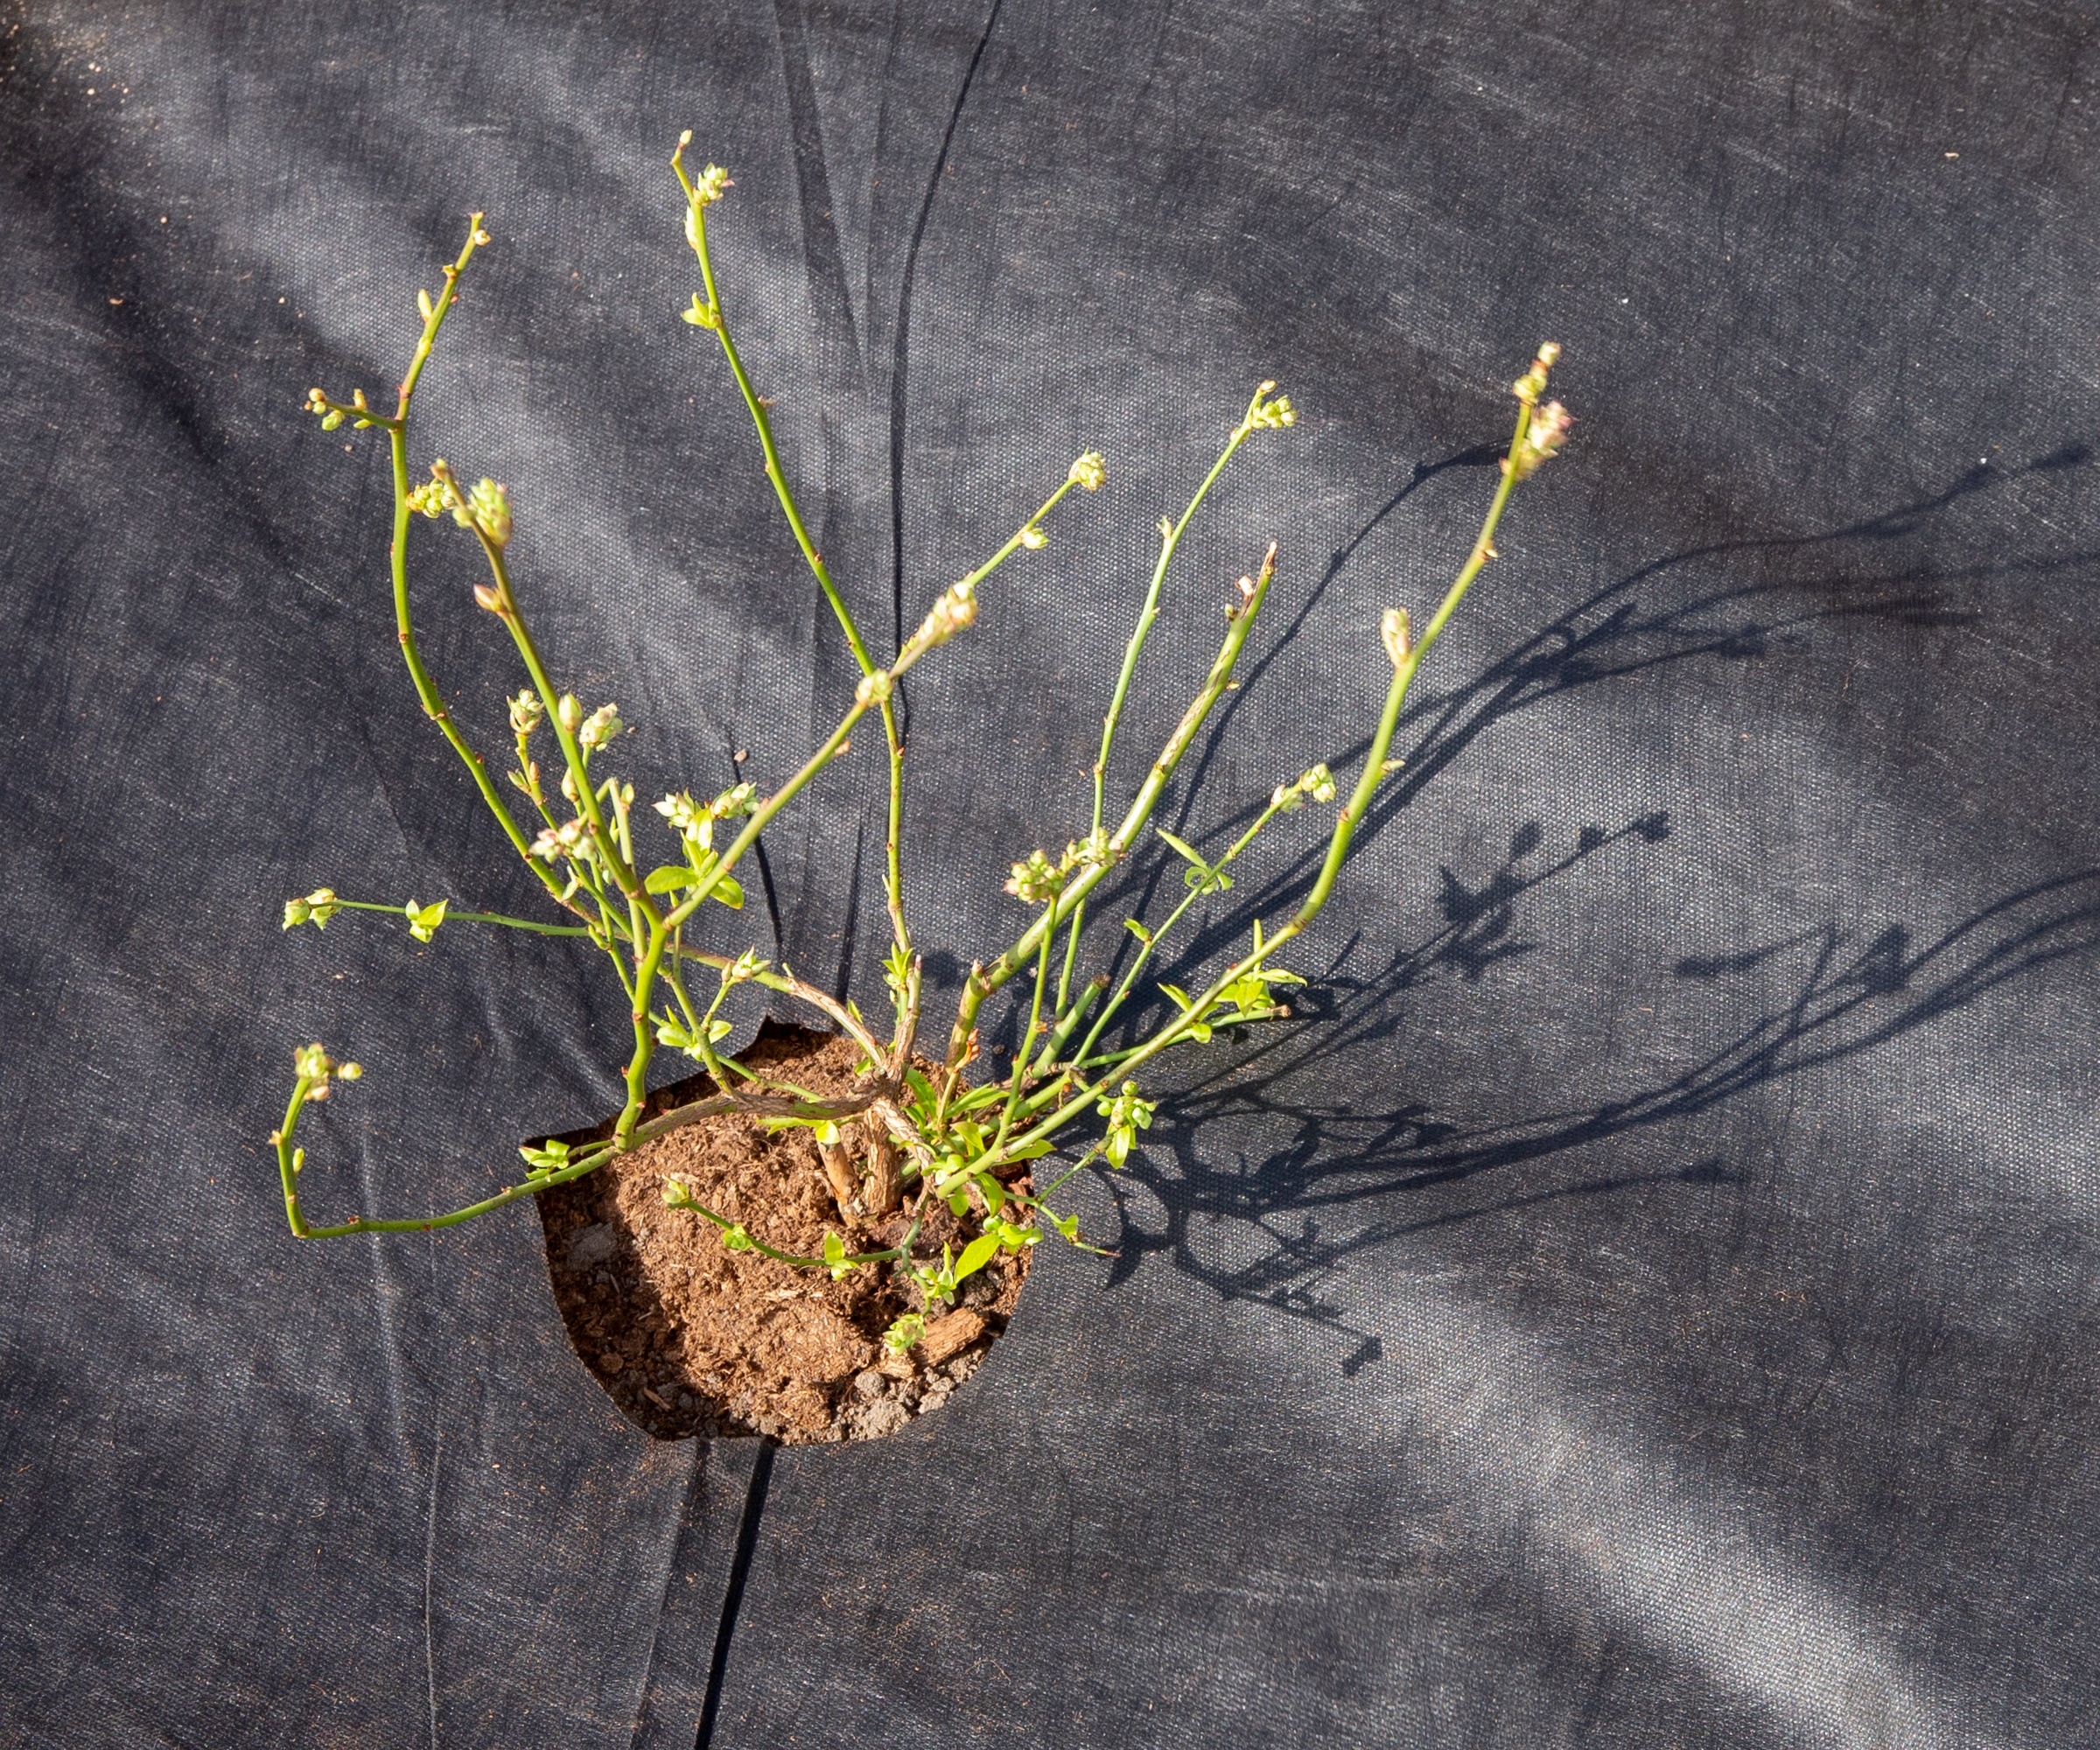
Planting through weed fabric keeps young trees and shrubs safe from competition
Weeds steal moisture, light and nutrients from young plants, so planting your hedge through weed blocking fabric helps remove their competition.
Peg it down taut over the length of your proposed hedging area, then mark where the trees and shrubs will go and cut holes or slits so you can access the soil underneath.
We used membrane when planting our hedge and it certainly gave the trees room to grow unhindered by weeds, and was relatively easy to cut away and remove a few years later so that fallen leaves and plant matter could break down and enrich the soil naturally.
Planting your hedge
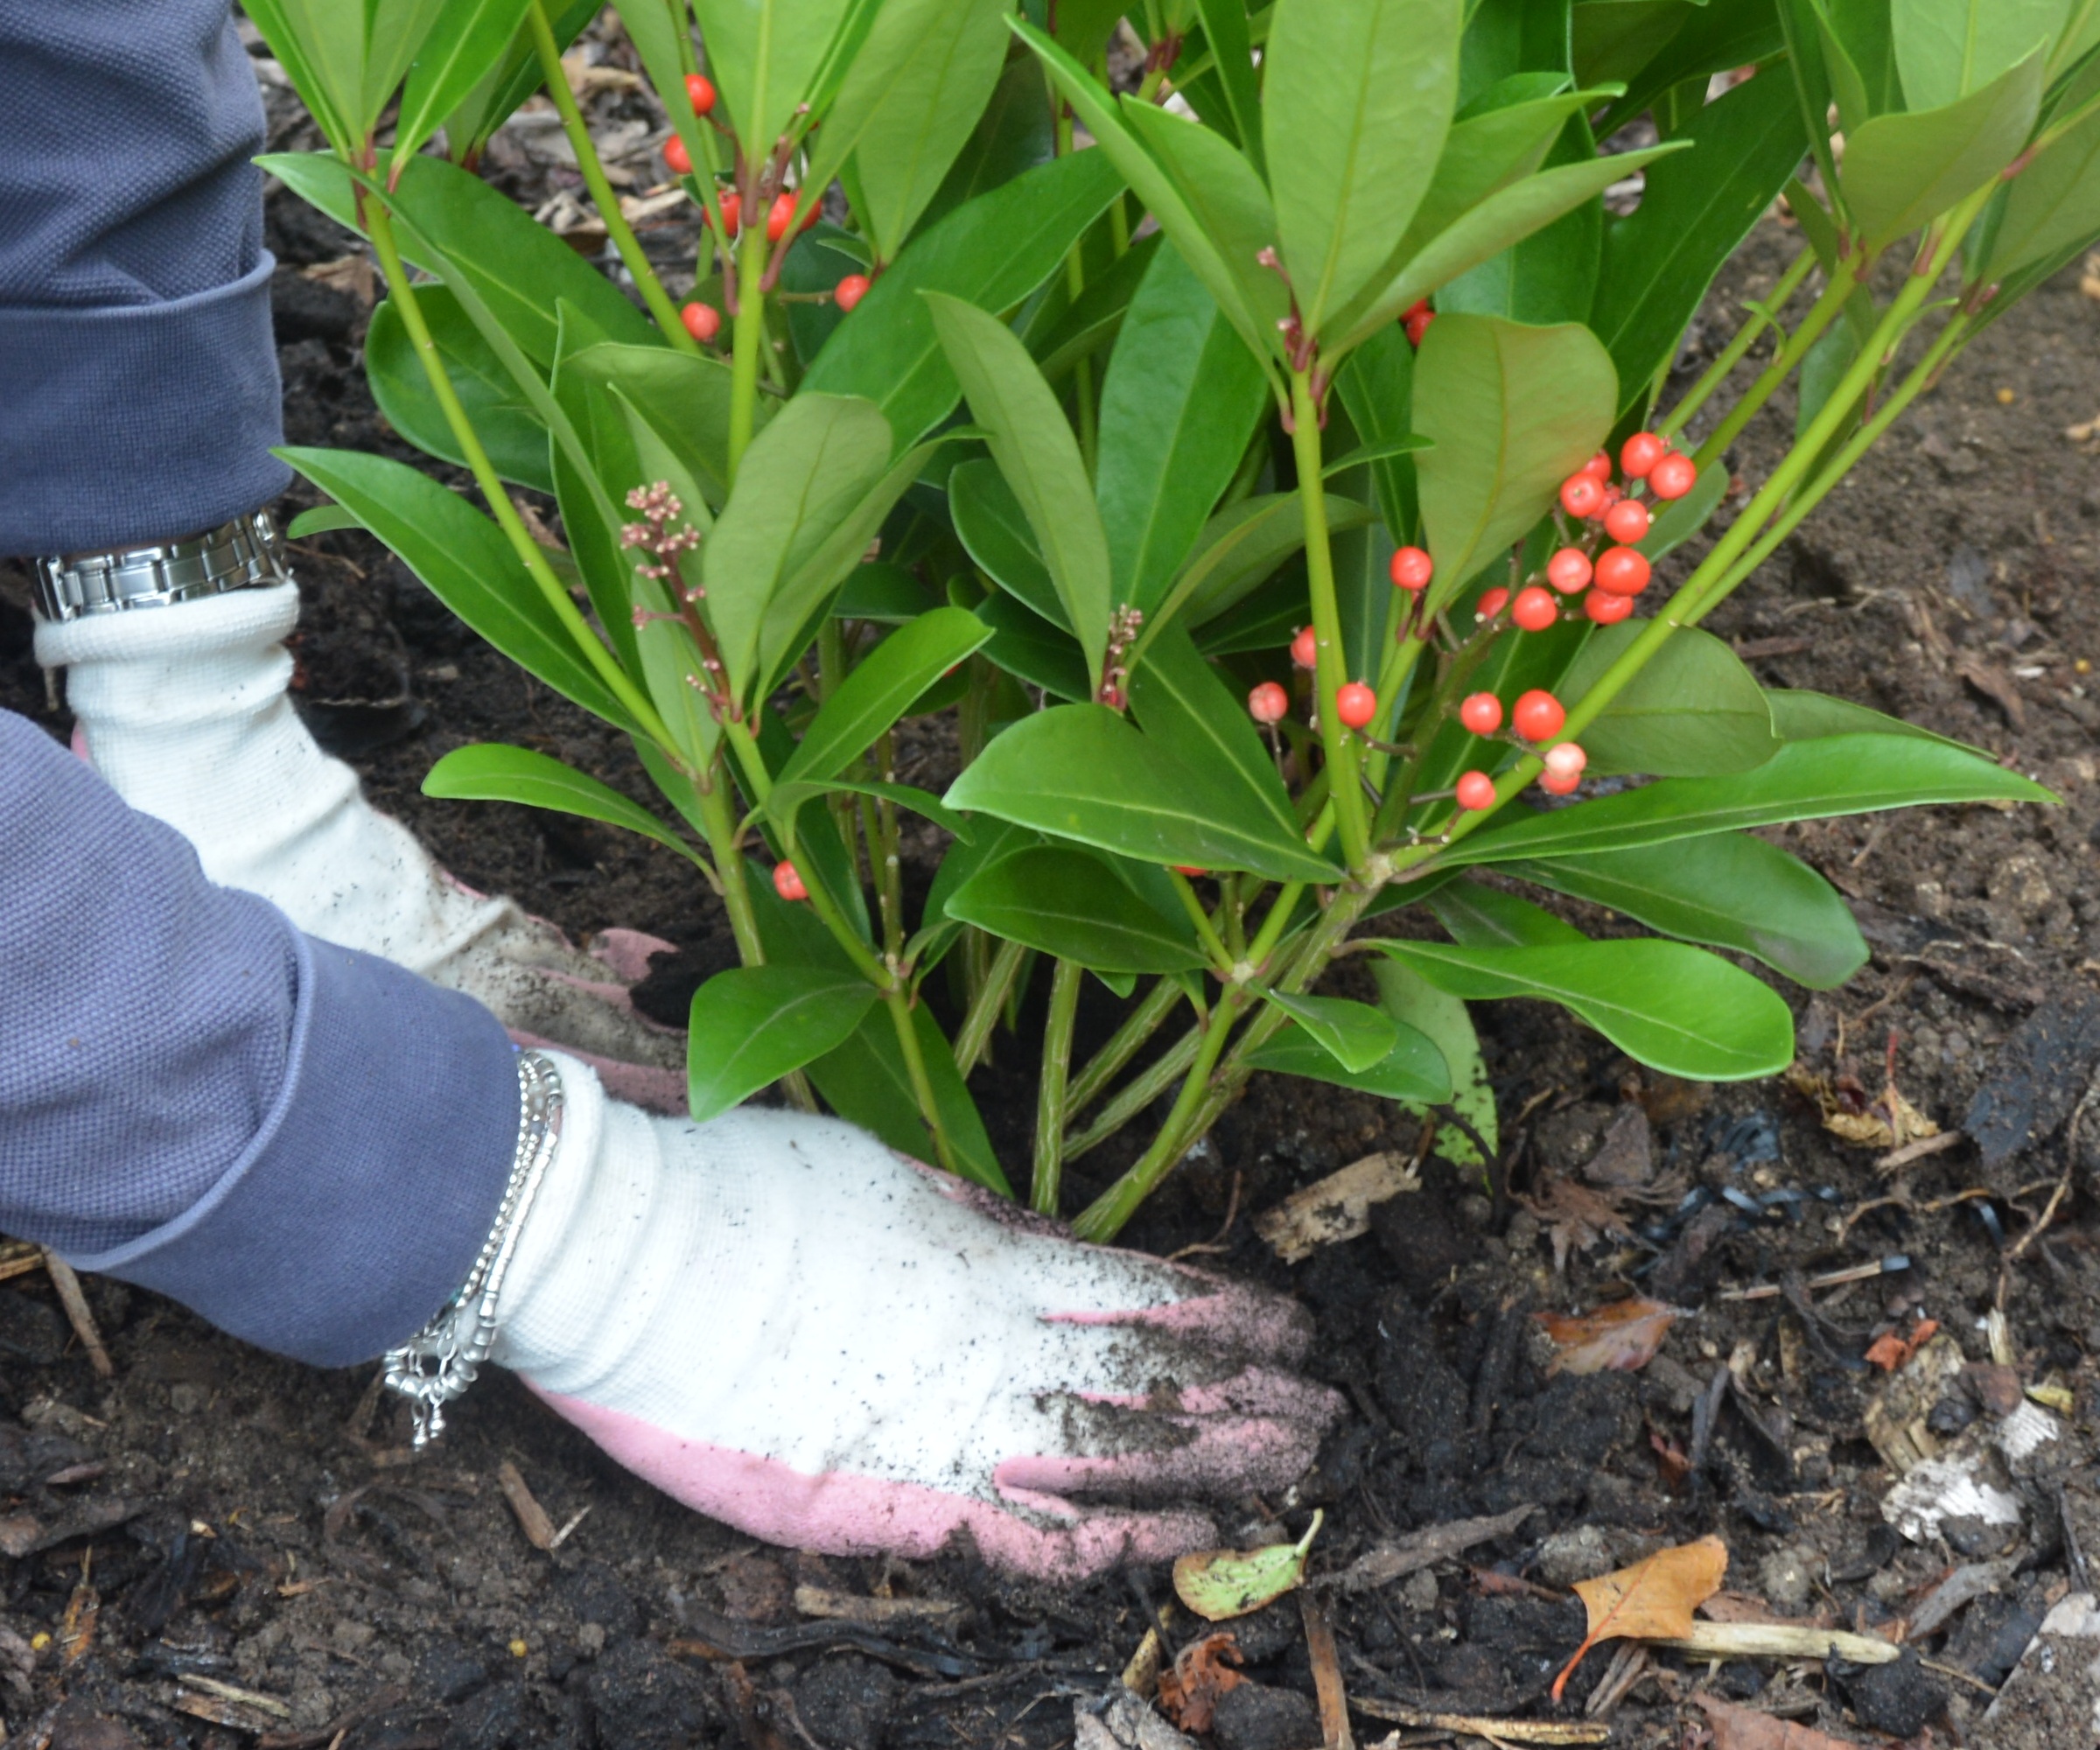
Plant potted shrubs at the same depth as their rootball
Whether your hedging is in pots or bare root, place the plants on the soil in the spots where you want them to grow.
Plant at the same depth as they were growing before. With container plants it will be at the same depth as the pots, for bare root trees and shrubs they should go in the soil at the same depth as the muddy ‘tide mark’ around their stem.
If you are planting on heavy clay, rough up the sides of the planting holes with a garden fork to improve drainage.
Stand your plants in water for at least half an hour before planting as this will soak the roots and make it easier to slip them from their pots.
Tease out any congested roots to make it easier for them to spread and at this point you may want to add some mycorrhizal fungi to the planting hole. These are beneficial organisms that boost the transference of water and nutrients from the soil to the roots. Some gardeners swear by them, others say that some ‘tough love’ so the plants have to fend for themselves makes them more robust and resilient.
Similarly, sometimes I use it, other times I don't, it depends on the appearance and soil health of the area I'm planting in. If it looks healthy and well-nourished and I think the plant will thrive, I simply add some bone meal or general fertilizer to the planting hole.
Once in the ground, add a stake or cane, securing it to the tree with a rubber tie in a figure-of-eight to help protect the bark and stop it chafing against the stake.
Infill around the roots with soil and compost, firming it down as you go to give support and knock out any air pockets.
Then water generously and mulch over the root area with well rotted compost or manure, making sure it doesn’t touch the trunk as it can dampen and soften the bark and create an access point for pests and disease.
Hedge planting aftercare
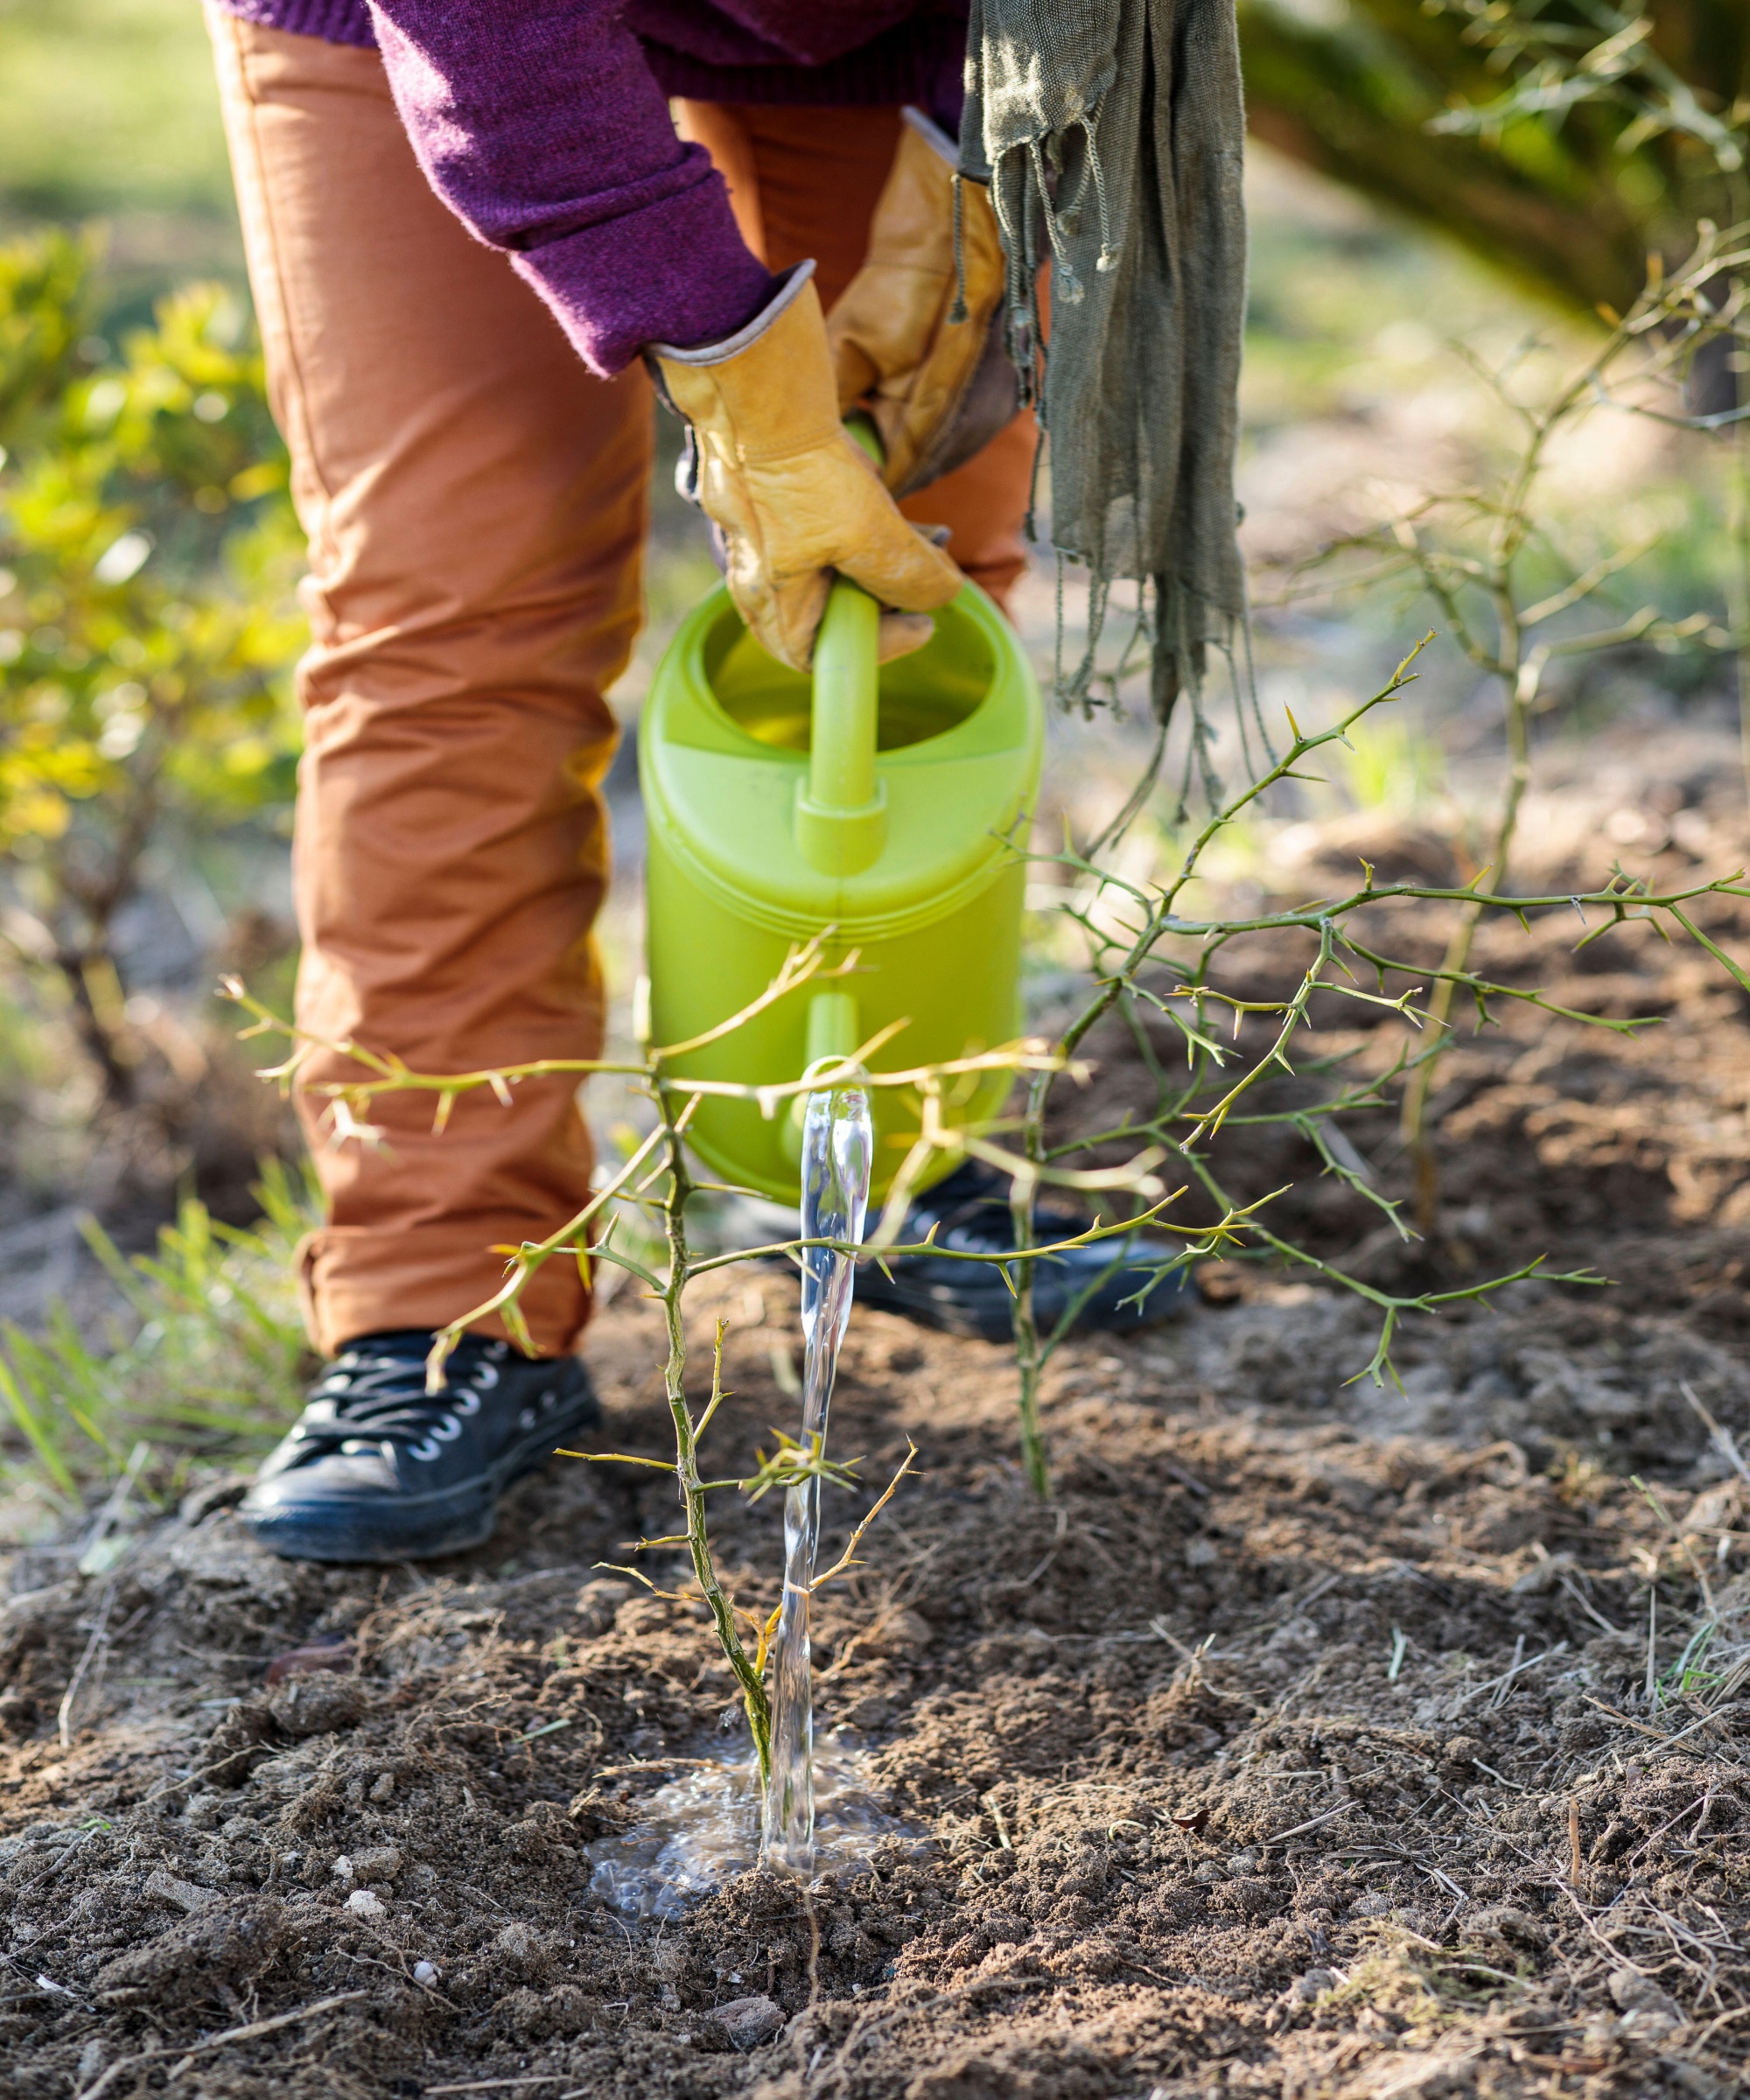
Make sure your newly-planted hedge isn't left to dry out
Once planted, young hedging plants should help to protect each other from strong winds but you may need to erect a temporary windbreak if very stormy weather is forecast.
Keep their soil damp, but don’t overwater, and there should be no need to feed for the first year as the enriched soil should contain all the necessary nutrients.
Many garden centres and online sellers offer a guarantee for perennial plants, trees and shrubs, so keep the relevant paperwork so that should anything die in the specified time you can claim a refund or replacement.
Hedges for different purposes
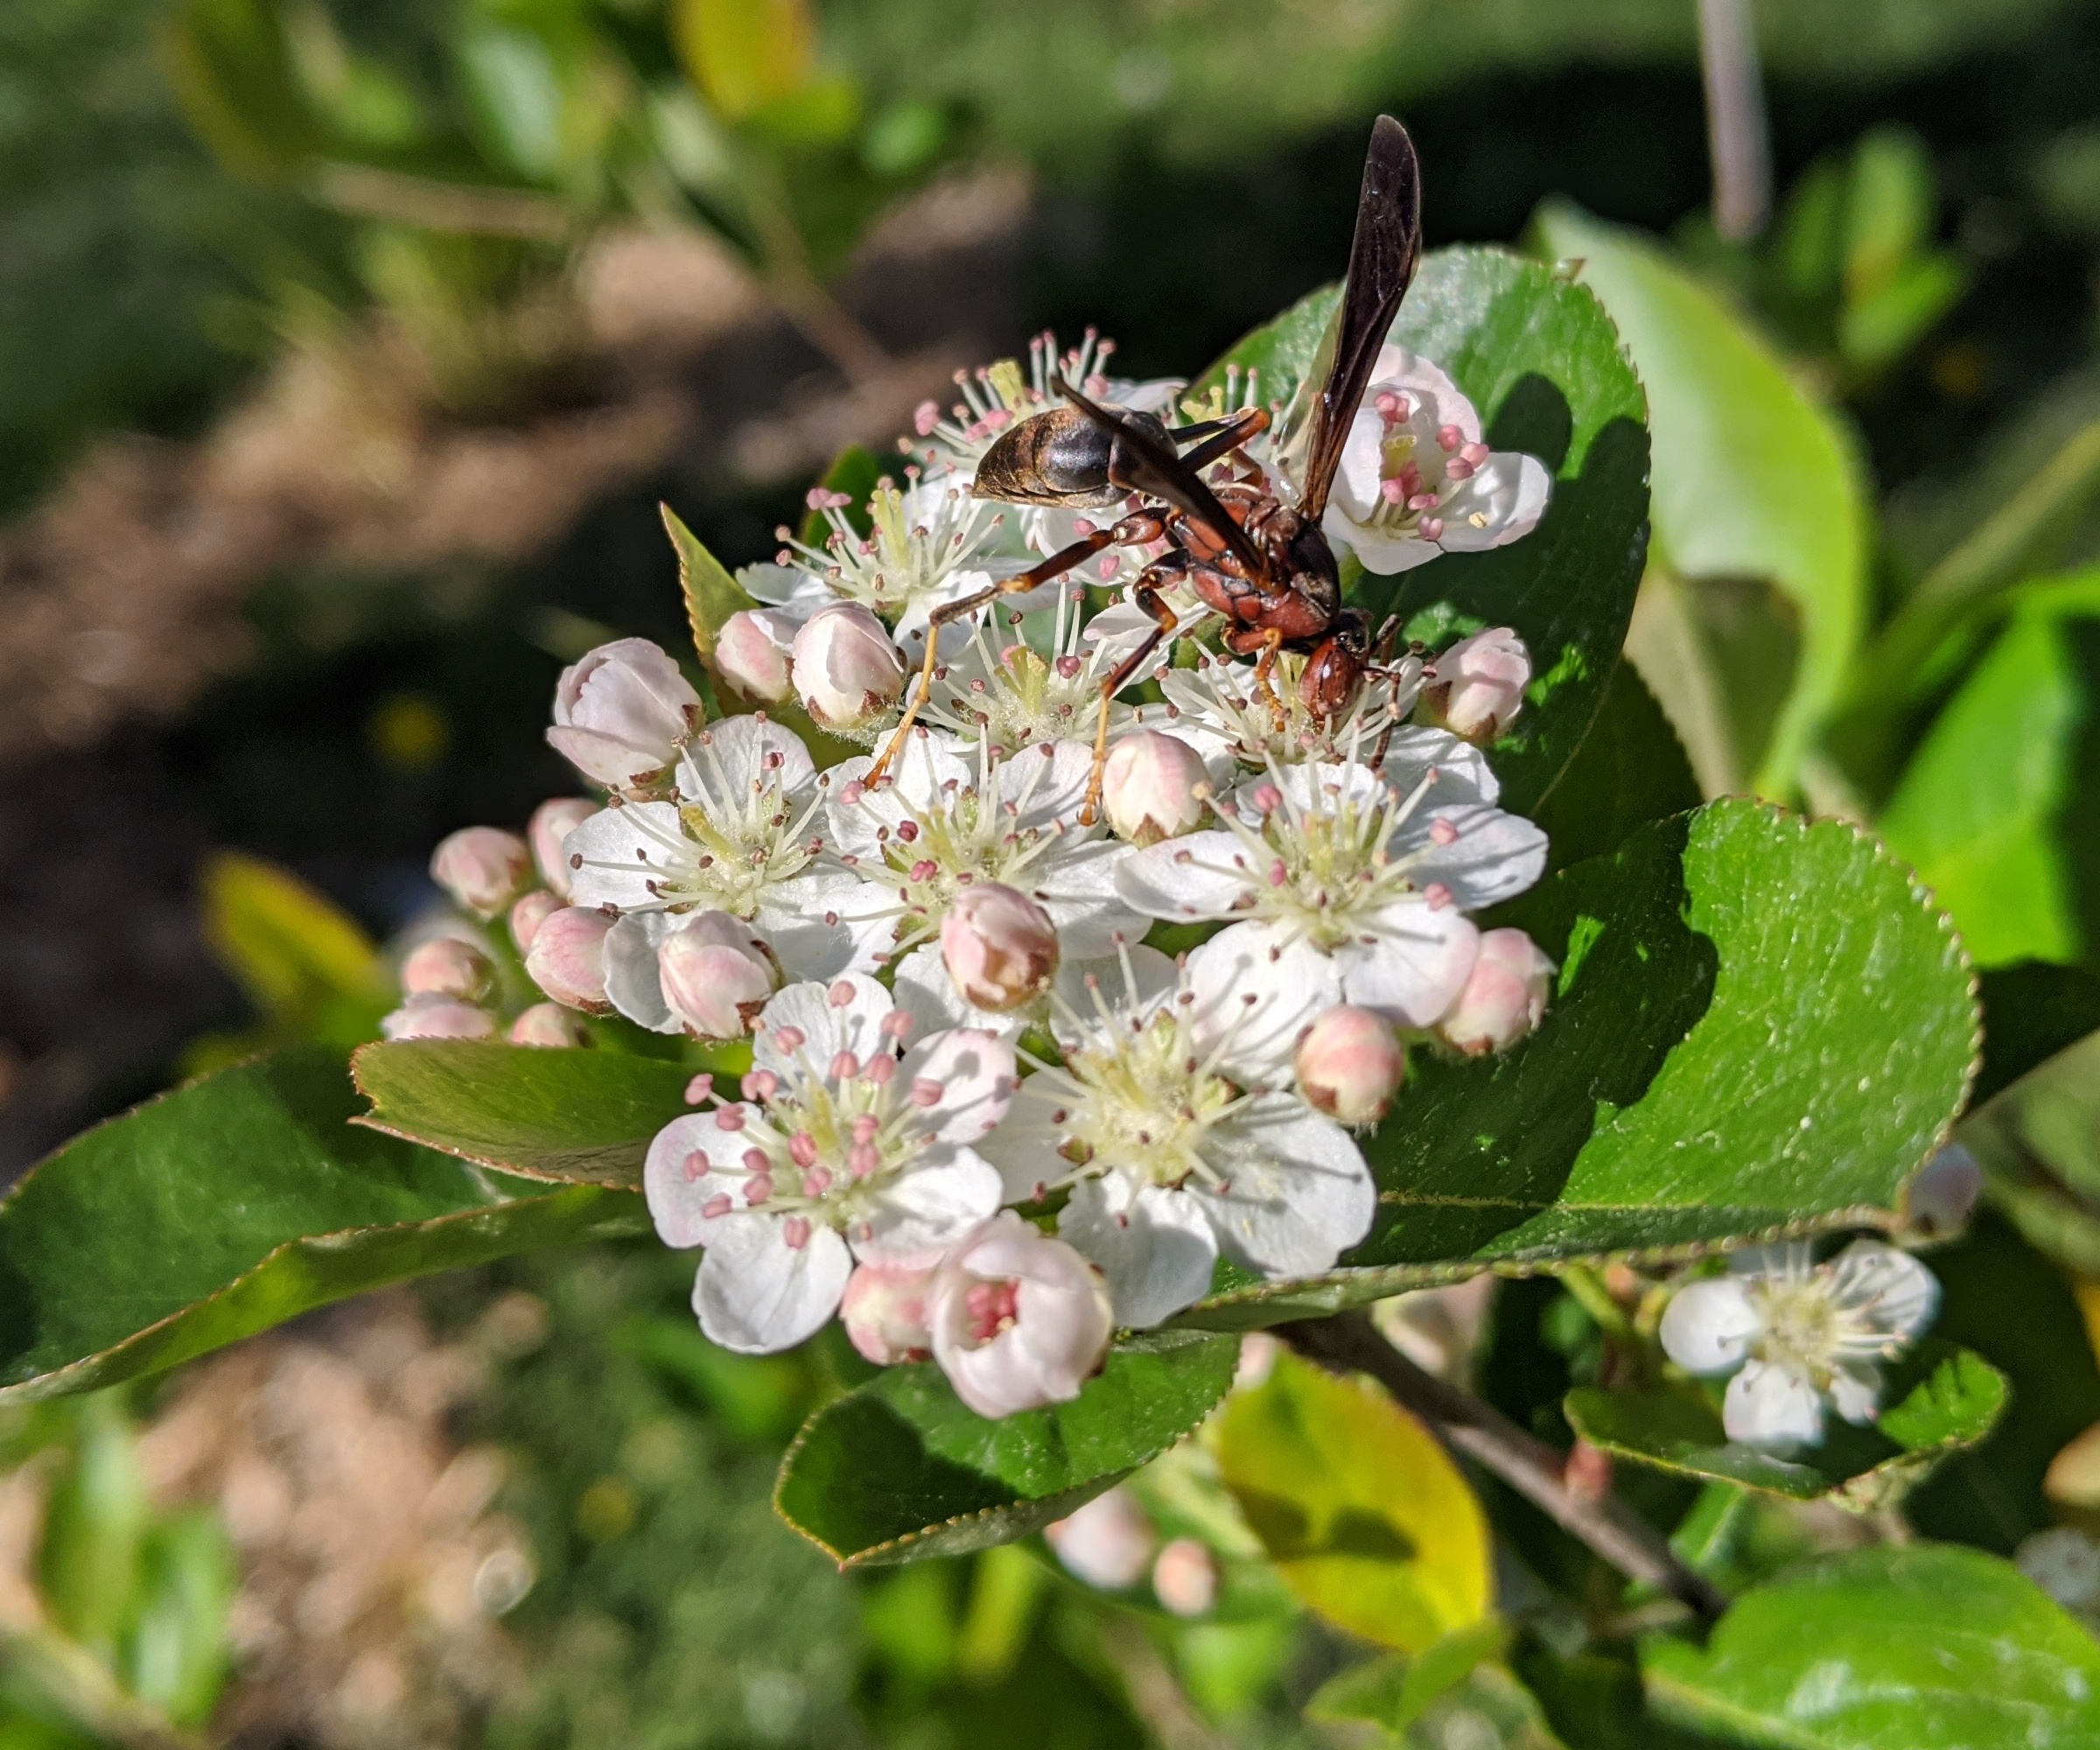
Chokeberry has pretty blossom in spring and summer plus fall berries making it perfect for a wildlife hedge
Hedges for privacy and security
The most common reason for planting a hedge is for privacy and for this you need fast-growing plants that thicken up quickly and provide a dense barrier.
Ideal varieties are evergreens including yew, privet, laurel and leylandii which provide color all year, and you may also wish to add thorny shrubs such as Berberis thunbergii and Pyracantha (firethorn) for extra security.
These come with the added benefit of vivid winter berries.
Hedges for coastal gardens
Coastal plants need to be tough enough to survive salty air and more extreme weather conditions.
There are many to choose from including evergreen Griselinia littoralis; tamarisk, which is swathed in beautiful pink flowers in summer; sea buckthorn; corokia, which produces yellow flowers followed by red berries; Escallonia; and Crategus monogyna or whitethorn, which has white flowers and red berries in the fall.
Hedges for wildlife
Hedges for wildlife that offer food and sanctuary for wild birds, insects and animals are becoming increasingly important as natural habitats disappear.
When planting for wildlife, choose popular tree and shrub varieties such as hazel, alder, holly, hawthorn, or red chokeberry that has nectar for insects and berries for birds.
These are fast-growing, and hawthorn and berberis also bear sharp thorns making them ideal for yard security too.
Low-growing hedges
Topiary hedges are a popular way of breaking up a yard, creating an old-school knot garden or parterre, making different ‘rooms’ to add interest and variety.
Boxwood has been a traditional favourite for this, but the increase of box blight and the damage caused by box moth caterpillars means that gardeners are looking for manageable alternatives.
Privet, hebe and yew are popular choices, as are mock privet and Japanese holly.
For scent, consider lavender and osmanthus, while for color you could go for a variety of Boxwood honeysuckle called ‘Baggensen’s Gold’, which has attractive yellow leaves.
FAQs
Do I need planning permission to plant a hedge?
You don’t need an official permit to plant a hedge on your land but you do need to ask a neighbor’s permission if you are planting right on the boundary of your two properties.
In the interests of a happy community it is also worth discussing your plans with direct neighbors first, especially if any branches are likely to grow over their garden and leaves or fruit fall into their yard.
How long does a hedge take to establish?
It all depends on the varieties of trees and shrubs you use, the time of year they are planted, the richness of the soil and the weather conditions.
If you plant in the fall you won’t see any growth until the following spring, though the roots will have had time to get established and bed in. Spring plantings can start growing within a few weeks.
How high will my hedge grow?
It depends on the varieties. Some conifers and deciduous trees such as beech and maple can reach several 10s of feet, while roses, privets and hawthorns tend to be shorter.
Will I need to prune my hedge?
You probably won’t need to cut anything back for the first few years. After that, evergreens are easy to trim in late spring and summer, while deciduous varieties can be pruned in the months between fall and spring.
This winter we started to coppice some of our hedge, cutting a few hazel trees down to the base then chopping the thin trunks to use as firewood, kindling and plant supports. Each tree will throw out several new shoots from the base, creating a thicker hedge and opportunities for more firewood.
Planting a hedge can seem like a daunting prospect but, as we discovered, the benefits far outweigh the effort involved and the end result should be a more private, sheltered garden with even more interest and color.
Ruth is a Contributing Editor for Homes & Gardens, and formerly Gardening Editor of Amateur Gardening magazine. She is horticulturally trained, with a qualification from the Royal Horticultural Society. Her work for Amateur Gardening, the world's oldest weekly gardening publication, involved matching gardening tasks with each season, covering everything from sowing and planting, to pruning, taking cuttings, dealing with pests and diseases and keeping houseplants healthy. She is an expert in ornamental plants and edible crops, and everything she writes about and photographs is in her own garden, that has been a work in progress since her family moved there in 2012.