How to lay a patio – a step-by-step guide to building a patio
Learn how to lay a patio. Follow our step-by-step guide for everything you need to know to build your dream patio


Design expertise in your inbox – from inspiring decorating ideas and beautiful celebrity homes to practical gardening advice and shopping round-ups.
You are now subscribed
Your newsletter sign-up was successful
Want to add more newsletters?

Twice a week
Homes&Gardens
The ultimate interior design resource from the world's leading experts - discover inspiring decorating ideas, color scheming know-how, garden inspiration and shopping expertise.

Once a week
In The Loop from Next In Design
Members of the Next in Design Circle will receive In the Loop, our weekly email filled with trade news, names to know and spotlight moments. Together we’re building a brighter design future.

Twice a week
Cucina
Whether you’re passionate about hosting exquisite dinners, experimenting with culinary trends, or perfecting your kitchen's design with timeless elegance and innovative functionality, this newsletter is here to inspire
Knowing how to lay a patio needn't mean you have to do it yourself, but it will give you an understanding of the process, which is important when you are considering a new look for your outdoor space.
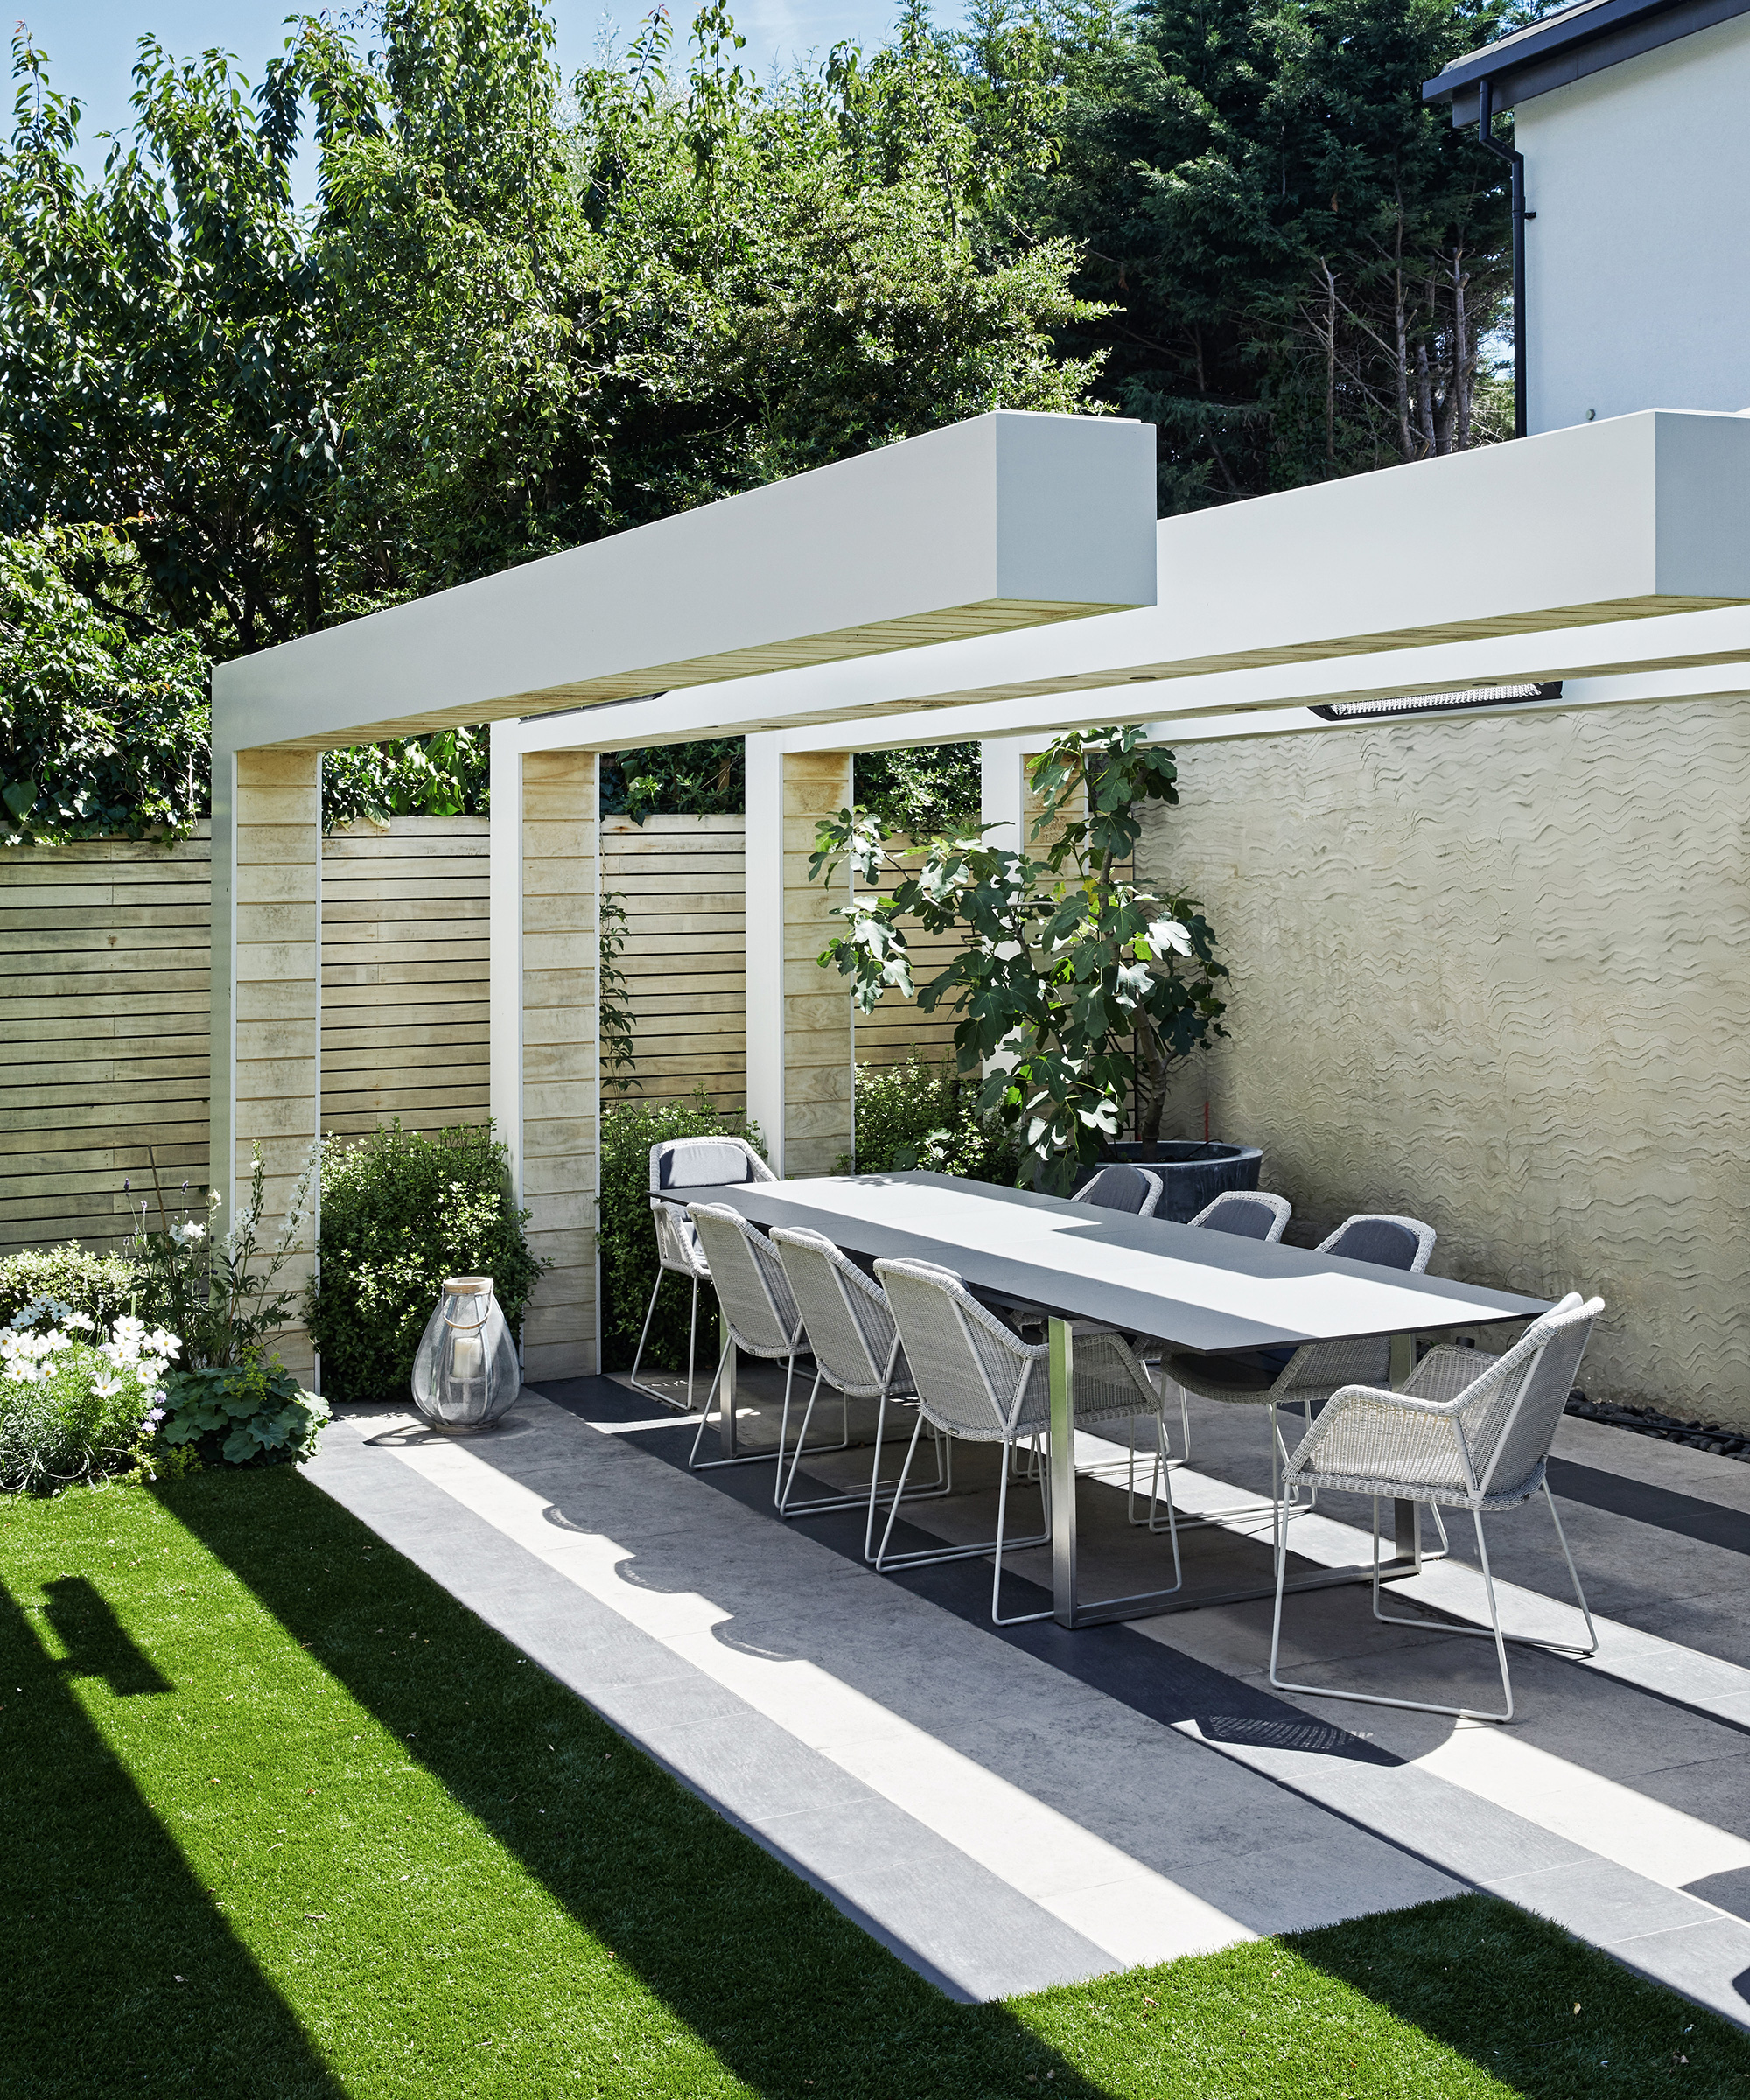
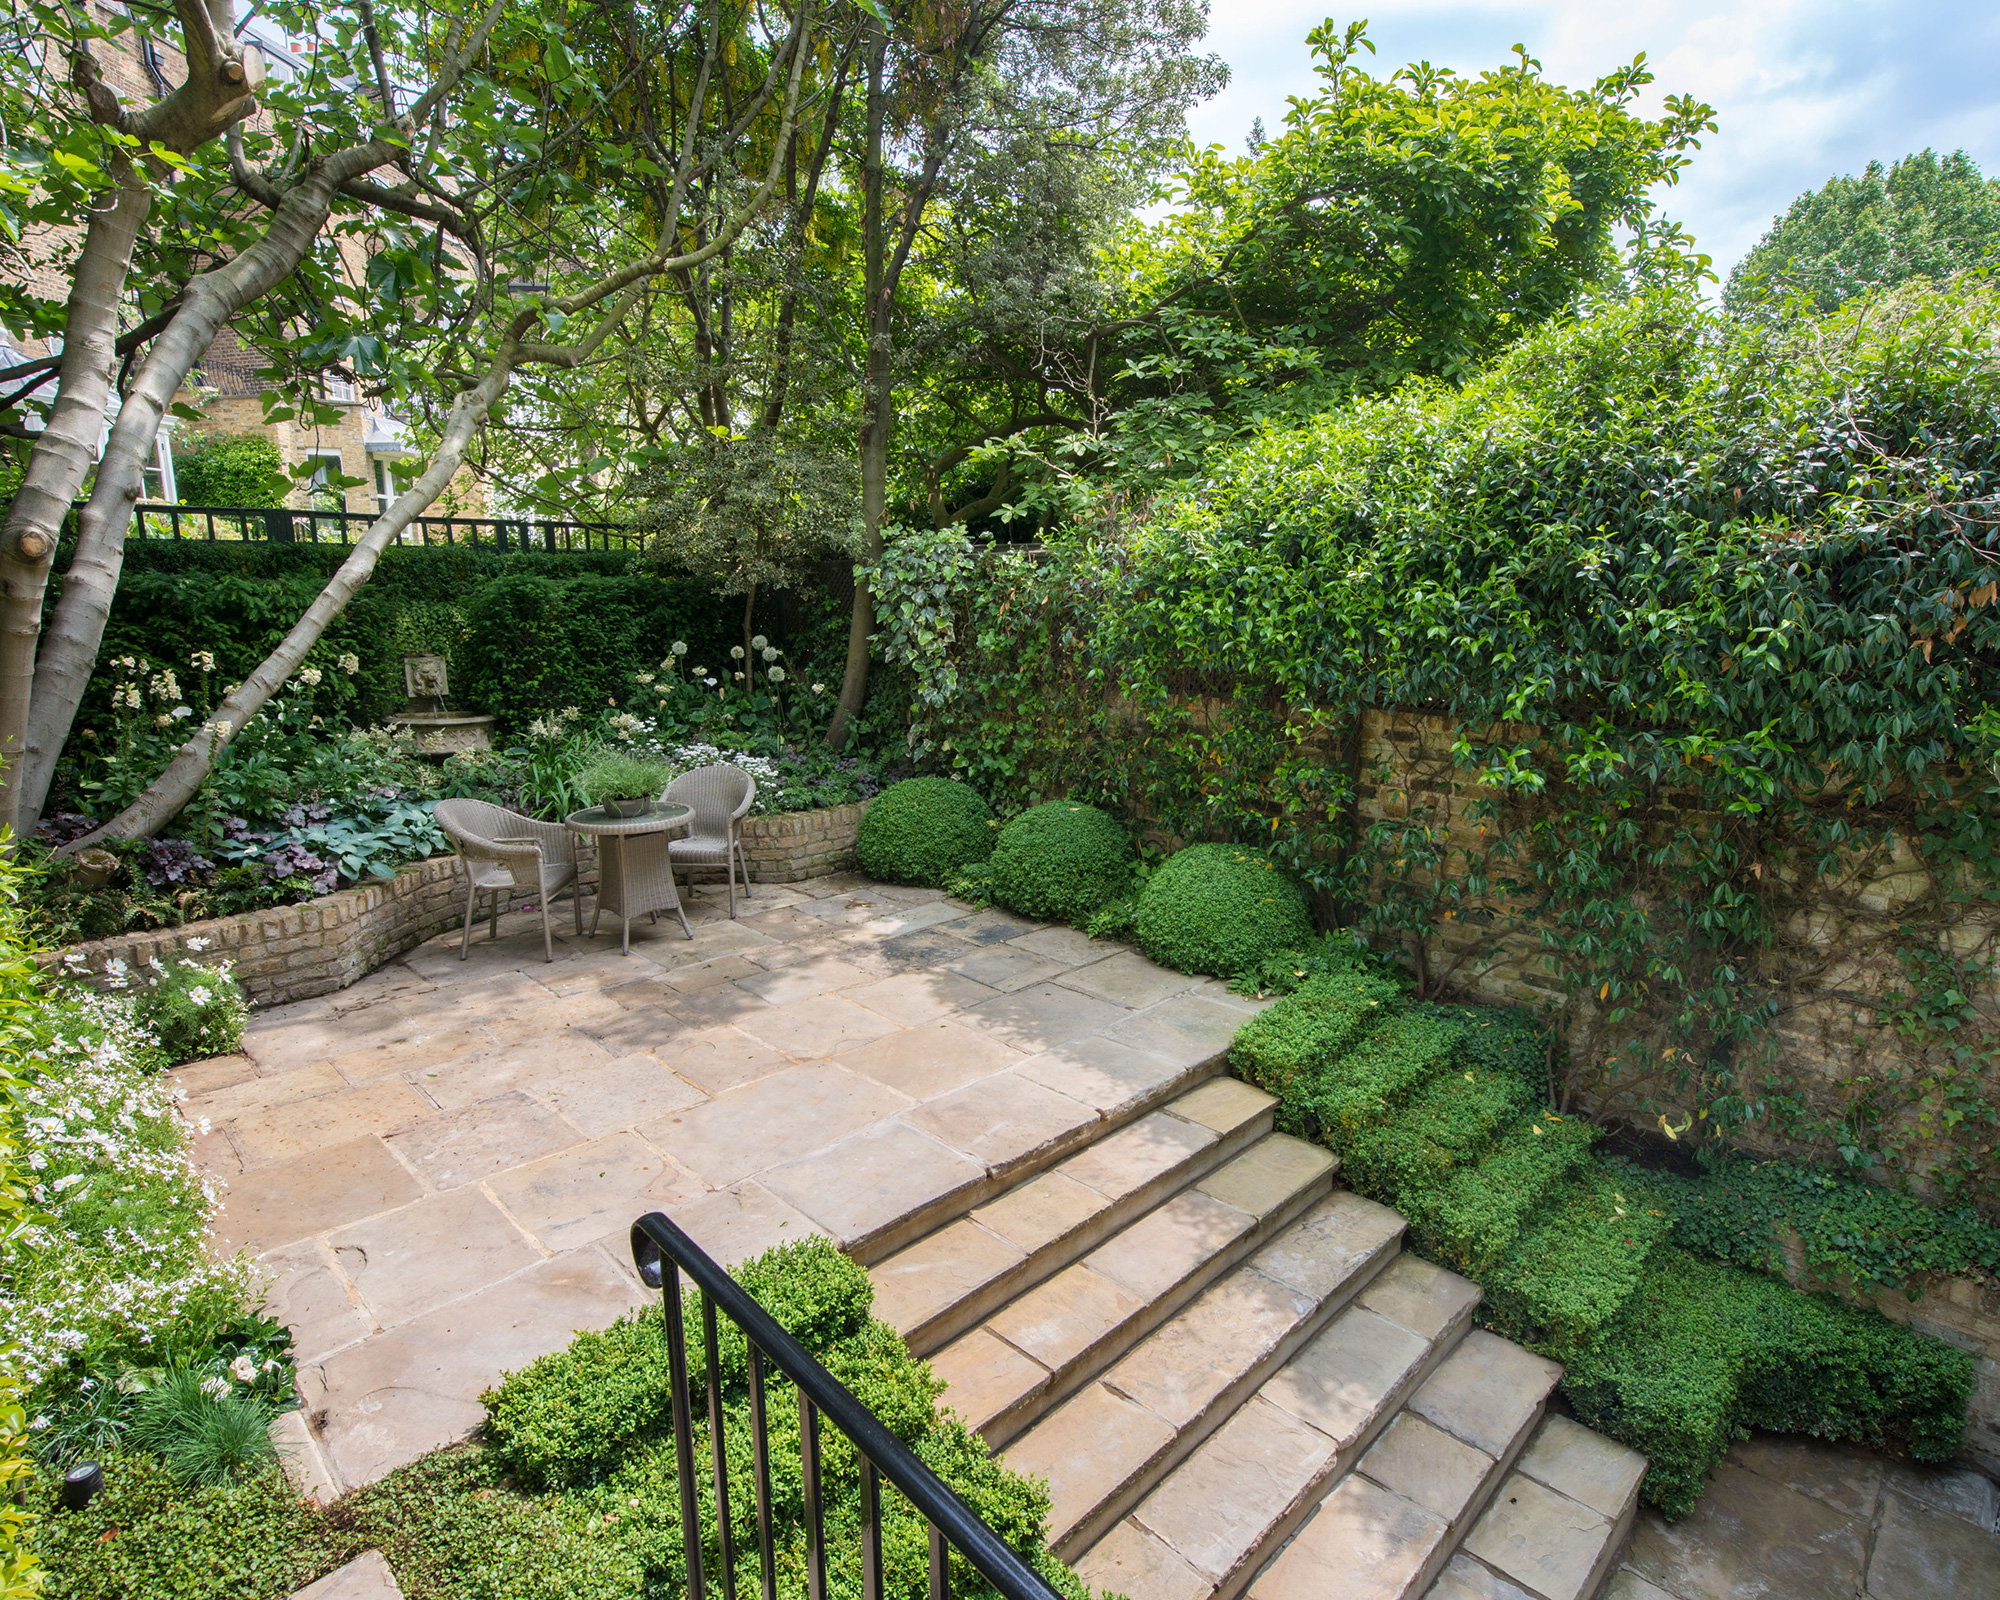
And if you're in the process of planning and rethinking your backyard landscaping, a patio could provide the ideal visual centerpiece. This exterior 'room' often adjoins our main home, leading off from the kitchen to create an informal dining and entertaining area.
There are a wealth of clever patio ideas to suit every taste and budget, and having a smaller backyard needn't limit the scope of your ambitions for this space.

Once you've decided that a patio is the right choice for you, it's time to move on to the key considerations when it comes to how to lay a patio, which can broadly be summed up in three words: Planning, preparation and paving.
We've weaved in answers to each of these backyard landscaping stages in our easy-to-follow how to build a patio guide, giving you the confidence to start turning your patio vision into reality.
How to lay a patio
Laying a patio requires both precision and patience, and each of the below steps will need to be completed in turn in order to achieve a professional finish.

You will need:
- Hardcore (a granular sub-base that is designed to prevent your patio from sinking)
- Bedding mortar
- Cement
- Building sand
- Paving slabs
1. Create a plan of the patio on paper
Use graph paper to create a to-scale plan of your patio. Or, for an even easier approach, try an online floor planning tool (there are many free options) to create an ideal layout.
Design expertise in your inbox – from inspiring decorating ideas and beautiful celebrity homes to practical gardening advice and shopping round-ups.
When you have dimensions in square feet or square meters, you can order the requisite number of paving slabs for your patio project, factoring in whether you want to include patio cover ideas like a pergola which may require a certain sized space. Most home improvement retailers now offer an online calculator that will help you determine how much material to order. Simply put in the dimensions of your space, and you'll get a recommended amount. If you're ordering in store, a store associate should be able to help you place the correct order.
2. Lay patio slabs in a 'dry run' first
Once you have your design down and your materials ordered, it's helpful to dry lay your slabs out first to check that everything fits together seamlessly.
This is especially important if your designing a patio with more complex paving patterns. If your design works, take a few pictures for reference before pulling the pavers up.
3. Plot out the patio with stakes
Use landscaping stakes, a tape measure and builders string to mark out the area where you intend to build your patio, checking corners with a builders square. If you're placing the patio next to your home, you'll need to allow for a slight slope on one side to facilitate water drainage.
4. Prepare the patio's foundations
To create a base for your patio you'll need to remove any existing turf and plants and dig down to a depth that's about 3-4x the depth of the pavers, depending on how you set them.
If your pavers are a standard 3" deep, you'll want to dig to 9" for a patio set on sand and gravel, and to 12" for patios set in mortar.
Top tip: Paving suppliers should have details of the recommended base depth, and this may vary from the above, so it's always worth asking.
5. Lay the patio base
Use a rake to evenly distribute your hardcore, before using a tamper tool or plate compactor to pack it down. Plate compactors can be rented at many large home improvement stores.
6. Lay the patio paving slabs
For a mortar patio, place a section of wet bedding mortar roughly the size of your slab in the top left hand corner of your plot, place the slab directly onto it and check with a level.
Tap it into place with a rubber mallet if the level needs to be adjusted. Leave a gap of 1cm, or buy leave-in-place paving spacers for added reassurance if needed – between each slab.
Repeat the above process, this time checking levels against the slab next to it and directly below it (once you reach that stage).
7. Point the patio
A sand and cement mixture is used to point the patio, i.e. filling in the gaps between paving slabs, using a 4:1 ratio (four parts sand to one part cement). You'll need to add in a very small amount of water to the mixture to make it slightly damp.
Press the mixture into the gaps using a pointing trowel. Brush away any excess once finished and sponge down paving slabs to remove any dirt or debris. Wait a minimum of 24 hours before moving onto the next step.
8. Tie everything together
This is the part where you can get creative and start planning out your patio planting ideas, including where you'll place any pots, patio furniture ideas and garden accessories.
'Consider adding touches of metal as a final flourish. Variegated copper planters are a fabulous addition, or I love to add a metal sculpture,' says designer Katharine Pooley. 'A simple orb or sphere in an urban environment works well, especially when contrasted with soft leafy planting.'

How much does it cost to build a patio?
'The total patio cost, including building, can come in at anywhere between $7.5K/£6K and $32K/£25K, depending on the size and scope of project, with a 60/40 split between labor and materials / waste removal,' says Tony Woods, design director at Garden Club London.
'Much of the work is in the preparation, and correct levels and foundations are absolutely key to the longevity of the surfacing.'
He goes to recommend that if homeowners are keen to make savings on their overall build, it should be on product rather than preparation (good quality paving can range from $38-$90 (£30-£70) per m2).
Copy / Miriam Habtesellasie
Rachel is senior content editor, and writes gardening content for homesandgardens.com, Homes & Gardens magazine, and its sister titles Period Living Magazine and Country Homes & Interiors. She has written for lifestyle magazines for many years, with a particular focus on gardening, historic houses and arts and crafts, but started out her journalism career in BBC radio, where she enjoyed reporting on and writing programme scripts for all manner of stories. Rachel then moved into regional lifestyle magazines, where the topics she wrote about, and people she interviewed, were as varied and eclectic as they were on radio. Always harboring a passion for homes and gardens, she jumped at the opportunity to work on The English Home and The English Garden magazines for a number of years, before joining the Period Living team.
