How to grow parsnips – all you need to know about these sweet and spicy root vegetables
Root veggies don’t come finer or tastier than parsnips – so discover how easy they are to grow, and you’re in for a sweet surprise

Design expertise in your inbox – from inspiring decorating ideas and beautiful celebrity homes to practical gardening advice and shopping round-ups.
You are now subscribed
Your newsletter sign-up was successful
Want to add more newsletters?

Twice a week
Homes&Gardens
The ultimate interior design resource from the world's leading experts - discover inspiring decorating ideas, color scheming know-how, garden inspiration and shopping expertise.

Once a week
In The Loop from Next In Design
Members of the Next in Design Circle will receive In the Loop, our weekly email filled with trade news, names to know and spotlight moments. Together we’re building a brighter design future.

Twice a week
Cucina
Whether you’re passionate about hosting exquisite dinners, experimenting with culinary trends, or perfecting your kitchen's design with timeless elegance and innovative functionality, this newsletter is here to inspire
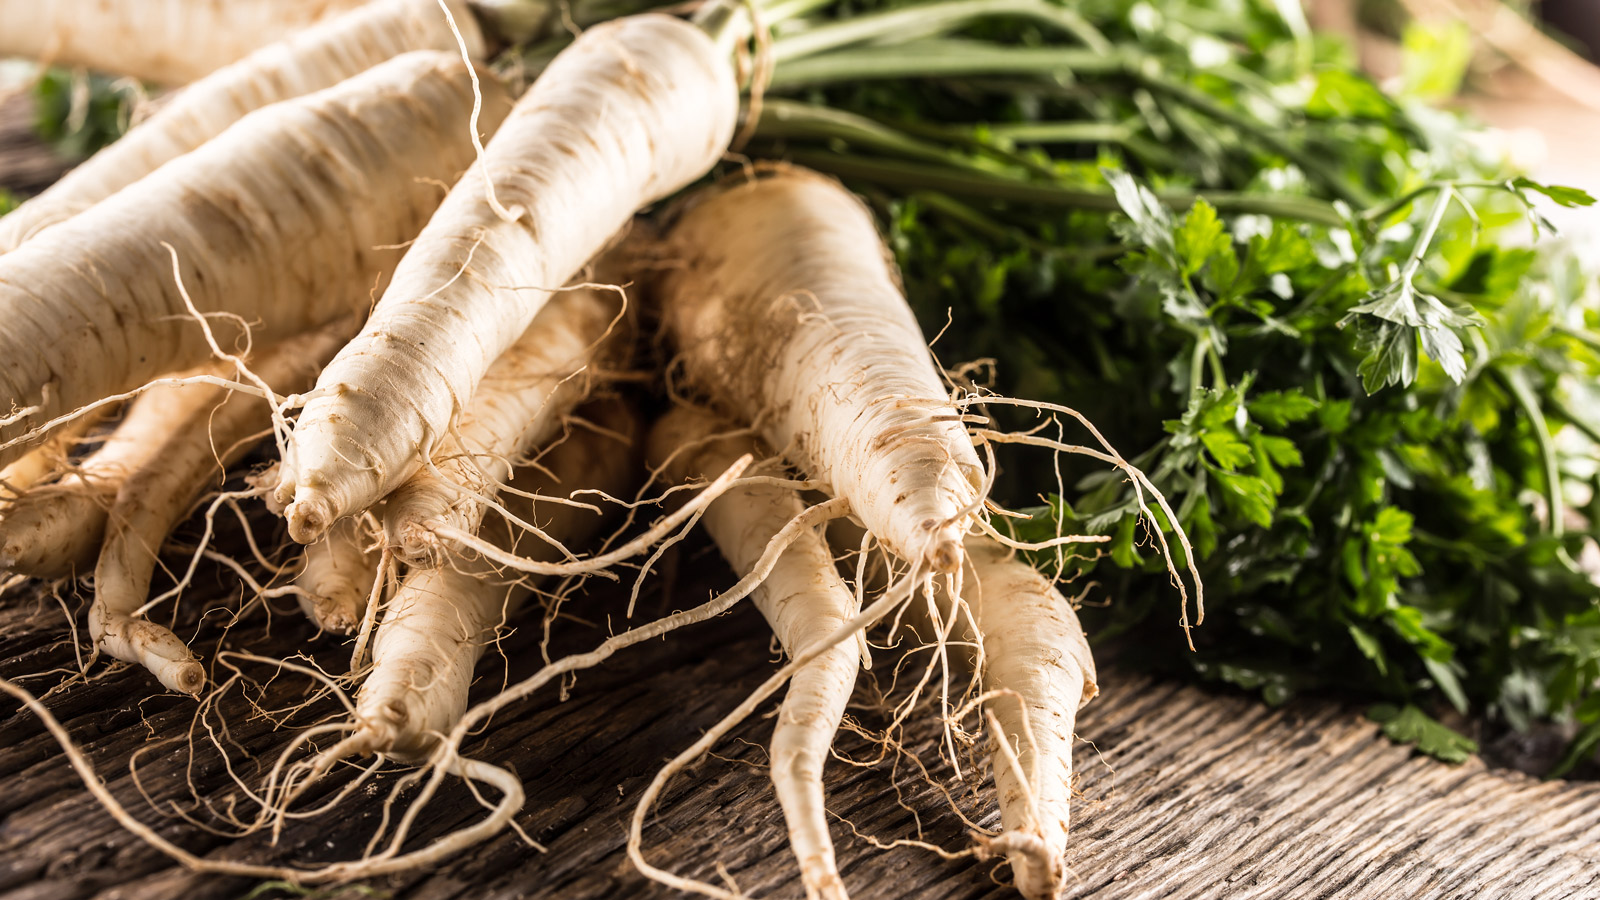
If you don’t know how to grow parsnips yet, it’s likely someone told you they were hard to grow. This would be unfair, in our opinion. The humble parsnip (Pastinaca sativa) is low maintenance and thrives in any number of spaces. What tends to catch people out about these tantalizing taproots is germination – but don’t let that stop you. Get the basics right, and you can enjoy months of rich and spicy roots.
Their tapered lengths may be gnarled and nobbly, but these unassuming taproots have long been revered. Gardeners back in the day were growing parsnips well before potatoes became the starchy staple of choice. They were used to sweeten jams until sugar beets and cane sugar came along. They even helped to make wine and beer thanks to their fermenting properties! High in vitamin C and E, and packed with potassium, fiber and antioxidants, they make excellent anti-inflammatories, help to reduce cholesterol, boost brain health and fuel the immune system.
Part of the parsley family, parsnips can be overlooked in the vegetable garden, but they are well worth your time. They boost supplies in sleepy winter months when much of the plot is dormant. Hardy when mature, they thrive in cooler climes and get better with exposure to light frosts. These distinctive roots are unfussy and relaxed: all you need is patience. So find out how to hit the sweet spot, and grow uniquely soft and tangy taps.

Roots of parsnips are made tastier by exposure to frosts
Ideal conditions for growing parsnips
Anyone keen to grow parsnips successfully only has to focus on three things: the right seeds, the right planting, and the right timing. They may not have a reputation for being the easiest vegetables to grow, but if you master these essentials, the rest is child’s play. Seed viability is not a concern for a lot of crops; a well-kept packet of seeds can be stored for a few years without an appreciable loss of efficacy. Not so for parsnips. The rule is: use them the same year you buy them. If you are using seeds from homegrown plants that have gone to seed, the same rule applies.
Parsnips can be grown in sun or partial shade. They grow in a range of soil types, but favor loamy or sandy soils and a pH of 6-7. Avoid parched or waterlogged soil, and you should be fine. However, one thing you do have to check is the overall condition of the soil. As Burpee’s horticulture specialist Nancy Awot-Traut points out, parsnips have a challenging time pushing their way to the surface. ‘If the soil is too heavy, they will fail to grow,’ she explains. ‘Till the soil to a depth of 18 inches, making sure the soil is free of rocks, and cover the seeds with half an inch of very fine soil.’
Consistency is crucial: any stones (or solid earth) can either create misshapen roots or stop them in their tracks. Some taproots can grow 15in long, so make sure your planting site can accommodate at least 20in depth. Take some time for preparing garden soil to ensure your taproots have the best start. It also helps to warm the soil for a few weeks with a cloche, polytunnel or similar.
If you want to know how to grow parsnips in heavier soils, stick to varieties that produce shorter taproots, like ‘Albion’ or ‘White Gem’. If you are after longer parsnips, choose a breed such as ‘Javelin’ or ‘Viper’. For varieties that are disease-resistant, try ‘Gladiator’ or ‘Picador’. And for superlative taste, try ‘Pearl’, ‘Hollow Crown’, ‘Tender & True’ and ‘Harris Model’.
Design expertise in your inbox – from inspiring decorating ideas and beautiful celebrity homes to practical gardening advice and shopping round-ups.
- Buy parsnips from Amazon
- Buy parsnips from Burpee
- Buy parsnips from Etsy
- Buy parsnips from Tomorrow Seeds
- Buy parsnips from Walmart
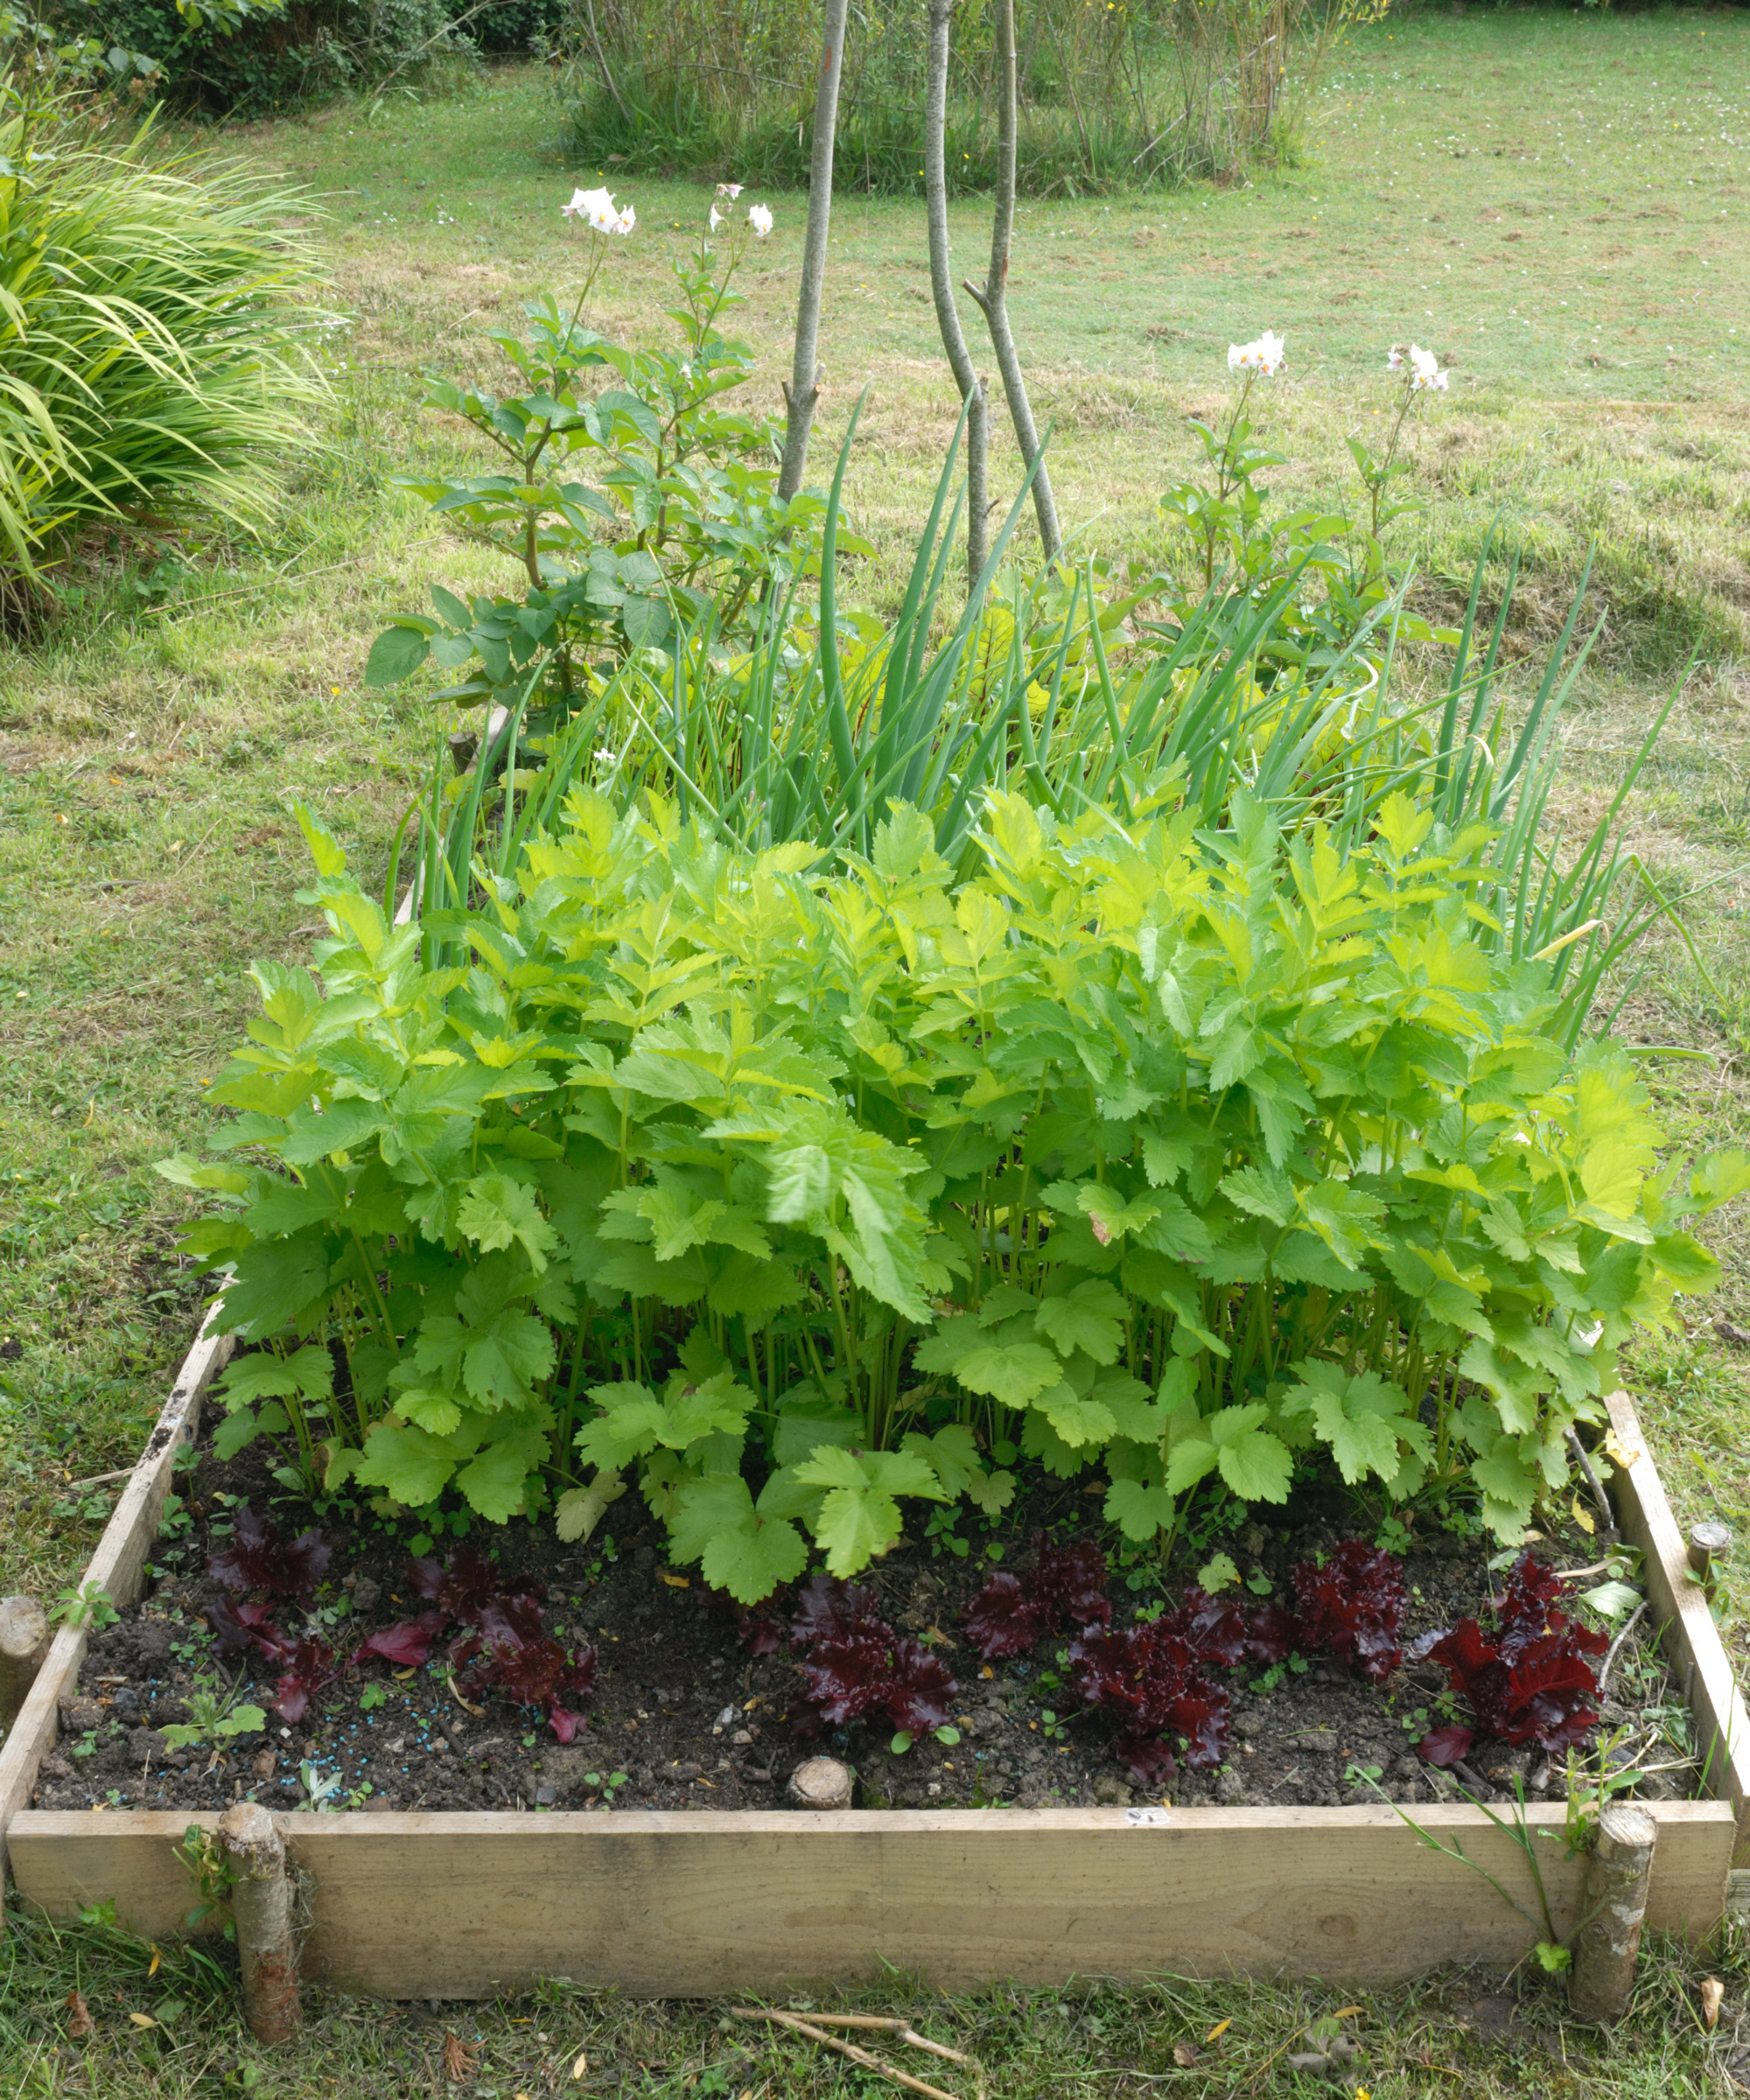
Raised beds provide a perfect growing location for parsnips, as they can be deep and well drained
When and how to grow parsnips
One of the big tests when learning how to grow parsnips is making peace with their long growing season. They aren’t known for being fast growing vegetables, so you will need to hold your nerve if you want to enjoy tip-top taproots. Parsnips can take four or five months from germination to maturity. This can lead to one of the classic seed sowing mistakes – sowing too early. If you haven’t given the ground a chance to warm up (or pre-warmed with a cover), your seeds are doomed before they start. It’s best to wait until soil temperatures hold steady at 50-55˚F.
These are cool season crops, so established plants won’t mind a little dip in warmth here and there. But in terms of best starts, your sowing or planting site is best if it is moderate and regulated. ‘Parsnips grow best between 40˚F and 70˚F,’ says seed expert Florence at Tomorrow Seeds. ‘Sowing in early spring or late fall for overwintering in milder climates is ideal.’ Although they are biennial plants, parsnips are usually grown as annuals, which is why timing is so important. As a general rule, parsnips are best sown between mid-April and early May.
As West Coast Seeds’ Carissa Kasper explains, spring sowing is best – temperatures are cool and moisture levels are consistent. You can buy a few weeks if you start parsnips undernglass a little earlier. But if you start indoors, use biodegradable pots that are long and deep so you can transplant seedlings without disturbing the roots. Parsnips develop the long taproot before the smaller network of roots. So most experts prefer direct sowing outdoors. Let ground temperatures be your guide.
Parsnips do best in USDA hardiness zones 2-9. In warmer regions, you may prefer to sow in the fall – crops can grow in milder winters to mature the following spring.
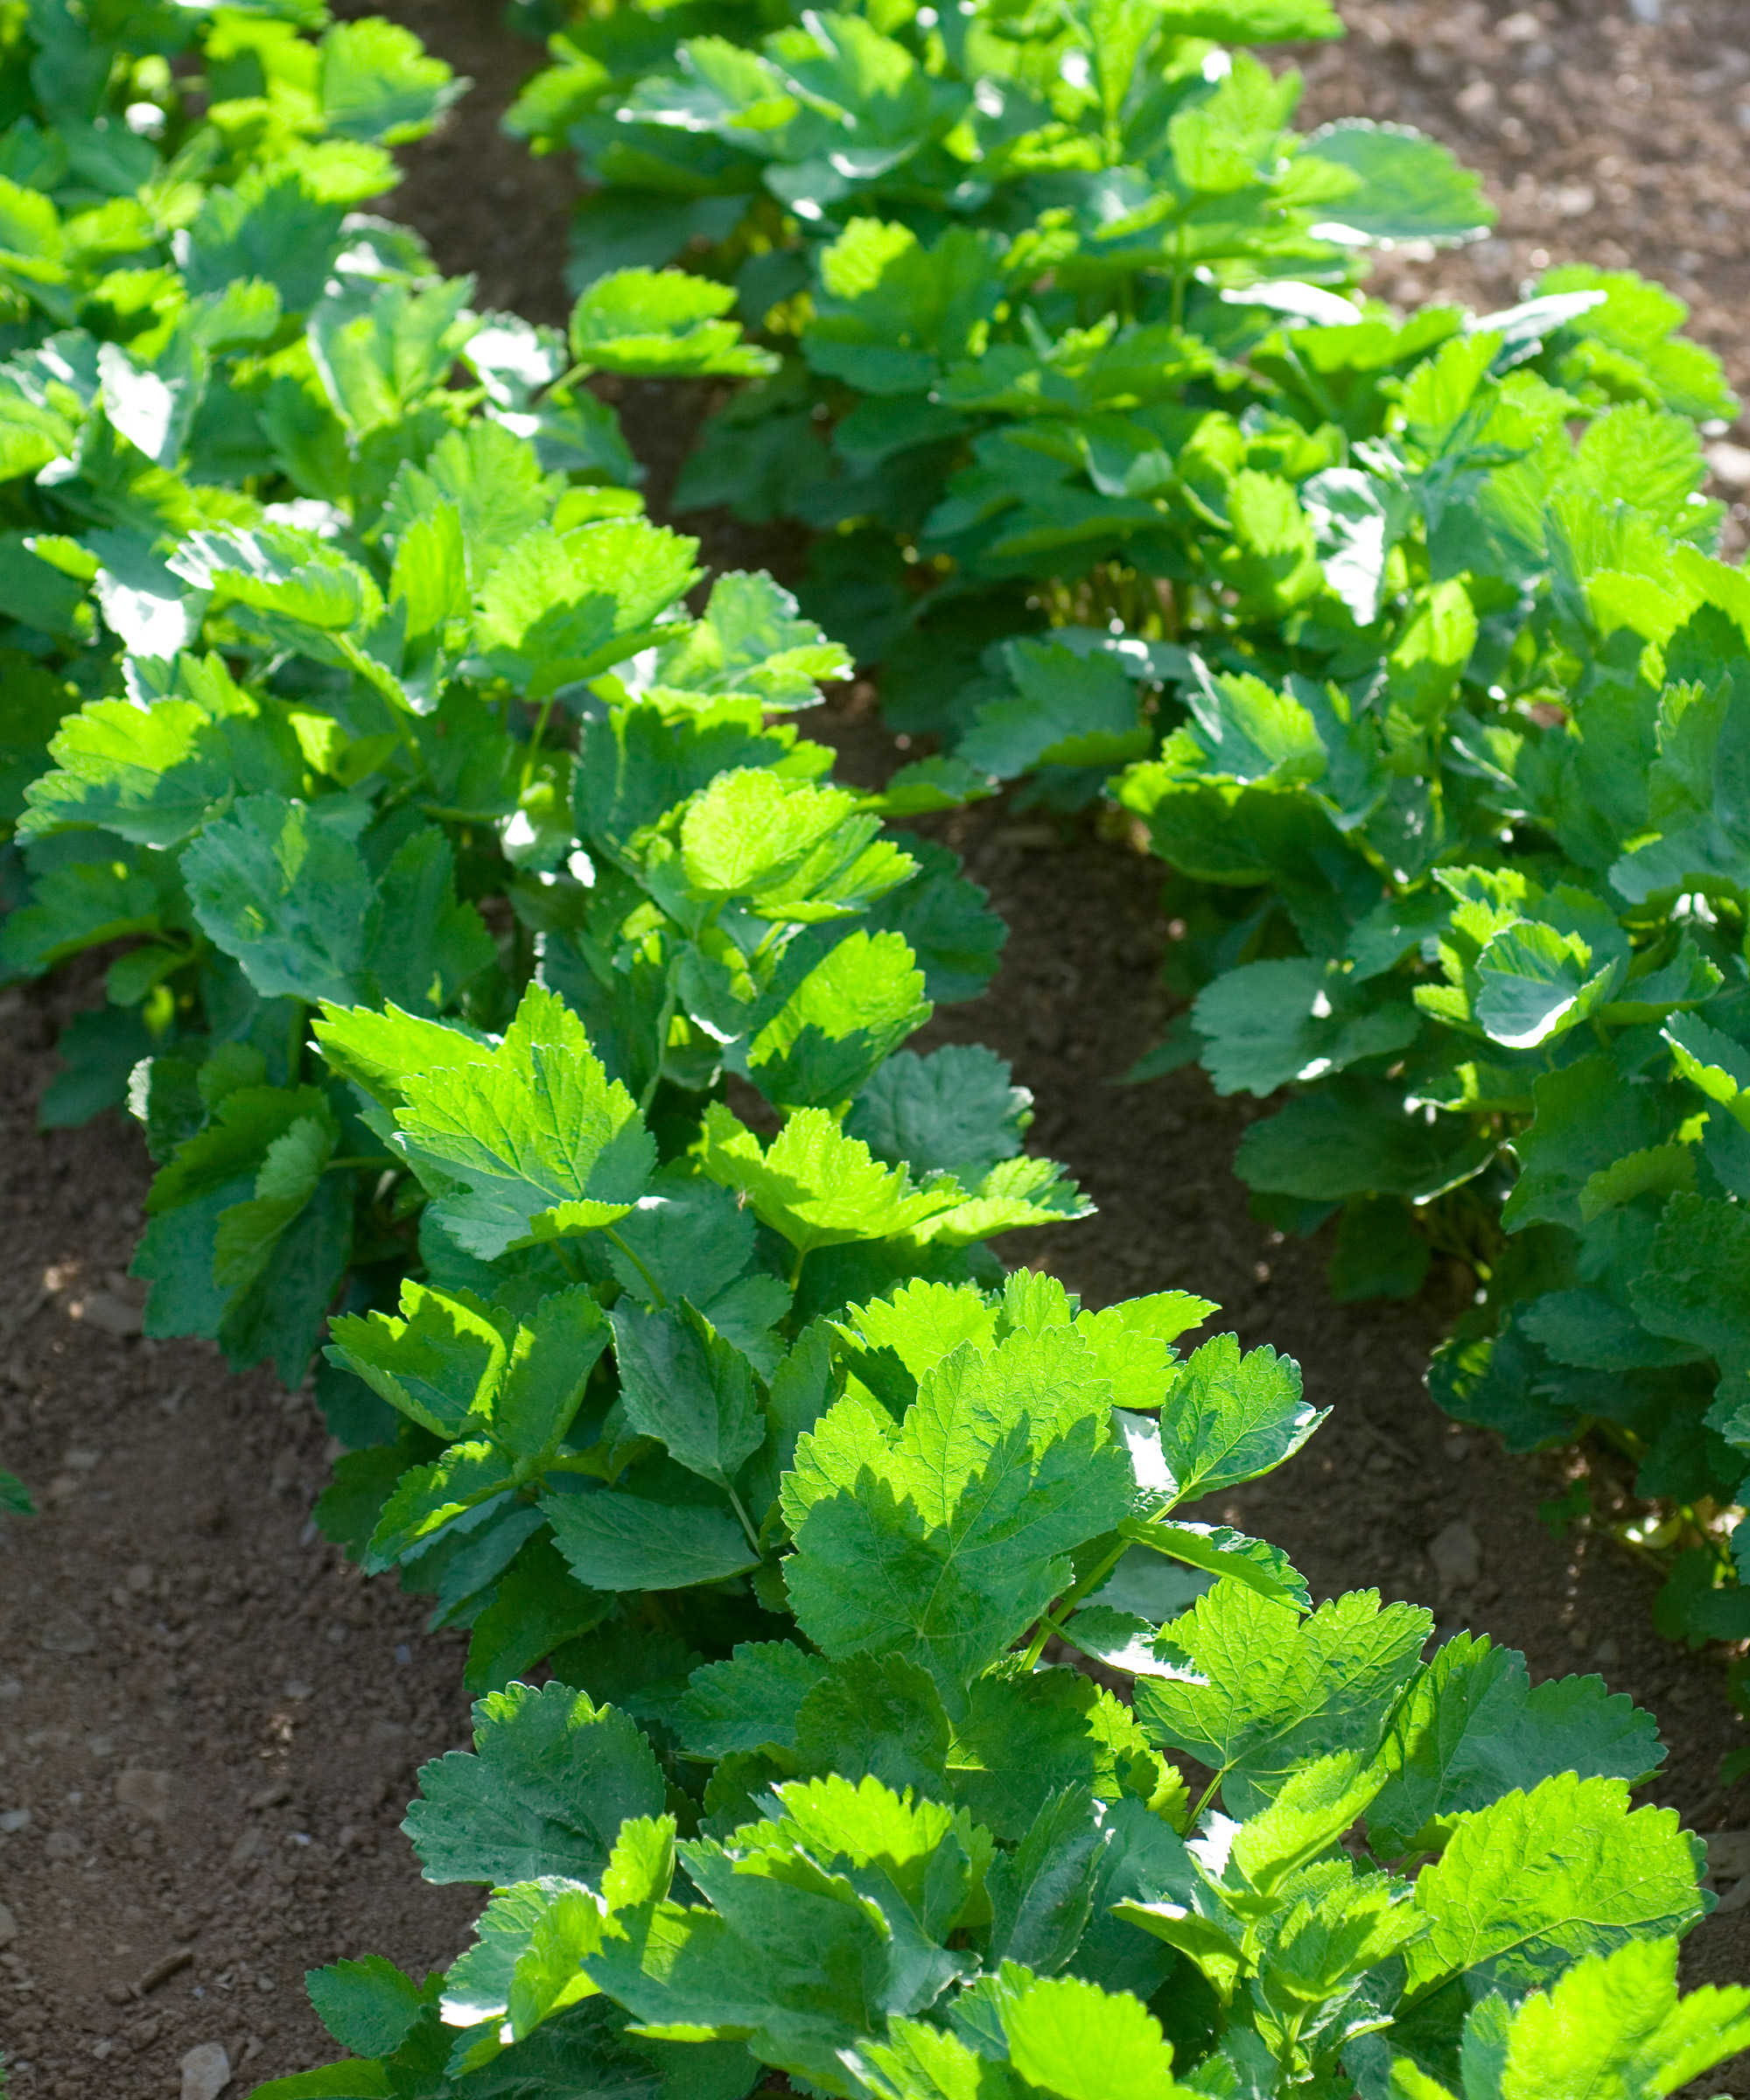
Parsnips love full sunshine so long as they aren’t allowed to dry out in extended periods of heat
How to plant parsnips from seed
As we have explained, the freshest seeds ensure the best success rates with germination. Furthermore, says Burpee’s Nancy Awot-Traut, it’s a good idea to sow thickly with a view to thinning seedlings down to the strongest later. At the sowing stage, you’re playing a numbers game to make up for the seeds that won’t germinate. The basic rule is: sow a lot, at the right time, in well-prepped soil. One extra way to beat the odds, favored by several experts, is to ‘chit’ seeds before sowing. This helps to germinate seeds before planting and involves placing seeds on a damp paper towel a week before you wish to sow, then covering with cling film.
Amateur Gardening’s veg expert Lucy Chamberlain has this trick to ensure planting holes are perfect for growing parsnips. Even if you have a small vegetable garden, this is a fool-proof way to avoid wonky crops. ‘The taproot has to develop unhindered for uniform parsnips,’ says Lucy. ‘So use a long, sturdy pole to make holes 8in deep.’ Fill with compost, then firm gently and sow. Consider this a sophisticated form of dibbing!
Lucy was a Horticultural Advisor at RHS Wisley and has been Head Gardener on a 100-acre estate in England for many years, but writes regularly for titles such as The Garden, Gardeners’ World, The Guardian and Amateur Gardening. She’s also the author of RHS Step by Step Veg Patch, available at Amazon, which covers 50 types of fruit and veg. Here are some more of her top tips for direct-sowing when you grow parsnips.
- When choosing your parsnip seeds, opt for F1 hybrids. These are less variable in quality and are more likely to show more vigorous growth.
- Sow three-five seeds in every planting hole, spaced at 10in intervals. Make sure you sow on top of holes that have been filled with compost, then cover with another very thin layer of compost and water in.
- Mark both ends of the planting site with sticks and label the rows. Since these crops take a while to announce themselves, you don’t want to lose track of where they have been planted, or forget what you put there!
- Cover over the sowing bed or raised bed with cloches to help regulate temperatures. Remove once seedlings are a couple of inches tall.
- Germination can take two-four weeks from direct-sowing, depending on parsnip variety, soil conditions and weather. If you don’t see any activity straight away, don’t panic! Just give it time.
- Thin outdoor sowings once you spot the first pair of true leaves. If you have sown in clusters, thin by cutting to the strongest plant per cluster. Plants at intervals of 6-8in apart have the best chance of success.
- Take care with watering in the early stages. Parsnips don’t need lots of water or feed. If you apply these excessively, you’ll end up with lots of leaves but small roots. Keep the earth just moist for best results.
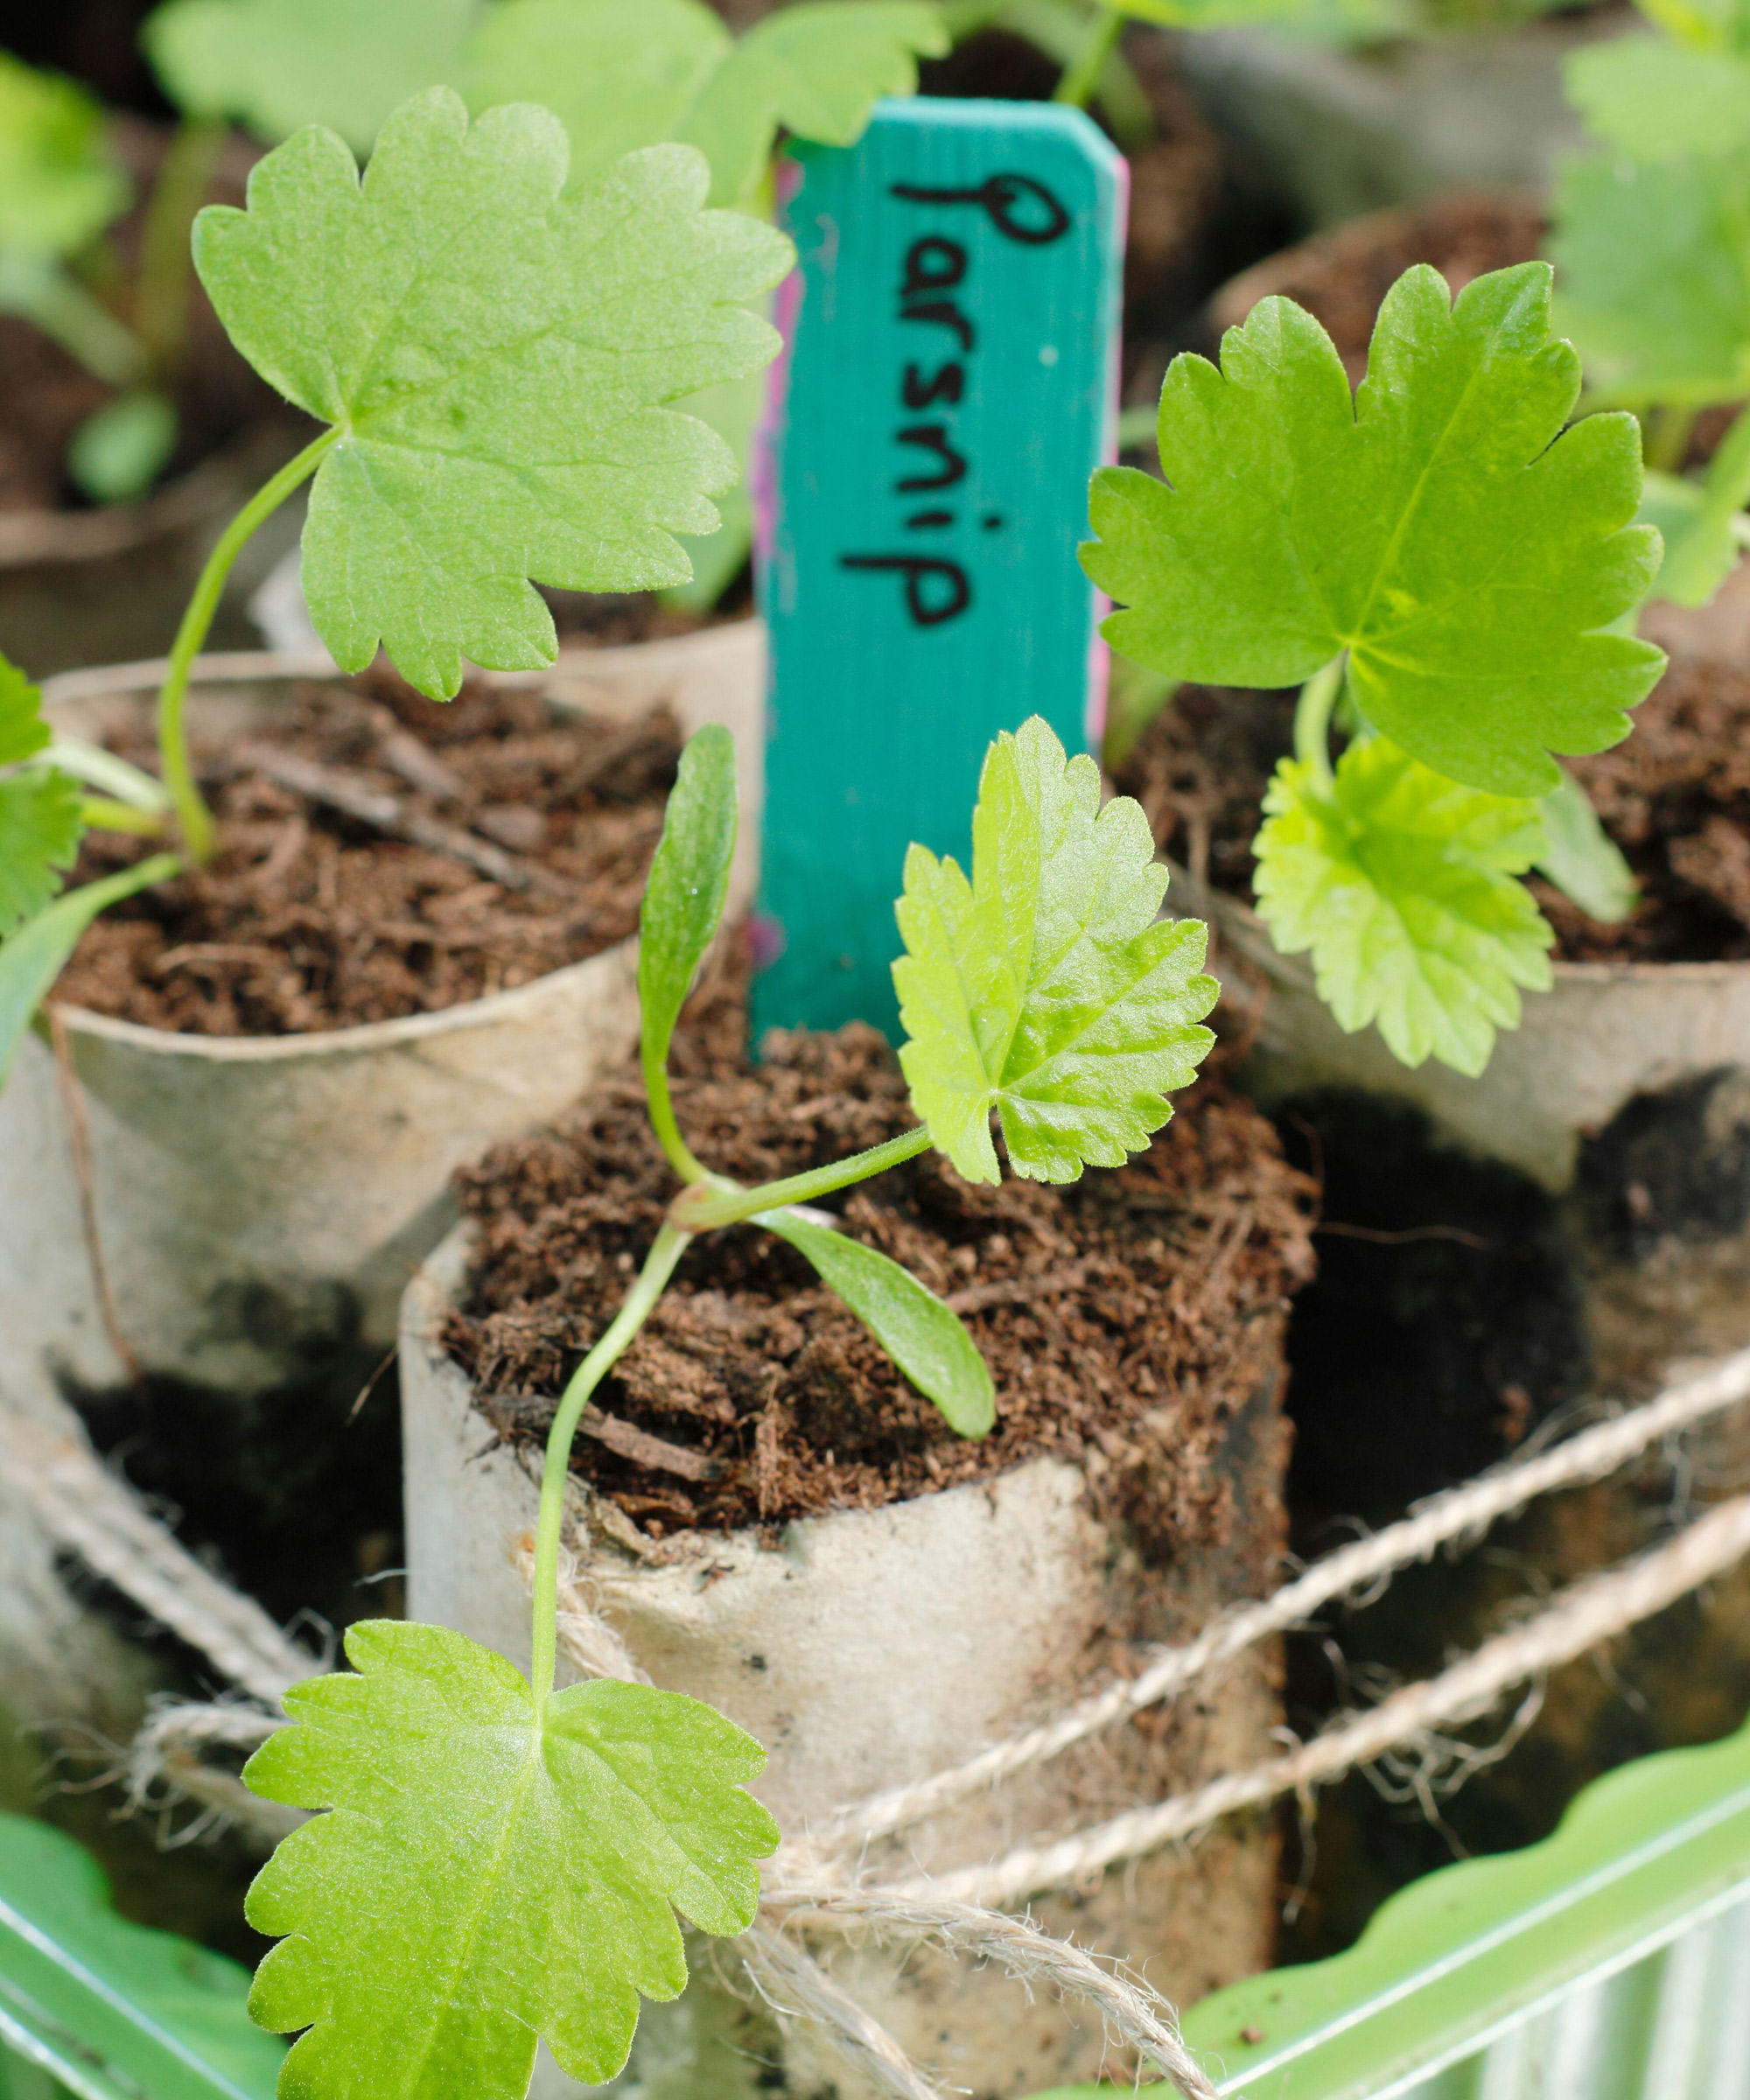
Parsnips can be transplanted in biodegradable pots, but it is generally more successful to grow from direct sowings outdoors
How to grow parsnips in containers
Learning how to grow parsnips is fine once you have a handle on seed quality and soil condition. However, if you aren’t happy about soil drainage or consistency (say, it is heavily clay-based), try growing in large pots of multi-purpose. Parsnips may not be obvious choices for container gardening, but they can be cultivated this way.
Select a type that is likely to grow a shorter taproot, such as ‘Albion’ or ‘White Gem’. Ideally, you’re after something that produces taproots no longer than 12in long. Also, you need to avoid one of the most common planting mistakes when growing parsnips in pots – make sure your container has plenty of drainage holes.
Select containers that give plenty of room for taproots to tunnel down; troughs or outdoor planters made of wood, plastic or stone are good options. Ample depth is critical as you don’t want to compromise root development. Sufficient width is also key if you wish to grow multiple plants in the same container. So choose a pot that’s at least 20-25in deep. Filling the base with a layer of sand can help with drainage.
Avoid risking root damage later by starting parsnips off in their final pot, thinning as you go. Maintain the same plant spacings as for standard plantings, so plants are eventually 6-8in apart. Make sure moisture levels are kept consistent in early stages of growth (established plants can be watered deeply once a week). Position in a sunny spot, but move somewhere shady on hot days. Don’t forget to give container-based parsnips exposure to first frosts in the fall to ensure the tastiest yields.

You can grow parsnips in containers as long as they are deep and kept well watered
Care tips
Once your parsnips have survived the first couple of months of growth, things get much simpler. You will find when you grow parsnips that they become drought-resistant once they adapt to life outside, in tandem with warmer temperatures in late spring and early summer. Just keep an eye on extremes of weather, and give your plants access to a few hours of shade on really hot days. It’s ok to water plants less as they mature: an inch of water a week is plenty. The trick is to hydrate less often but deeply (perhaps with a soaker hose) to encourage strong roots. It’s vital roots aren’t allowed to dry out, as you want to avoid splitting.
Parsnips don’t require much feeding. You shouldn’t add nitrogen-based fertilizers, as they can encourage leafier growth at the expense of roots. It’s fine to add a little fish, blood and bone once a month. You can also add a good mulching in June to help restrict weeds. You’ll probably find weeding is your main job as plants start establishing. The best way to get rid of weeds is by hand, gently, so as not to disturb plants. West Coast Seeds’ Carissa Kasper urges caution: ‘Wear gloves and long sleeves, as the sap from parsnip leaves can cause a rash in some people,’ she says. Once your crops develop their foliage, weeds are less likely to take hold.
Lovers of companion planting will find onions, leeks and garlic all help keep aphids at bay. Herbs like rosemary are also smart choices as they can prevent carrot root fly. Slow-growing parsnips also give you scope for crafty interplanting. This is where you dot faster-growing crops in between those that take their time. Lucy Chamberlain recommends radishes and salads as excellent interplanting partners for parsnips.
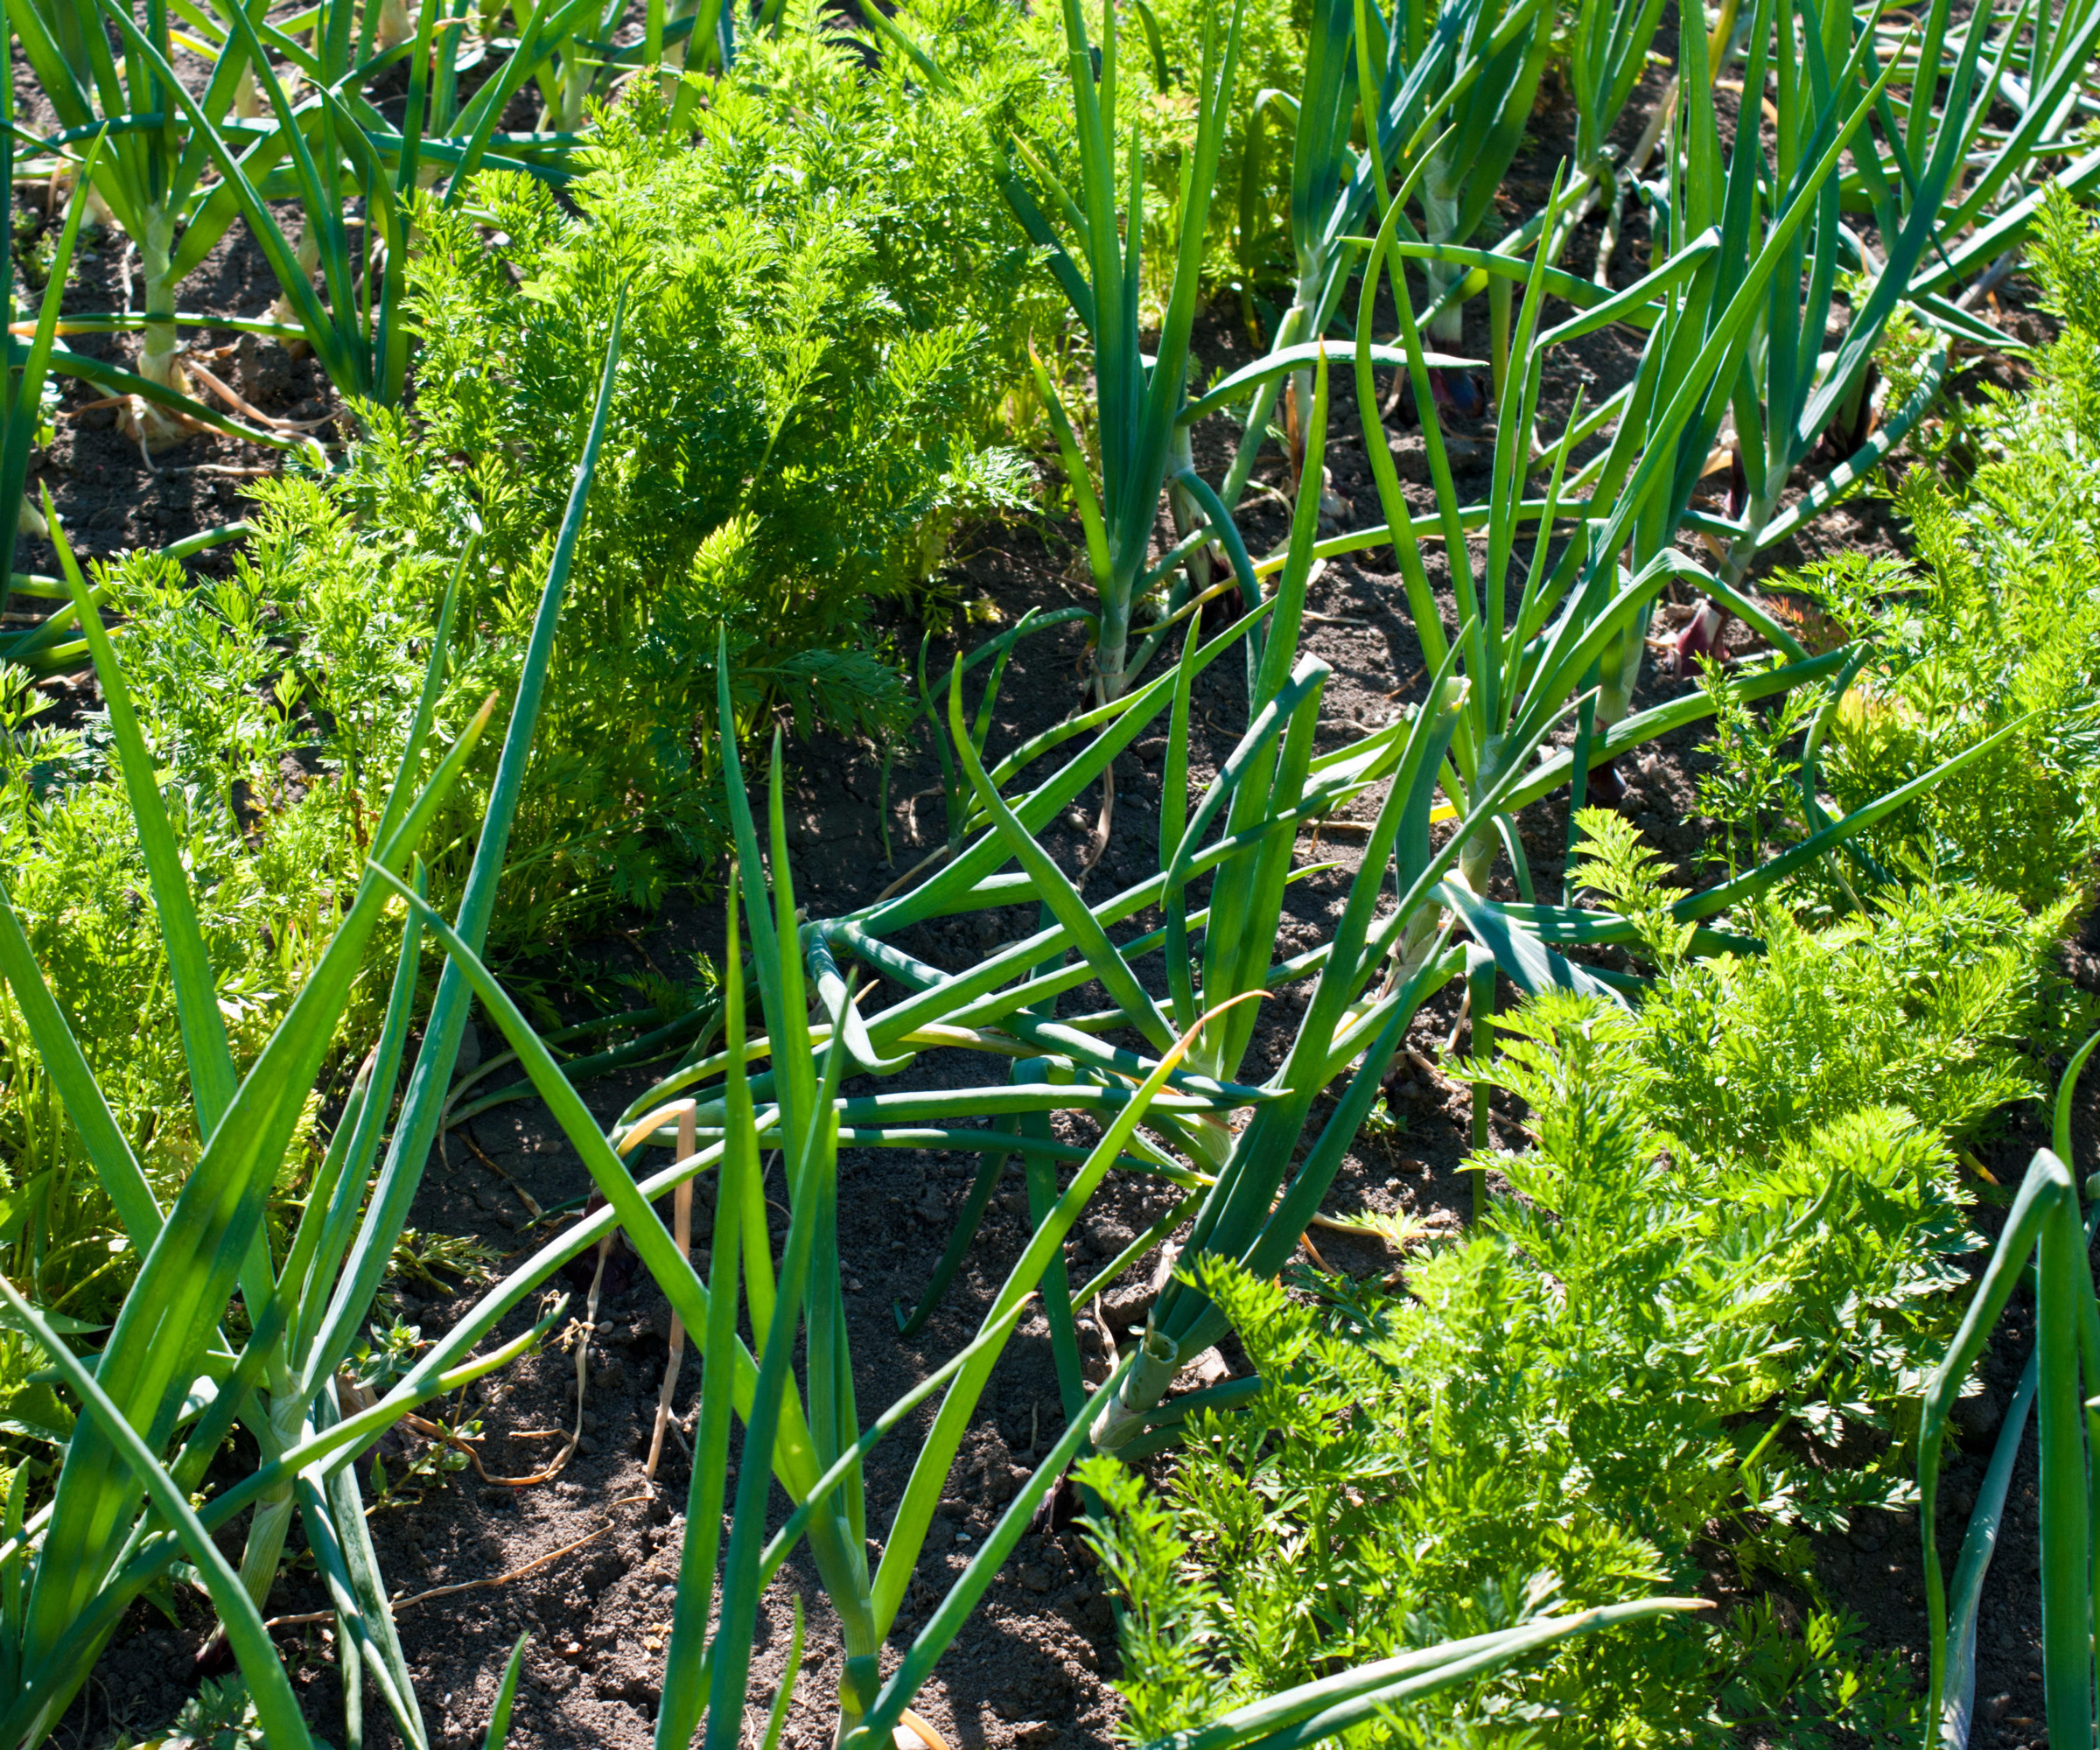
Companion planting and interplanting help to make more of your parsnip plantings while crops mature
Problems growing parsnips and how to tackle them
If you have experience of growing carrots, you won’t be surprised that these spicy roots attract a few of the same pests, like carrot flies, aphids and leaf miners. You can reduce the risk if you avoid planting in places where you previously grew carrots, parsley, celery or celeriac (in other words, practise good crop rotation).
Other ways to lower the risk of pests include checking soil health before planting, adding horticultural mesh, choosing disease-resistant varieties, and including some form of companion planting. Here are some of the main problems to watch out for when growing parsnips:
- Canker: Tell-tale signs of canker are ‘roots with rusty brown, sunken shoulders,’ says Lucy. Plants are more susceptible if roots are damaged early on. So weed by hand and transplant parsnips in biodegradable pots or tubes. Raised beds can also help prevent canker. Also, grow resistant varieties like ‘Albion’, ‘Archer’, ‘Duchess’ and ‘Javelin’.
- Forking: As we have explained, soil consistency is vital to the health of your taproots. If you don’t take steps to remove stones and debris before sowing, developing taps grow ‘around’ obstacles, creating misshapen crops. Use light, stone-free soils and composts to prevent this.
- Carrot root fly: These pests (Psila rosae) feed on the fine thread thread roots before tunnelling into the main taproot. Lucy advises cloaking the planting site in an insect-proof mesh and leaving in place until harvest time. Crop rotation and savvy companion planting (with leeks, chives and onions) can also reduce the risk of infestation.
- Cracking and splitting: These deformities usually happen when you water infrequently, or skip watering altogether in dry spells. A sensible (and deep) irrigation routine at weekly intervals will keep roots intact.
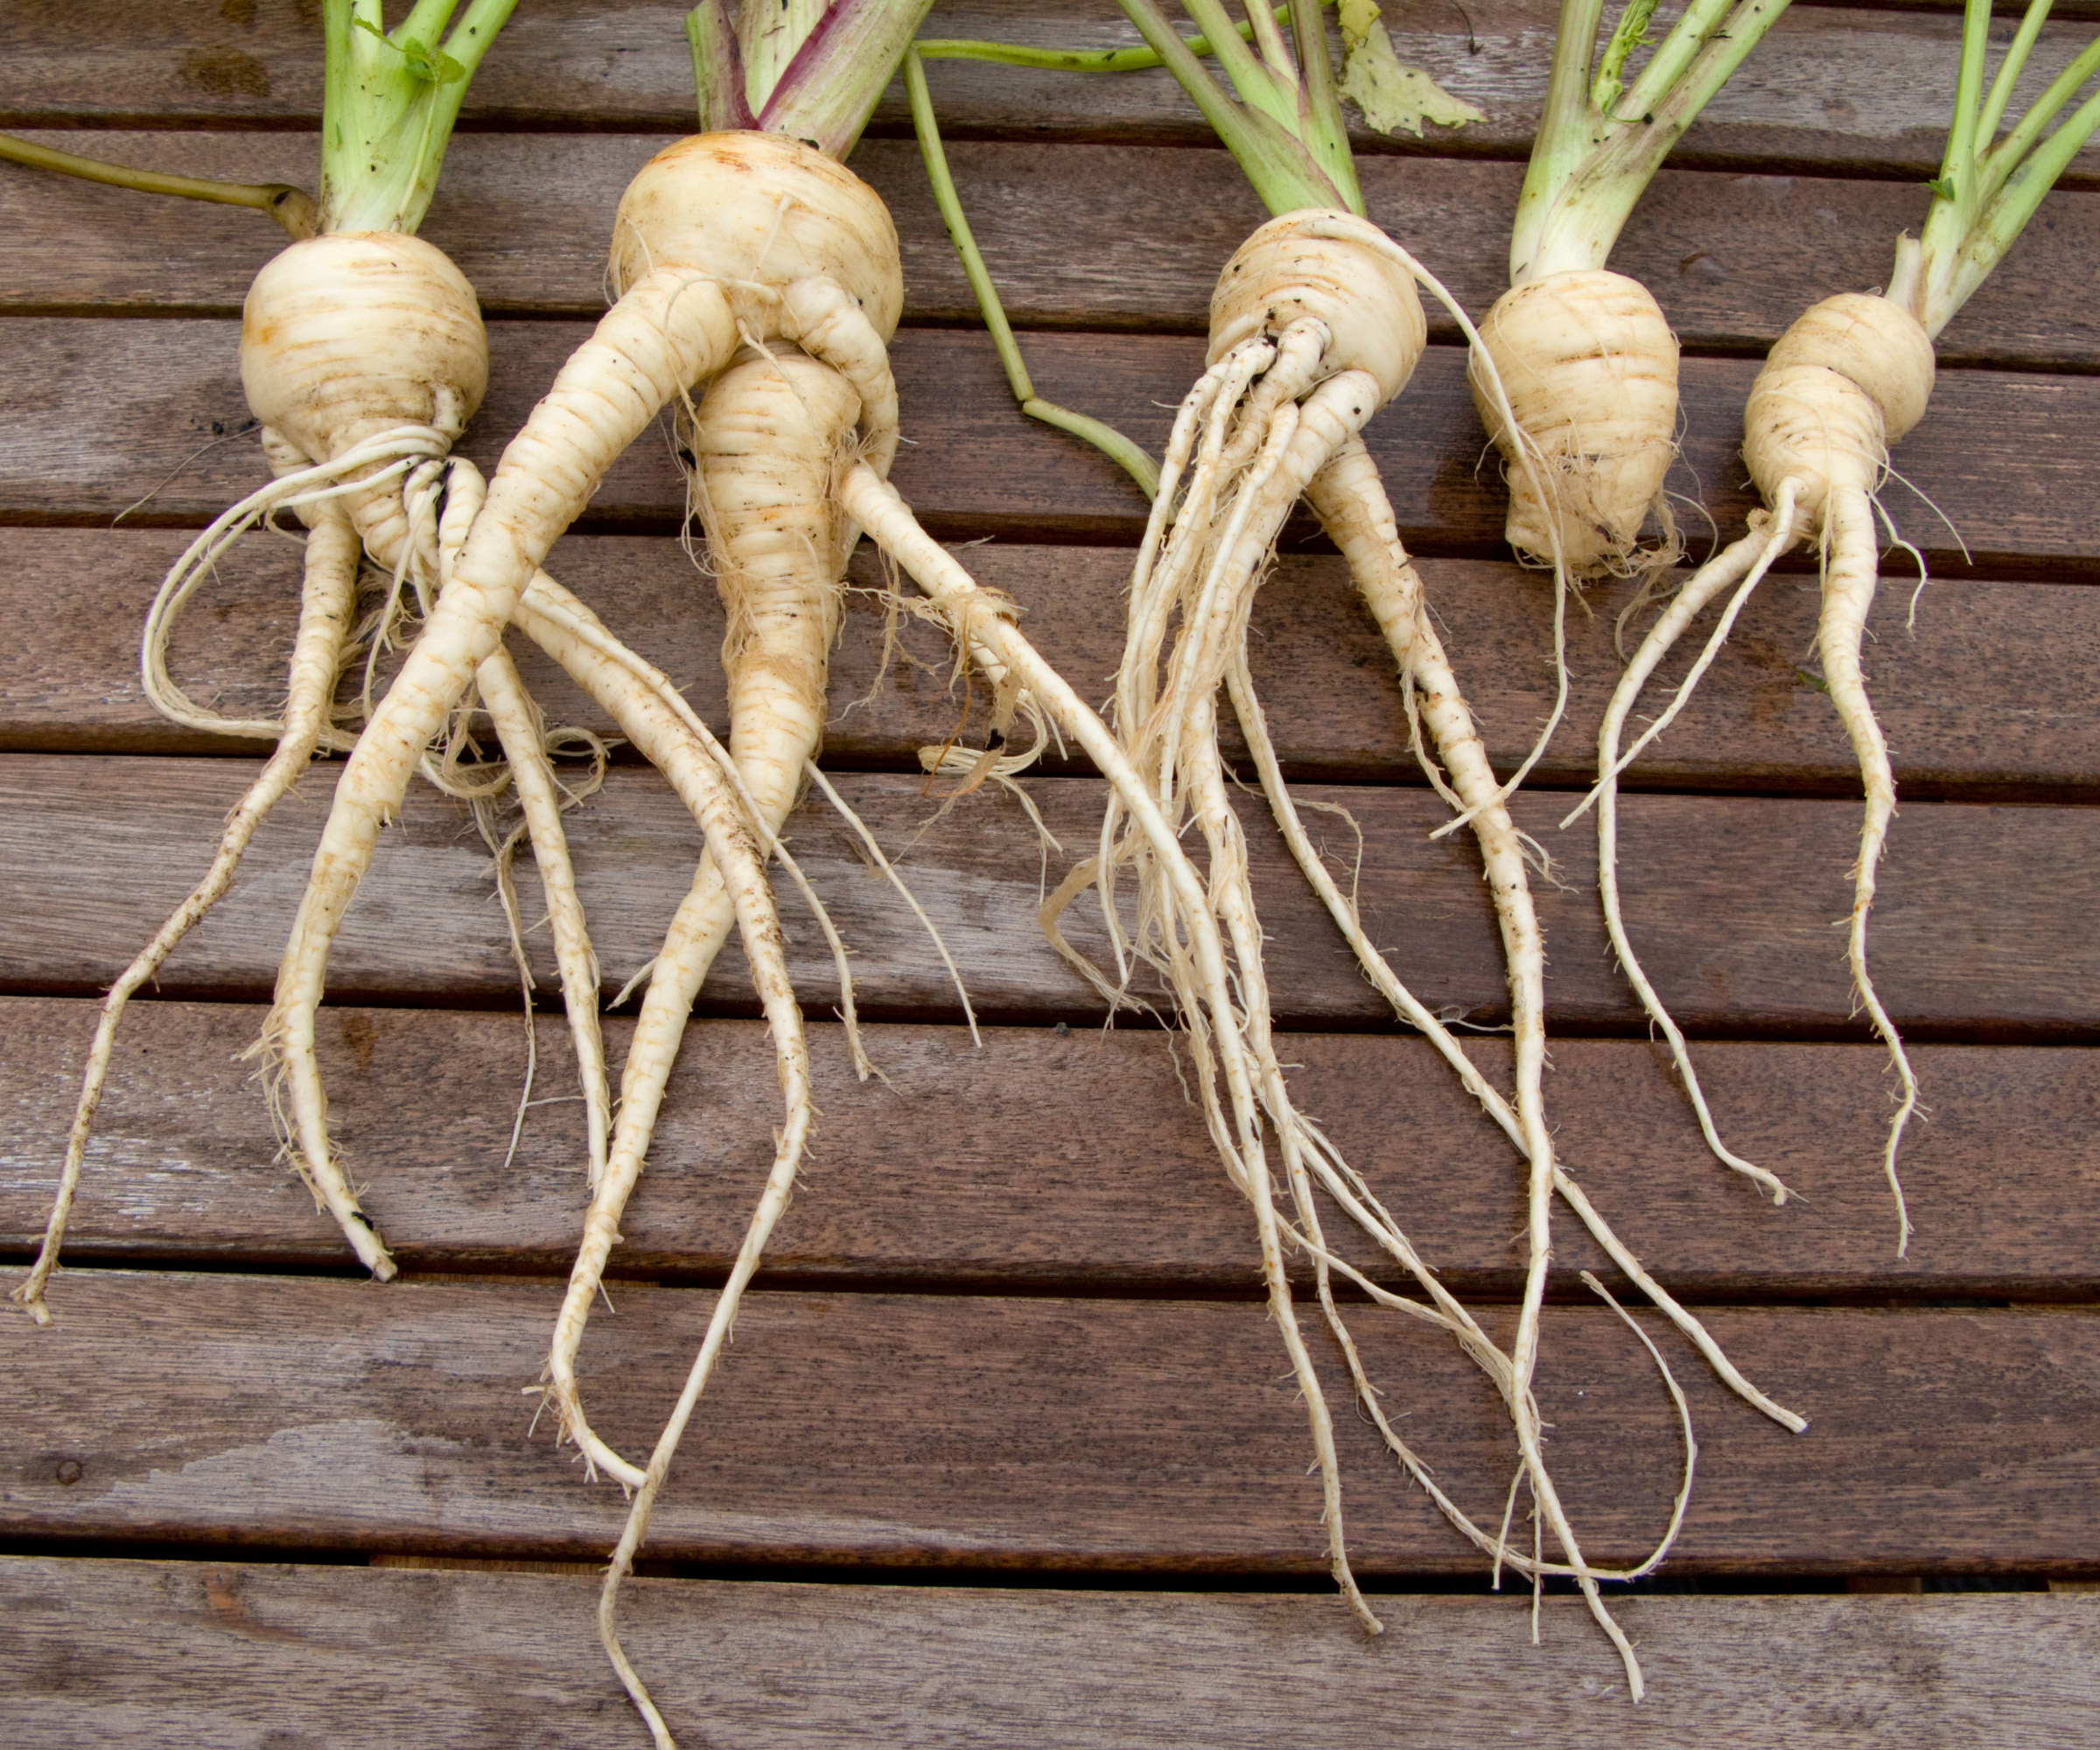
Forking is a common problem in roots where they have been planted in rocky ground
Harvesting parsnips
Perhaps the biggest challenge when growing parsnips is waiting for the wait to be over! If you planted in April-May, the arrival of September is your first cue. Depending on variety, weather and plant health, crops are likely to reach their peak 120-140 days after germination. You might also see foliage start to turn yellow and die back. However, the countdown starts in earnest after crops are exposed to the first frosts of the fall that actually sweeten the roots.
If you know how to harvest carrots, you’ll find parsnips a bit trickier, but fear not. Just lift gently with a garden fork while wearing gloves. Lucy Chamberlain advises taking your time so you don’t wind up with snapped roots. ‘Slide the prongs along each root and lever it out. If you feel resistance, don’t tug,’ warns Lucy. ‘Dig away the top 6in of earth surrounding the parsnip, then lift again.’
Keep harvesting parsnips through fall and winter, as long as the ground is not frozen. You can lift the lot in November and store in sand. Alternatively, cover the ground with straw. Don’t forget to let some plants go to seed and save the seeds in an airtight jar for another year of harvests.

Parsnips like Gladiator make an excellent option if you want long roots that are disease-resistant
FAQs
Can you grow parsnips from scraps?
Regrowing from leftovers – for example, by growing onions from scraps or celery from a stalk – can be an easy way to make more crops. Technically, you can grow more parsnips from scraps. Just salvage the top inch of the root with a few leaves attached, and place it in water in a sunny windowsill. You will soon see tiny new roots and leaves. After a few weeks, you can transfer to a pot or the vegetable patch.
However, you won’t grow an extra taproot. Basically, you’ll just be growing more of the leafy part of the plant, which is not edible. Still, it’s a fun way of growing parsnips that will eventually flower and go to seed, and you can use the seeds to start the cycle again!
Can you grow parsnips in toilet rolls?
Many gardeners use toilet rolls as biodegradable receptacles for starting off crops such as beans. Indeed, one of the best vegetable garden hacks is to reappropriate household items on their way to the recycling bin. That said, you should exercise caution if you grow parsnips this way. The depth of any planting receptacle in the first few weeks needs to be able to house that developing taproot easily – and toilet rolls are only a few inches long.
So if you do want to use tubes, we suggest making your own for transplanting and ensure they are 8-10in long. Fill with compost and three seeds, planted half an inch deep. Water frequently, thin to the strongest, and plant out as soon as you can. Don’t forget to sow some direct outside.
Can you grow parsnips in a greenhouse?
Greenhouses are great for crops where steady temperatures are required. Tender crops do very well indoors as long as conditions are well ventilated. But when compiling lists of easy indoor plants, you aren’t likely to see parsnips. You’ll find when you learn how to grow parsnips that (as cool-season crops) they thrive in outdoors situations and need exposure to a light frost as they reach maturity to intensify flavors. It’s fine to start them indoors to extend the growing season by a few weeks – but this should be a stop-gap. You’re better keeping your parsnips outdoors once strong enough. If you are transplanting crops started in a greenhouse, use biodegradable rolls or pots with the bases removed.
If you don't have much space for a full kitchen garden, parsnips are well suited to raised garden beds in smaller yards, as these beds can provide depth and consistency of soil, and can be kept adequately well drained.
Wherever you choose, avoid planting where you’ve previously grown carrots or parsley to minimize the risk of disease.

A former assistant editor of Amateur Gardening magazine, Janey's gardening passion was fostered from an early age, when her amazing mum had her deadheading hydrangeas, mulching roses, and propagating strawberry plants from runners for school open days. She's also taken part in lots of conservation and rewilding projects for the RHS and TCV as a way of exploring her horticultural horizons.