What are biennials? Our guide to these easy-to-grow plants
Our expert guide to the best biennial varieties and how to grow them
Design expertise in your inbox – from inspiring decorating ideas and beautiful celebrity homes to practical gardening advice and shopping round-ups.
You are now subscribed
Your newsletter sign-up was successful
Want to add more newsletters?

Twice a week
Homes&Gardens
The ultimate interior design resource from the world's leading experts - discover inspiring decorating ideas, color scheming know-how, garden inspiration and shopping expertise.

Once a week
In The Loop from Next In Design
Members of the Next in Design Circle will receive In the Loop, our weekly email filled with trade news, names to know and spotlight moments. Together we’re building a brighter design future.

Twice a week
Cucina
Whether you’re passionate about hosting exquisite dinners, experimenting with culinary trends, or perfecting your kitchen's design with timeless elegance and innovative functionality, this newsletter is here to inspire
Biennials are some of the most popular plants to grow and midsummer is the perfect time to start sowing them.
They are easy to grow and often ready to produce a flush of flowers in the dull gap between the joyful appearance of spring bulbs and the full flamboyance of the summer.
They can all be sown from seed, making them an economical way of adding summer color and interest to your yard.
What are biennials?
Plants are classified by the biological definition.
An annual plant is one that goes through its entire life cycle of ‘grow, flower, set seeds, die’ in the same year, and prime examples are marigolds, sweet peas, sunflowers and more exotic varieties such as annual poppies, Spanish flag and zinnias, just three of our 10 best annual flowers for brilliance and interest,
Perennials are the staples of many yards that come back year after year, such as canna lilies, roses, and plants that grow from bulbs, tubers and corms, many of which will keep the yard colorful right through to late summer and the fall.
Biennials are so-called because they have a two-year cycle. After sowing, they produce leaves and strong roots, enter a dormant state through winter, then grow again the following spring before flowering, setting seed and dying back in the fall.
Design expertise in your inbox – from inspiring decorating ideas and beautiful celebrity homes to practical gardening advice and shopping round-ups.
Sown in trays or modules in summer, they will grow enough to be planted in the yard in the fall for next year’s display. Alternatively, they can be kept in pots in the greenhouse over winter and potted out in spring.
Popular biennial varieties
Some of the most popular flowers growing in our yards are biennials. They are easy to grow and relatively trouble-free.
The most beautiful varieties include:
- Some varieties of black-eyed Susan include Rudbeckia hirta 'Indian Summer', 'Moreno' and 'Cherokee Sunset'.
- Aquilegia
- California poppies
- Iceland poppies
- Honesty
- Foxgloves
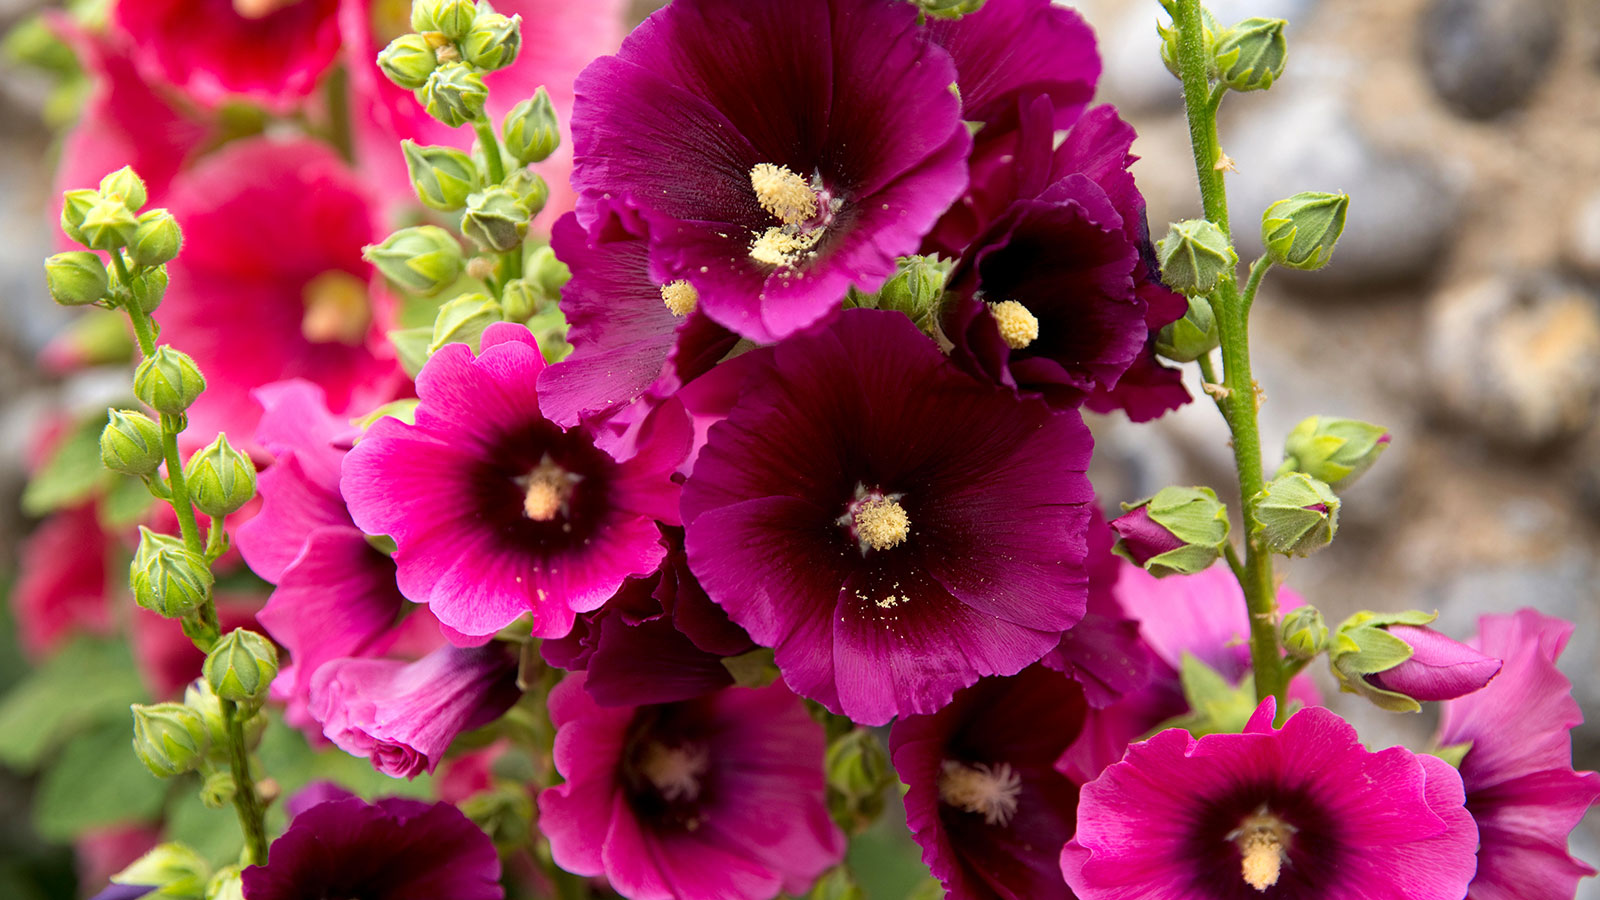
- Hollyhocks
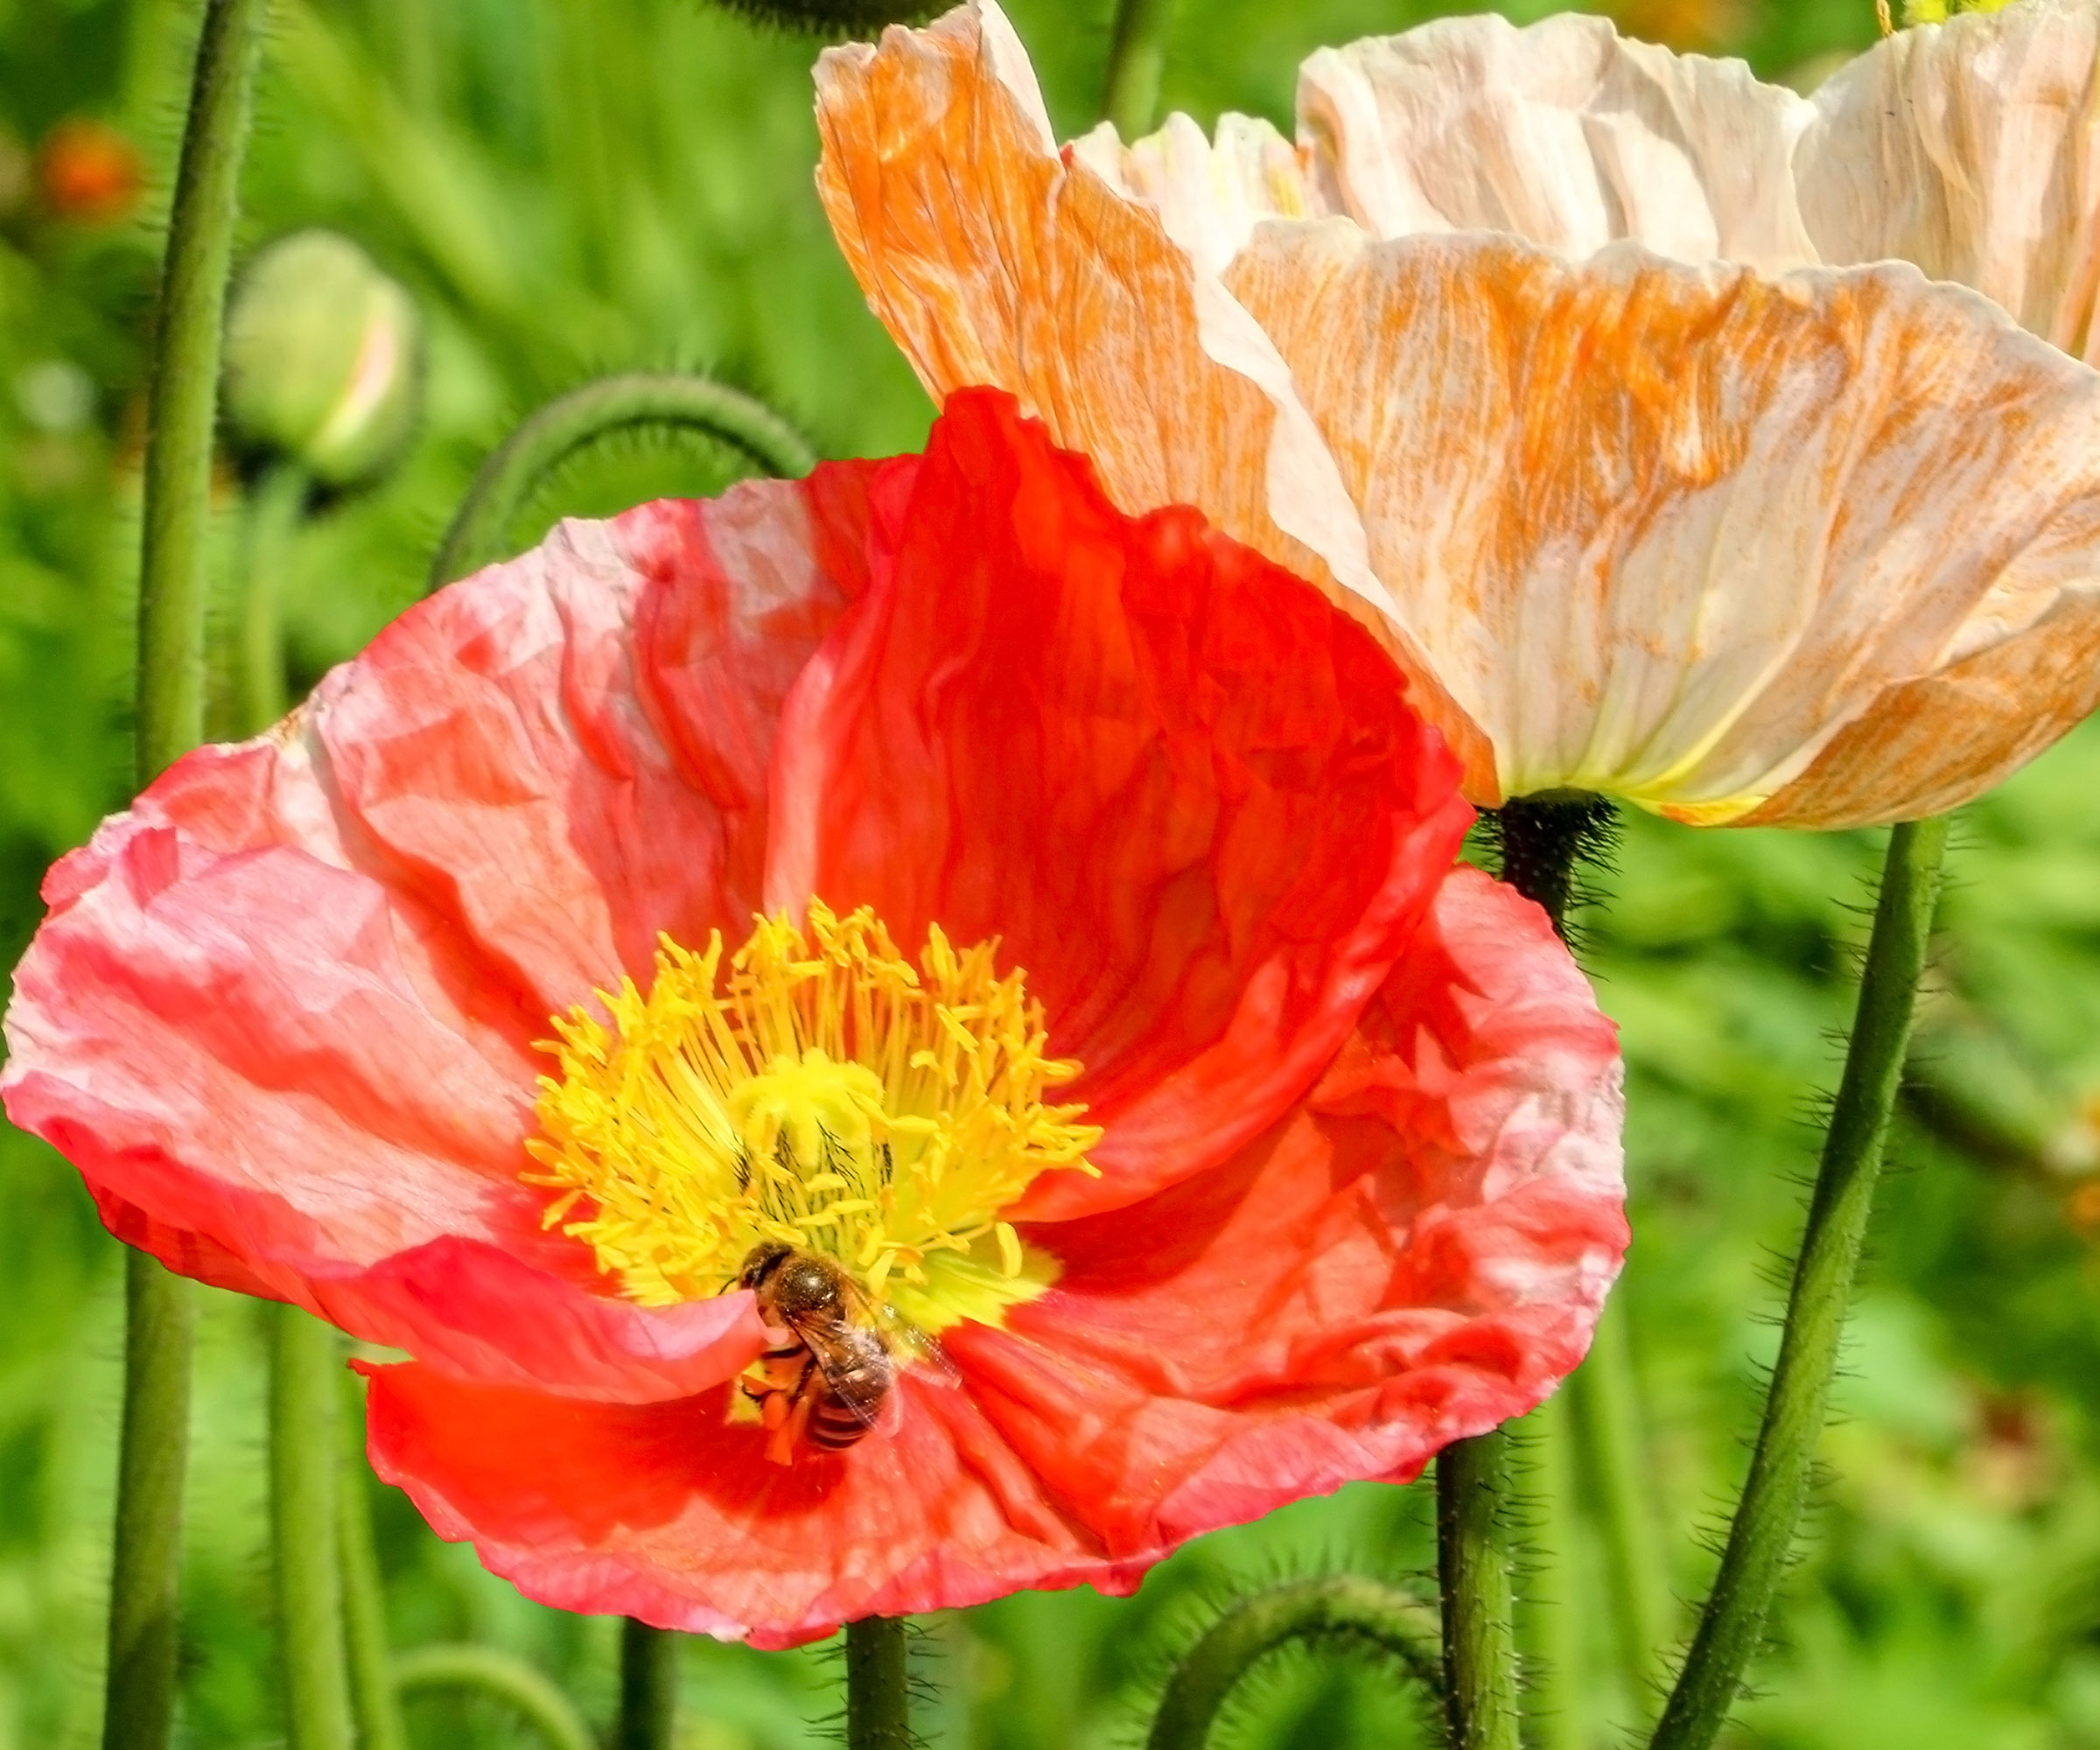
Iceland poppies (Papaver nudicaule) are a popular variety of biennial plant
How to sow biennials
There are two ways of sowing biennials. They can either be sown in pots or modules of potting soil or directly into the ground where you want them to flower.
Sowing in soil
- Prepare the ground first by raking the soil to a fine, crumbly tilth and watering it.
- Scatter the seeds thinly over the soil and cover with a light layer of more soil.
- Gently firm the soil with the back of a rake.
- Label the seed bed so it isn’t disturbed.
- Keep the soil damp, but not sodden, during dry spells.
- Thin seedlings if they are overcrowded when they germinate.
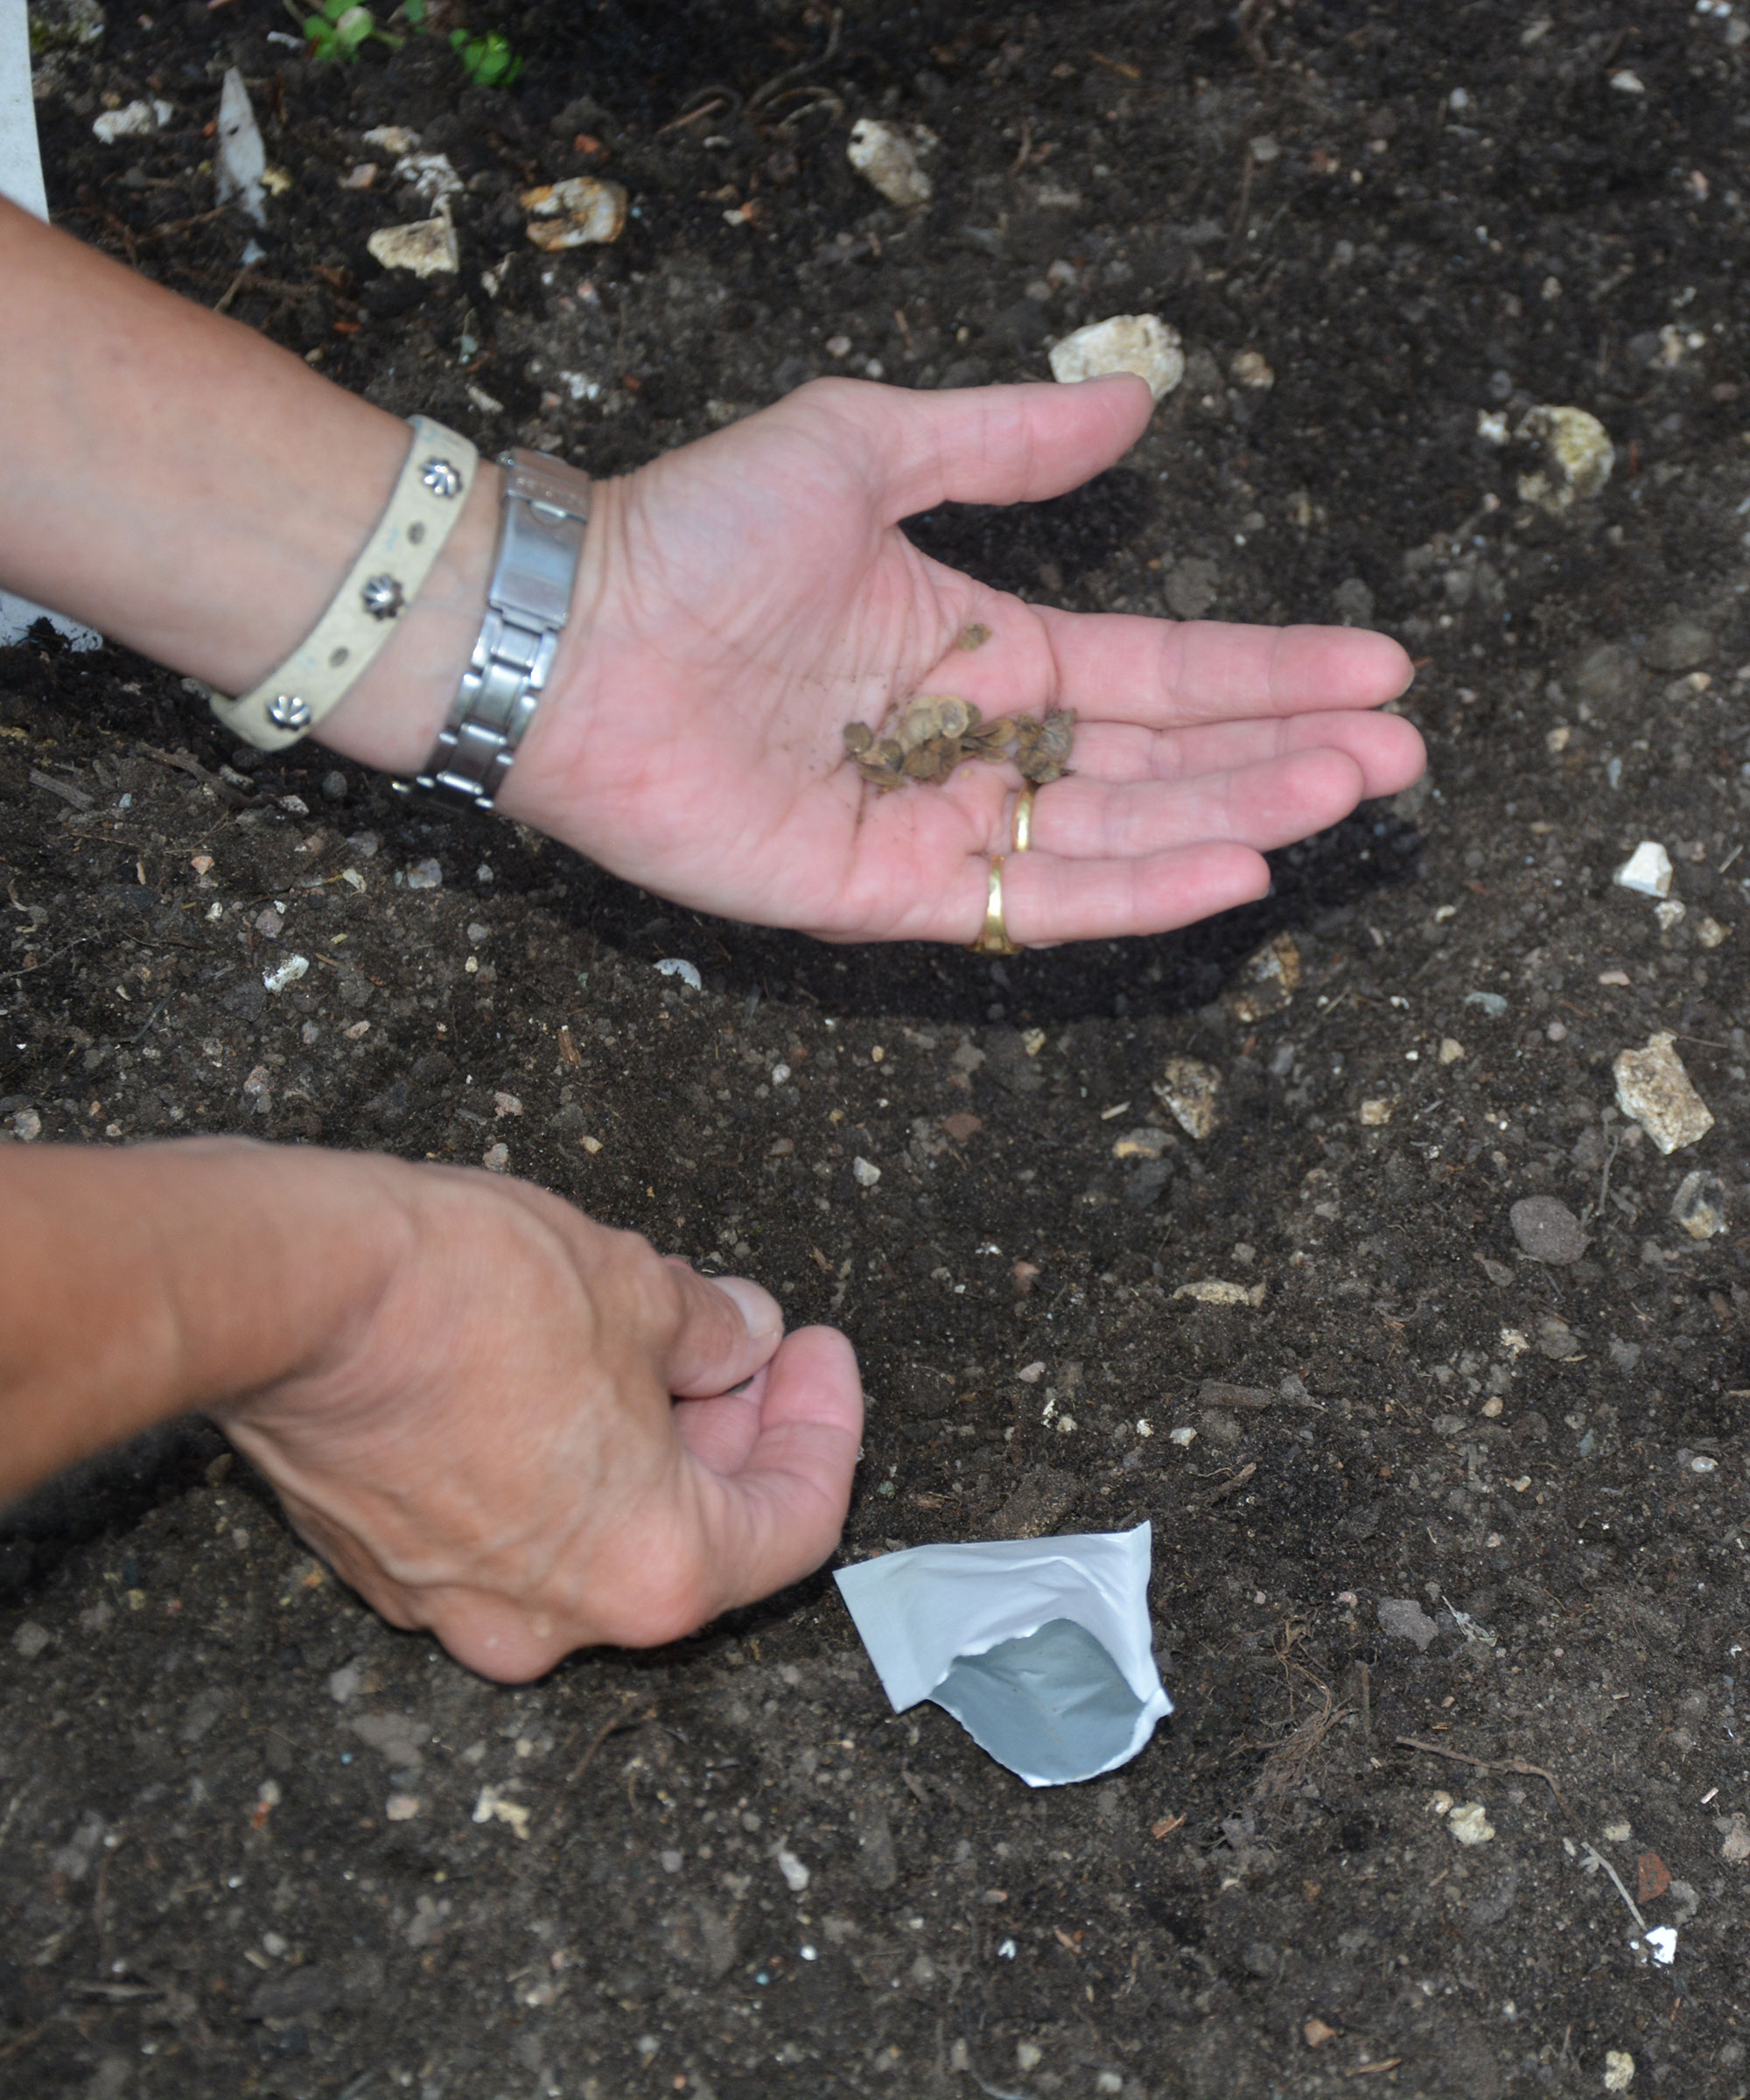
Sowing honesty seeds directly into the soil
How to sow in pots
Sowing in trays or modules of seed compost takes some of the risk out of germination and successful growing.
You can keep seedlings safe from pests and bad weather, and when they are large enough, move them into larger pots of multipurpose potting soil and overwinter them in your greenhouse before planting them in the yard next spring.
- Fill a seed tray or module tray with fresh potting soil for seeds, like this Espoma Organic Seed Starter on Amazon.
- Dampen the potting soil with fresh tap water (never use harvested rainwater as it may contain nasties that can kill your seedlings).
- Scatter the biennial seeds thinly over the surface of the potting soil.
- Cover with a little more potting soil or vermiculite, available from Amazon, and label your seeds.
- Add a lid to keep the compost damp and place the tray or modules somewhere warm and light.
- When the seedlings emerge, remove the lid, thin out any that are growing too close together and keep the compost damp but not soggy.
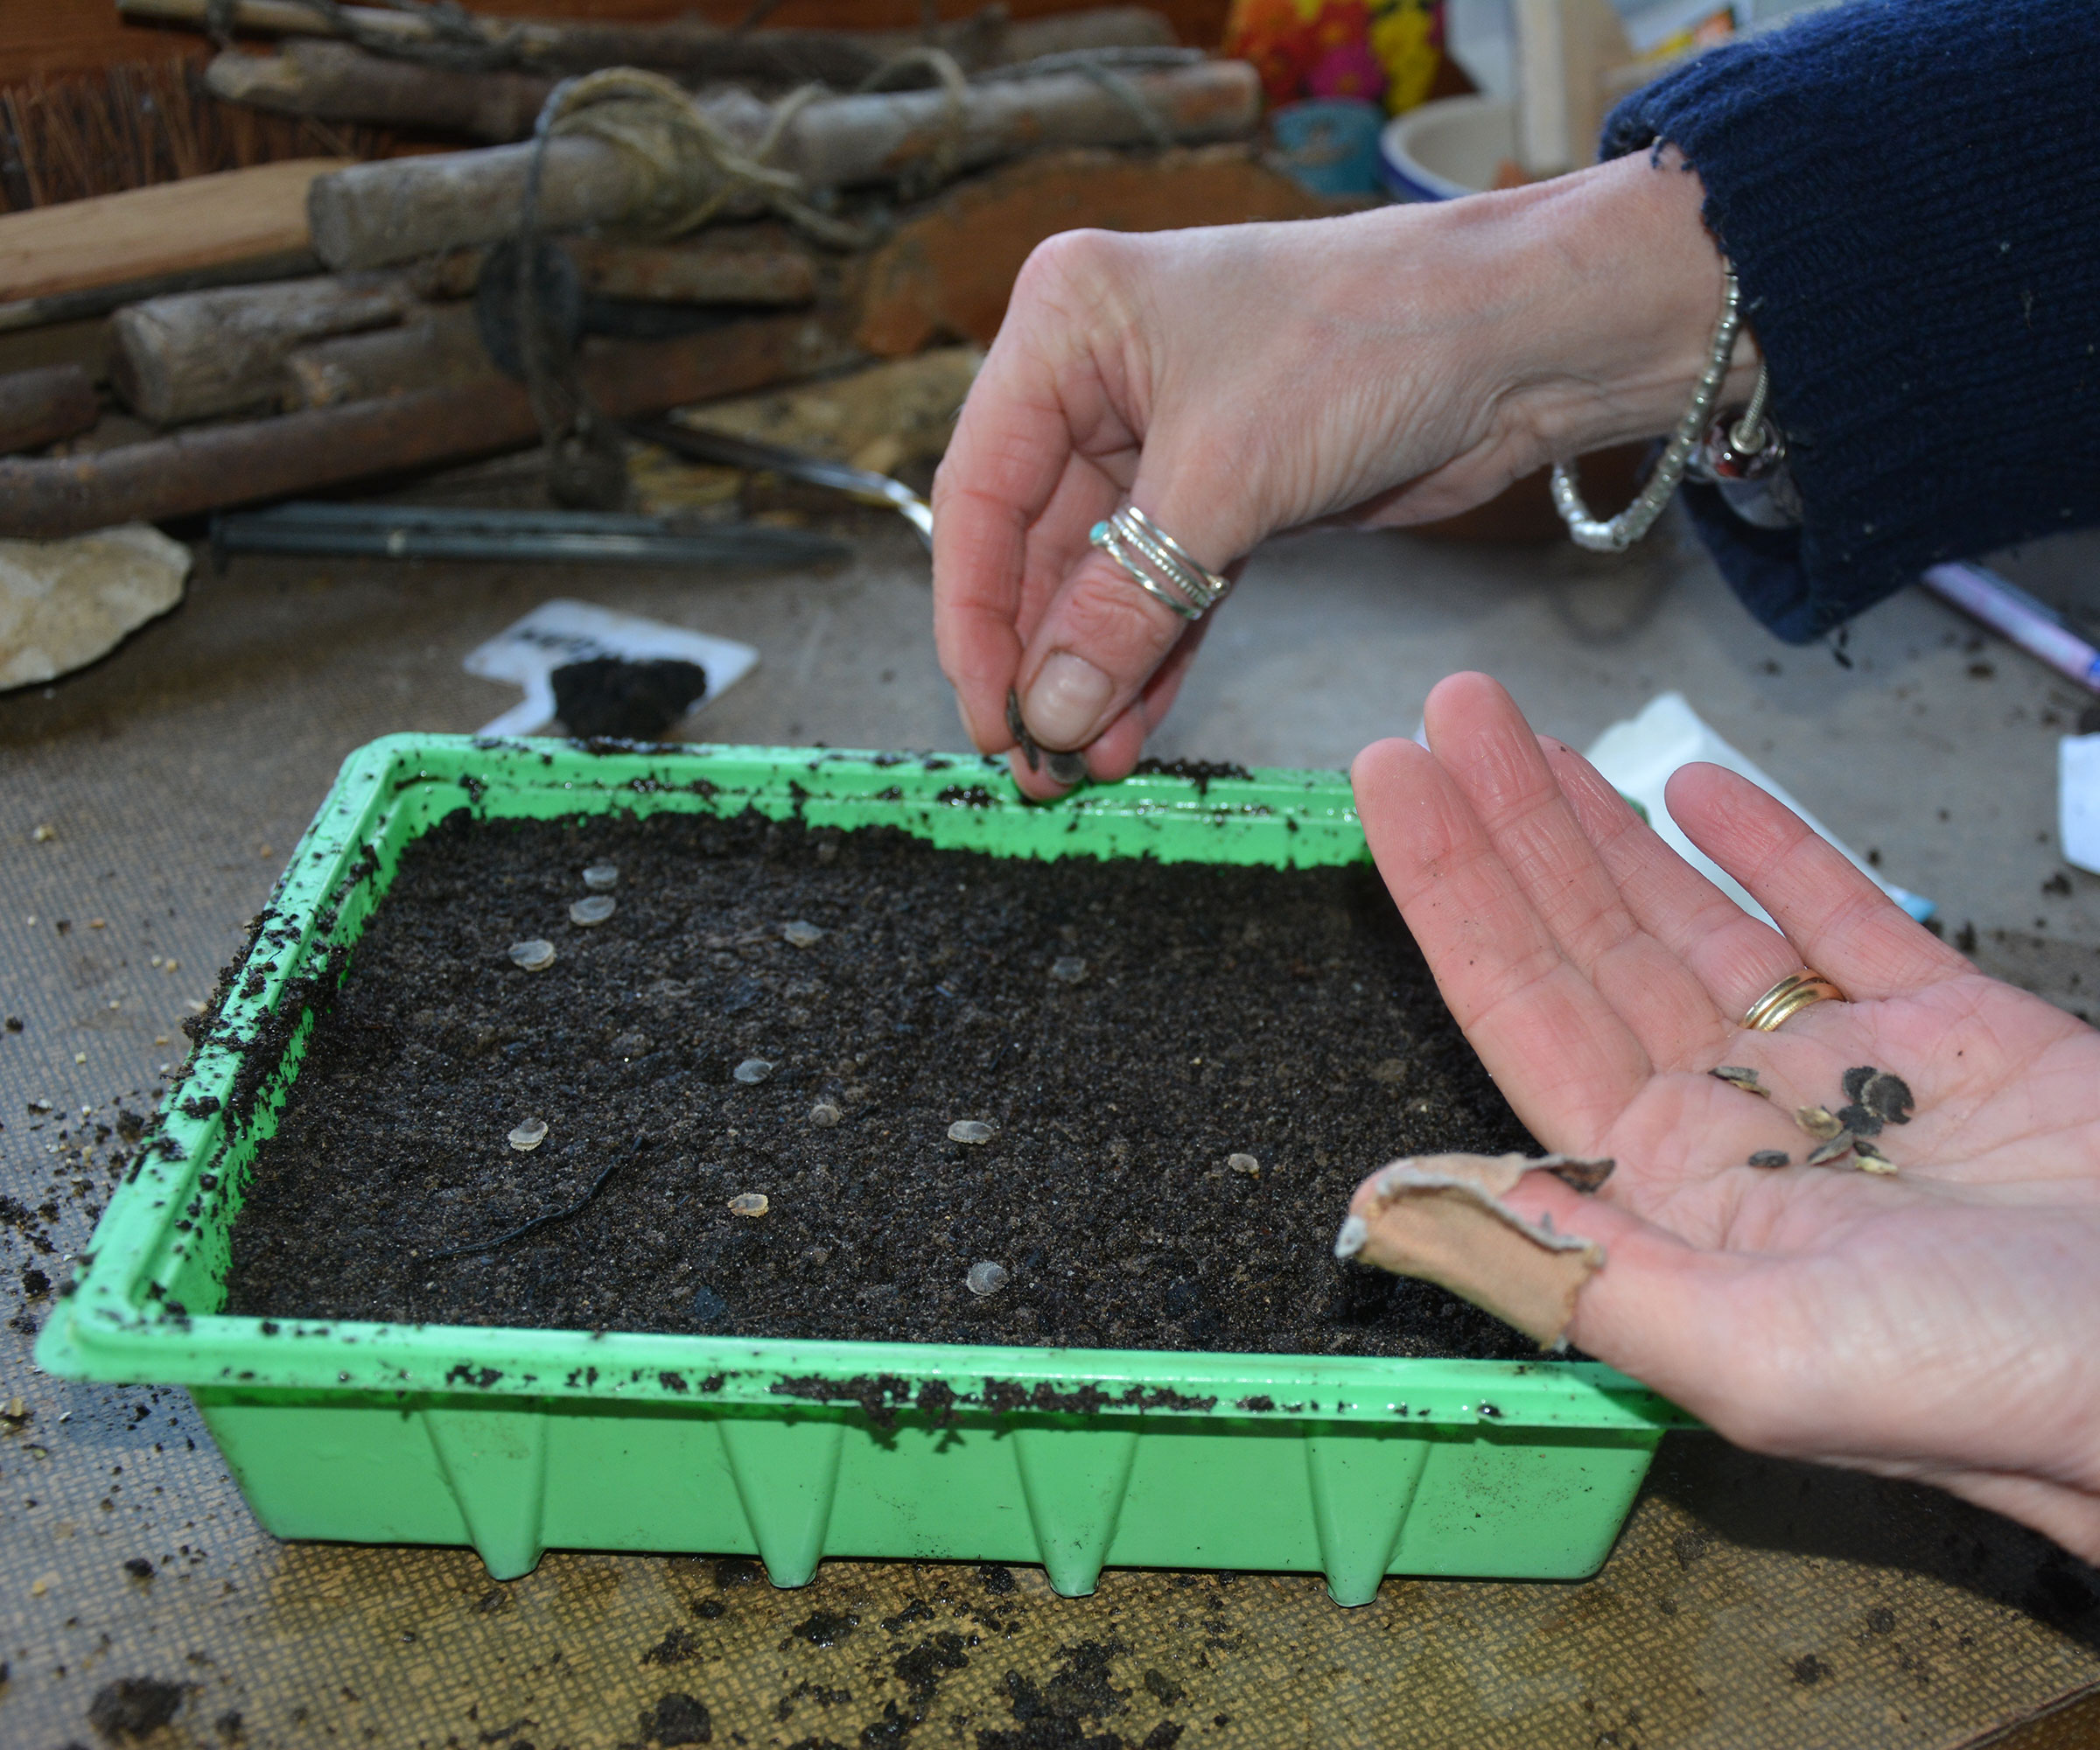
Sowing hollyhock seeds into a tray of potting soil
Potting up seedlings
When your seedlings have germinated and developed their first few sets of ‘proper’ leaves, rather than the rounded germination leaflets they first appear with, they are ready to be potted on individually.
They need space to grow well, and potting soil that contains more nutrients than that used for germinating seeds. However, it mustn’t be too strong or it will burn the seedlings’ growing roots, stunting plant development and even killing them off.
Larger seedlings will cope with a multipurpose potting soil, like this Old Potters Organic Compost on Amazon, but for smaller seedlings, I tend to dilute this with seed-starting potting soil so it isn't so strong.
Potting on needs a steady hand, but is easy to do:
- Fill 3 pots with seedling potting soil and make a hole in the center of each one.
- Use an old spoon or plastic plant label to scoop up the rootball of each plant from the compost, steadying it by gently holding a leaf.
- Lower the rootball and some of the stems into the compost hole, still holding a leaf, and gently firm the compost to support the stem.
- Stand the pots in a tray of water so the potting soil absorbs the moisture.
- Place the seedlings somewhere sheltered, like a cold frame or unheated greenhouse like this Worth mini greenhouse on Amazon.
- Keep the potting soil damp but not saturated, and either plant out your young biennials in the fall when the soil is still warm from summer or, in colder zones, overwinter them in a greenhouse or cool room.
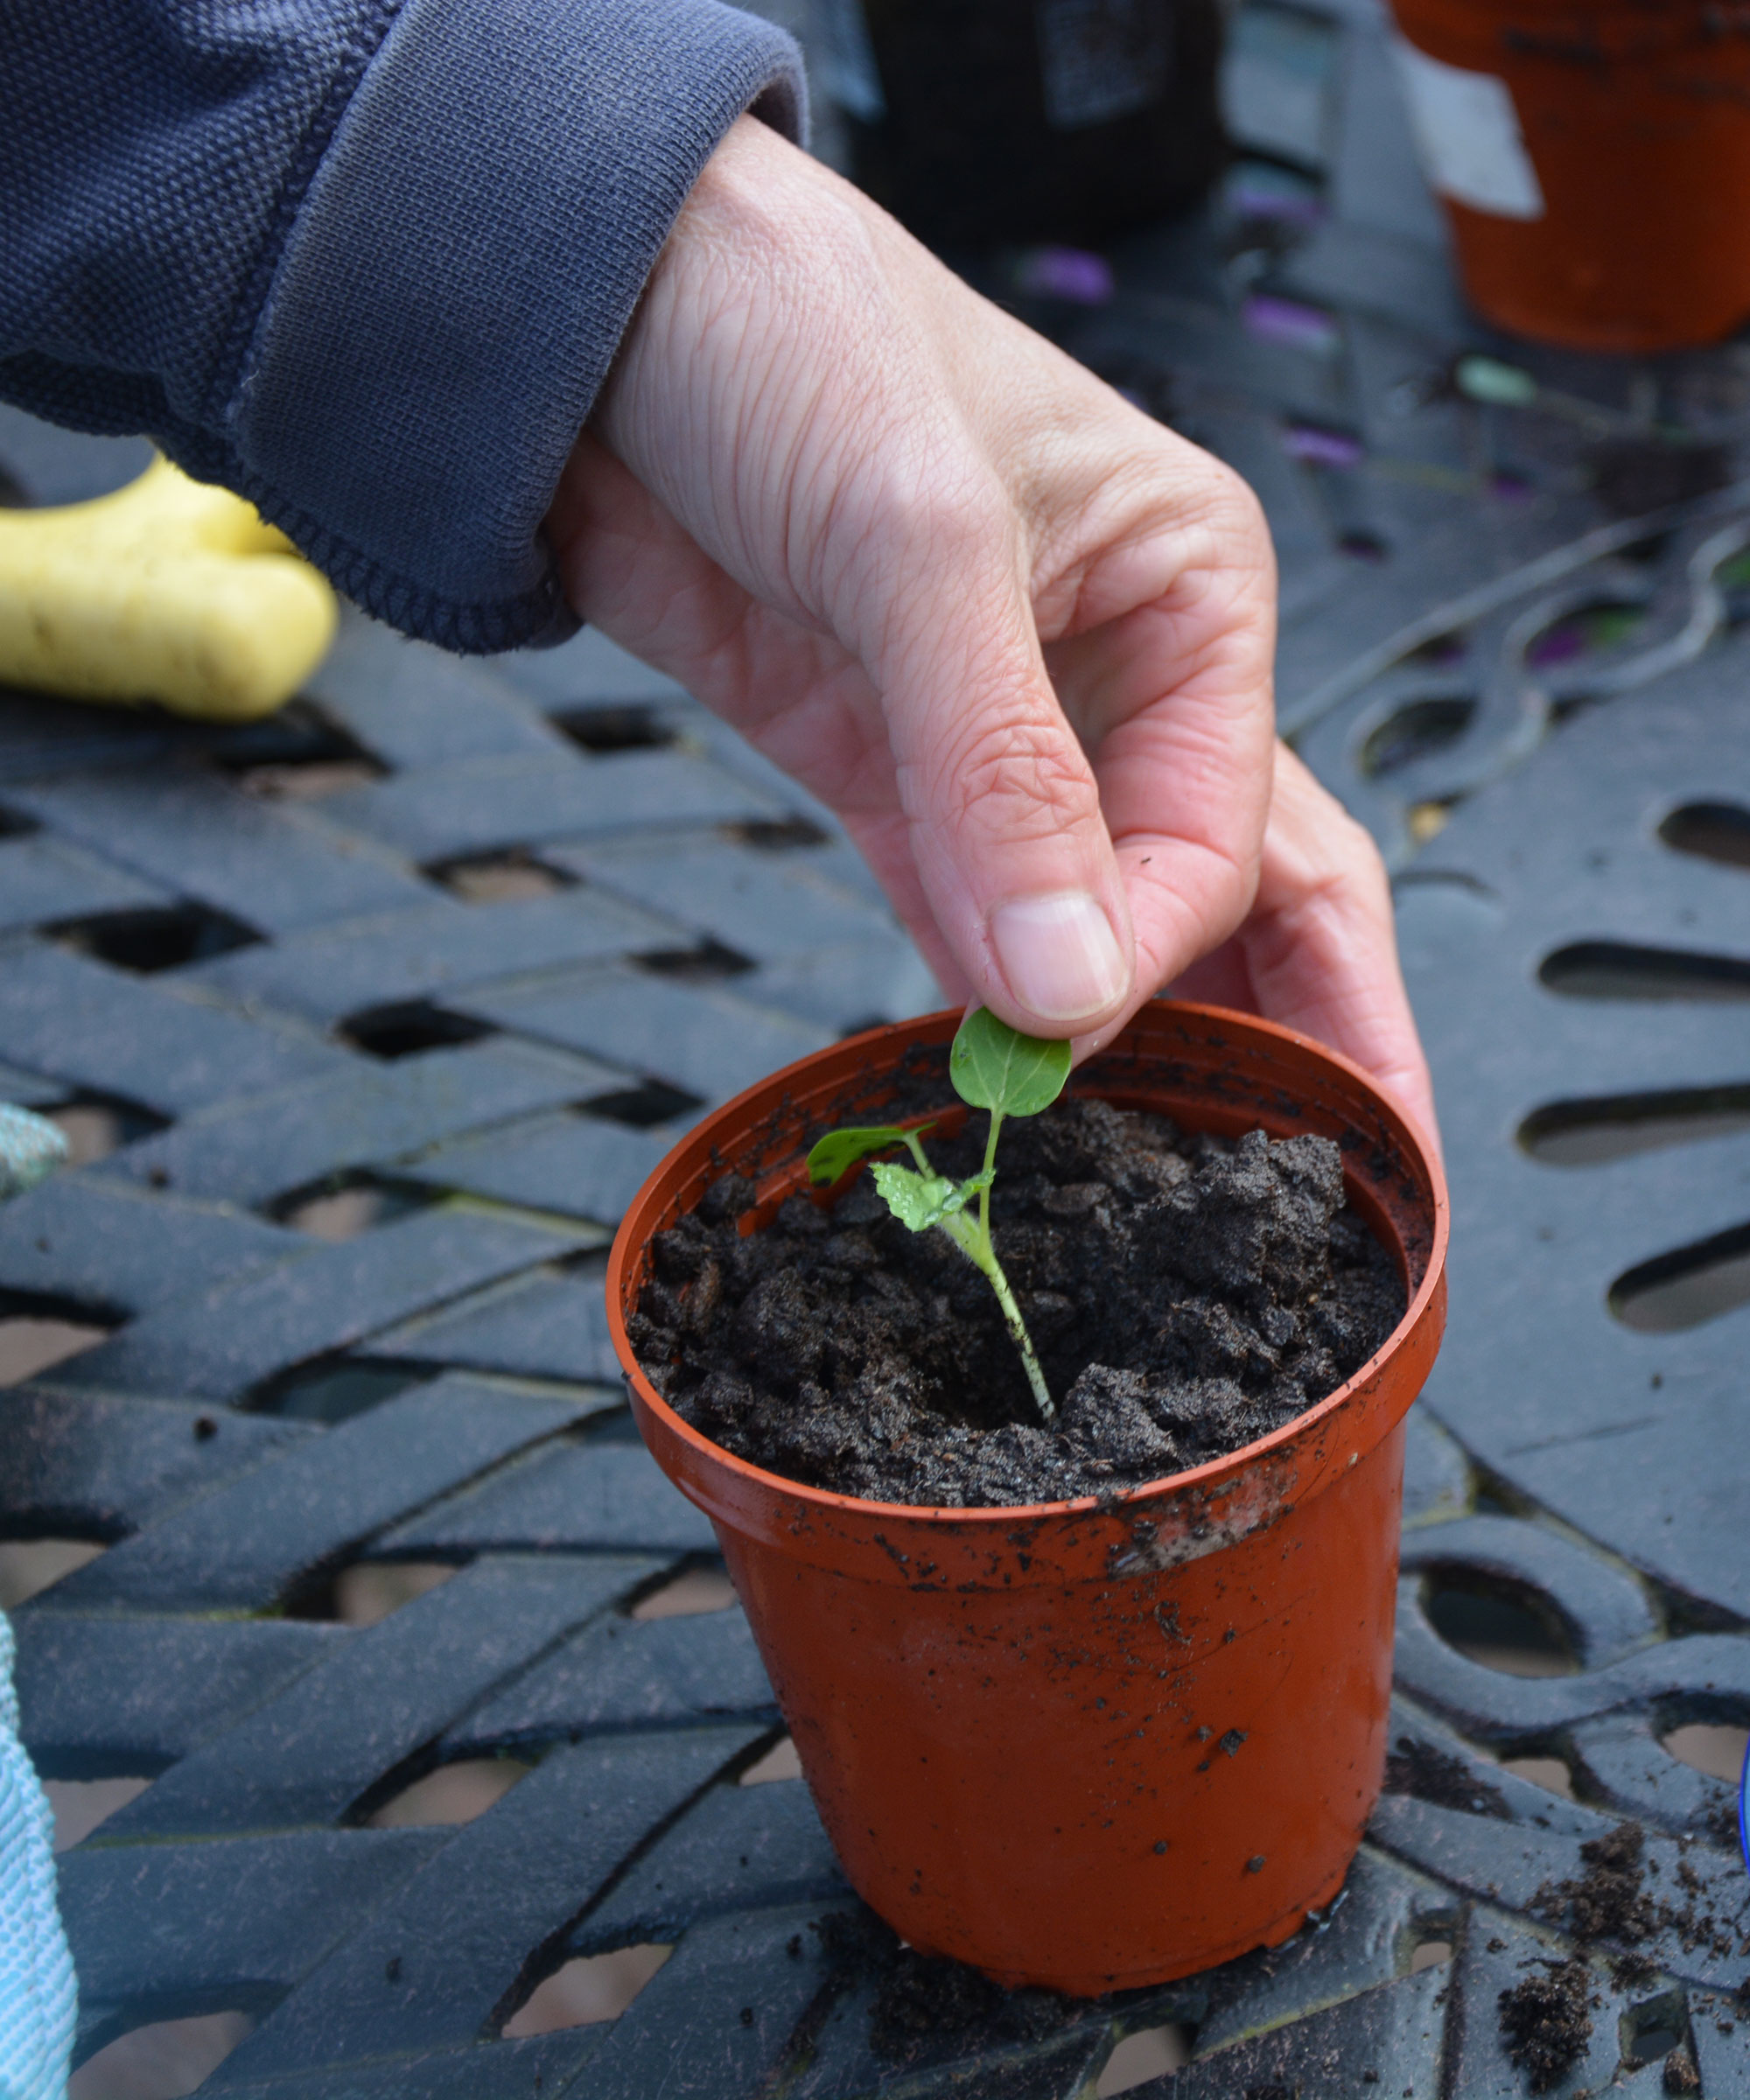
Pot up seedlings when they have developed their first 'proper' leaves
Collecting biennial seeds
One of the easiest ways of gardening economically and saving your cents is collecting seeds from around your yard.
Seeds are usually ripe for collection around two months after flowering. Don’t harvest them while they are still green as they won’t germinate. You can usually tell when they are ready as the pods change color, from green to brown or black to red.
Collect them before the pods open (you may need to check them every day) and only take seeds from healthy, vigorous plants.
Do your collecting on a dry day, as damp seeds are more likely to rot or attract fungal disease. Either shake the seeds free straight into a pot or envelope or lay the seedheads on paper somewhere dry and warm to dry out.
Pods that don’t open should be carefully crushed to release their contents.
Once you have your seeds, store them somewhere cool and dry in a labeled envelope or container.
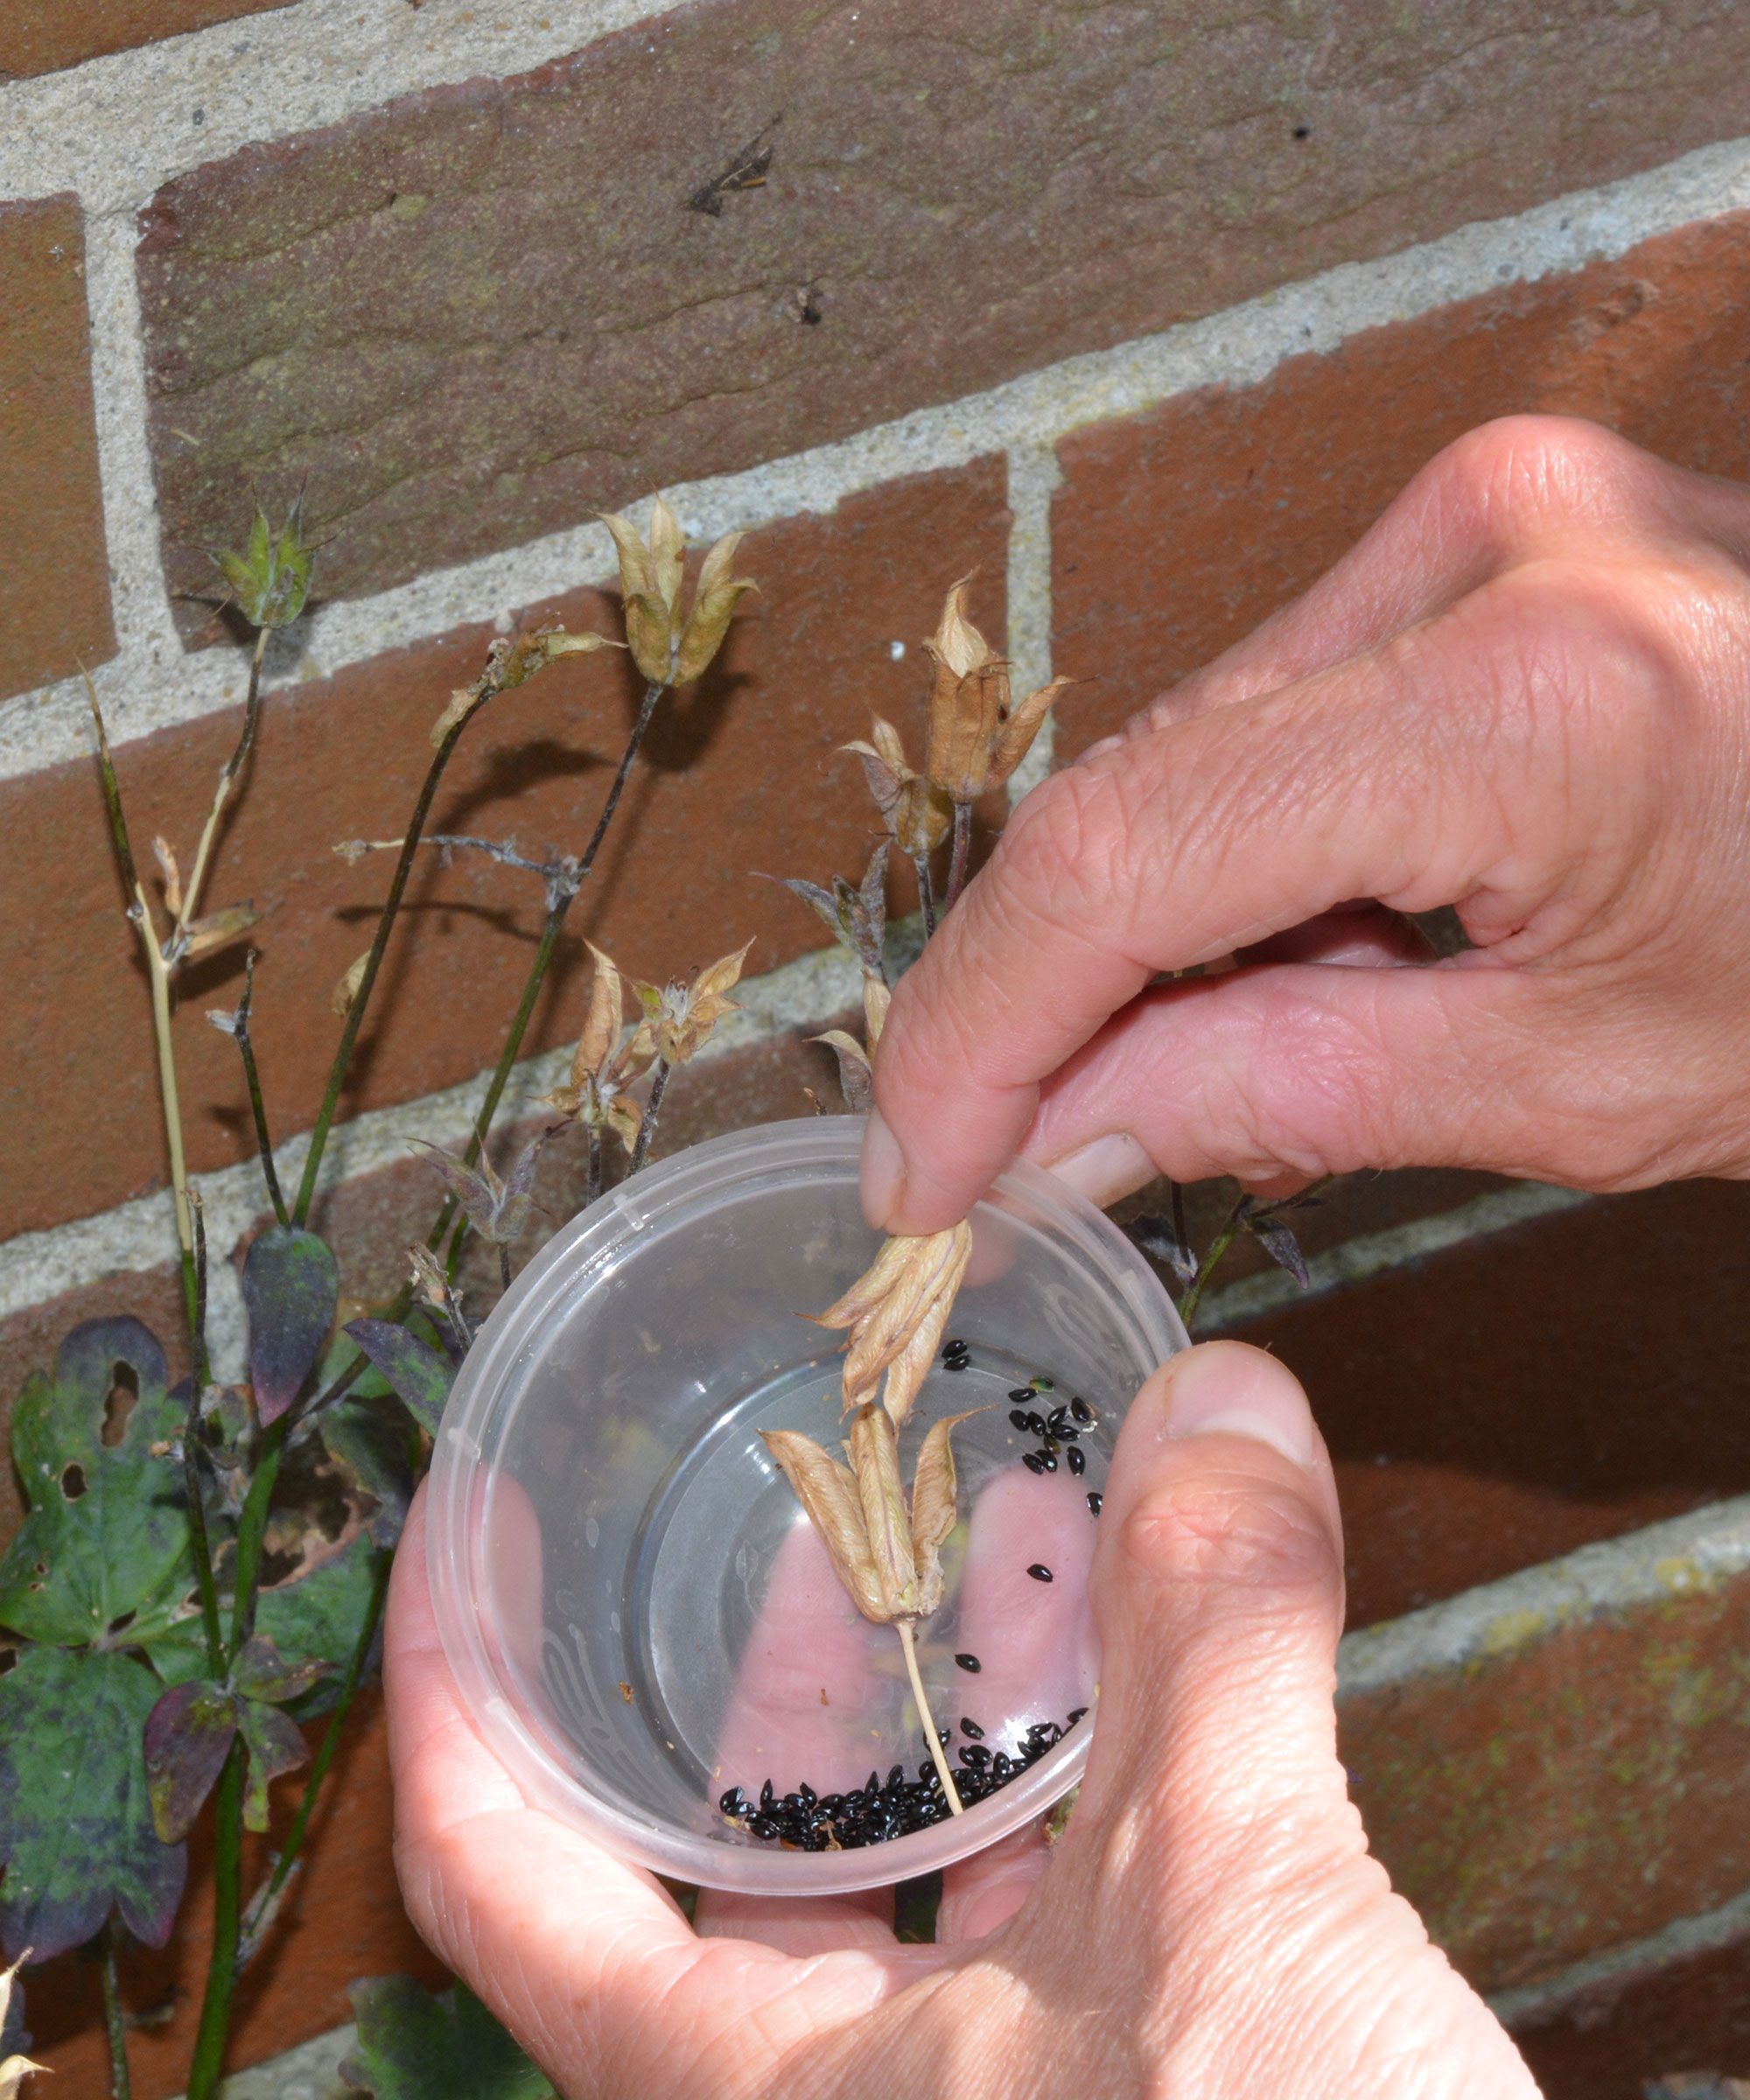
Collect seeds, like these from an aquilegia, when the seedheads are ripe and ready to shed their load
Most biennials can be sown successfully in soil or in pots, the exception being honesty
Honesty seedlings develop deep tap roots early on and because of this, they don’t take kindly to being transplanted.
If you have to start the seeds indoors, plant them out at the earliest opportunity to give seedlings the best chance of surviving.
Ruth is a Contributing Editor for Homes & Gardens, and formerly Gardening Editor of Amateur Gardening magazine. She is horticulturally trained, with a qualification from the Royal Horticultural Society. Her work for Amateur Gardening, the world's oldest weekly gardening publication, involved matching gardening tasks with each season, covering everything from sowing and planting, to pruning, taking cuttings, dealing with pests and diseases and keeping houseplants healthy. She is an expert in ornamental plants and edible crops, and everything she writes about and photographs is in her own garden, that has been a work in progress since her family moved there in 2012.