Cuisinart TOA-60 Air Fryer Toaster Oven review
The Cuisinart TOA-60 Air Fryer Toaster Oven is an air fryer, toaster, oven, and broiler in one, but the capacity means it’s best for small households.
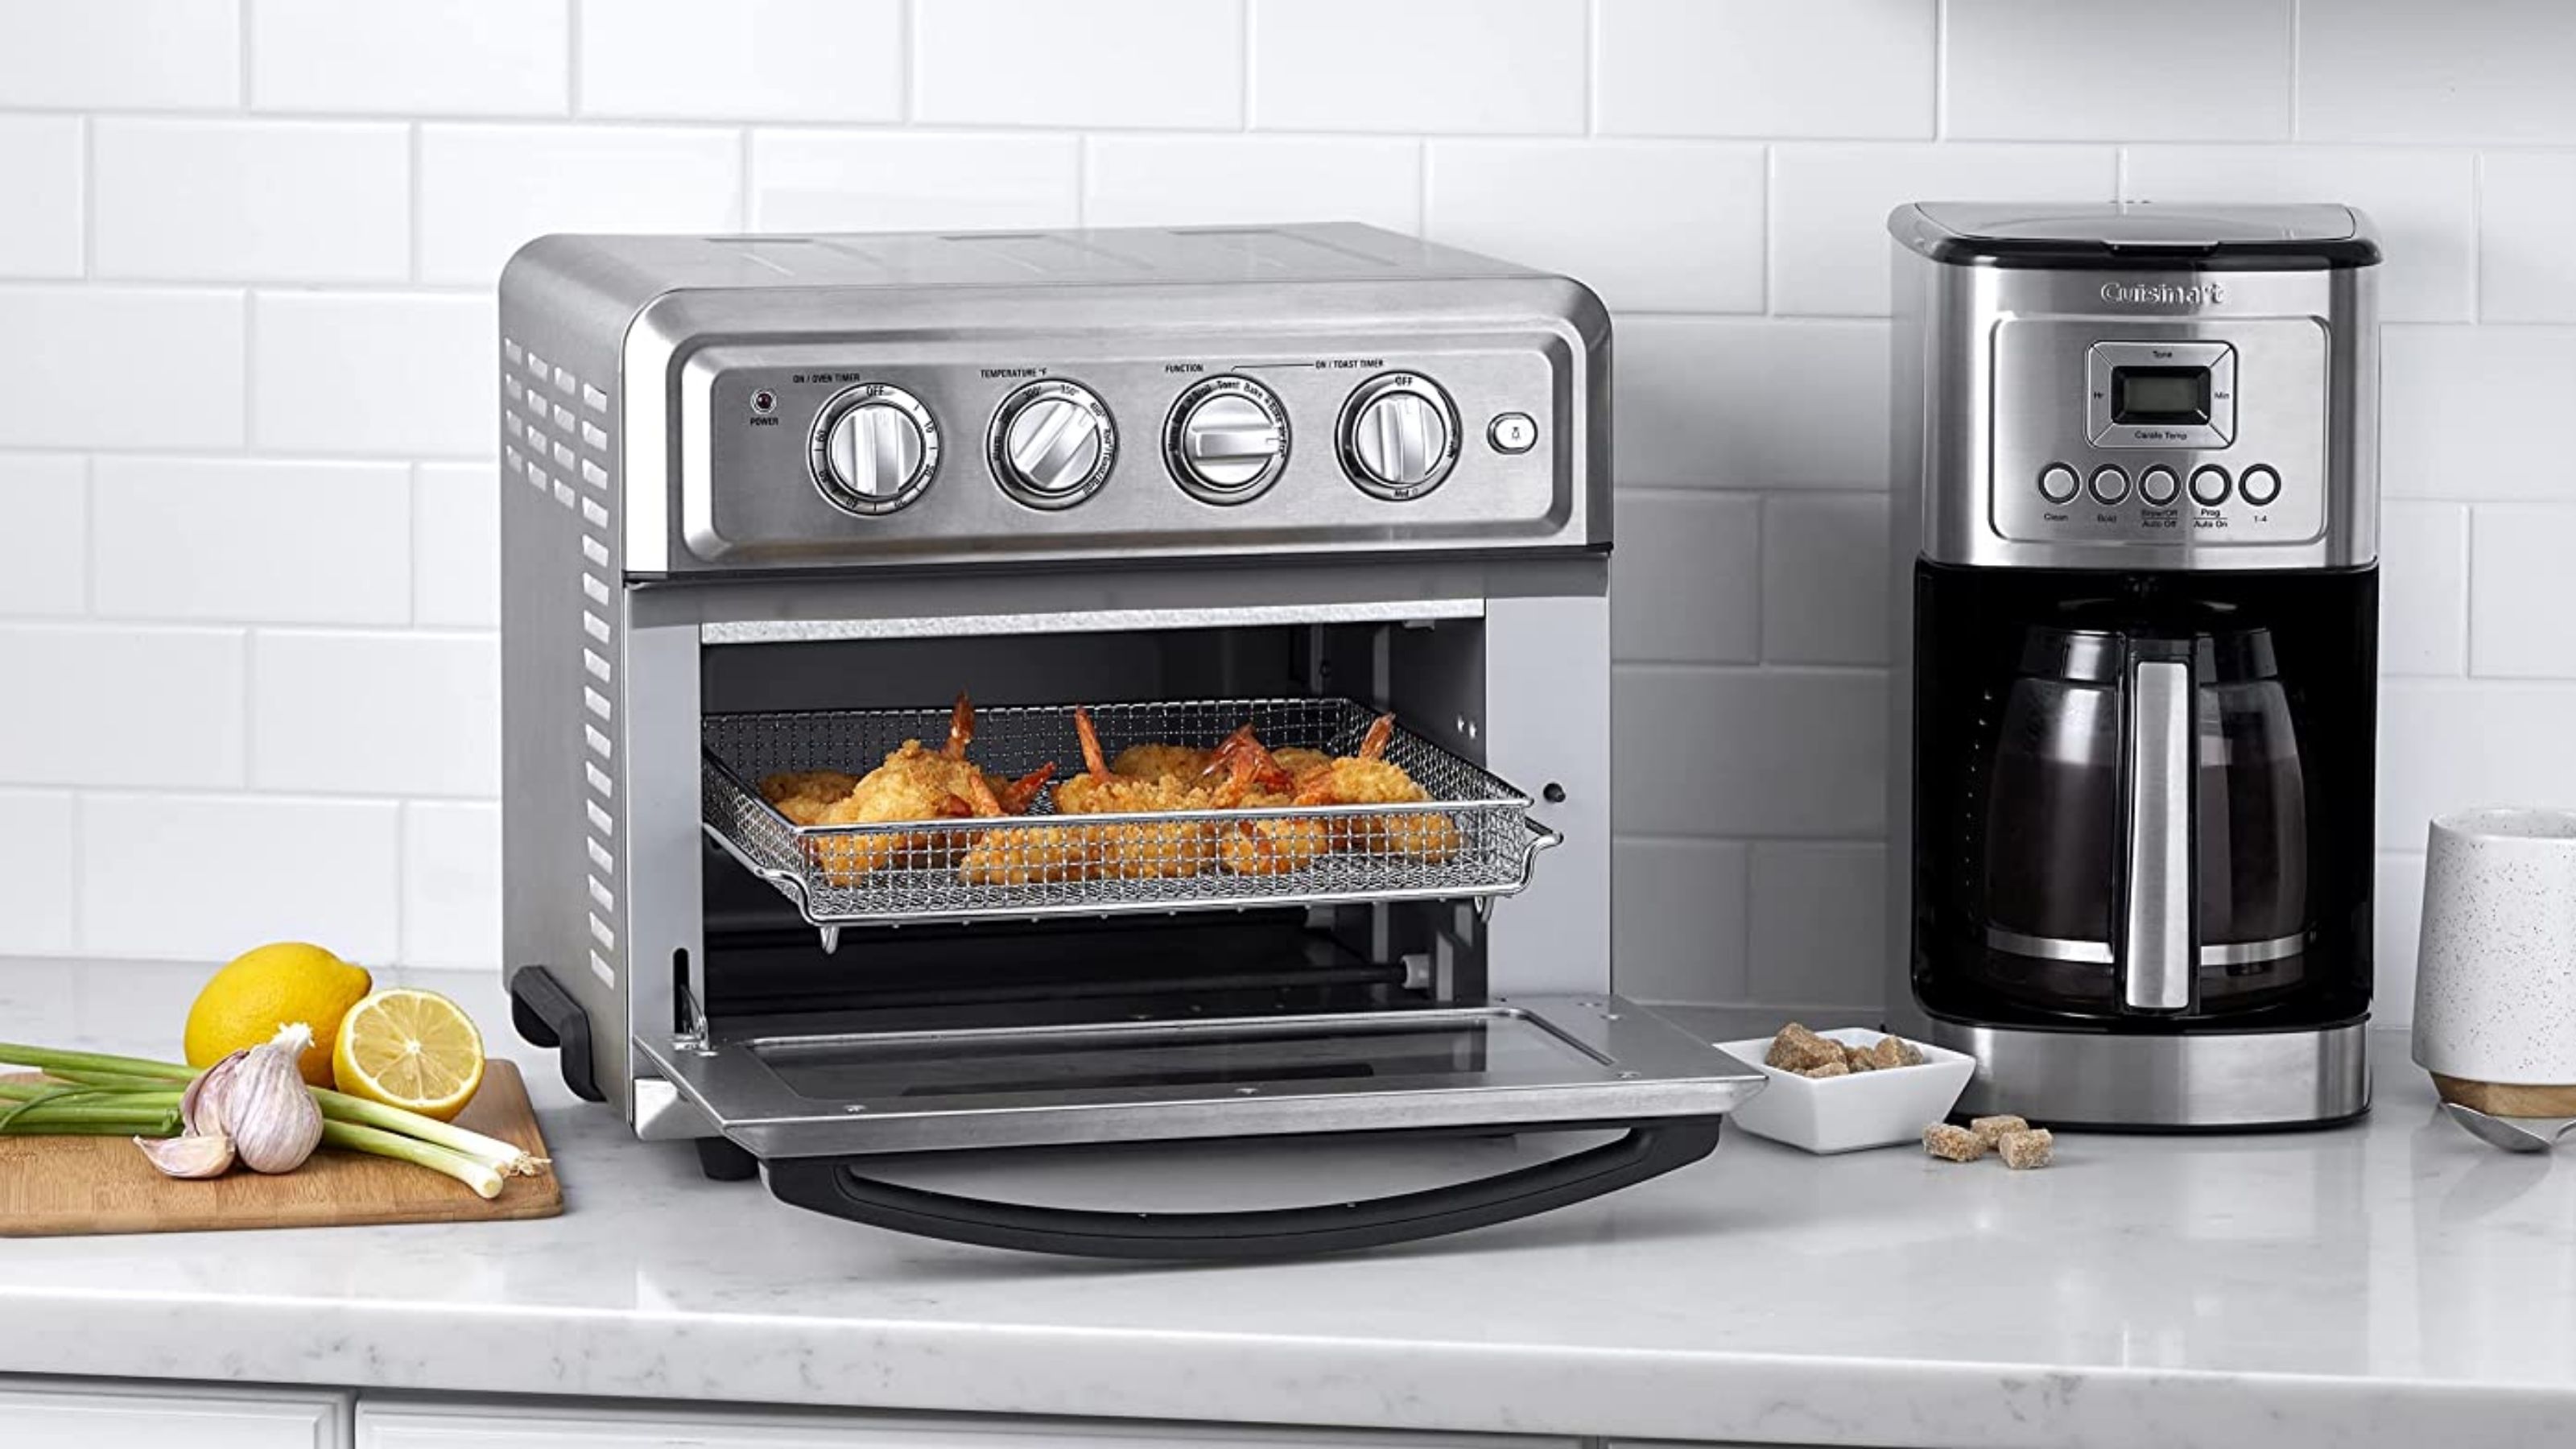
This space saving multi-functional toaster oven can air fry, broil and oven cook, so long as you don’t want to cook for a crowd. It performed pretty well in our tests but there are a few frustrating features and the air fryer mode was unimpressive.
-
+
Seven functions
-
+
Simple controls
-
+
Automatically switches off
-
+
Compact
-
+
Interior light
-
+
Speedy oven cooking
-
-
Accessories are not dishwasher friendly
-
-
Tricky to switch off
-
-
Not easy to set temperature accurately
You can trust Homes & Gardens.

Let’s face it, these days there are so many appliances fighting for counter space in our kitchens, that when something comes along that can perform several functions in one, and potentially free up some space, it’s worth considering.
This Cuisinart TOA-60 Air Fryer Toaster Oven offers seven functions, including air frying, broiling, toasting and oven cooking. Made to rival even the best toaster ovens, this is pretty impressive considering its neat compact size, a feature that makes it ideal if you’ve got a small kitchen. But for households with a lot of mouths to feed, the capacity will probably not be enough for the number of portions you’ll want to cook.
I put the Cuisinart TOA-60 Air Fryer & Toaster Oven to the test in my own home to see if it meant I could ditch my regular toaster and air fryer and also use my big oven less frequently. The results were mixed, I loved the bake and convection bake functions but was disappointed when I tried it as an air fryer. Read on to see what I made in it and what worked best.
Cuisinart TOA-60 Air Fryer Toaster Oven specs
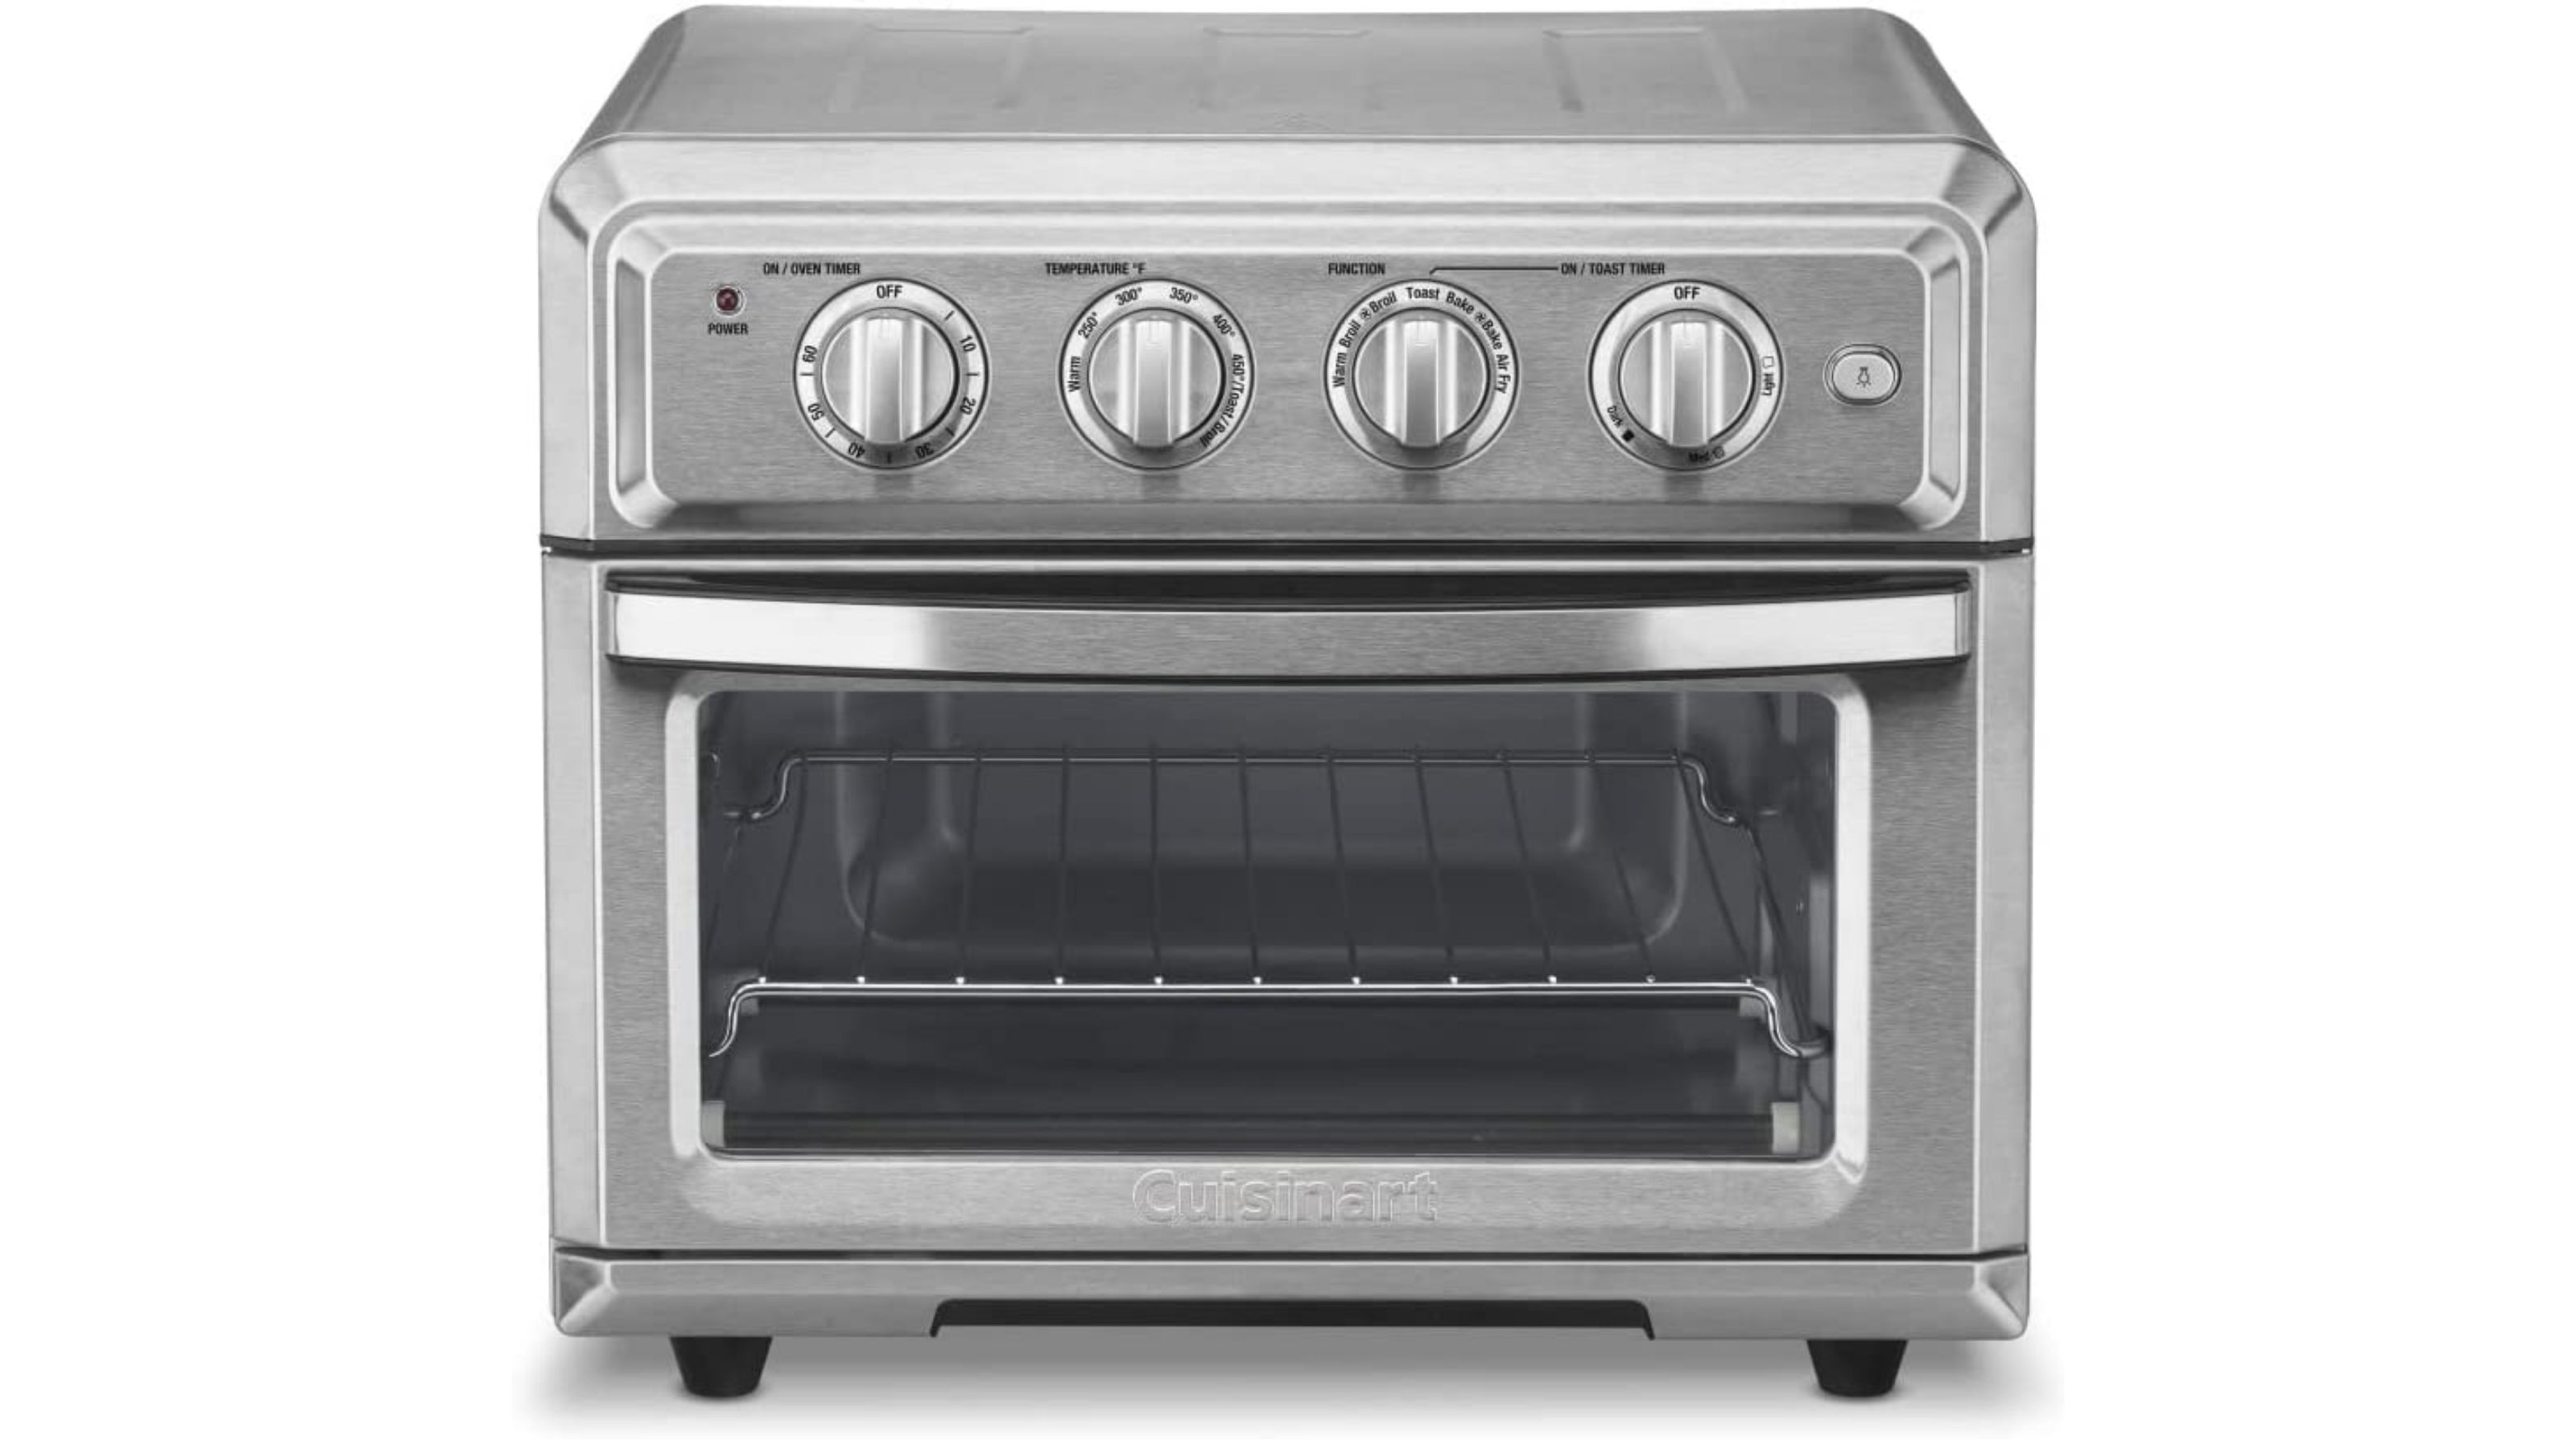
- Model Number: TOA60
- Capacity: 17 liter
- Cooking modes: Air fry, convection bake, convection broil, bake, broil, warm, toast
- Temperature Range: 250 – 450oF
- Size: 17.13 x 21.63 x 15.75 inches
- Weight: 25 pounds
- Power: 1800 watts
- Cleaning: All accessories must be handwashed
- Warranty: 3 years
Unboxing
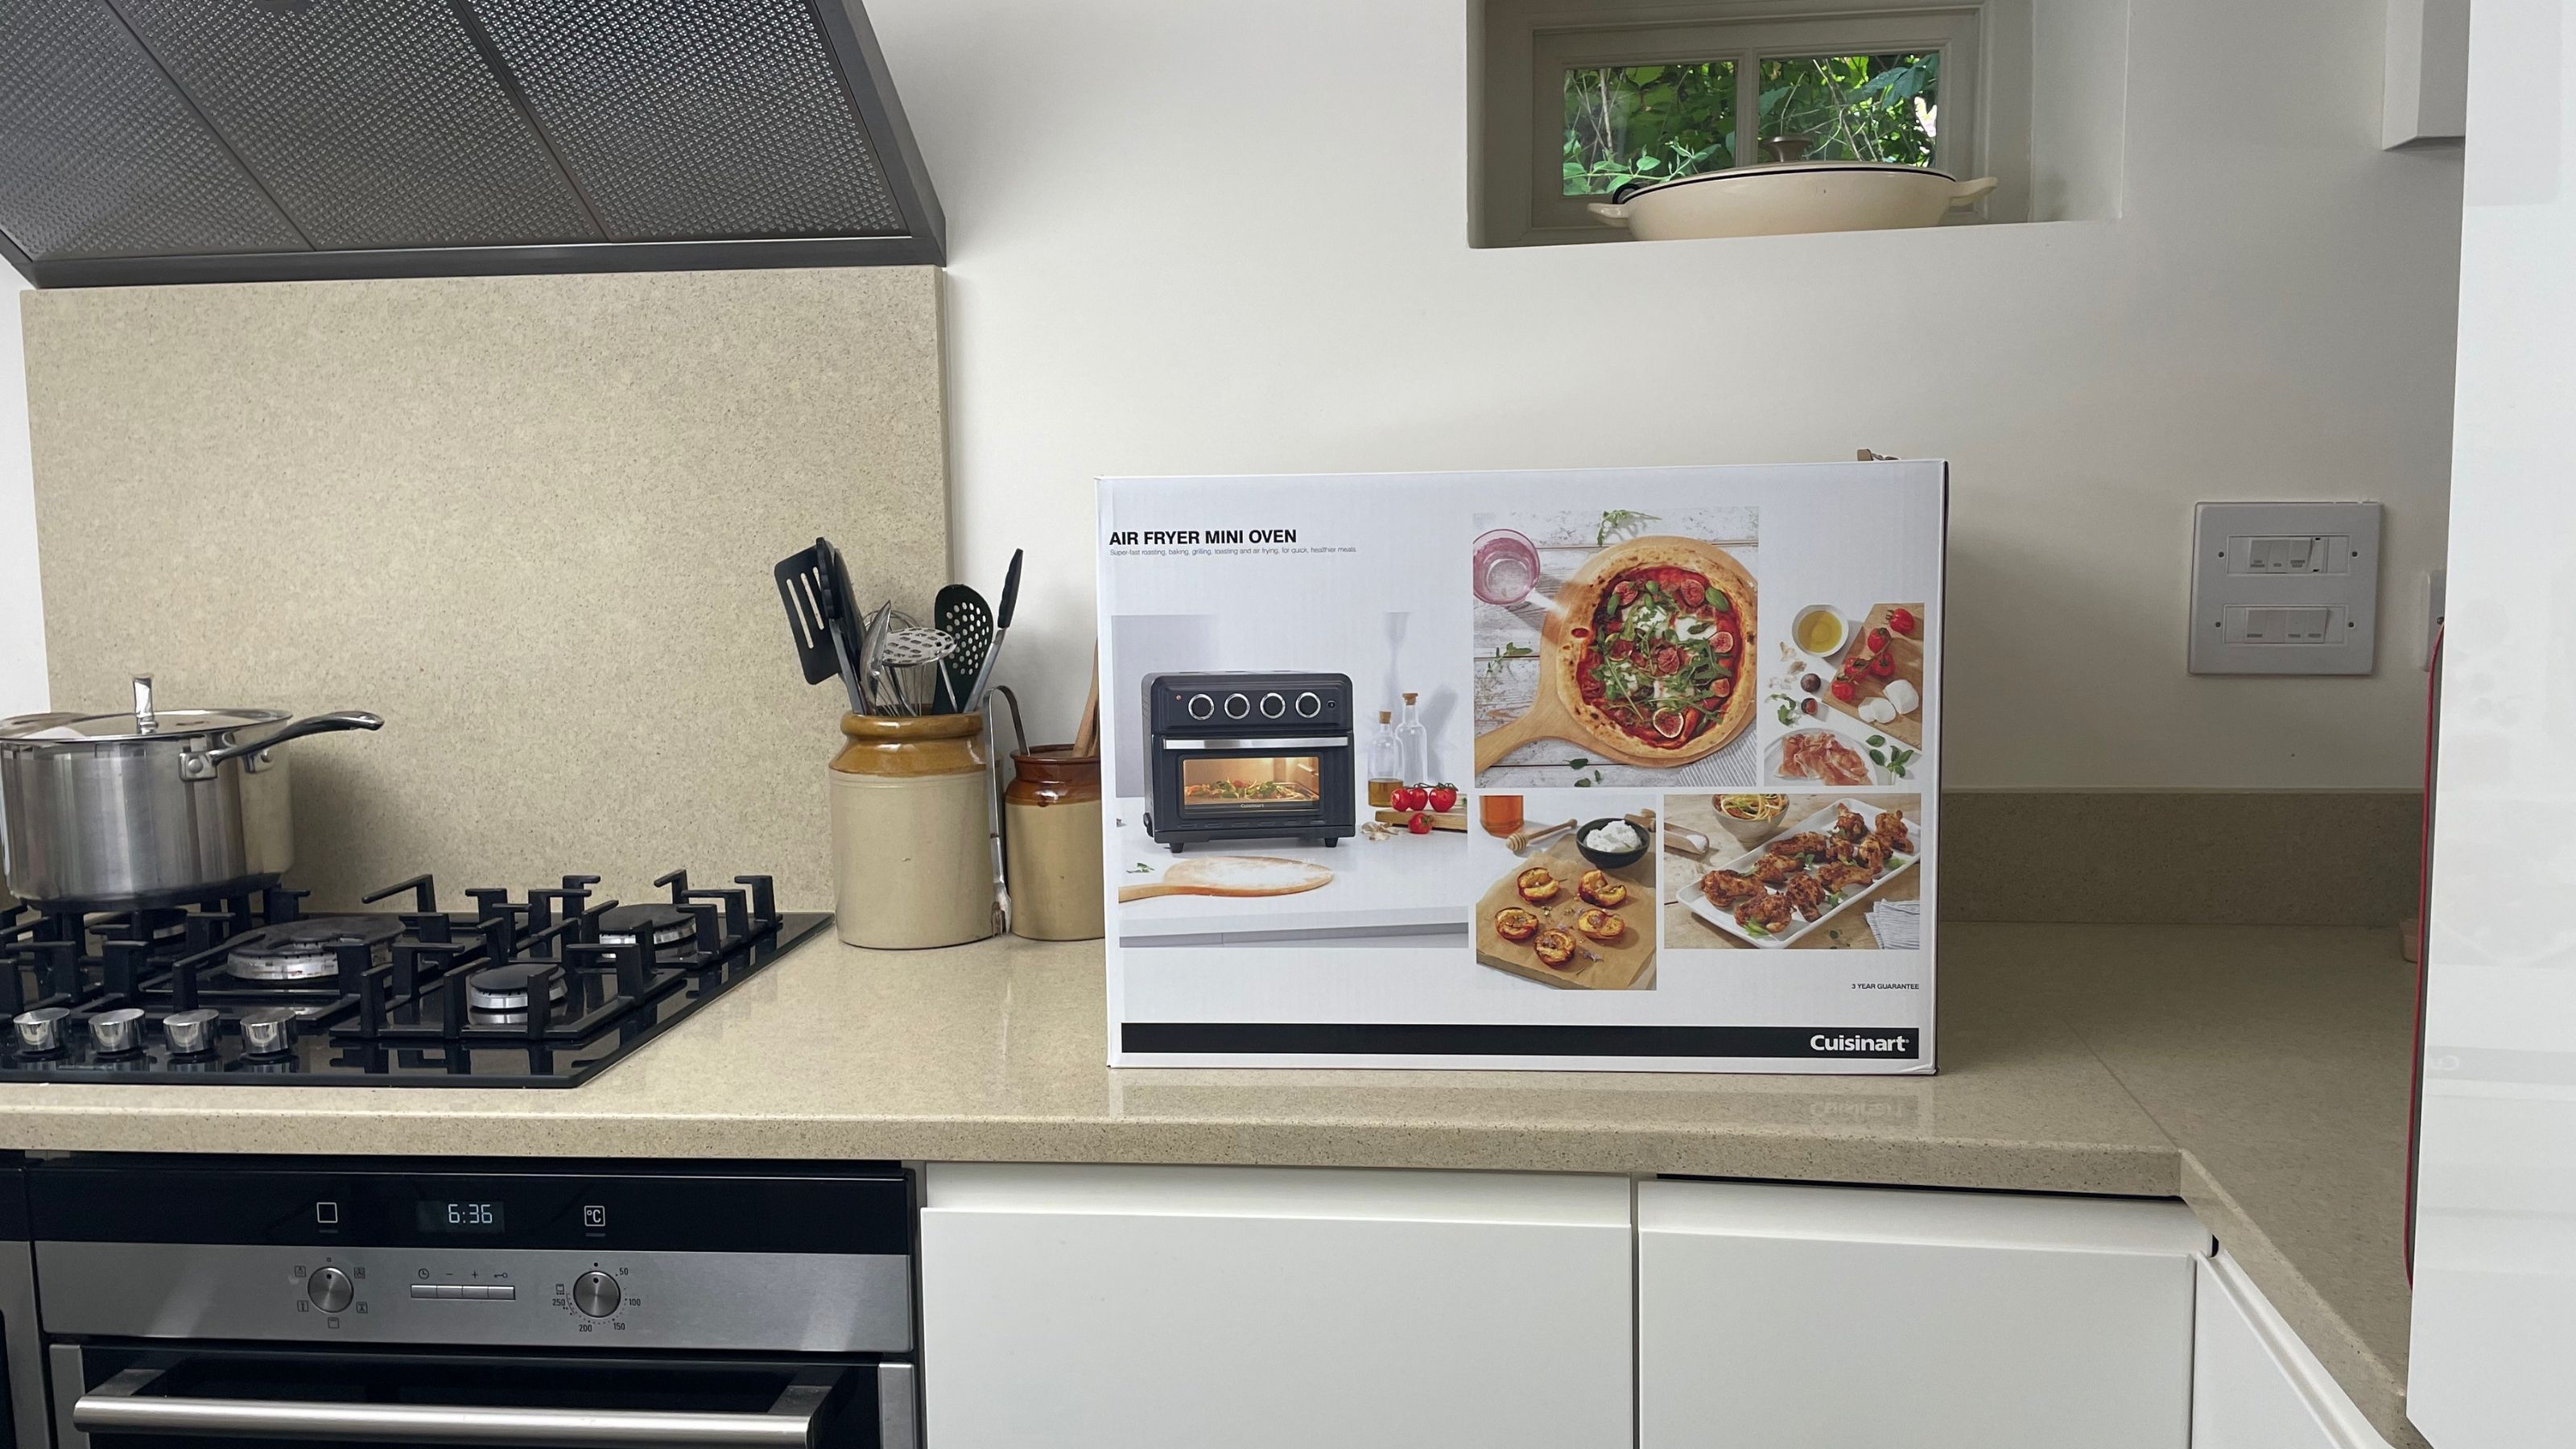
The Cuisinart Air Fryer Toaster Oven comes in a chunky box and like many similar appliances included two large pieces of Styrofoam, which in my opinion is the most annoying type of packaging since it’s not easy to recycle. It comes with three accessories, a baking tray, air fry basket, and oven rack and inside there are two shelf positions to choose from.
Once on the counter, I’m intrigued that such a compact appliance can perform so many cooking functions. What’s more, with just four simple dials it’s certainly uncomplicated, in fact there’s little need to look at the instruction manual. I did though and it’s worth reading through the tips on how to get the best from each function as well as for recommendations on shelf positions and there are some recipes too.
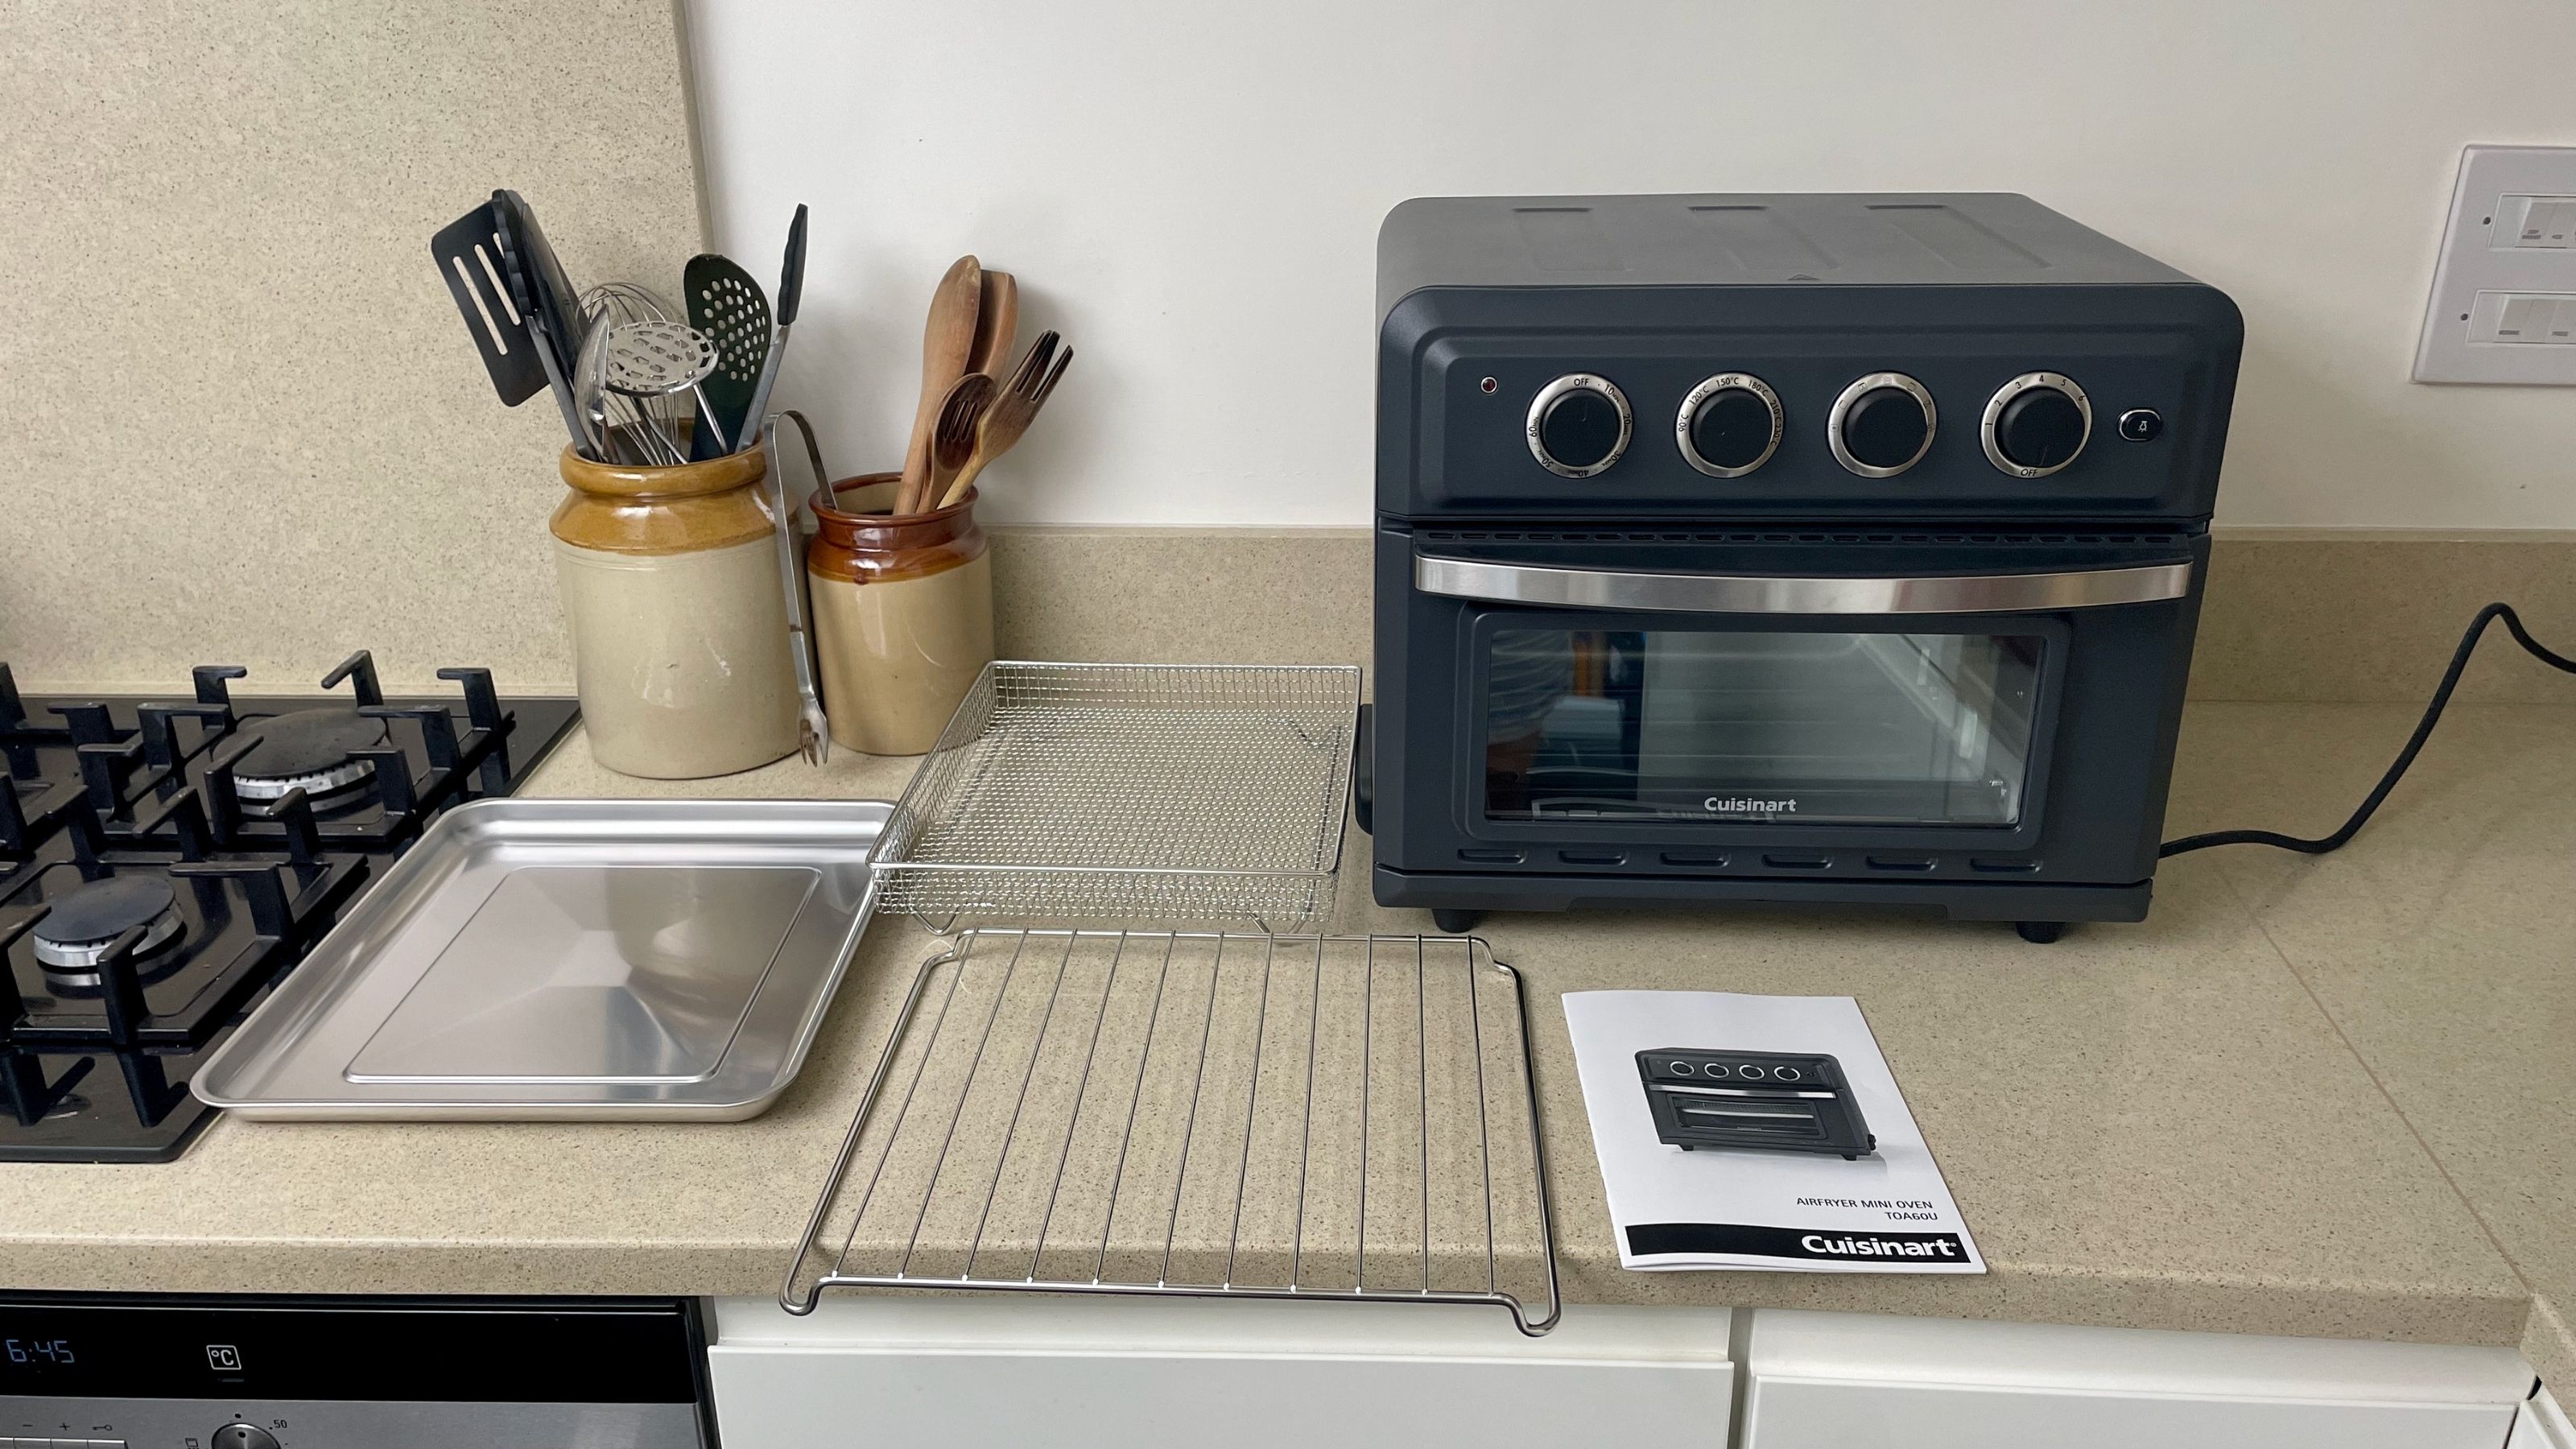
At this stage I should probably note that I reviewed this in the UK, it’s the same appliance as in the US, but the UK version has some subtle differences which you’ll notice in my pictures.
Apart from the temperature dial being in °C instead of °F, the function dial on the UK model shows the various functions using symbols, whereas the US model displays the functions in words – which is much better by the way, because the symbols on the UK model are tiny. Additionally, the toast timer on the US model allows you to choose between light, medium or dark toast, but on the UK model, toast color is selected by number. In virtually every other way it’s the same appliance.
Design expertise in your inbox – from inspiring decorating ideas and beautiful celebrity homes to practical gardening advice and shopping round-ups.
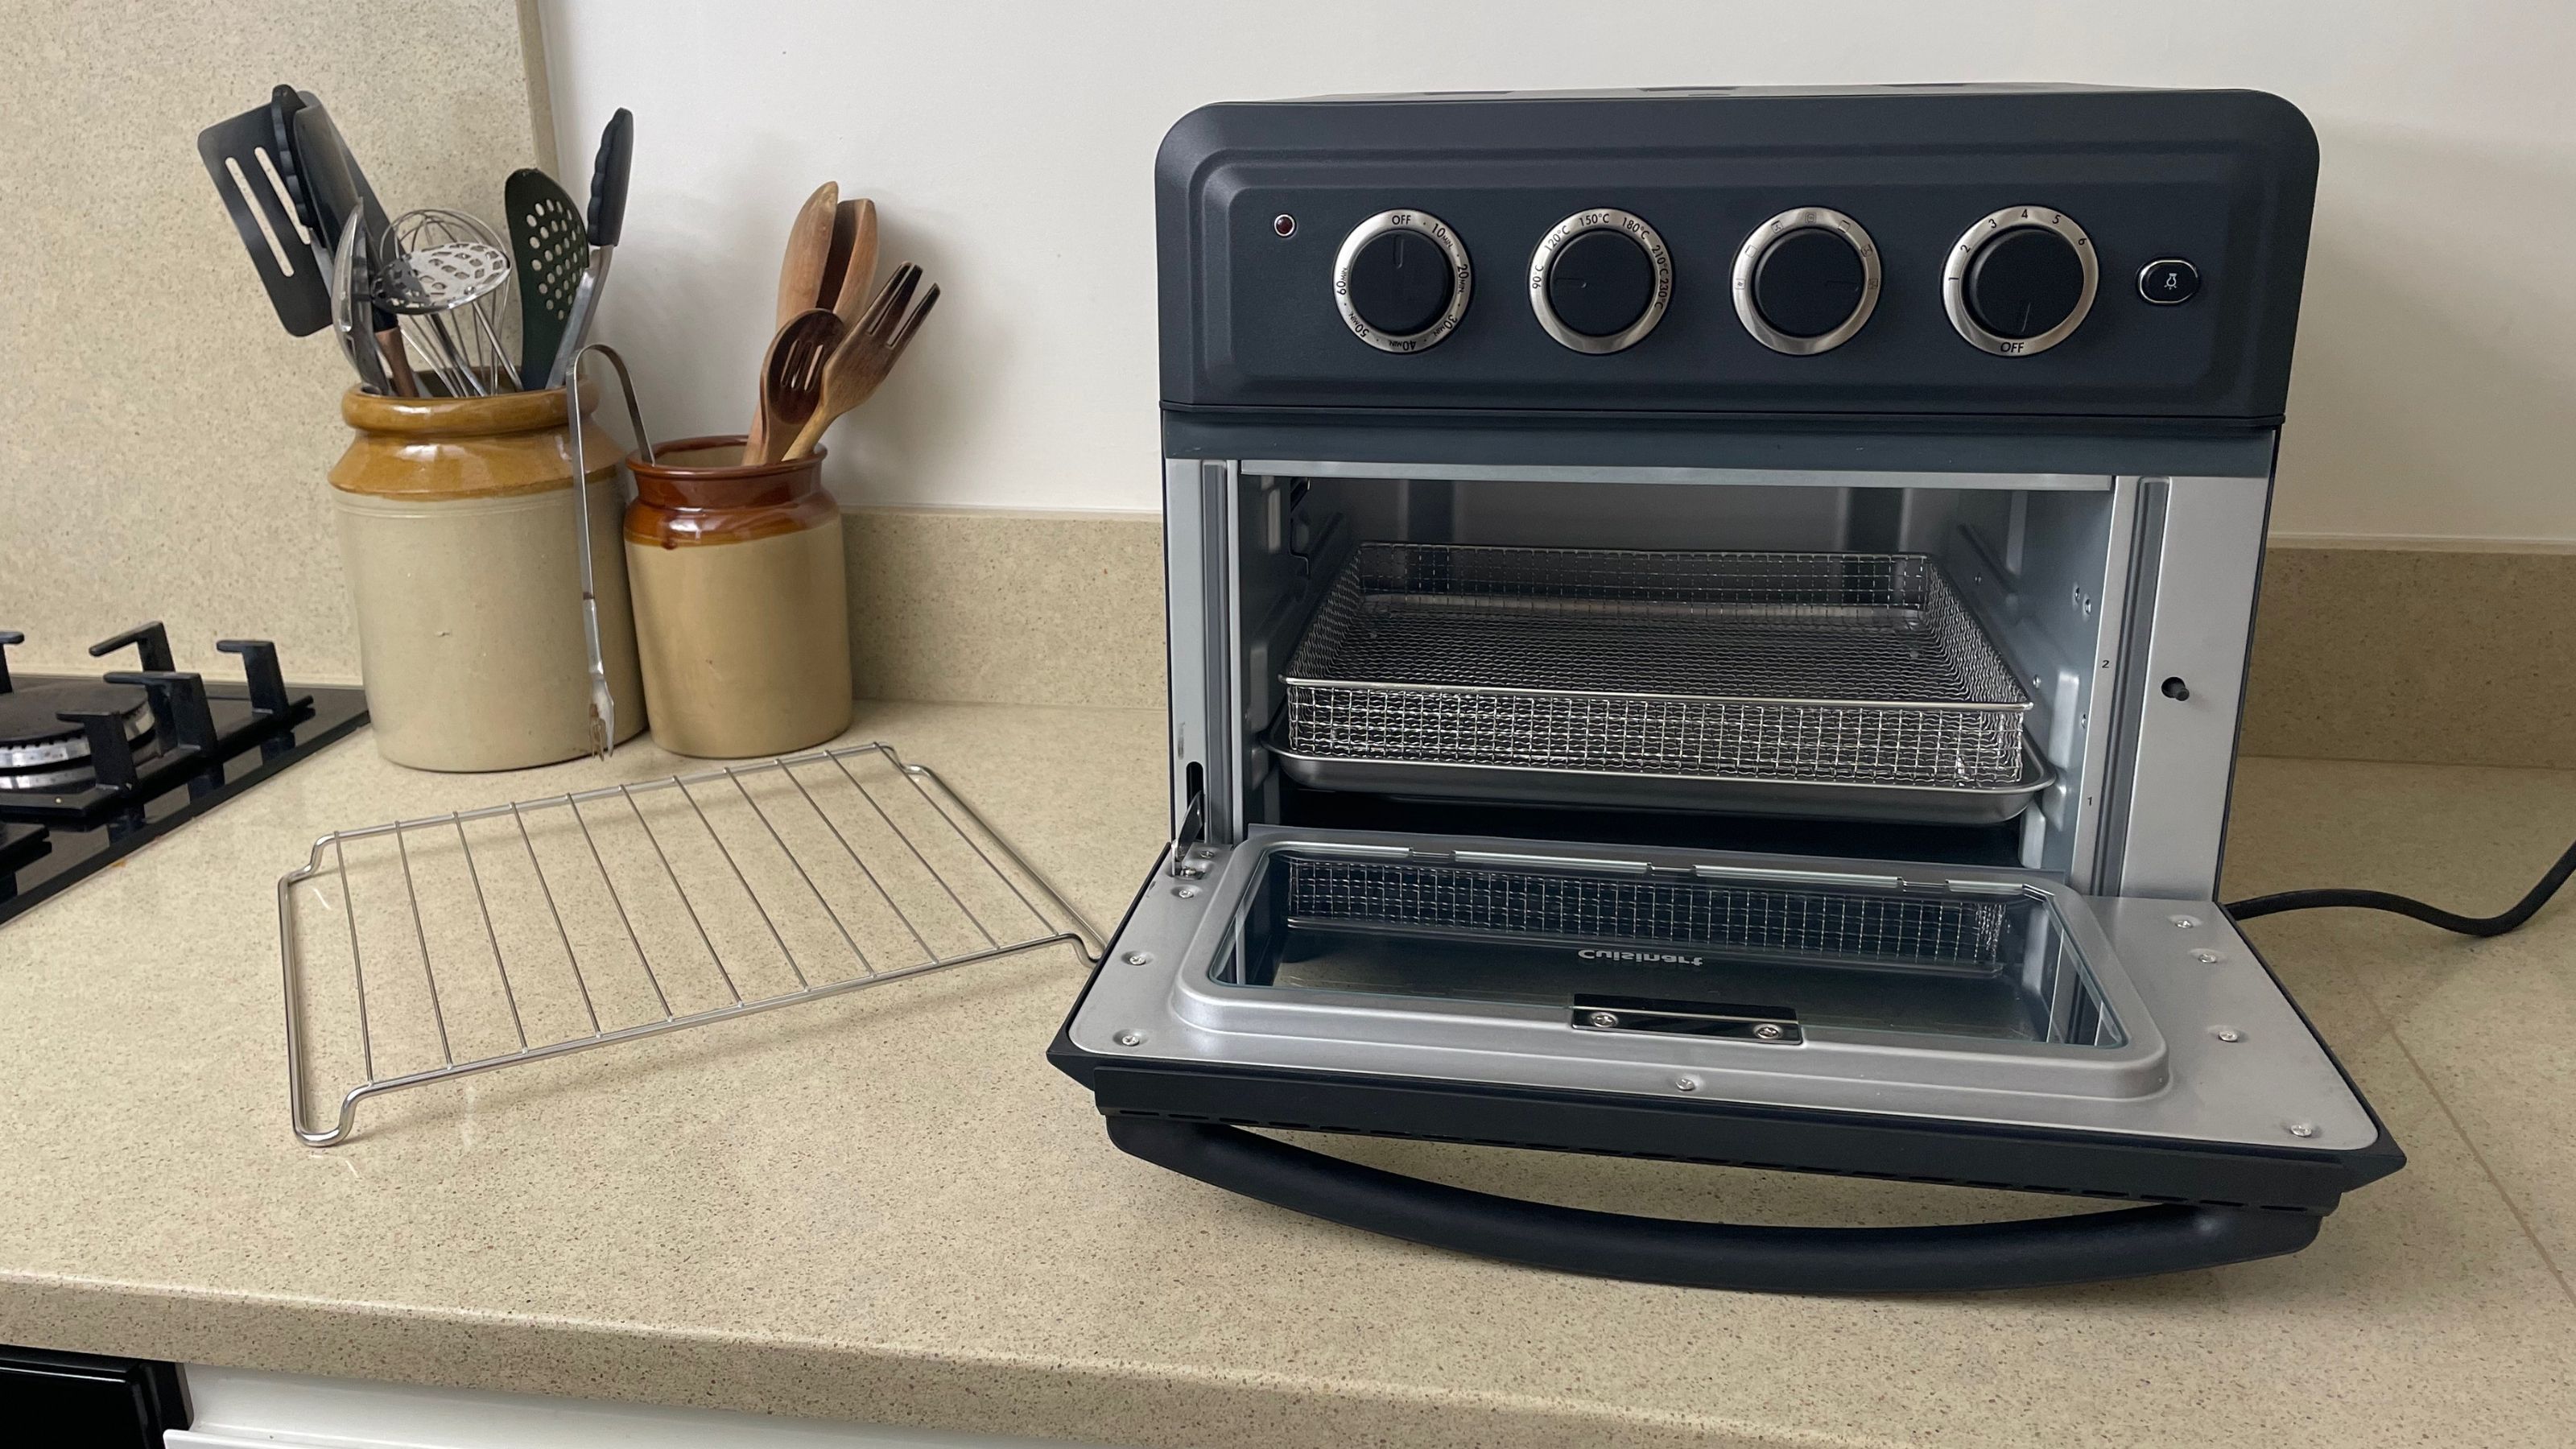
There are a couple of issues that I noticed from the get-go. The temperature dial is marked in 50° increments without dots in-between, so it’s not easy to be very accurate when setting the temperature. Furthermore, turning the timer dial on is how each cooking function is switched on, and though it’s a good safety feature that it automatically switches off when the timer runs out.
The downside is that if you remove your food before the end of the timer, there’s no way to turn it off other than forcing the timer dial back to zero. I actually found the easiest solution was just to leave the door open until the timer ran out – since it doesn’t operate when the door’s open.
Toasting
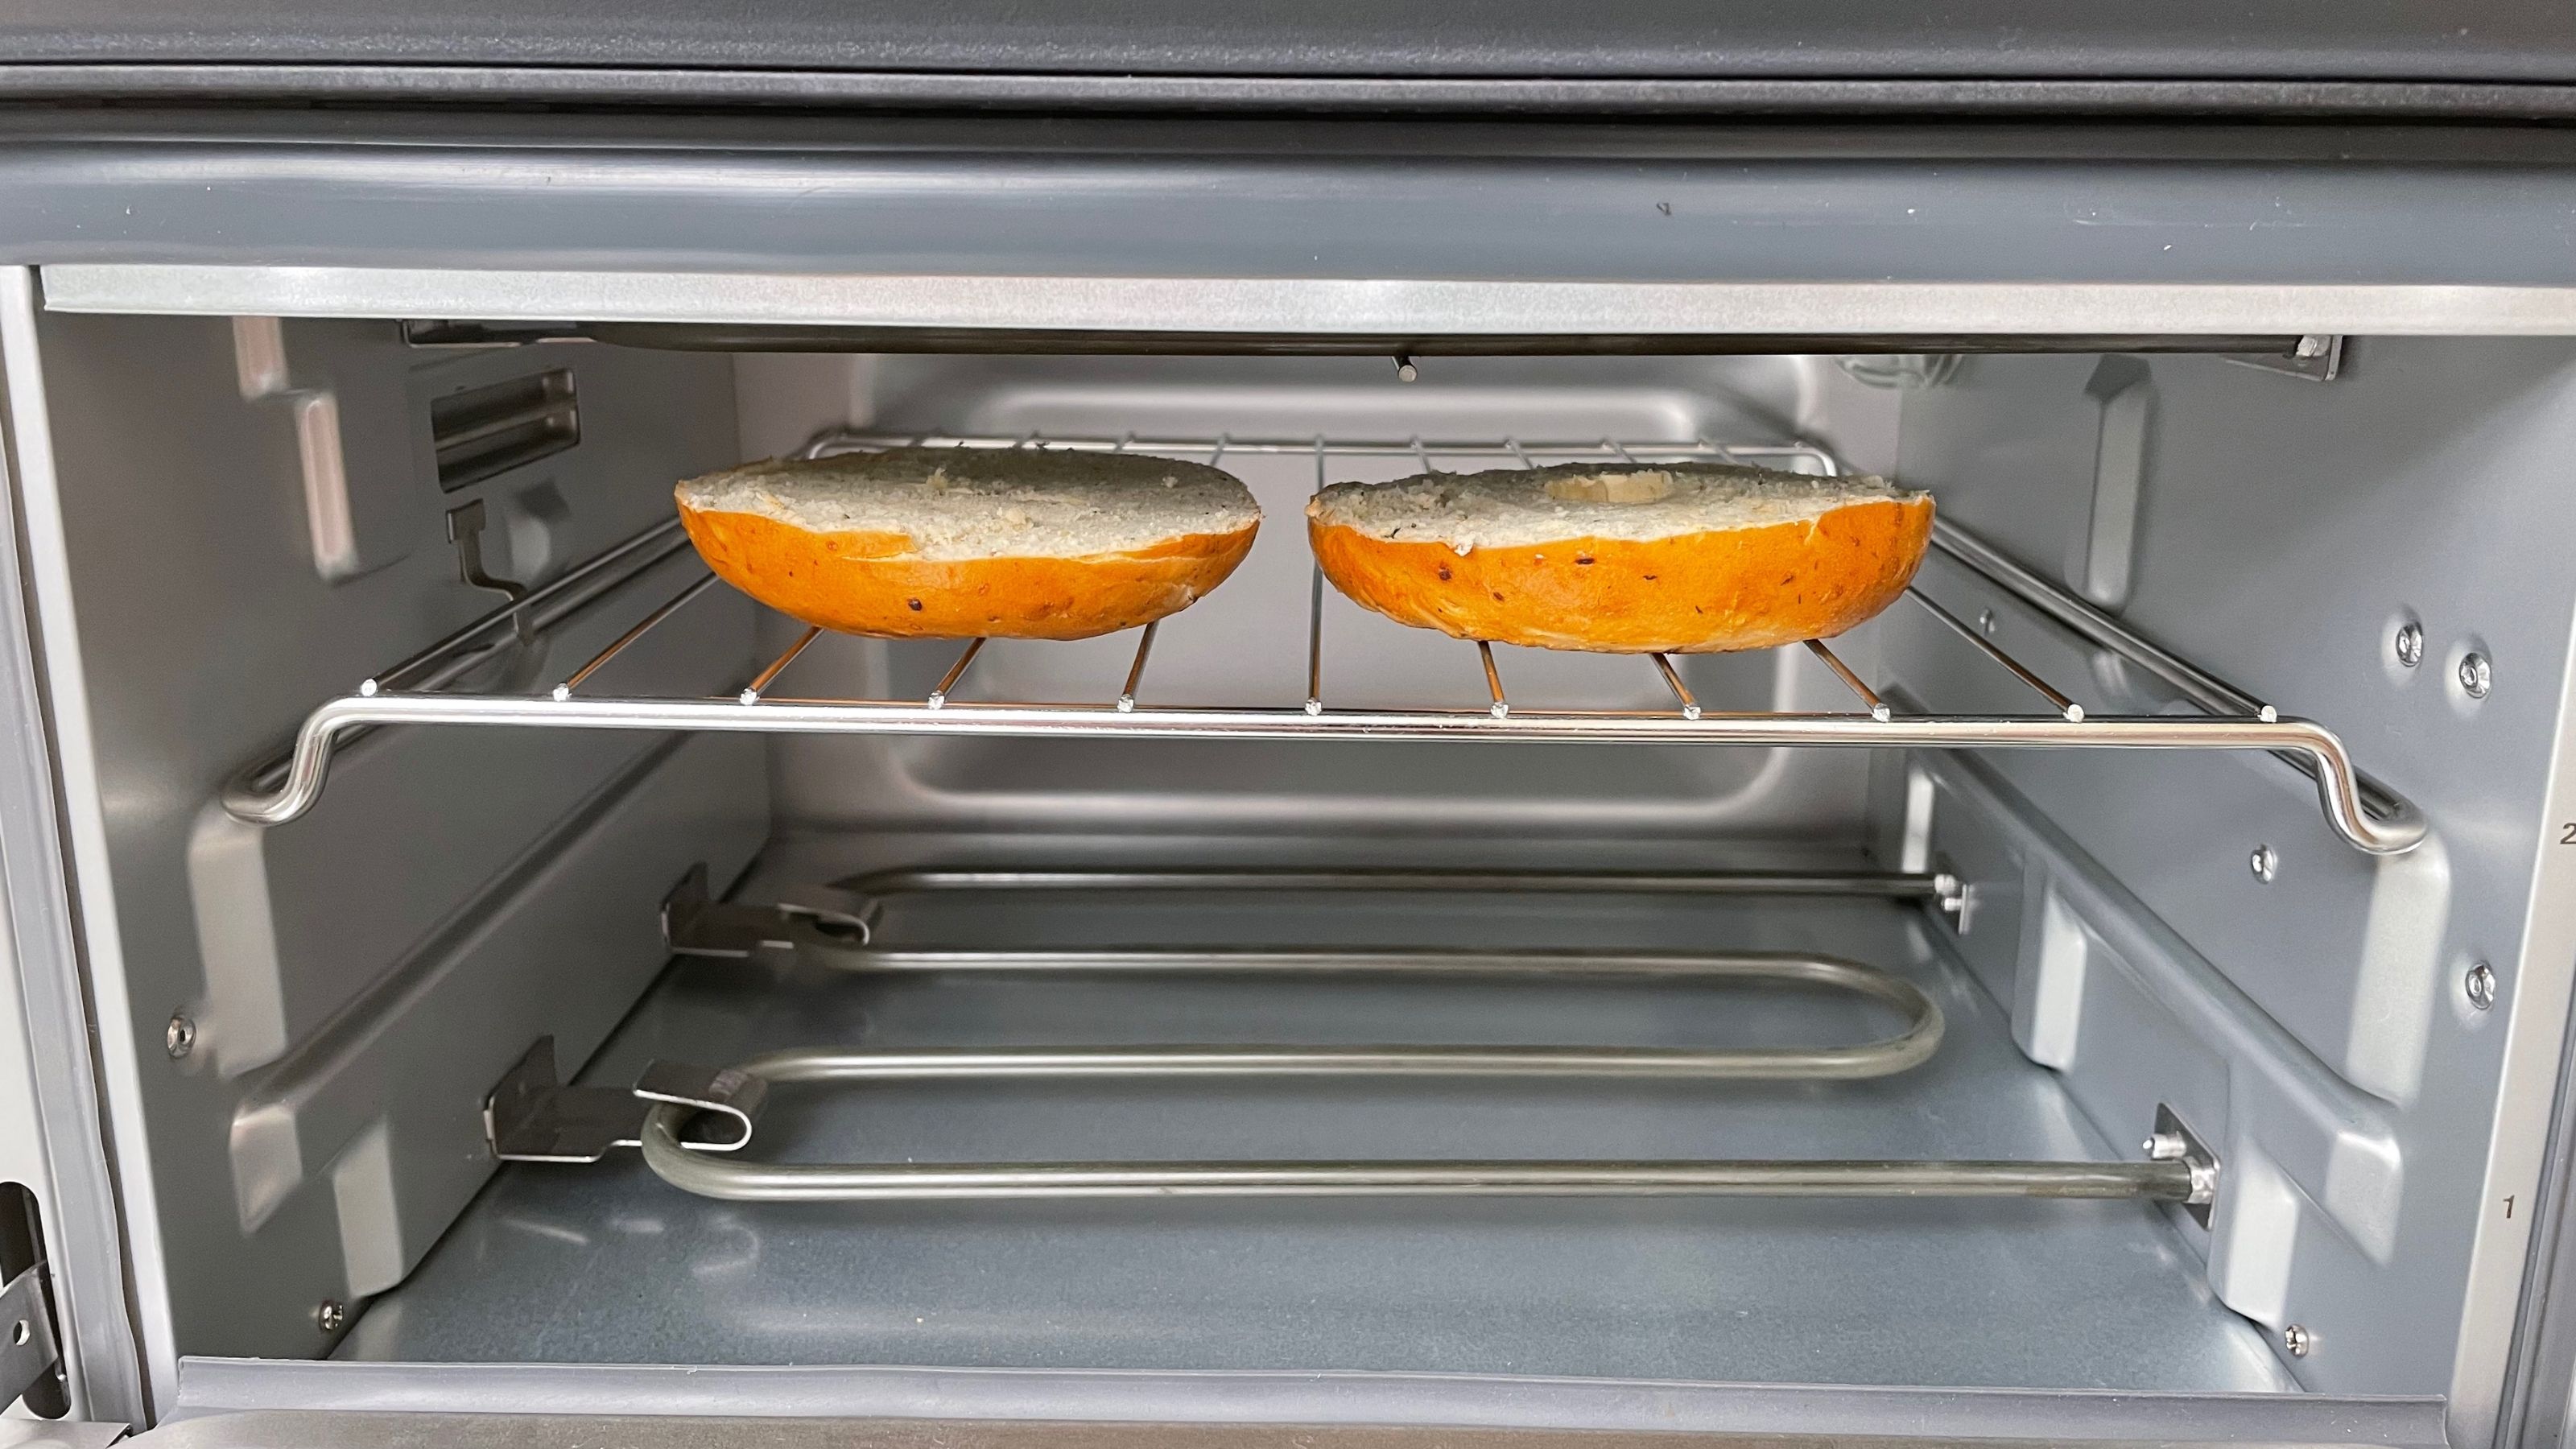
There’s nothing complicated about using this appliance to toast, just select the toast function and your desired shade and that’s it. I popped a bagel on the center of the rack and set it toast, though since I hadn’t toasted in it before I kept a close eye on it – this is where the internal light comes in handy.
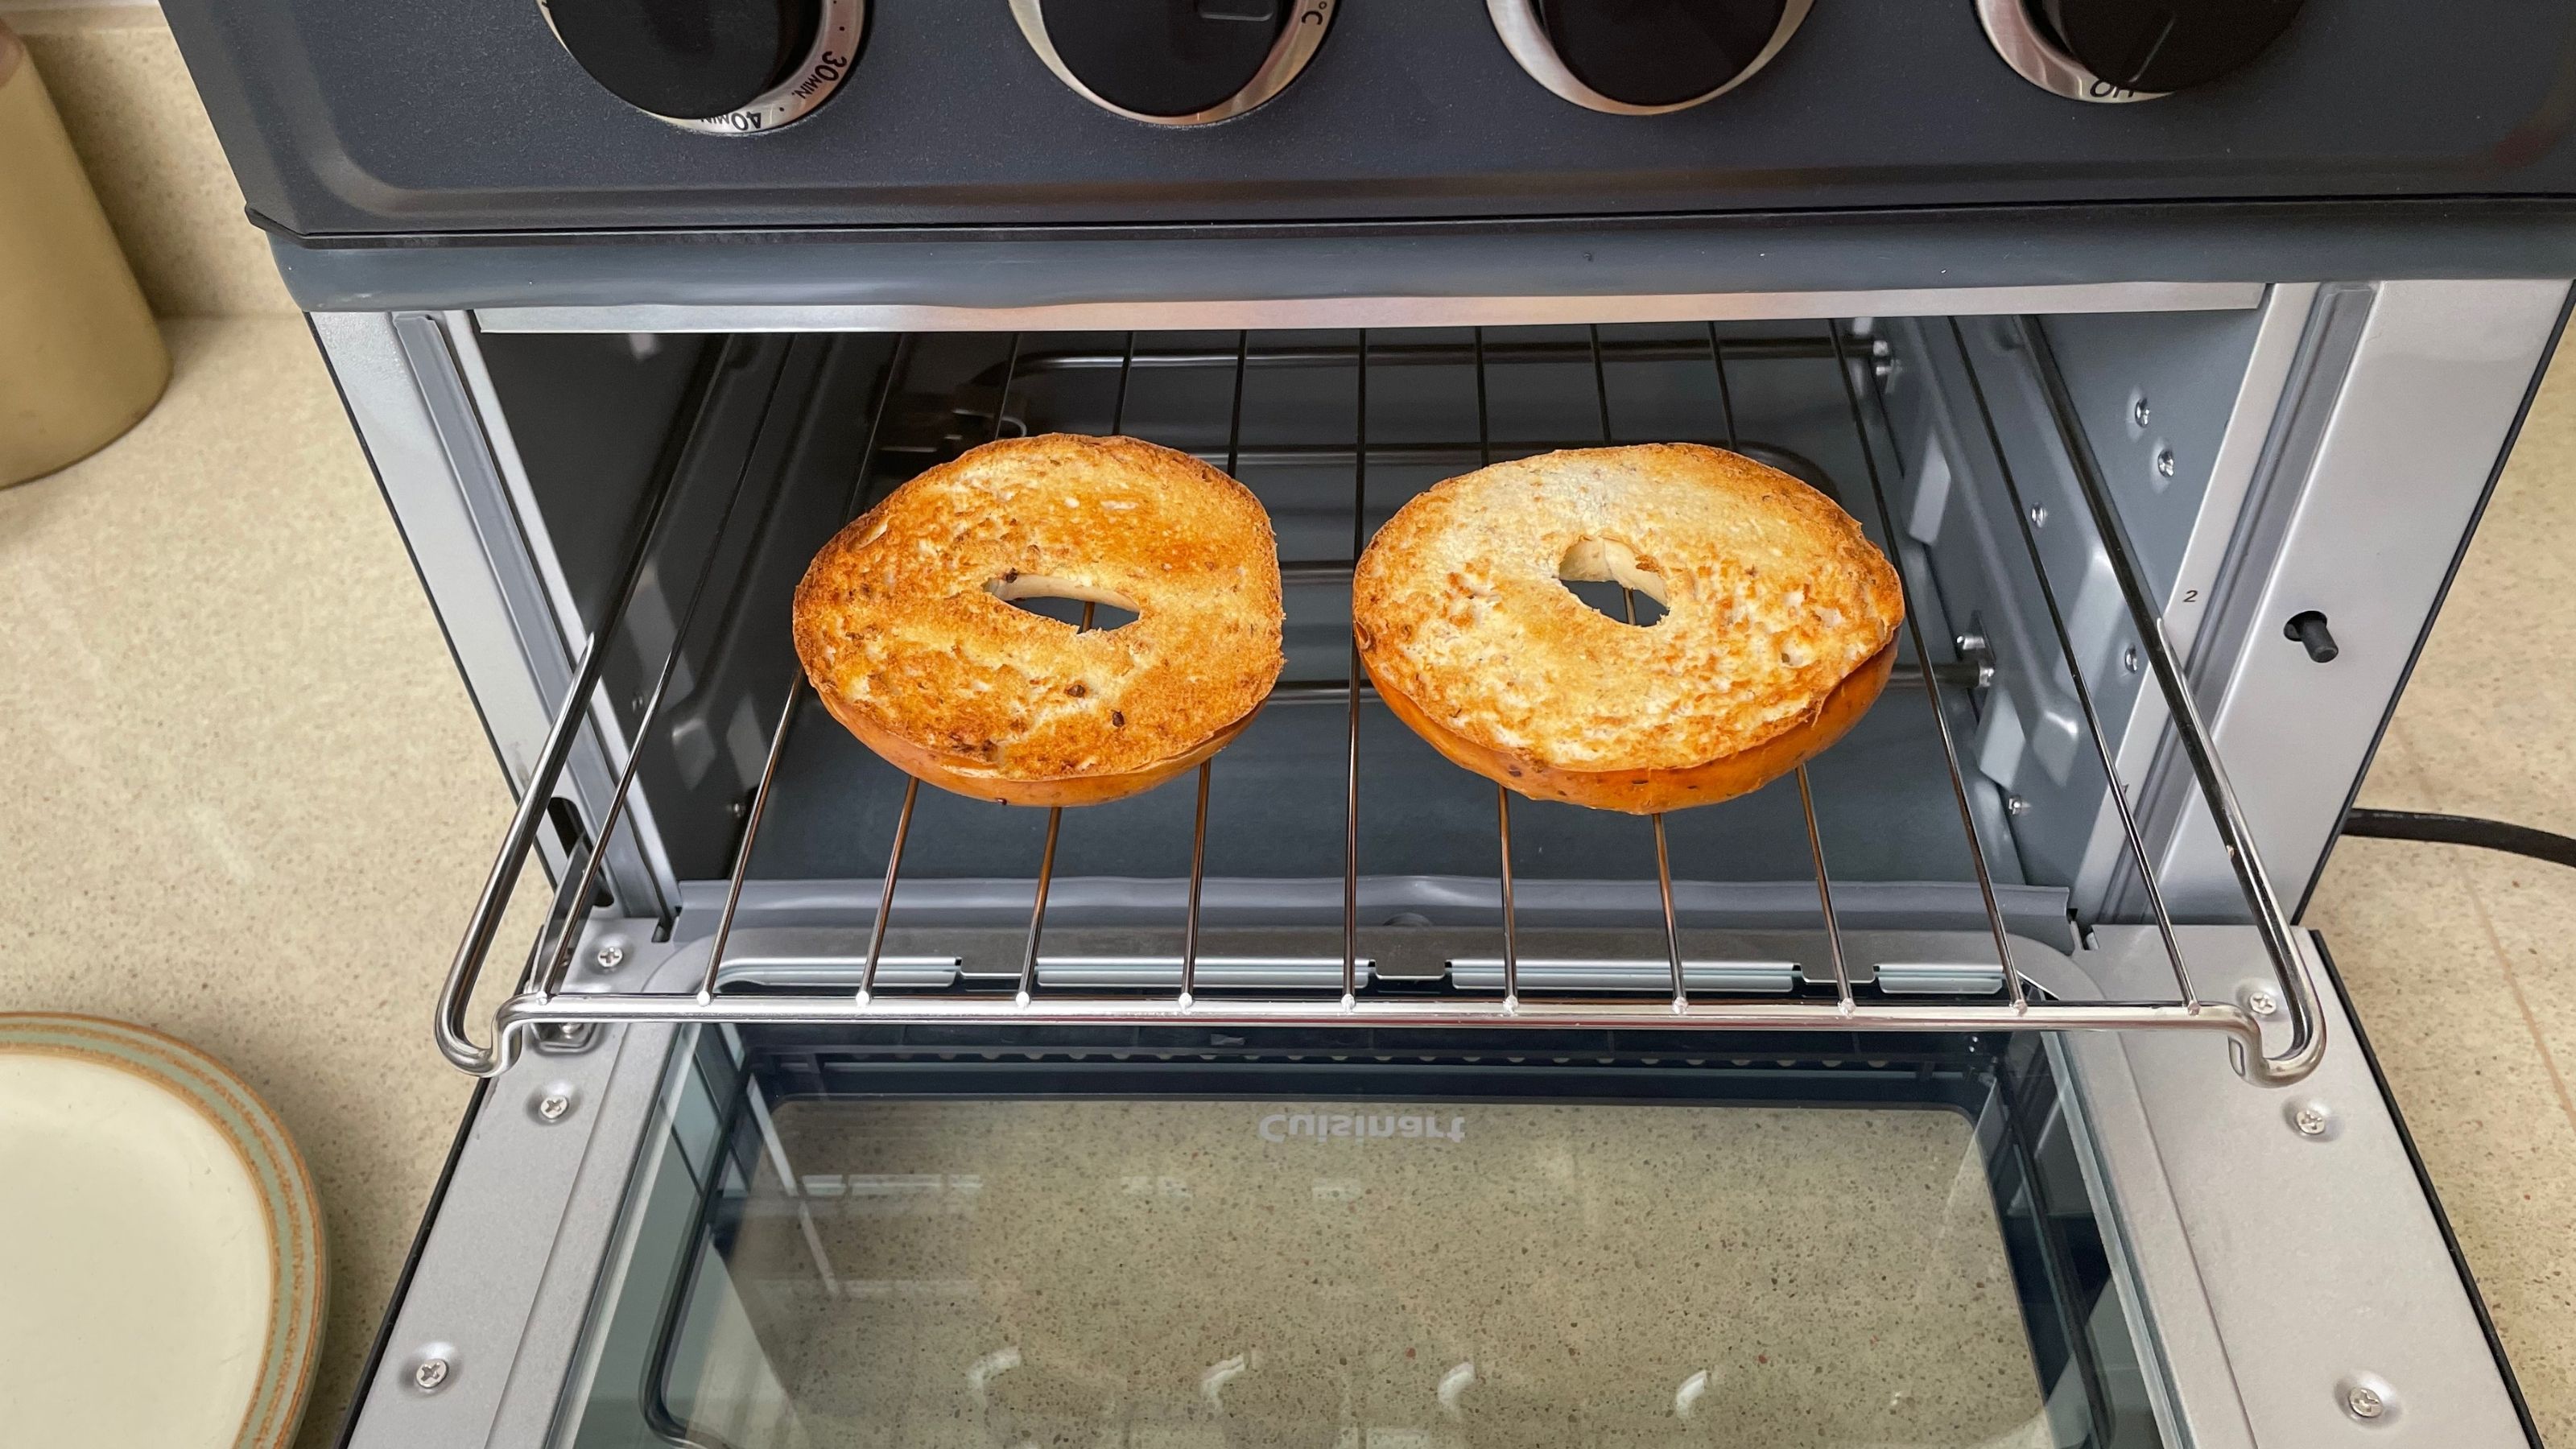
The bagel was nicely browned in around four minutes, which is slightly longer than the 2-3 minutes that it might usually take in one of the best toasters. But it’s still quicker than a broiler, since it doesn’t need time to preheat. Another plus is that there’s enough room for six slices of bread at once and you can toast up really thick sliced bread that wouldn’t fit in a standard toaster.
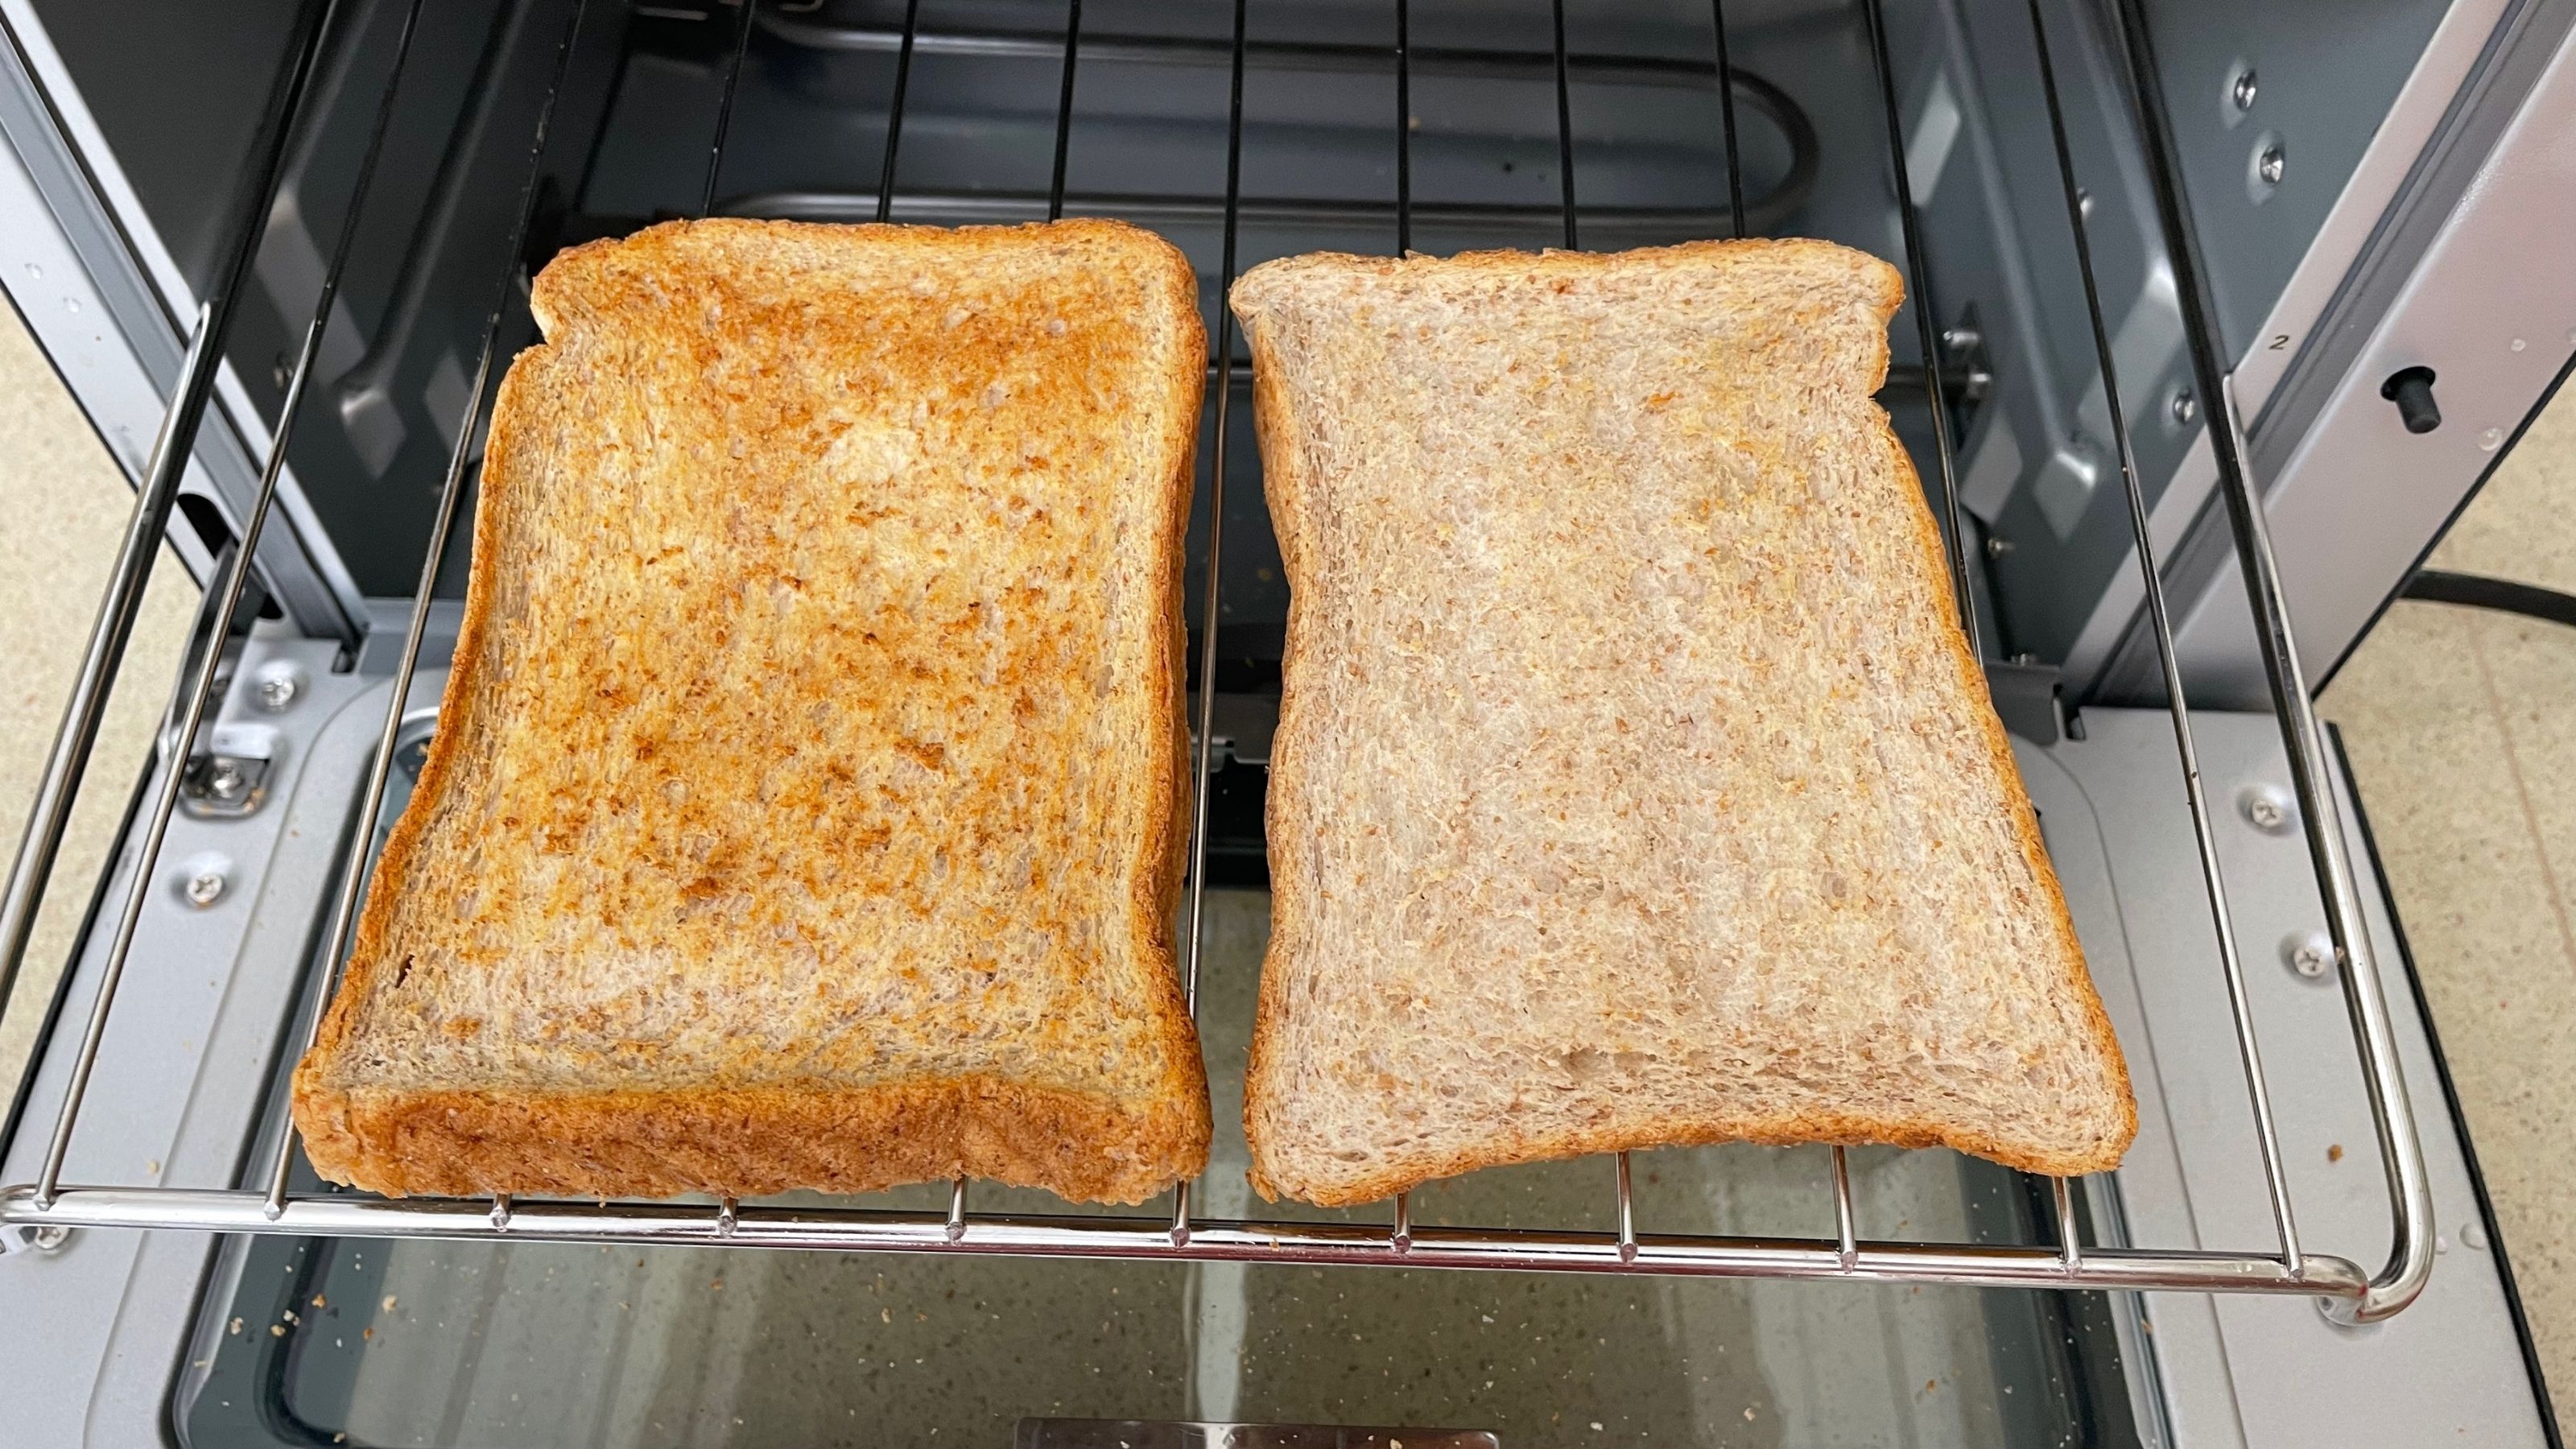
When toasting bread, two slices took a little over four minutes, I didn’t turn them during toasting and although crisped on both sides, the top was much better browned than the underside. So if you’re particular about both sides being the same color, you’ll probably need to turn the bread over mid-way through.
Air frying
To make fries, I cut up 1 pound of potatoes into steak cut size pieces and coated them in 1tsp of oil. Nowhere in the manual does it advise soaking the fries before air frying – which is a common recommendation with other air fryers. So I spread the fries in a single layer on the basket and set it to air fry at 400oF for 15 minutes. The manual says that stirring is only necessary for larger amounts and since the fries were in a single layer, I left them for the full time.
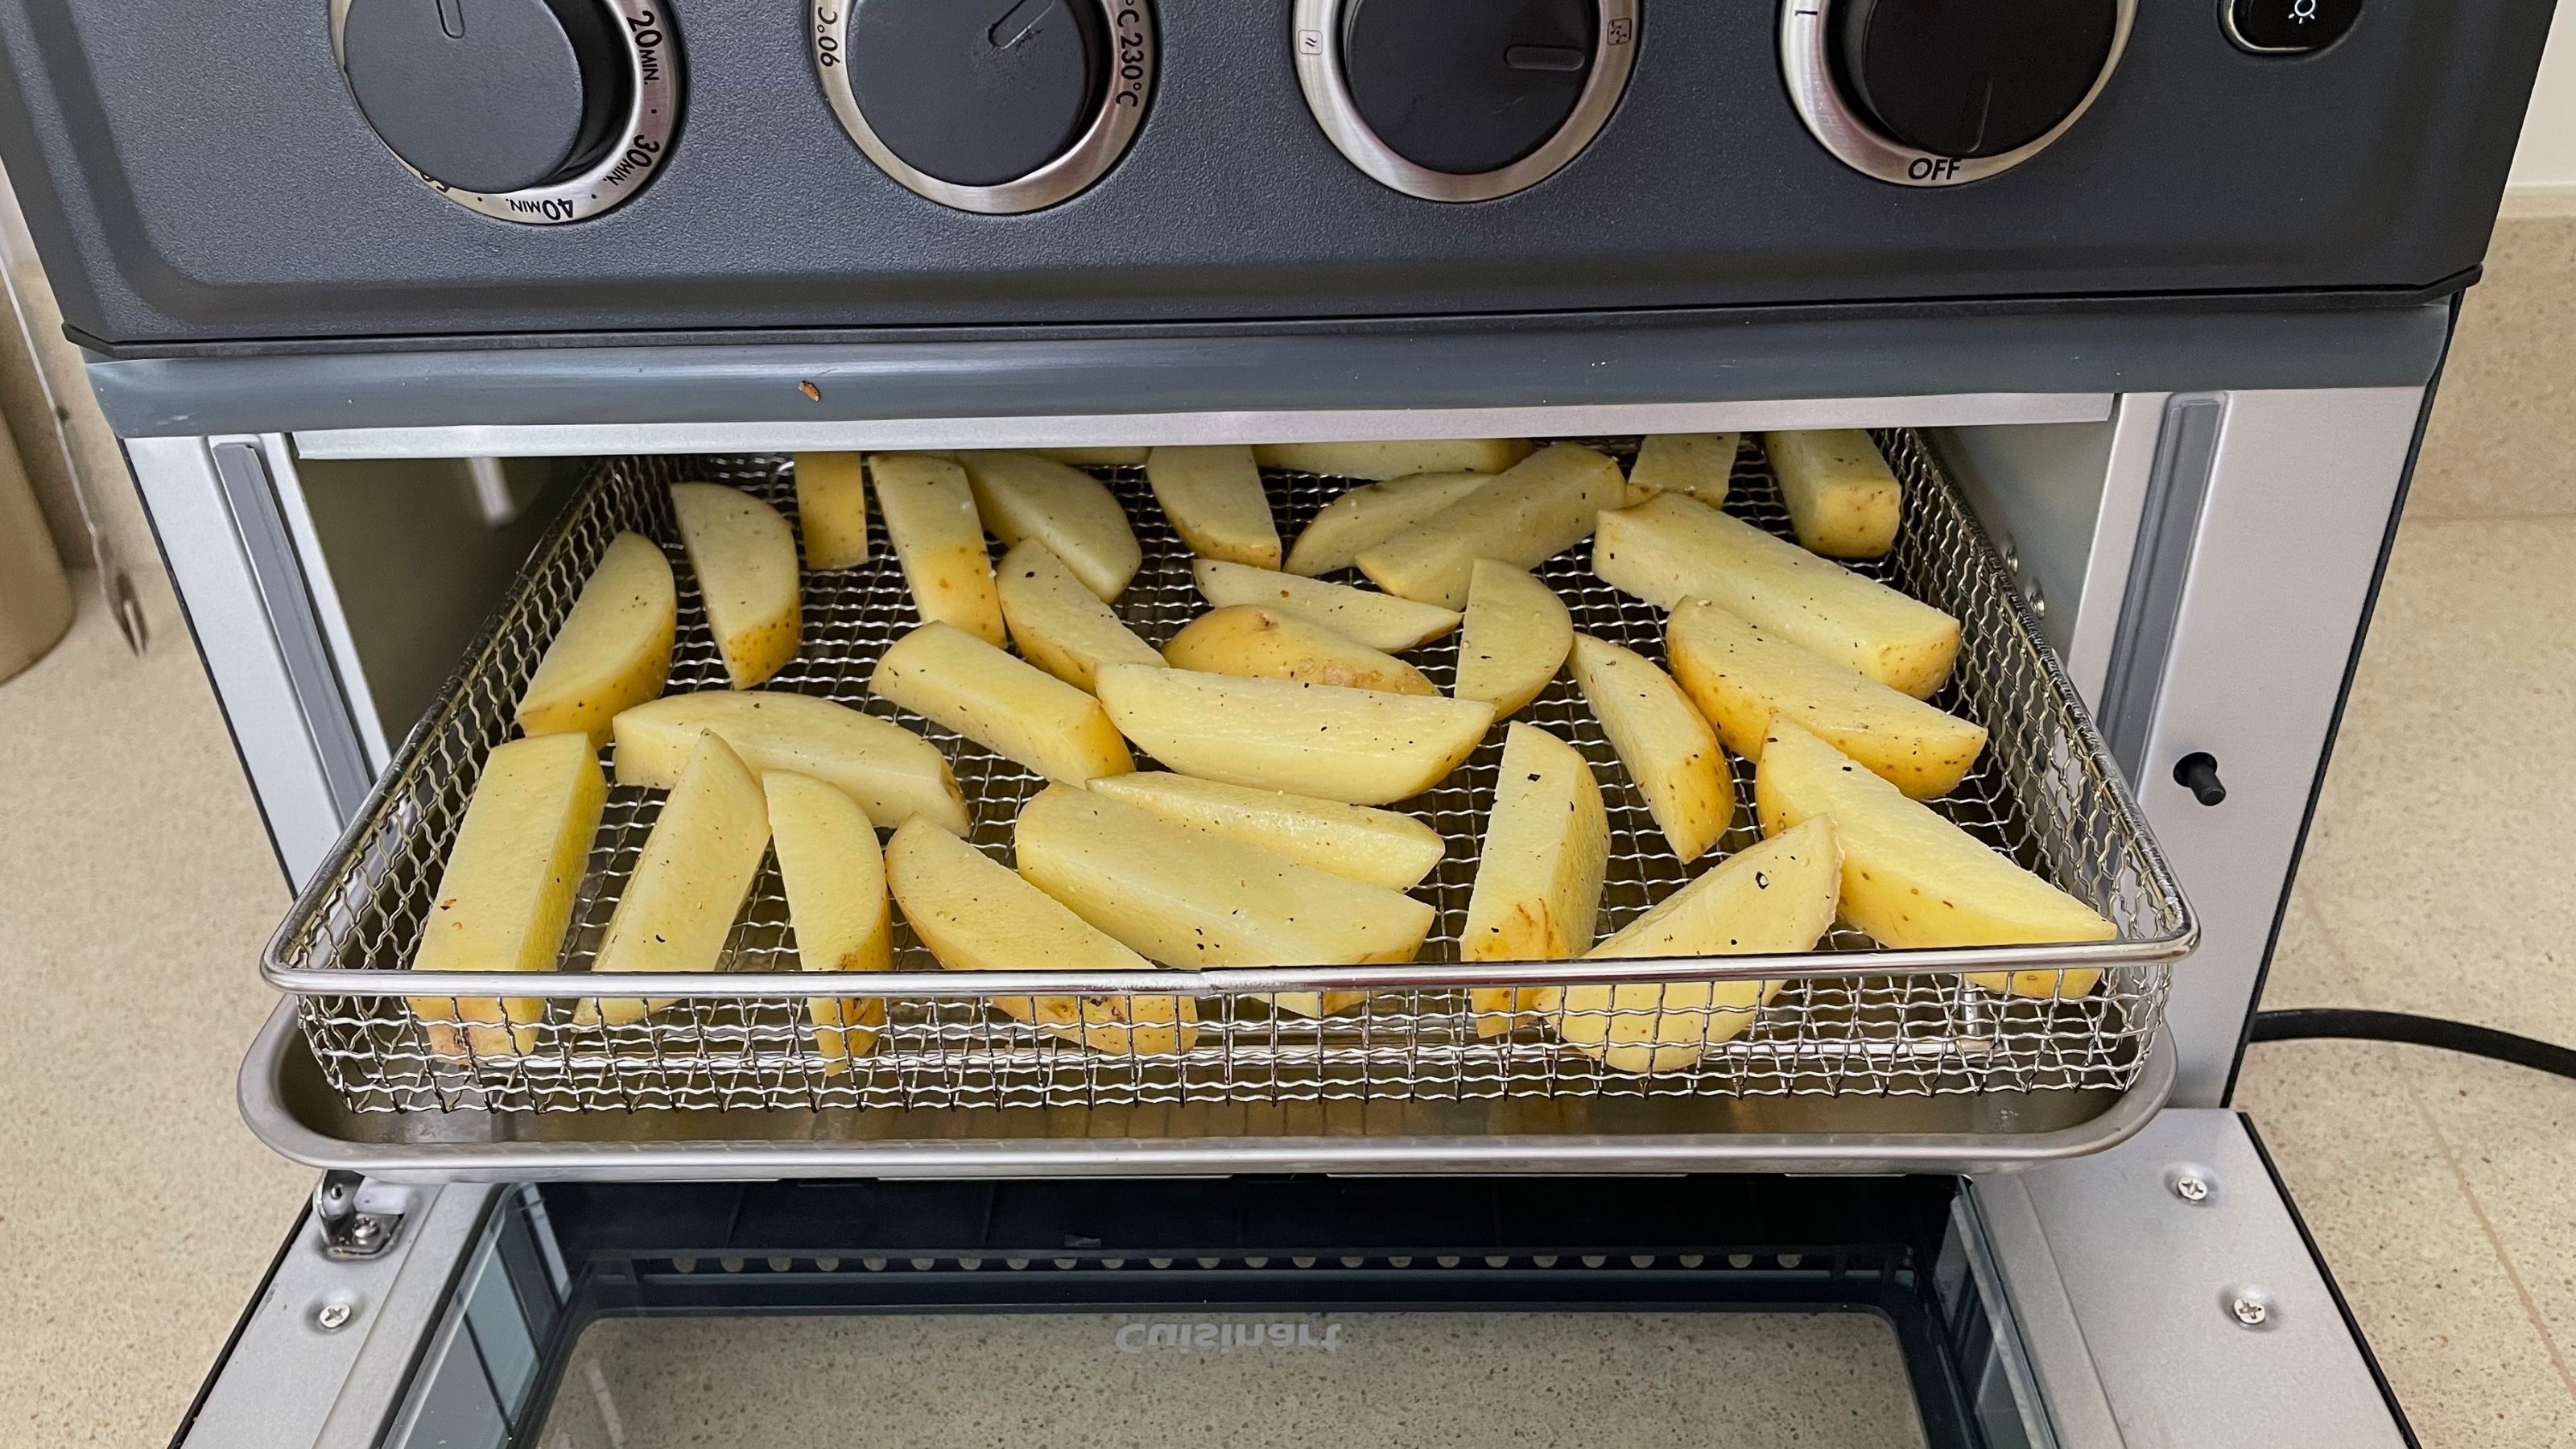
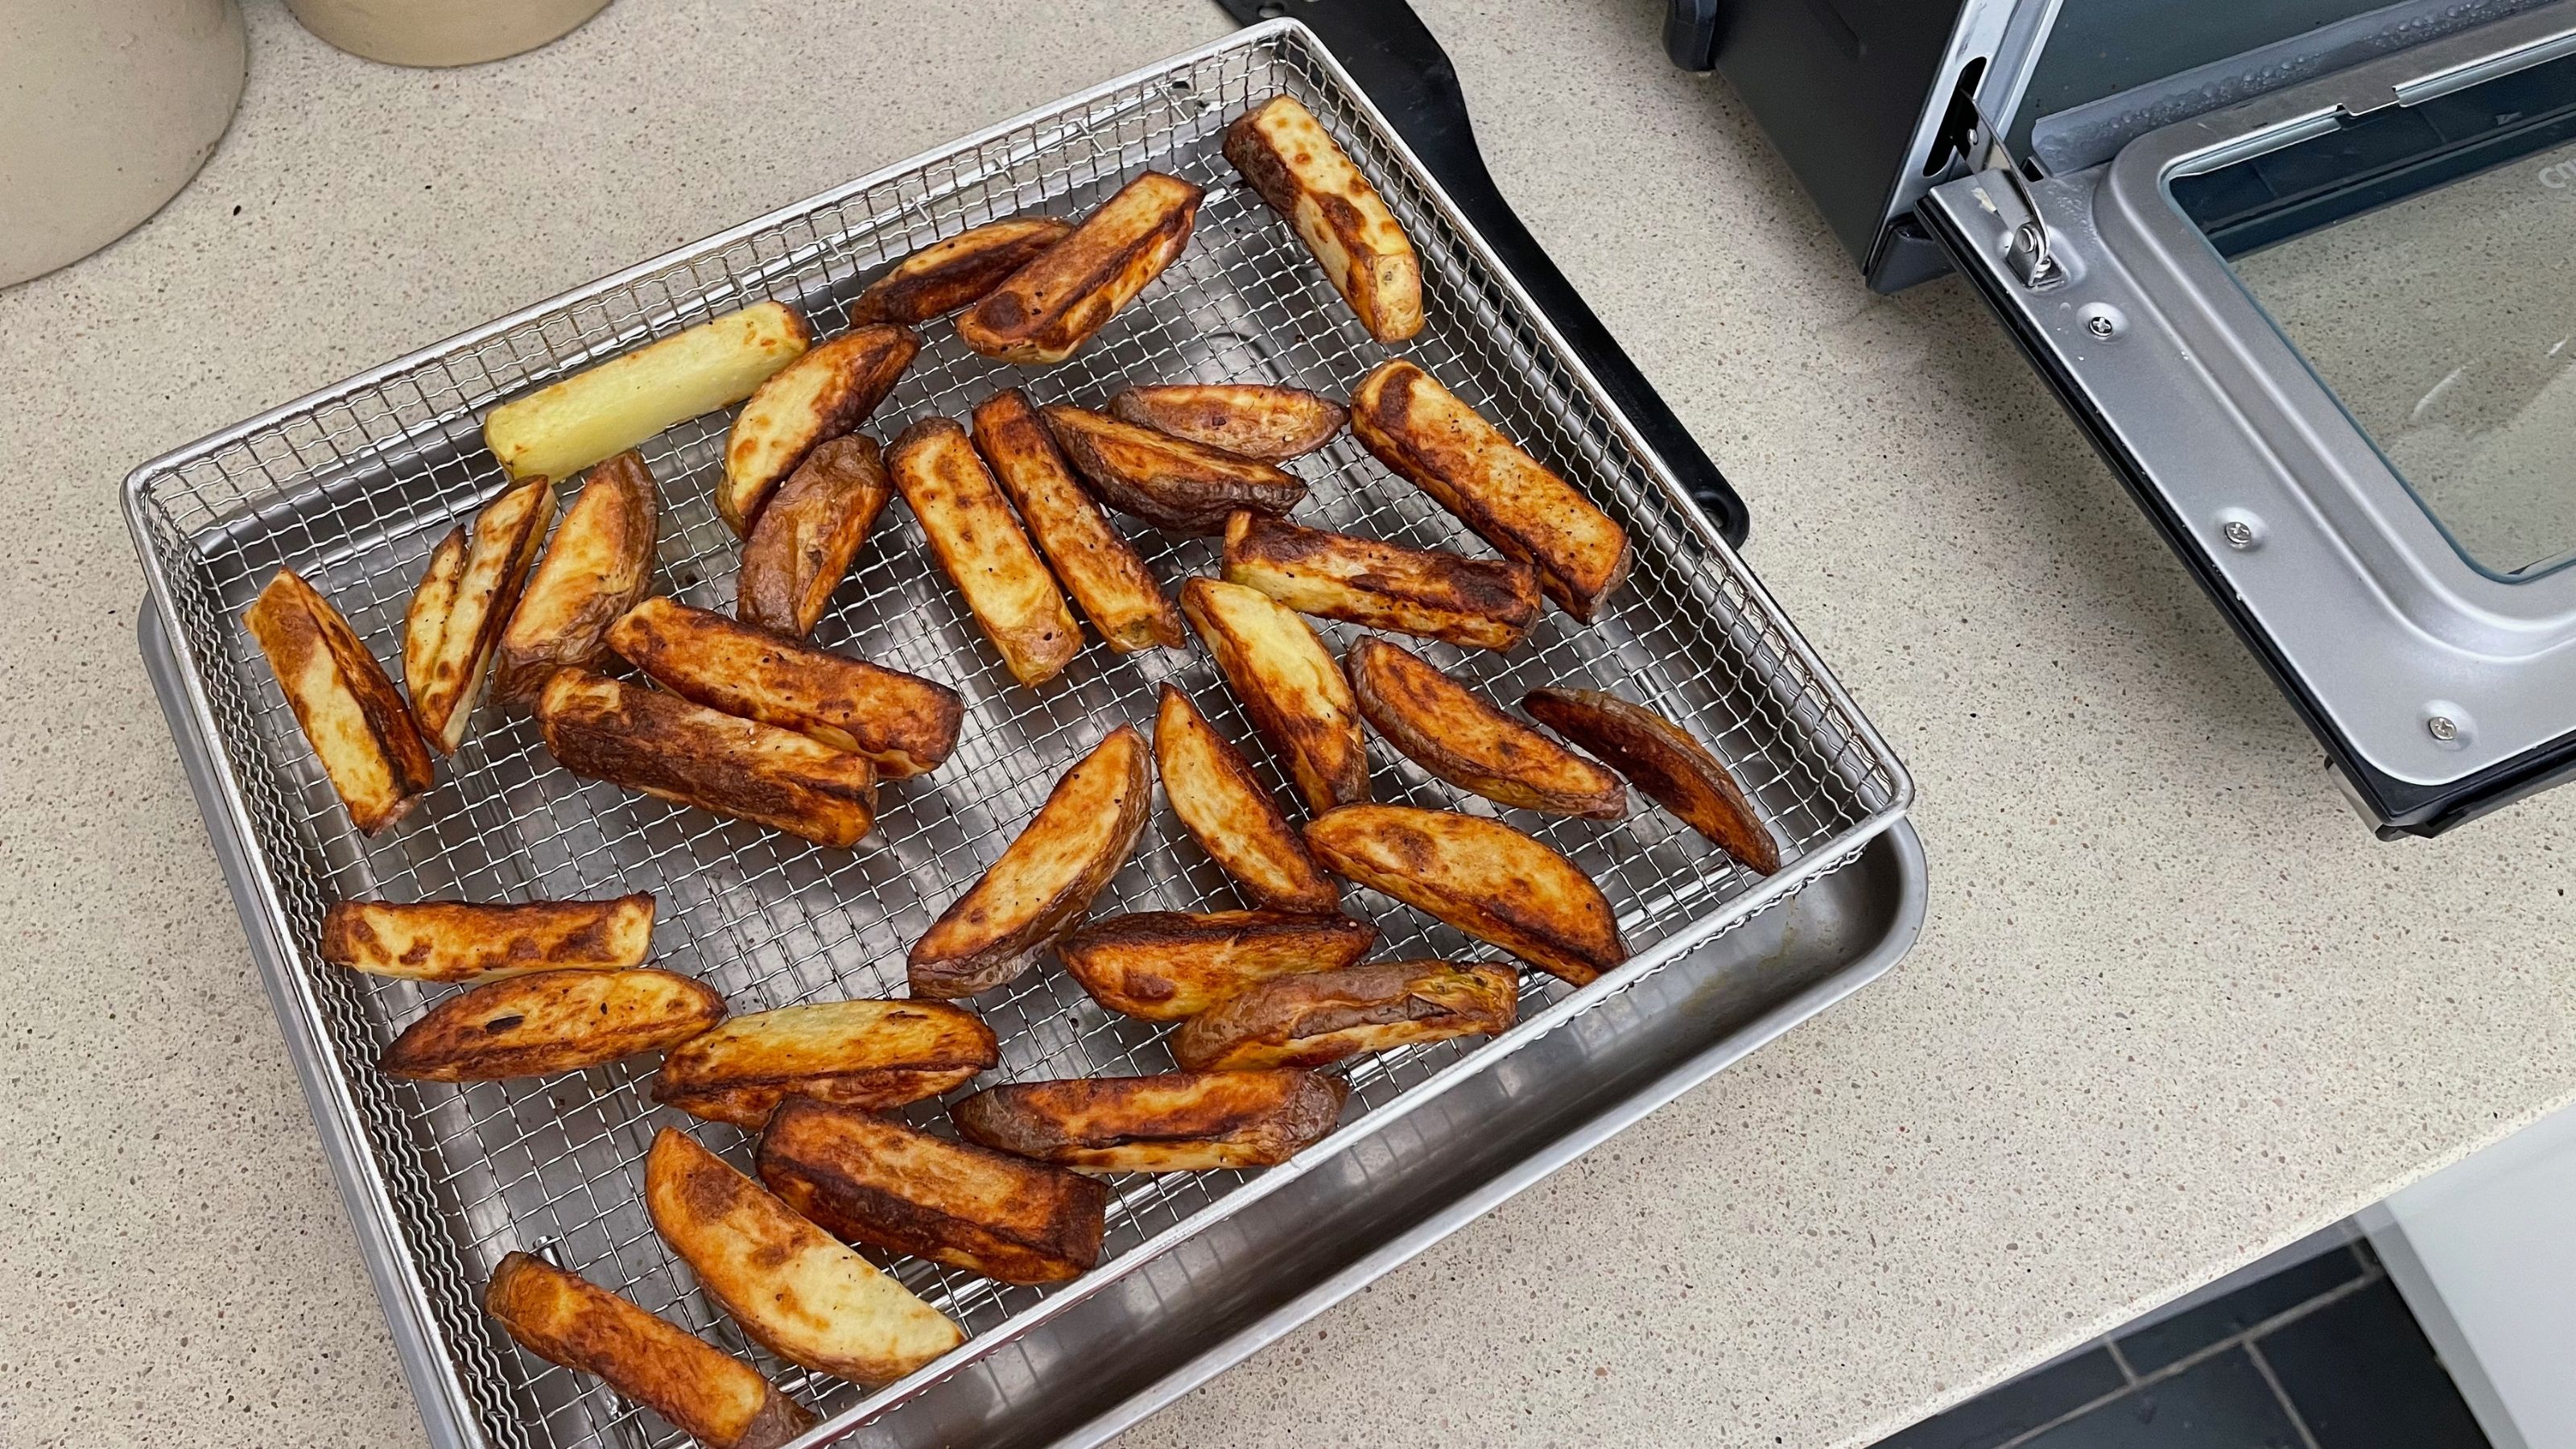
When the timer went off, the fries were still a bit hard inside and the tops were way more brown than the bottoms, so I turned them and put them back in for an extra five minutes. The finished fries were quite well browned and though they were cooked through, they didn’t have the fluffy centers and crispy outsides that I‘ve come to expect from fries cooked in an air fryer, I was disappointed.
I also tried air frying frozen breaded fish fillets which is usually my preferred way of cooking these. But sadly they didn’t turn out as good as they usually do. The crumb was hard and overly crisped, it tasted like it had been under a broiler and the fish inside was drier than usual. Overall the air fryer function just didn’t produce the same results as the best air fryers I’ve tried.
Baking muffins
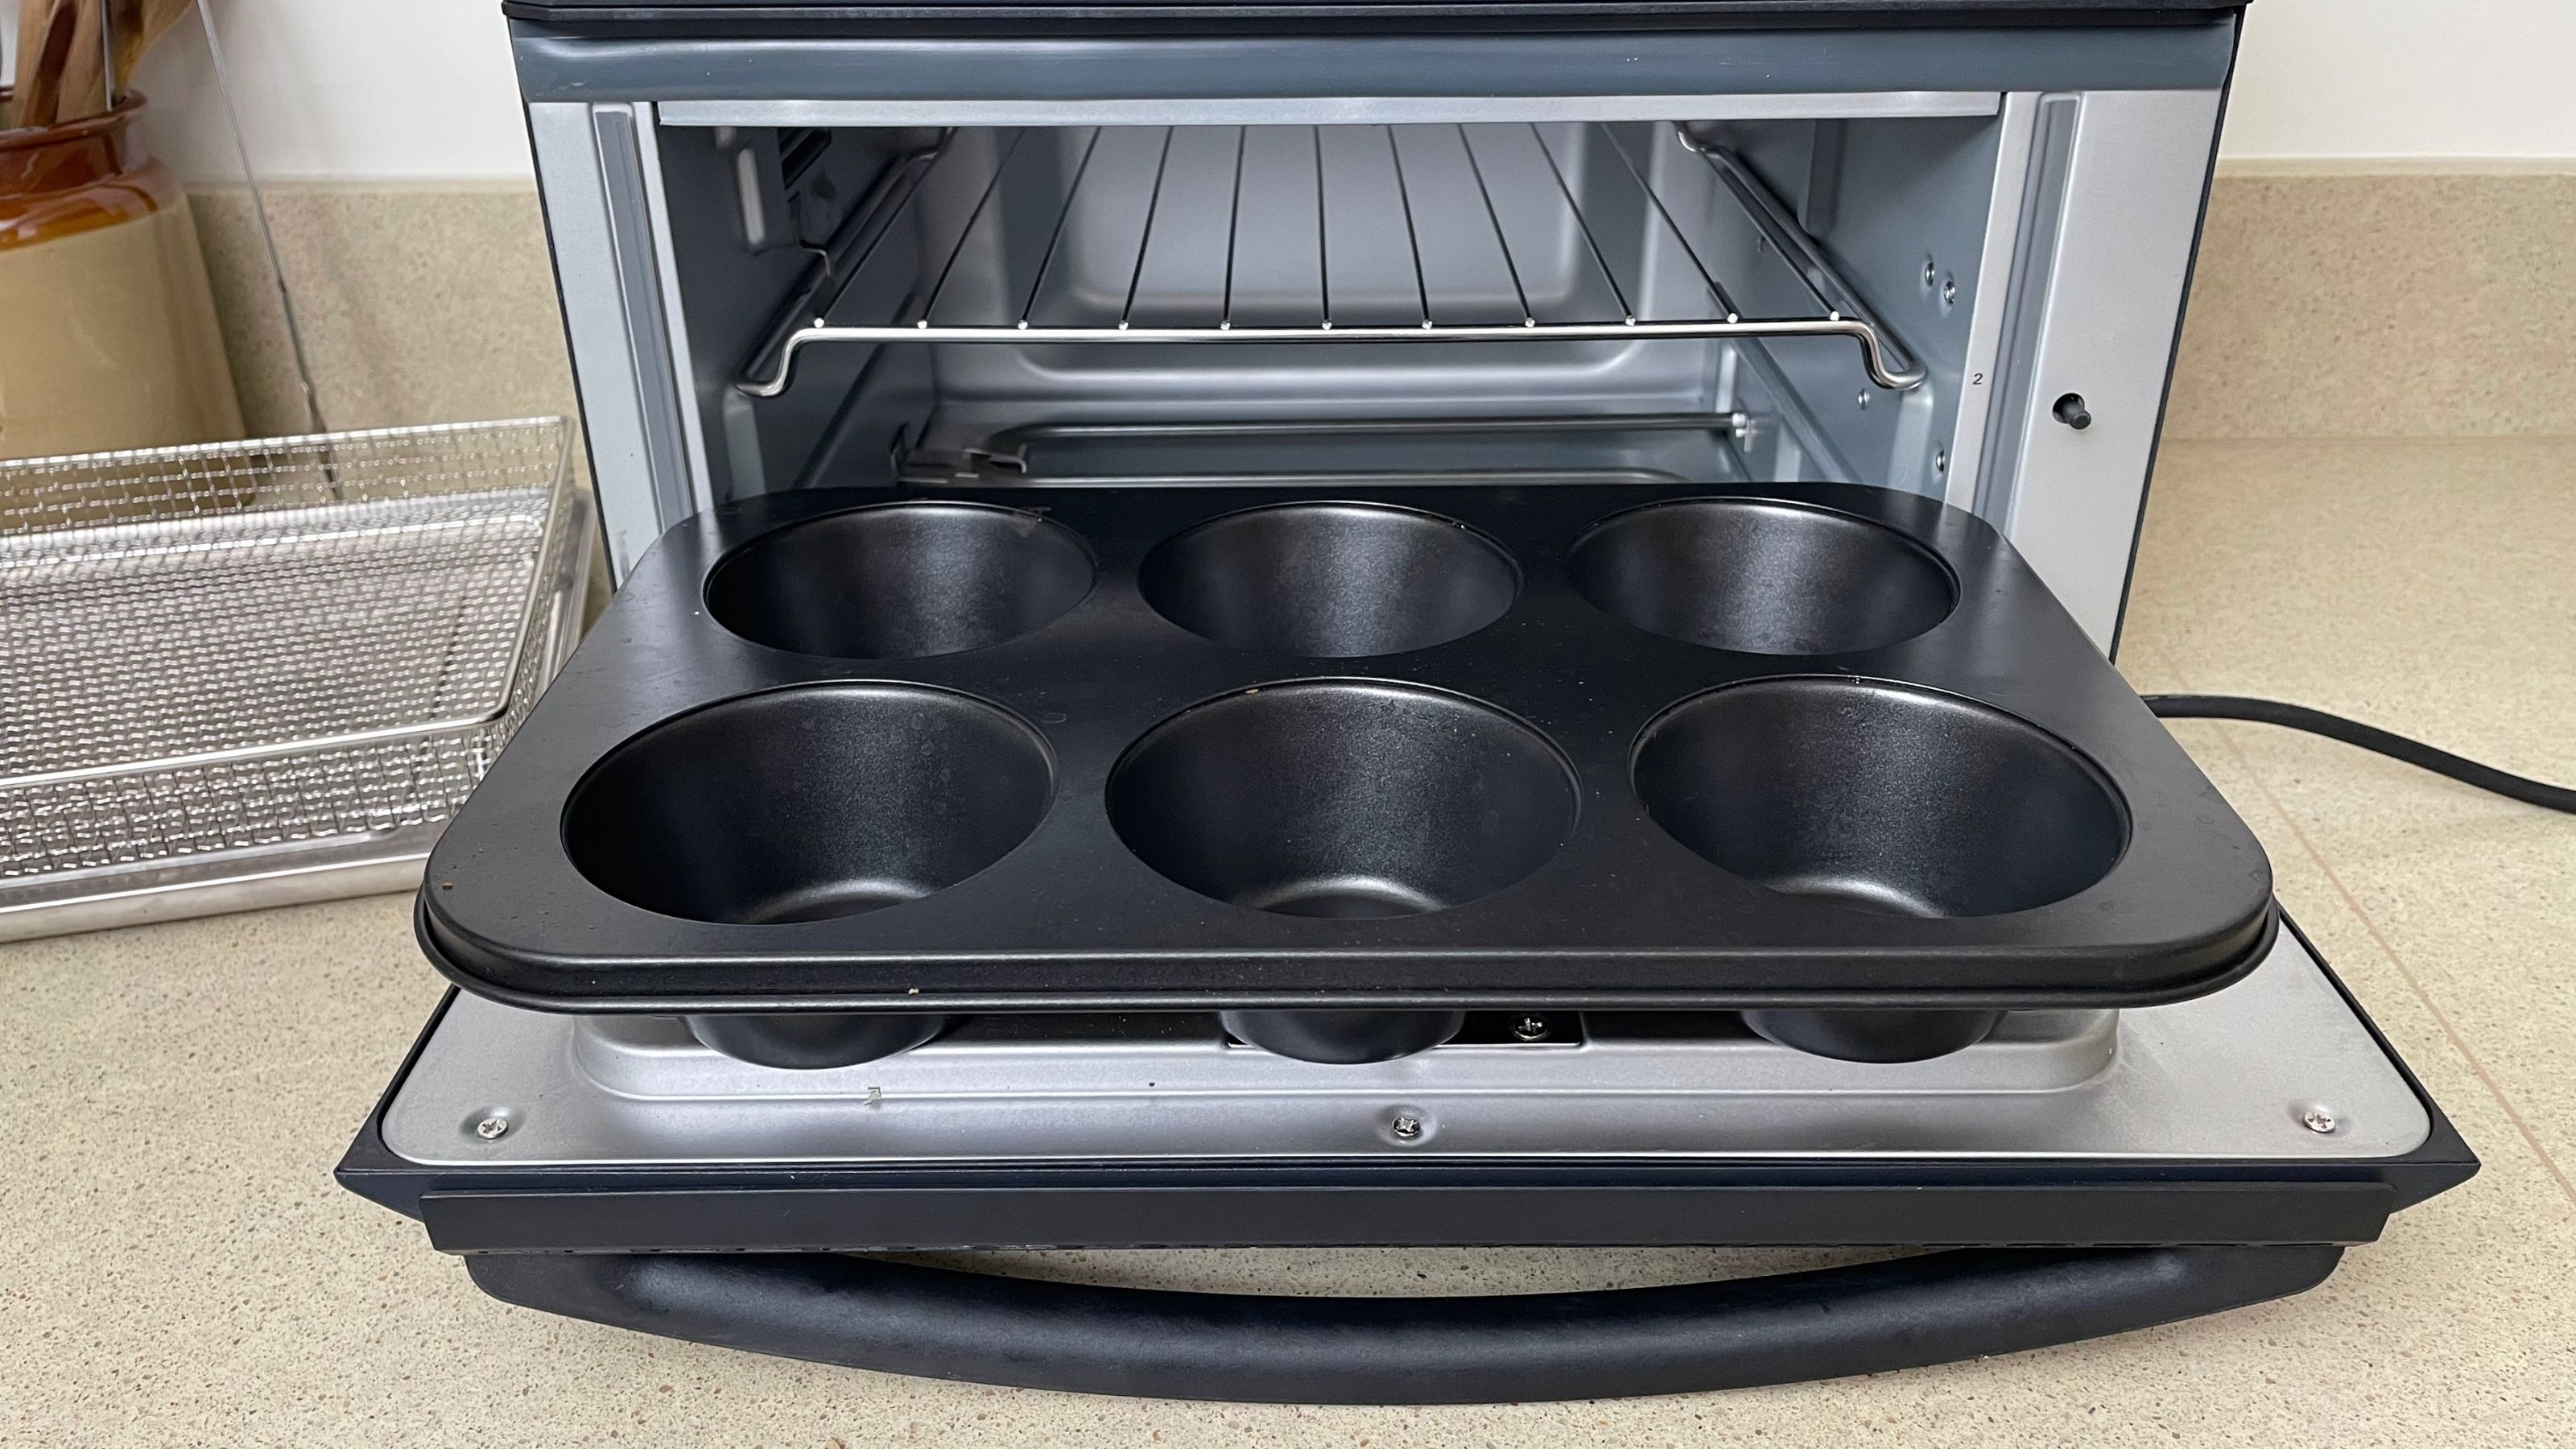
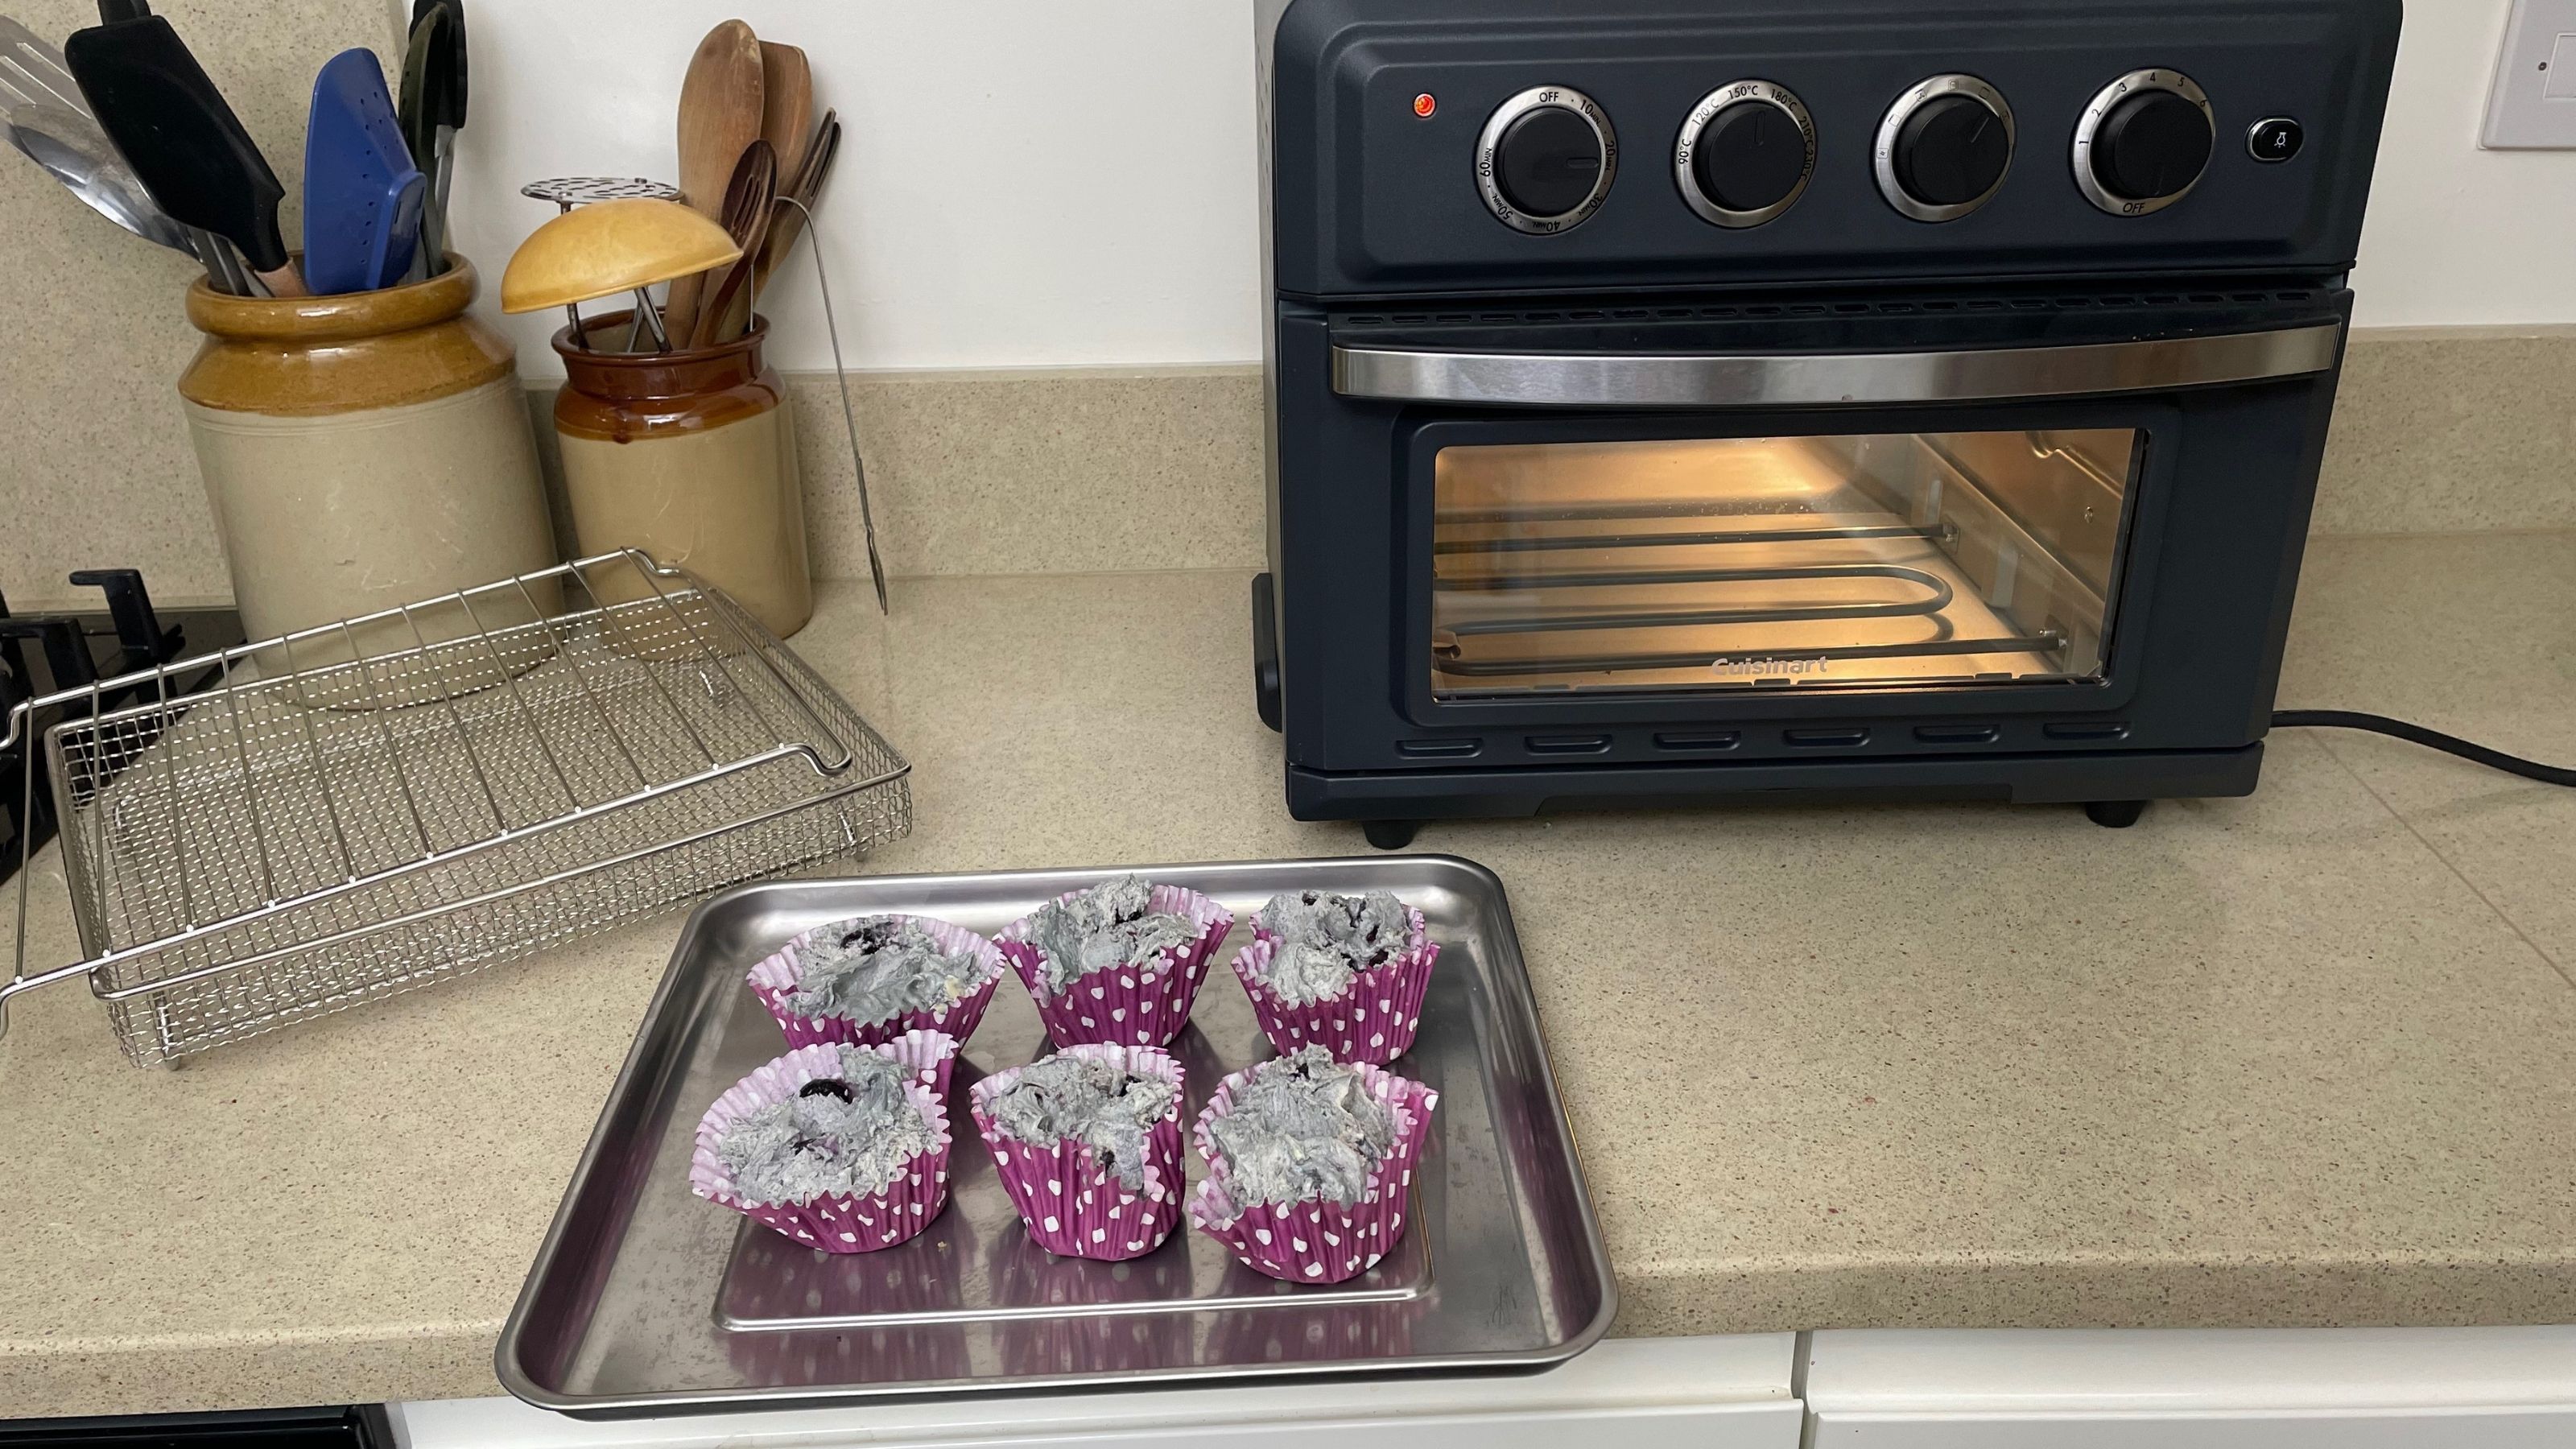
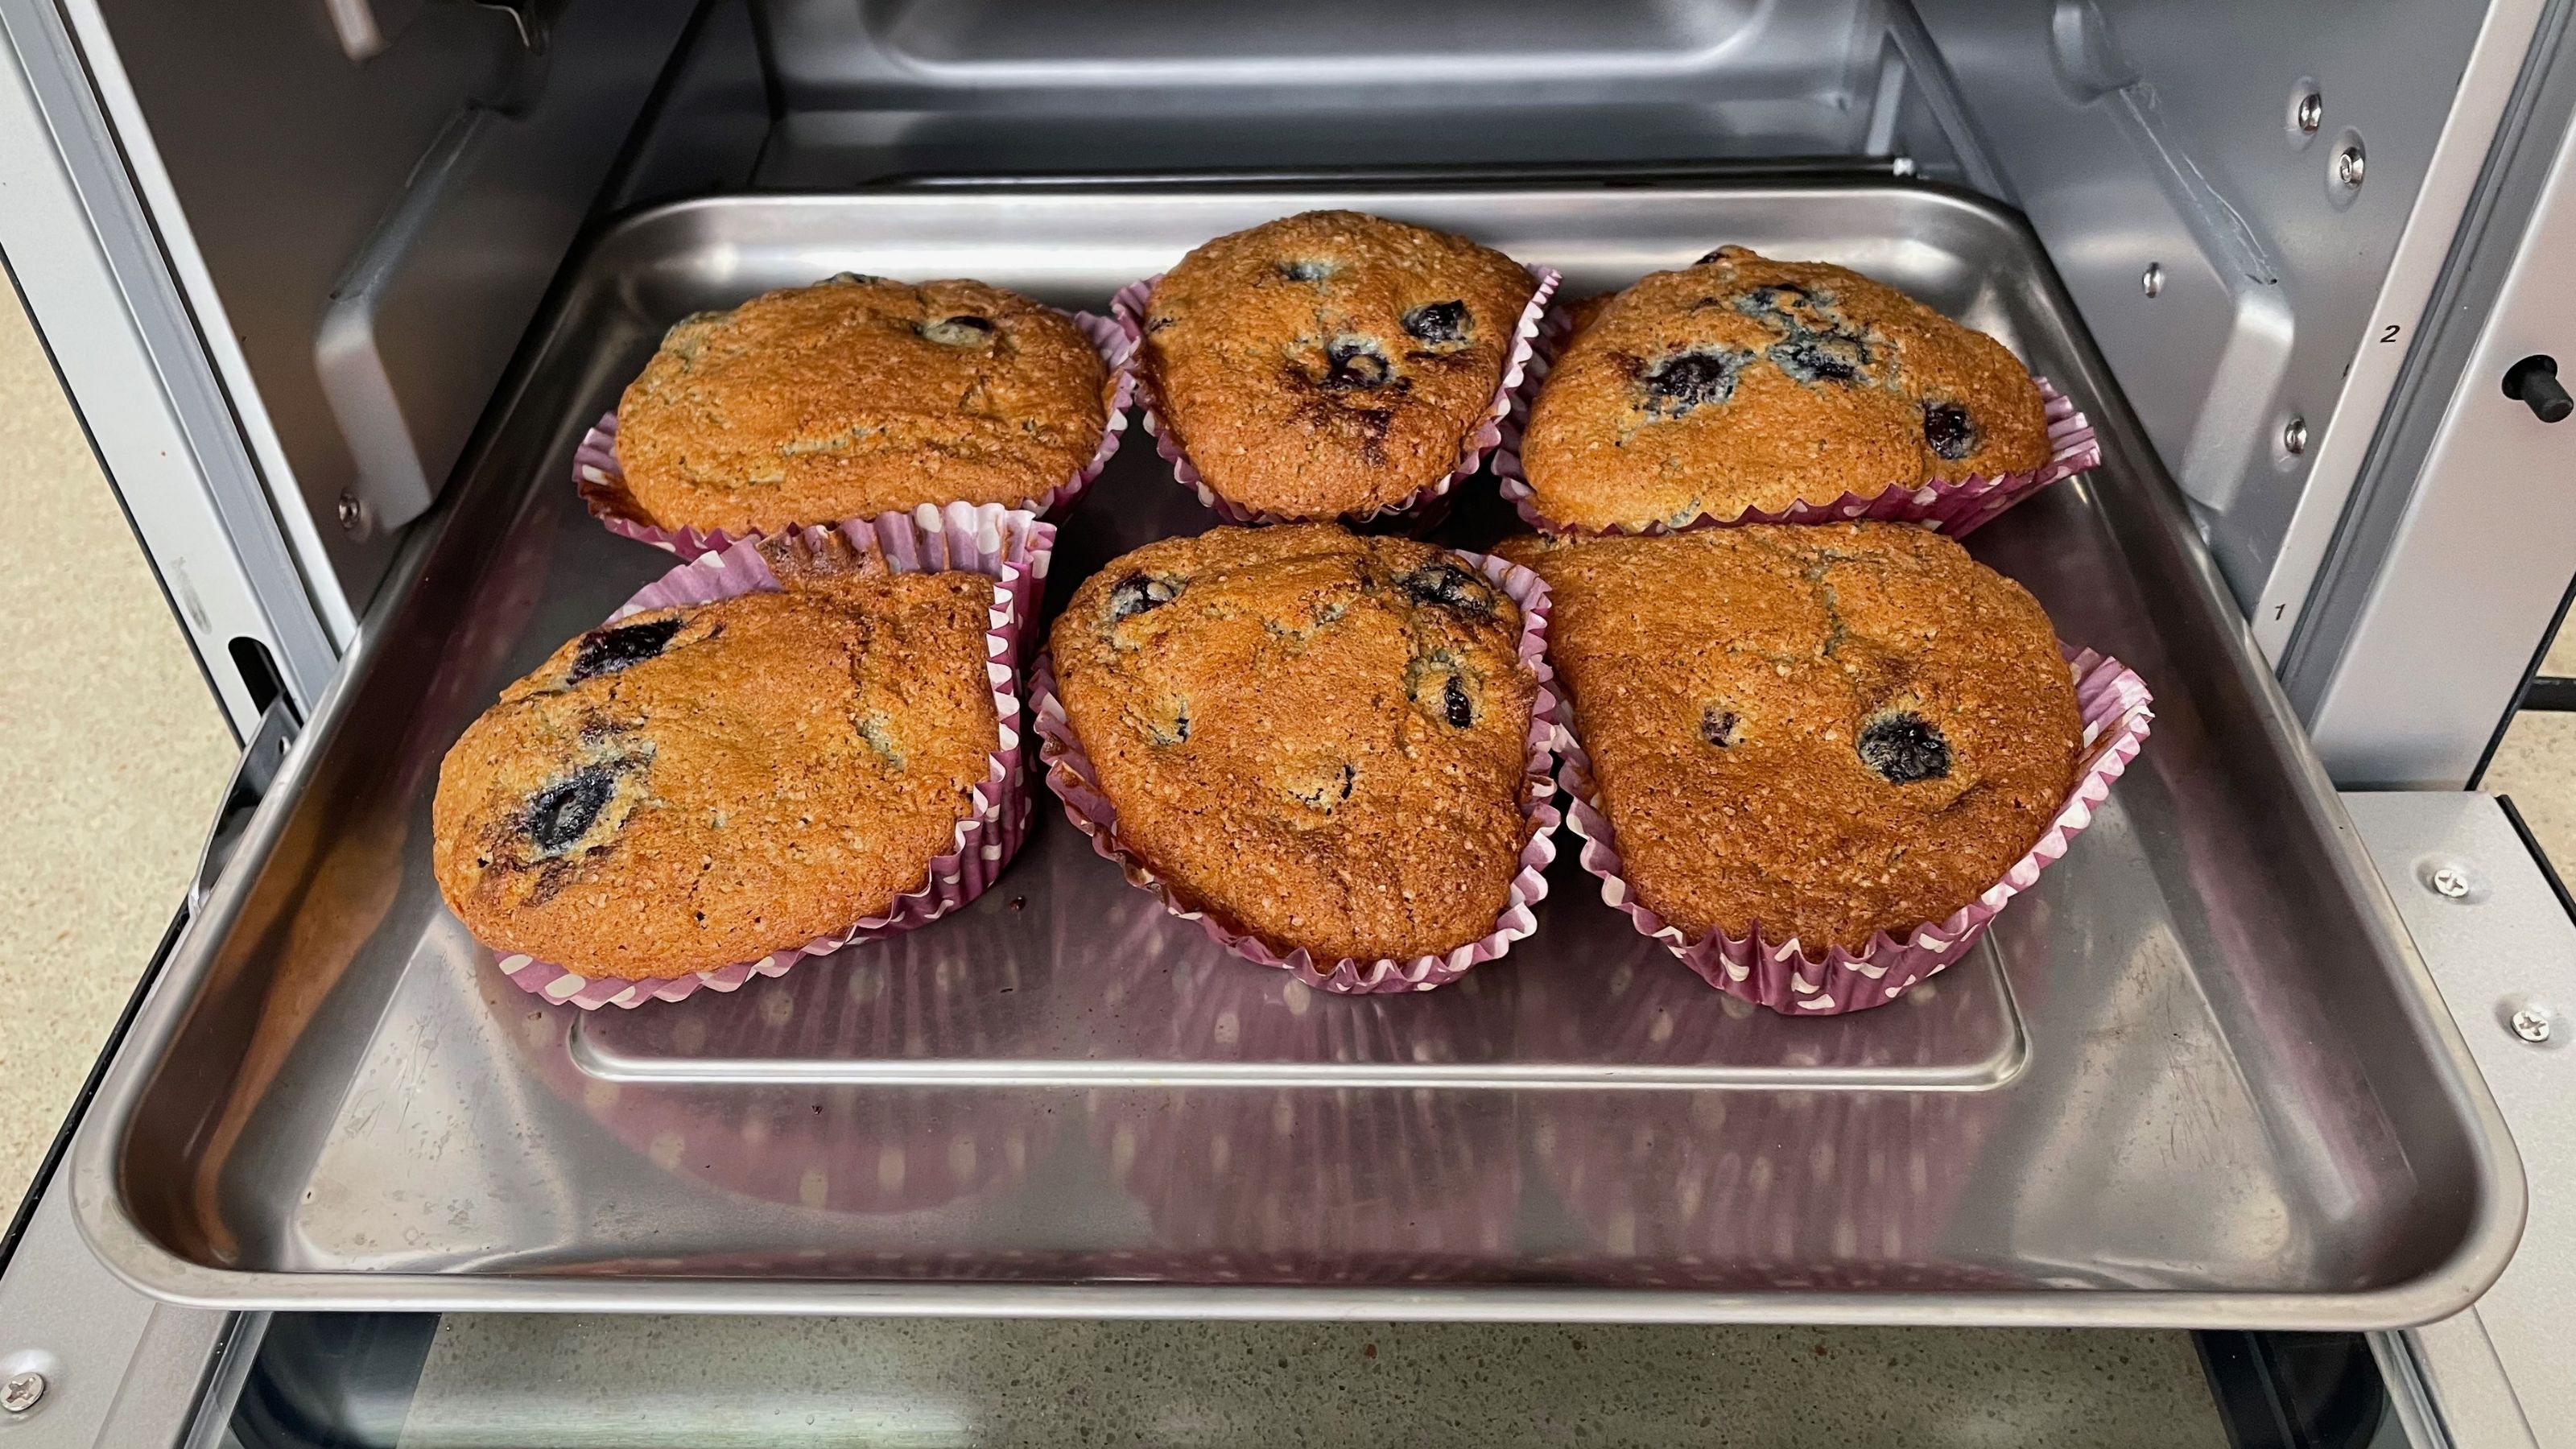
After drooling over several of the recipes included in the product manual, I landed on blueberry muffins – a classic. The recipe makes six muffins and as such advises using a six cup muffin tin. However, my six cup muffin tin didn’t fit into this toaster oven. But by this point I had all the ingredients out and my heart was set on blueberry muffins. So I mixed up the batter anyway and decided to split it between six paper muffin cases which I placed on the baking tray.
As directed, I preheated the oven for five minutes on the bake function, then put the muffins in and set the timer for 20 minutes. They weren’t quite done when the timer went off, so I added five more minutes. Now, as you can see in the picture, the paper cases were a bit too flimsy, so they aren’t the most muffin-y shaped muffins. But don’t let this fool you, they tasted amazing! They had the perfect moist, fluffy texture inside, with slightly crisp tops and I don’t mind telling you, I ate two in row. But maybe next time I’ll purchase a smaller muffin tin, so they come out more of a muffin shape and look a bit more appealing.
I also used the bake setting to bake up a small batch of my favorite granola recipe. In my normal oven it takes 20 minutes to bake with a stir halfway through, plus there’s the ten minutes or so that the oven takes to preheat. However, I didn’t preheat the Cuisinart and noticed after 6 ½ minutes that the top of the granola was browning and needed a stir. Then it only took an additional 5 ½ minutes. That’s a pretty impressive eight minute reduction in cook time compared to my normal oven, but the drawback is only being able to bake up small batches.
Cooking pizza
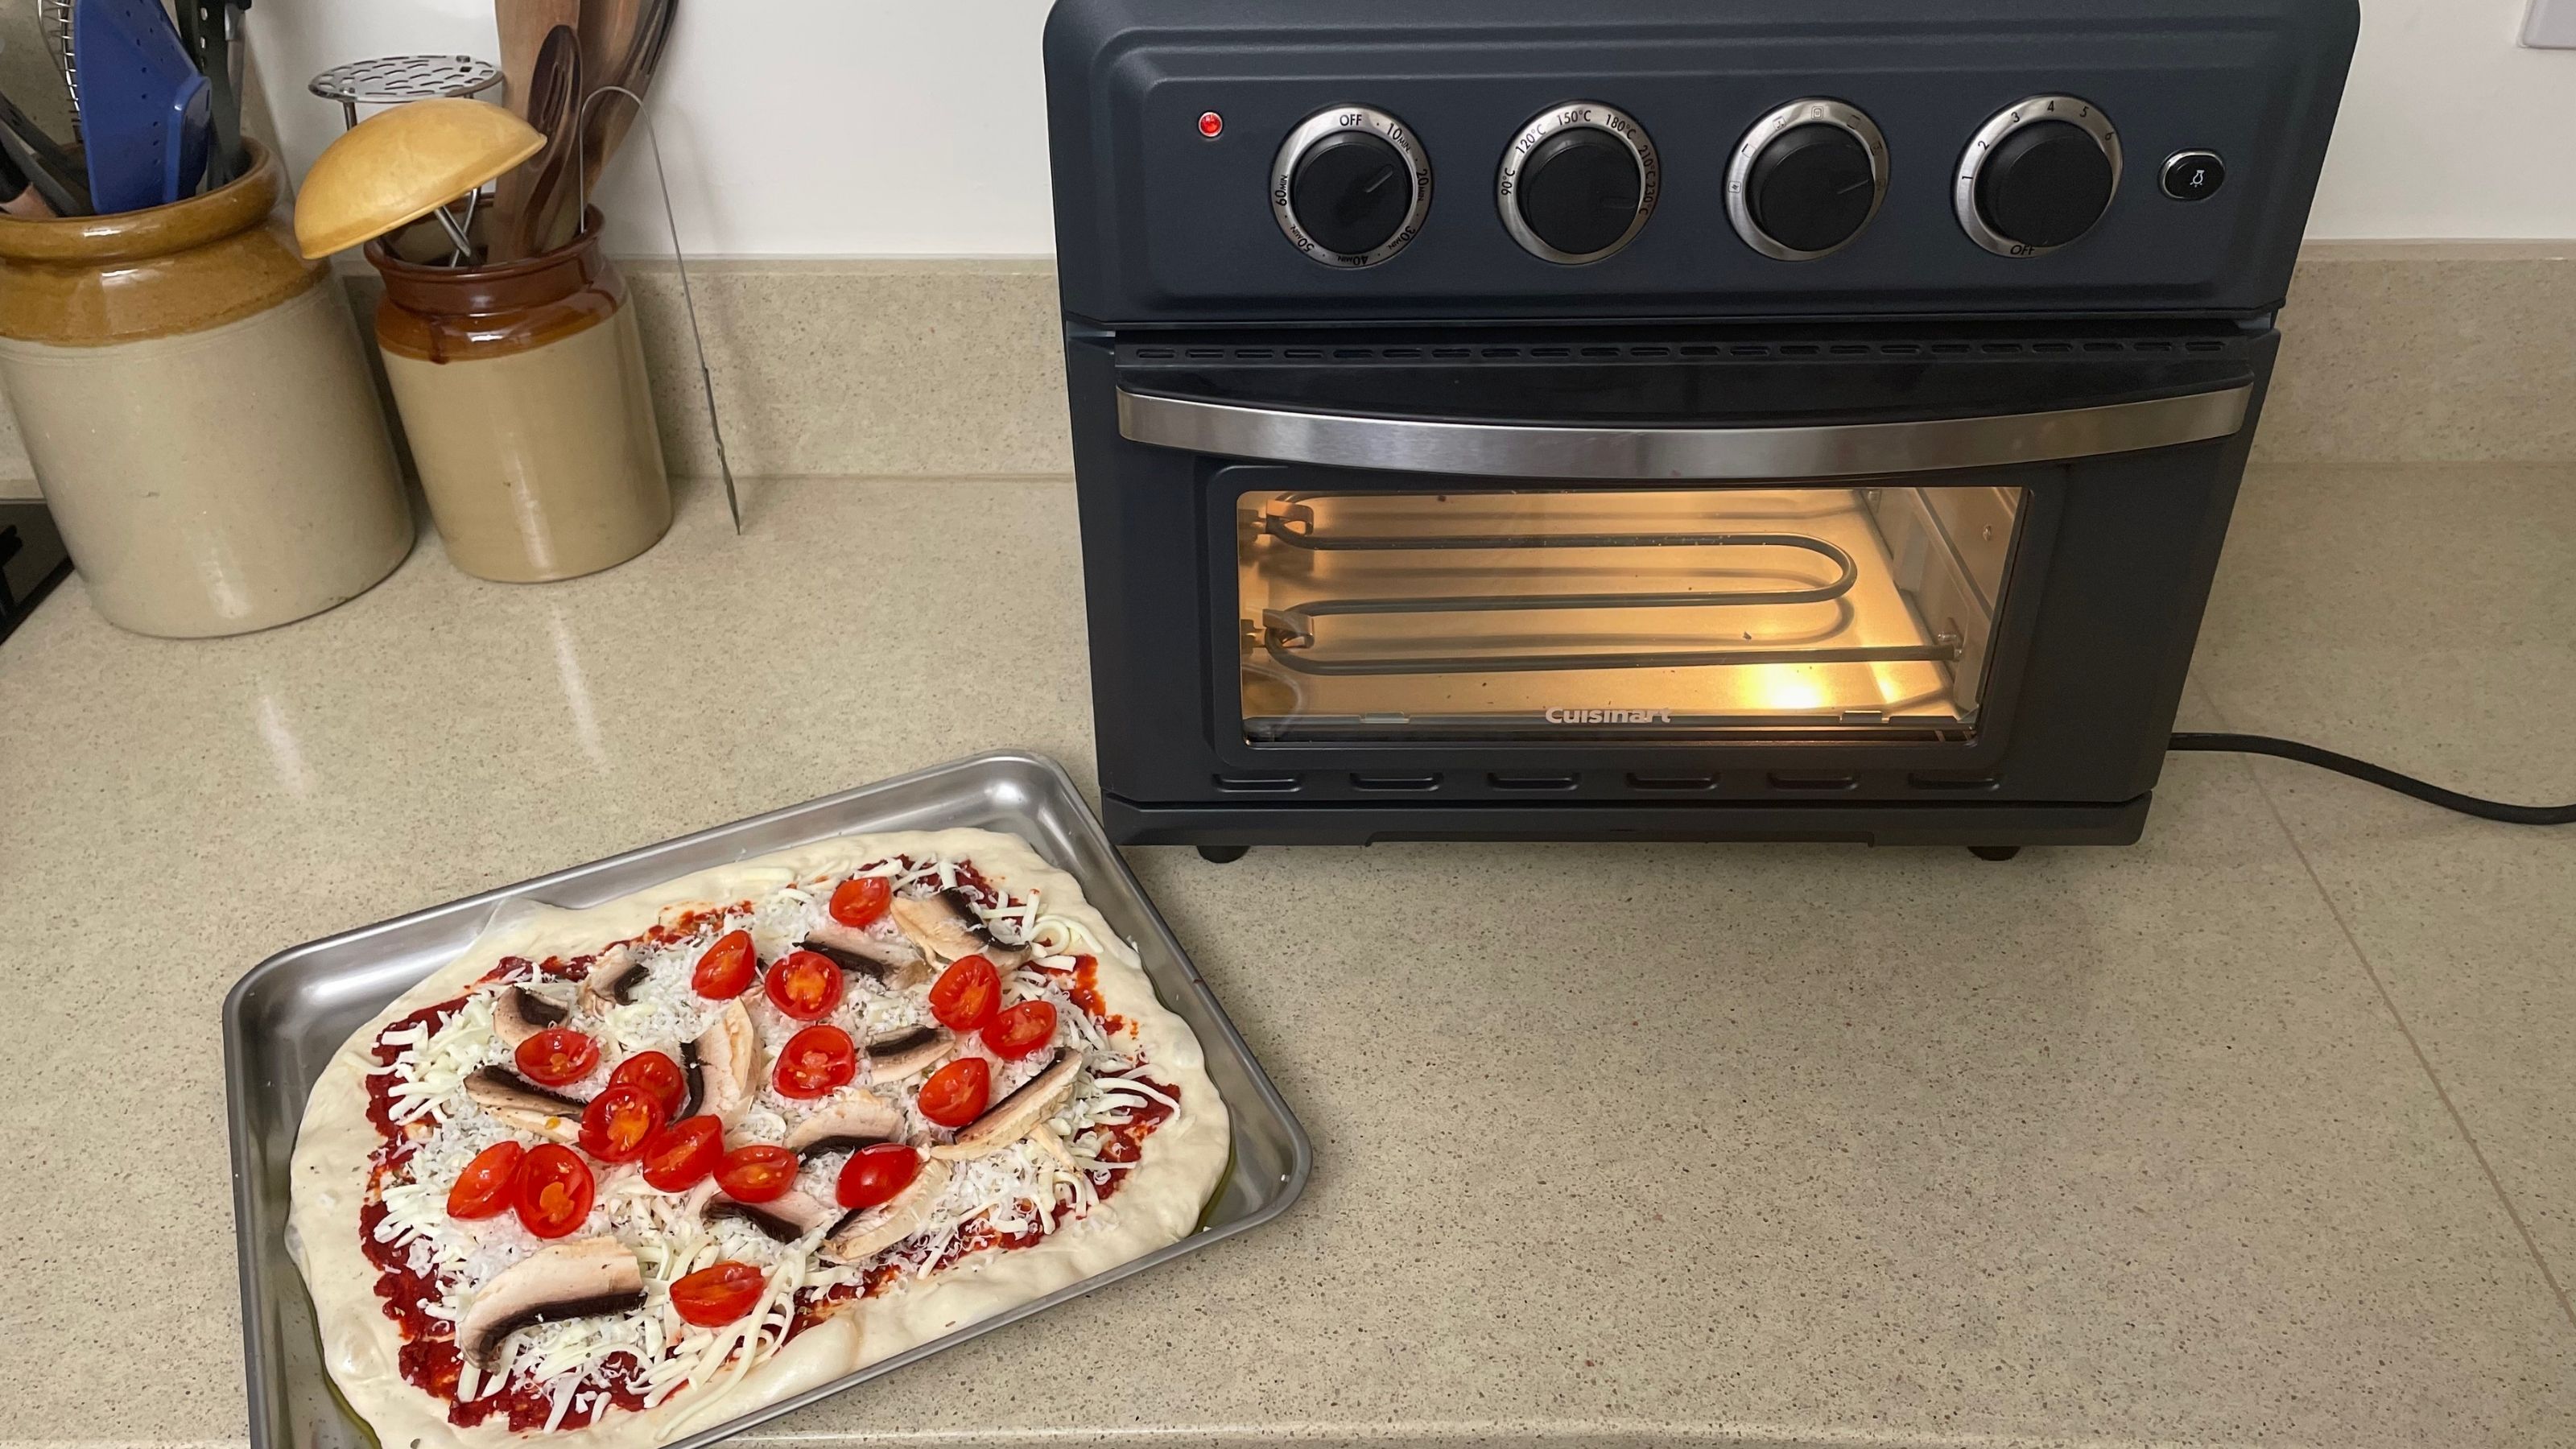
To make pizza I loosely followed the recipe for Pizza Margherita in the instruction manual but tweaked the toppings to suit what I had available in my fridge. As advised in the recipe, I set the toaster oven to convection bake and preheated for 15 minutes.
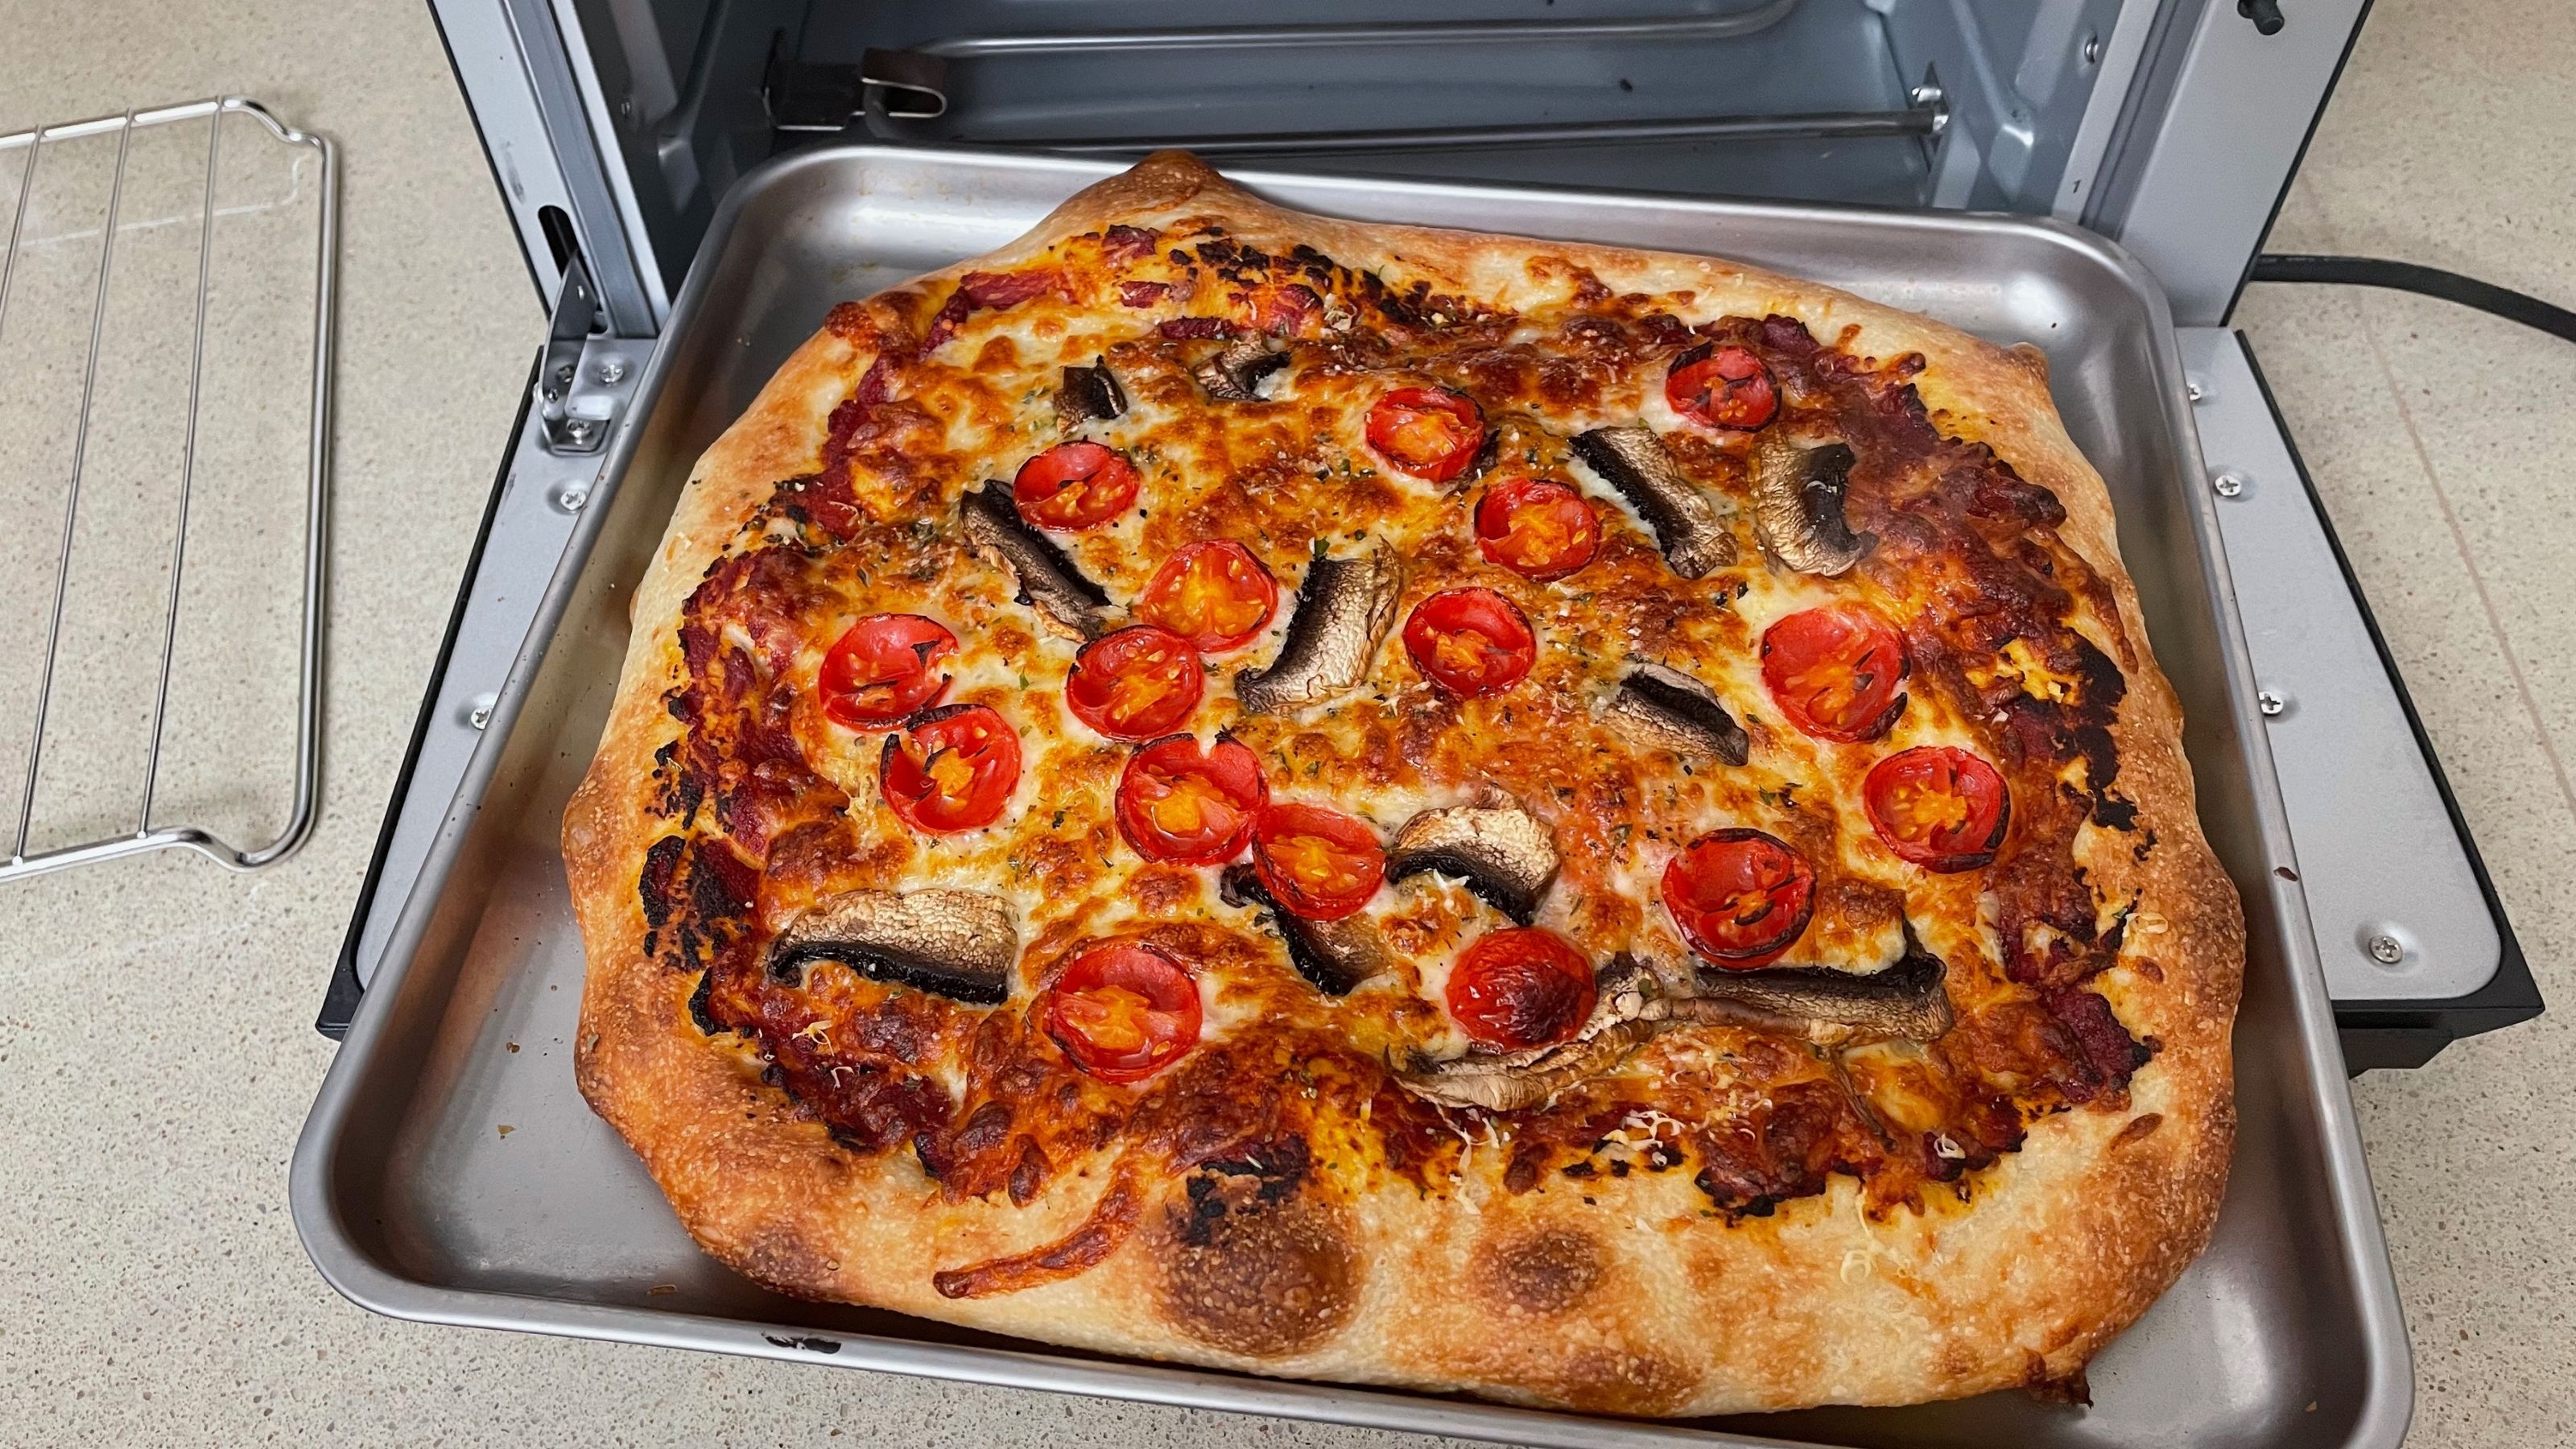
I made the pizza directly on the baking tray, making sure it was well oiled, pushing the dough right up to the edges of the tray. The pizza was cooked in just eight minutes, with a light and airy base, crisp crust, and golden cheese.
On the underside, the base was very crisp around the edges of the pan where most of the oil had settled, but that said, it wasn’t soft or soggy in the middle, just lightly crisped. There is a pizza stone accessory you can purchase separately if you intend to make a lot of pizzas and want a better result. All in all though, this was a delicious pizza and I was very happy with the result.
Roasting chicken
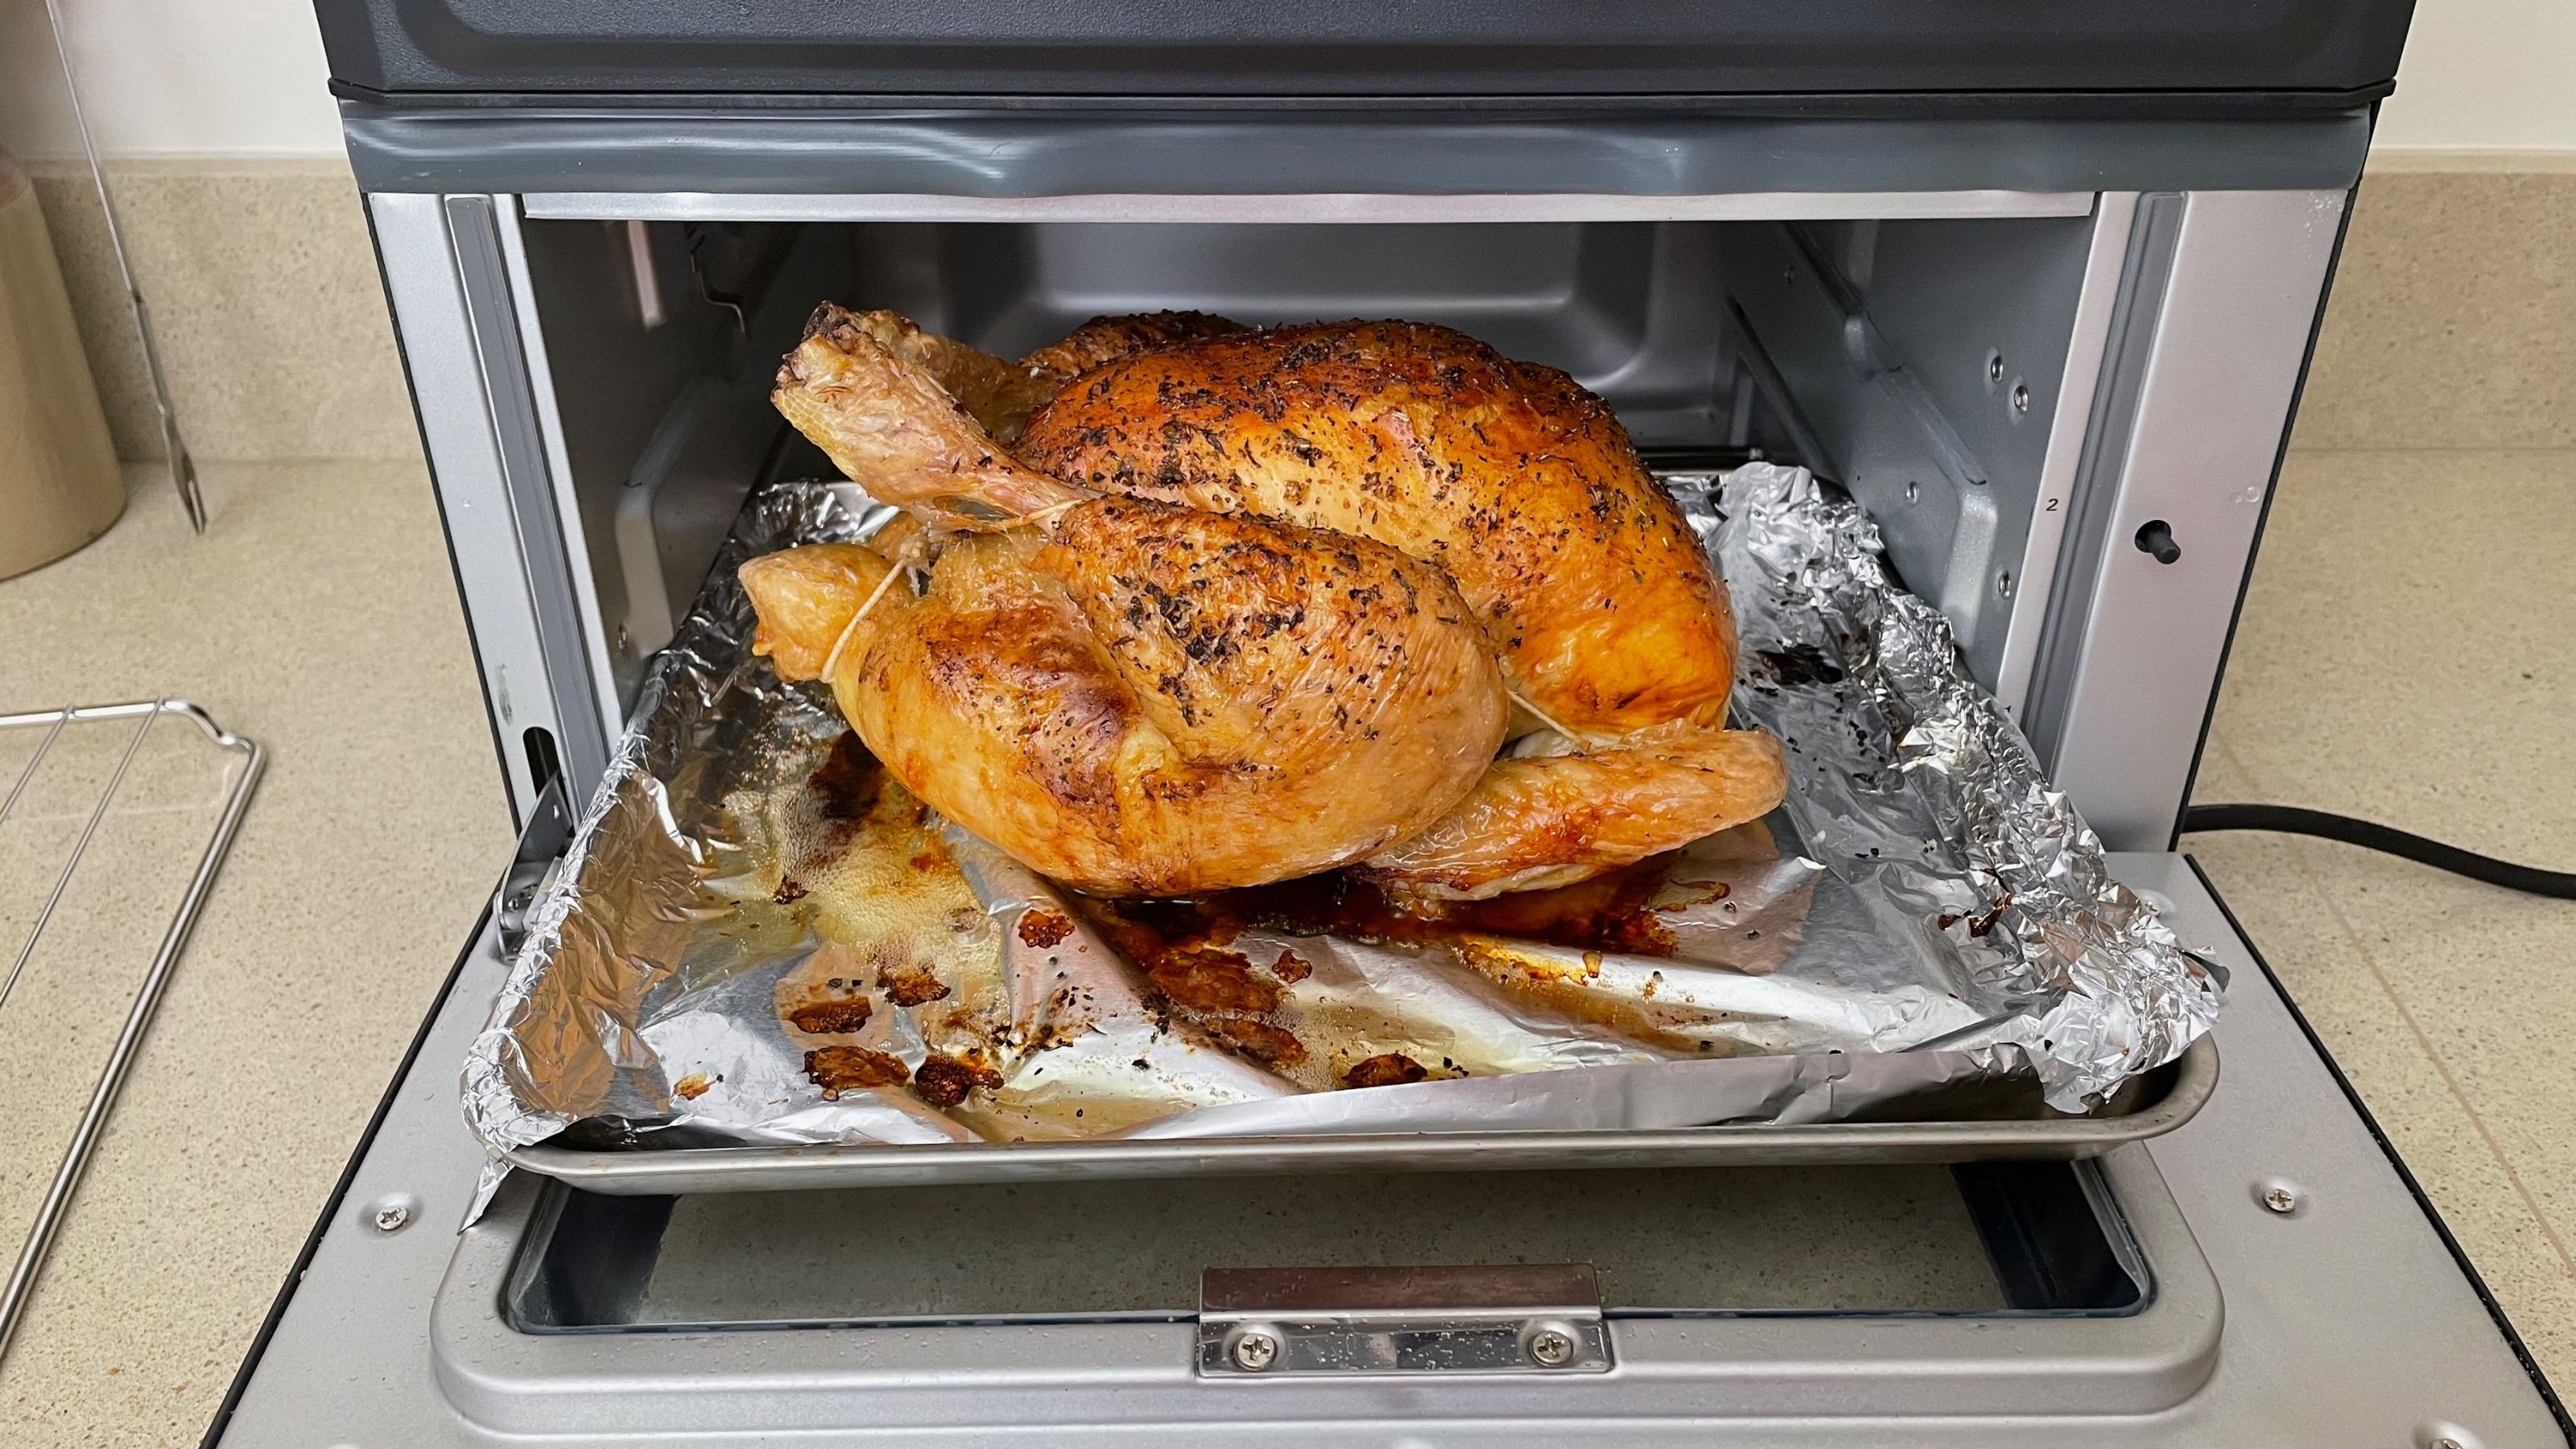
I followed the recipe in the instruction manual for classic roast chicken. I was skeptical about the 45 minute cook time, as my chicken packaging advised almost two hours in a normal oven for a 4lb chicken. Nevertheless, I stuck to the recipe and cooked it on convection bake without preheating for 25 minutes at 400oF, turning it down to 350oF for the final 20 minutes.
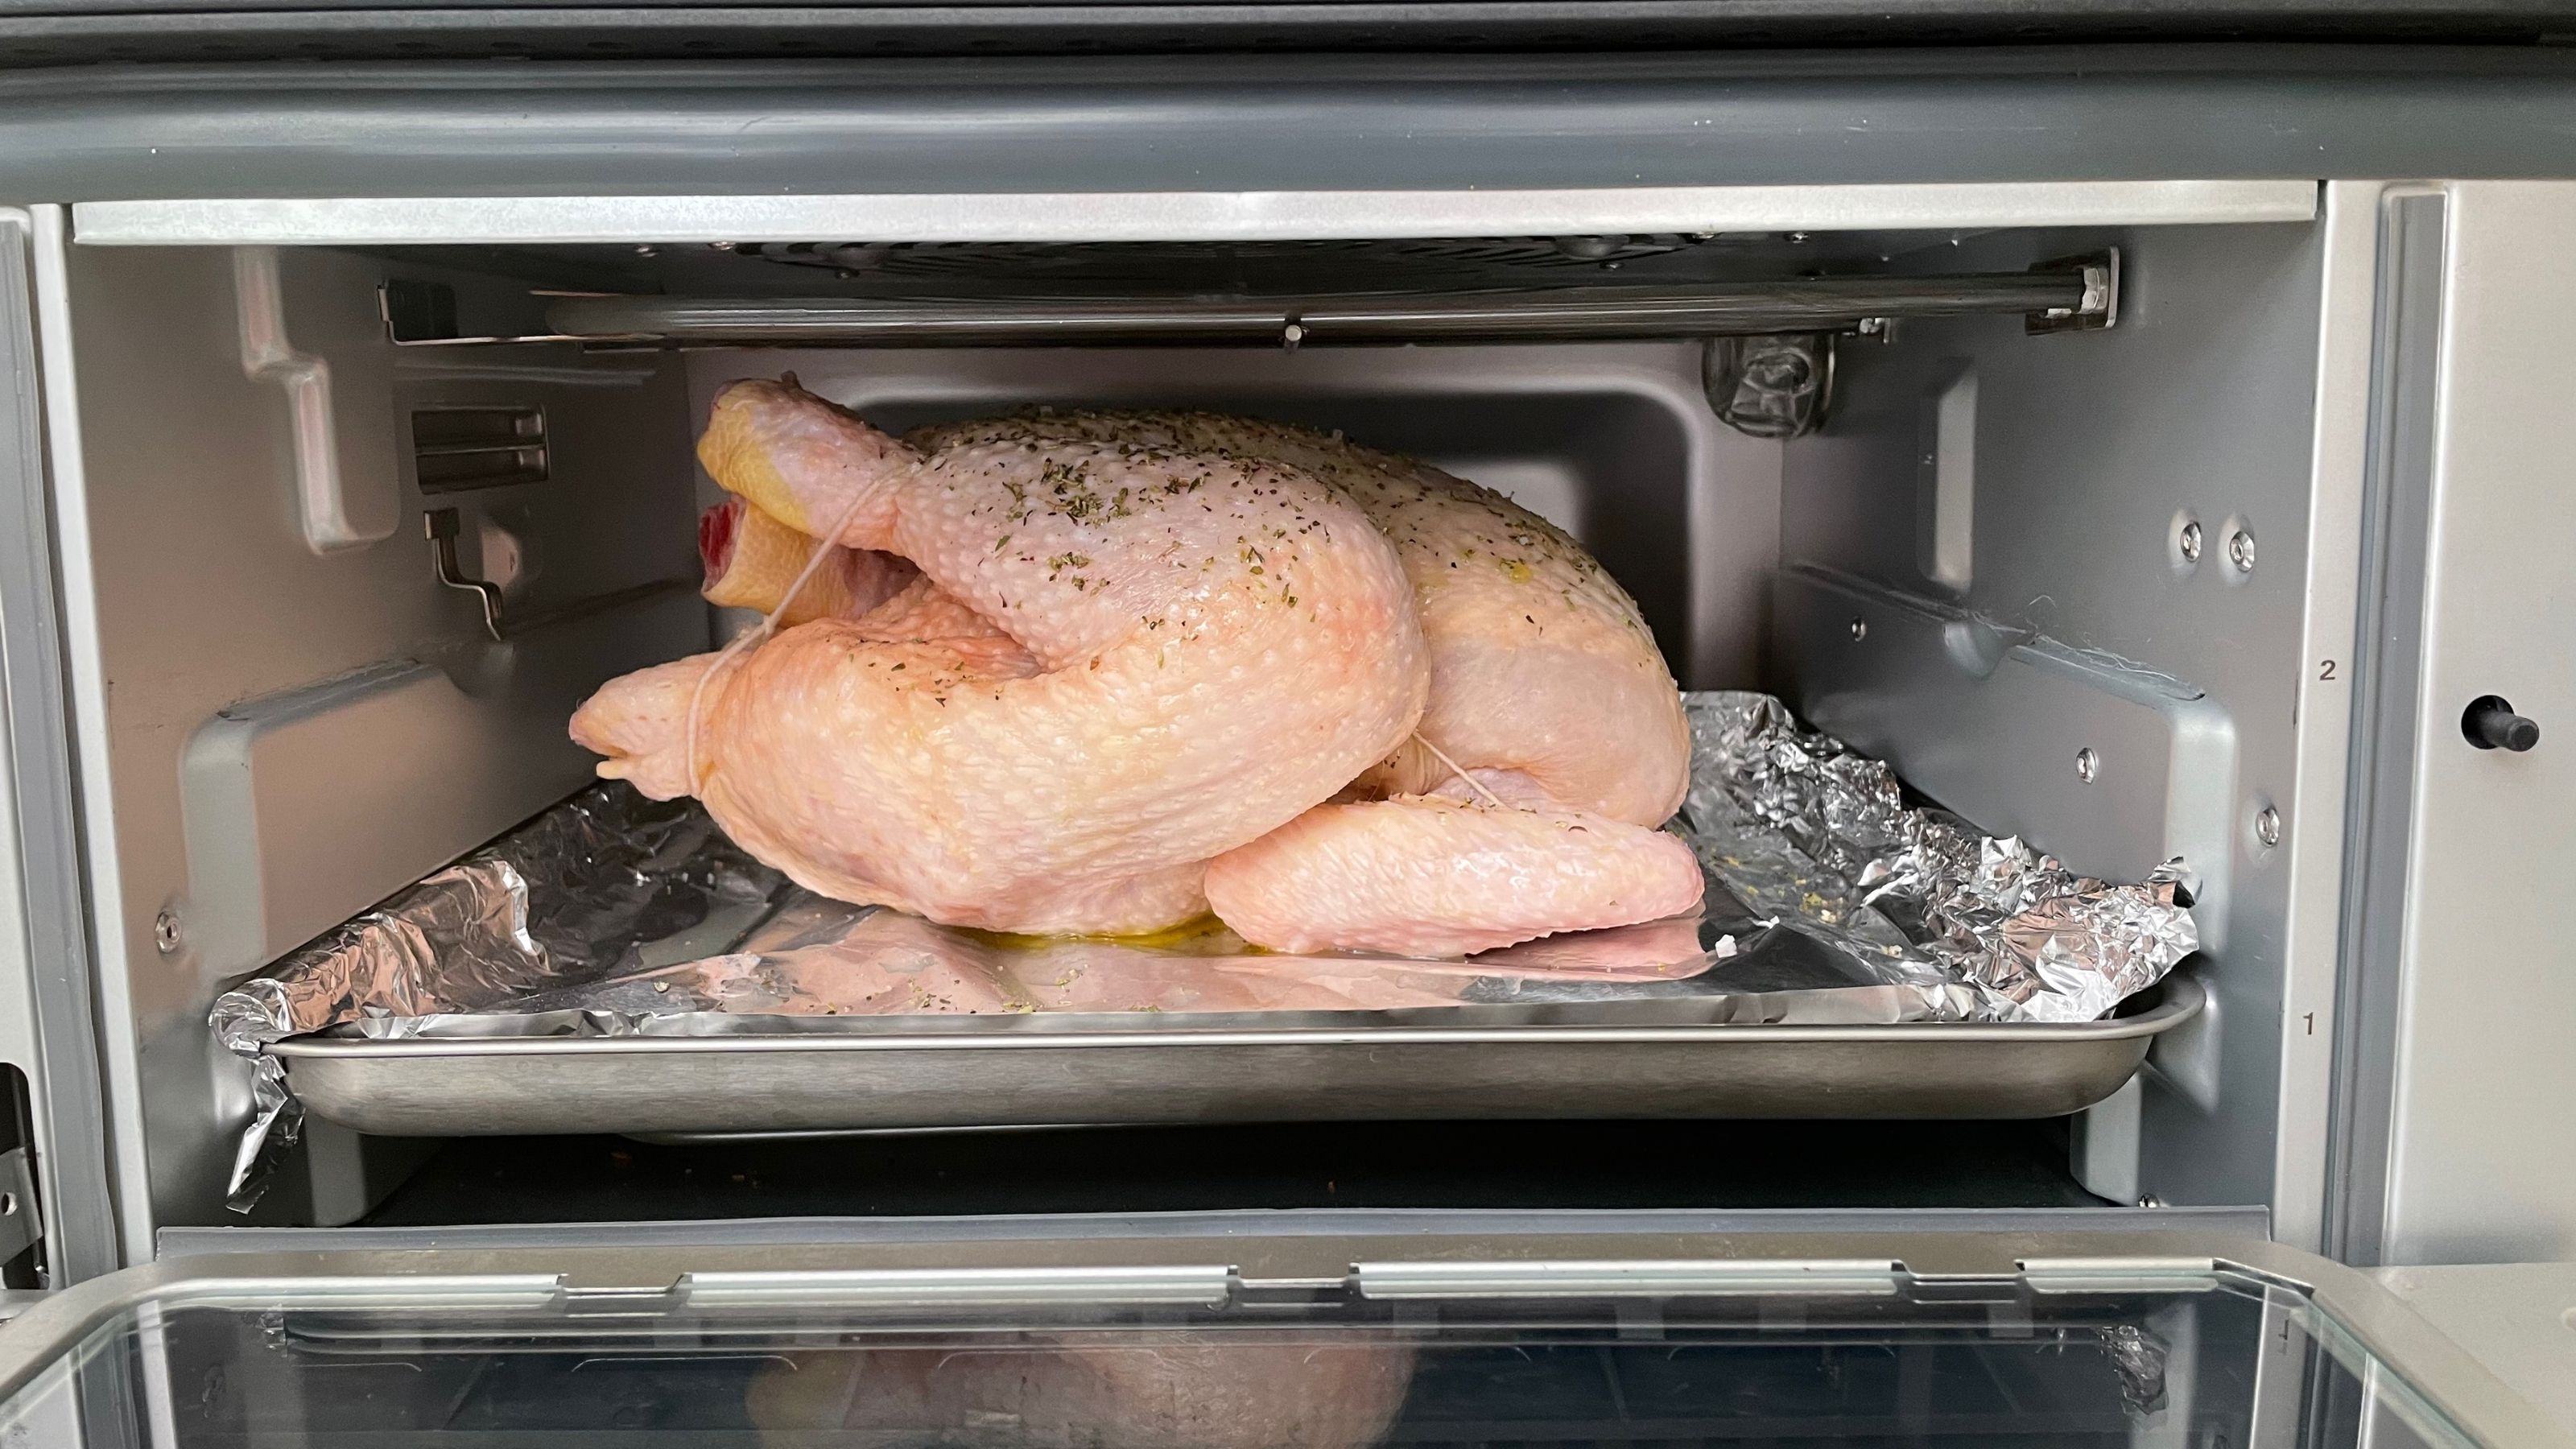
At the end of cooking the chicken was golden brown with a beautifully crisped skin and my meat probe confirmed it was thoroughly cooked through. The meat was moist, tender and succulent – a terrific result given the short cooking time.
Broiling sausages
I used the broil (rather than convection broil) setting and added sausages to the air fry basket so that excess fat would drip out into the tray below. It got off to a slow start and they took 10 minutes to brown, then I turned them and after only five more minutes they were browned all over and cooked right through. Browning was a little patchy but inside the sausages were moist and meaty. I think next time, I’d try the convection broil function for a faster cook, though I wasn’t unhappy with the result.

Cleaning
One of the most annoying features of the Cuisinart Air Fryer Toaster Oven is that the accessories must all be hand washed. Considering they’re the perfect size to fit in a dishwasher, it seems crazy to me that Cuisinart didn’t make them dishwasher friendly. And in the absence of being able to clean them in the dishwasher, it would have been nice if they were non-stick.
So at times, cleaning does require a bit of elbow grease and the air fry basket mesh can be fiddly to clean, I’d recommend a brush for this. On the plus side, here’s a handy removable crumb tray that pulls out of the front making it easy to remove crumbs from beneath the element. Generally, the rest of the inside of the oven just requires a quick wipe with a damp cloth to remove any splatters.
Should you buy the Cuisinart Air Fryer Toaster Oven?
With such hit and miss results, my feelings are mixed. The size means it’s ideal for 1-2 person households, and if you often heat up a whole oven just for small portions, using this instead will definitely save time as well as energy and therefore money too.
Performance wise, the air fryer function doesn’t stack up against standalone air fryers. However, I was impressed with the bake and convection bake functions which are very speedy compared to my standard oven and do, I think, compensate for the air fryer performance. The toasting was fine, but you’ll need to turn toast for best results.
Depending on what you intend to use it for, it’s a great little countertop oven and broiler. But if you primarily want an air fryer, or you need a big capacity toaster oven, I’d say look at other options.
About this review, and our reviewer
Helen McCue is a freelance contributor who trained as a home economist. After starting her career in the food industry, she moved into home appliance reviews, utilising her cooking skills and experience to put all kinds of products to the test, and over the years has reviewed hundreds of home and kitchen appliances for a variety of publications.
Having completely renovated her current house, Helen reviews kitchen appliances from her open-plan kitchen at home in a beautiful Berkshire village. When she’s not working, Helen can be found enjoying the local countryside or dreaming about her next house renovation project.
Helen McCue is a freelance contributor who trained as a Home Economist. After starting her career in the food industry, she moved into home appliance reviews, utilising her cooking skills and experience to put all kinds of products to the test, and over the years has reviewed hundreds of home and kitchen appliances for a variety of publications.
Having completely renovated her current house, Helen reviews kitchen appliances from her open plan kitchen at home in a beautiful Berkshire village. When she’s not working, Helen can be found enjoying the local countryside or dreaming about her next house renovation project.