These simple DIY lighting ideas can elevate your home in an afternoon
From bespoke bedside lamps to subtle hidden lighting, these DIY projects can transform your home in no time at all.

Design expertise in your inbox – from inspiring decorating ideas and beautiful celebrity homes to practical gardening advice and shopping round-ups.
You are now subscribed
Your newsletter sign-up was successful
Want to add more newsletters?

Twice a week
Homes&Gardens
The ultimate interior design resource from the world's leading experts - discover inspiring decorating ideas, color scheming know-how, garden inspiration and shopping expertise.

Once a week
In The Loop from Next In Design
Members of the Next in Design Circle will receive In the Loop, our weekly email filled with trade news, names to know and spotlight moments. Together we’re building a brighter design future.

Twice a week
Cucina
Whether you’re passionate about hosting exquisite dinners, experimenting with culinary trends, or perfecting your kitchen's design with timeless elegance and innovative functionality, this newsletter is here to inspire
Never underestimate the importance of lighting when it comes to setting the tone in your home. A statement pendant light will add instant impact to any space and the right task lighting can make all the difference in meeting your important deadlines.
Thankfully, you don't have to invest in an oversized chandelier to get your home lighting ideas right. There are plenty of simple and affordable DIY projects that can be completed in an afternoon to transform your space for the better.
From bespoke fabric lampshades to designer switch plates, I'm sharing my favorite DIY lighting ideas that anyone can recreate at home.
DIY lighting ideas to transform your home
The majority of the DIY lighting ideas I share below require no prior expertize to get right. However, whenever you are faced with electrical projects that you are not confident tackling alone, I always recommend enlisting the help of an expert.
1. Use stylish strip lighting to enhance features
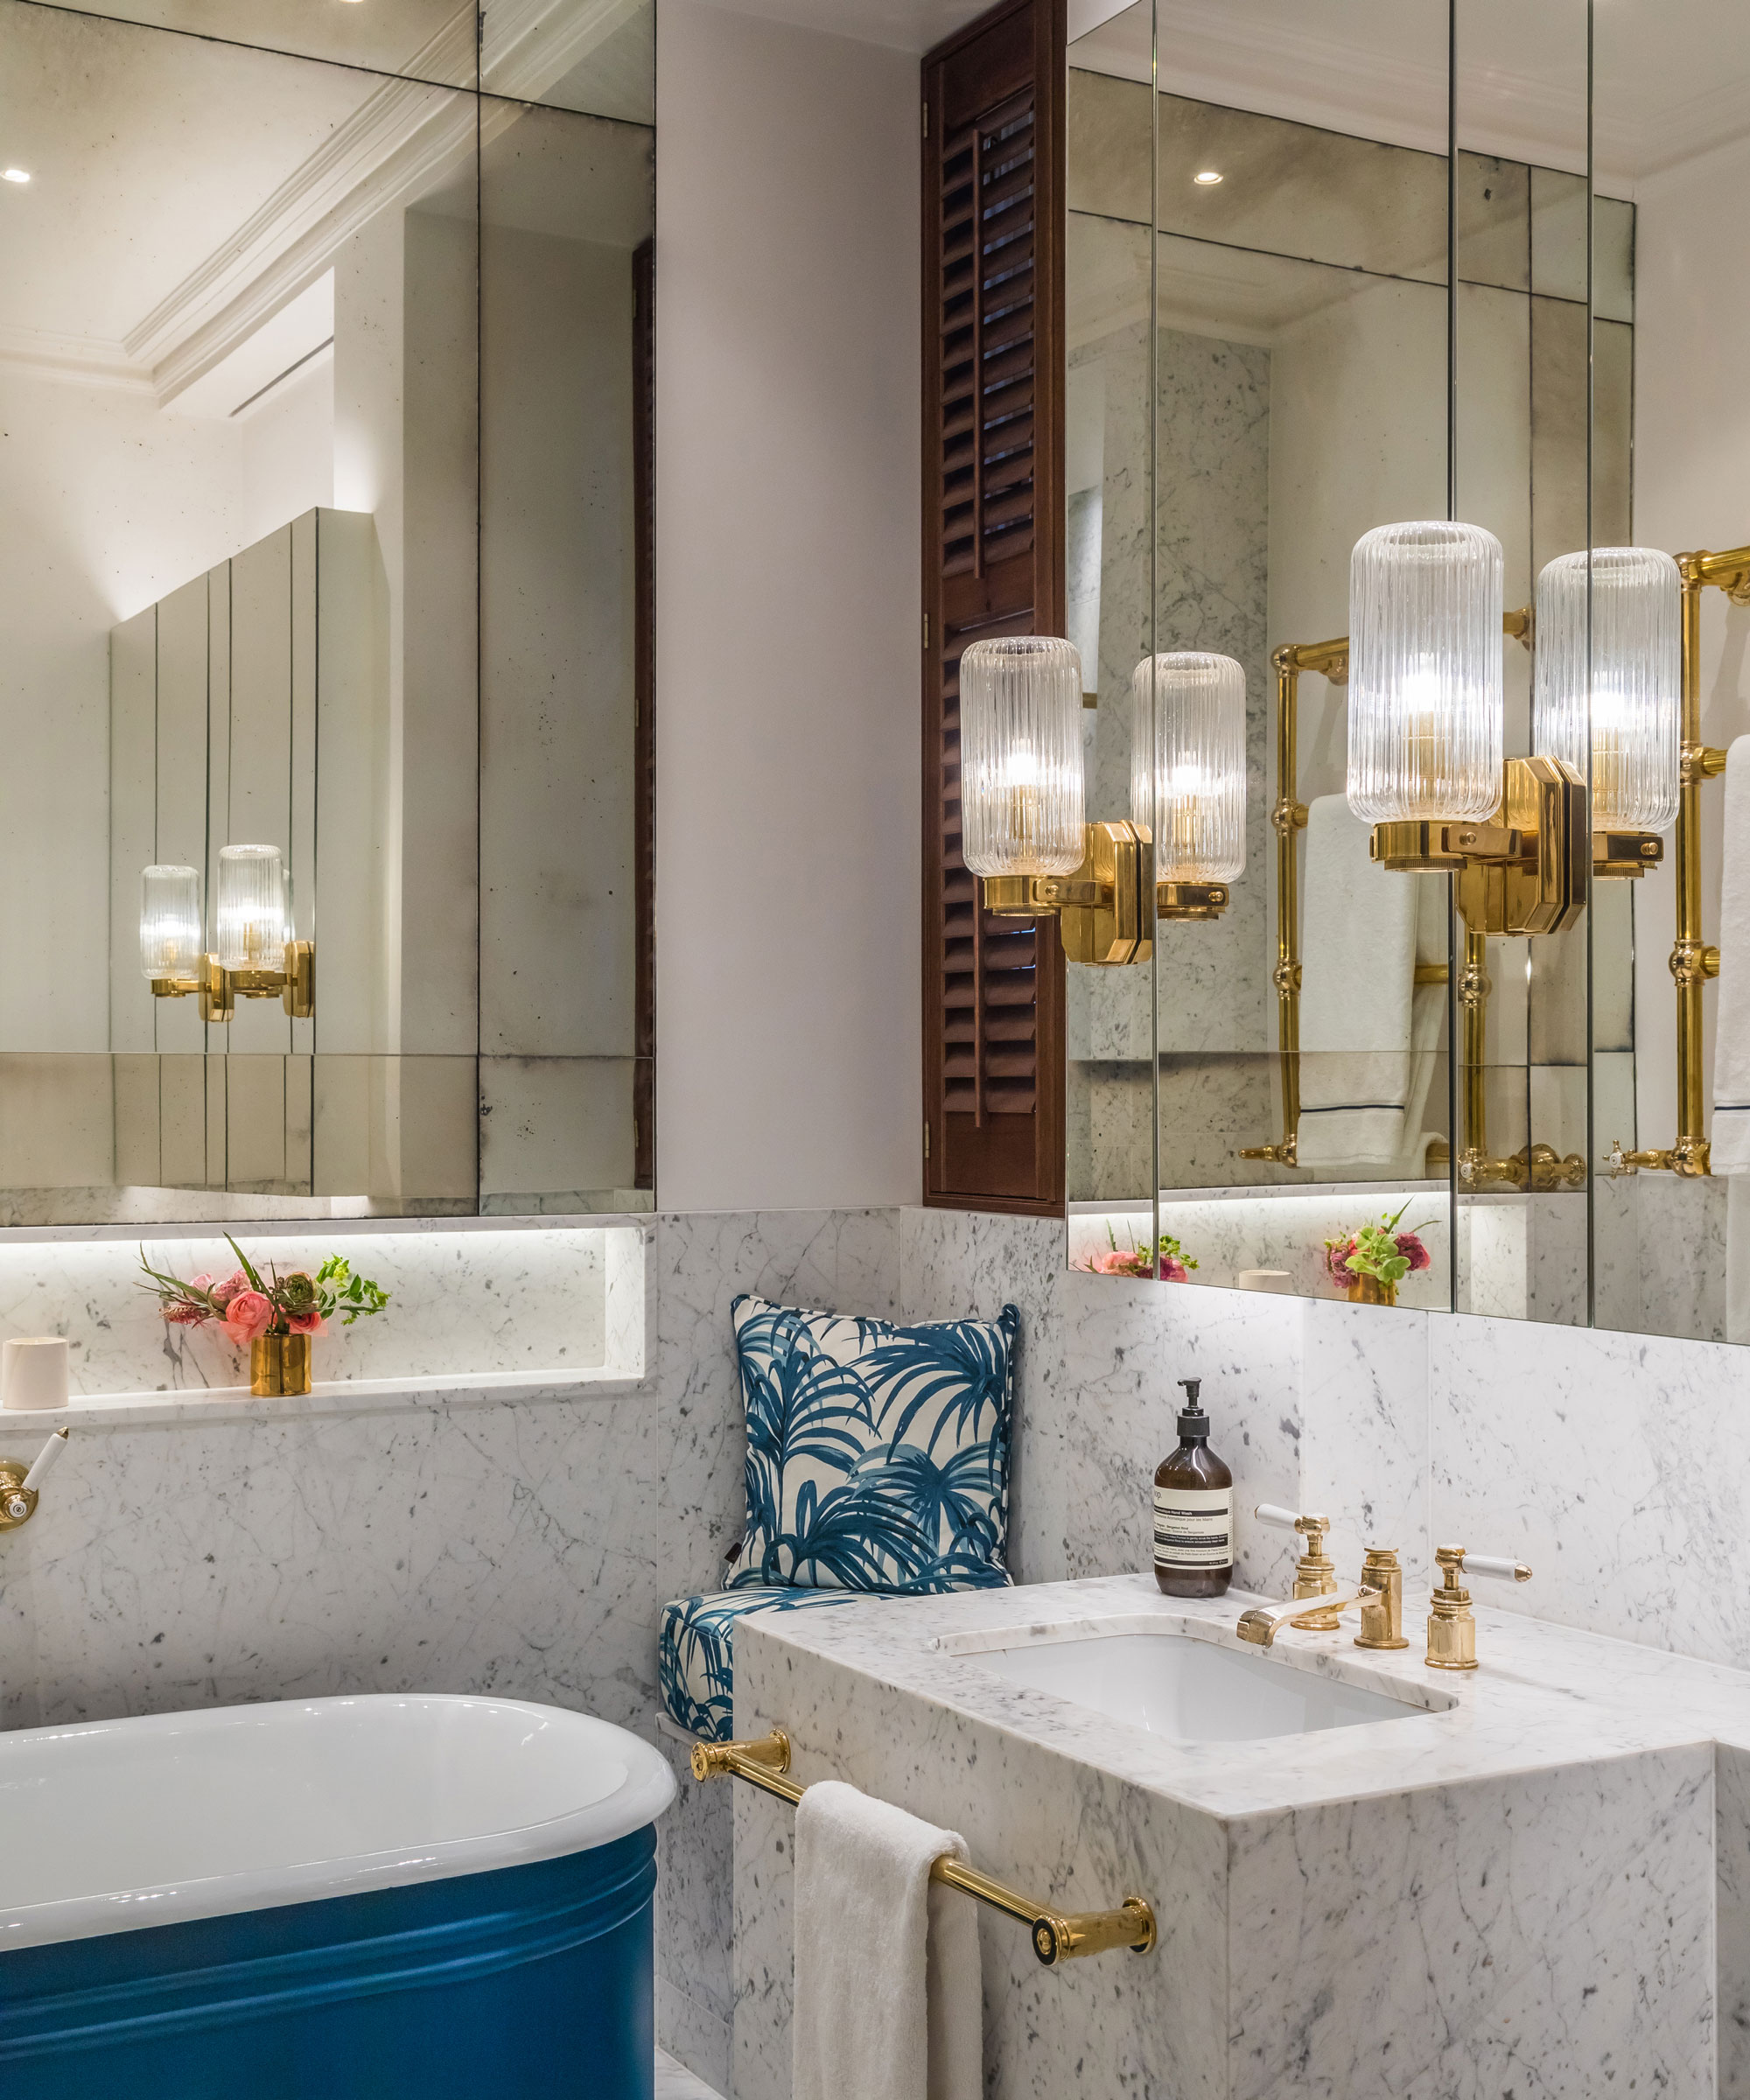
Single Chessleton lights, Drummonds
Strategically placed strip lights are an affordable and simple DIY lighting idea you can use in practically any room of your home. Most LED strip light kits are simple peel-and-stick projects that you can trim and apply to a dry, clean surface and plug into the wall to use. You can also purchase battery-operated kits or more advanced options that offer dimmable, app-controlled mood lighting.
I like to enhance my kitchen lighting by concealing LED strip lights under upper kitchen counters and beneath floating kitchen shelves. Not only can these simple fixes add much-needed ambiance to the space, but they also provide excellent task lighting for meal prep and cooking.
Similarly, you can easily 'step up' your hallway lighting ideas by installing strip lights beneath staircase railings or individual floating steps. Not only can these serve to highlight a particularly striking staircase design, but these lights can also help you (or overnight guests) navigate your stairway on an evening.
Design expertise in your inbox – from inspiring decorating ideas and beautiful celebrity homes to practical gardening advice and shopping round-ups.
Cleverly placed bathroom LED lighting is a simple way of elevating these spaces, especially when strip lights are concealed underneath a bathroom vanity or behind a wall-mounted bathroom mirror. However, due to the humidity of these rooms, it's always a good idea to check that your strip lights are suitable for bathrooms. Sometimes, a specific brand will appear in search results for 'bathroom lighting' but upon closer inspection, the product description reveals that they are not suitable for wet areas.
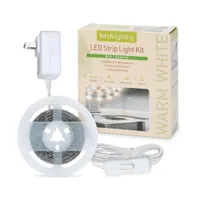
LED 98'' Under Cabinet Strip Light | $25.16 at Wayfair
It couldn't be easier to decorate your home with LED strip lights thanks to this kit from Birch Lighting. These 3000K color temperature LED lights project a warm white illumination that is bright, yet comfortable.
2. Create a bespoke fabric lampshade
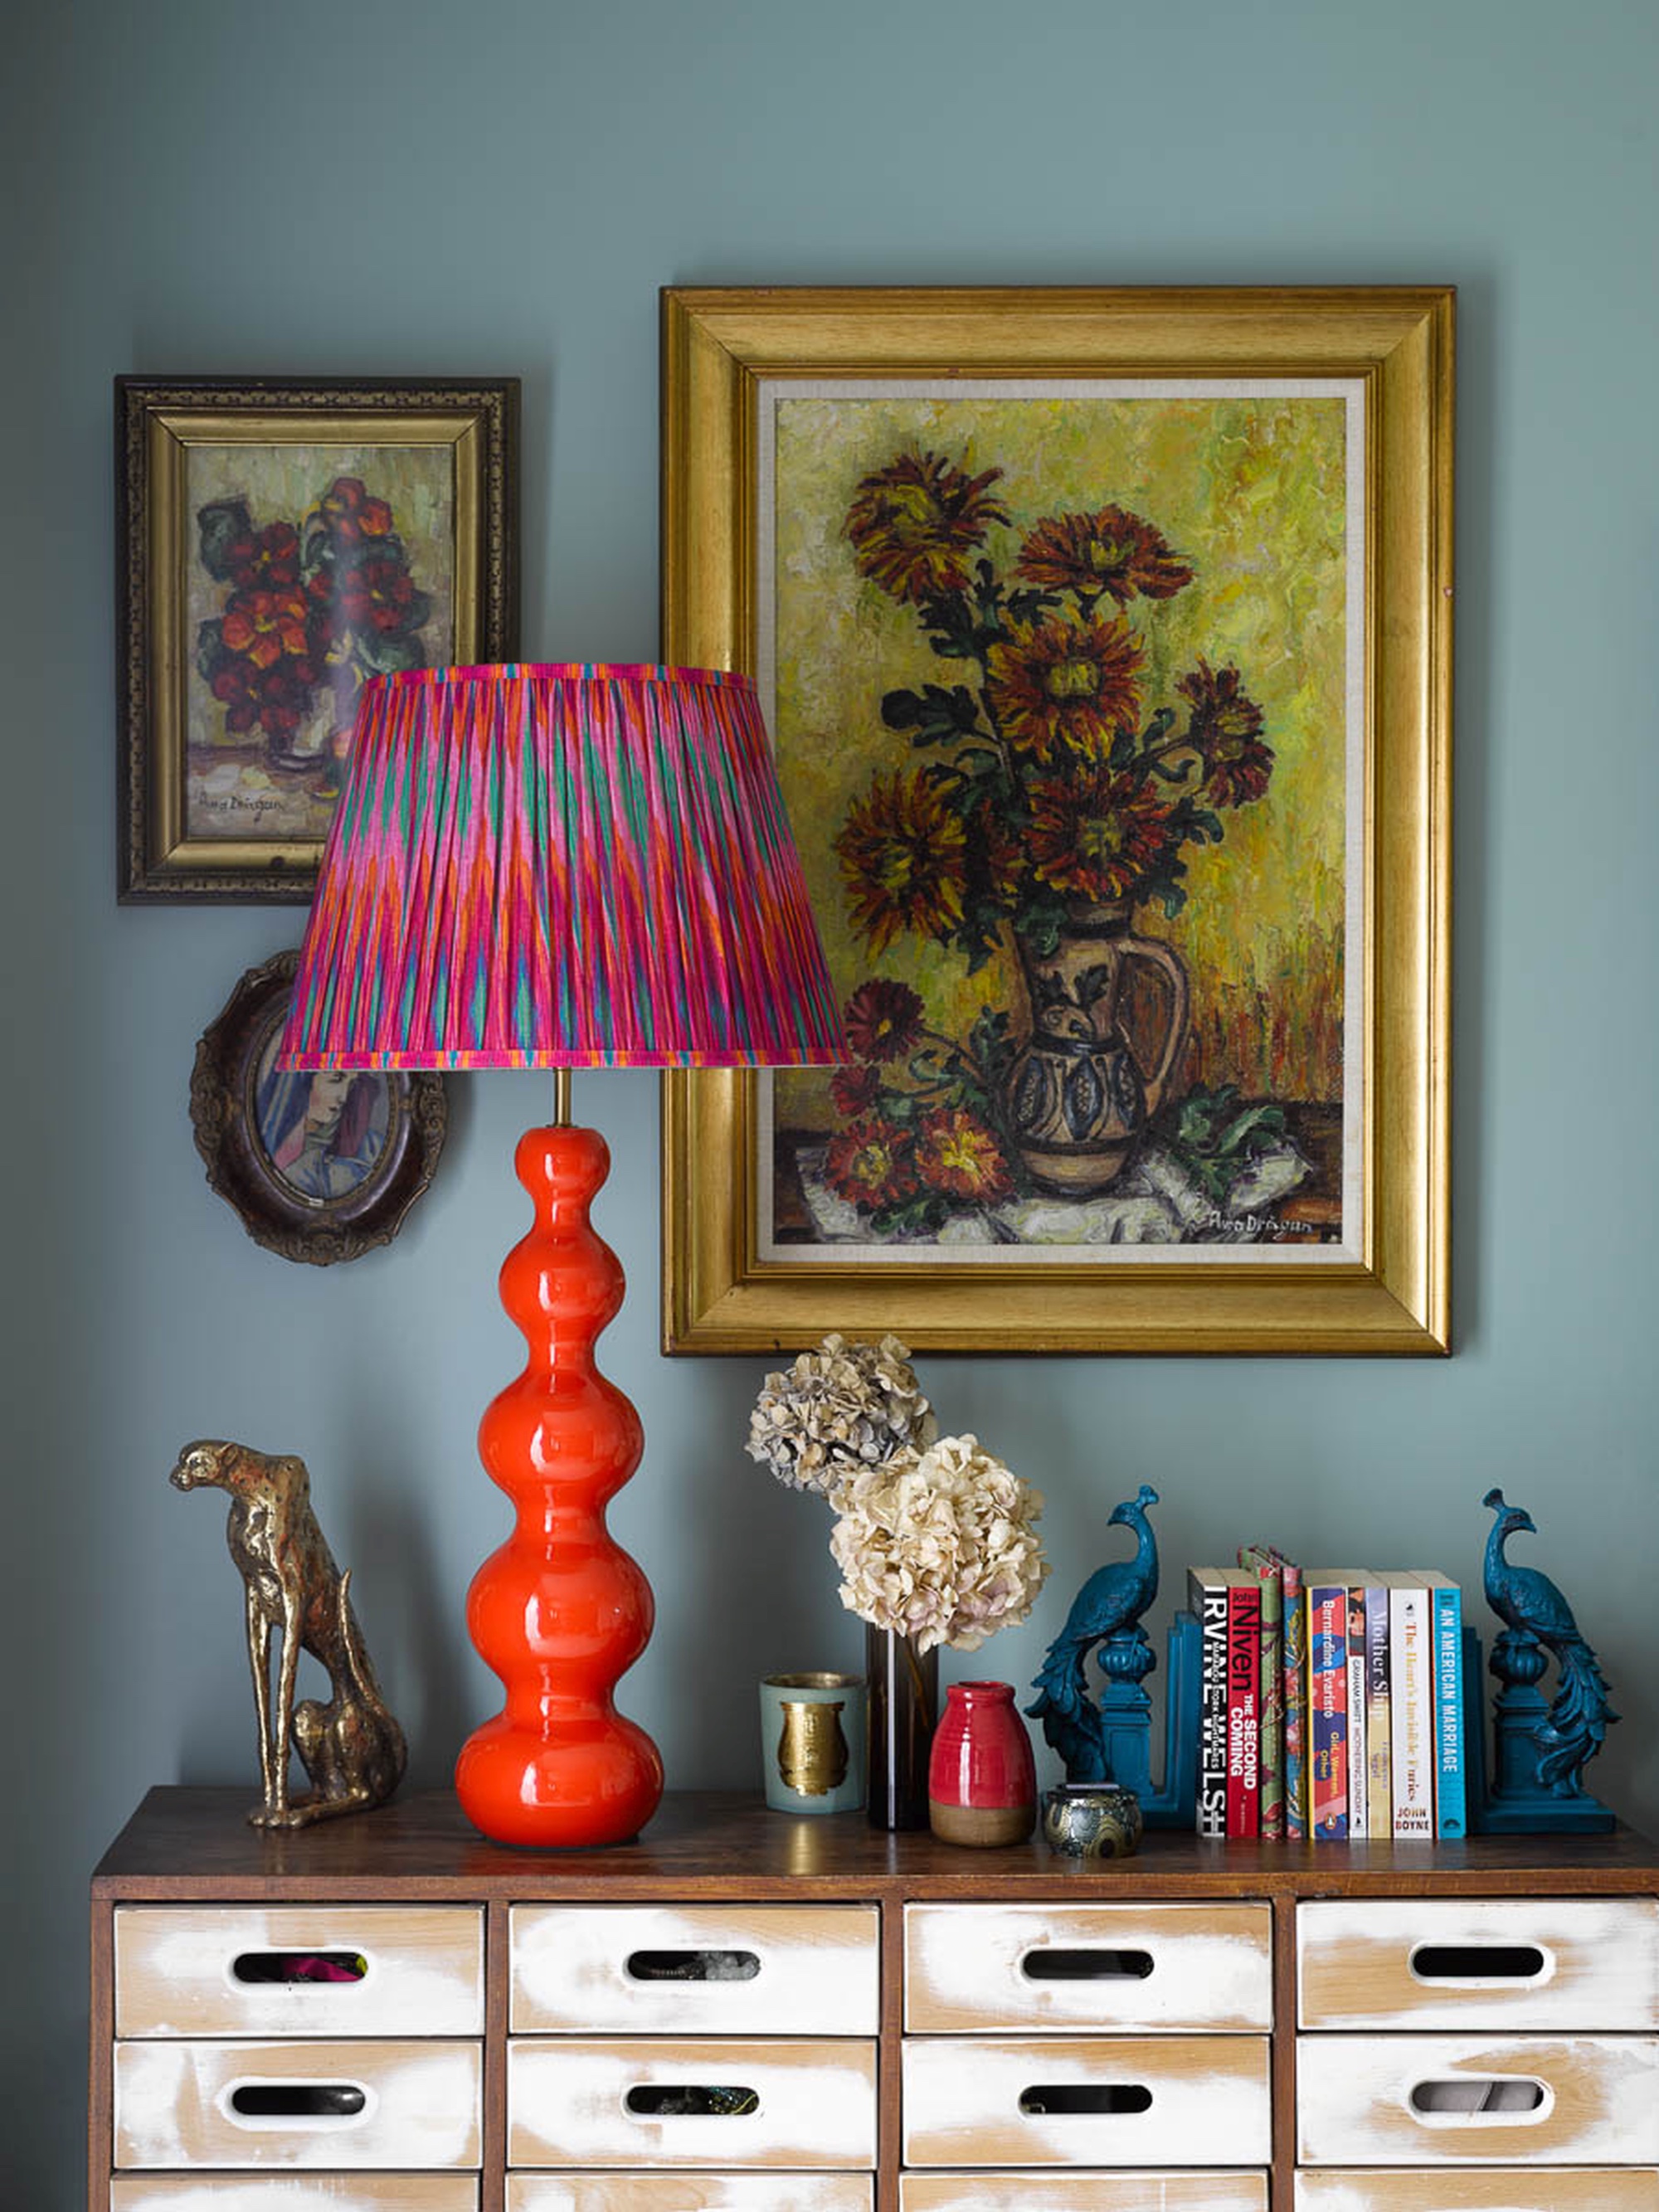
If you've been coveting the vibrant, fabric-covered lampshades popularized by brands like Pooky, you're in luck. Creating your very own DIY versions of these beautiful shades is surprisingly easy and can be achieved with no sewing experience. All you need to create your unique design is:
- A plain lampshade, such as these plain drum lampshades from Wayfair.
- Fabric of your choice (colorful Ikat fabrics, such as these from Decorative Fabrics Direct, always work well)
- Fabric shears
- Fabric glue or a hot glue gun
- A pencil or fabric marker
- Measuring tape or ruler
- Paintbrush (optional, for spreading glue)
Once you have assembled your materials, follow these simple steps:
1. Prepare Your Lampshade
If your lampshade is on a lamp, it goes without saying that you should remove it and clean any dust off. If it’s a new lampshade, you’re good to go – make sure the surface is smooth and ready for covering.
2. Measure and Cut Your Fabric
Lay your fabric out on a flat surface, pattern side down. Place your lampshade on the fabric and roll it along the fabric to measure how much you'll need to cover it entirely, adding an extra inch to the top and bottom and an extra two inches to the length for overlap. Mark these measurements on your fabric and cut it out with your shears.
3. Apply Fabric Glue to the Lampshade
Starting at the seam of the lampshade (if it has one), apply a thin layer of fabric glue evenly across a section of the lampshade. If you’re using a paintbrush, this can help spread the glue more evenly without saturating the fabric.
4. Attach the Fabric
Carefully place the edge of your fabric onto the glued area of the lampshade, making sure it’s straight. Slowly roll the lampshade across the fabric, pressing down to remove any bubbles or wrinkles as you go. Apply more glue in sections if needed until the entire lampshade is covered.
5. Trim and Secure the Edges
Once your fabric is attached, trim any excess fabric, but make sure you leave about an inch at the top and bottom. Fold these edges over the rim of the lampshade and glue them down on the inside for a neat finish. For the fabric overlap at the lampshade’s seam, fold and glue the edge down so it lays flat against the lampshade.
You should allow the glue to dry completely before applying any finishing touches to your lampshade or reattaching it to the lamp base. This could take a few hours, so it pays to be patient.
6. Add Your Finishing Touches
Once the lampshade is dry, you can decide if it requires any extra touches such as decorative trim. You may wish to apply a thin band of material (cut from your choice of fabric) to the top and bottom of your shade to keep it looking neat and tidy.
The beauty of creating your very own lampshade is that you can fill your space with designs that are unique to you and your home aesthetic. Aside from commissioning furniture directly from designers, this is the easiest way to create a bespoke look.
3. Embrace festoon lighting in your yard
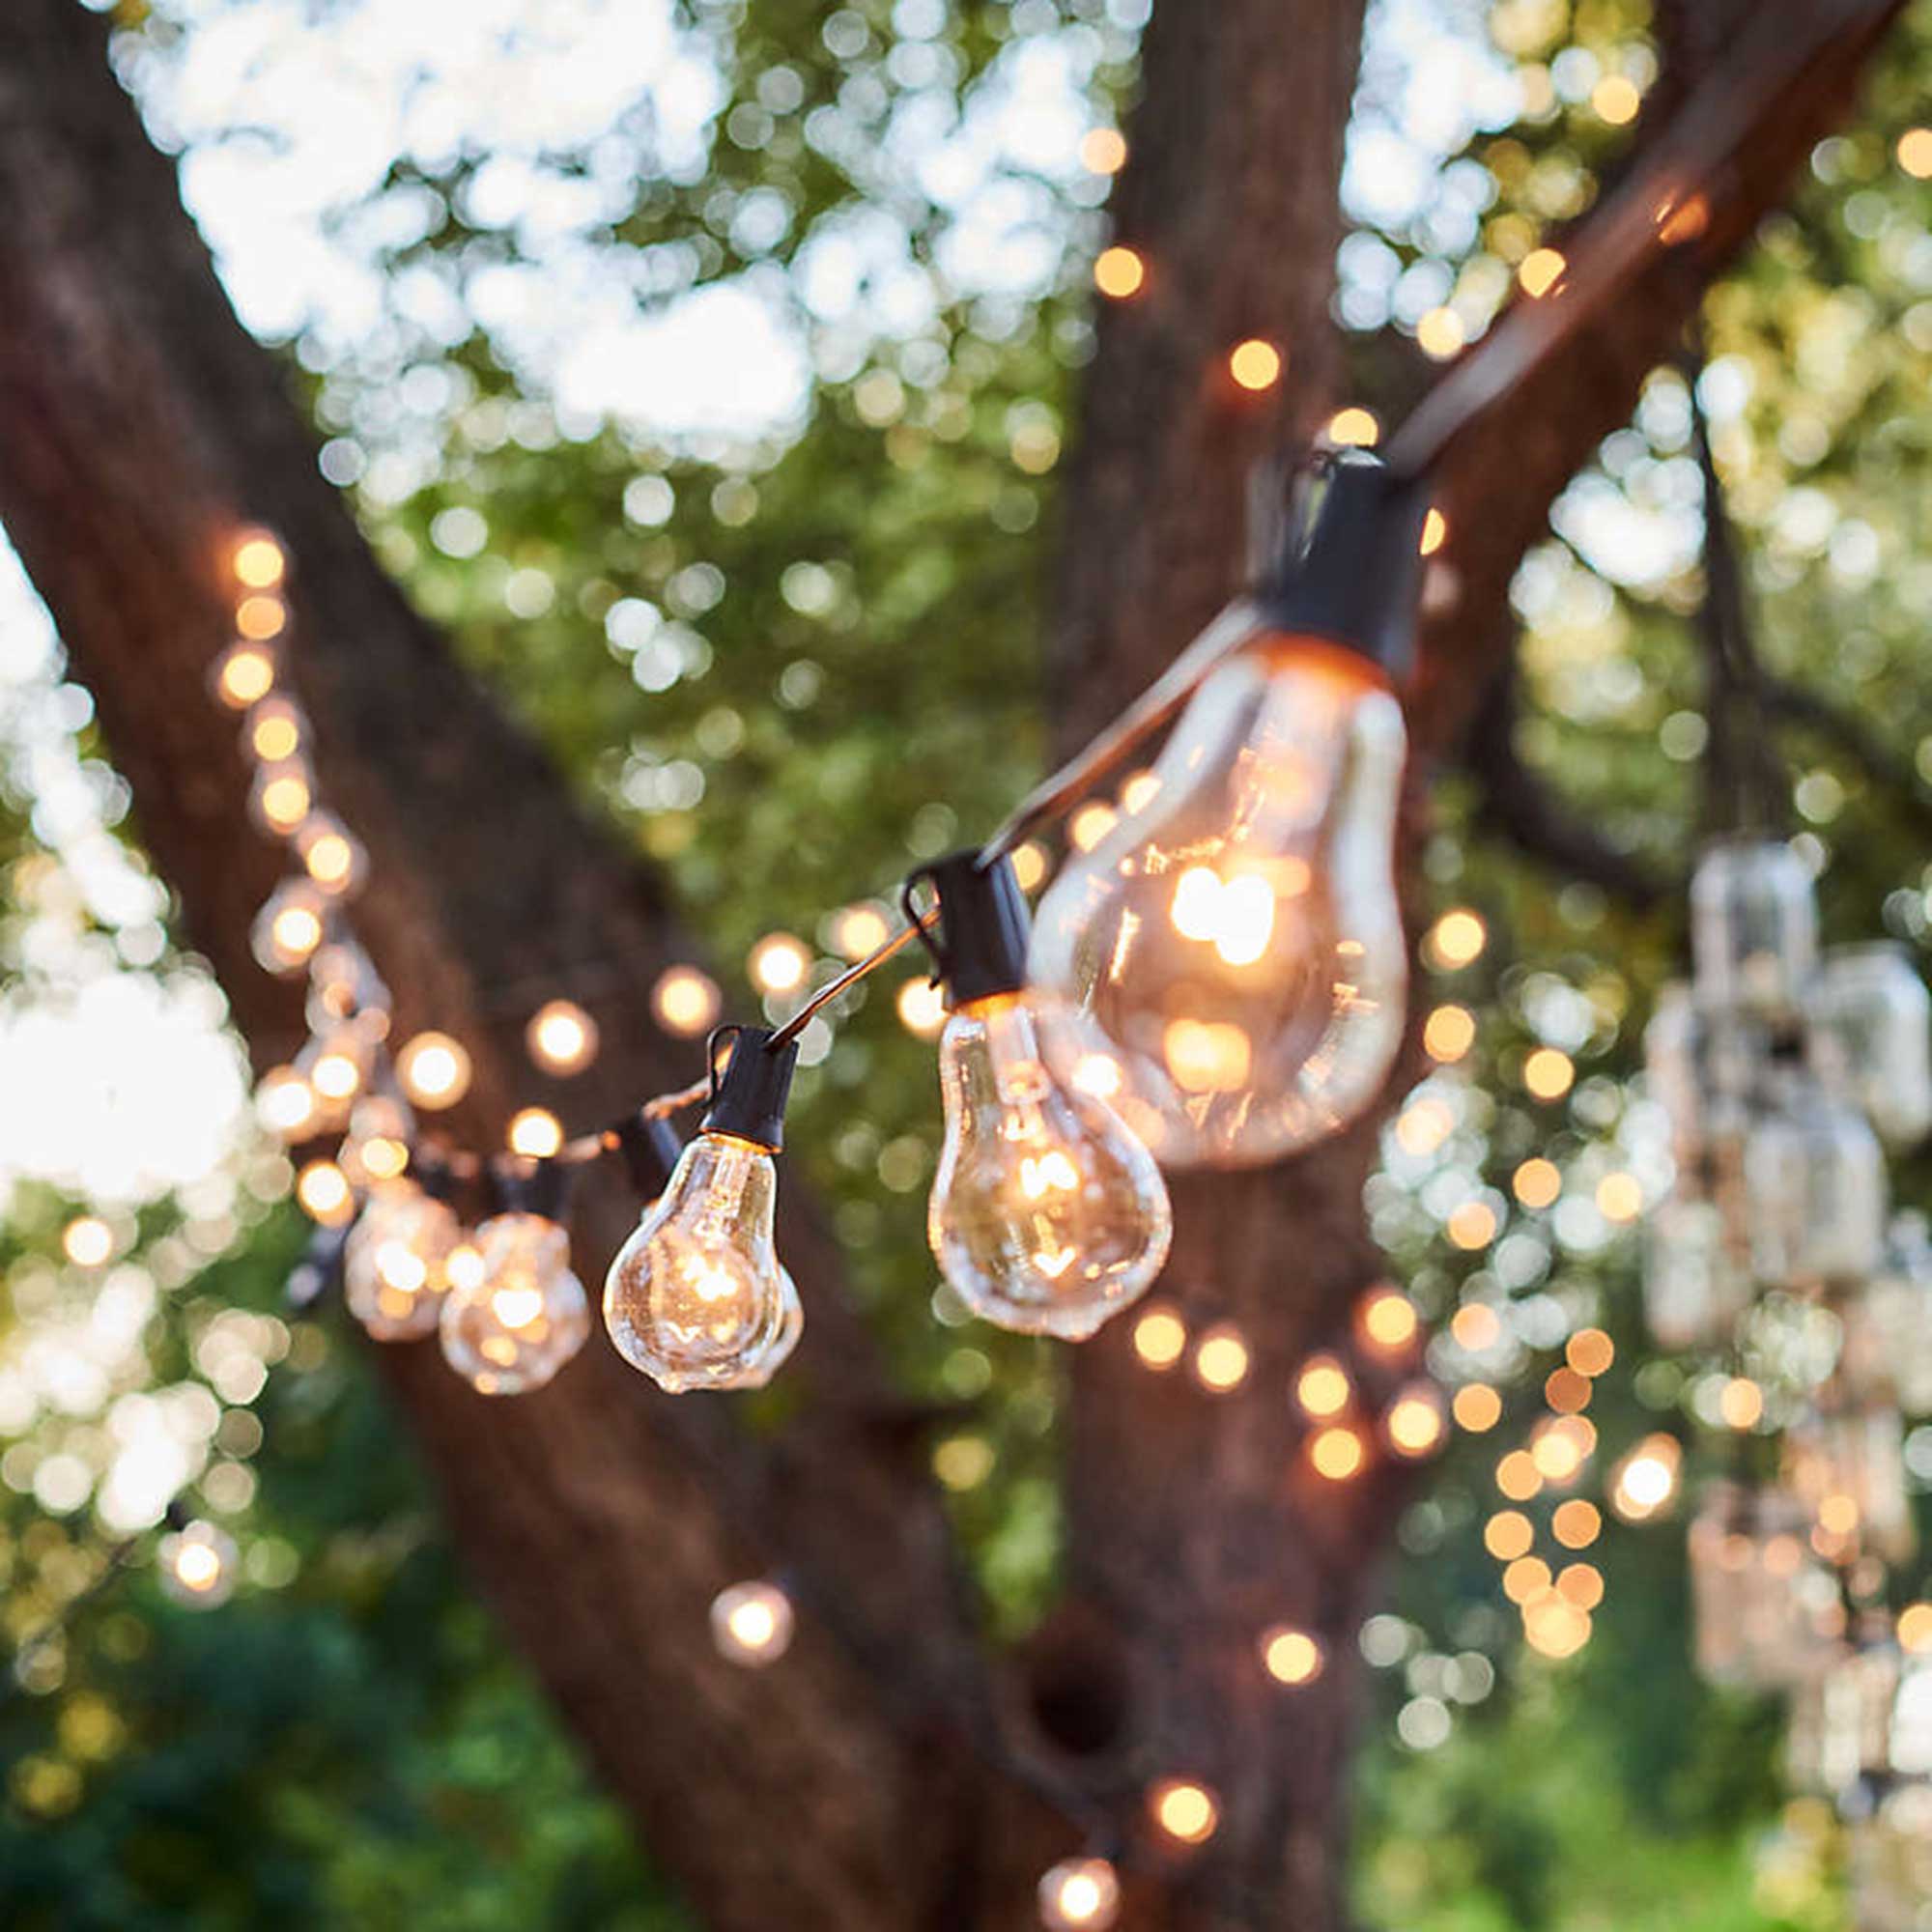
Nothing says 'cozy' like the soft flicker of candlelight or the gentle glow of lanterns, but you don't have to wait until summer to brighten a small backyard or courtyard garden with twinkling lights.
One of my favorite DIY lighting ideas is to string festoon lights above a patio space or weave fairy lights into an arbor to create a magical nighttime glow. This adds instant ambiance to your outdoor spaces and looks beautiful as part of an al fresco dining arrangement. It's also a wonderful way to 'lift' your backyard during darker, colder months when you're itching to get back outside and start your spring gardening.
Eco-conscious? There are plenty of solar outdoor lighting options available that can harness the summer sunshine and brighten your yard after dark.
4. Upgrade your walk-in closets

You could easily apply LED strip lighting or spotlights to a walk-in closet setup, but sometimes the simplest solution is opting for a motion sensor closet light. These affordable lights can be purchased online and installed in a few minutes. You either peel and stick the lights into place or use magnets to hold them in position. The best part? No more scrambling around in the dark looking for the perfect pair of shoes again!
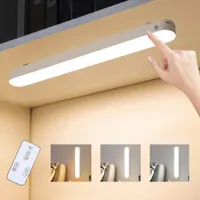
Dimmable Motion Sensor Under Closet Light | Was $23.99, now $21.99
This rod light is 15.7 inches, is dimmable, and offers a choice of three colors.
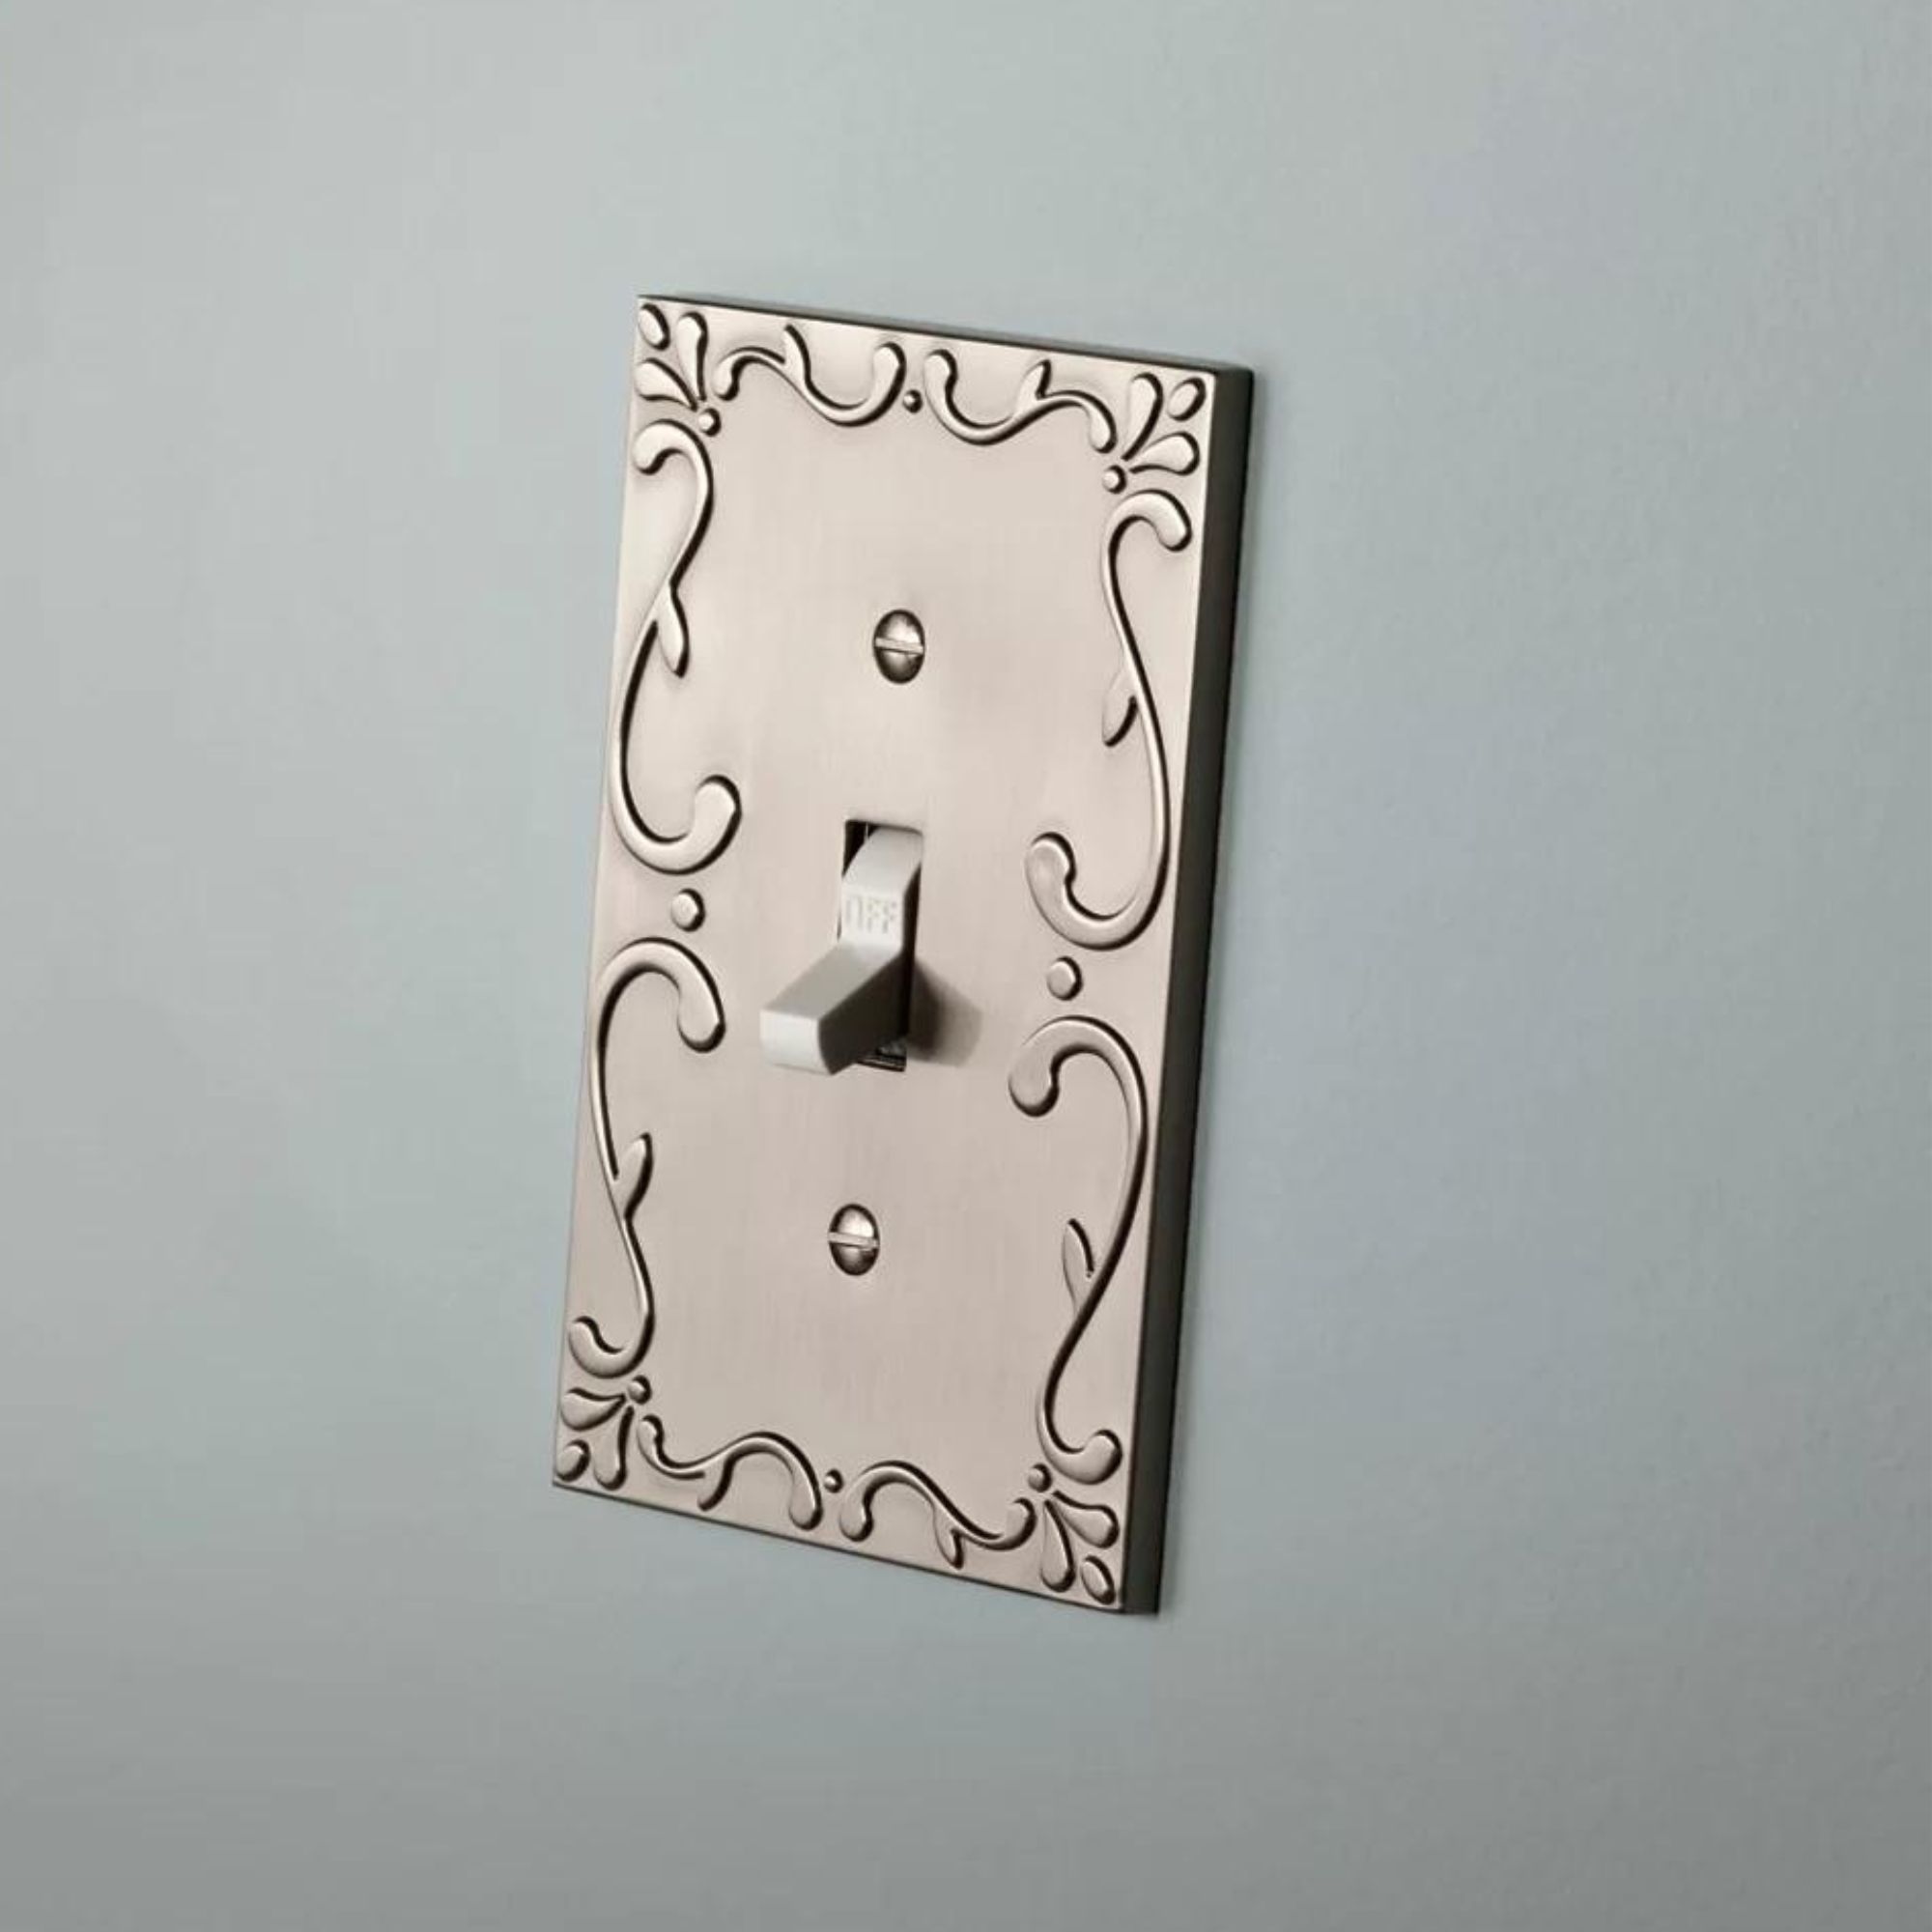
5. Swap out switch plates
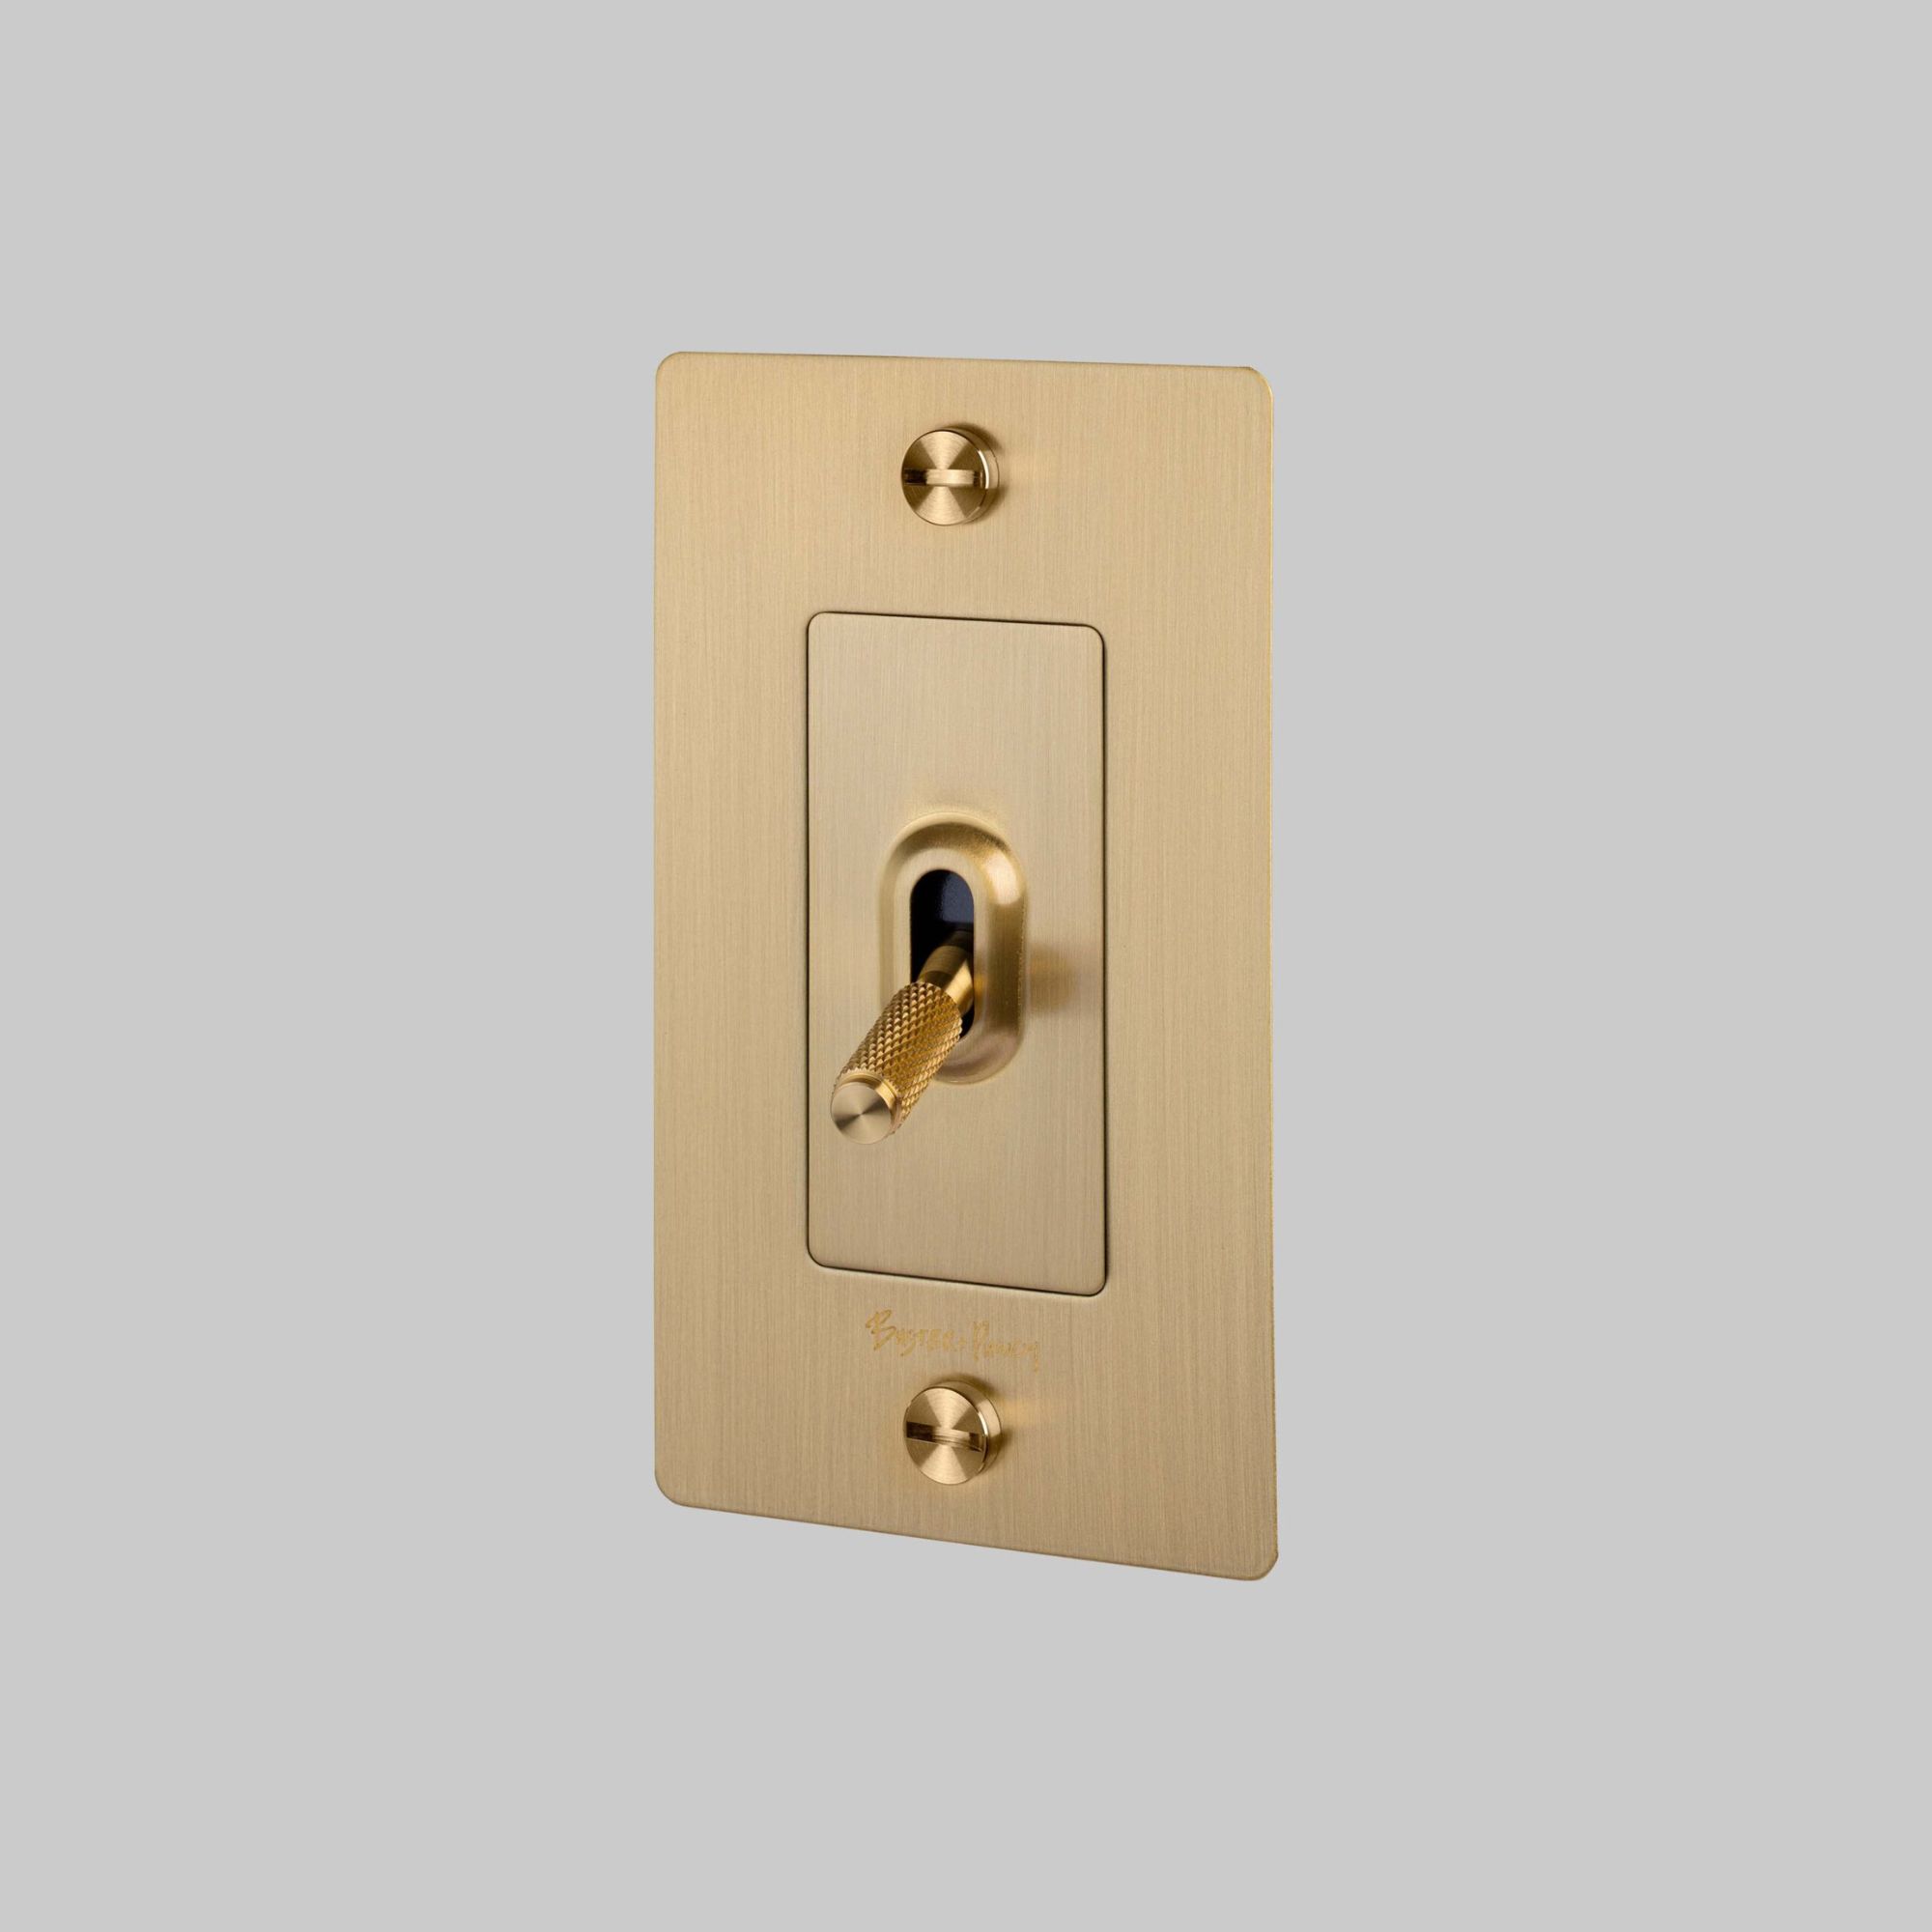
An often overlooked aspect of home lighting is the humble switch plate that we use each and every day, but sometimes it's these tiny details that can have the biggest impact on the finish of a room. So, my final DIY lighting tip is to choose a new switch plate that matches your home's interior design scheme.
This is one DIY project that you may wish to enlist some professional help with depending on how much experience you have with rewiring. You should switch off electrics when unscrewing old plates and replacing them with newer ones.
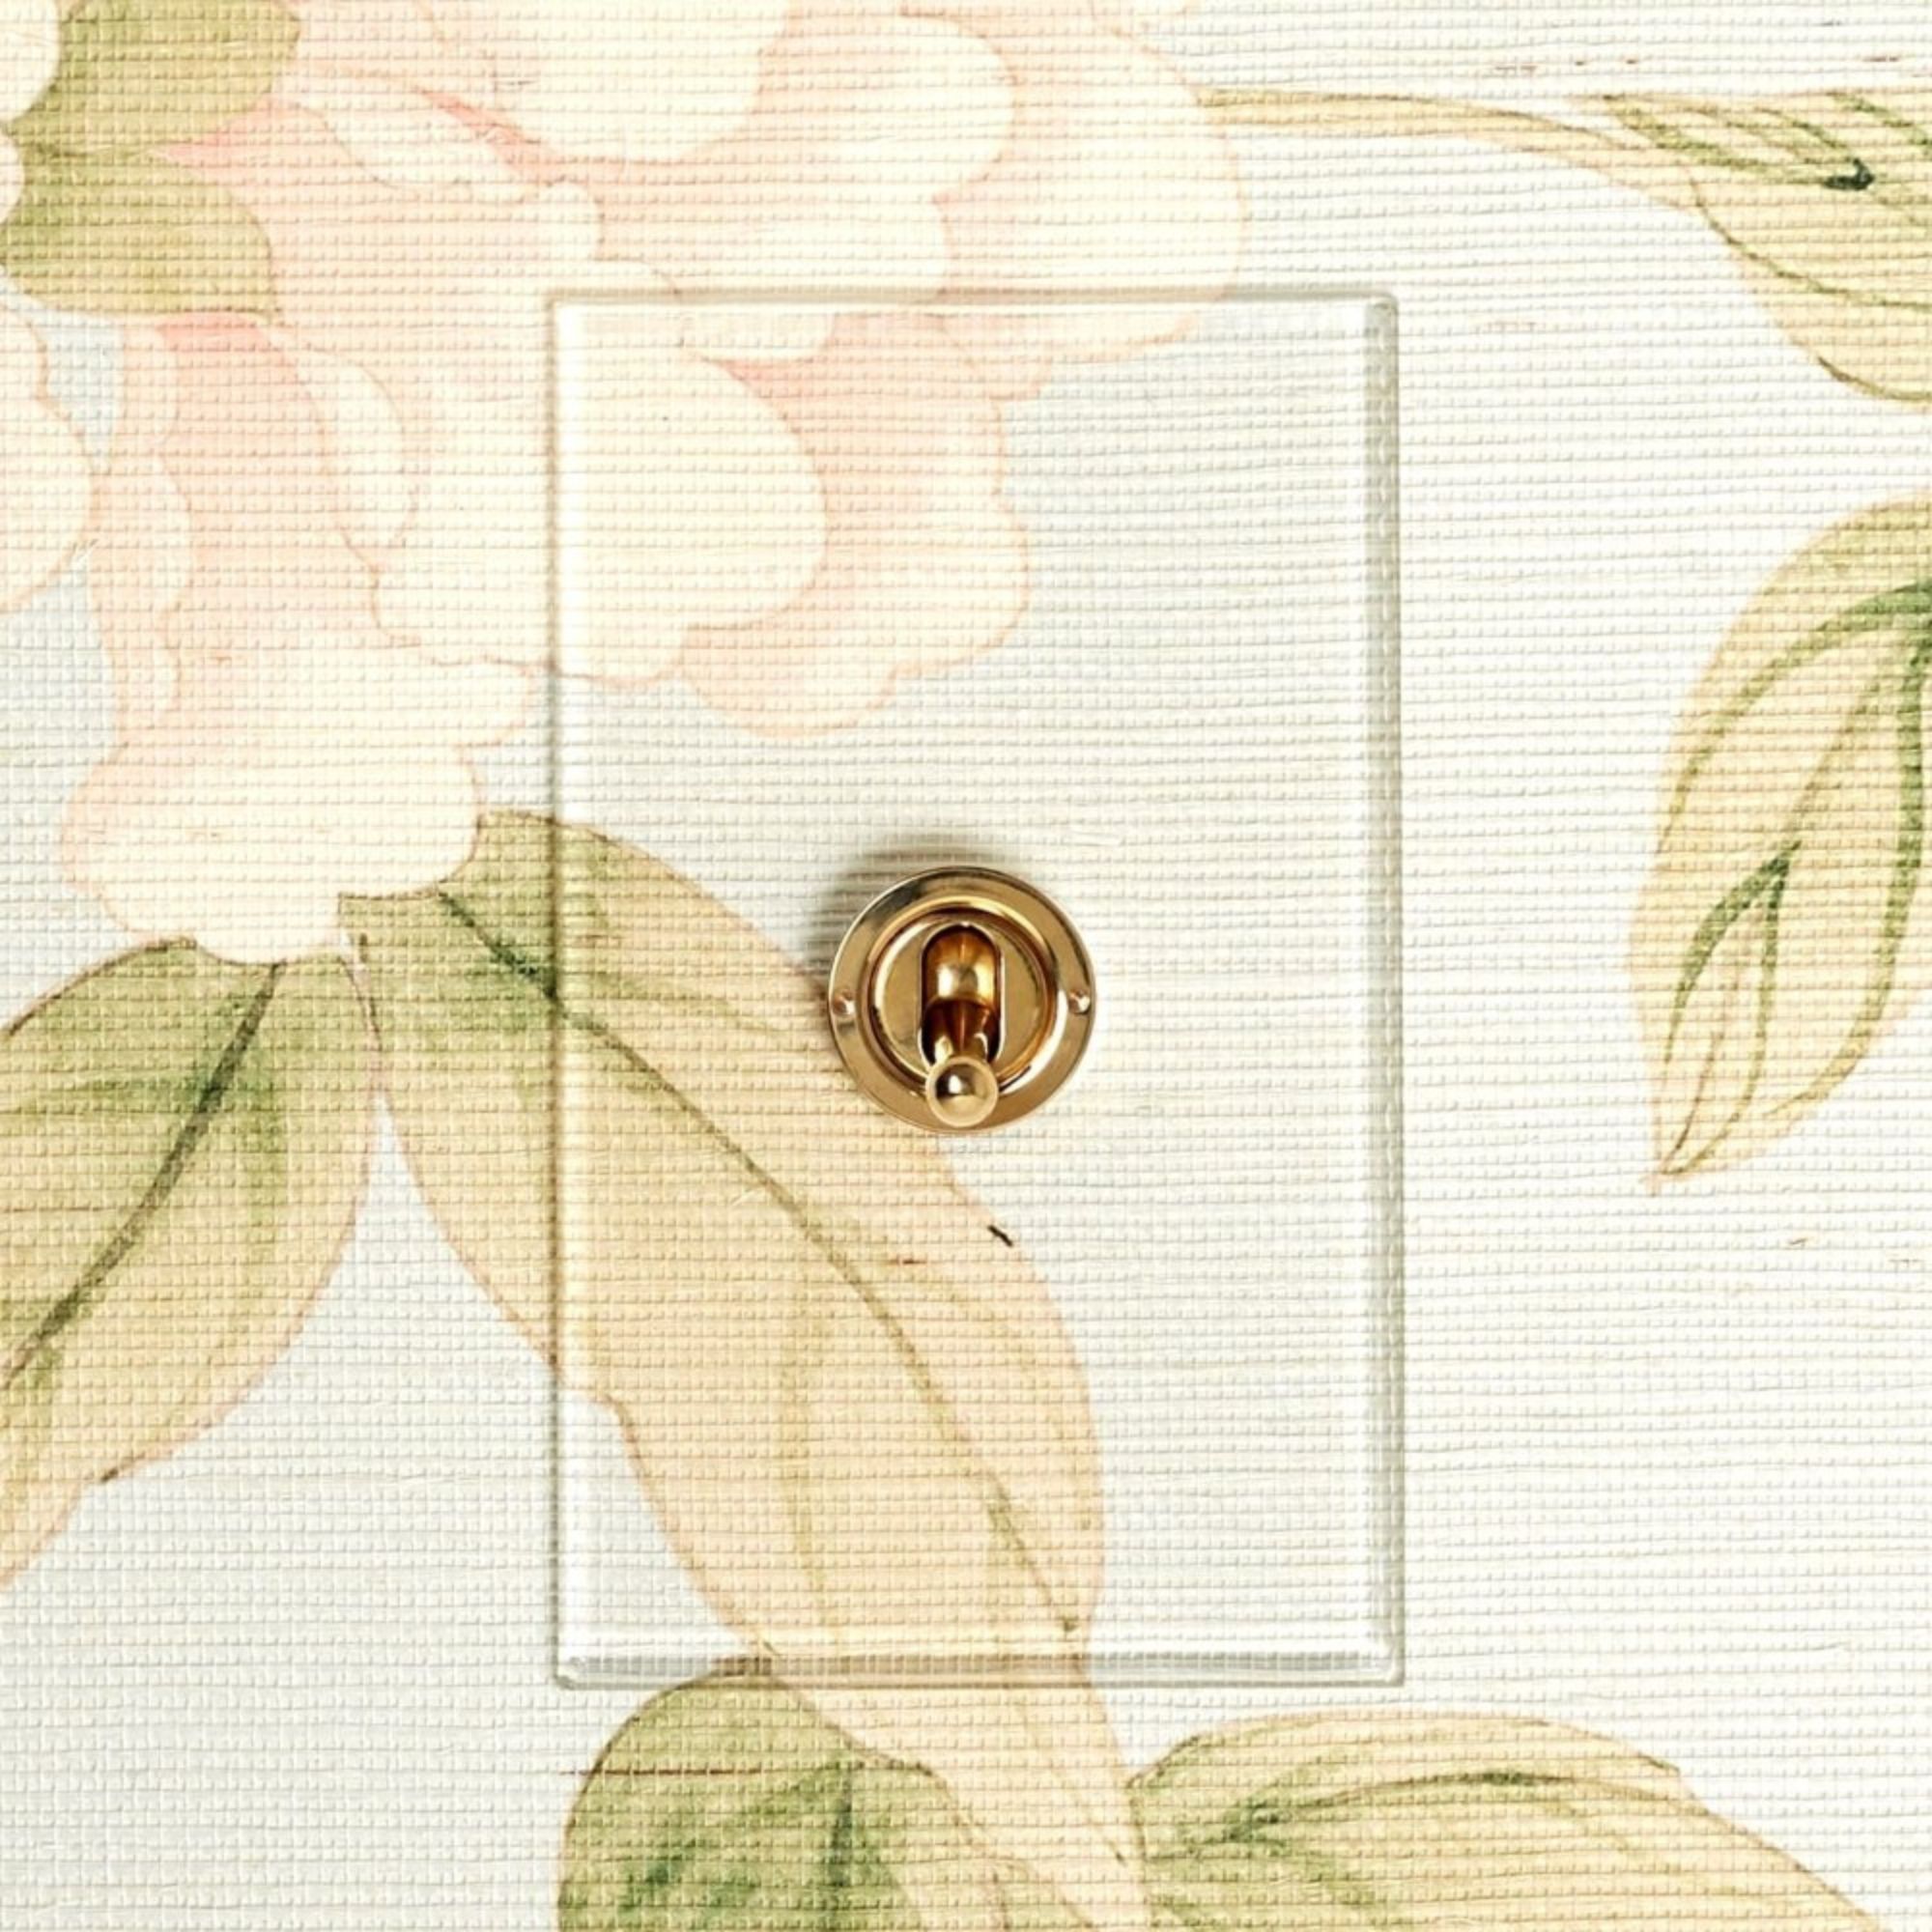
I swapped all the 1990s plastic switch plates in my historic home for vintage-inspired brass plates that elevated the overall scheme. However, if you aren't sure you want to see these fixtures at all, I recommend opting for 'invisible' switch plates, as they seamlessly blend into your walls.
As well as trying your hand at these easy lighting DIY projects, consider purchasing a new bedroom or living room light. Sometimes we forget how much of an impact our light fixtures can have on the look and feel of our spaces, and a new statement piece or two might be what is missing from your home.

Gabriella is a freelance contributor for Homes & Gardens. She is a DIY enthusiast and a lover of all things interior design, often found antiquing or browsing the aisles of her local hardware store. She has a particular passion for historic buildings and is in the process of renovating a Victorian coachhouse in the countryside.
For much of the past decade, Gabriella has worked as a freelance writer, crafting copy for national publications and renowned homeware brands. Most recently, she worked for Homebuilding & Renovating Magazine and is the former Head of Solved at Homes & Gardens, focusing on case studies for the magazine and website, as well as writing features about issues surrounding historic and listed building projects.
