How to get rid of textured walls – 2 simple methods that minimize mess
Textured walls might be on trend, but they aren’t for everyone. Here’s how to get rid of them


Design expertise in your inbox – from inspiring decorating ideas and beautiful celebrity homes to practical gardening advice and shopping round-ups.
You are now subscribed
Your newsletter sign-up was successful
Want to add more newsletters?

Twice a week
Homes&Gardens
The ultimate interior design resource from the world's leading experts - discover inspiring decorating ideas, color scheming know-how, garden inspiration and shopping expertise.

Once a week
In The Loop from Next In Design
Members of the Next in Design Circle will receive In the Loop, our weekly email filled with trade news, names to know and spotlight moments. Together we’re building a brighter design future.

Twice a week
Cucina
Whether you’re passionate about hosting exquisite dinners, experimenting with culinary trends, or perfecting your kitchen's design with timeless elegance and innovative functionality, this newsletter is here to inspire
Textured walls have seen several rises and falls in popularity over the last few decades. From orange peel walls and popcorn ceilings to the more natural appeal of lime-based plaster, some textures have certainly stood the test of time longer than others.
If you have fallen out of love with your textured walls and are looking for a way to modernize your home, the easiest way is to remove this texture and smooth the wall. But it is far from the cleanest of household decoration projects.
So, we asked trusted contractors for their tips on how to get rid of textured walls with minimal mess to make this nightmare of a renovation idea a little less daunting.
How to get rid of textured walls
Unlike painting a room, getting rid of textured walls is not the kind of project you can start right off the bat one weekend. You need to plan to ensure that your wall texture is safe to remove and put measures in place to help mitigate some of the mess.
This is especially true if your textured walls predate 1980, warns Shlomo Cherniak, contractor and founder of Cherniak Home Services. The texture likely contains asbestos, an incredibly dangerous substance to remove yourself. Having a professional test the wall for asbestos first will help to dictate the upcoming project. Walls with asbestos will need professional removal to ensure safety, he urges, and you should never cover up an asbestos wall hoping that keeping the area out of sight will give you peace of mind.
With that in mind, this is how to get rid of textured walls free from asbestos:

1. Smooth the texture with a skim coat
By far the cleanest approach to getting rid of textured walls is to add a skim coat of drywall compound on top of the texture to flatten out the bumps and provide a fresh, smooth surface to redecorate on top of, begins Brandon Walker, foreman, and lead painter at ASAP Restoration. He adds that this is also a quicker, less disruptive, and more affordable option than replacing whole drywall sheets, which would require additional labor costs.
Design expertise in your inbox – from inspiring decorating ideas and beautiful celebrity homes to practical gardening advice and shopping round-ups.
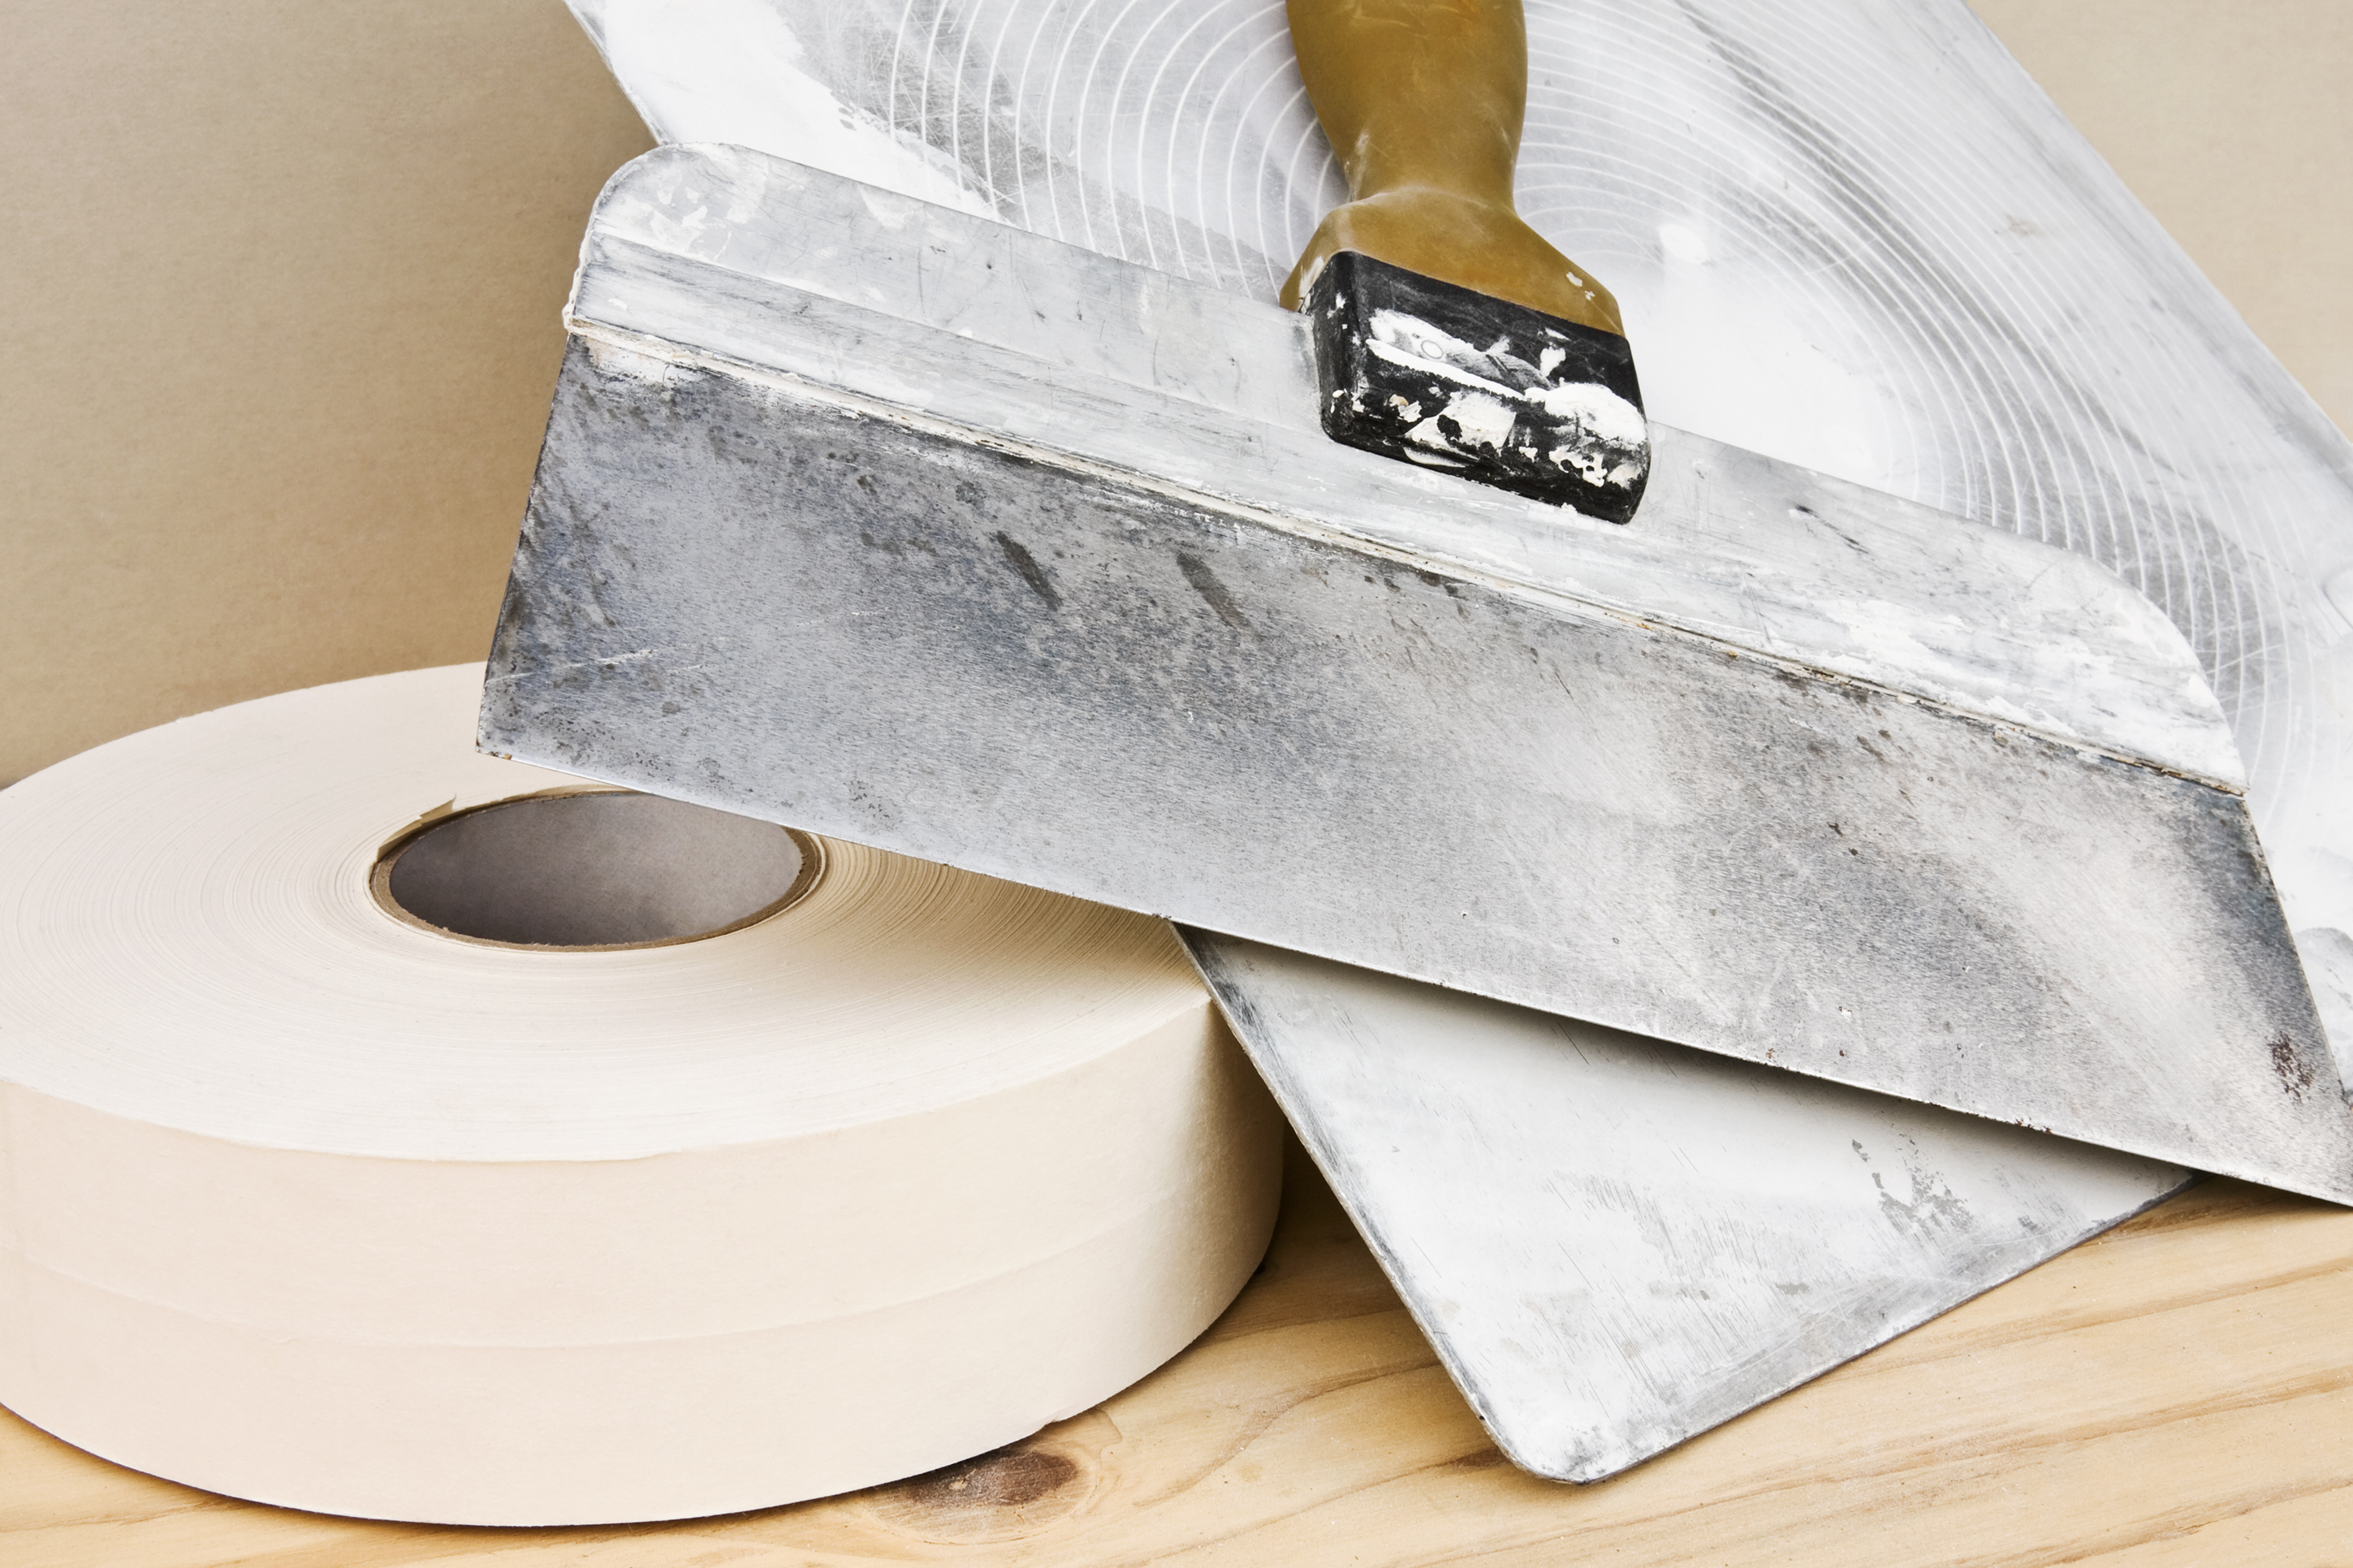
To apply a skim coat, start by preparing walls for painting, taping off trim, and laying out drop cloths to protect your floor and furniture. Then, clean the walls and lightly sand the surface to give the mud a surface to stick to before rolling the compound on and skimming the surface flat with a large drywalling knife for a smooth plaster-like finish.
Finish the project by letting the surface dry (applying a second coat if needed) and sanding the surface smoothly ready for wallpapering a room or painting walls.
2. Wet sand or scrape the texture off
If you don’t want to add more to your wall and are okay with a bit of mess, then you can try wet sanding or scraping the texture off the drywall, suggests Davin Eberhardt, remodeler and Founder of Nature of Home. Alternatively, you can use a steam cleaner or a wallpaper-removing tool to saturate the surface.
‘Lightly dampening the walls with a spray bottle of water before scraping the texture away with a wide drywall taping knife will minimize dust and pull the texture away in patches,’ he explains. Spray the wall in sections as you work, letting the water sit for around 15 minutes to soften the texture for the best results. You may need to use additional water if you come across any resistance.
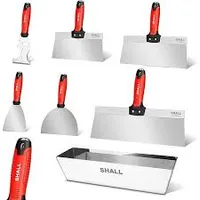
Shall Drywall Knife Set | View at Walmart
This seven-piece set has two putty knives, three taping knives, and a mud pan.
‘For painted walls, sanding is your best bet,’ Davin continues. ‘Opt for a pole sander with a dust collection attachment to minimize mess.’ When using water to remove texture, it is important to ensure the walls fully dry out before you continue decorating. Keeping the room well-ventilated and heated will help with this, but a dehumidifier large enough for the room will help speed up the process.
Working in sections and cleaning as you go will help to keep the project more manageable, but ‘remember, drop cloths and proper ventilation are key for any wall project,’ he concludes. You should also consider wearing a face mask and glasses to protect your airways and eyes from debris and dust.
FAQs
How much does it cost to remove textured walls?
How much it costs to remove textured walls depends largely on the area, the method used to remove the texture, and whether or not asbestos is present. For walls without asbestos, you can expect to pay between $500 to $1,000 per 500 square feet for removal or skim coating, with this figure rising if professional asbestos removal is required.
Can you put wallpaper over textured walls?
While you can wallpaper straight over textured walls, it is generally not advisable as the texture will show through and make your wallpaper look tacky. The wallpaper also might not adhere fully, leading to peeling. Instead, removing or smoothing the texture before wallpapering the flat surface is better.
Getting rid of textured walls is certainly more difficult than texturing a wall, but it is worth the effort for a more modern-looking home. To mitigate the mess, work methodically and clean up as you go, using drop cloths and trash bags to collect debris as you move around the room.

Chiana is Homes & Gardens’ kitchen appliances editor. With a lifelong passion for cooking and baking, she grew up experimenting in the kitchen every weekend with her baking-extraordinaire Mom, and has developed a great understanding of how tools and appliances can make or break your ideal relaxing kitchen routine.
