How to paint stripes on walls: 4 steps to create a distinctive design
Add stripes to your walls to take a space from basic and plain to unique and exciting

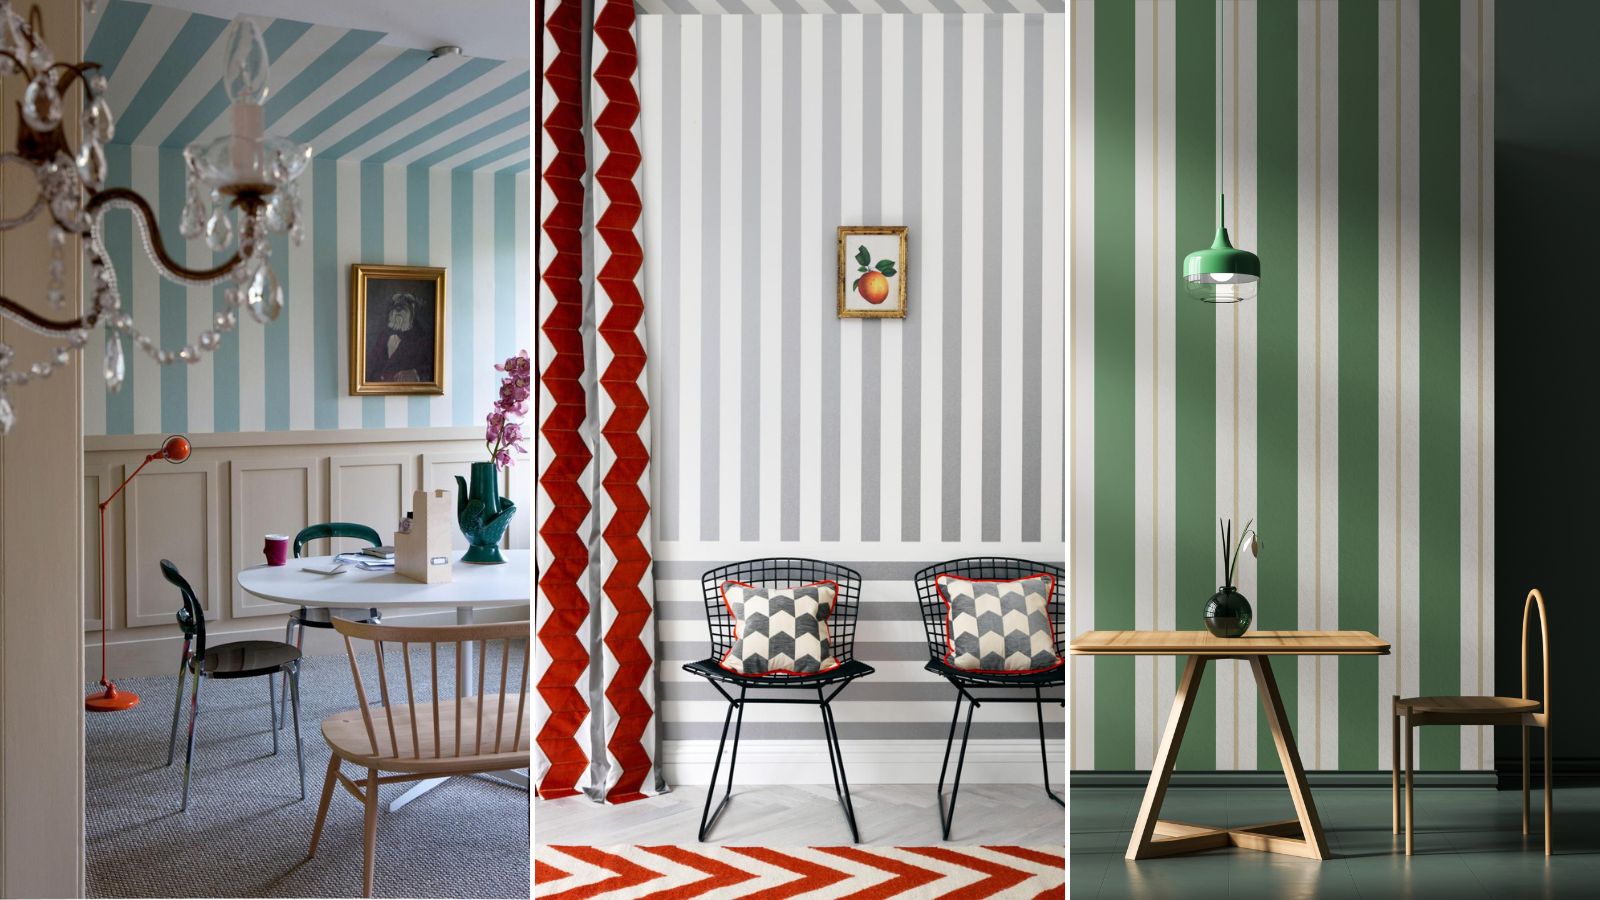
Painting stripes on your walls will instantly give a room a whole new persona. They are attention-grabbing, interesting, and something different from plain old one-color walls. But it's not just the distinctive nature of stripes that adds style to a room.
Vertical stripes are the perfect companion for smaller rooms. They offer the illusion of height, with walls appearing taller and ceilings higher than they really are. If you choose to paint a room with horizontal stripes, they help make a space seem wider. You could even go one step further and opt for a bold statement with contrasting colors.
How to paint stripes on walls
We asked professional decorators to reveal their painting tips and techniques to make sure that your stripes look great, and make an impression.
Plan your stripes
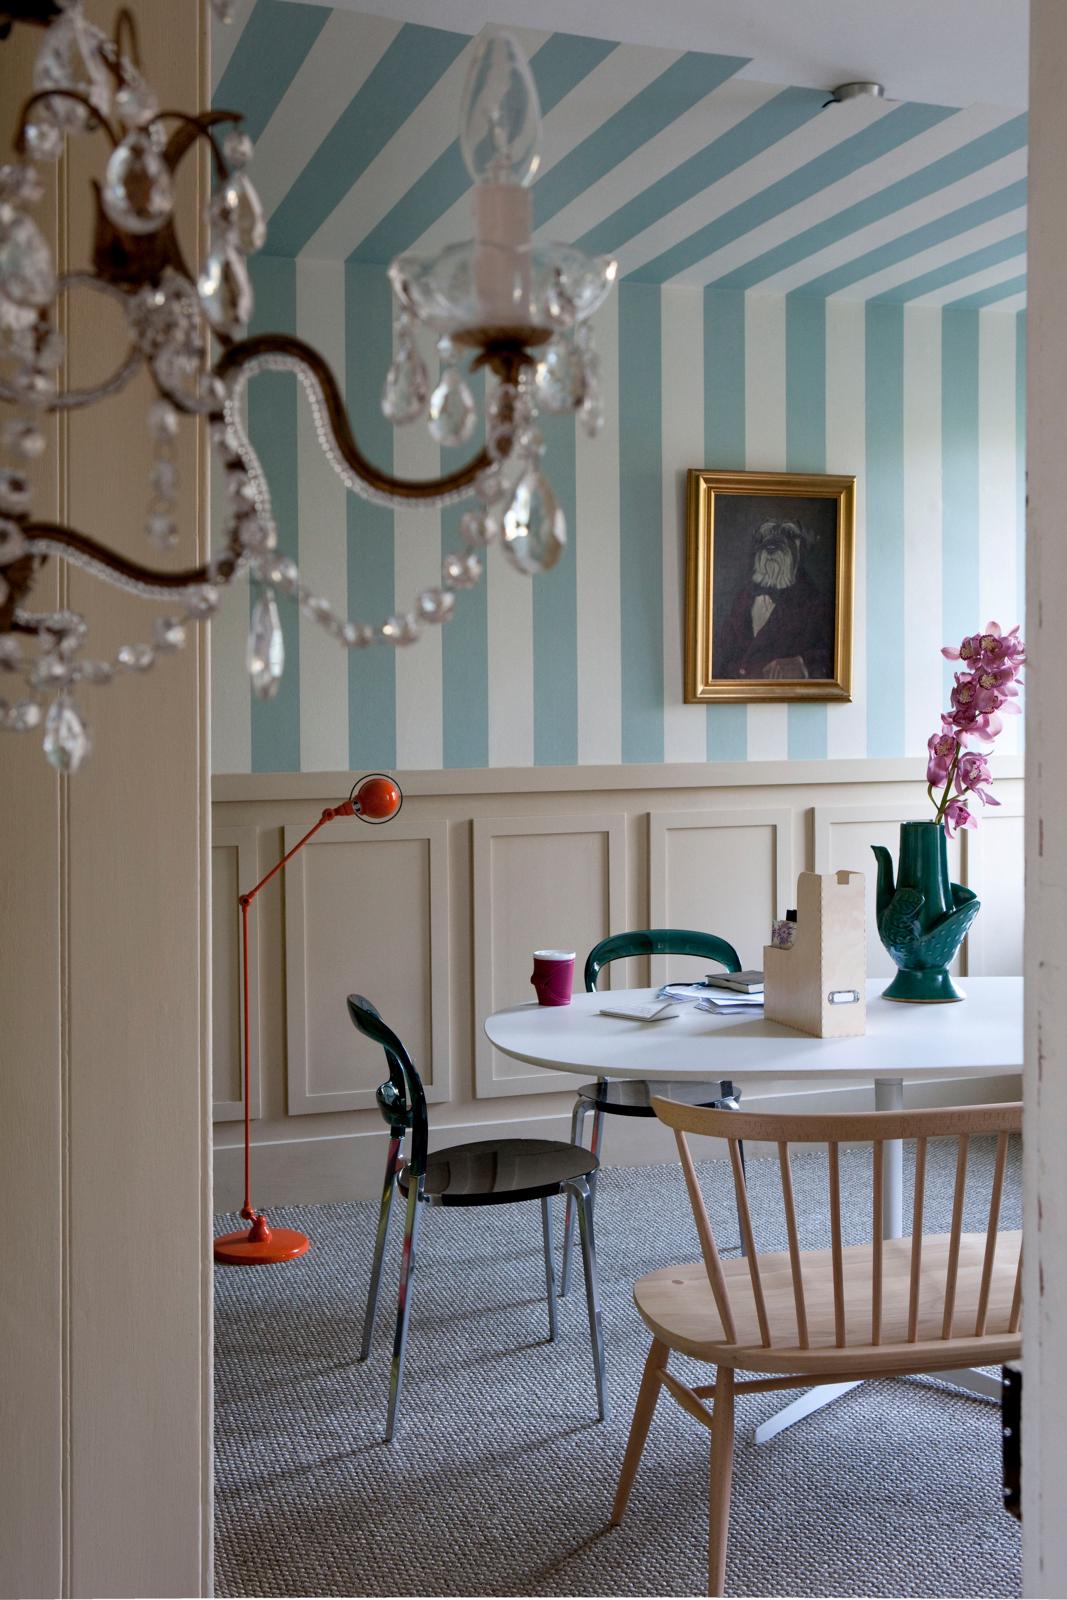
Before you start painting stripes, you need to plan ahead. Consider paint colors, patterns, and stripe sizes.
'Make sure you have a solid base color to plan your stripes off of so that there is a contrast to them when you are done,' recommends Brandon Walker, self-professed paint nerd at ASAP Restoration. 'White paint usually works well for this, but anything that is on the opposite side of the color wheel from the hue of the stripes will work just fine.”
We recommend that you use an online color wheel like this Color Wheel from Canva to help choose complementary color combinations and more.

Brandon has been in the painting and construction industry for more than 20 years, cutting his teeth as a teenage painter working for Walker Paint Masters doing commercial projects for Planet Hollywood and Elizabeth Arden’s Red Door Spa. After running his own company for a number of years, he decided to advance his painting and decorating skills as a Superintendent with ASAP Restoration.
Horizontal Or Vertical Stripes
Vertical stripes are a popular choice, but if you want something different, there’s always the option to introduce horizontal stripes. Ultimately, what you choose is up to you. Still, you will need to put in more work if you go for horizontal stripes as Brandon Walker explains:
'The process for determining stripes mathematically will be the same whether you are going vertical or horizontal, but painting horizontal stripes is much more of a challenge than painting vertical ones because of the logistical challenges faced when working against gravity.'
Design expertise in your inbox – from inspiring decorating ideas and beautiful celebrity homes to practical gardening advice and shopping round-ups.
Brandon continues: 'When you do vertical stripes it doesn’t really matter where you start, but when you do horizontal ones, the chances of getting paint in areas you don’t want it to go increase dramatically.' One tip he suggests for horizontal stripes is to really press your painter's tape into the surface before beginning.
How to create an even stripe pattern
If you are going for an even stripe pattern (where all the stripes are the same width), then you need to choose how wide you want each stripe to be, explains Walker.
So how do you make sure that you get even stripes? 'Take the amount of area that you're trying to add stripes to and divide it by the thickness of the stripe that you want. This will dictate the number of stripes that you can fit in the space.'
But how can you make sure that the strips fit evenly across a wall? 'The best method for making sure that everything looks right when striping is to work the math until this figure you reach is a whole number. If it is a fraction, then you will have that fraction as the size of your last stripe on the wall.'
How many stripes do you want? An odd number of stripes will leave you with the same colored stripes in each corner. This is ideal if you are painting a single wall. However, if you are painting more than one wall, use an even number of stripes, as this will continue the pattern from wall to wall.
How to plan for uneven stripes
Planning for different-size stripes (i.e., thick and thin) requires more planning than planning for even stripes. As Walker reveals, 'Choose your colors. Choose your stripe sizes. Choose your ratio of thick to thin stripes. Add the amount of coverage your thick and thin stripes will occupy together. Measure your space.'
Now comes the clever bit: 'Divide the space figure by the number you attained for stripes added together. This will determine the amount of stripes ratios you have for the total wall. Again, if this is a fraction you might want to rework the thicknesses of your stripes until it comes out to a whole number, or you will have fractions of stripes when you go to paint.'
How to paint stripes
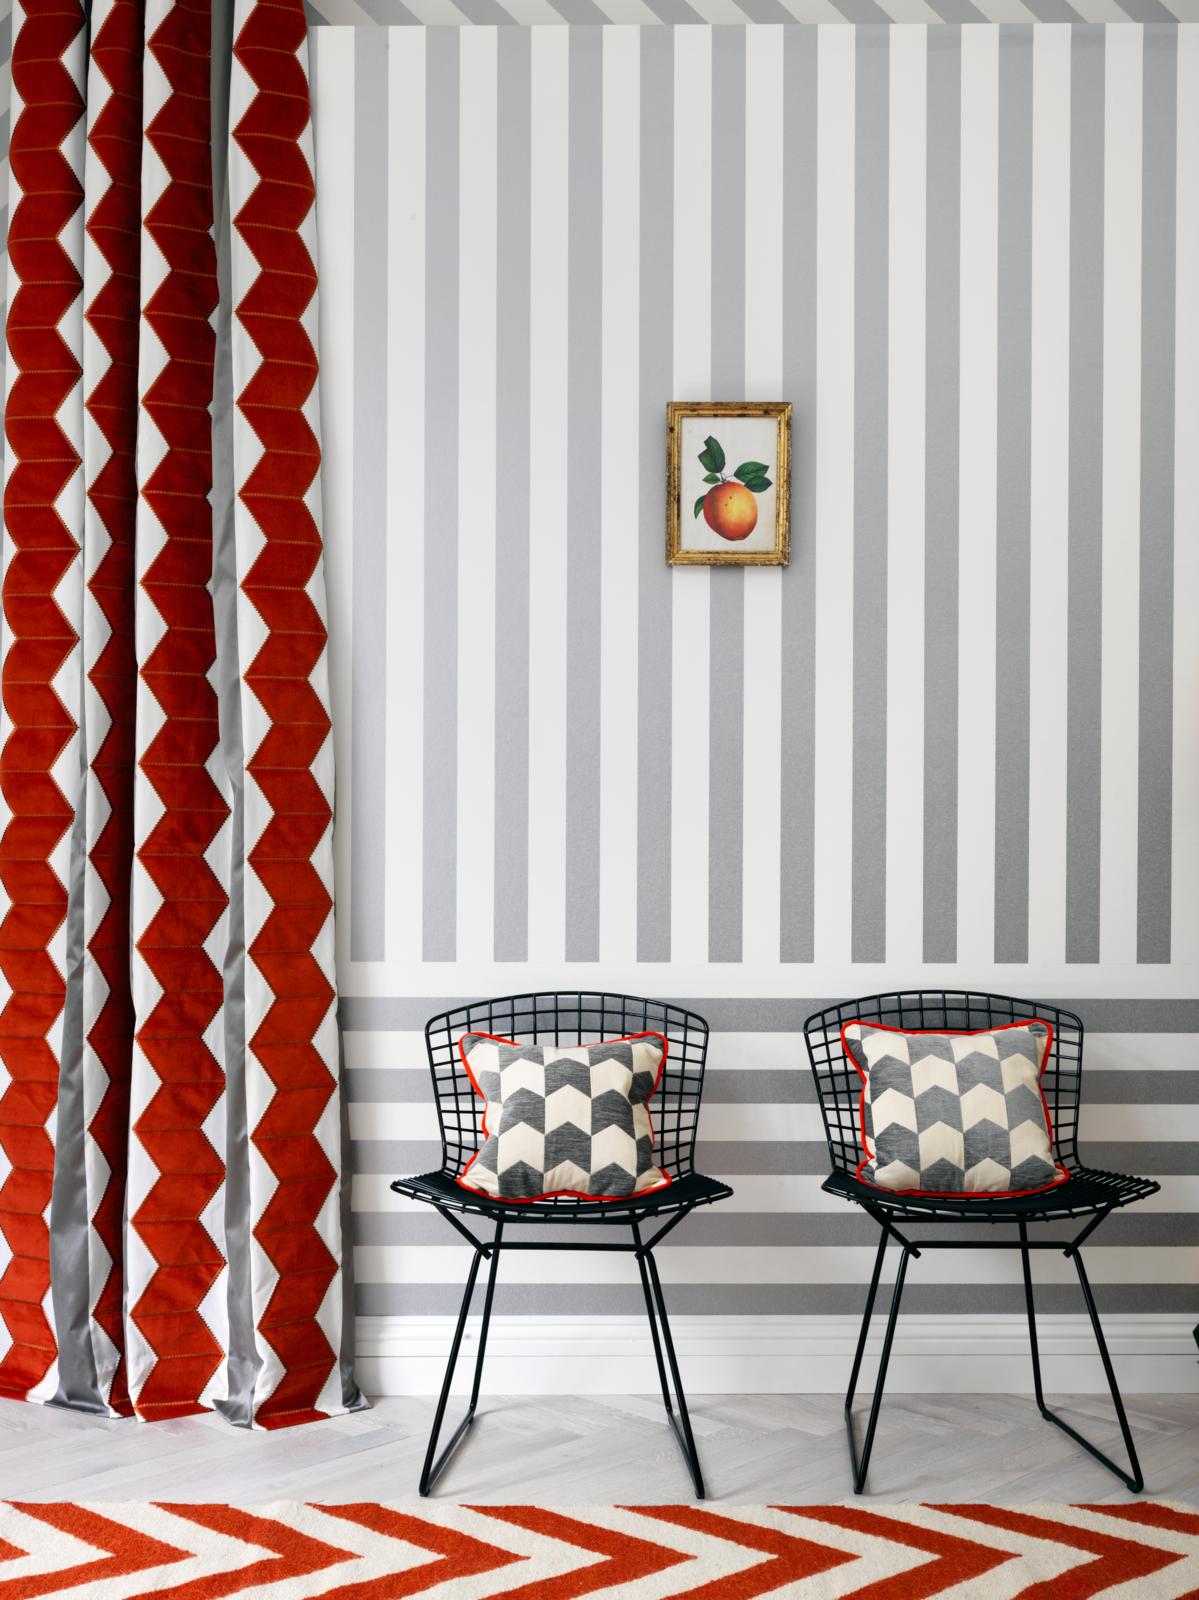
Before you start, make sure you have your paint, brushes, rollers, drop cloths, painter's tape, tape measure, and step ladder/stool ready to go.
1. Prep the room
Prepare the room for painting by moving furniture away from the walls and laying down any drop cloths you are going to use. Brush down the walls with a stiff brush and wash down with warm water—add a squirt of dish soap and a sponge. When the wall is dry, give it a quick rub down with fine sandpaper to ensure better paint adhesion.
2. Apply base coat
The first coat of paint you need to add is the base color you have chosen for the stripes. Start at the top of the wall in one corner and work across and down using a 2-3 inch paint brush to create a 2-3 inch border around the wall.
Now, get your roller and finish the wall using a V/W pattern to apply the paint. Leave to dry as recommended by the manufacturer and apply a second coat and leave to dry.
3. Mark out stripes
Now get a pencil and tape measure reay to mark out your stripes. If using even sized stripes measure the wall - corner to corner or floor to ceiling - and divide by the number of stripes to get the measurements you need and mark with a pencil and large spirit level. Then add painters tape.
If using different size stripes, 'Measure the center points of the stripes for the thick ones and mark them on the wall.' suggests Walker. 'Use painter’s tape to create a straight line parallel to your center point at half the distance of your big stripes. Then mark off the other half and make a straight painter’s tape line there, too. After you are done with the thick stripes, use the same process to mark the thin ones.' When finished, 'Your wall should be covered in painter’s tape in the exact pattern that you will want the stripes to look when finished'.
4. Paint your stripes
Start with a paintbrush to paint the edges, and overlap onto the painter's tape. Fill in with a mini roller. However, 'If all of the stripes are the same color, you may be able to do them all at once if the taped-off sections don’t overlap. If they are going to be different colors, then you will have to do them in two separate stages with dry time in between,' says Walker.
Typically, you will need two coats. Make sure to 'pull the tape off when the paint is still wet to get the best and most crisp lines. When the paint is dry, it will be more difficult to pull the tape, and it will ruin the quality of your lines.'
FAQs
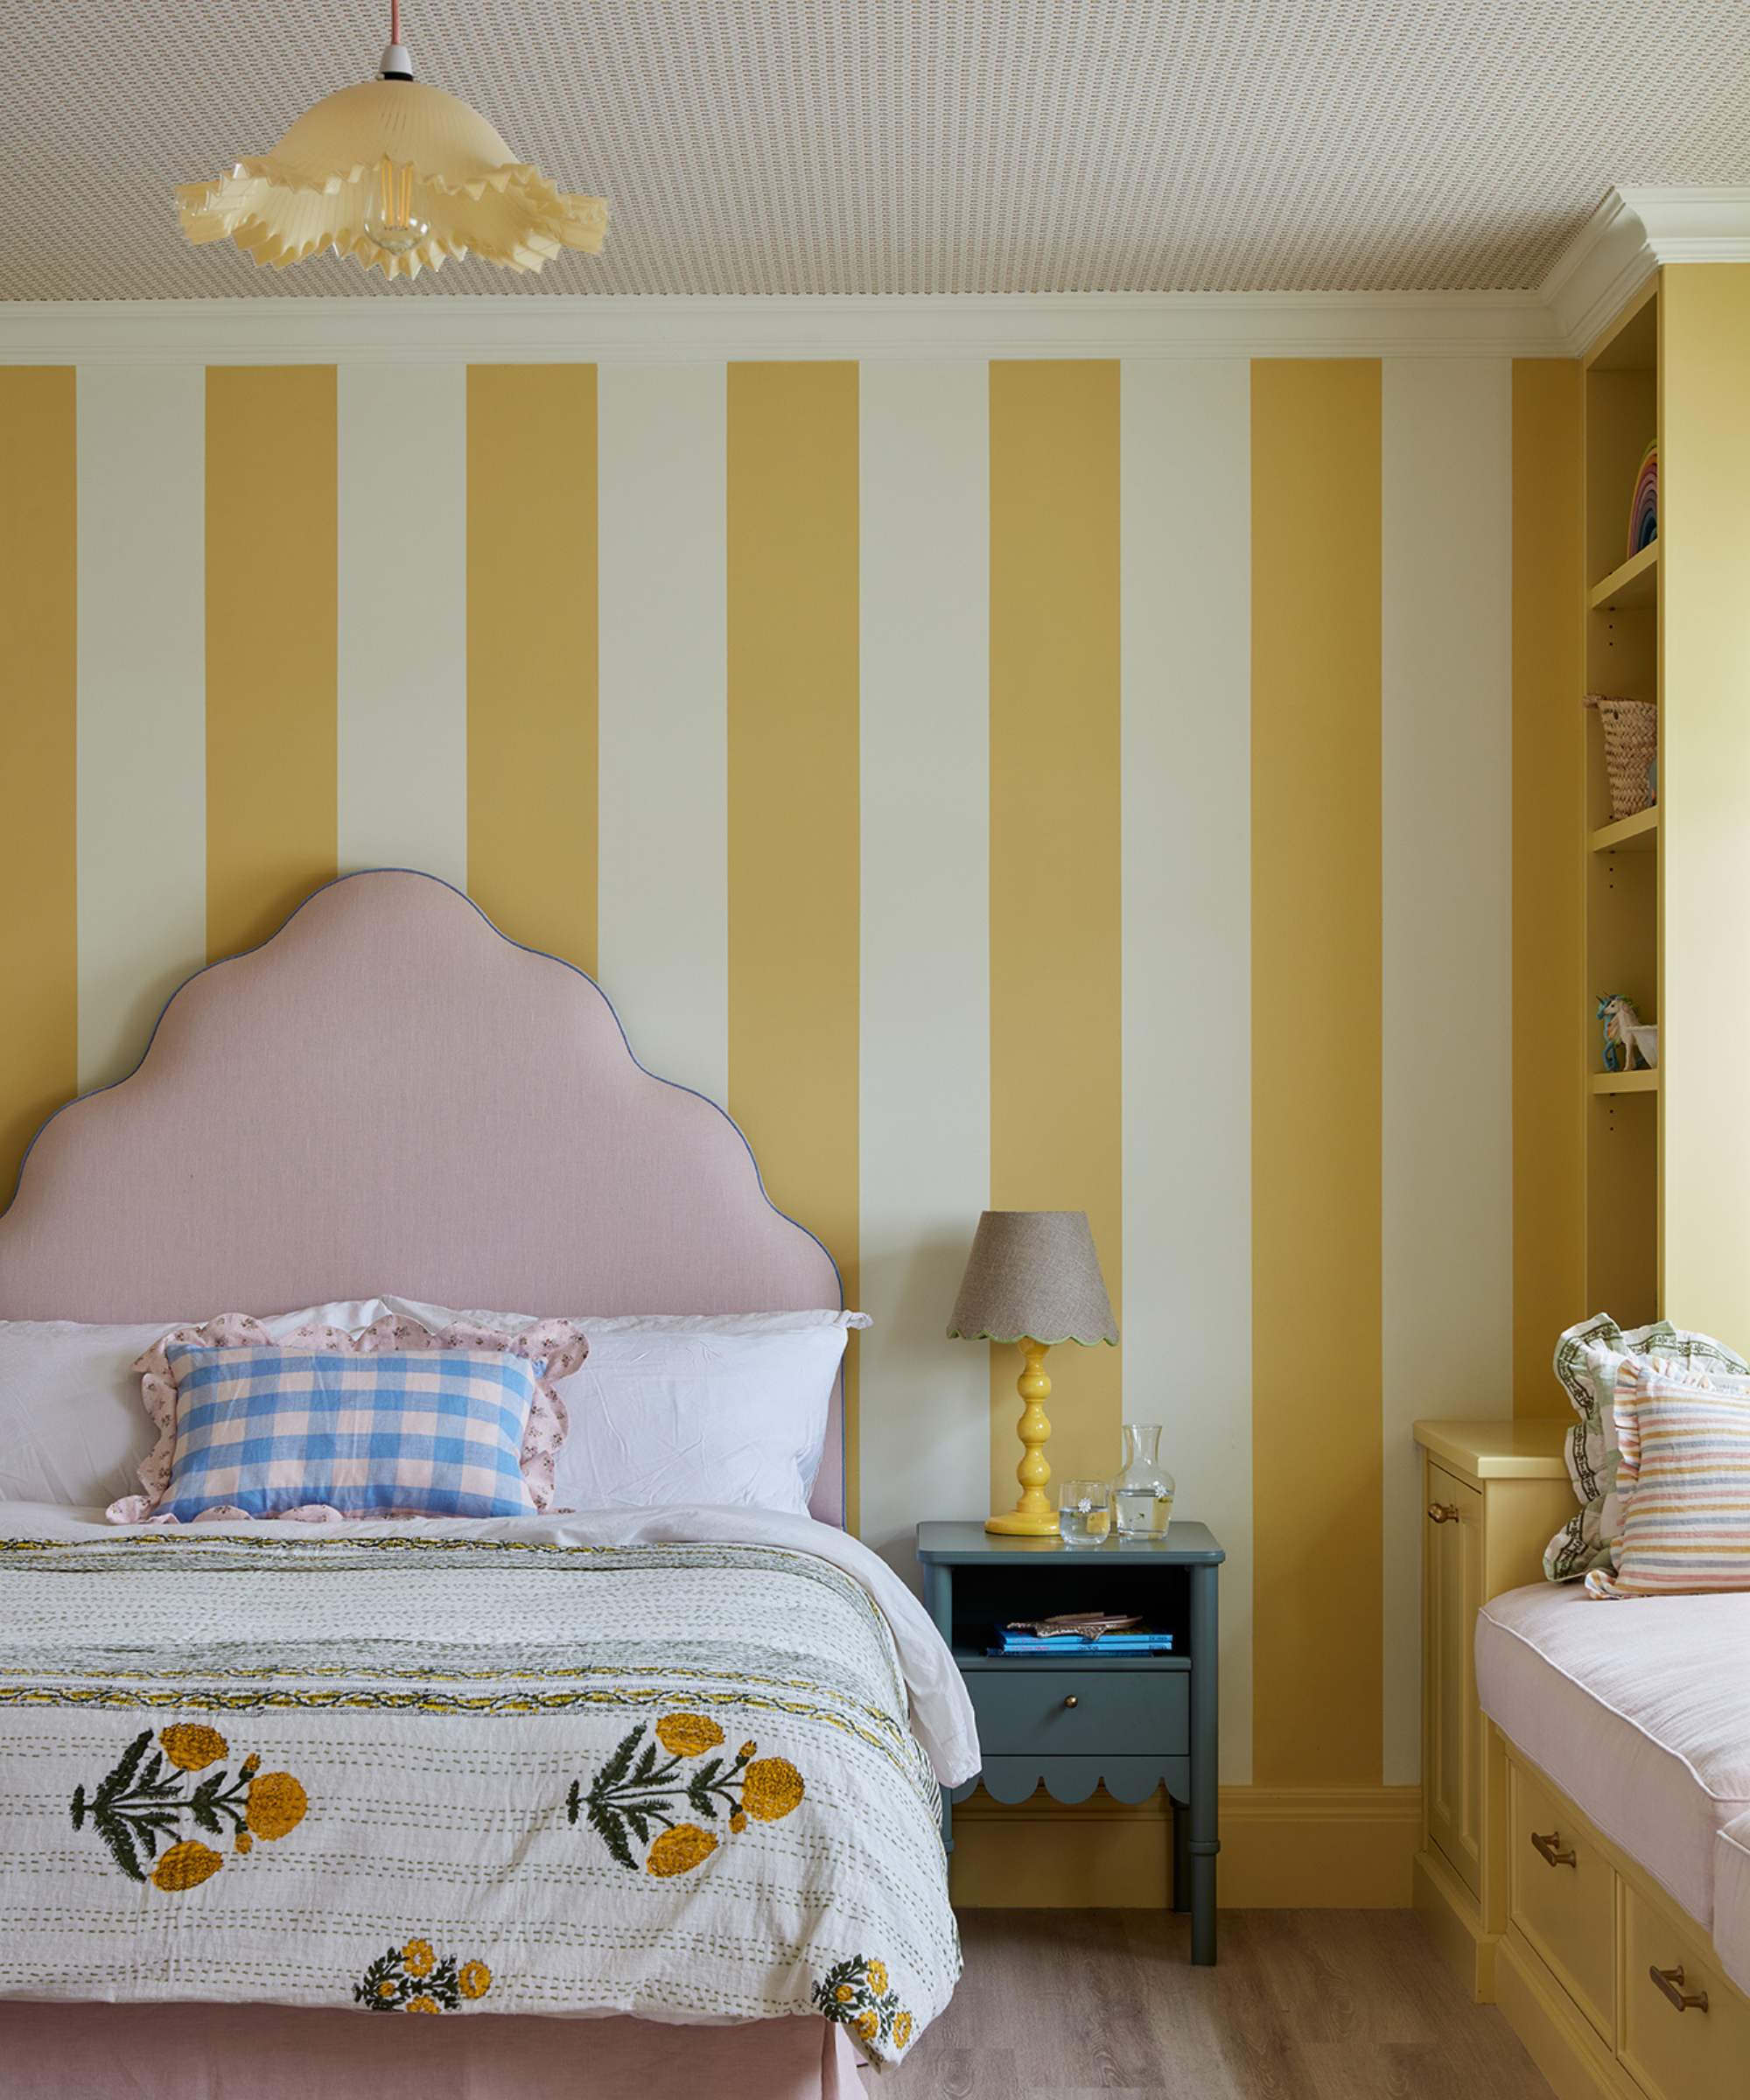
What Is The Best Tape/Method To Use To Get Crisp Straight Edges?
When painting stripes you want to make sure that you are getting crisp clean edges with no paint bleed. 'The best approach for getting truly straight and crisp lines is to press the painters tape as much into the surface as possible for complete adhesion. Painters tape has a tendency to rise up if left to its own devices, so just make sure to thumb it all in as much as possible.' reveals Walker.
'Paint over the painter’s tape, don’t try to paint up to it. When the whole area has been covered, pull off the tape while the paint is still wet to get the best finish and the crispest lines.'
If you have textured walls or wallpaper, getting crisp lines is not as simple. One winning tip is to secure your painters tape to the wall and run your thumbnail down the edge to get as tight a fit as possible to the wall. Then paint the edge - covering the wall and painters tape - with the base color. This will fill any small gaps. Leave to dry and then add the stripe color.
What Colors Work Best For Stripes?
Color choice is very much a matter of personal taste, but should you use contrasting colors or shades of the same hue? Walker says, 'It’s really up to your aesthetic direction, but contrasting colors are usually more trustworthy because they create a definite separation than shades do not.'
Two colors are the common option, but can you use more than two colors? 'You can use as many colors as you feel the space needs,' explains Walker. 'But it’s important to remember that the more colors you choose to work with, the more complicated and expensive the entire process will be.'
Should I Paint Stripes On All Walls Or Just One Wall?
Again this is very much a personal choice. Stripes are often used as a feature wall, creating a distinctive focal point for a room. But if you like stripes they can be painted onto two, three or four walls to create a special effect that you will rarely see elsewhere. But stripes on all walls can be overpowering, so make sure it's what you want.
If you're not convinced you're up for the challenge of painting stripes on walls you could always learn how to wallpaper a room with a striped paper of your choice.

Steve has been a homes writer and editor for two decades, regularly contributing to brands like Homebuilding & Renovating Magazine. He is an avid DIYer with over 20 years of experience transforming and renovating homes. He specializes in painting and decorating but has strong all-around building skills, having worked in the industry for ten years.
