- 1. Pack a box of cleaning essentials
- 2. Prioritize the refrigerator…
- 3. …and the toilet
- 4. Clean from top to bottom – literally
- 5. Tackle the kitchen
- 6. Blitz the bathrooms
- 7. Move through the rest of the rooms item-by-item
- 8. Think about less-obvious areas
- 9. Deal with curtains, carpets and soft furnishings
- 10. Factor in construction
- 11. Change the air filters
- 12. Keep safety in mind as you go
- FAQs
With so many things to remember and tasks to complete before moving out, cleaning is usually pretty far down the list of priorities for most. Even if it has been done, there’s no guarantee it’ll be up to standard. Rather than leave it to chance, we’d recommend familiarizing yourself with how to clean a new home before moving in, so you can ensure a fresh new start – quite literally.
Whether you’re buying or renting, the more organized you are when moving house, the less stressful it will be, and cleaning comes high up on the list of must-dos. Along with decluttering to move and packing up your things well in advance, undertaking a thorough deep clean before you start bringing things into it should be high up the checklist for moving into a new house.
‘An empty house makes for a much easier clean and allows you to work to a standard you’re happy and comfortable with. Another benefit is the opportunity to inspect the property more closely and identify any issues that might need to be addressed such as pest infections, leaks or other maintenance issues in advance of you moving in’, says cleaning expert Angela Lee of Ontario-based cleaning service Hellamaid.
How to clean a new home before moving in
While preferable, cleaning a new home before moving in isn’t always an option. If that’s the case, waiting until move day is fine; try and keep all your boxes, furniture and belongings contained to one area (ideally not the kitchen or bathroom) to make the job as easy as possible. Alternatively, consider putting your things into storage for a couple of days to buy yourself some time.
Once you’re set up, it’s time to start your deep clean. Hopefully you’ve got a well-planned cleaning schedule to hand; this will be slightly different for everyone, depending on what type of house they’re moving into, however, the basics remain the same. Using our own experience and advice from the experts, we’ve put together a step-by-step guide to get you started.

Angela Lee writes for cleaning company Hellamaid.com and has made it her mission to help others create a cleaner and more organized living space, learning from the experts and staying up-to-date on the latest trends and techniques in the industry. With years of experience in home organization and cleaning, she has a wealth of knowledge to share with readers.
1. Pack a box of cleaning essentials

When you’re packing up belongings, be mindful of keeping cleaning essentials to one side, so you’re prepped and ready from the moment you get your keys. As a minimum, we’d recommend the following tools and equipment:
- Vacuum cleaner
- Mop and bucket, like this one at Walmart
- Broom and dustpan, at Target
- Squeegee, at Amazon
- Rubber gloves, at Walmart
- All-purpose cleaner, at Target
- Step ladder, at Amazon
- Bicarb of soda, at Walmart
- White vinegar, at Walmart
- Sponges, at Walmart
- Microfiber cloths, at Amazon
- Grout brush, at Amazon (or toothbrush)
- Paper towels, at Walmart
Pete Brichka, CEO and owner of Pete’s Moving Services in California, also recommends including scissors and an electric drill: ‘as any wise mover will know, having these tools available ahead of time will make the transition much smoother and easier. Scissors are handy for cutting tape and opening boxes, while a good-quality, cordless drill is ideal for when you need to hang something, or assemble furniture’, he says.
Design expertise in your inbox – from inspiring decorating ideas and beautiful celebrity homes to practical gardening advice and shopping round-ups.
A few final essentials from us: water, snacks…. and toilet paper!
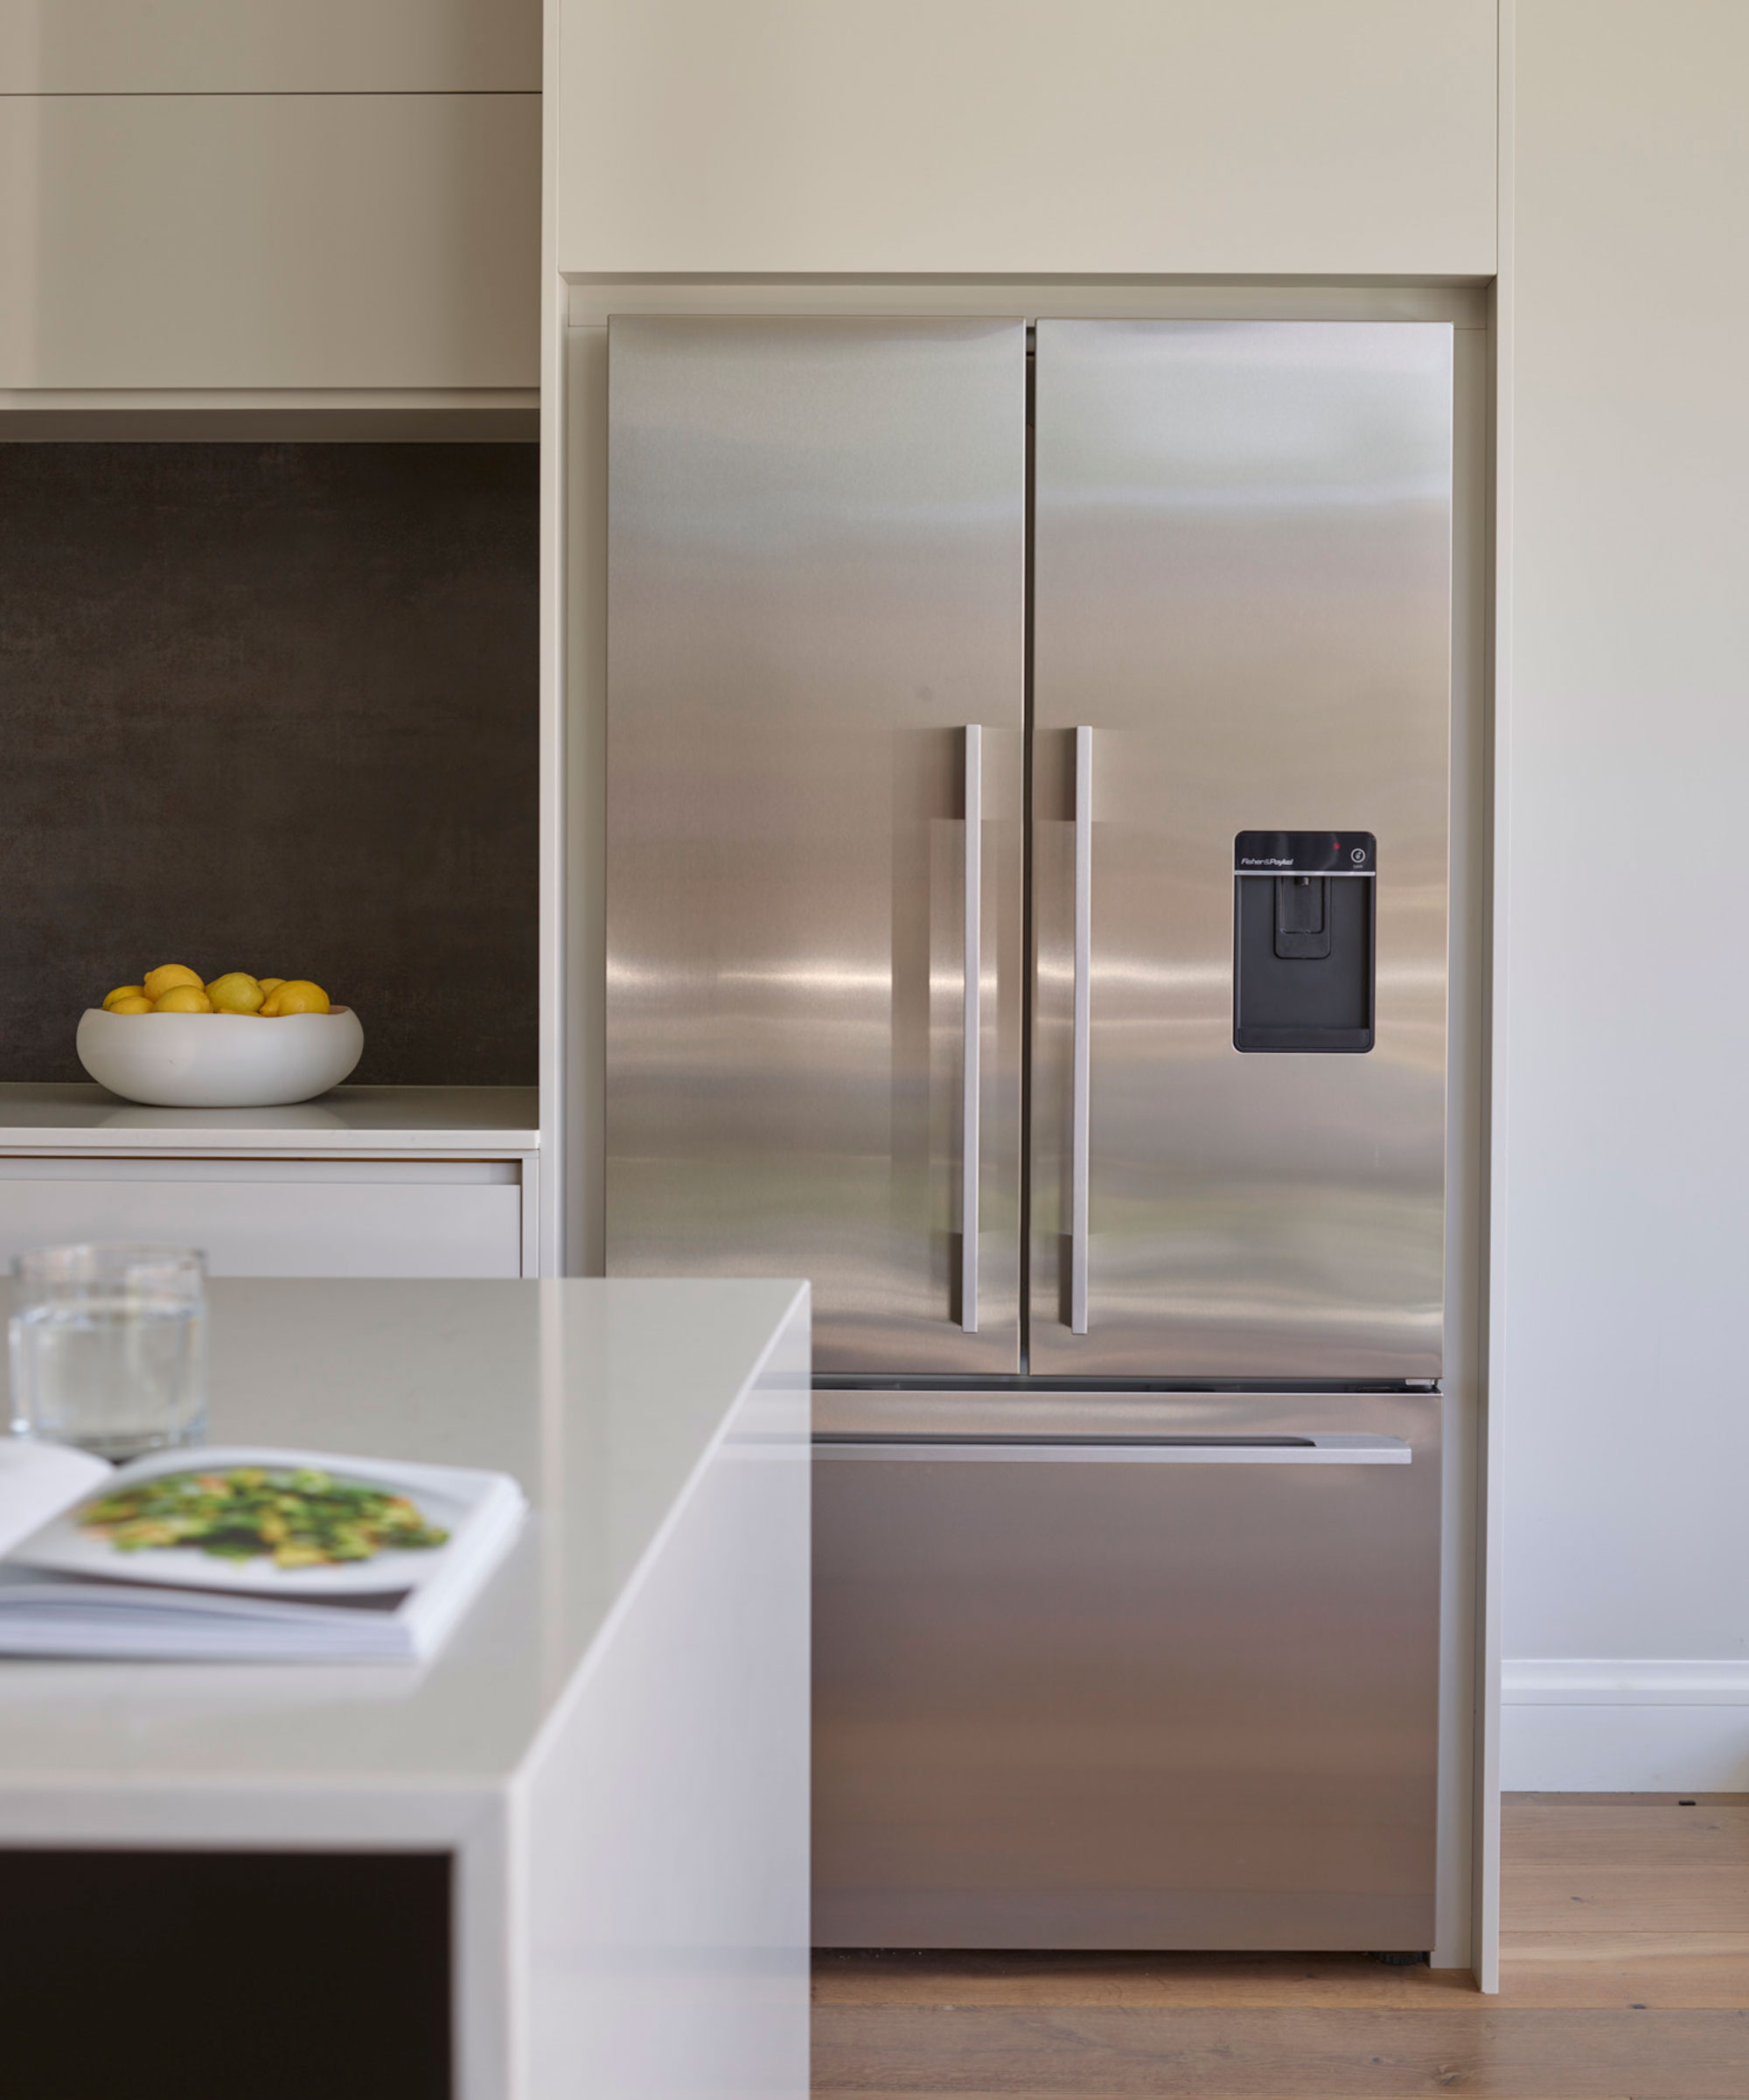
2. Prioritize the refrigerator…

Having a clean space to store food you’ve brought over from your previous home is really important. In fact, it's one of our top recommended cleaning habits for new homeowners.
Time is of the essence when it comes to chilled or frozen items, so familiarize yourself with how to clean a refrigerator, and make it job number one. ‘It’s much easier to clean whilst empty and then you can store perishables safely while you’re working on unpacking the rest of your belongings’, says Jennifer Rodriguez, chief hygiene officer at Pro Housekeepers.
3. …and the toilet
Cleaning the bathroom, or at the very least the toilet and sink should be next on your list. There’s every chance the previous home-owners used it before leaving, and it won’t be long before you’ll need to use it yourself, so a thorough clean is essential.
‘We’d also advise changing the toilet seats. They’re relatively cheap and you’ll be much more at ease knowing that it’s brand new’, says Chi Ip, owner of Boston-based cleaning service Tidy Here.
4. Clean from top to bottom – literally

Before you get into the nitty gritty of cleaning any room, it’s important to familiarize yourself with how to deep clean your house with some general cleaning tips, to ensure you’re getting the job done as quickly and efficiently as possible. Starting at the top and working down is one of the best that we – and the experts – can offer.
‘By taking care of higher areas such as ceilings, walls and trim first, then gradually working your way towards the flooring, you can prevent dirt and debris from landing on freshly-cleaned surfaces. Cleaning the floors last allows you plenty of time to make sure everywhere has been thoroughly vacuumed and mopped before you start moving furniture in – it’ll be harder to clean then’, says Pete Brichka.
5. Tackle the kitchen
So the fridge is clean, now you can move onto the rest of the room. As a high-traffic area, kitchens tend to accumulate a lot of grime, which can be pretty overwhelming, particularly if it’s not your grime you’re having to deal with! With that in mind, one of the best ways to clean a kitchen is to break it down into sections.
Start high; dust off light fittings, rid corners of cobwebs and wipe down the tops of wall-mounted cabinets and the fridge. Next, move onto appliances. Familiarize yourself with how to clean an oven (and how to clean a stove burner, if you have one), a microwave and a dishwasher – don’t forget to clean the filter. Where possible, safely pull appliances out from the wall and clean under and behind them. When cleaning kitchen cabinets, be sure to tackle inside as well as out; wipe down the walls and shelves from top to bottom, as well as the doors and knobs. Repeat the process for drawers, too. Clean the kitchen sink and wipe down kitchen countertops before finally giving the floor a thorough vacuum and mop.
Effectively getting rid of all food debris, grease, water marks and spatters is the ultimate goal, but it’s worth noting that you don’t have to use chemical cleaners to achieve this – natural solutions, such as cleaning with vinegar, baking soda and lemon, can be just as effective.
6. Blitz the bathrooms
It may look clean enough, but when it comes to cleaning a bathroom in your new home, it’s about ridding it of invisible germs and bacteria, just as much as achieving spotless surfaces – hygiene is paramount.
You’ll want to get rid of dust before you introduce water or cleaning products, so wipe down fixtures and fittings with a microfibre cloth first. When it comes to effective disinfecting, the longer you allow the cleaning product to work the better.
‘Let your cleaning products sit for a few minutes before wiping them away, and get on with other tasks in the meantime. This will give them time to break down dirt and grime, making it easier to clean’, says Angela Lee.
How to clean a bathroom sink and a bathtub will depend on the material they’re made from, so check first to see if there’s specific products you should be using. Like in the kitchen, start high, cleaning ventilation fans as well as light fixtures and the tops of cabinets. Spritz down tiled walls and wipe down the sanitaryware, paying extra attention to faucets.
When wiping down the shower, focus on how to clean a showerhead and don’t forget the shower screen glass; a 50:50 solution of vinegar and water works well, and is handy for cleaning a mirror without streaks, too. Finish with a sweep and mop.
7. Move through the rest of the rooms item-by-item

Now you can start ticking off the rest of the rooms; entryway, living room, home office, bedrooms, and so on. These should all be fairly straightforward. An effective efficiency trick is to treat them all as one, cleaning by item, as opposed to by room. So, you’d dust off the ceiling fans in every room, then go back and do the tops of the doors, then the light switches, window sills and so on, working downwards. This gives any dust you’ve disturbed time to settle. Vacuuming and/or mopping should be the very last thing you do.
It’s important to give the windows a wipe too, but if it’s sunny outside you might want to hold off – it makes it harder to see streaks, so make it a job for a rainy day.
Whilst you’re working through the rooms, keep your eyes peeled for things like wall damage, surface repairs, broken taps, faulty light switches and sockets, loose nails, and so on; anything that needs fixing. Make a list as you go to remind yourself of what needs addressing.
8. Think about less-obvious areas
Despite good intentions, there’s likely areas that have been overlooked by previous owners or tenants – and likely by you too, if you don’t give it proper thought. So, what are the dirtiest areas of your home? Often those you have to look for, or closely at, such as cabinet and drawer handles and the insides of light fittings, as well as hard-to-reach architraves and grubby baseboards. Start making a list beforehand, so you don’t miss them out.
9. Deal with curtains, carpets and soft furnishings
If you’re moving into a rental, there’s every chance you’ll have existing curtains and soft furnishings to factor into your cleaning, perhaps even a mattress. Definitely don’t skip these – you’d be amazed at the amount of dust and dirt fabrics can harbor. Luckily, if you know how to clean upholstery properly, it’s fairly straightforward to do.
A steam cleaner is the most effective method, and if you rent a hand-held design, is pretty versatile – just be sure to check the care tags to ensure the fabric you’re using it on can take the heat.
Whilst you’ve got a steam cleaner to hand, take the opportunity to deep clean your carpet, as well as any area rugs that have come with the property.
10. Factor in construction
If you’re moving into a newly-built home, you should have a lot less heavy-duty cleaning to do. Contractors should organize a deep clean before you take possession, as part of the contract. A surface level clean is usually enough, but there’s a few extra things you’ll need to pay attention to.
In a post-construction property, you’ll want to focus most of your efforts on dusting and vacuuming. Construction dust can take days to settle, so there’s every chance more has appeared since the builder’s clean. Remove any plastic, styrofoam or packing off appliances, and give them a quick wipe down (a cloth dampened with vinegar-water is fine). Give toilets a clean, too – the builders may well have found themselves caught short at some point, so it’s worth doing for peace of mind.
If the property you’re moving into hasn’t had an organized deep clean post-construction for whatever reason, you’ll need to give more thought to how to clean a new house after construction. It can be a whole different ball game – we’re talking time, effort and specialist cleaning tools. Your day-to-day vacuum won’t cut it, unfortunately.
Depending on the level of cleaning needed, you might want to consider hiring a professional cleaning company to do the job for you. By the time you’ve rented the equipment you need, and worked your way through around a million cleaning cloths, the cost will likely even out.
11. Change the air filters
The last thing you want is layers of dust clouding up your newly cleaned home, so it’s always a good idea to start with fresh filters. Mark them with the installation date and put a note in your calendar to keep on top of changing them regularly.
12. Keep safety in mind as you go
As you’re working through room by room, take the opportunity to make sure your home is in safe, working condition. It doesn’t take much in the way of extra effort, simply integrate relevant tasks into your deep clean routine; when clearing the dust off ceiling fans, change the batteries in your smoke detectors, vacuum out your dryer vent when organizing a laundry room, find space for a fire extinguisher when organizing kitchen cabinets, and so on. Make this a habit next time a deep clean is due, too.
If you feel like you need professional help to clean things like the dryer vent, the oven hood or the air ducts, don’t be afraid to get it. It will keep your family healthier, and keeps your home safe from fires or other issues in the long run,' says Nick Mueller, Director of Operations at Hawaiin Islands.
FAQs
Should you clean a house before moving in?
This depends on what state the house is in, and what you’re prepared to live with, but experts would always recommend it for hygiene and safety reasons, as well as for peace of mind.
‘Doing an initial clean of the space is a great way to make your new home feel more "yours" – and it can also help settle any concerns about what germs or bacteria the old owners may have left behind. If the home seems pretty clean already, you can just do a regular quick disinfect and clean of the kitchen and bathroom, vacuum carpets, and so on. If it seems like the old occupants may have left without much cleaning, I would recommend a deep clean of the kitchen and bathrooms, and maybe even steam cleaning carpets’, says Jon Stephens, Director of Operations at Snowshoe Vacation Rentals.
How clean do you have to leave a house when moving?
If you own the property, there’s no regulation on how clean you should leave it – it’s up to you. The polite thing would be to give it a thorough onceover, ready for the next occupants, but not everyone will feel this necessary – one of the reasons why knowing how to clean a new home before moving in is so important!
‘When moving out of a rental property, you are typically required to leave it in "broom-swept" condition. This means that you should clean the property thoroughly, but you don't have to leave it spotless. It’s a good idea to check your lease agreement to see if there are any specific cleaning requirements you need to meet,' says Laura Avila of Cleaning Fan.
If you’re planning to do a deep clean at some point anyway, before you move really is the best time – the less furniture and belongings you have to move around, the easier the job, and the more thorough you can be.

For 10 years, Tara King worked as a Content Editor in the magazine industry, before leaving to become freelance, covering interior design, wellbeing, craft and homemaking. As well as writing for Ideal Home, Style at Home, Country Homes & Interiors, Tara’s keen eye for styling combined with a passion for creating a happy – and functional – family home has led to a series of organization and cleaning features for H&G.
