How to paint garden furniture – give your outdoor pieces a spring makeover
With the arrival of good weather imminent, spring is the ideal time to brighten up your yard by refreshing your garden furniture

Design expertise in your inbox – from inspiring decorating ideas and beautiful celebrity homes to practical gardening advice and shopping round-ups.
You are now subscribed
Your newsletter sign-up was successful
Want to add more newsletters?

Twice a week
Homes&Gardens
The ultimate interior design resource from the world's leading experts - discover inspiring decorating ideas, color scheming know-how, garden inspiration and shopping expertise.

Once a week
In The Loop from Next In Design
Members of the Next in Design Circle will receive In the Loop, our weekly email filled with trade news, names to know and spotlight moments. Together we’re building a brighter design future.

Twice a week
Cucina
Whether you’re passionate about hosting exquisite dinners, experimenting with culinary trends, or perfecting your kitchen's design with timeless elegance and innovative functionality, this newsletter is here to inspire
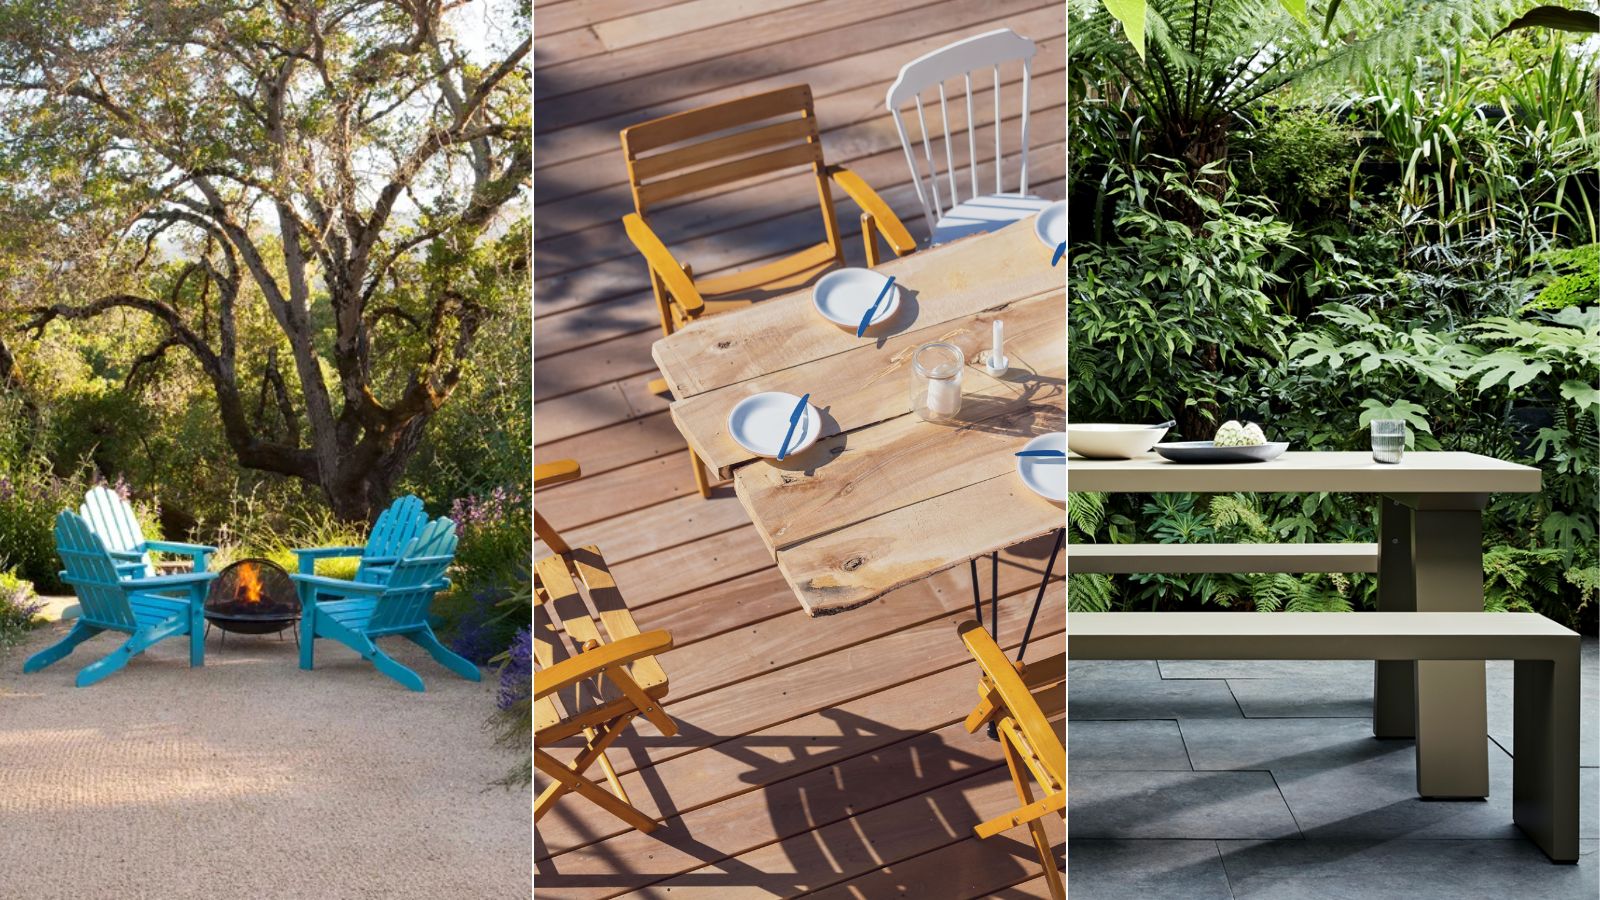
As spring arrives, bringing sunshine, blooms, and a whole host of vibrant colors, it's the perfect time to makeover your outdoor furniture with a fresh coat of paint.
A new paint job allows you to update the color or give mismatched furniture a cohesive new look. Painting your best outdoor furniture with shades inspired by spring, such as pastels or vibrant hues, can breathe new life into your yard.
Whether you are painting wooden furniture or other material types, giving them a spring makeover will not only enhance the beauty of your garden, but it will also give you added incentive to spend time outdoors, beyond the nice weather, of course.
Below, our experts have explained the seven simple steps to complete this task successfully.
How to paint garden furniture
Be sure to always paint in a well-ventilated area and wear protective gear, such as gloves and a mask, especially when sanding or using spray paints.
1. Clean the furniture
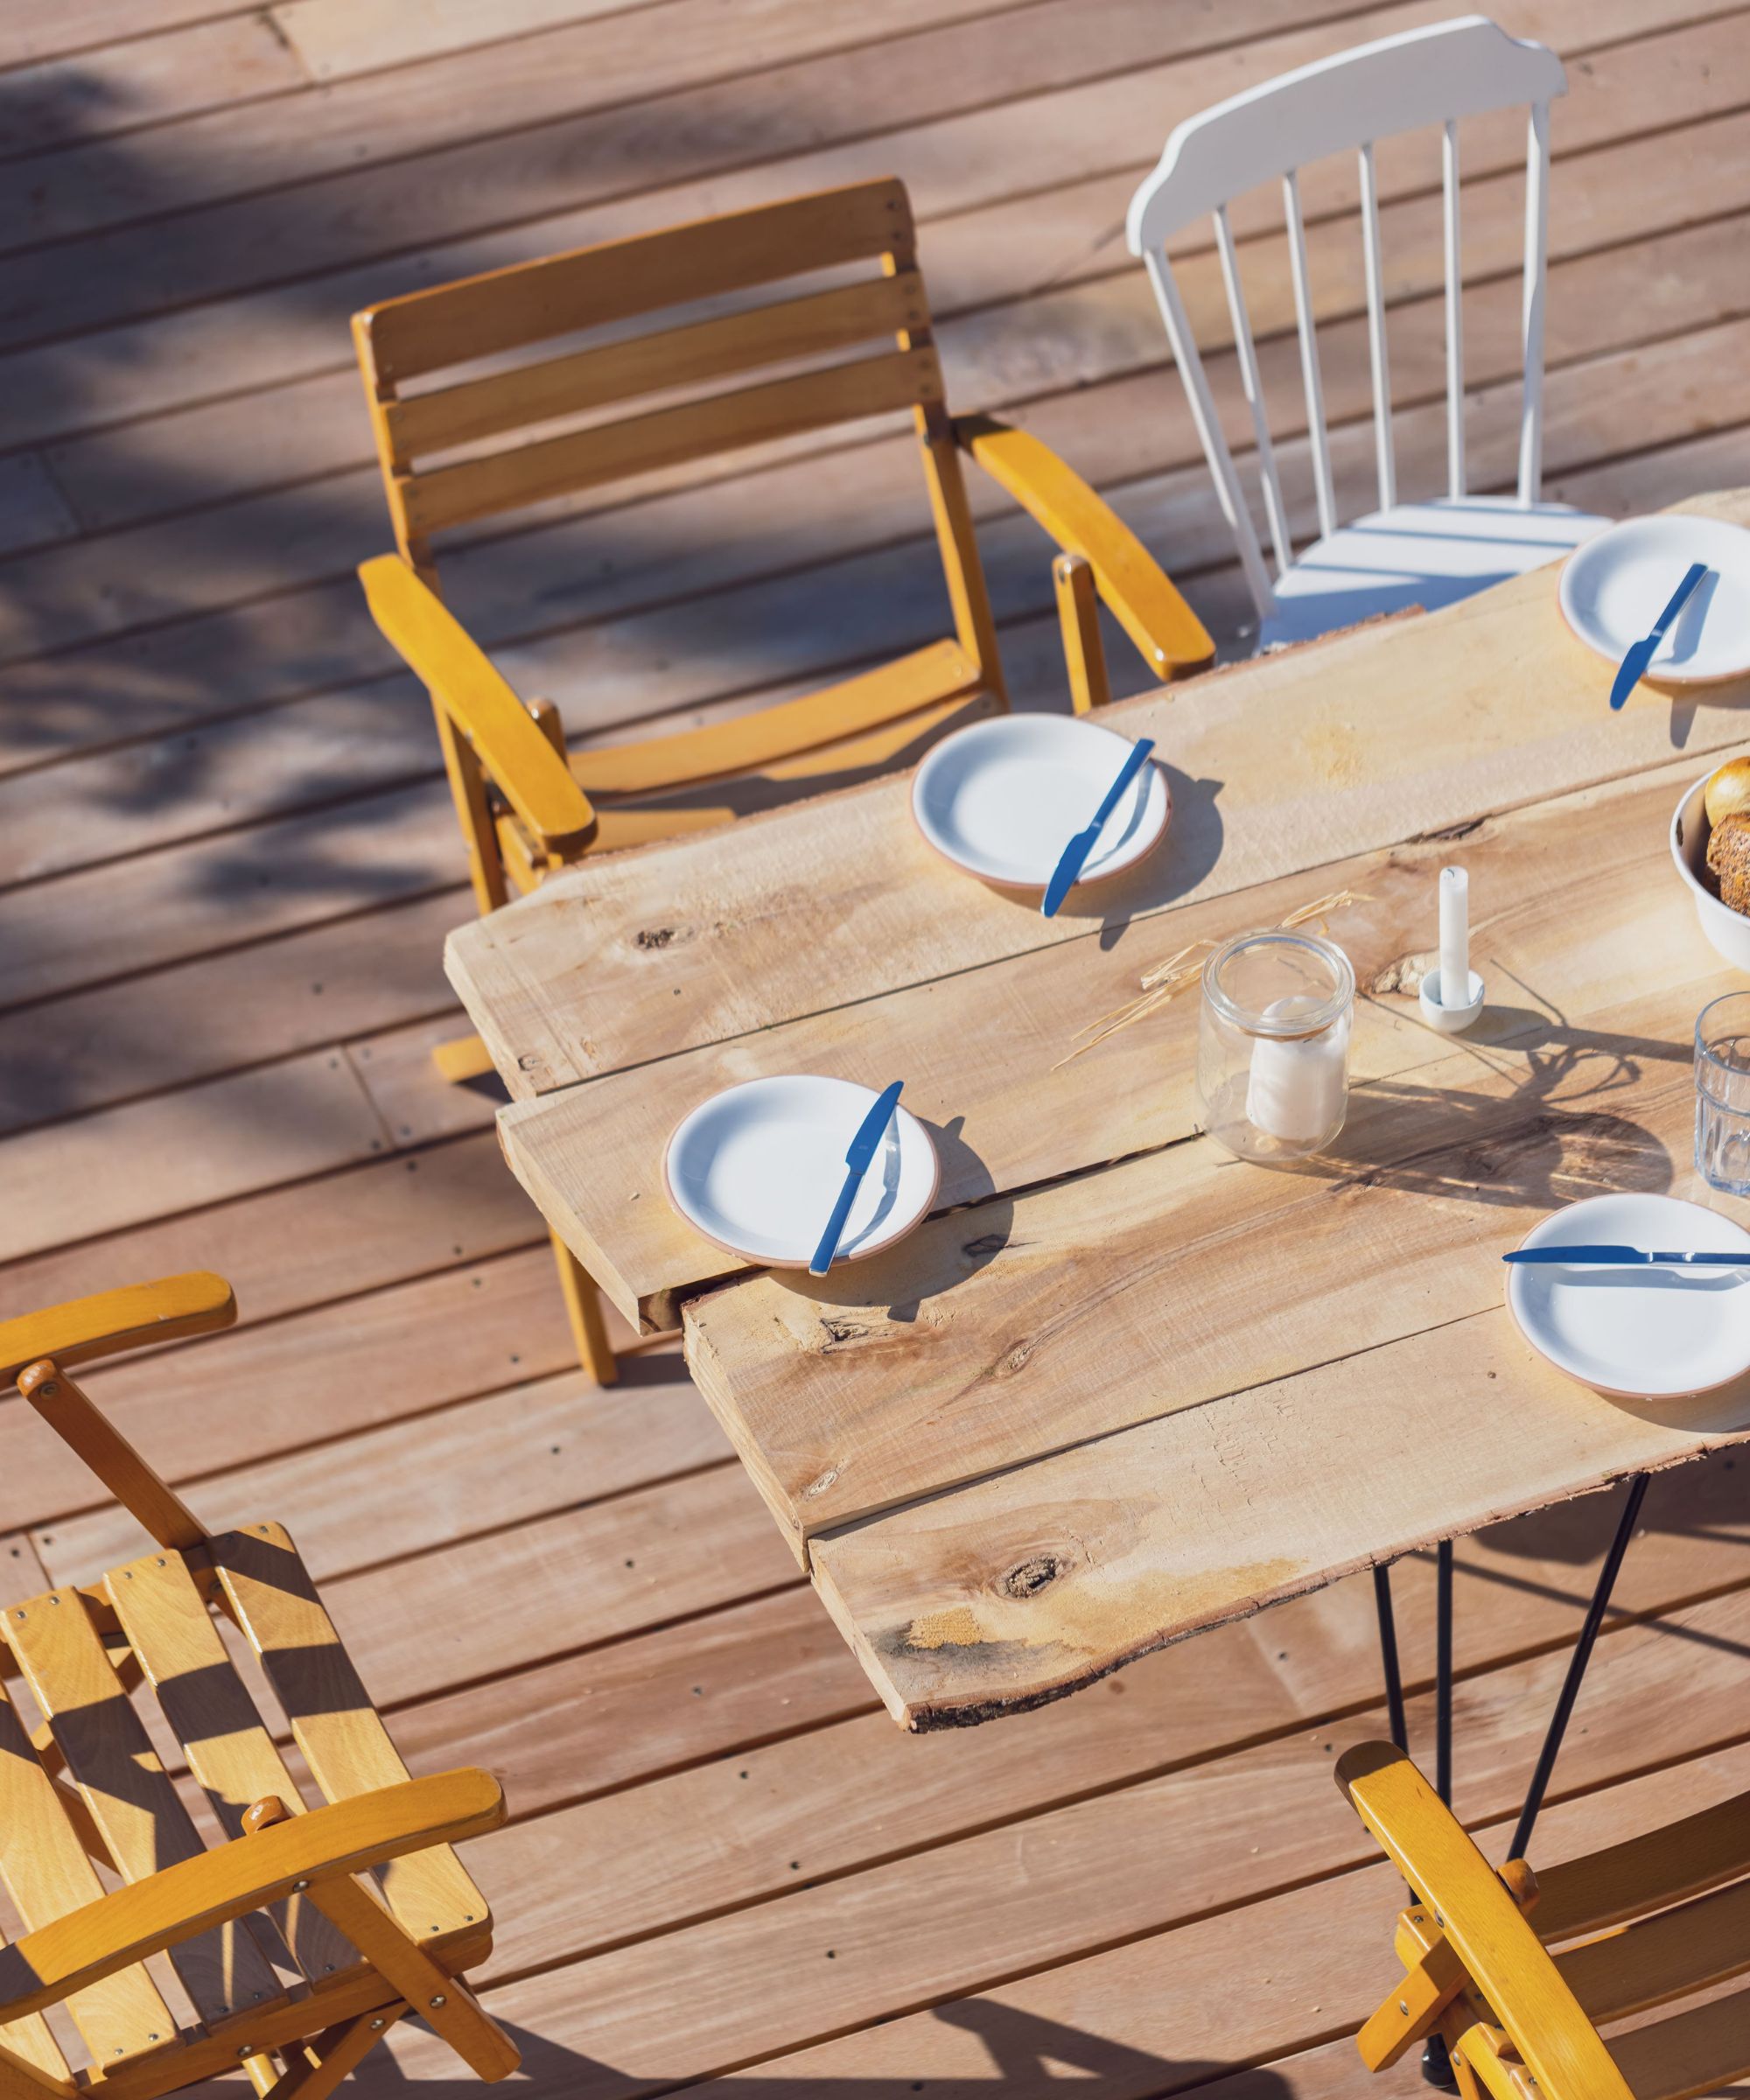
The first step is to clean outdoor furniture. Grab some soap and water or an all-purpose cleaner and a stiff brush and scrub off any built-up grime. This is essential to remove any dirt, mildew or old paint residue, ensuring a smooth surface for painting.
Once you have scrubbed them, rinse any residue away and let the furniture dry completely.
Design expertise in your inbox – from inspiring decorating ideas and beautiful celebrity homes to practical gardening advice and shopping round-ups.
2. Address any imperfections
Once the furniture is clean and dry, assess its condition to identify any imperfections that may need to be dealt with. It's essential to make these repairs before painting to ensure a flawless finish.
'Sand any rough areas with medium-grit sandpaper to create a smooth surface,' advises Tony O'Neill, Founder of Simplify Gardening. We recommend this Gator sanding sponge, from Walmart to sand outdoor furniture.
If you're working with metal furniture, scrape off peeling paint or rust spots with a wire brush or sandpaper. For cracks or chips, repair these with wood filler or other methods to restore wood furniture, such as wood glue.
Also, if you intend to paint furniture with a lighter color than what it is already painted with, you may want to use a paint remover, such as this paint and varnish remover gel, from Amazon. Stripping off the existing paint can provide a neutral base for your new color to ensure the original color won't distort the final result.
3. Choose the right painting tools
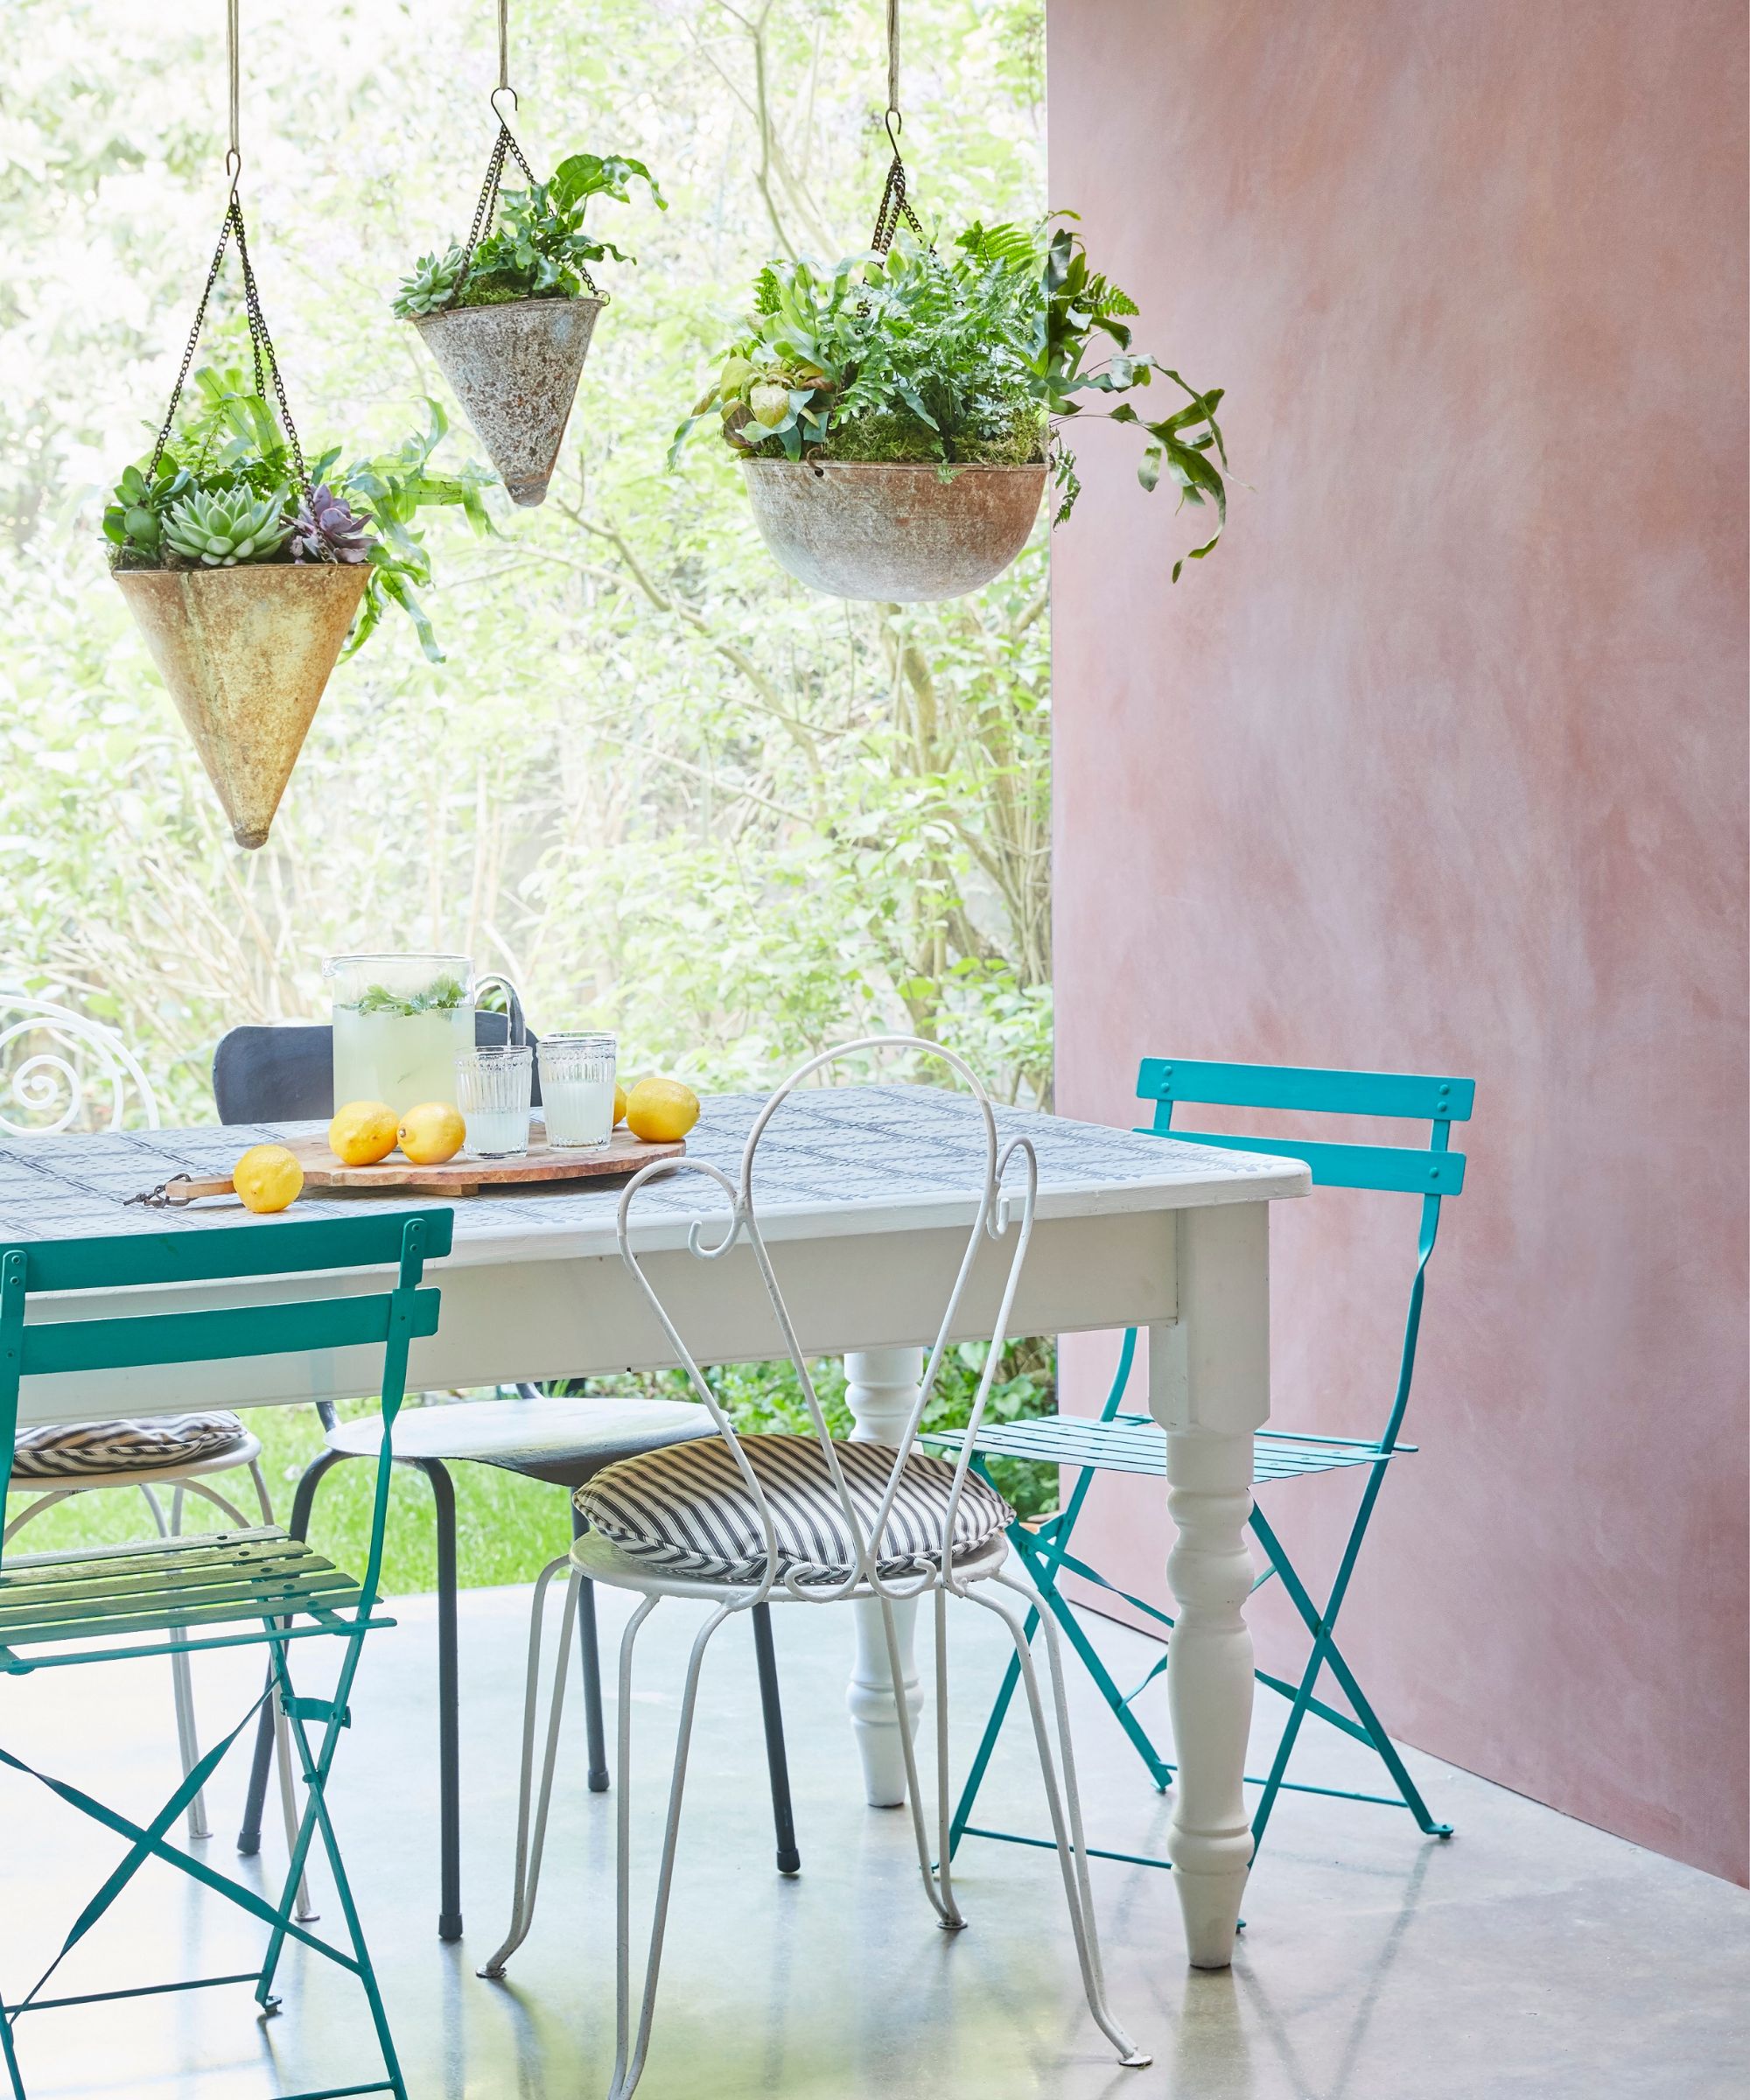
'When it comes to painting your garden furniture, using the right tools can make a big difference in achieving a professional-looking finish,' says Gabriella Dyson, Head of Solved at Homes & Gardens.
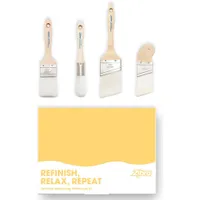
'For larger surfaces, consider using a paint sprayer for faster, smoother, and more even coverage. For smaller areas or intricate details use a high-quality brush for increased precision.'
Zibra KIT4FUR 4-Piece Furniture Paint Brush Set | Was $39.85, now $36.35 from Amazon
This 4-piece set is highly-rated and features 4 different-sized and shaped brushes for different applications.

Gabriella Dyson is Head of Solved at Homes & Gardens, editing and writing practical advice for homeowners in the process of cleaning, decluttering, or attempting home improvements and DIY projects. Gabriella previously worked on Homebuilding.com, writing features about issues surrounding historic and listed building projects.
4. Prime the surface
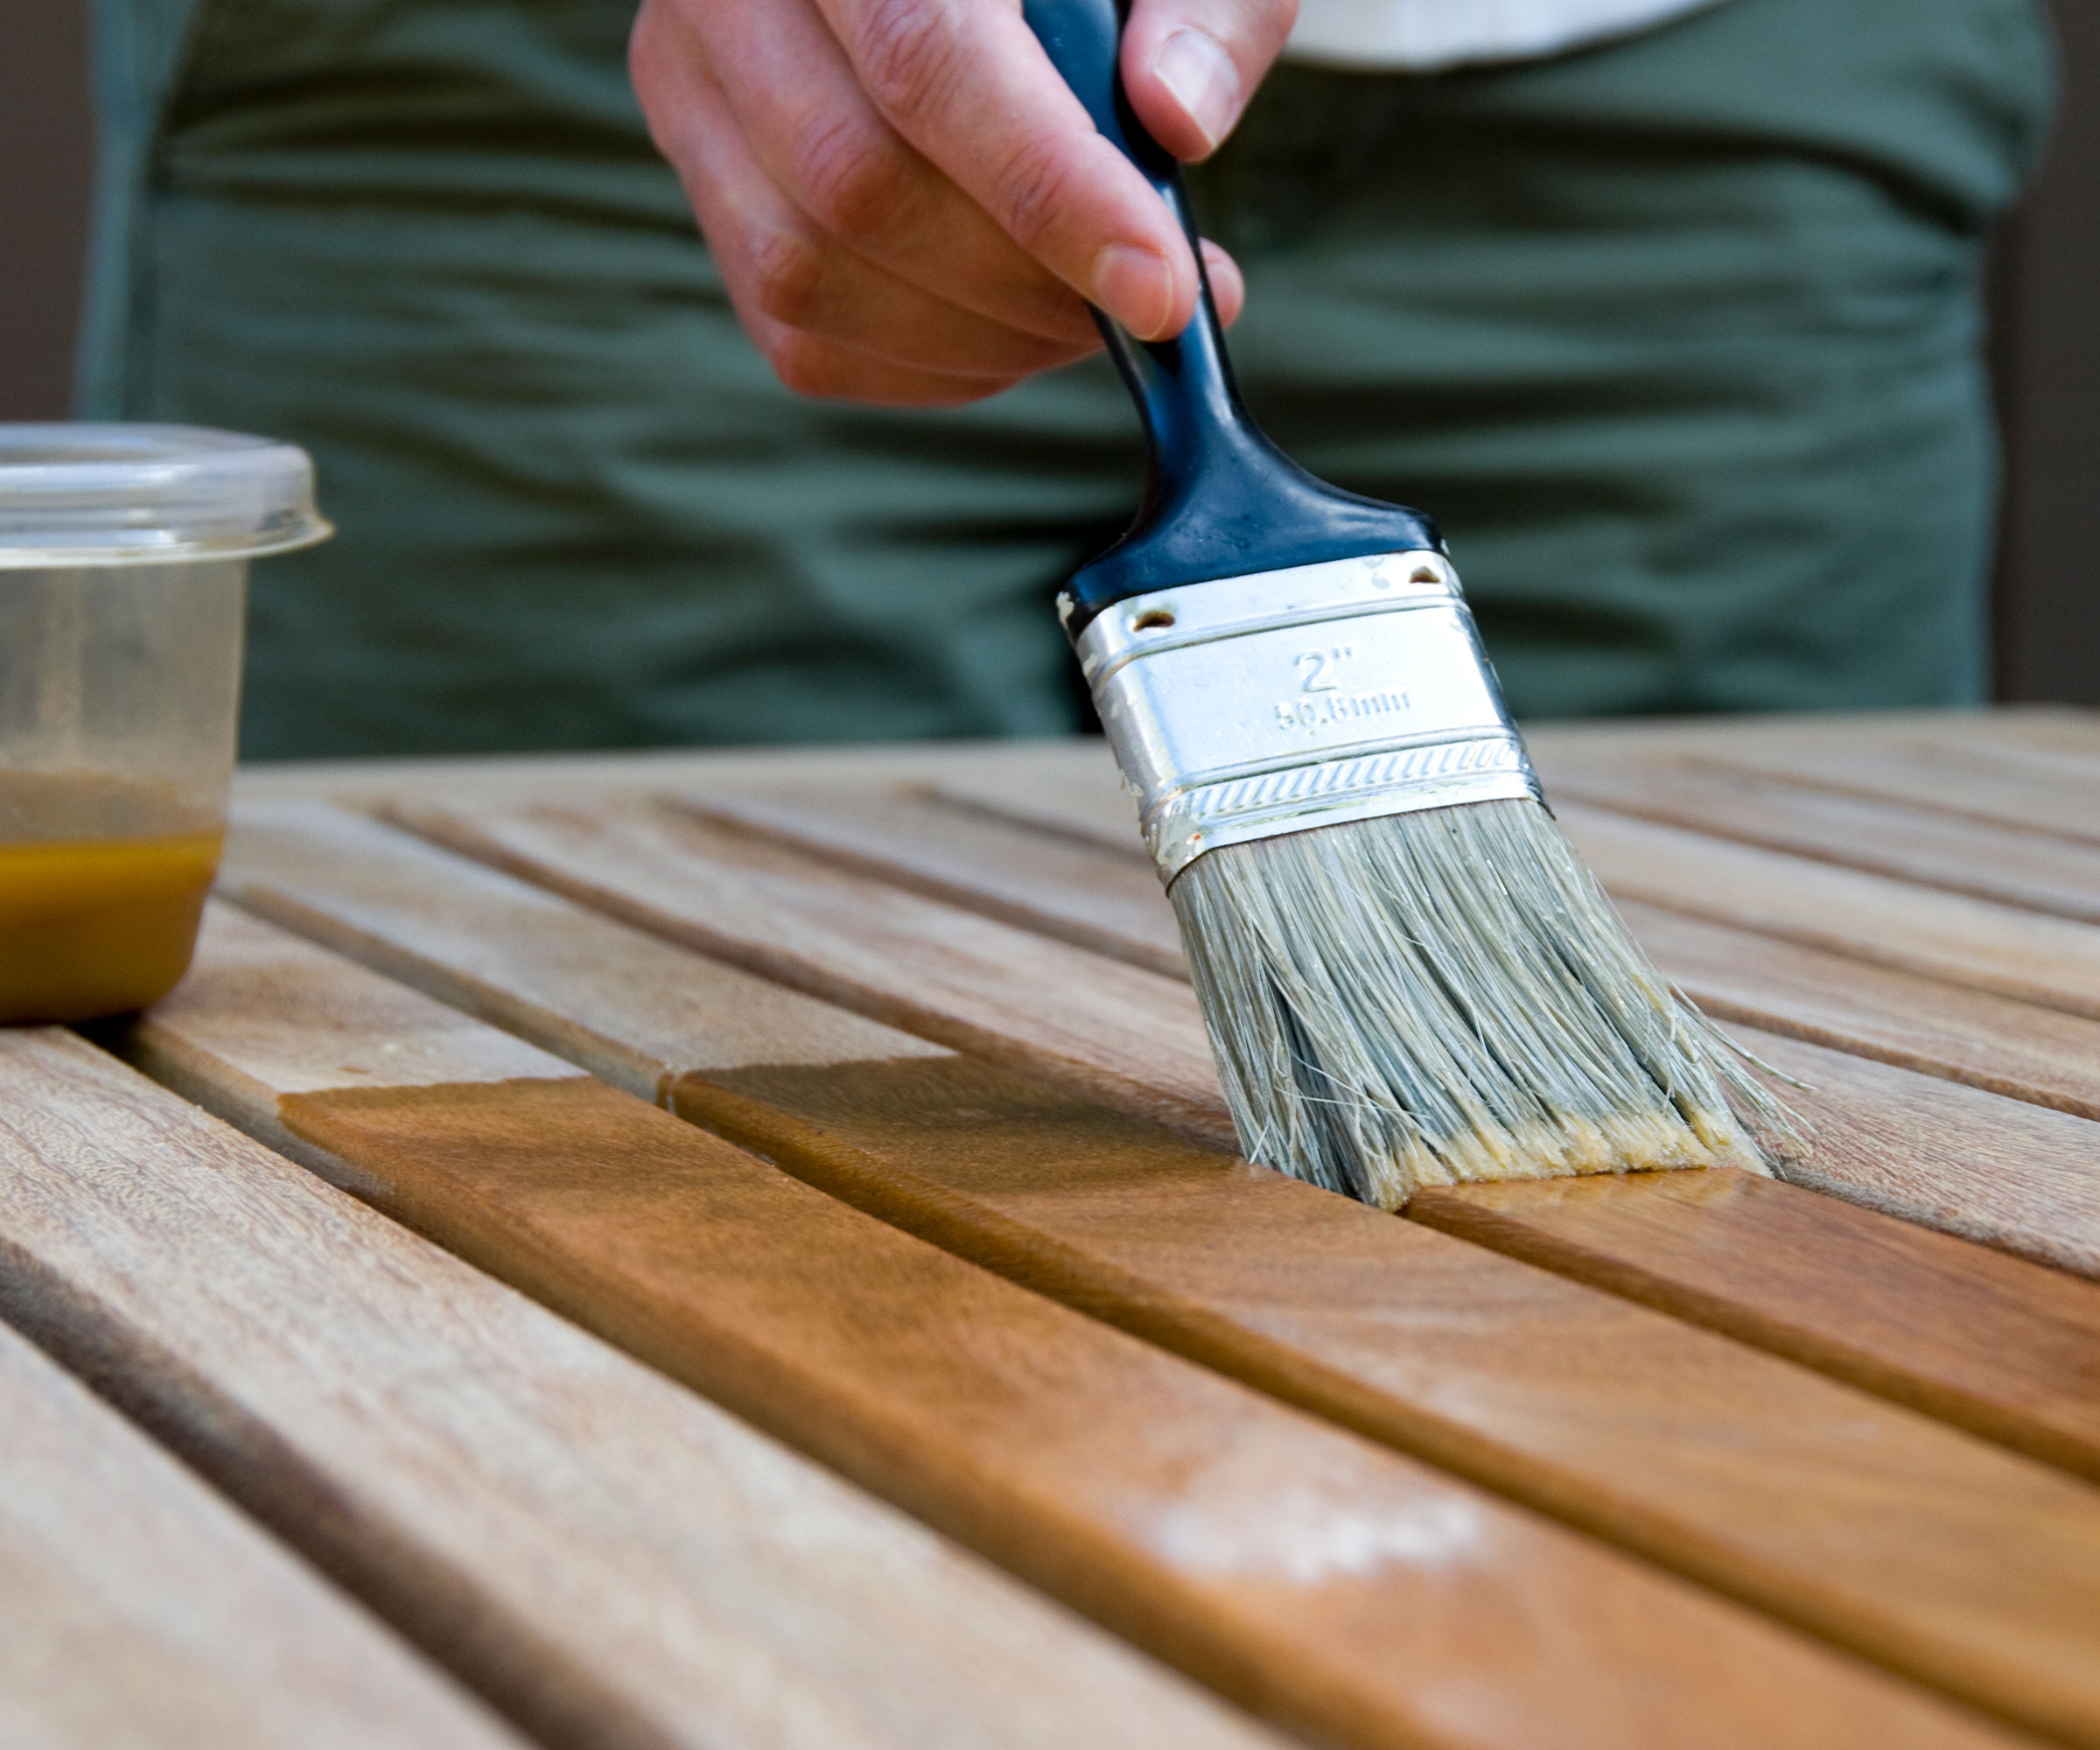
'Once the furniture is clean and prepped, apply a primer designed for outdoor use and compatible with your furniture's material (wood, metal, etc.),' says Tony O'Neill. 'Primer improves paint adhesion, increases durability, and provides an extra layer of protection against the elements.'
Use long, smooth strokes and wait for the primer to dry fully, according to the manufacturer's instructions, before adding paint coats.
5. Choose the right paint
When painting your garden furniture, choosing the right type of paint is essential for a long-lasting and looking result. Outdoor furniture is exposed to harsh weather conditions, so the paint needs to withstand these elements. Look for weather-resistant and durable paints specifically designed for outdoor use.
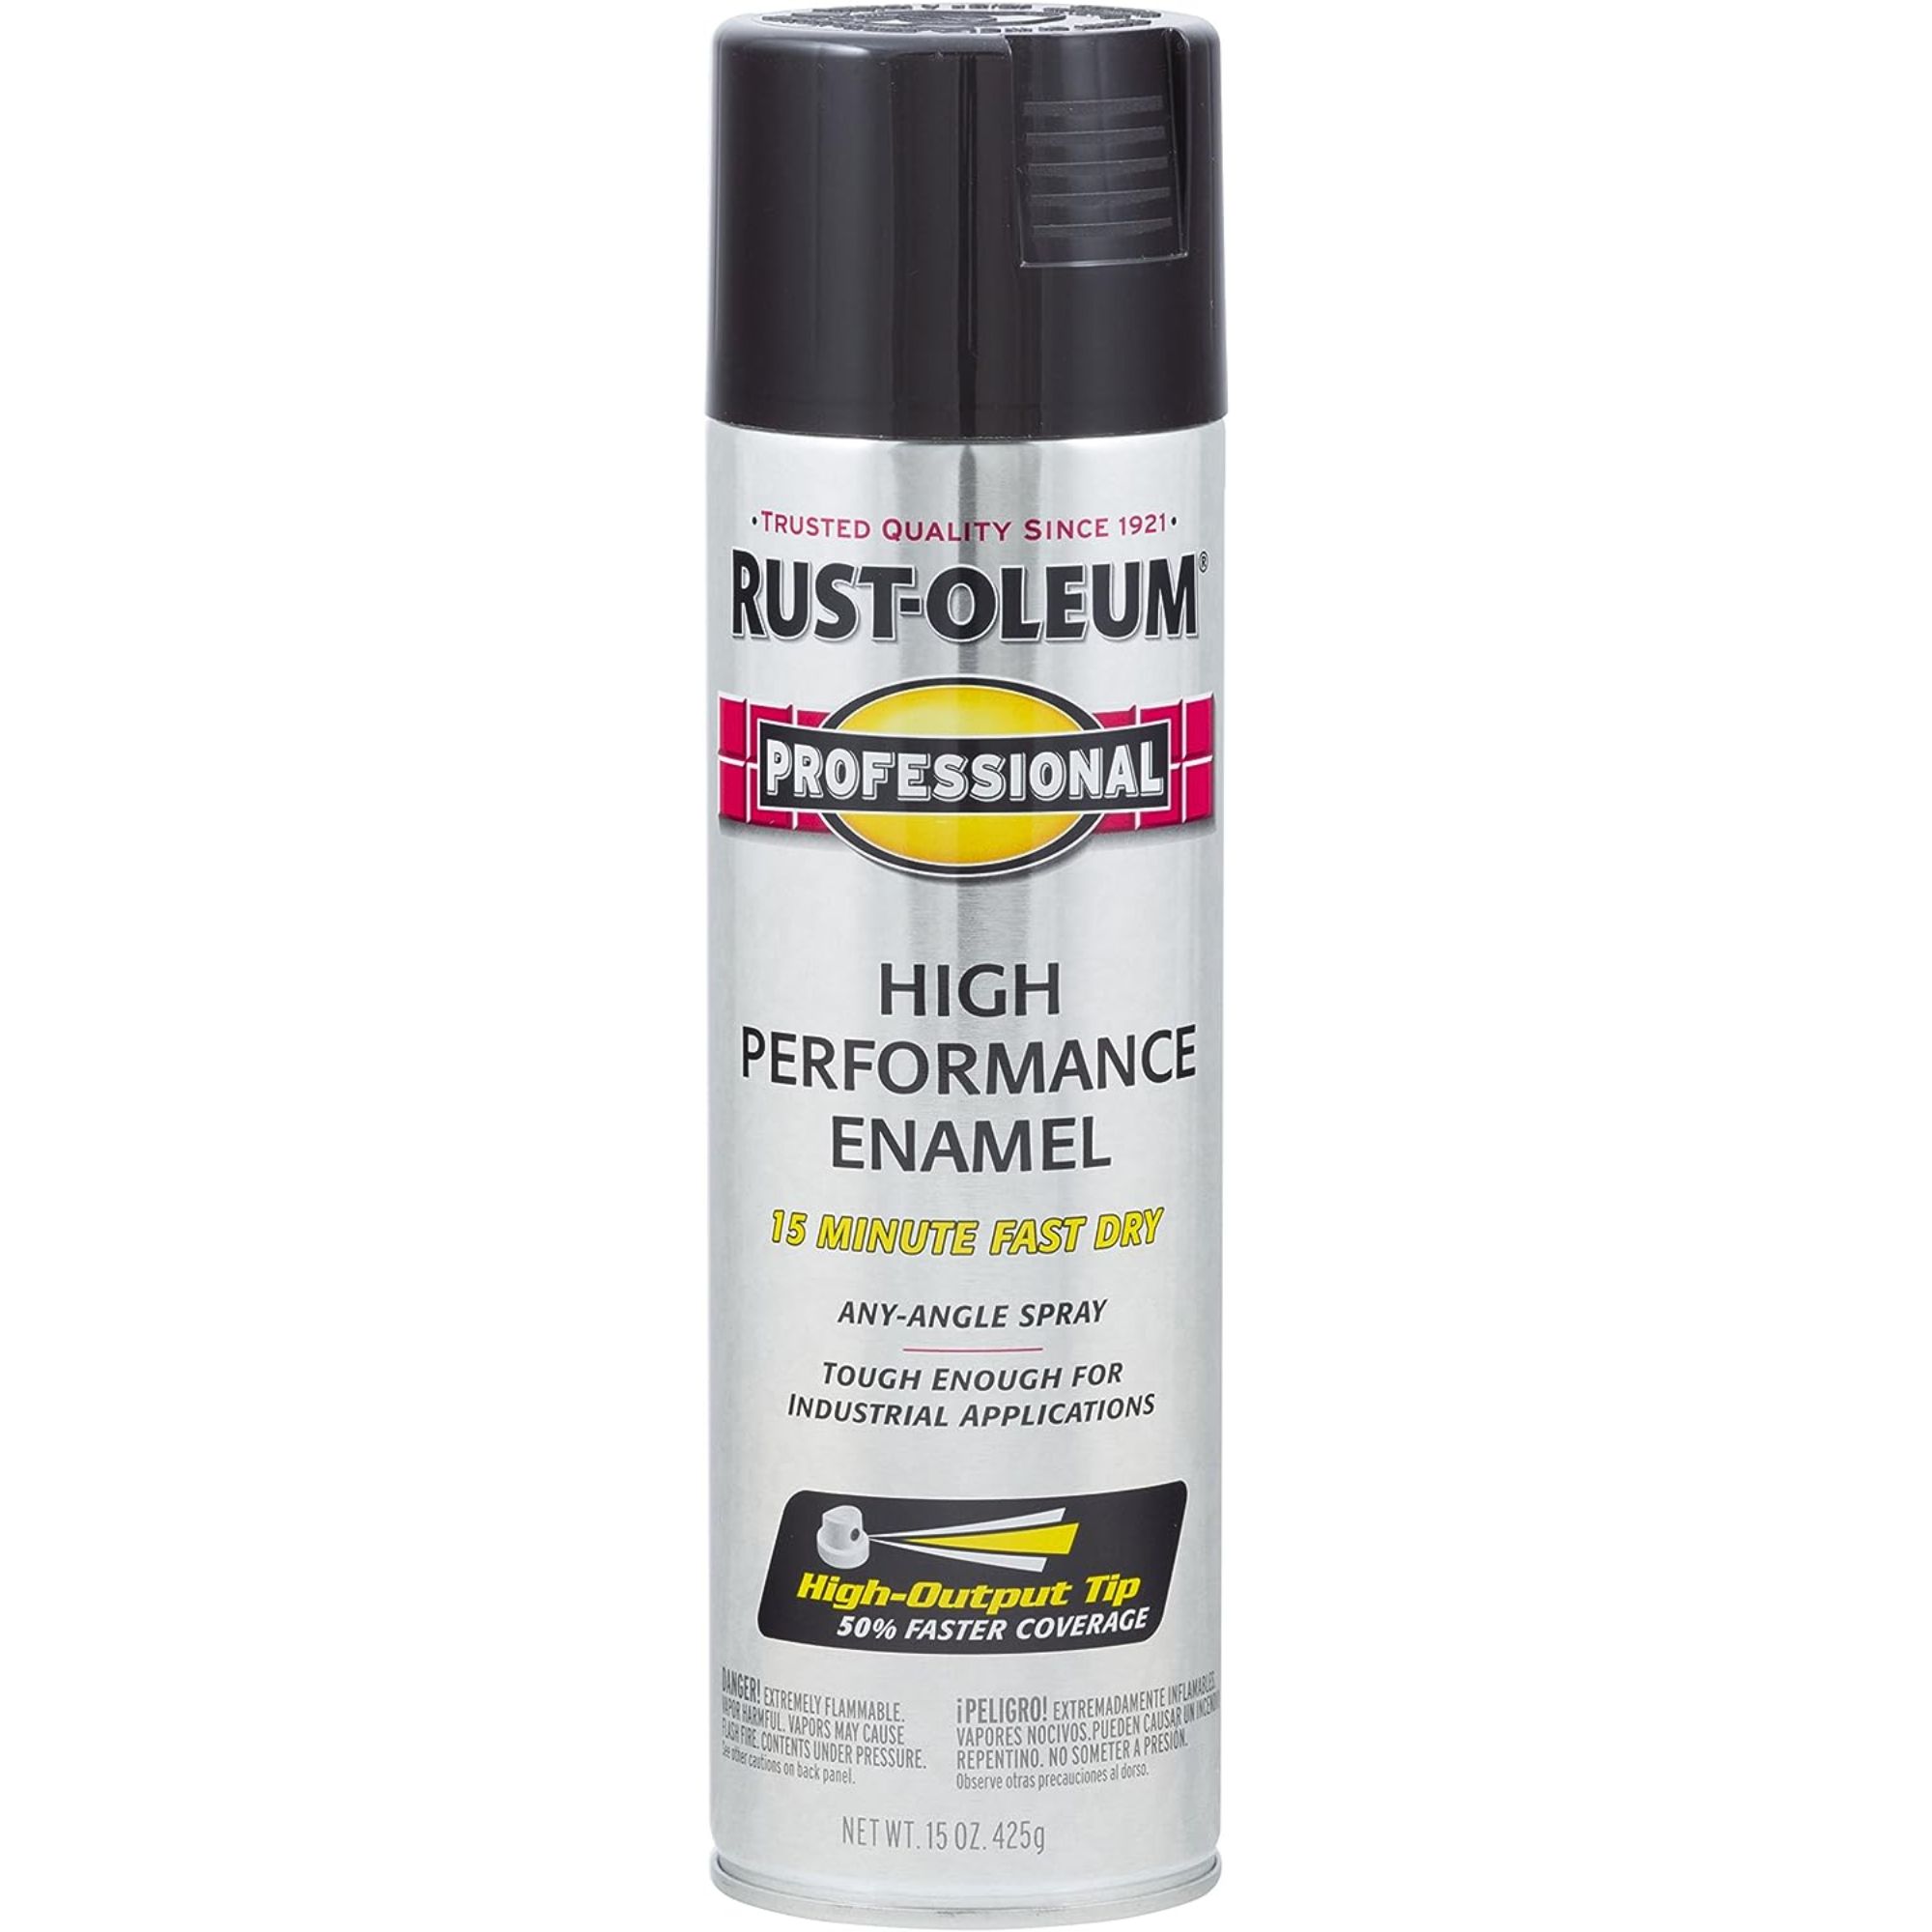
Acrylic or latex-based paints are a good option for garden furniture. You can also opt for enamel paints that provide a glossy finish and are highly resistant to moisture. For repainting wicker furniture or resin, use flexible paints like Krylon Fusion designed for bending and flexing.
'For an eco-friendly option, look for paints with low volatile organic compounds (VOCs),' recommends Tony O'Neill. 'These eco paints are better for the environment and your health. They come in various finishes (matte, satin, gloss), so you can choose the look that best suits your style.'
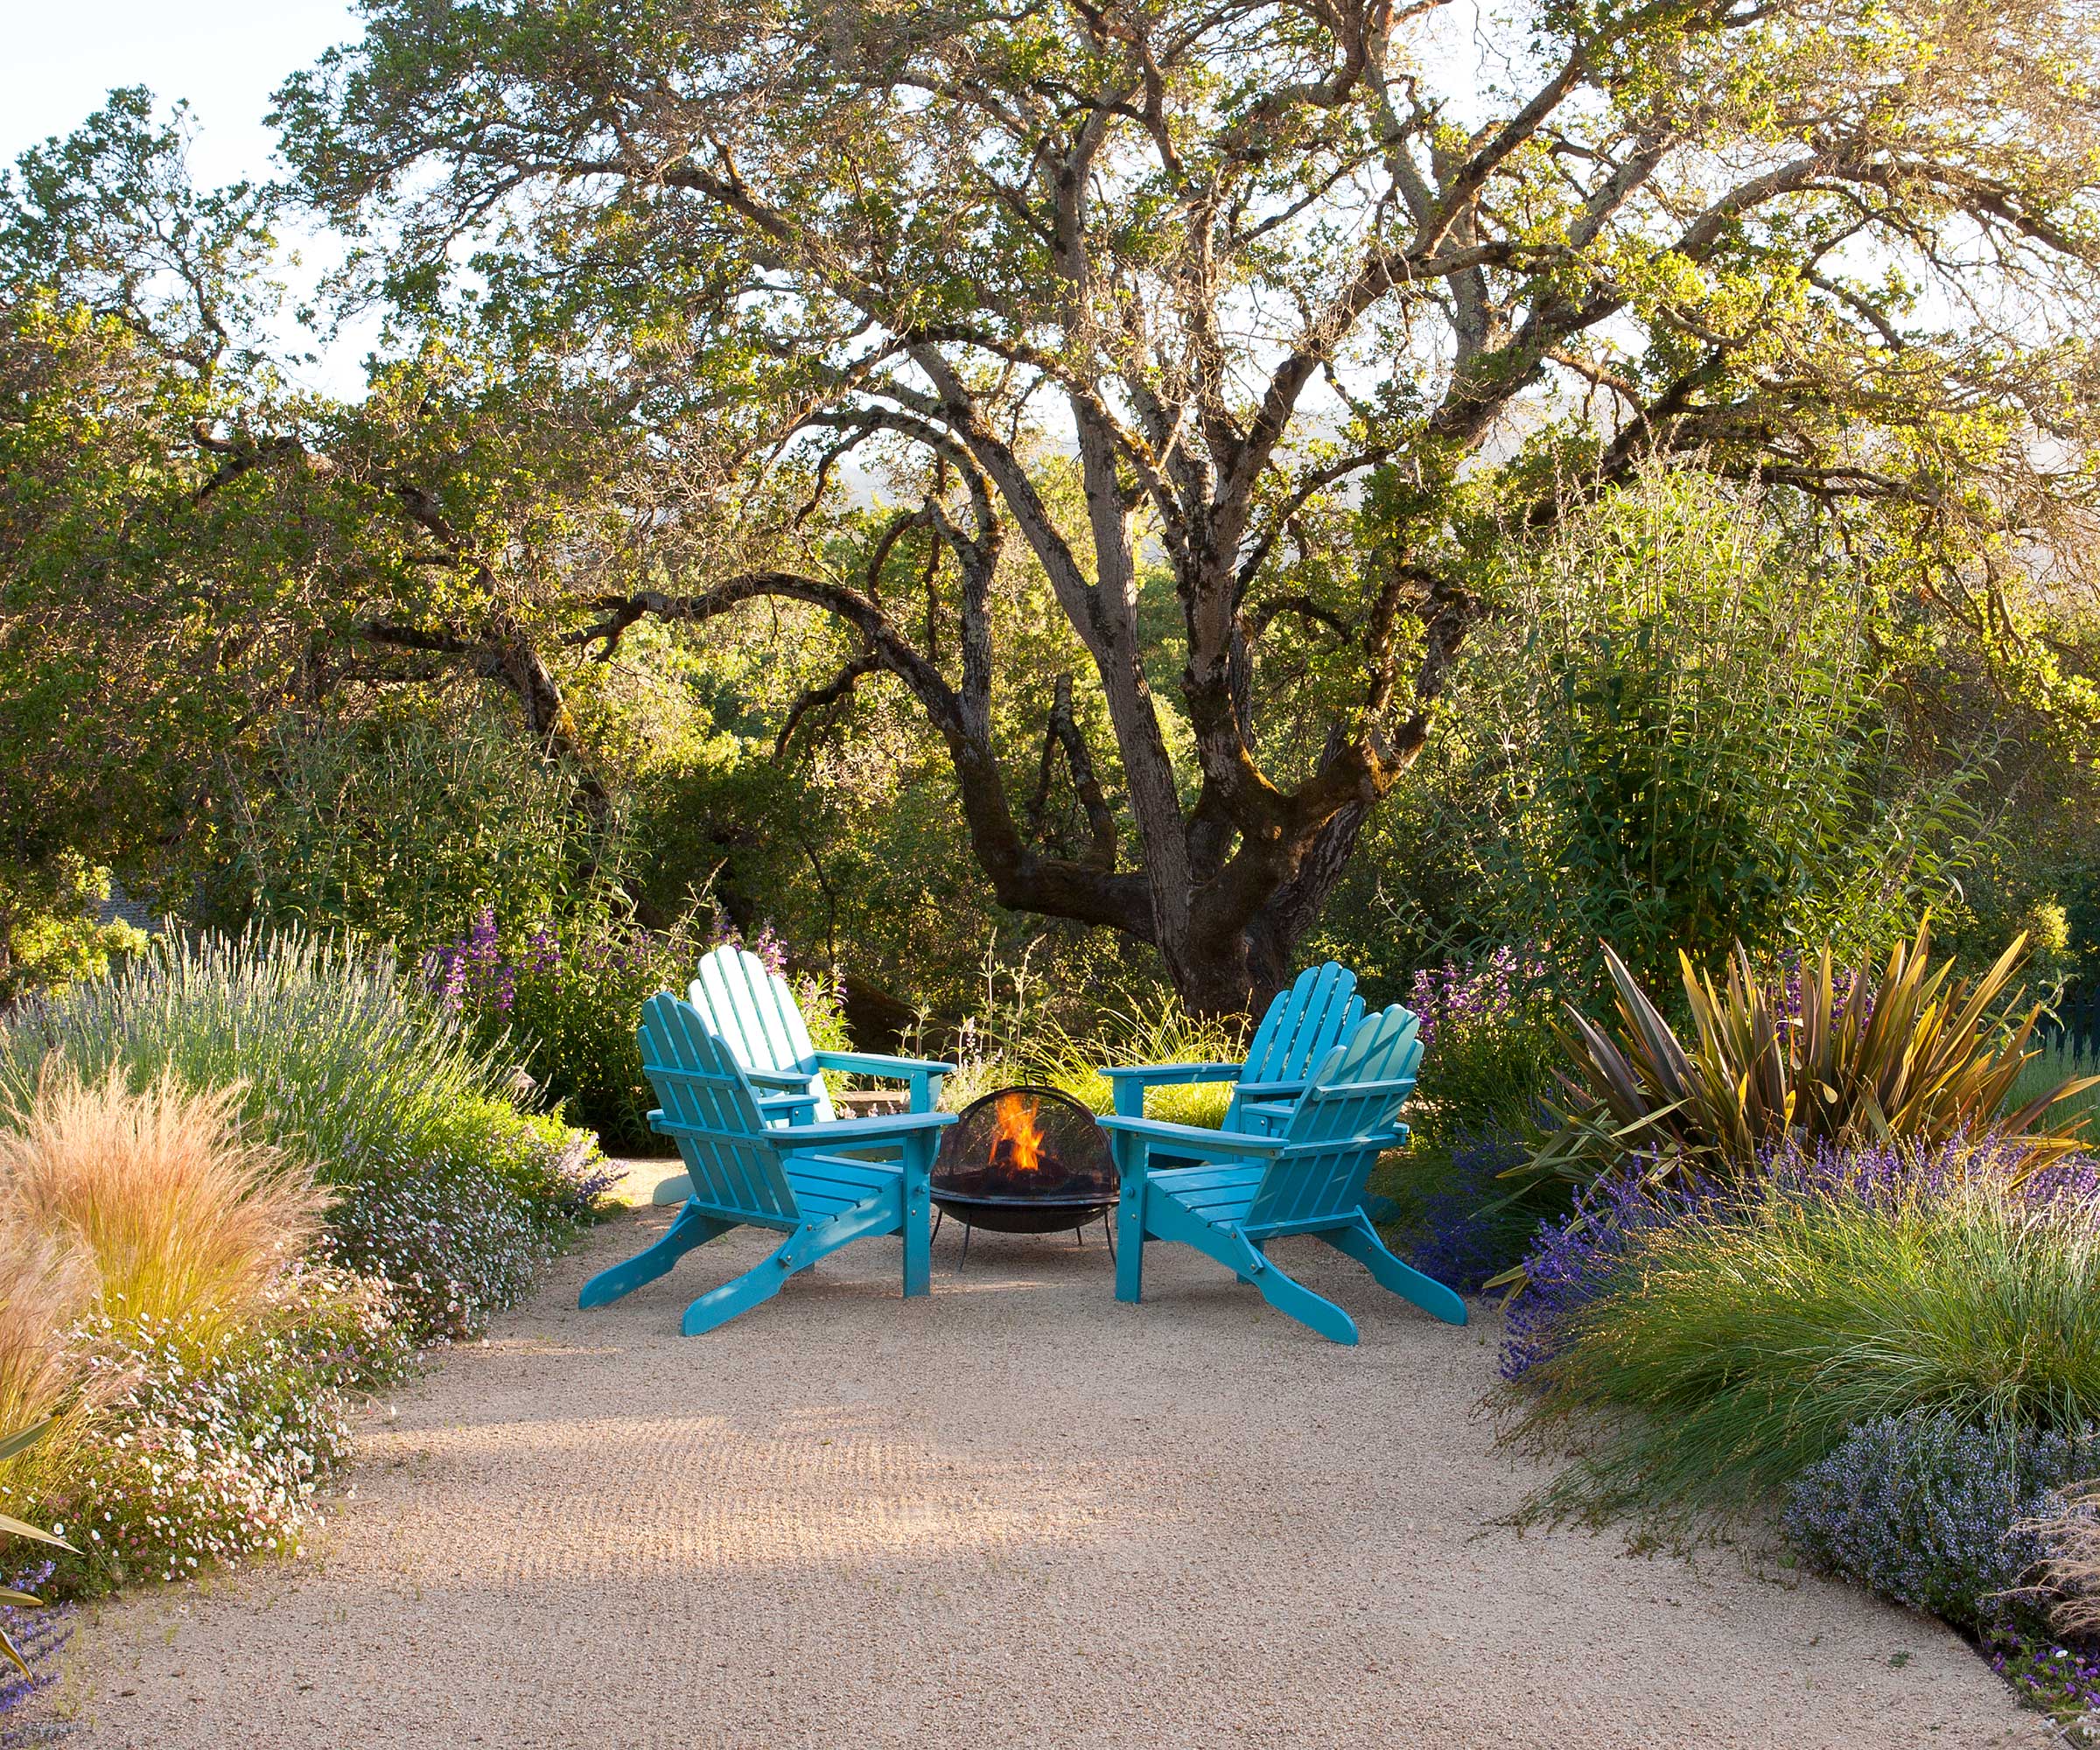
'When it comes to colors, incorporating pastels, bright hues, or nature-inspired colors is a great way to reflect the freshness of spring when painting garden furniture,' recommends Kerry Sherin, a consumer advocate at Ownerly. 'Choose soft pastel shades like mint green or lavender for a cozy atmosphere reminiscent of spring flowers. Bright colors like sunny yellows or turquoise can add energy and vitality, conveying a vibrant summer spirit.'
It's also good to choose light colors for your garden furniture as they reflect heat and prevent the furniture from getting too hot during sunny days.
6. Paint the furniture
Before painting, consider elevating the furniture so you can easily paint all sides, and lay down a drop cloth to avoid paint splatters ruining your flooring. You can even use painter's tape to achieve clean, precise lines while preventing paint from bleeding onto unwanted areas.
When applying paint to your furniture, it is best to work in thin, even coats rather than one thick layer, regardless of whether you are using a painting with paintbrushes, rollers, or spray paint. This method prevents drips, helps the paint dry faster, and ensures a more durable finish. The type of paint and the desired finish will determine how many paint coats you will need to apply.
Allow each coat to dry completely before applying the next coat, and make sure to follow the instructions on your chosen paint for drying times.
7. Add a sealant

'After the final coat of paint has fully dried, consider applying a clear sealant for added protection against weathering, especially if the furniture will be exposed to direct sunlight or moisture,' recommends Tony O'Neill. 'This step is particularly recommended for wood furniture to seal the paint and protect the wood beneath.'
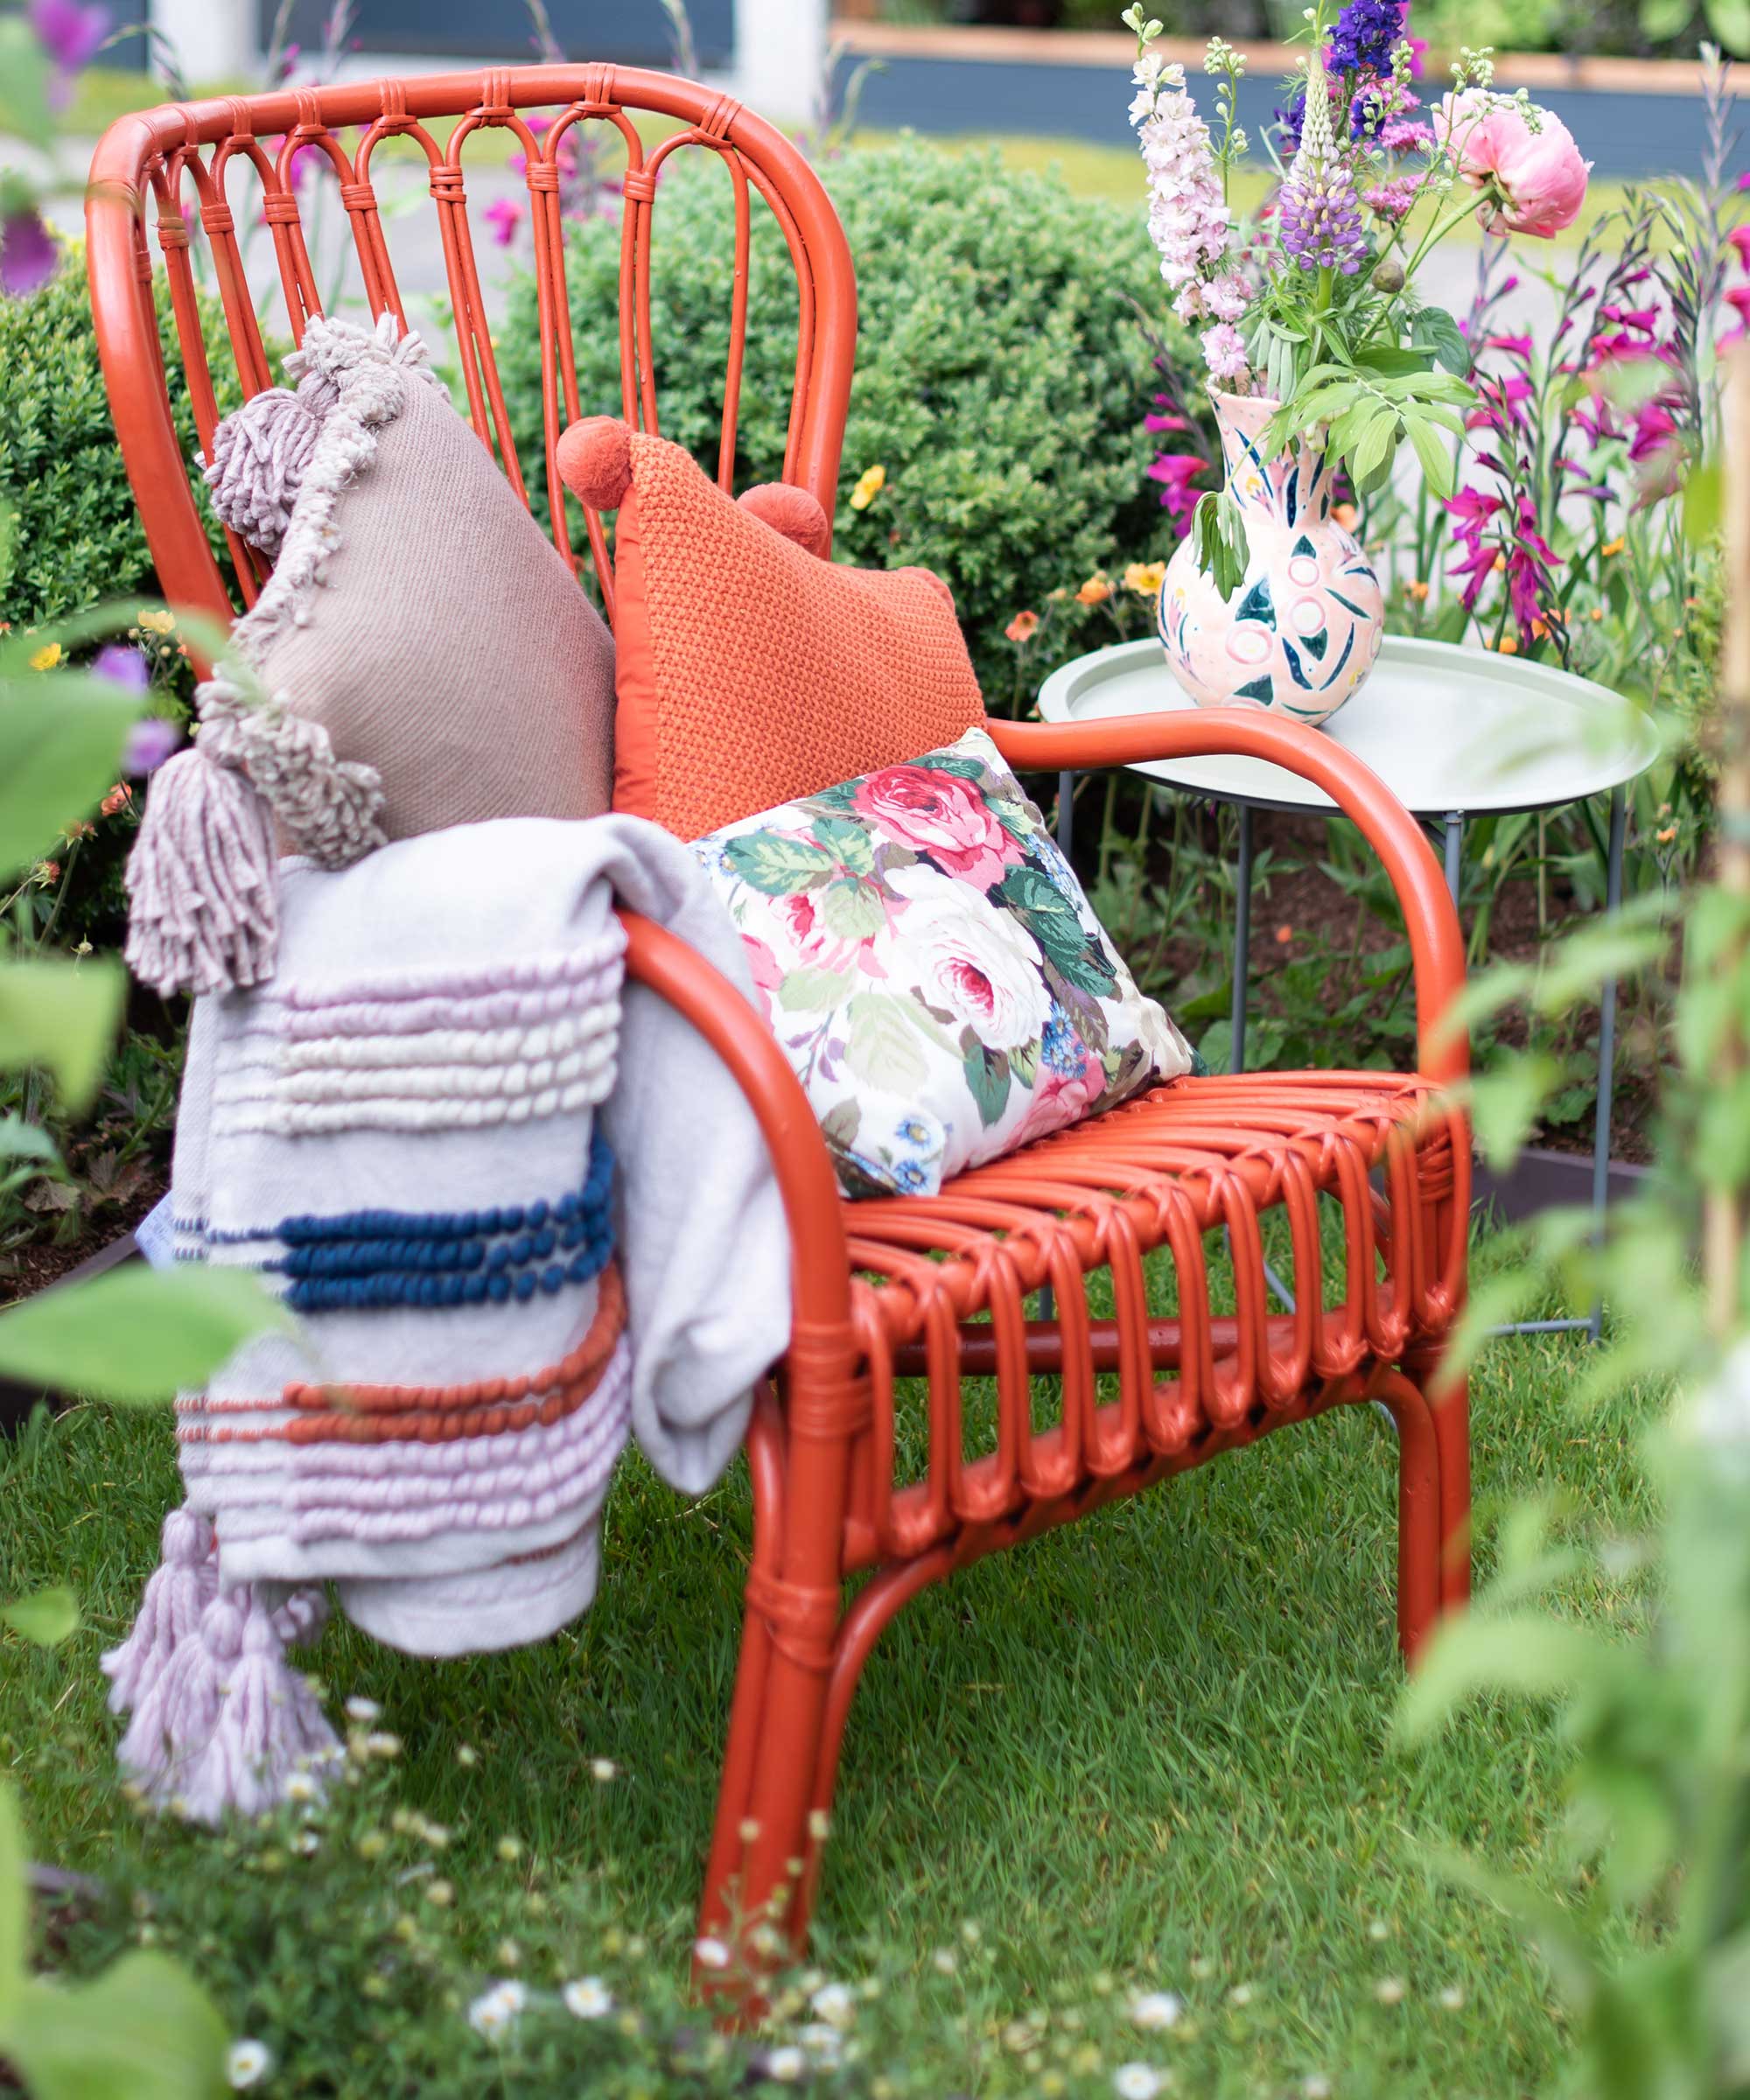
Once the sealant has dried, you can add decorative elements such as cushions or pillows to give your furniture a cozy and inviting look.
It's important to maintain your paint job to ensure that it stands the test of time. Regularly clean the furniture with mild detergent and water to remove any dirt or debris that may accumulate over time. Monitor for any chipping or peeling of the paint and touch up these areas as needed. The beauty of painted outdoor furniture is how easily it can be refreshed. It's such a fun way to match your furniture to the seasons.

Lola Houlton is a news writer for Homes & Gardens. She has been writing content for Future PLC for the past six years, in particular Homes & Gardens, Real Homes and GardeningEtc. She writes on a broad range of subjects, including practical household advice, recipe articles, and product reviews, working closely with experts in their fields to cover everything from heating to home organization through to house plants. Lola is a graduate, who completed her degree in Psychology at the University of Sussex. She has also spent some time working at the BBC.
