How to convert your kitchen cabinets into a pantry – 7 simple DIY steps
Always wanted your dream kitchen pantry? Create one from your kitchen cabinets with the right storage solutions

Design expertise in your inbox – from inspiring decorating ideas and beautiful celebrity homes to practical gardening advice and shopping round-ups.
You are now subscribed
Your newsletter sign-up was successful
Want to add more newsletters?

Twice a week
Homes&Gardens
The ultimate interior design resource from the world's leading experts - discover inspiring decorating ideas, color scheming know-how, garden inspiration and shopping expertise.

Once a week
In The Loop from Next In Design
Members of the Next in Design Circle will receive In the Loop, our weekly email filled with trade news, names to know and spotlight moments. Together we’re building a brighter design future.

Twice a week
Cucina
Whether you’re passionate about hosting exquisite dinners, experimenting with culinary trends, or perfecting your kitchen's design with timeless elegance and innovative functionality, this newsletter is here to inspire
Do you ever feel that your kitchen storage just isn't quite suitable for your ever-changing needs? Well, with a few simple DIY steps, you can make the most of your kitchen cabinets by turning them into a fully functional pantry that can maximize the storage space you have, ensuring your whole kitchen runs more smoothly.
A pantry is a luxury staple of any kitchen, making storing all food-related items convenient and organized. Many kitchens don't come with a built-in pantry or simply lack the room for one. With these steps, you can convert an underutilized closet or kitchen cabinet into a pantry to create a more functional space.
Our experts have explained how to transform cabinets into a pantry, while ensuring it looks expensive.
How to convert your cabinet into a pantry
'Turning your cupboard into a pantry can be a fun and worthwhile home project. However, it’s important to do each step correctly, especially if you intend to use the pantry regularly,' says construction specialist, Marc Zambonini of Render and Roughcasting.
This will involve careful planning and execution, using some pantry organizers professionals always buy to create an elevated pantry.
1. Assess and plan
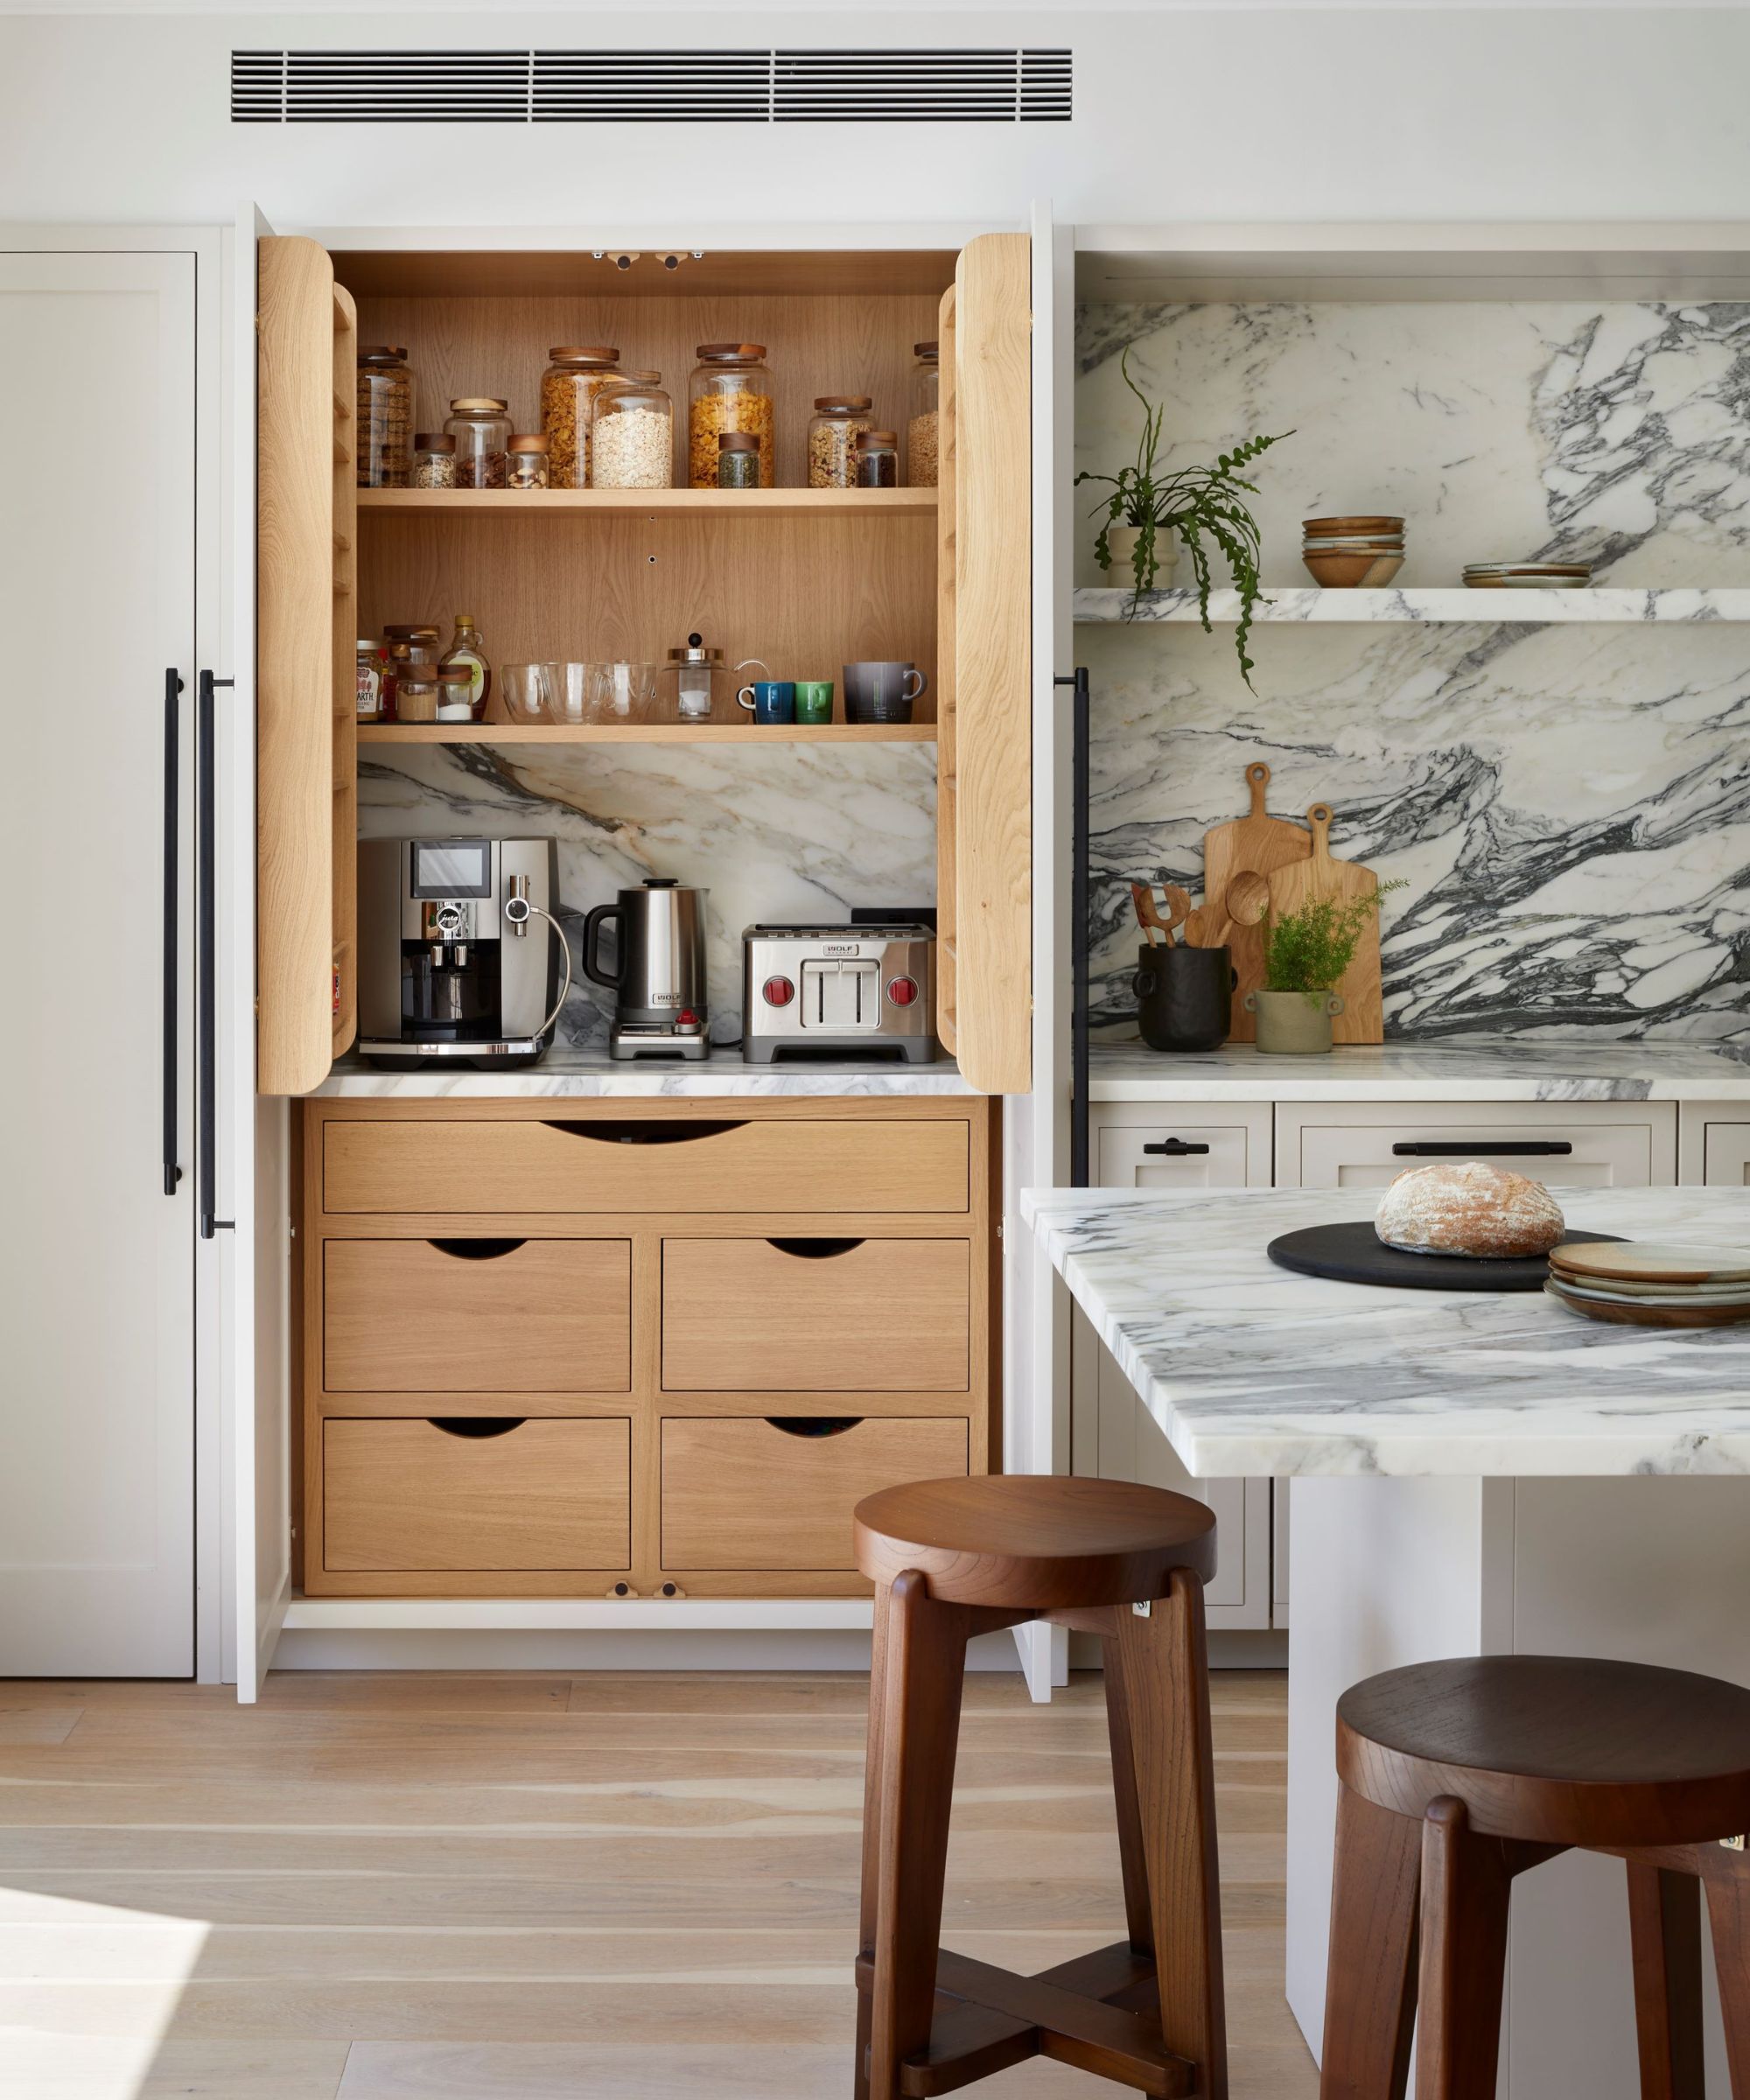
'Just like with most home projects, converting a cabinet into a pantry begins with careful planning,' says Kerry Sherin at Ownerly. 'Note the dimensions of your cabinet and map out where you'll want to store different items. A pantry operates best when everything has its own neat and accessible space.
'Consider the pantry's location in your kitchen to ensure it's convenient for meal preparation and cooking, allowing for a smooth flow of activities while you're in the kitchen.'
Design expertise in your inbox – from inspiring decorating ideas and beautiful celebrity homes to practical gardening advice and shopping round-ups.
Millie Hurst, section editor at Homes & Gardens advises: 'The best place to put your pantry is in a couple of larger cabinets that are easy to get to while cooking, with adjustable shelves that you can move around to fit all of your pantry staples.
'Are the shelves deep enough to contain everything? Can you reach easily to the top shelf or do you need a small step ladder?'
The next stage of planning is to remove all items from your cabinet including shelves and rods from the cabinet to create an open space. Evaluate the size and layout of the cupboard to determine how it can best be utilized as a pantry. Write down the length, width, and height of the cabinet to plan the storage options.
Top tip: 'When removing all items from the cabinet, you could use this time to categorize each item to make them easier to organize later on,' recommends Marc Zambonini. 'Having everything removed from the cabinet will give you better access and the freedom to visualize how you want your pantry to look.'

Millie Hurst is Section Editor at Homes & Gardens, overseeing the Solved section, which provides readers with practical advice for their homes. Millie has written about and tried out countless cleaning and DIY hacks in the six years since she became a journalist, and has worked in both London and New York.
2. Clean and revamp

Clean all of the surfaces in the cabinet, and varnish when necessary. You may want to use water-resistant varnish to protect the cabinet materials from the inevitable spills that might occur in the pantry. We recommend this Roxil wood waterproofing sealant, from Amazon.
If you want to decorate your pantry with a paint color or wallpaper to add some personality, now would be a good time. Consider staining any wood surfaces, and painting the cabinet door. You can also repeat this step after you have installed shelves if you wish to decorate your shelving as well.
3. Customize shelving
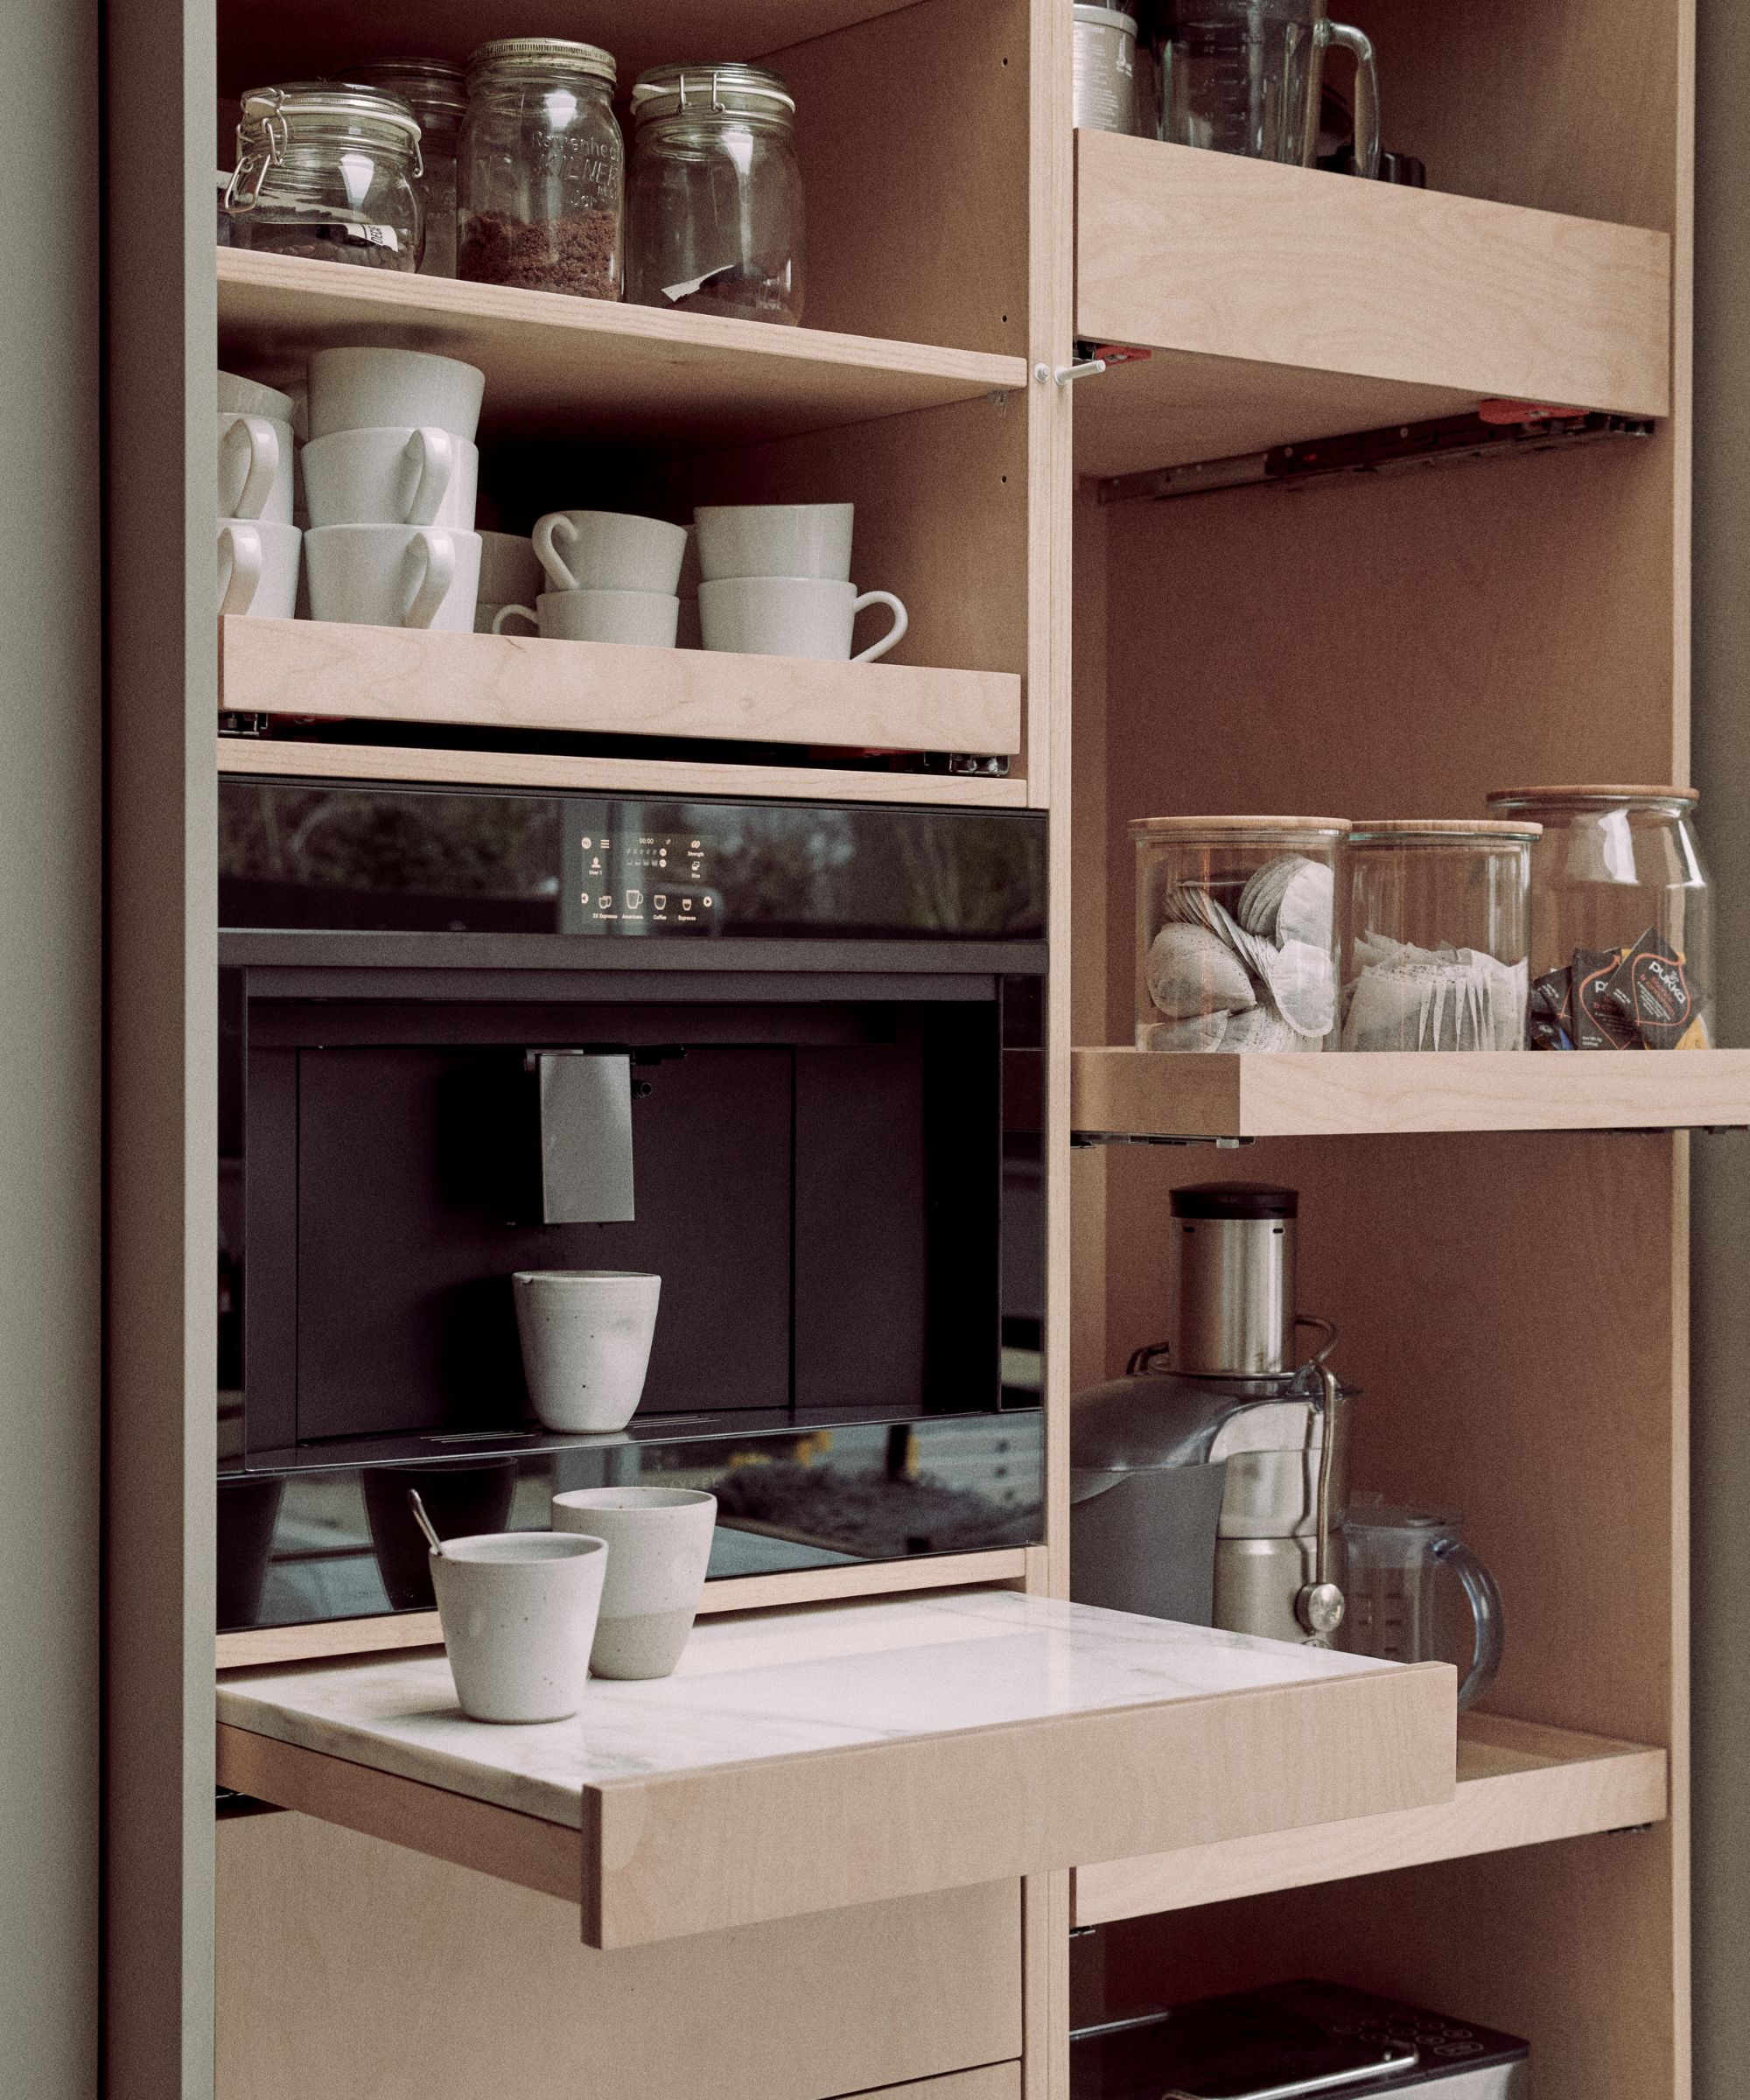
Once your cabinet is cleared out, you can add adjustable shelves and organizers to make the most of your space. Consider adding pull-out drawers and shelves and lazy Susans to keep everything visible and easily accessible. We love this marble lazy Susan, from William Sonoma.
Traditional cabinet shelves are often spaced very far apart, which can create dead space, so one of the quickest, easiest ways to turn a traditional cupboard into a pantry is to install pull-out shelves at specific heights, customized to your storage needs.
When you install shelves, be sure to space them appropriately to fit the items you plan to store. Pick out how many shelves you want and how far apart they should be. The distance between them will depend on what you want to store and how tall the items are. Decide this during planning and mark where you want your shelves to be in the pantry lightly with a pencil.
'Adjustable shelves are a bonus because they allow you to customize the space based on what you're storing – from cereal boxes to cans of beans,' says Rachel Waldron, interior designer and architect at Waldron Designs. 'We recommend deeper shelves down low, then shallow, then back to deeper shelves above head height for long-term storage items.'
Depending on your preference and budget, you can install wire or wood shelves. Wire shelves allow for good airflow and are easy to clean, while wood shelves may be more stable and provide a flat surface for smaller items.
You can cut the shelves to fit the width of the cabinet, sand and varnish them, or purchase ones in the dimensions you need, such as these Mulush ones, from Amazon. This is all down to personal preference and your DIY abilities.
To install shelves, put shelf brackets on the inside of the cupboard's sides. Make sure they are straight and spaced out evenly with a level.
Ensure they are strong enough to hold the weight of the shelves and the things you want to store. Put the shelves on top of the brackets and use screws to hold them in place.
4. Make the most of vertical space
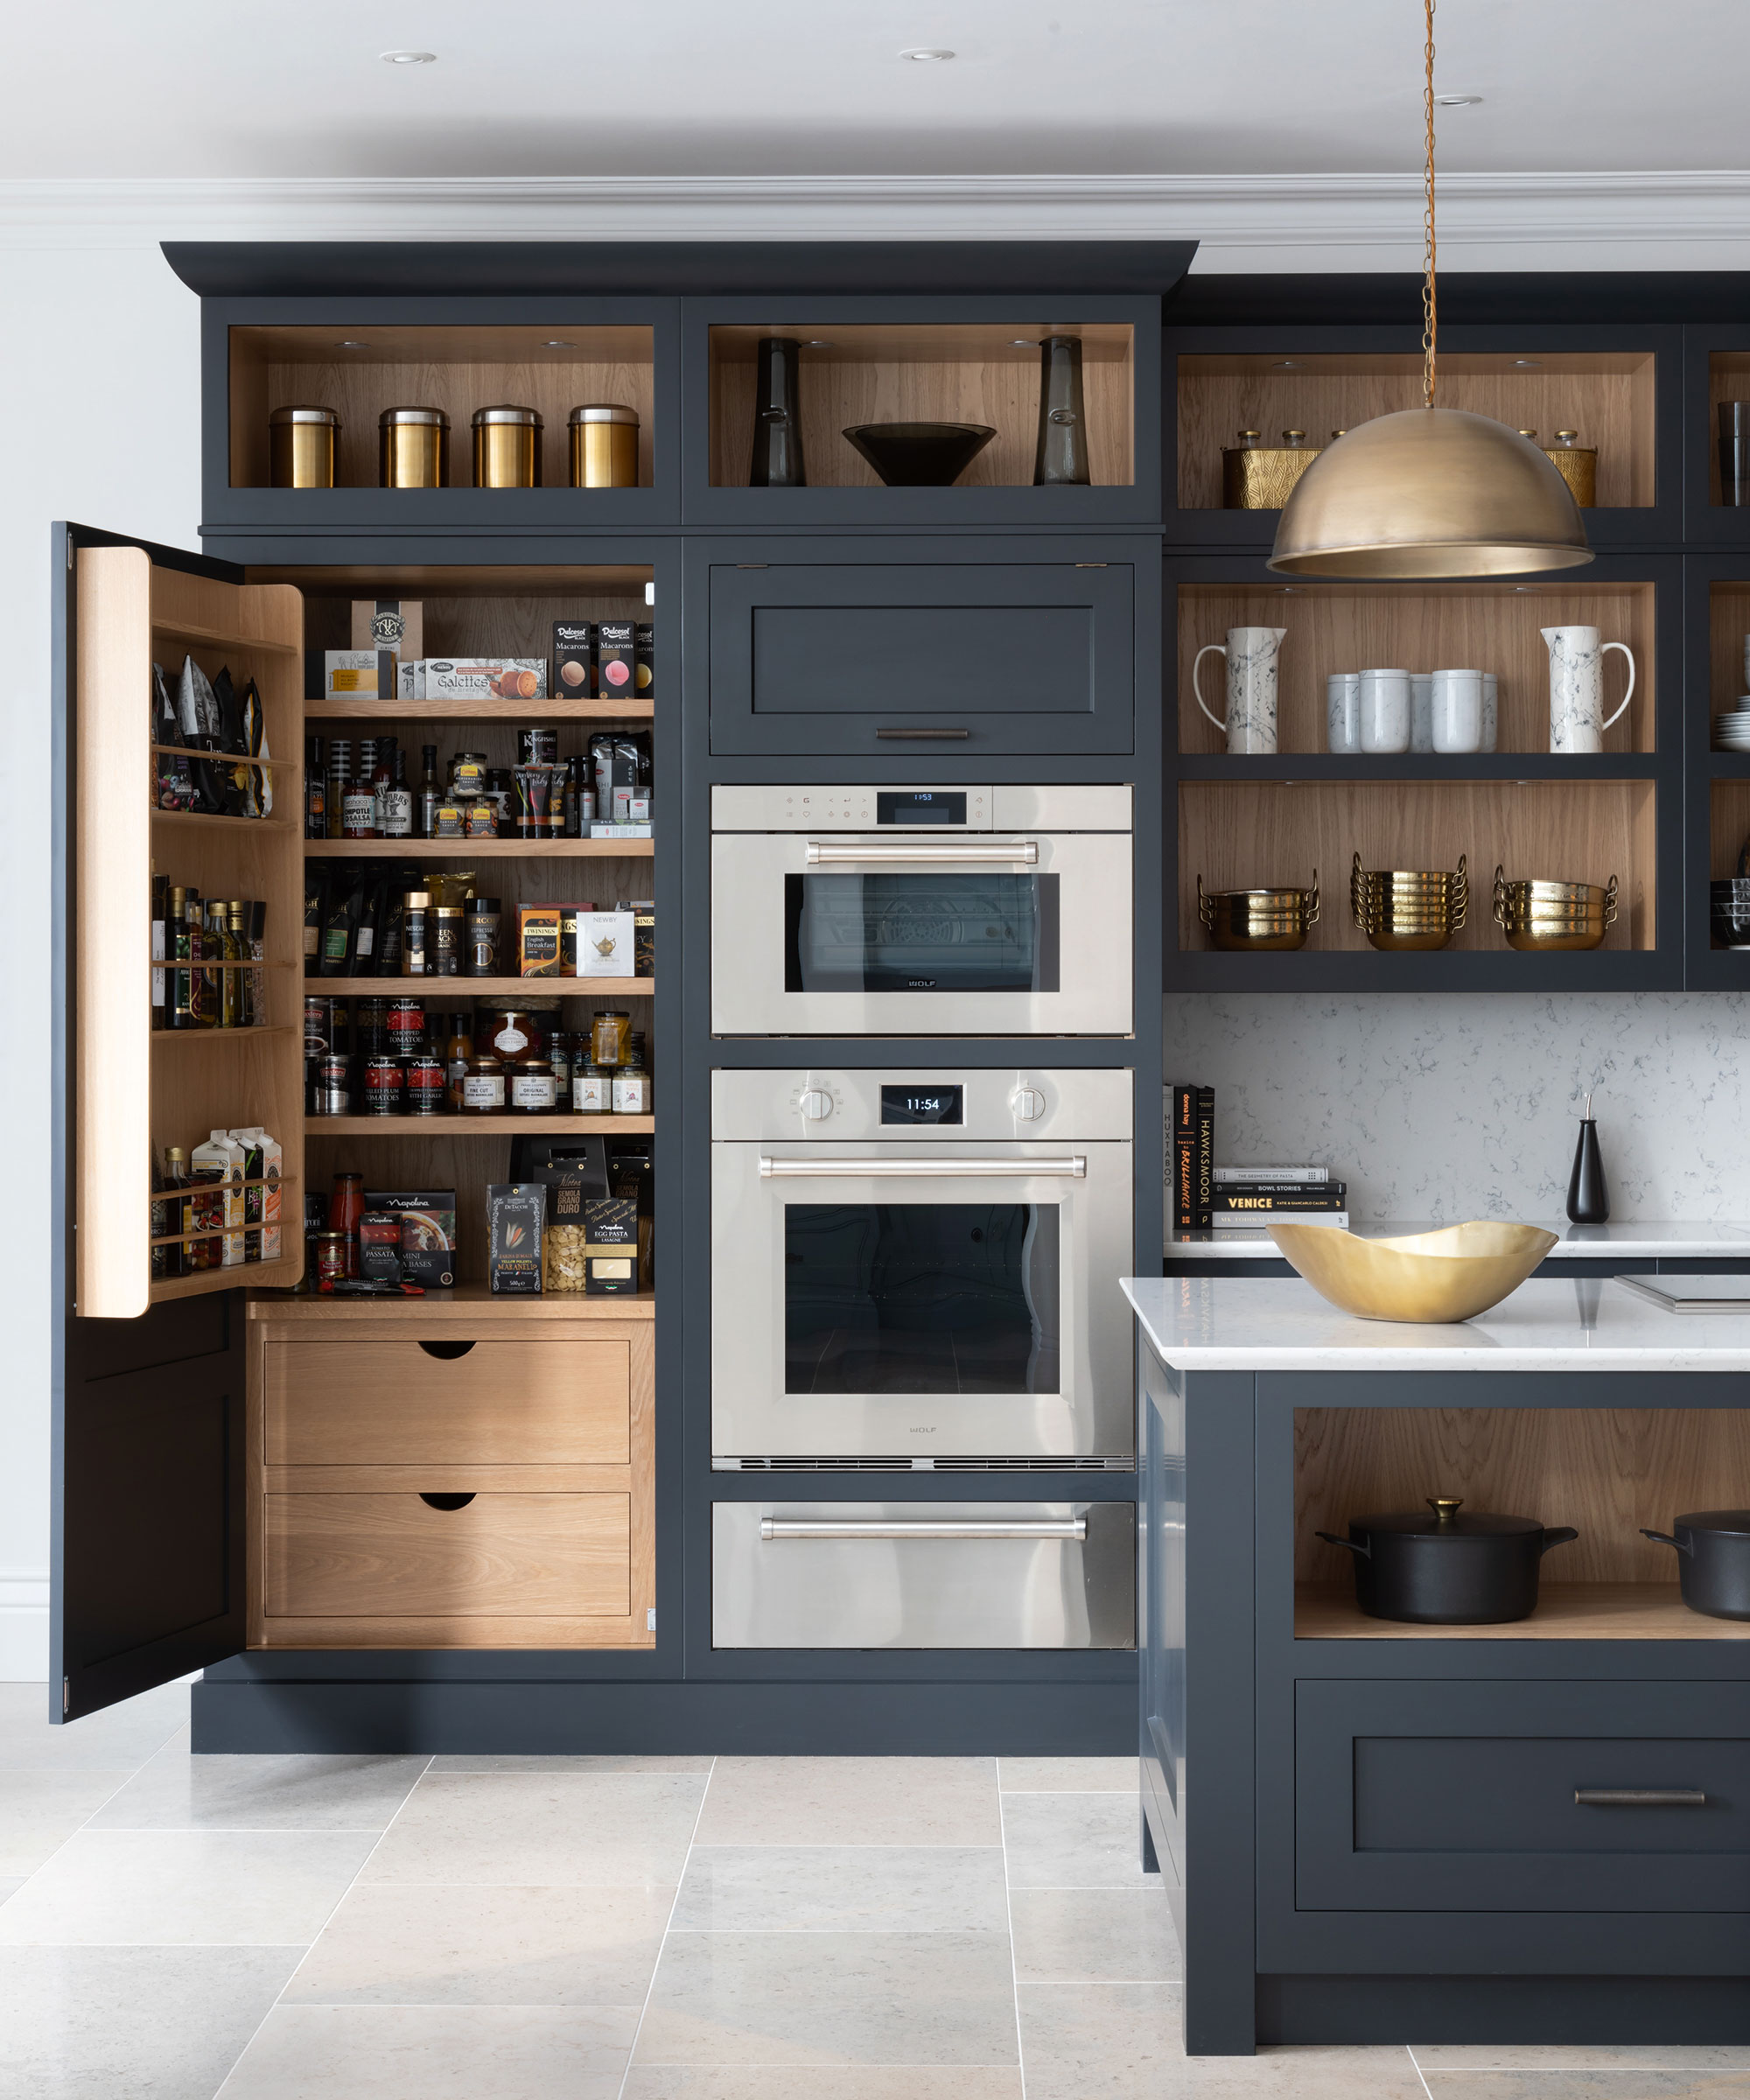
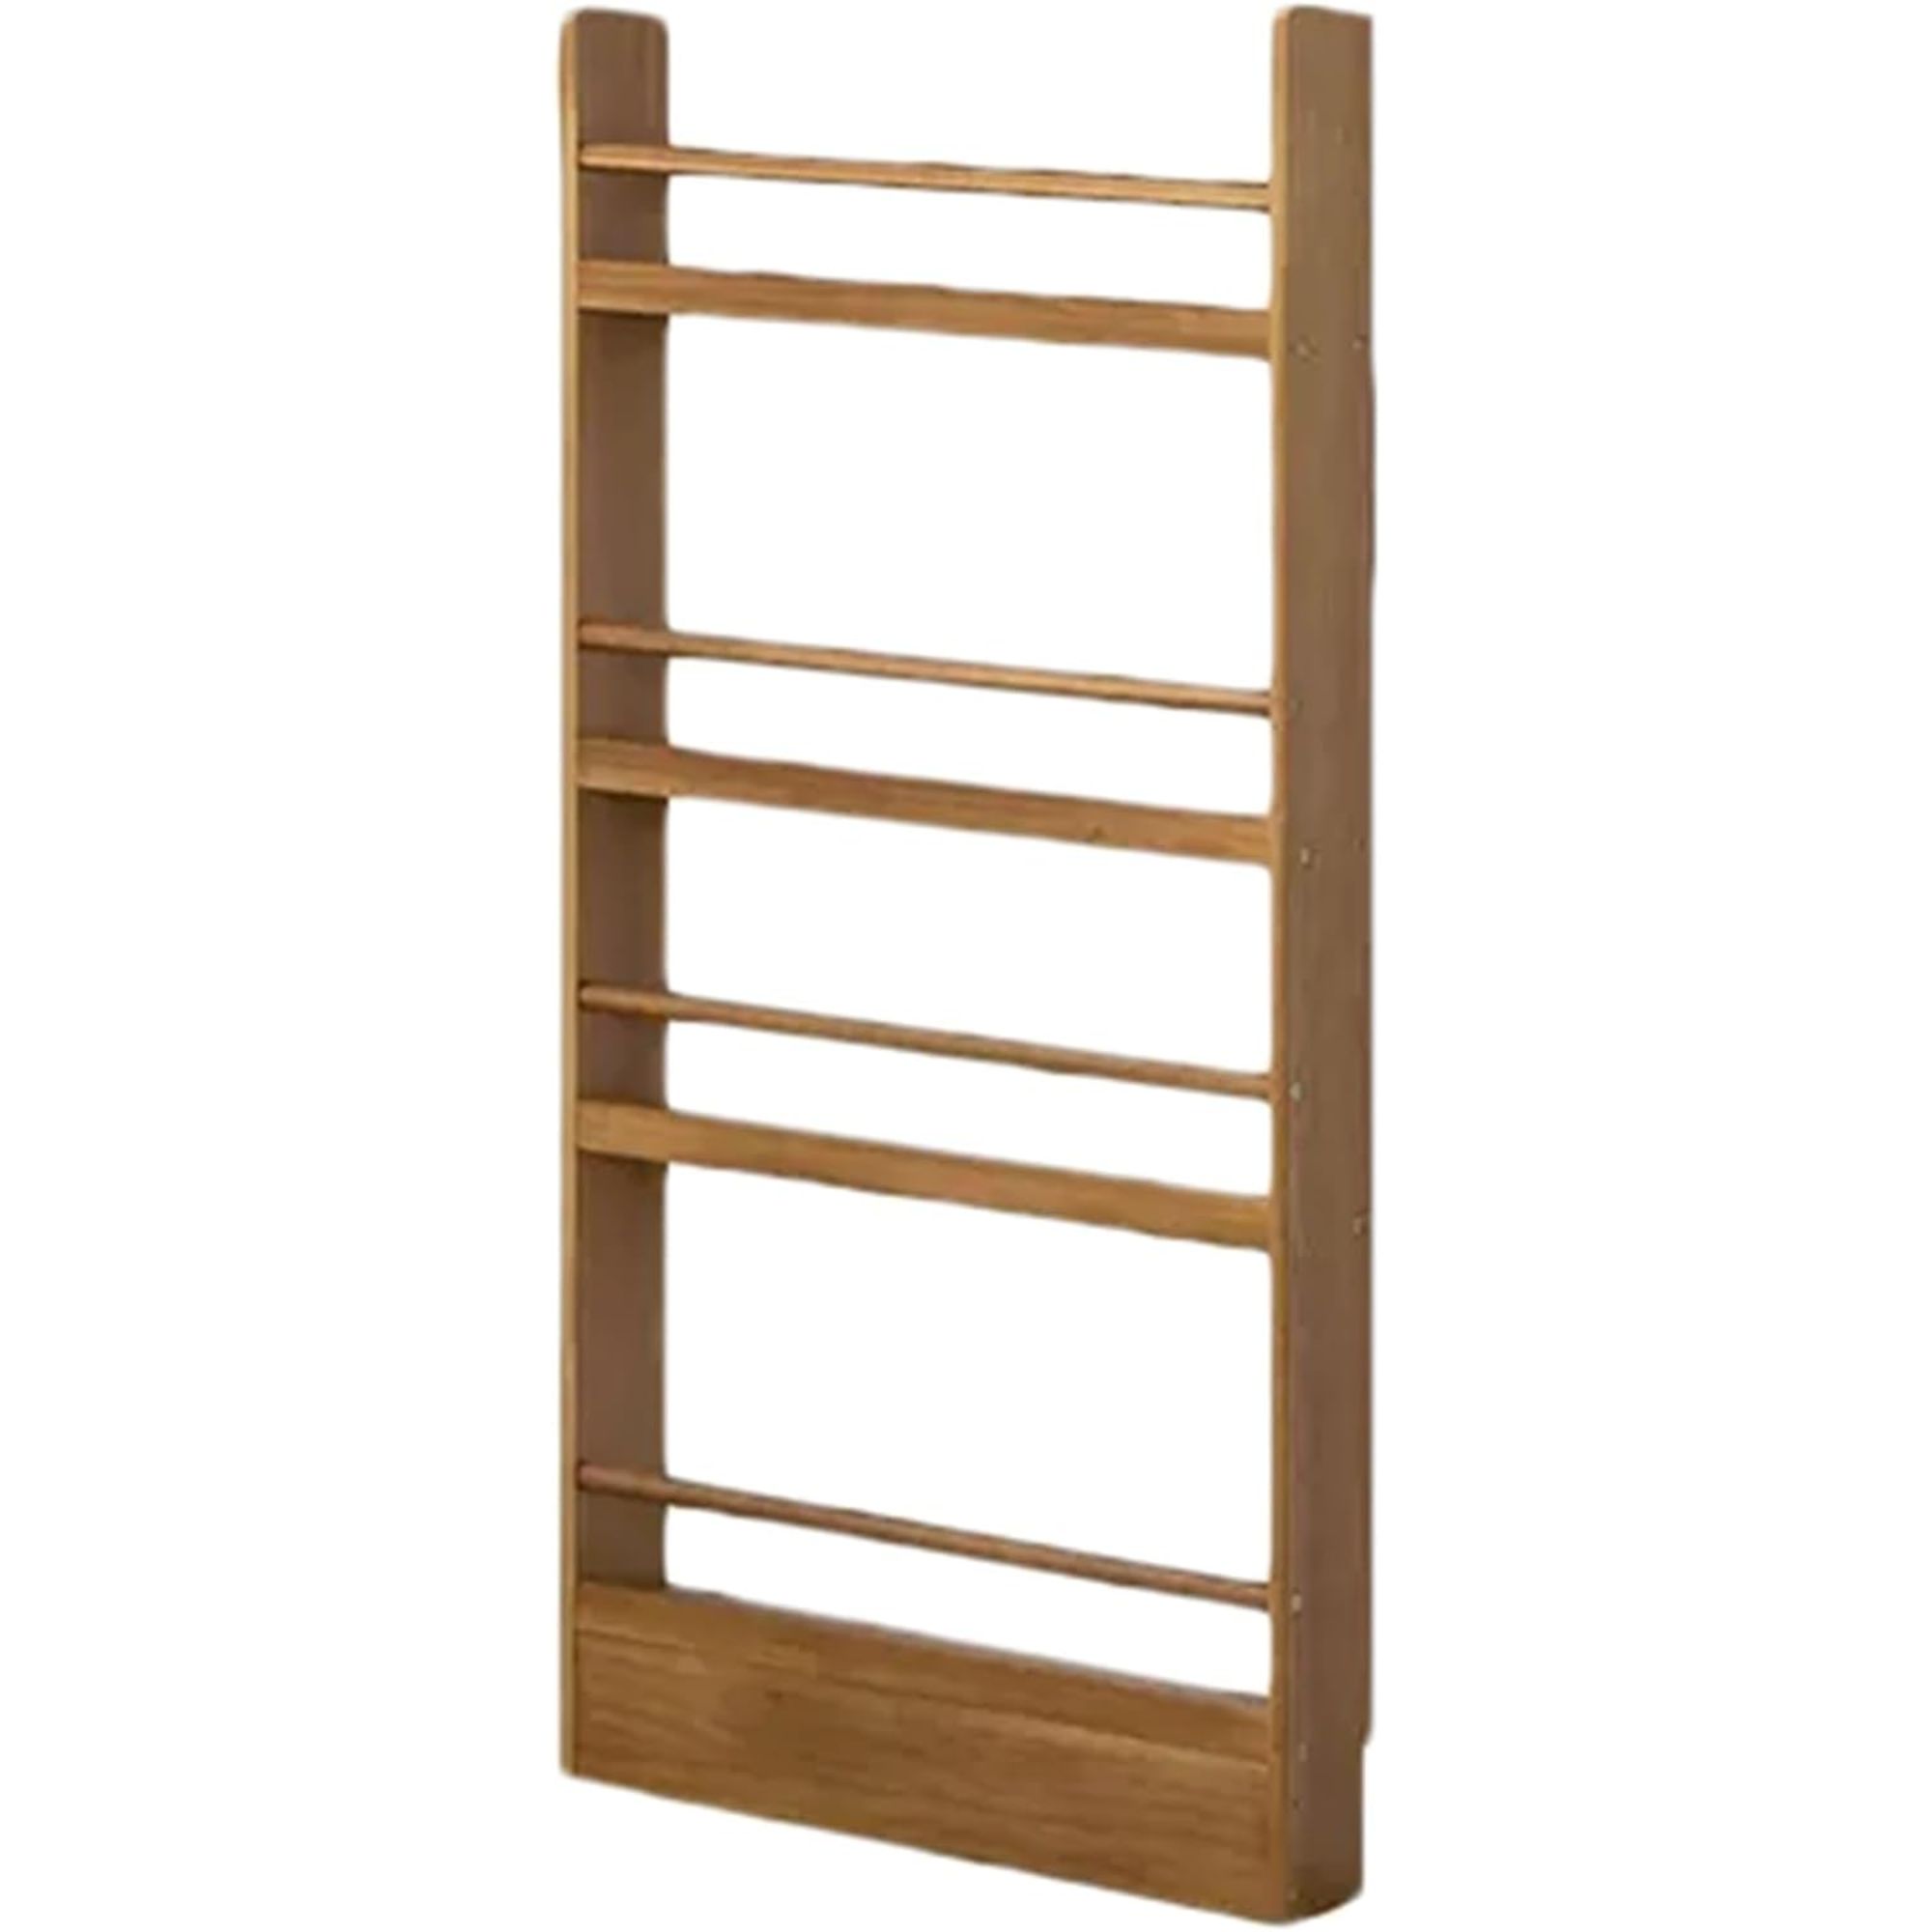
Shelves may be the main way to maximize space in a converted cabinet but to truly convert it into a pantry, vertical door storage can really make the most of every square inch. This is a great way to keep items visible, and easy to grab at eye-level.
'Maximize space by utilizing the back of the door. You can install racks or hooks to hang small items like spices, aprons, or even a handy shopping list,' says Rachel Waldron.
'Hooks or racks can be placed on the inside of the door to hold additional kitchen items,' recommends Marc Zambonini.
'All of these components should be secured properly, ideally with nails, screws, and bolts. I’d avoid using anything that uses plastic adhesives to stick to surfaces, as these are unlikely to be able to accommodate the weight of your kitchen items.'
5. Incorporate lighting
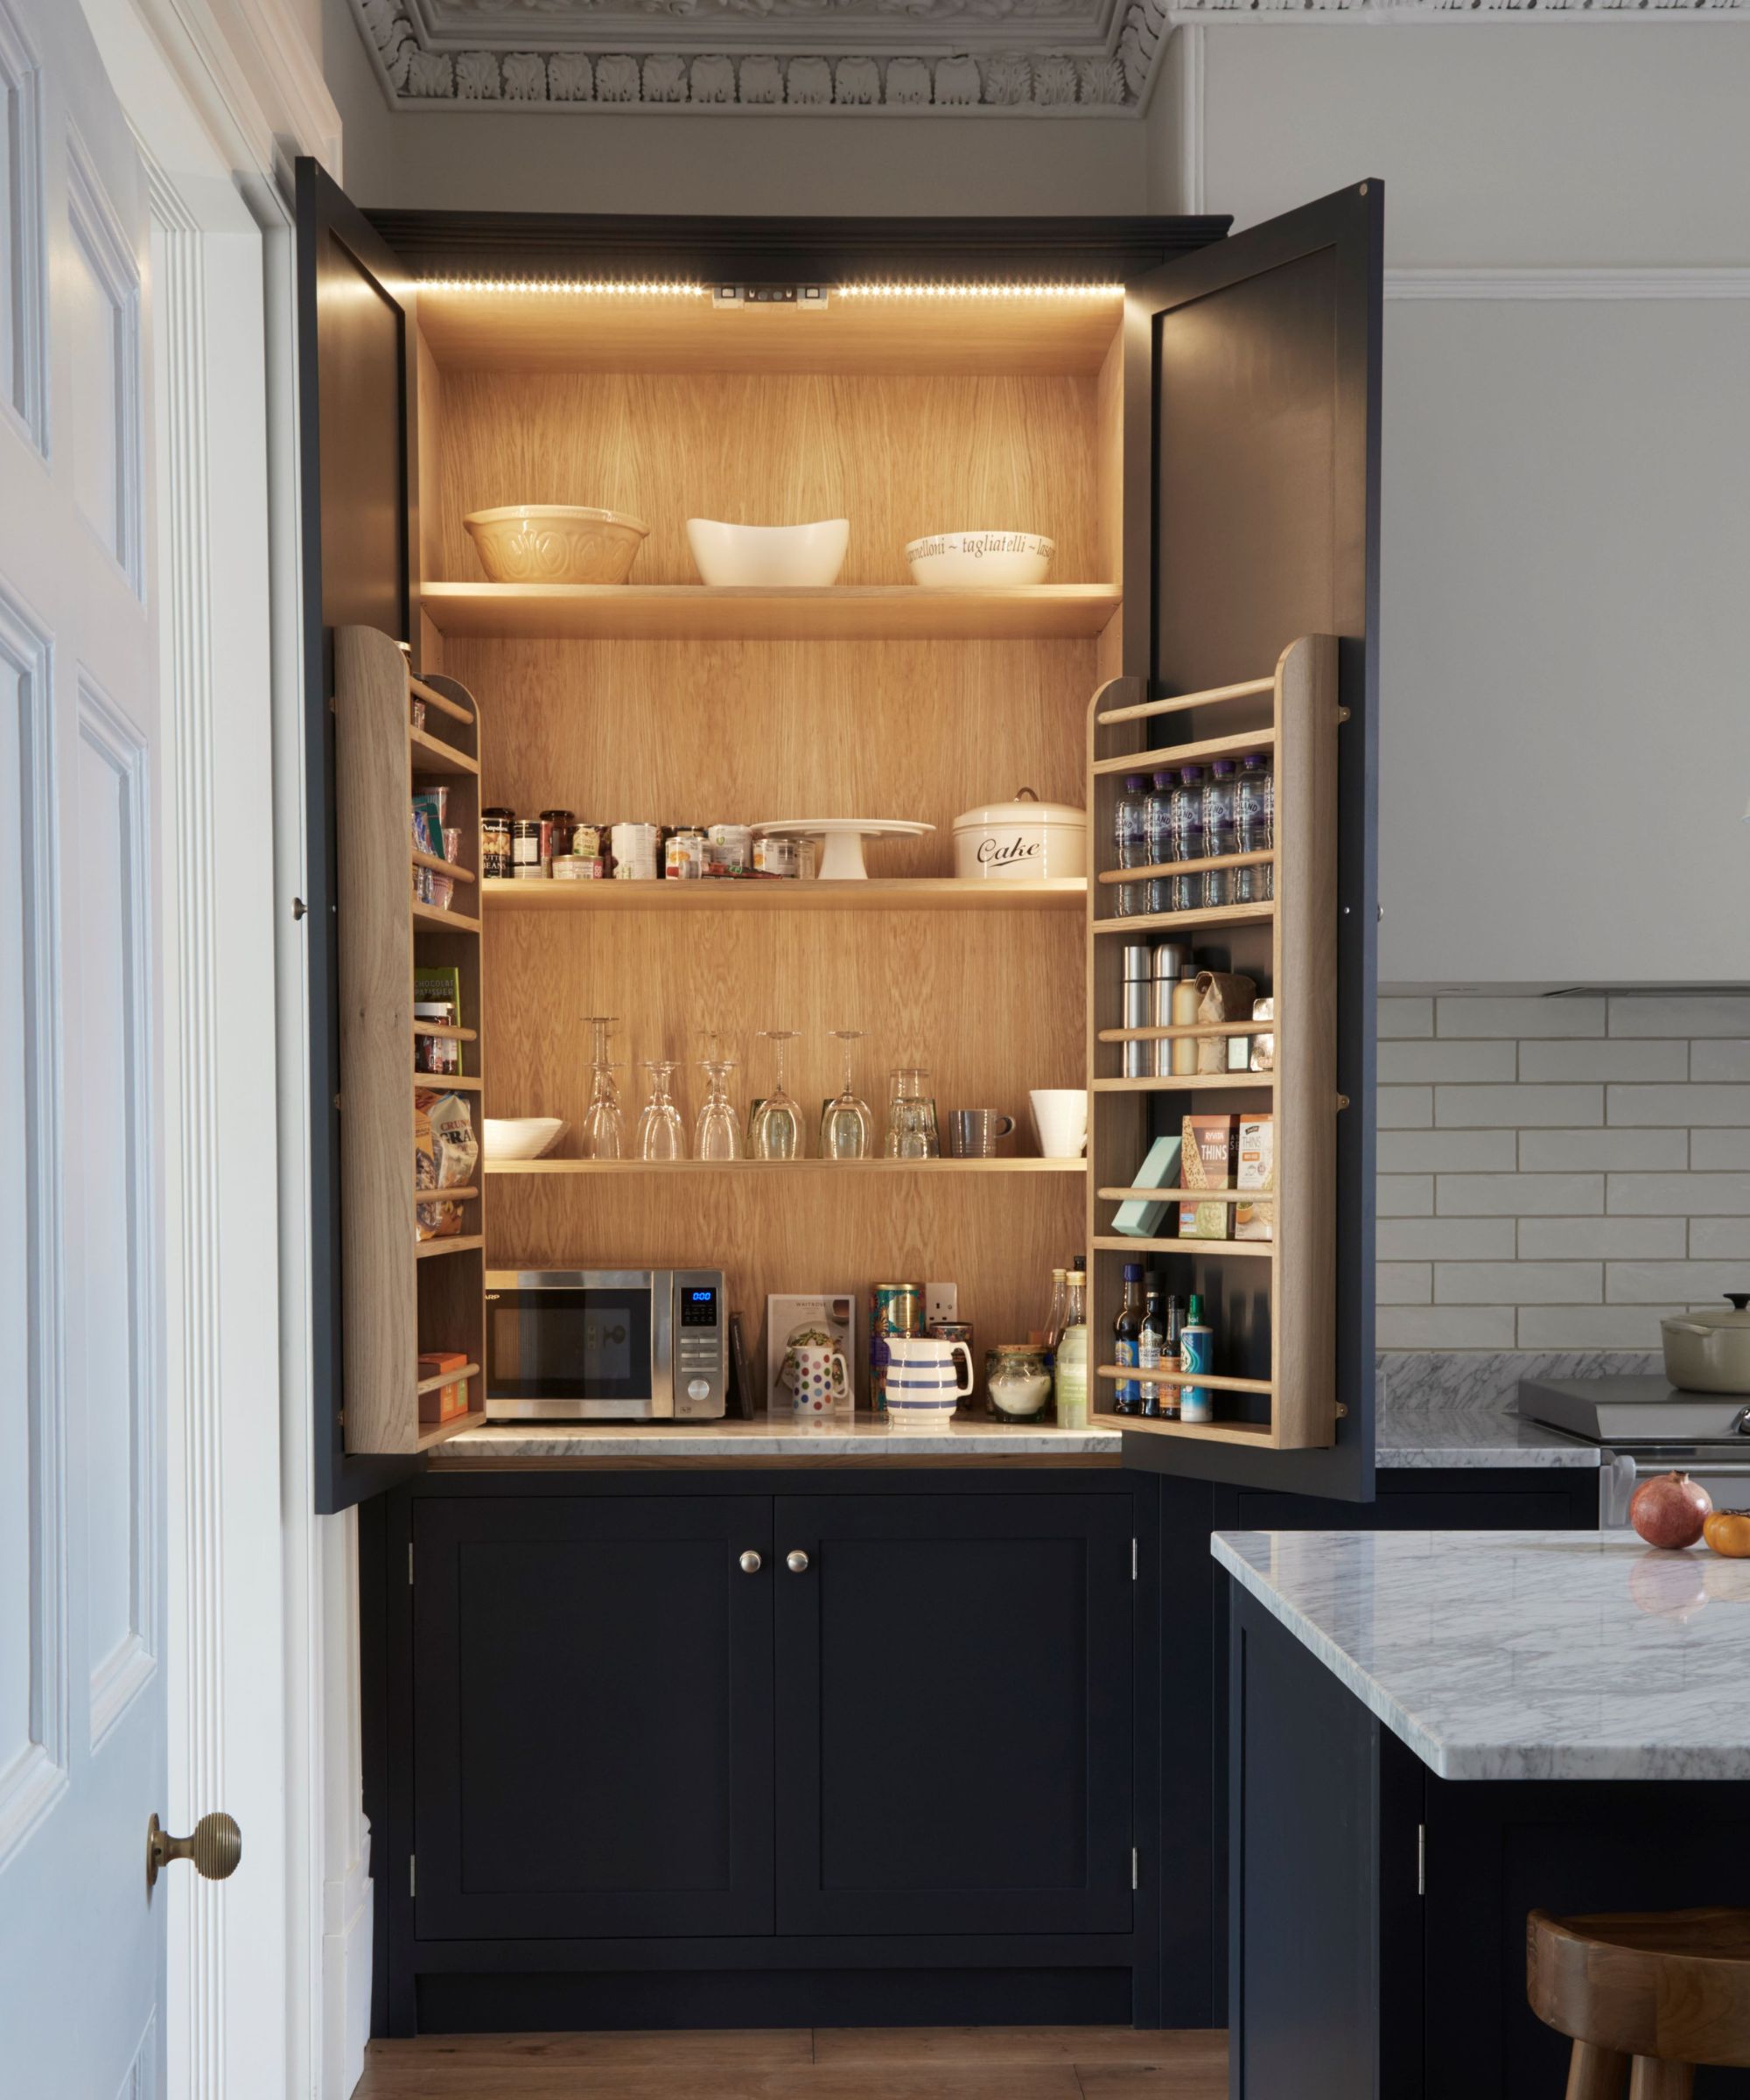
Good lighting is crucial in a pantry, making it easier to find what you need.
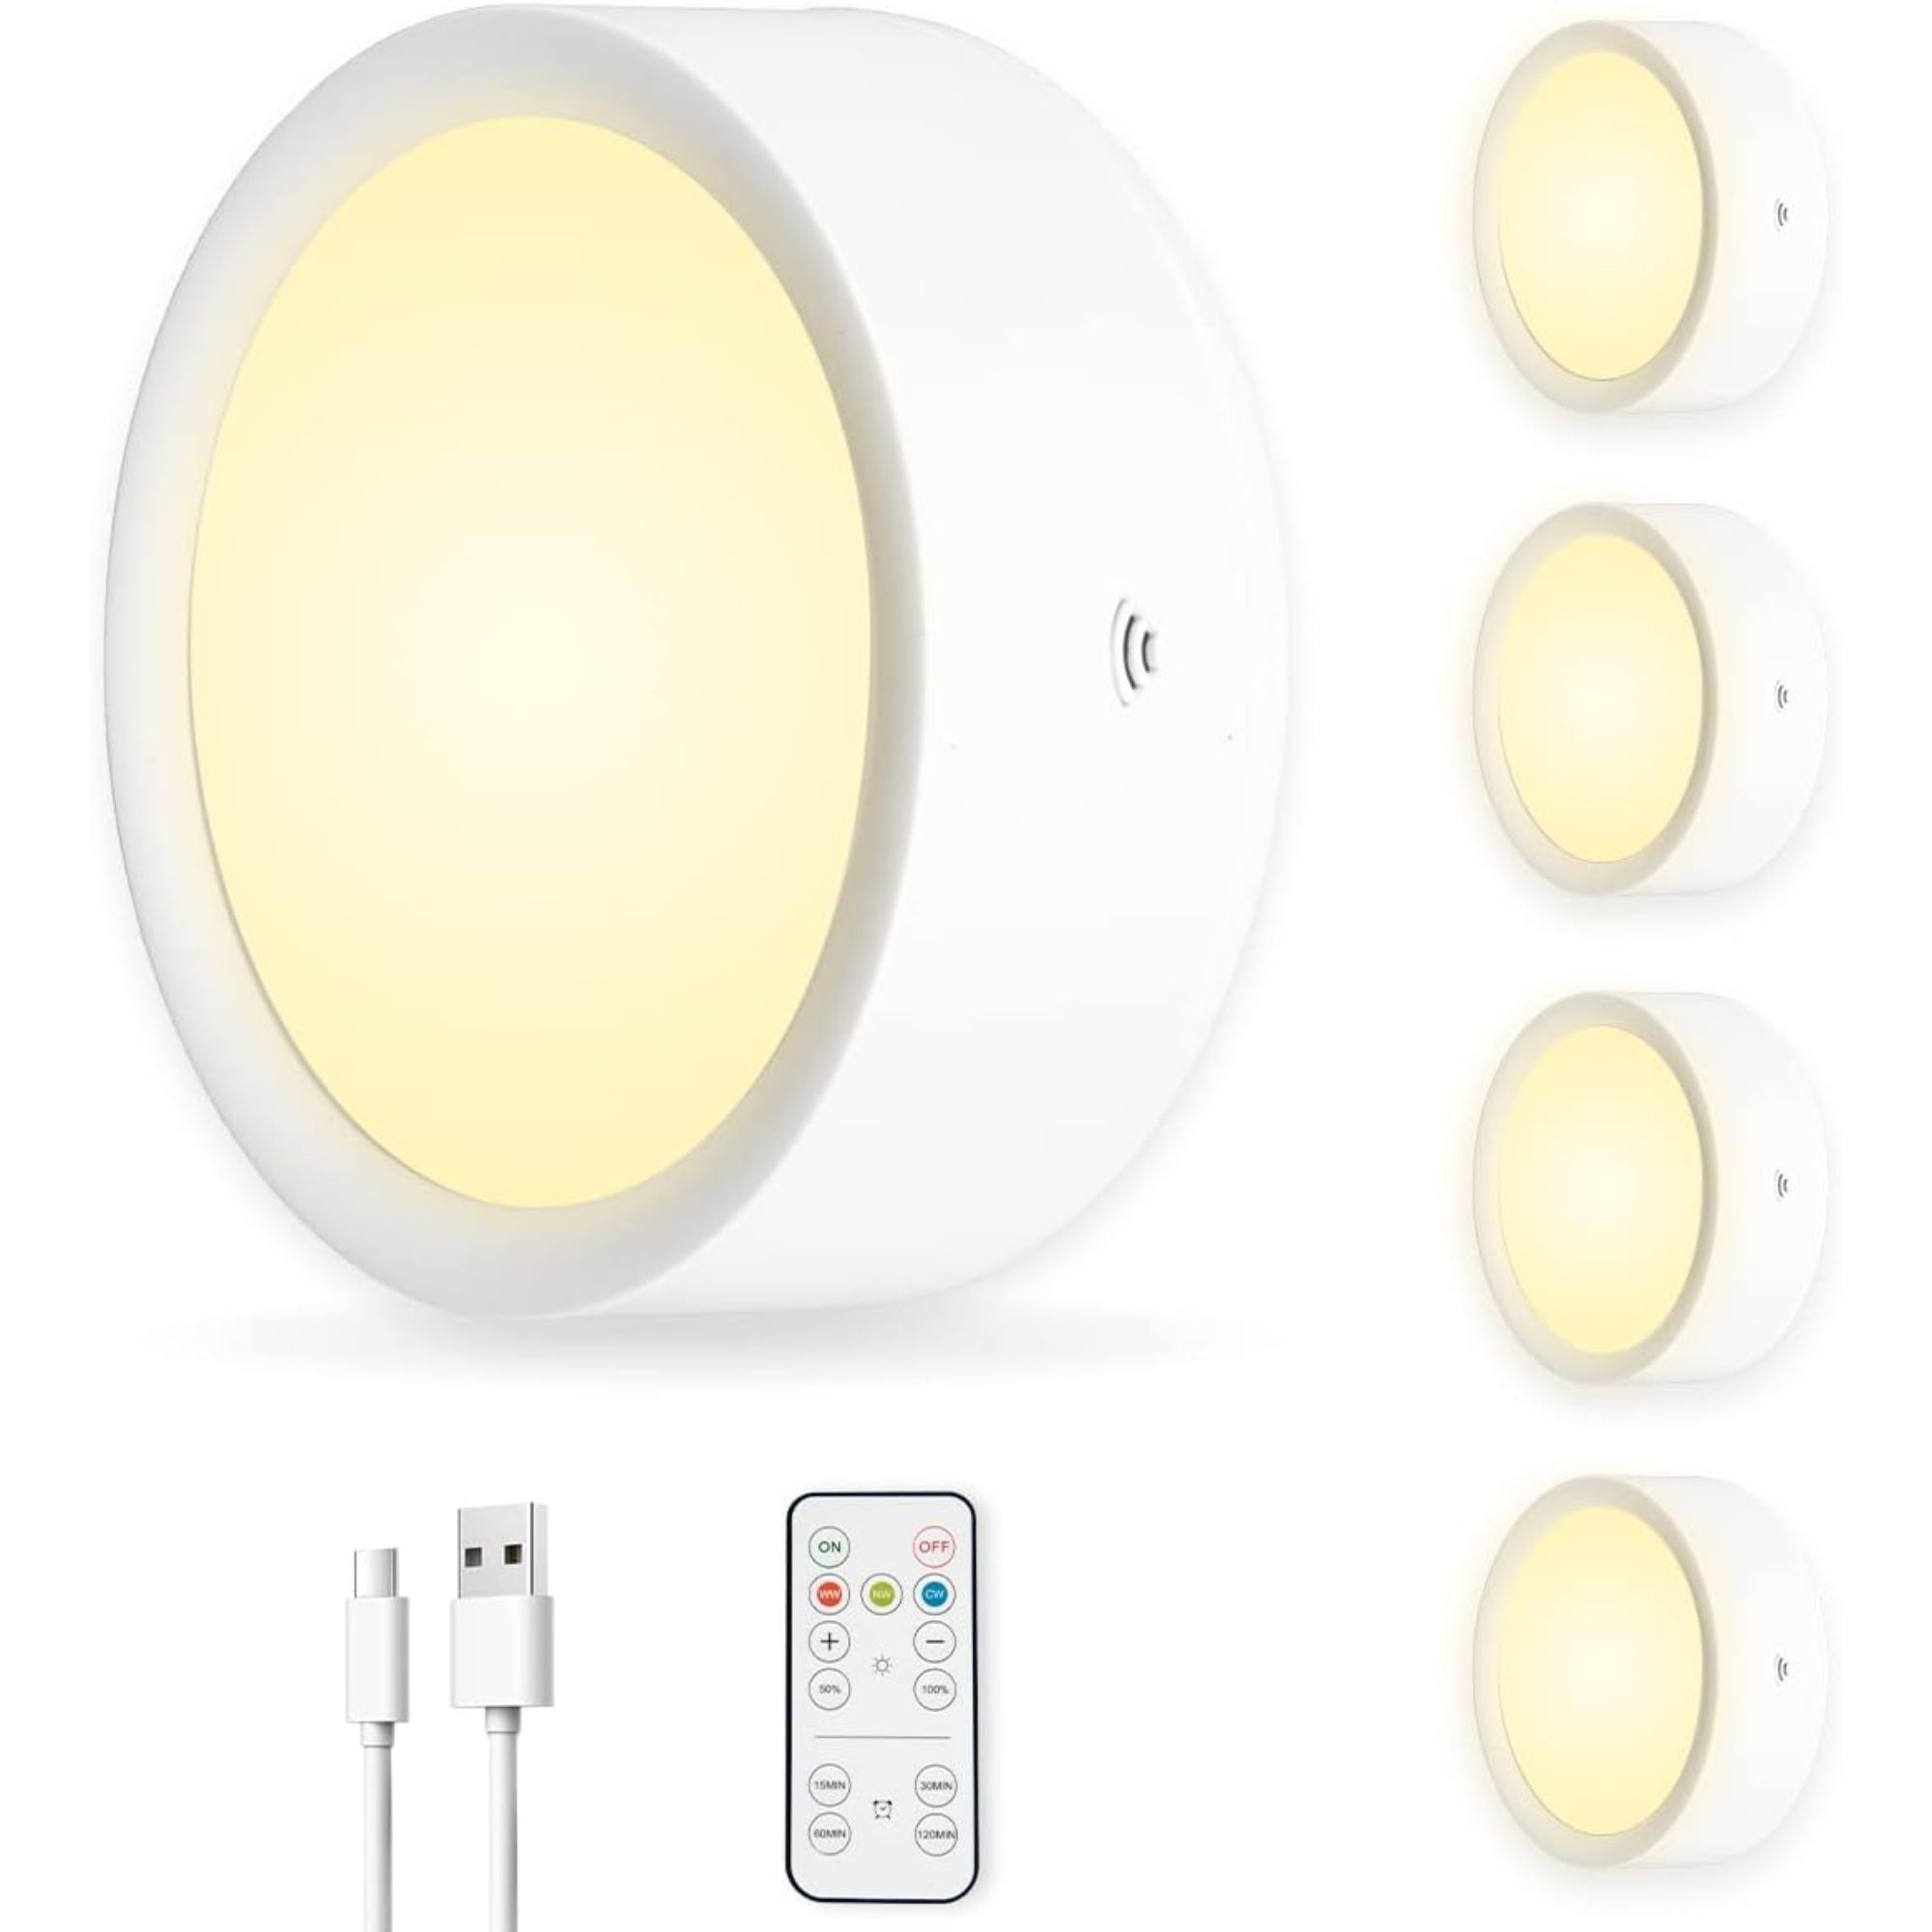
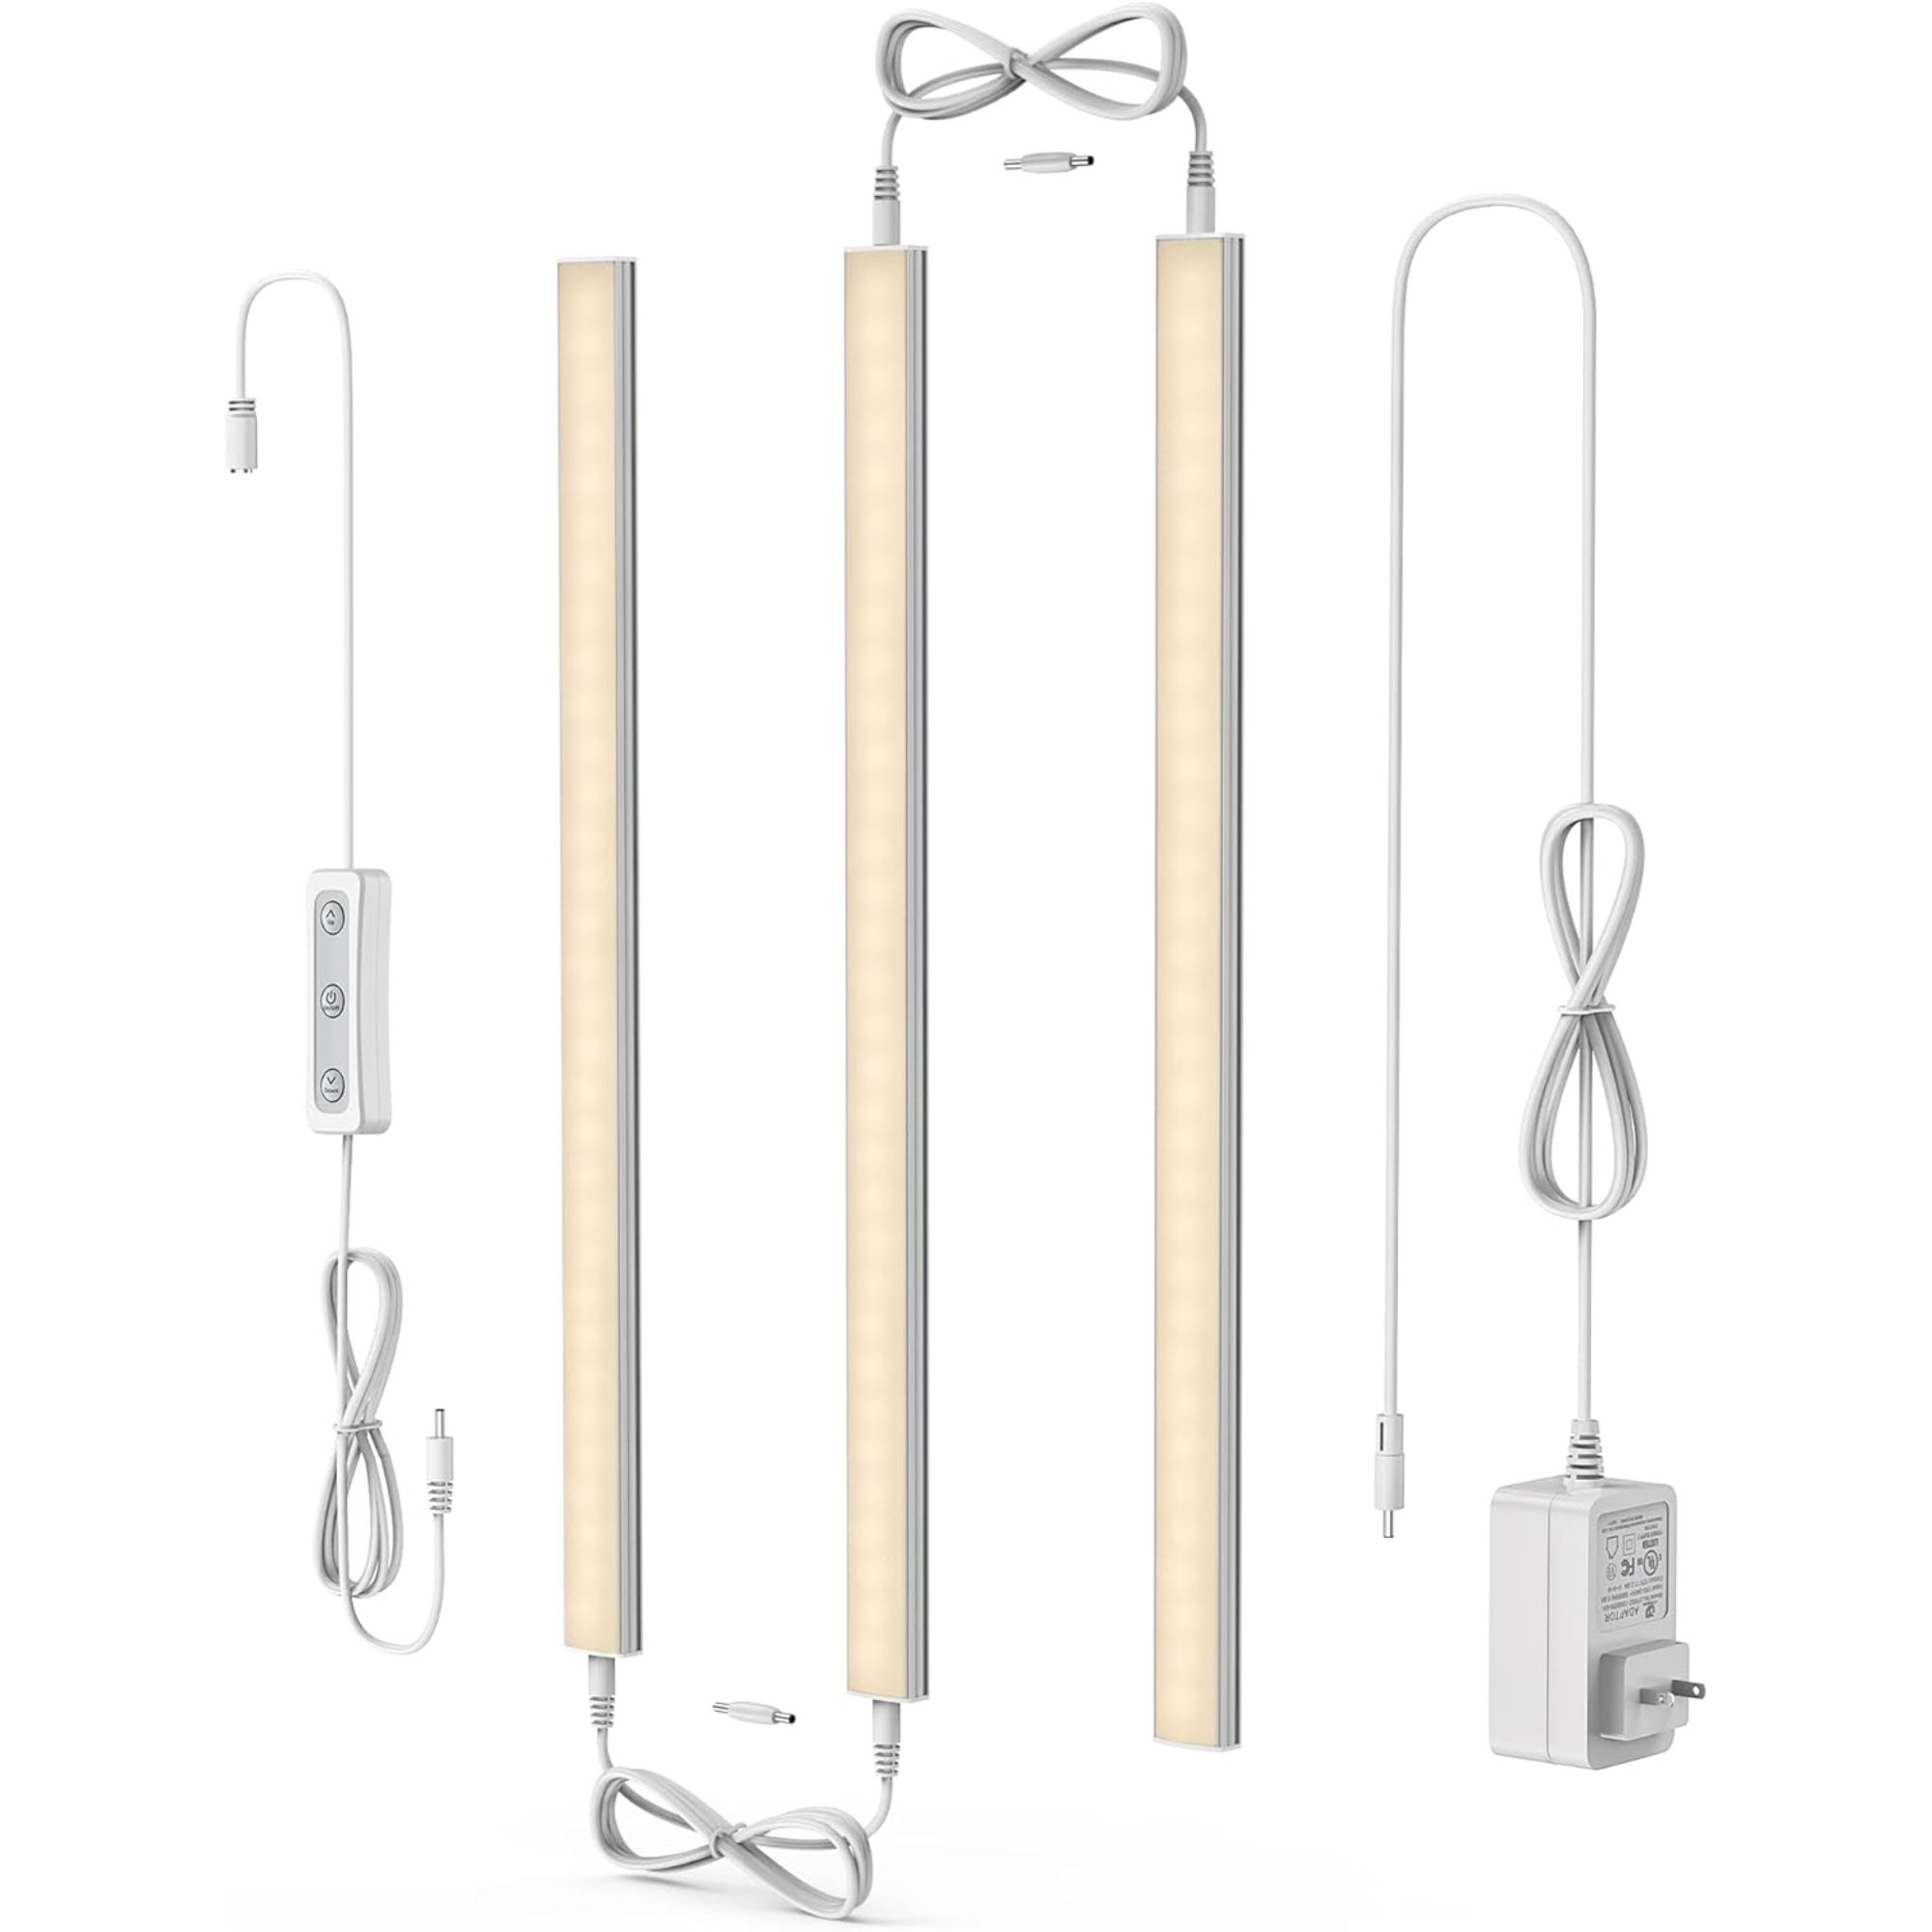
'Don't let your pantry be a dark, mysterious cavern. Install some lighting! LED strips or a small light fixture can make a big difference,' says Rachel Waldron, 'helping you spot that can of tomatoes lurking in the back.'
You can install battery-operated LED lights such as motion sensors, or hardwired lighting if there's an electrical source nearby. You can find a light with dimmable options or in varying warmth, making your pantry customizable to your preferences.
6. Add storage

Now your kitchen cabinet should feel like a fully-fledged pantry, all that's left is to restock and organize your pantry, and this starts with incorporating some pantry storage.
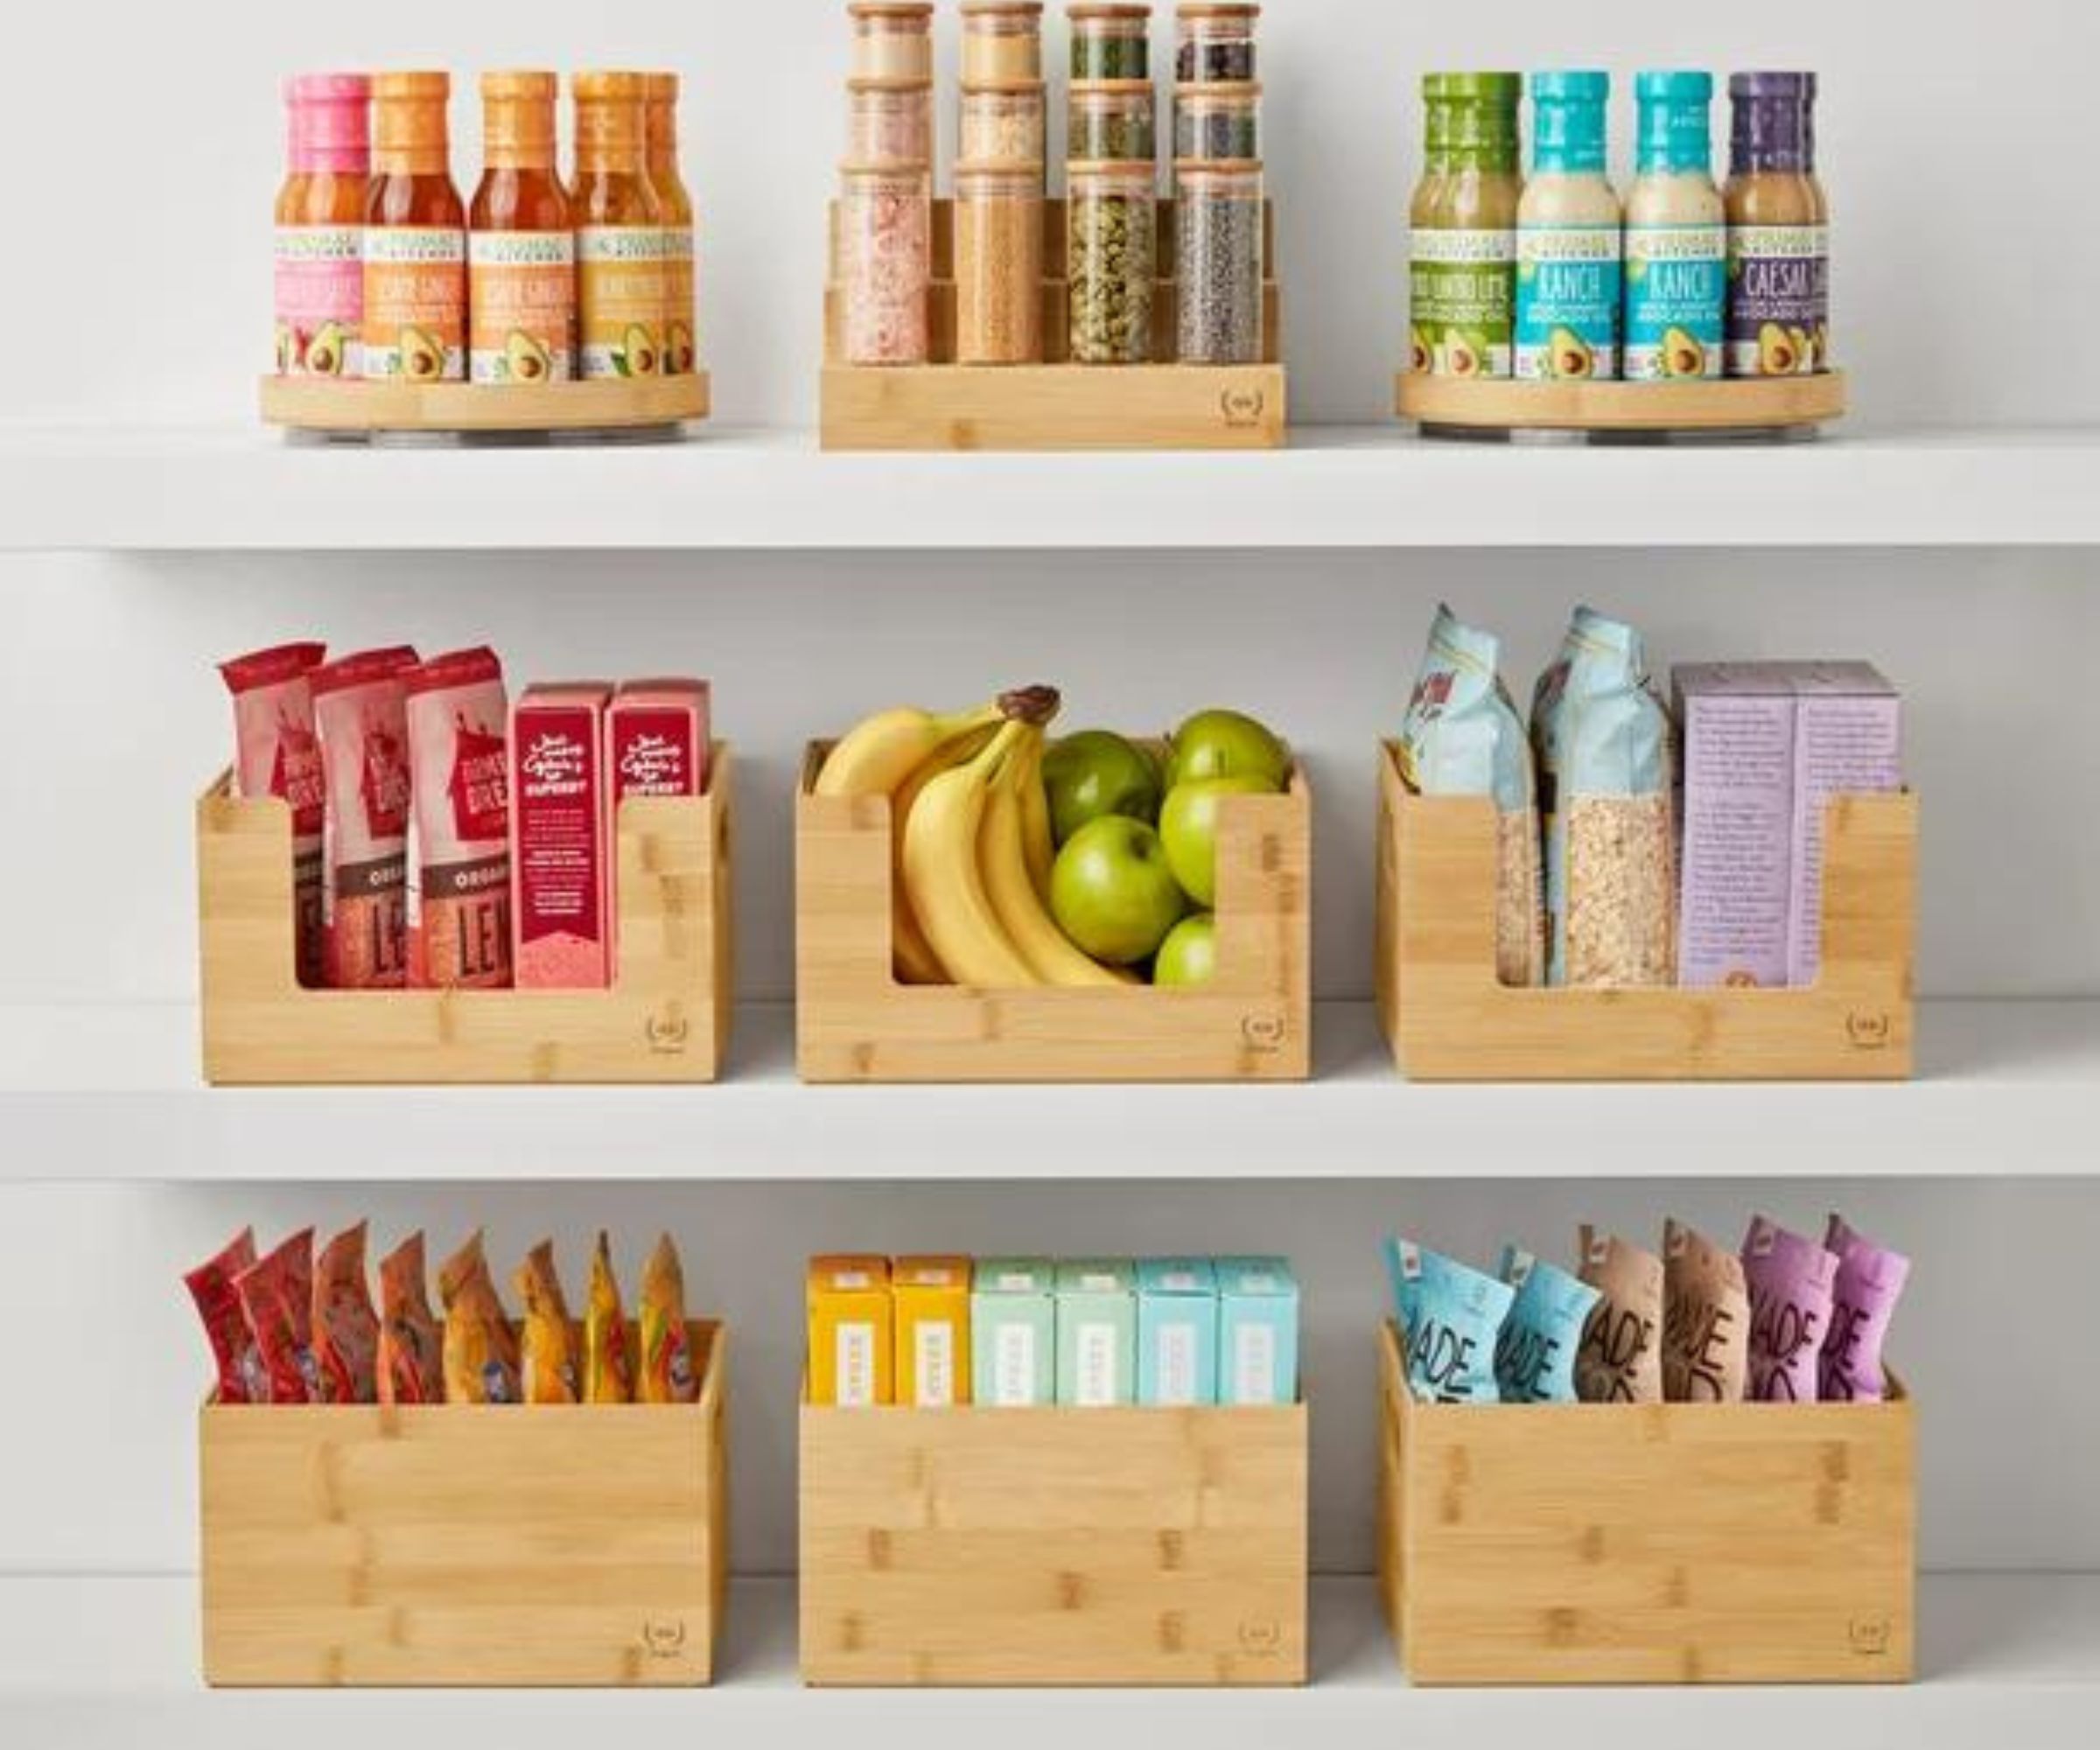
While this is not always essential, pantry organizers such as drawer dividers and storage containers can ensure your pantry is organized and will make locating and accessing items simpler, and keep this space cleaner. We love these stylish drawer dividers, from Wayfair.
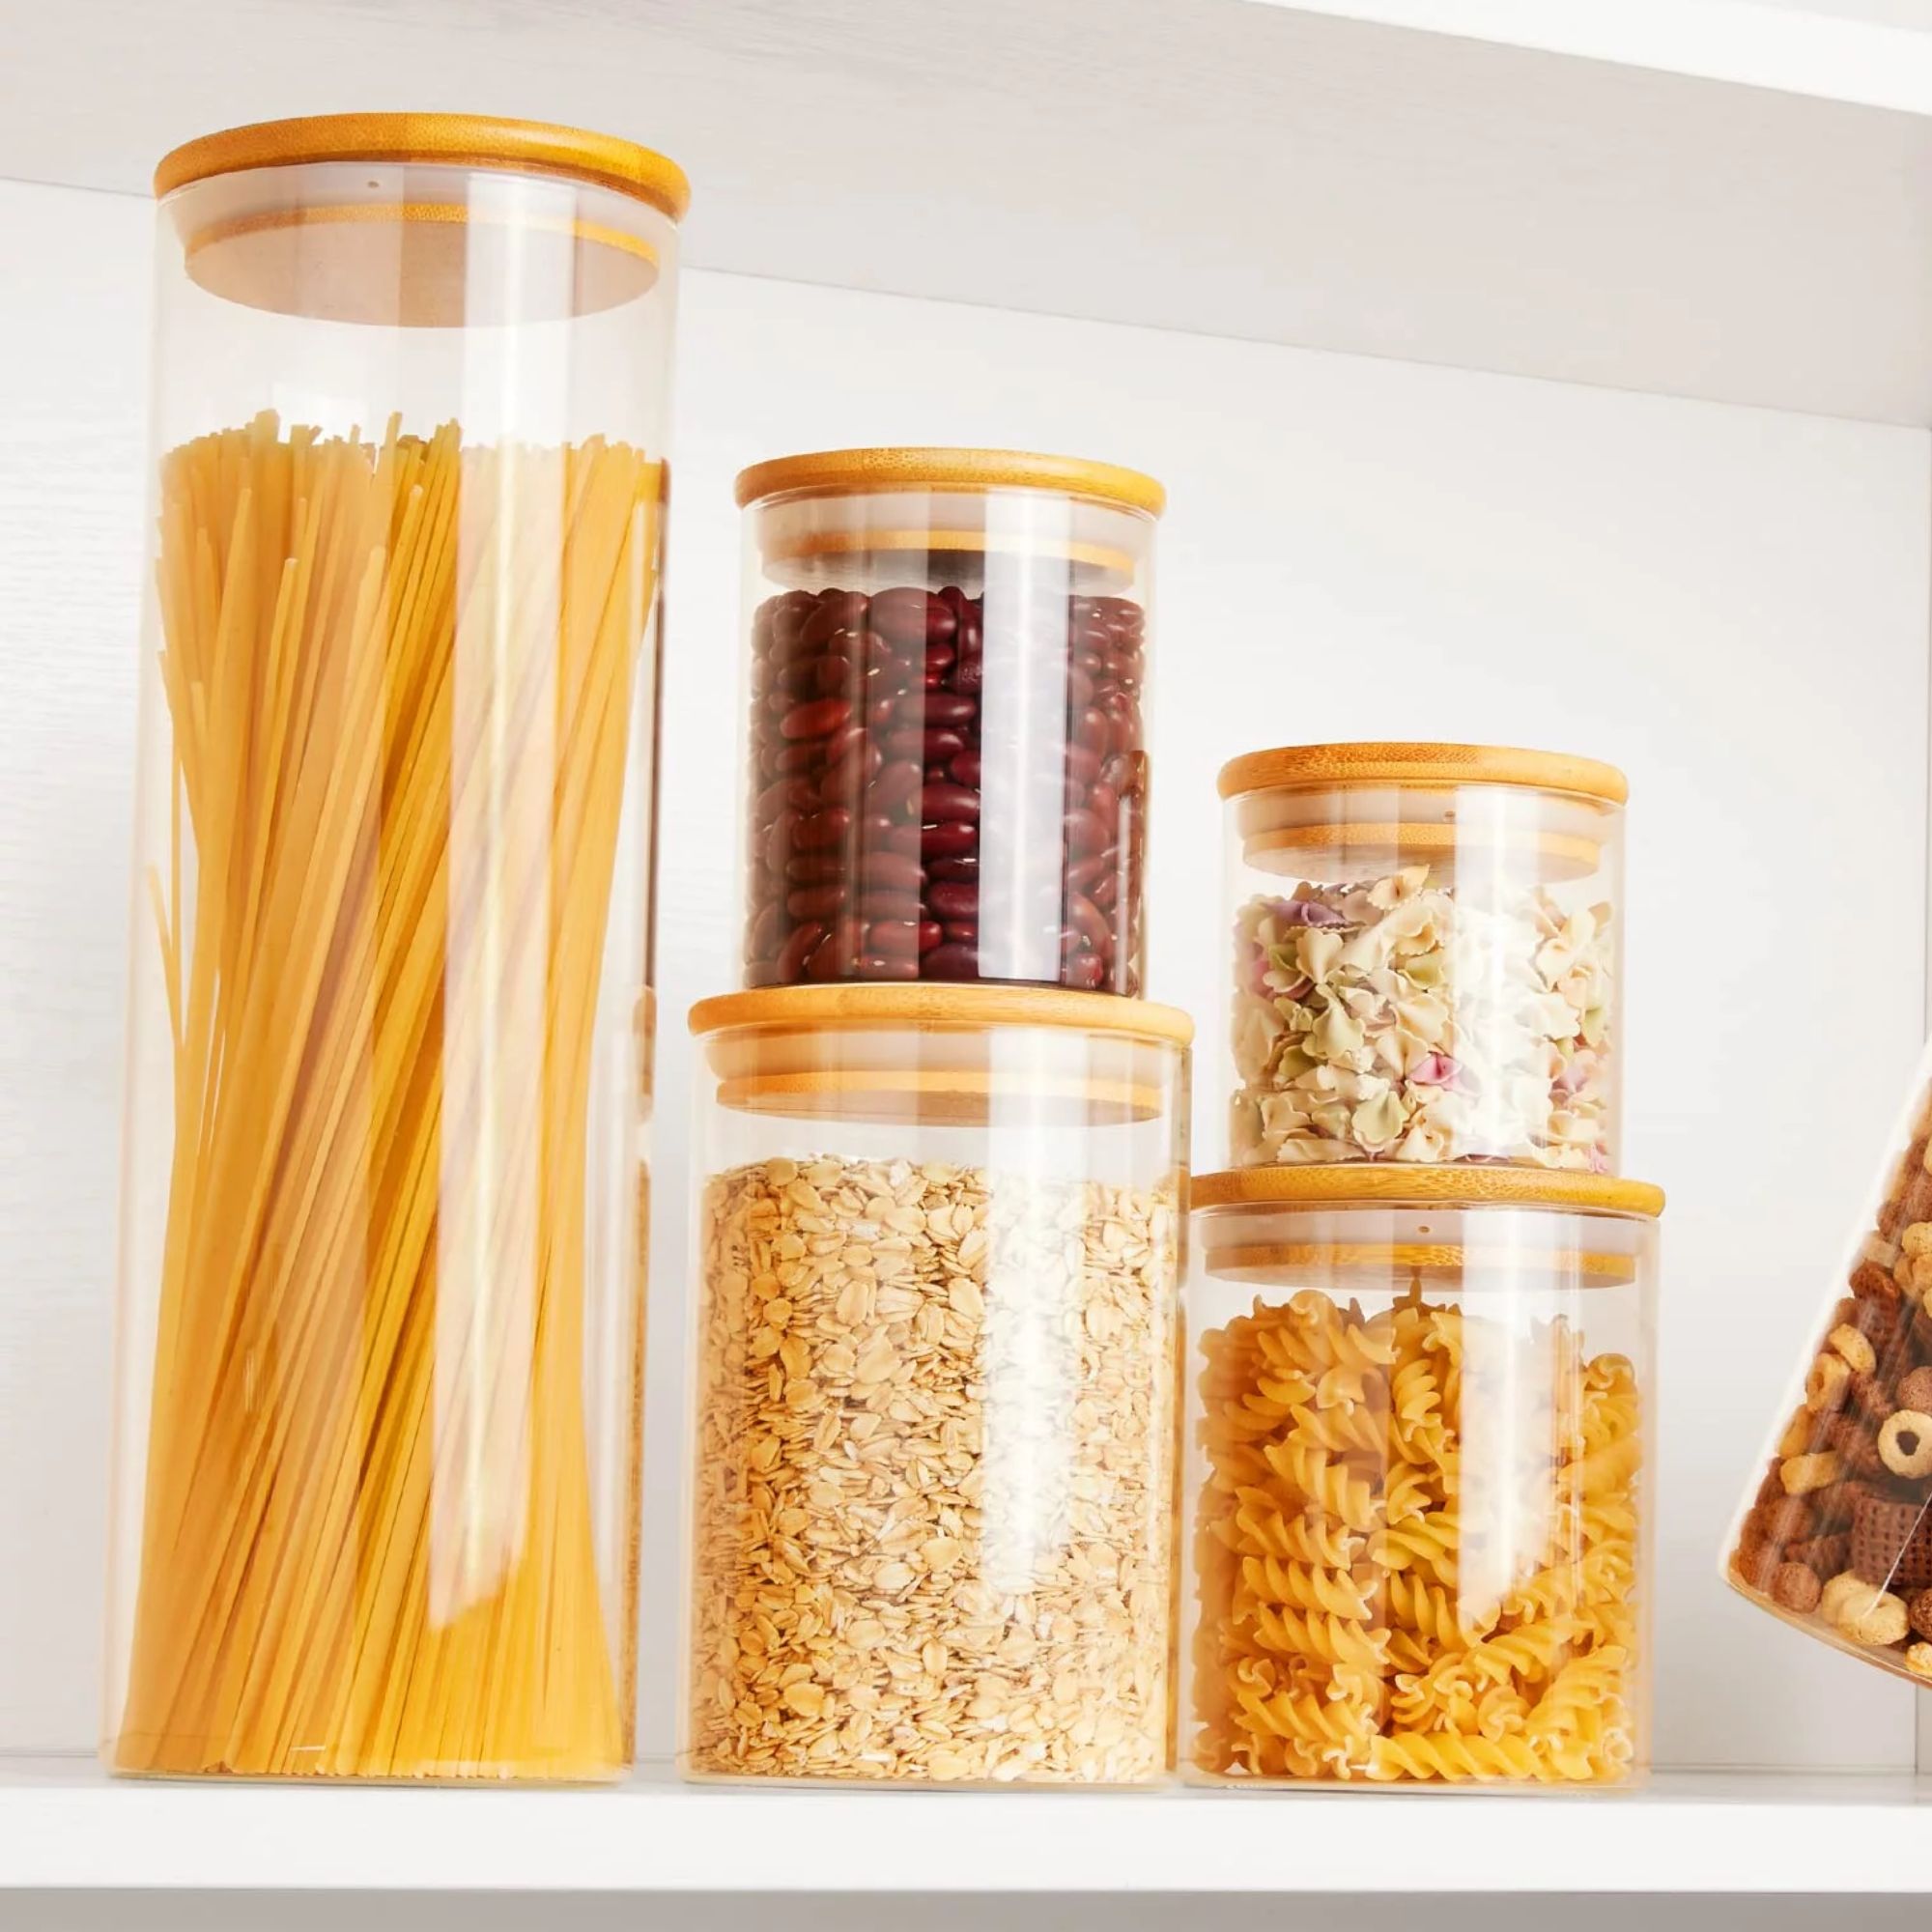
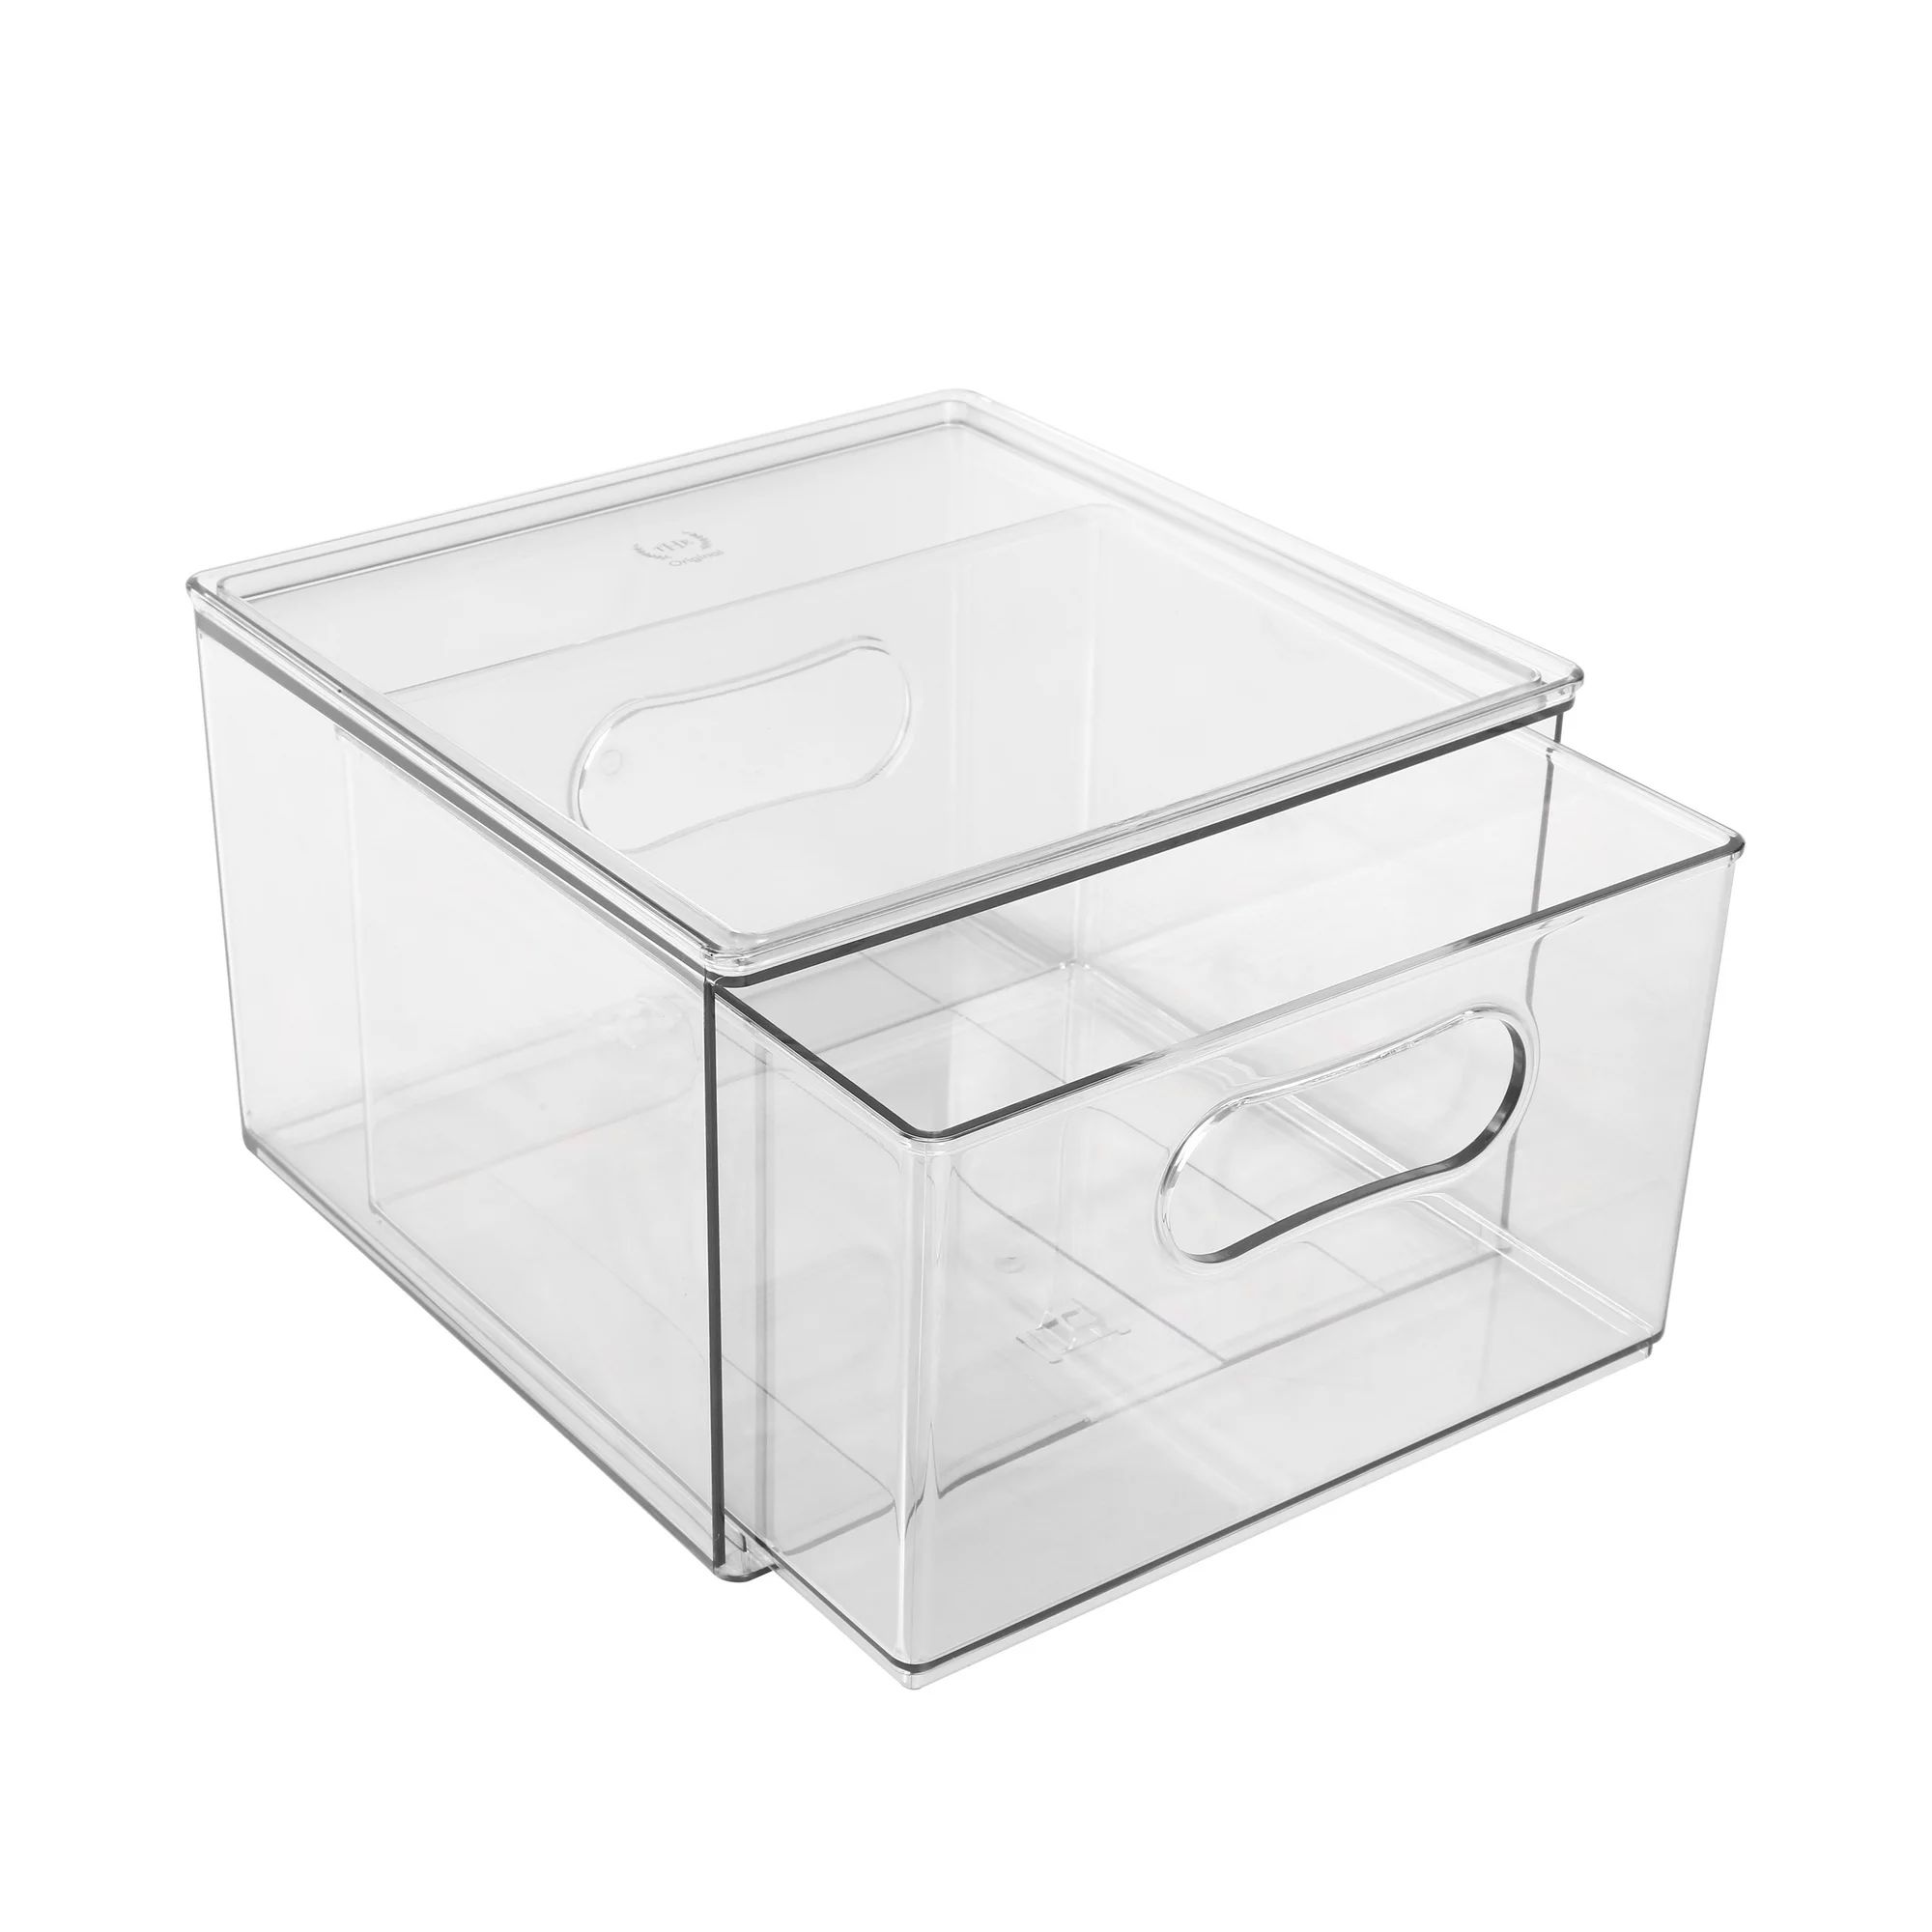
Rachel Waldron advises: 'Invest in clear storage containers. Not only do they look neat and uniform, but they also make it easy to see what's inside. Plus, they keep things fresh and protect against pantry pests.'
'When you've decided where they will go, measure the shelves thoroughly and purchase some clear containers and labels to help you categorize and contain your household's go-to foods,' recommends Millie Hurst. 'Containers with handles, at Amazon, will make items on higher shelves easily accessible so nothing gets lost at the back.'
7. Organize and label
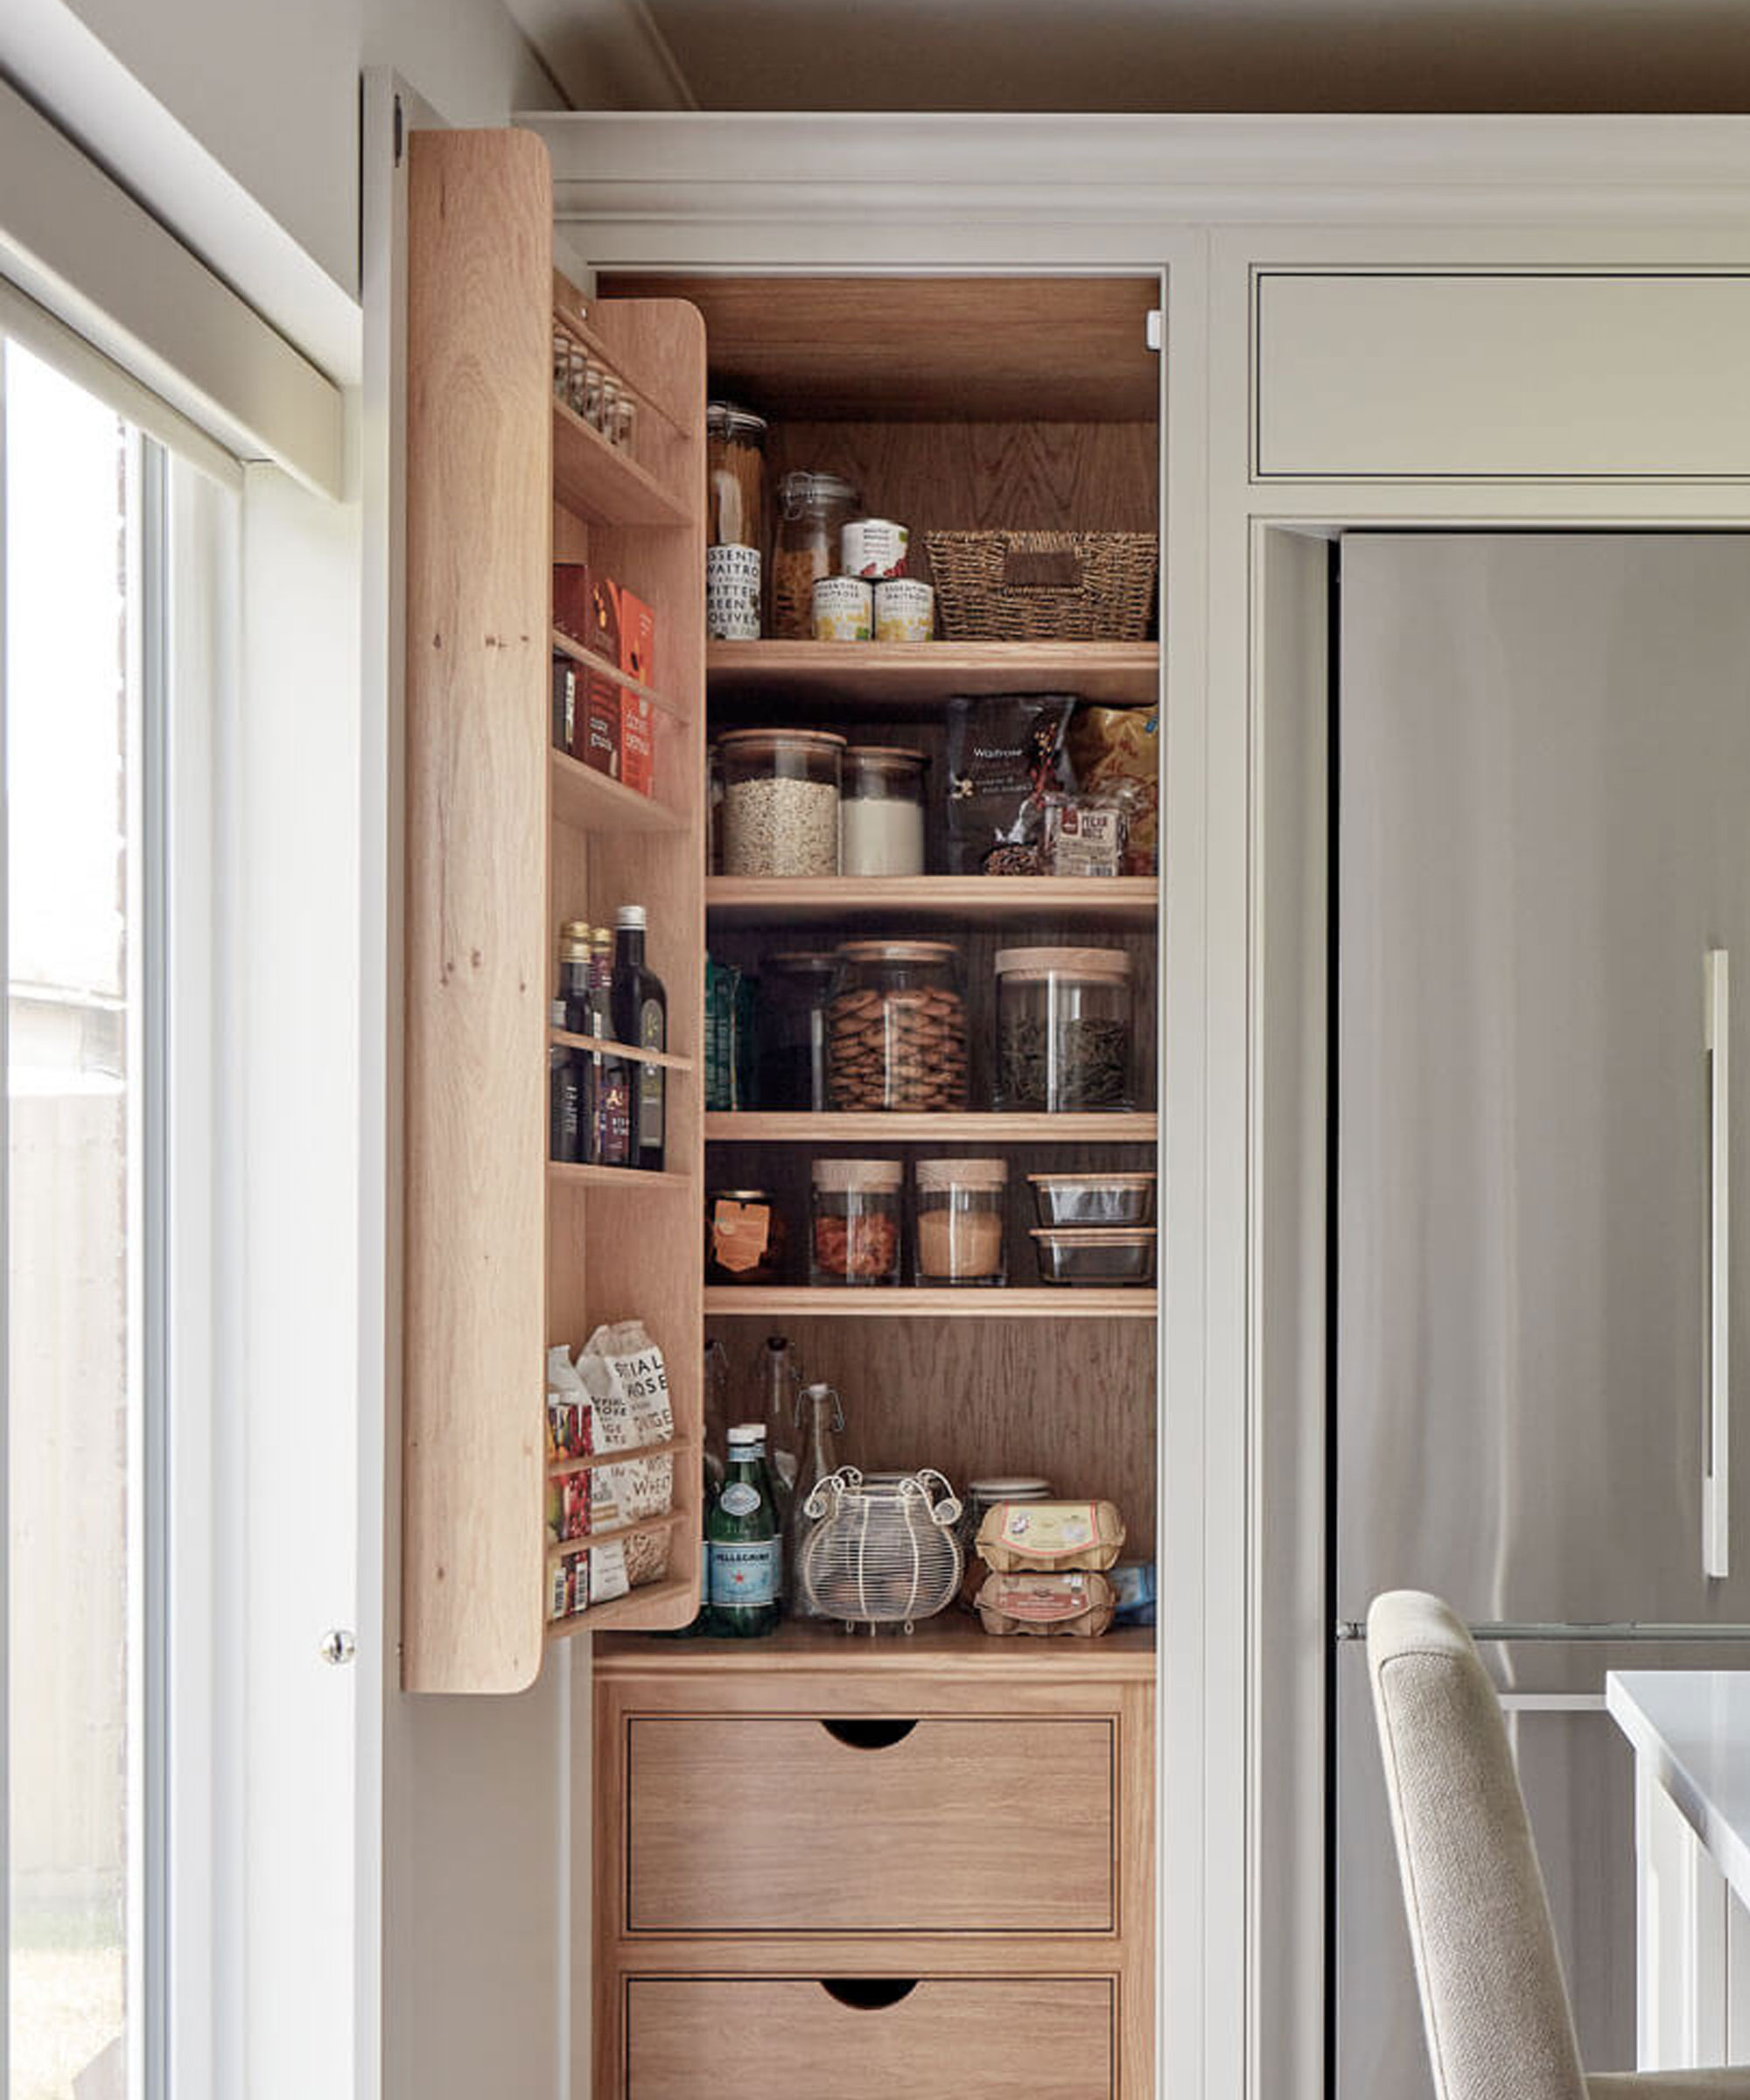
Once your pantry is all set up, organize your items in a logical manner, ensuring items are categorized, easy to find, and stored to maximize the space. Group similar items together and use labels or clear containers to easily identify the contents of each shelf or section. You can use this label maker, from Amazon to clearly mark the different zones of your pantry.
Stock it with dry goods, canned items, and any other kitchen essentials. You can also label containers and shelves for quick identification and to maintain an organized space.
'The hardest part about using a standard kitchen cabinet as pantry storage is finding organizing solutions that work with the dimensions of your space,' says Marissa Hagmeyer, co-founder and COO of NEAT Method.
'Start by removing dry goods and snacks from unnecessary packaging to save space. Next, group like-items together and locate them based on frequency of use. Often accessed categories should live at eye level or within arms reach. Less often used items can be tucked away on higher shelves or drawers.'
FAQs
What mistakes should be avoided when converting a cabinet into a pantry?
Kerry Sherin at Ownerly advises: 'To create an efficient pantry from your cupboard, avoid these common pantry mistakes when adding one to your kitchen:
1. 'Neglect labeling containers and shelves
2. 'Fail to establish zones for different items
3. 'Disregard the back side of the cupboard door for extra storage
4. 'Neglect accessibility by not putting frequently used items at eye level and in the front.
'By addressing these factors, you'll have an organized and functional pantry that maximizes your kitchen's storage space.'
'When using these tools, be sure to practice proper safety protocol,' says Marc Zambonini. 'Don’t try to tamper with any part of the construction unless you have comfortable access to every necessary tool and surface.
'Wear personal protective equipment, such as safety glasses and goggles. Most importantly, ensure that the cupboard itself is secure when you’re working on it – if it’s removable, I’d recommend lying it on the floor to avoid anything falling on you.'

Lola Houlton is a news writer for Homes & Gardens. She has been writing content for Future PLC for the past six years, in particular Homes & Gardens, Real Homes and GardeningEtc. She writes on a broad range of subjects, including practical household advice, recipe articles, and product reviews, working closely with experts in their fields to cover everything from heating to home organization through to house plants. Lola is a graduate, who completed her degree in Psychology at the University of Sussex. She has also spent some time working at the BBC.
